How to Install an IKEA Bathroom Sink
If you're looking to update your bathroom with a stylish and functional sink, IKEA has a great selection to choose from. But before you can enjoy your new sink, you'll need to know how to install it properly. Don't worry, it's not as daunting as it may seem. With the right tools and a little know-how, you can easily install an IKEA bathroom sink in no time. Follow our step-by-step guide for a hassle-free installation process.
Step-by-Step Guide for Installing an IKEA Bathroom Sink
The first step in installing an IKEA bathroom sink is to gather all the necessary tools and materials. You'll need a drill, drill bits, a wrench, a screwdriver, a level, a pencil, and a measuring tape. Make sure you have all the parts and pieces that came with your sink, including the sink, faucet, drain assembly, and mounting hardware.
Next, you'll want to turn off the water supply to your bathroom. This can usually be done by turning off the valves under your sink or shutting off the main water supply to your house. Once the water is off, you can remove your old sink and prepare the area for the new one.
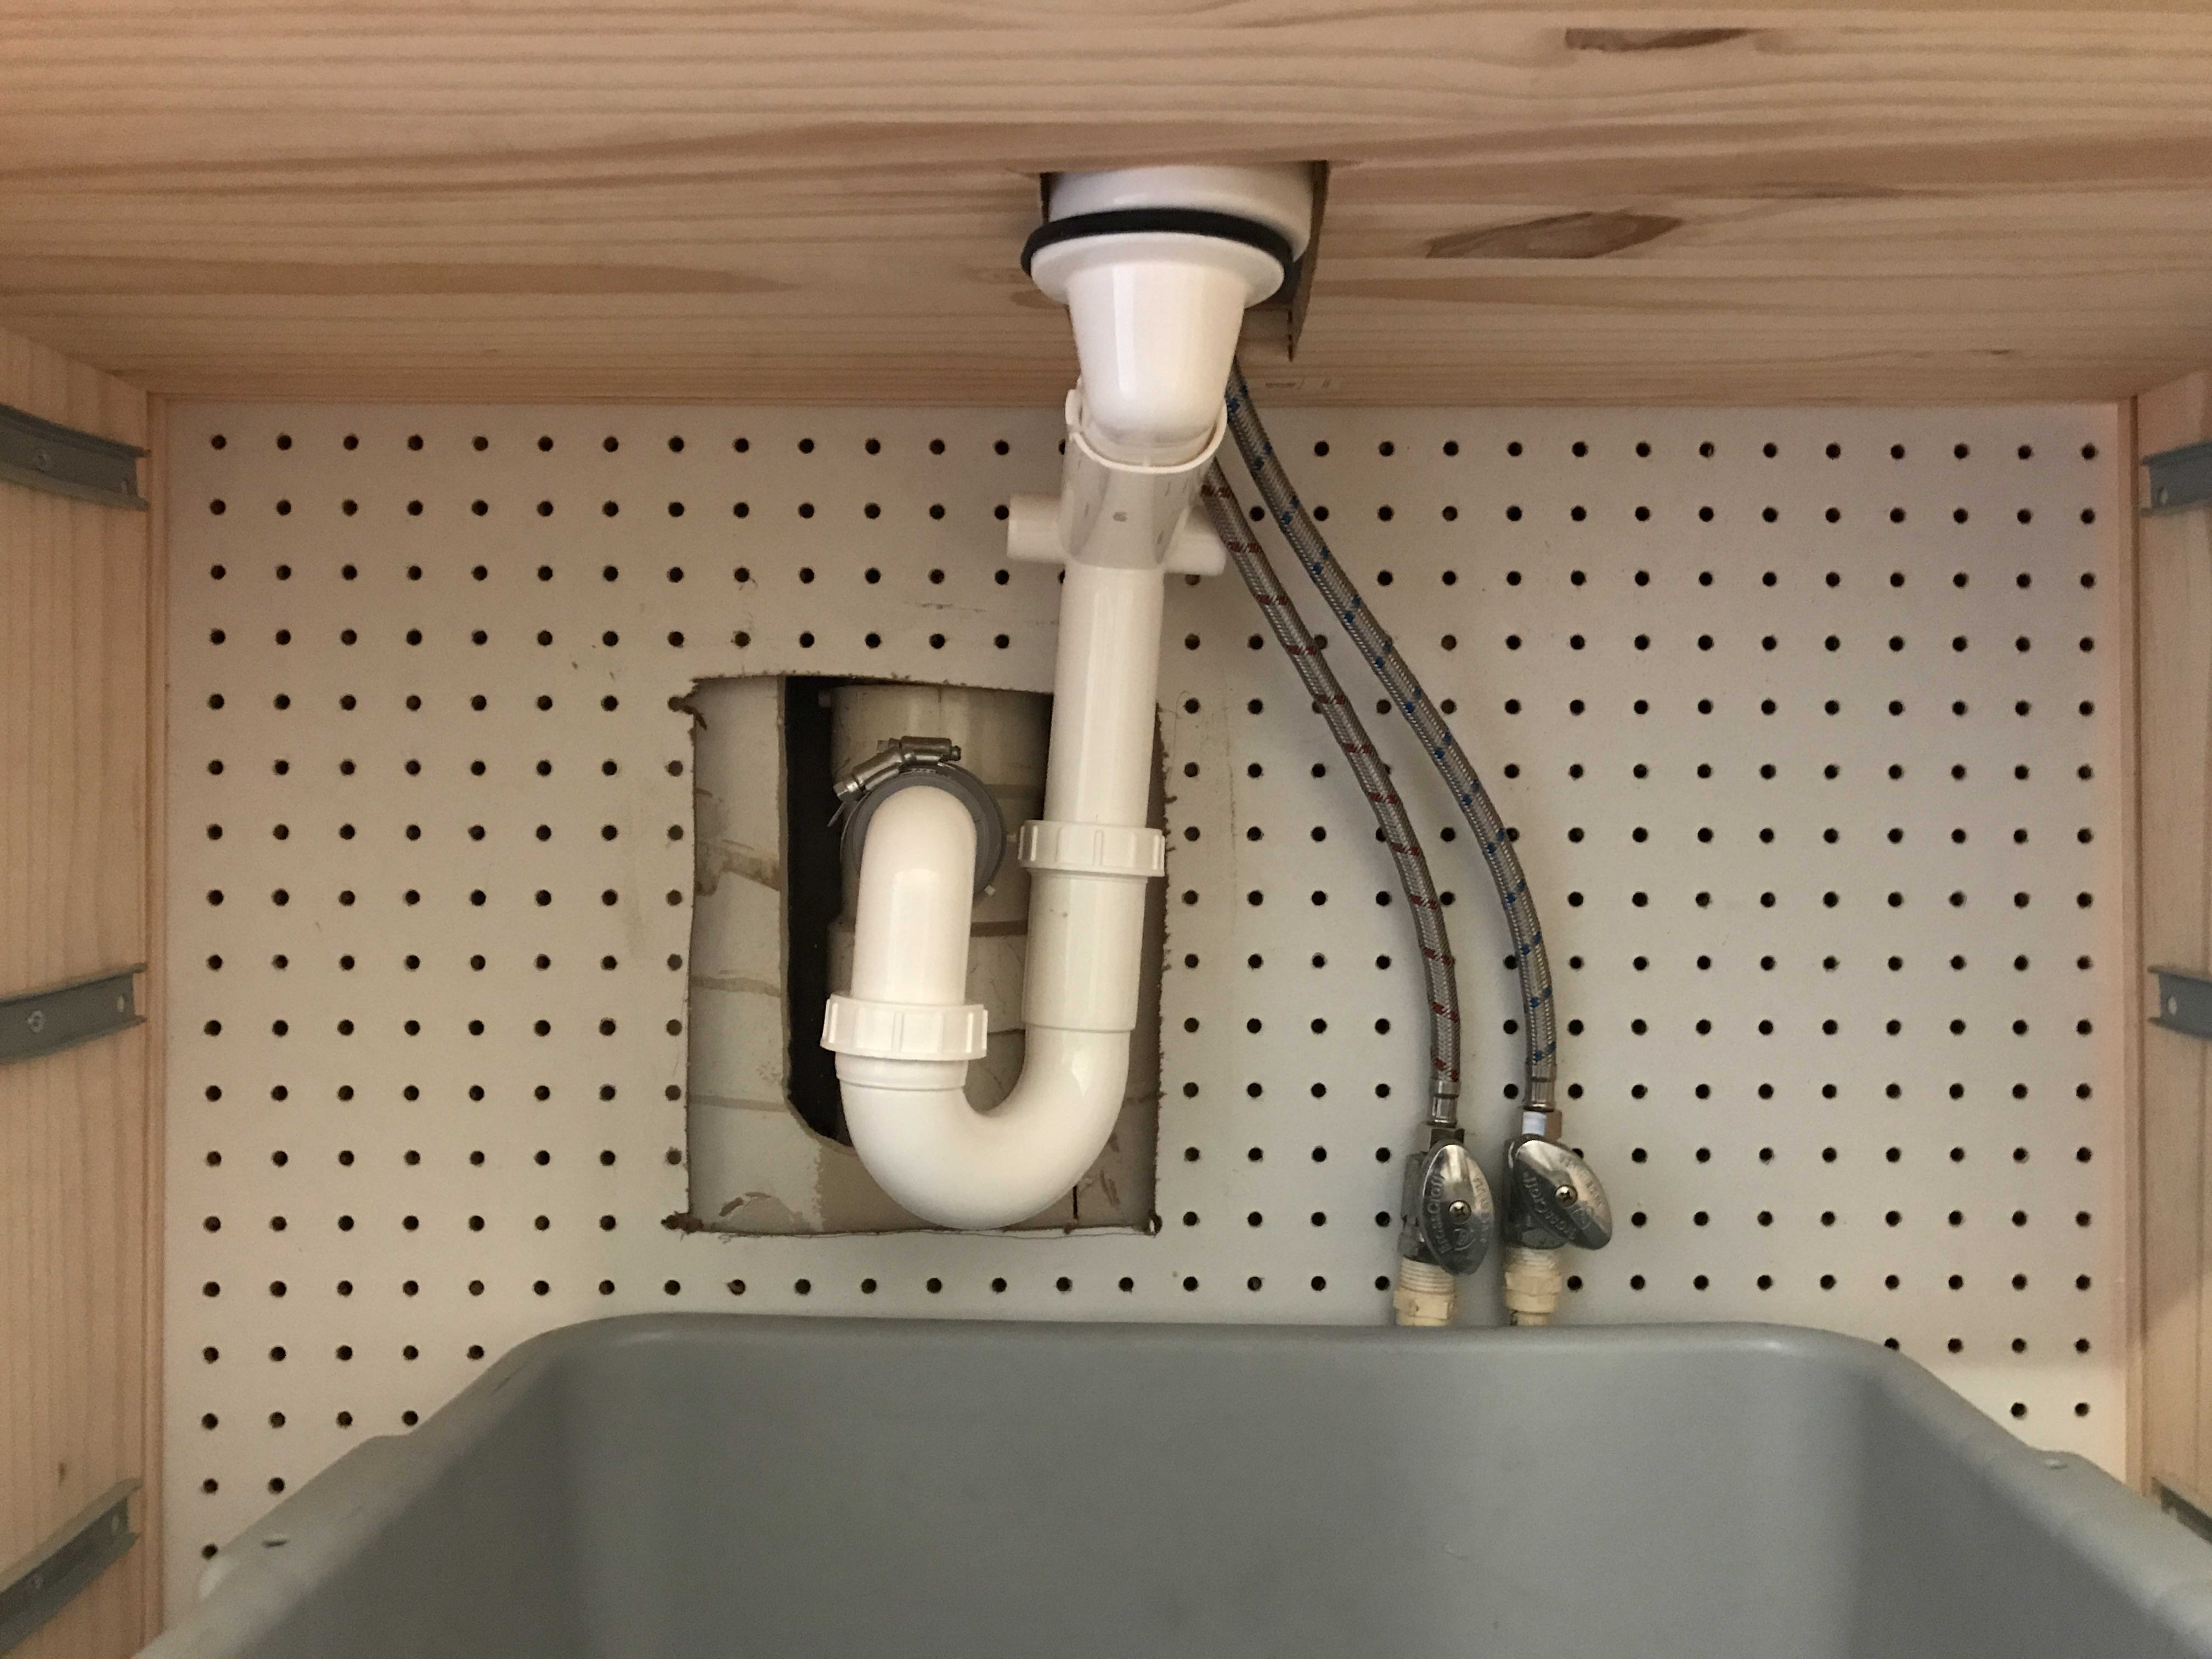
Now it's time to assemble the sink. Start by attaching the faucet to the sink according to the manufacturer's instructions. Then, install the drain assembly by placing the rubber gasket and locknut on the bottom of the sink and tightening it with a wrench. Make sure everything is secure and watertight.
Next, you'll need to install the mounting hardware. This will vary depending on the type of sink you have, so be sure to follow the instructions carefully. In most cases, you'll need to drill holes in the wall and use screws and anchors to secure the sink in place. Use a level to ensure the sink is straight before tightening all the screws.
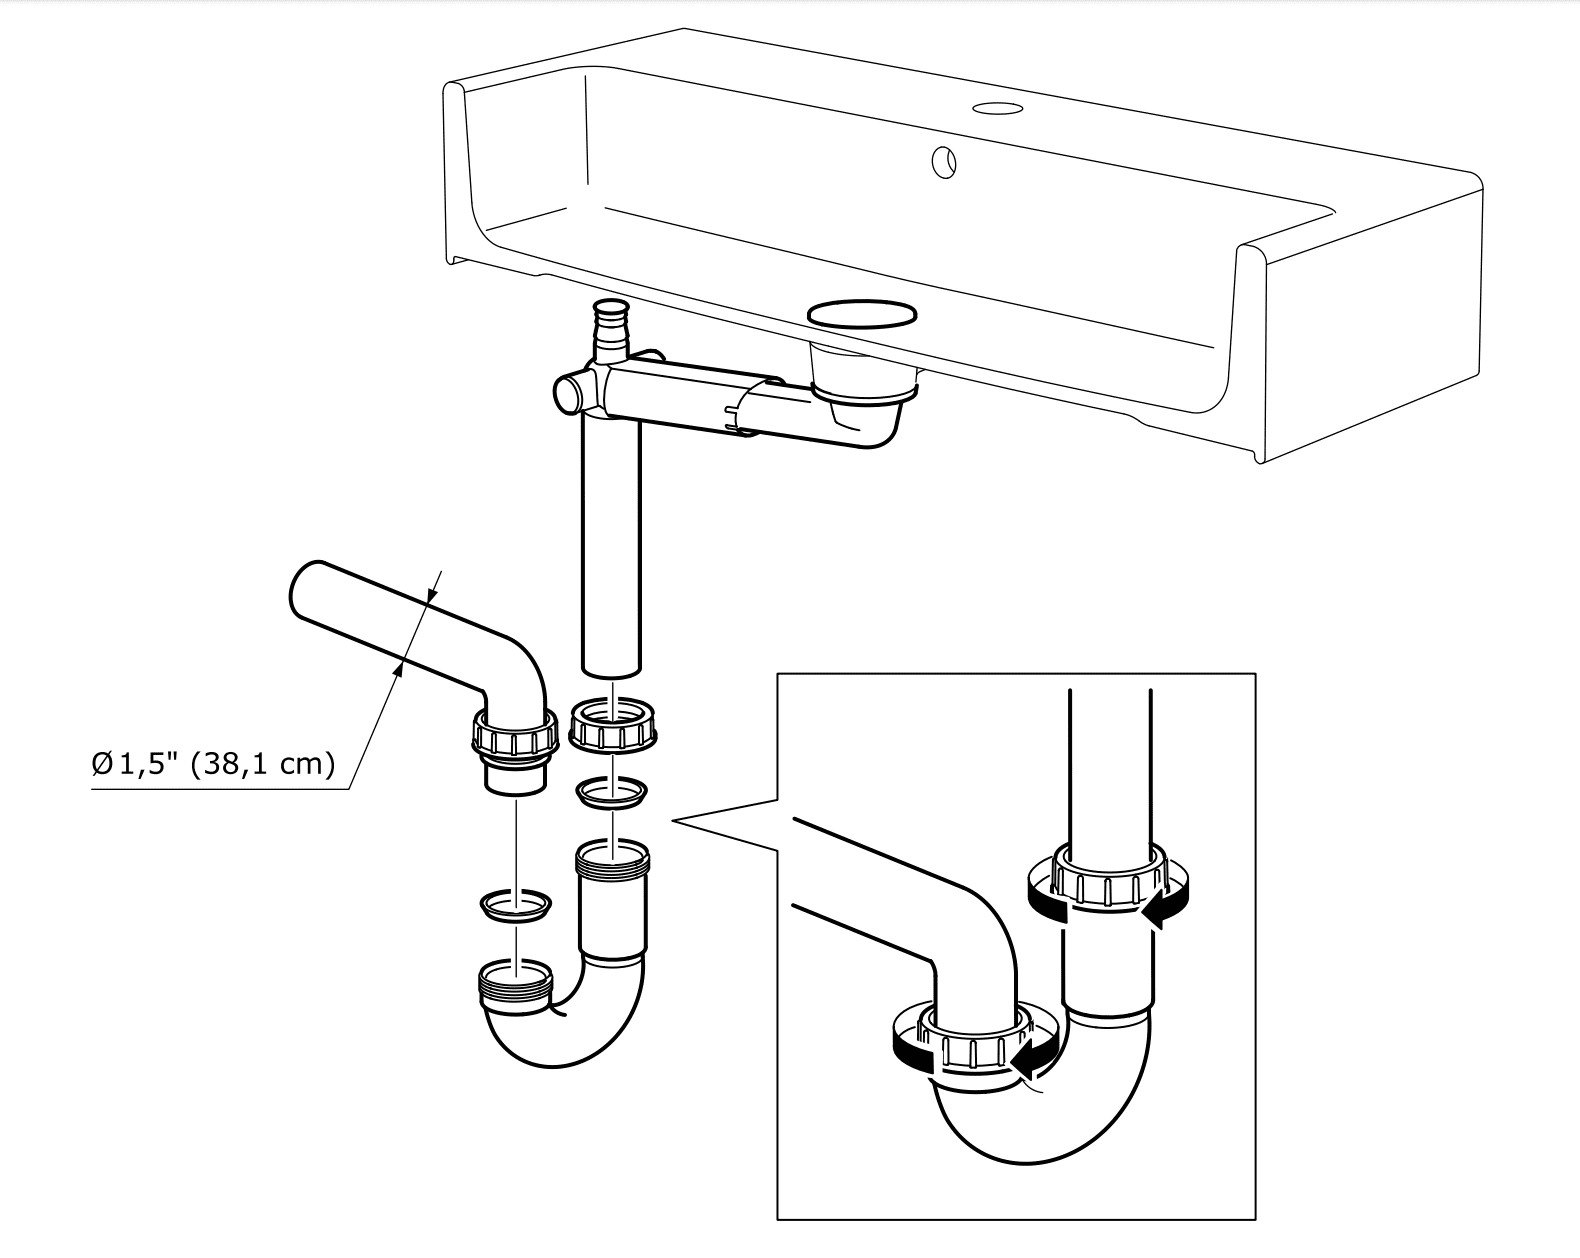
Once the sink is securely mounted, you can connect the water supply lines to the faucet. Turn the water back on and check for any leaks. If everything looks good, you can now install the drain assembly by connecting the tailpiece to the drain and tightening it with a wrench.
Lastly, you'll want to finish off the installation by caulking around the edges of the sink and faucet to prevent any water from seeping in. Use a high-quality silicone caulk and smooth it out with your finger for a clean finish.
DIY: Installing an IKEA Bathroom Sink
Installing an IKEA bathroom sink is a great DIY project for those who are handy around the house. Not only will it save you money, but it also gives you the satisfaction of completing a project on your own. Just make sure you have all the necessary tools and follow the instructions carefully to ensure a successful installation.
Installing an IKEA Bathroom Sink: Tips and Tricks
Before you start the installation process, it's always a good idea to read the instructions thoroughly and familiarize yourself with all the parts and pieces. This will help you to avoid any mistakes and make the installation go more smoothly.
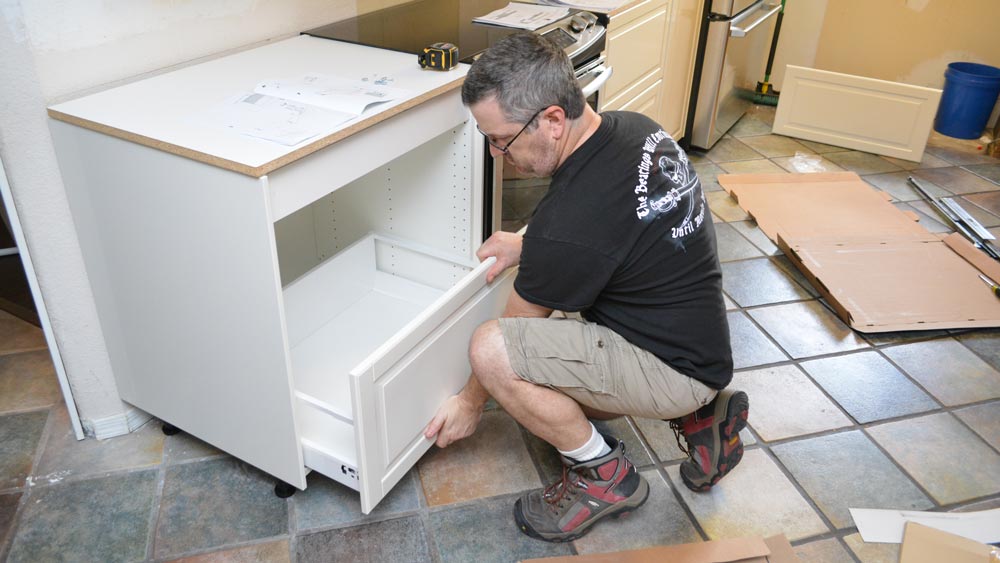
Another tip is to have a helper on hand. Installing a sink can be a two-person job, especially when it comes to mounting and leveling the sink. Plus, it's always nice to have an extra set of hands to help with any heavy lifting.
Lastly, make sure you have all the necessary tools and materials before you begin. This will save you time and frustration if you realize you're missing something in the middle of the installation process.
The Ultimate Guide to Installing an IKEA Bathroom Sink
If you're new to installing sinks, don't worry. Our ultimate guide to installing an IKEA bathroom sink has got you covered. From gathering tools and materials to completing the final finishing touches, we'll walk you through each step of the installation process. With this guide, you'll have a beautiful and functional sink in no time.
Installing an IKEA Bathroom Sink: What You Need to Know
Before you start the installation process, there are a few things you need to know. First, make sure your sink will fit in the designated space. Measure the area and compare it to the dimensions of the sink you've chosen. You'll also want to make sure you have enough clearance for the faucet and any other fixtures you plan on installing.
Another thing to consider is the plumbing. If your new sink is a different size or style than your old one, you may need to make some adjustments to the plumbing. It's always a good idea to consult a professional if you're unsure about any plumbing work.
Step-by-Step Instructions for Installing an IKEA Bathroom Sink
Step 1: Gather all necessary tools and materials.
Step 2: Turn off the water supply to your bathroom.
Step 3: Remove your old sink.
Step 4: Assemble the new sink, including the faucet and drain assembly.
Step 5: Install the mounting hardware according to the manufacturer's instructions.
Step 6: Connect the water supply lines to the faucet.
Step 7: Turn the water back on and check for any leaks.
Step 8: Install the drain assembly.
Step 9: Caulk around the edges of the sink and faucet.
How to Easily Install an IKEA Bathroom Sink
Installing an IKEA bathroom sink doesn't have to be a difficult task. By following our step-by-step instructions and tips, you can easily install your new sink and have it looking great in no time. Just remember to take your time and be patient, and you'll have a beautiful and functional sink that will last for years to come.
Installing an IKEA Bathroom Sink: A Beginner's Guide
If you're new to DIY projects, installing a bathroom sink may seem overwhelming. But with the right tools and instructions, it can be a simple and rewarding task. Our beginner's guide to installing an IKEA bathroom sink will give you all the information you need to successfully complete the installation process.
The Dos and Don'ts of Installing an IKEA Bathroom Sink
Now that you know how to install an IKEA bathroom sink, here are a few dos and don'ts to keep in mind:
Choosing the Perfect IKEA Bathroom Sink for Your Home

Factors to Consider
 When it comes to designing or renovating your bathroom, one of the most important elements to consider is the sink. Not only is it a functional necessity, but it also serves as a focal point in the room. With so many options available on the market, it can be overwhelming to choose the right one for your home. This is where IKEA comes in with their wide range of
stylish and affordable
bathroom sinks. Here are some factors to consider when selecting the perfect IKEA bathroom sink for your home.
Size and Layout
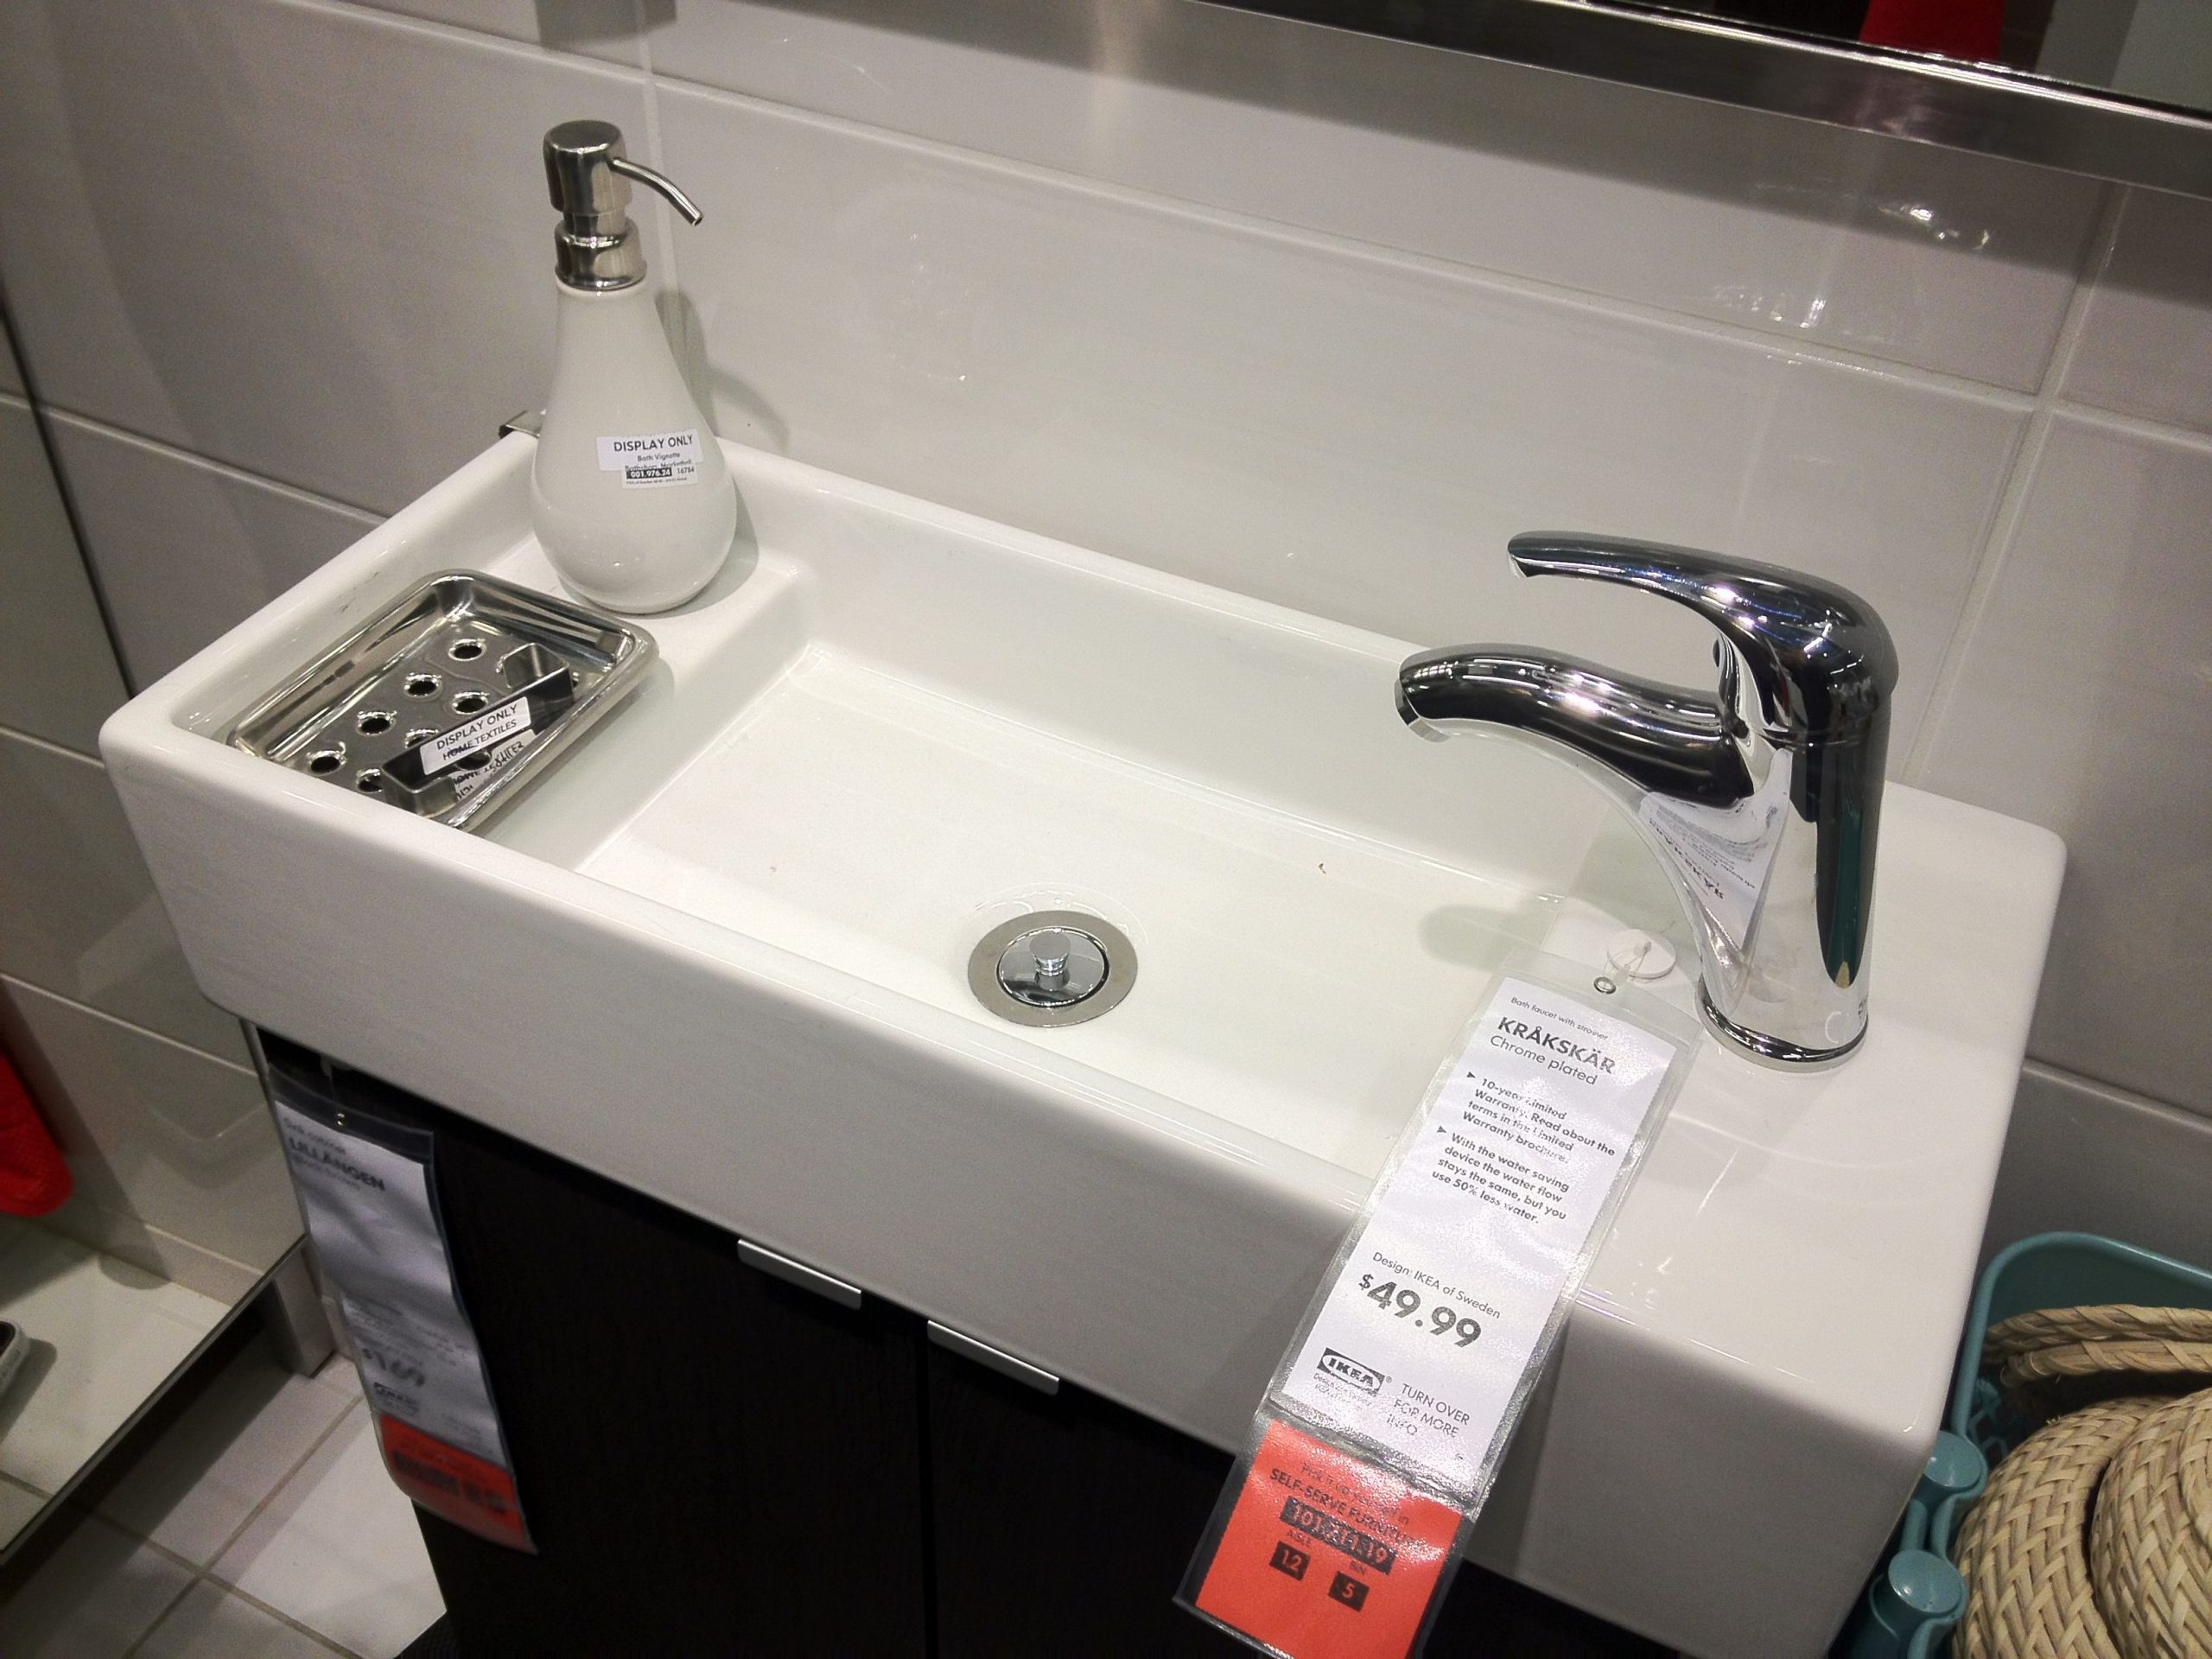
 The size and layout of your bathroom will play a significant role in determining the type of sink that will work best. For smaller bathrooms, a wall-mounted or pedestal sink would be ideal as it takes up less space. If you have a larger bathroom, you can opt for a
double sink vanity
or a
floating sink
for a more modern look. It's essential to measure your available space and take note of plumbing and electrical outlets before making a decision.
Style and Design
 IKEA offers a variety of styles and designs to suit different tastes and preferences. Whether you prefer a
minimalistic and sleek
look or something more
traditional and ornate
, there is an IKEA bathroom sink to match your desired aesthetic. You can choose from a range of materials such as ceramic, porcelain, or even glass for a unique touch. Consider the overall style of your bathroom and choose a sink that complements it.
Functionality
 Aside from being visually appealing, your sink also needs to be practical and functional. IKEA offers a range of sink designs that cater to different needs. For example, if you have a busy household, a
double sink
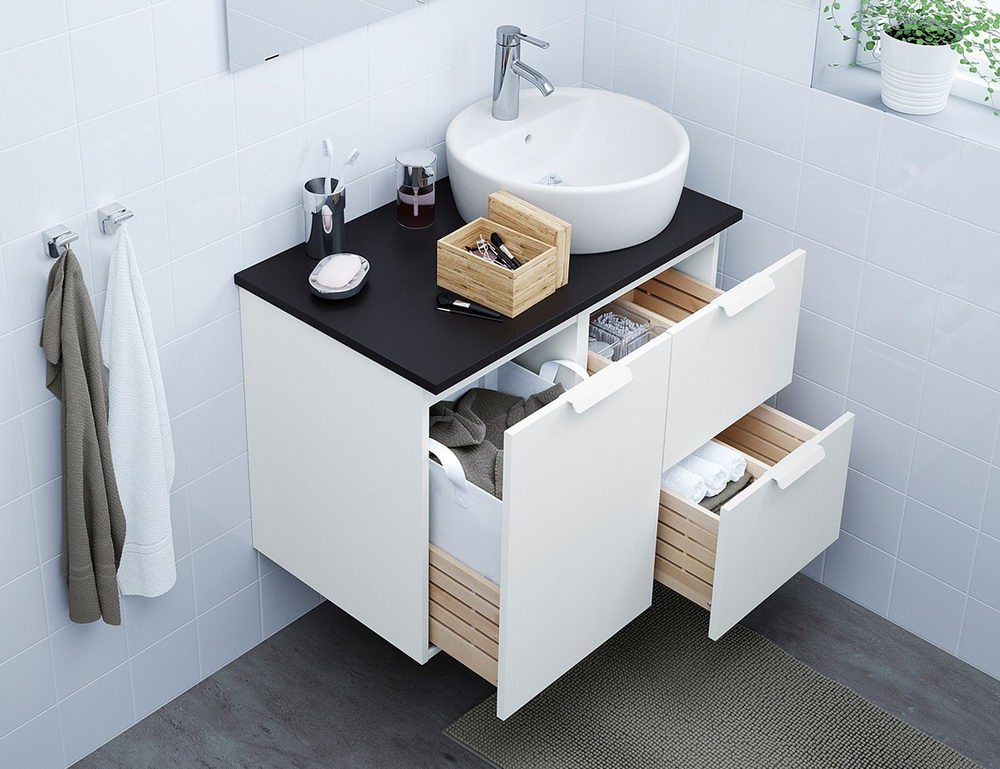
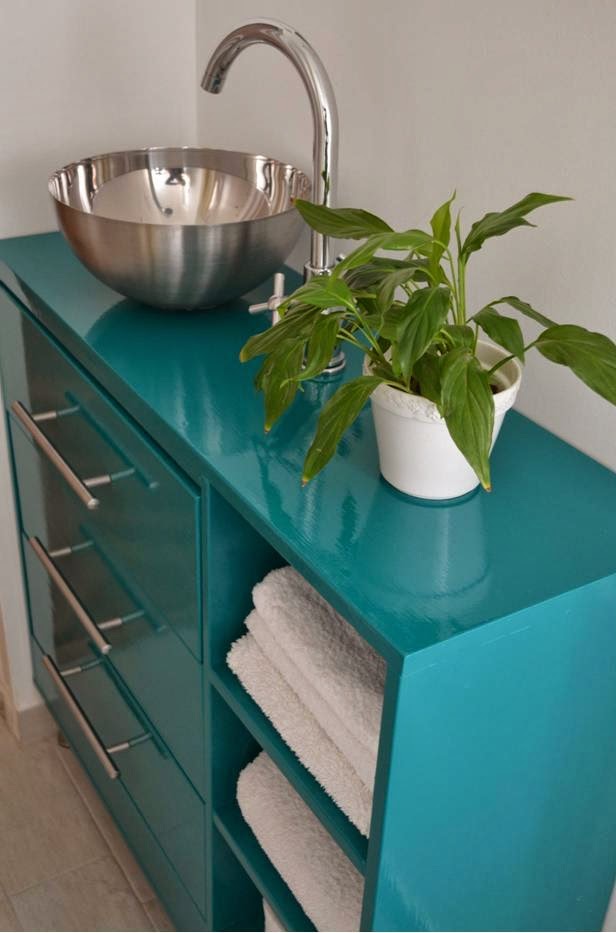
with separate basins can make getting ready in the morning much more efficient. Additionally, some sinks come with built-in storage options, such as shelves or drawers, which can be useful for storing towels and toiletries.
Installation and Maintenance
 Installing an IKEA bathroom sink is relatively straightforward, and most models come with detailed instructions. However, if you're not confident in your DIY skills, it's best to hire a professional to ensure proper installation. Additionally, consider the maintenance requirements of the sink you choose. Some materials, such as porcelain, may require more upkeep compared to others.
In Conclusion
 Choosing the perfect IKEA bathroom sink for your home requires careful consideration of various factors such as size, style, functionality, and maintenance. With the wide range of options available, you're sure to find a sink that not only fits your budget but also enhances the overall design of your bathroom. So, head to your nearest IKEA store or browse their website to find the perfect sink for your home.


