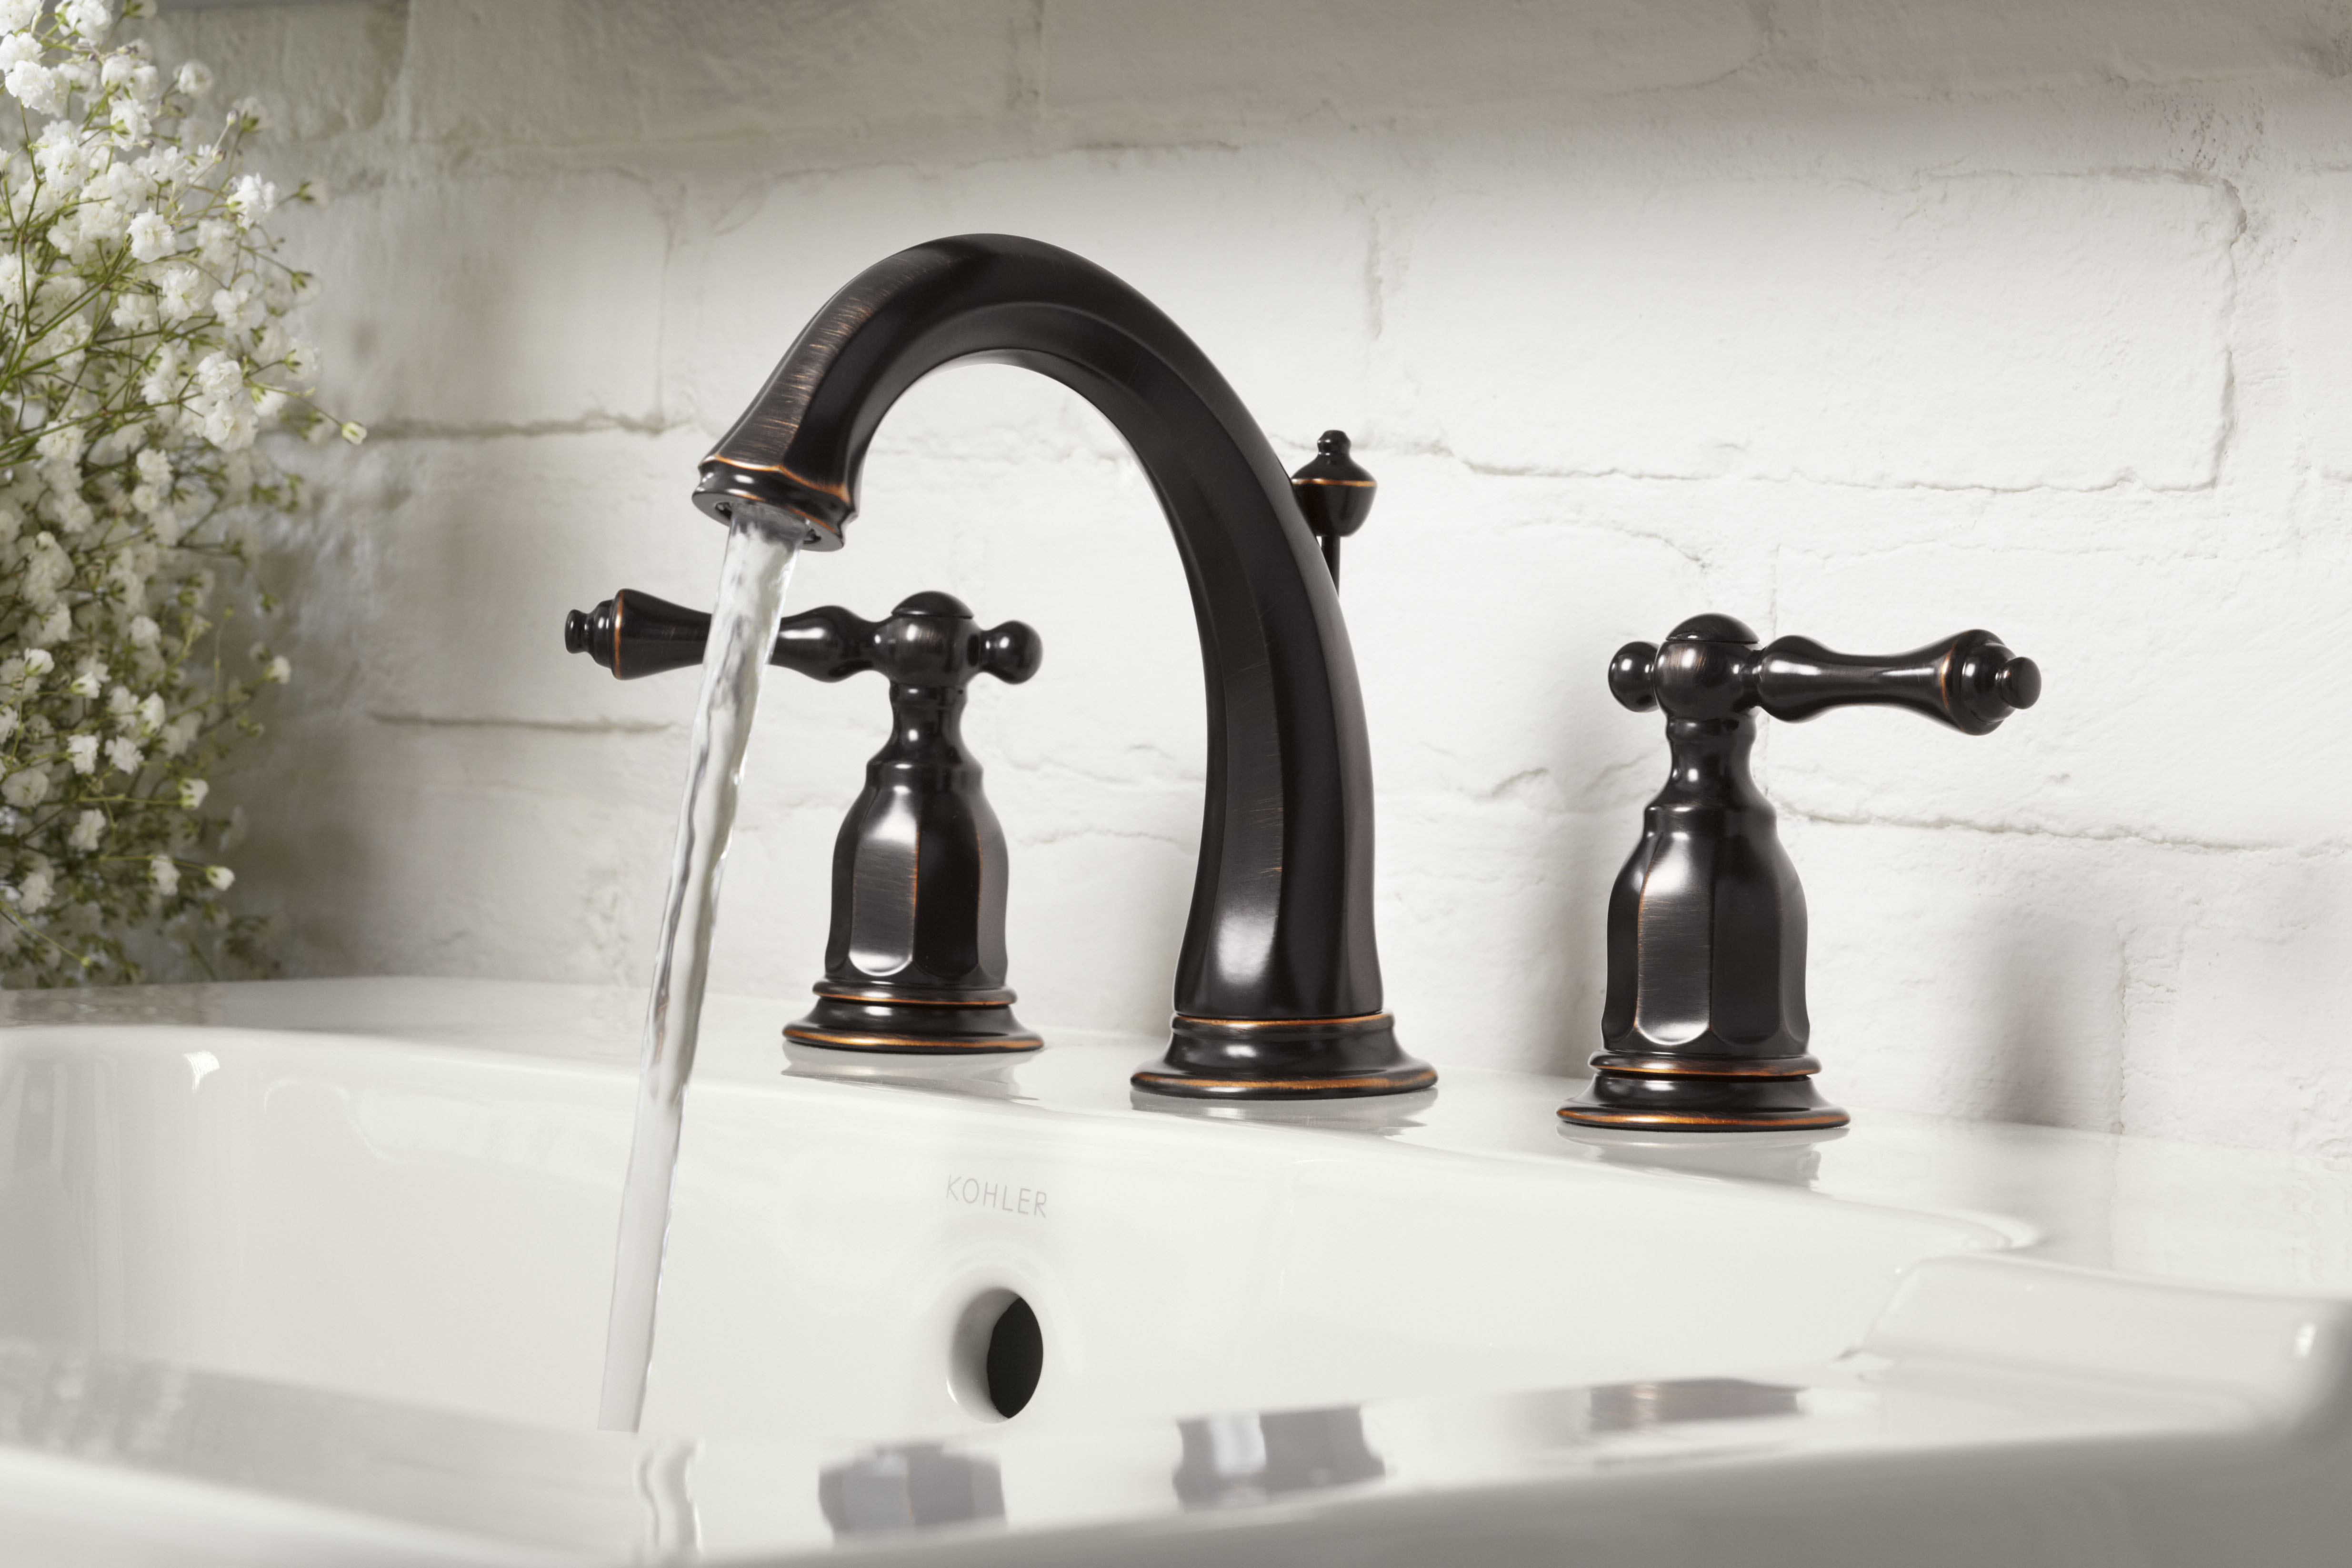
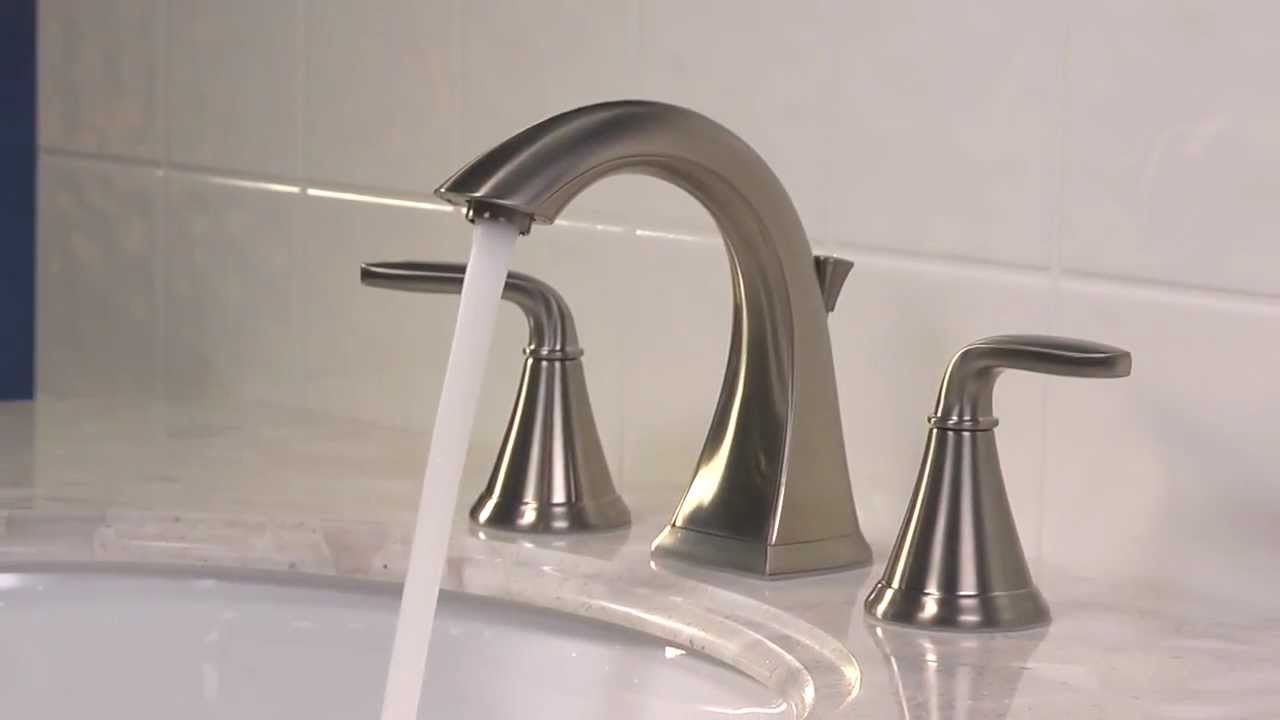
Are you planning to upgrade your bathroom sink faucet? One important component that often gets overlooked is the trim ring. This small but essential piece can make a big difference in the overall look and functionality of your sink. In this guide, we will walk you through the top 10 steps to successfully install a trim ring on your bathroom sink faucet.1. Installing a Trim Ring: A Crucial Step in Bathroom Sink Faucet Installation


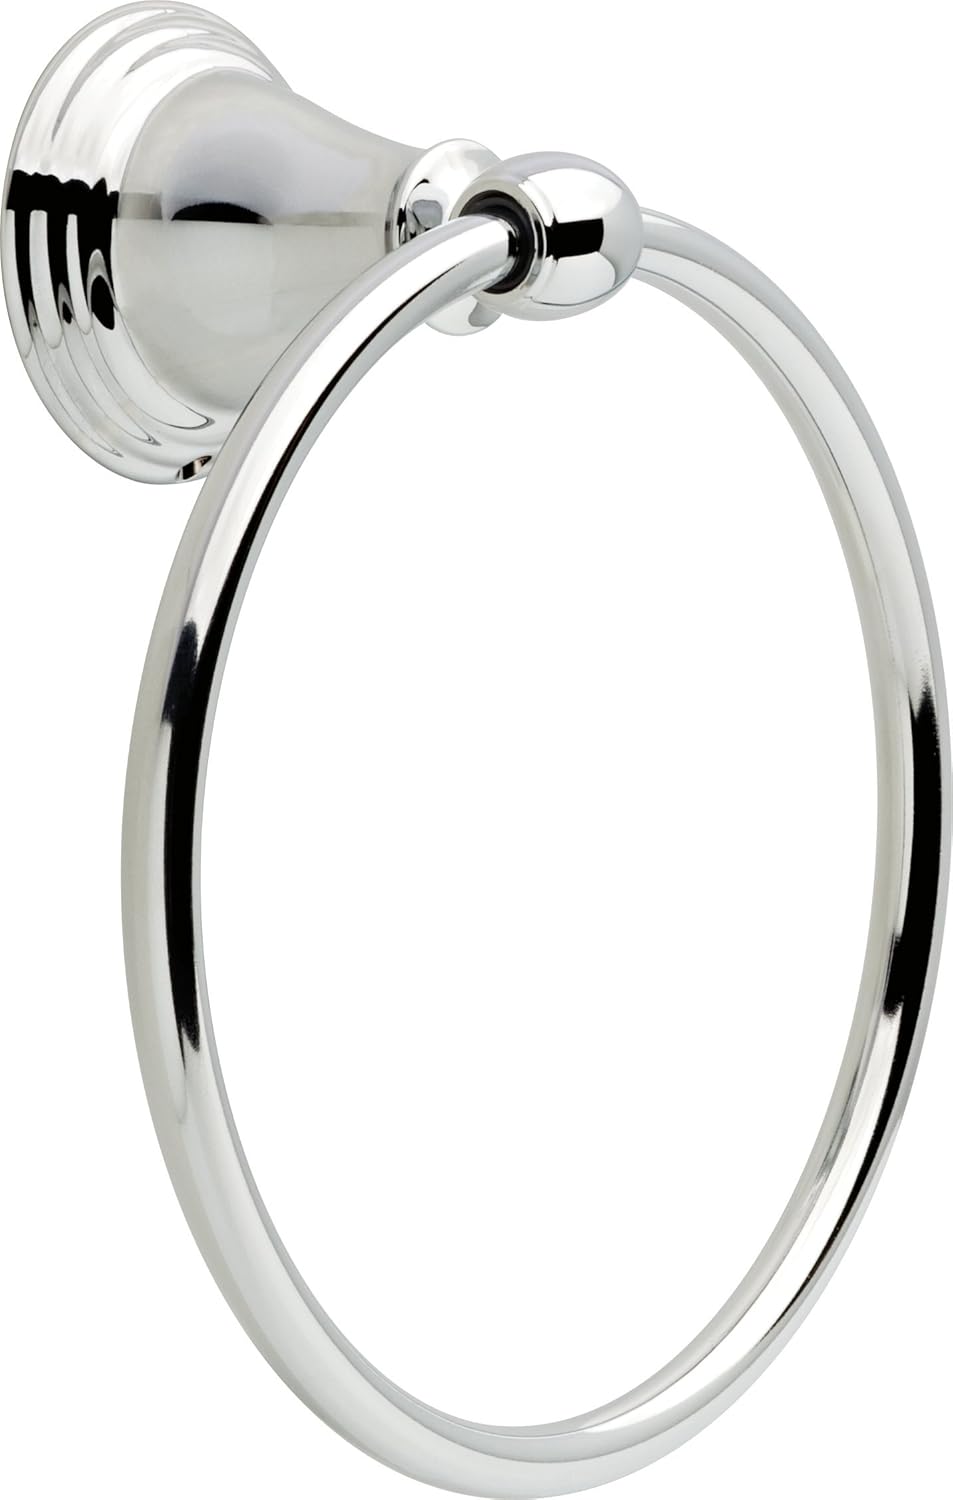
install trim ring


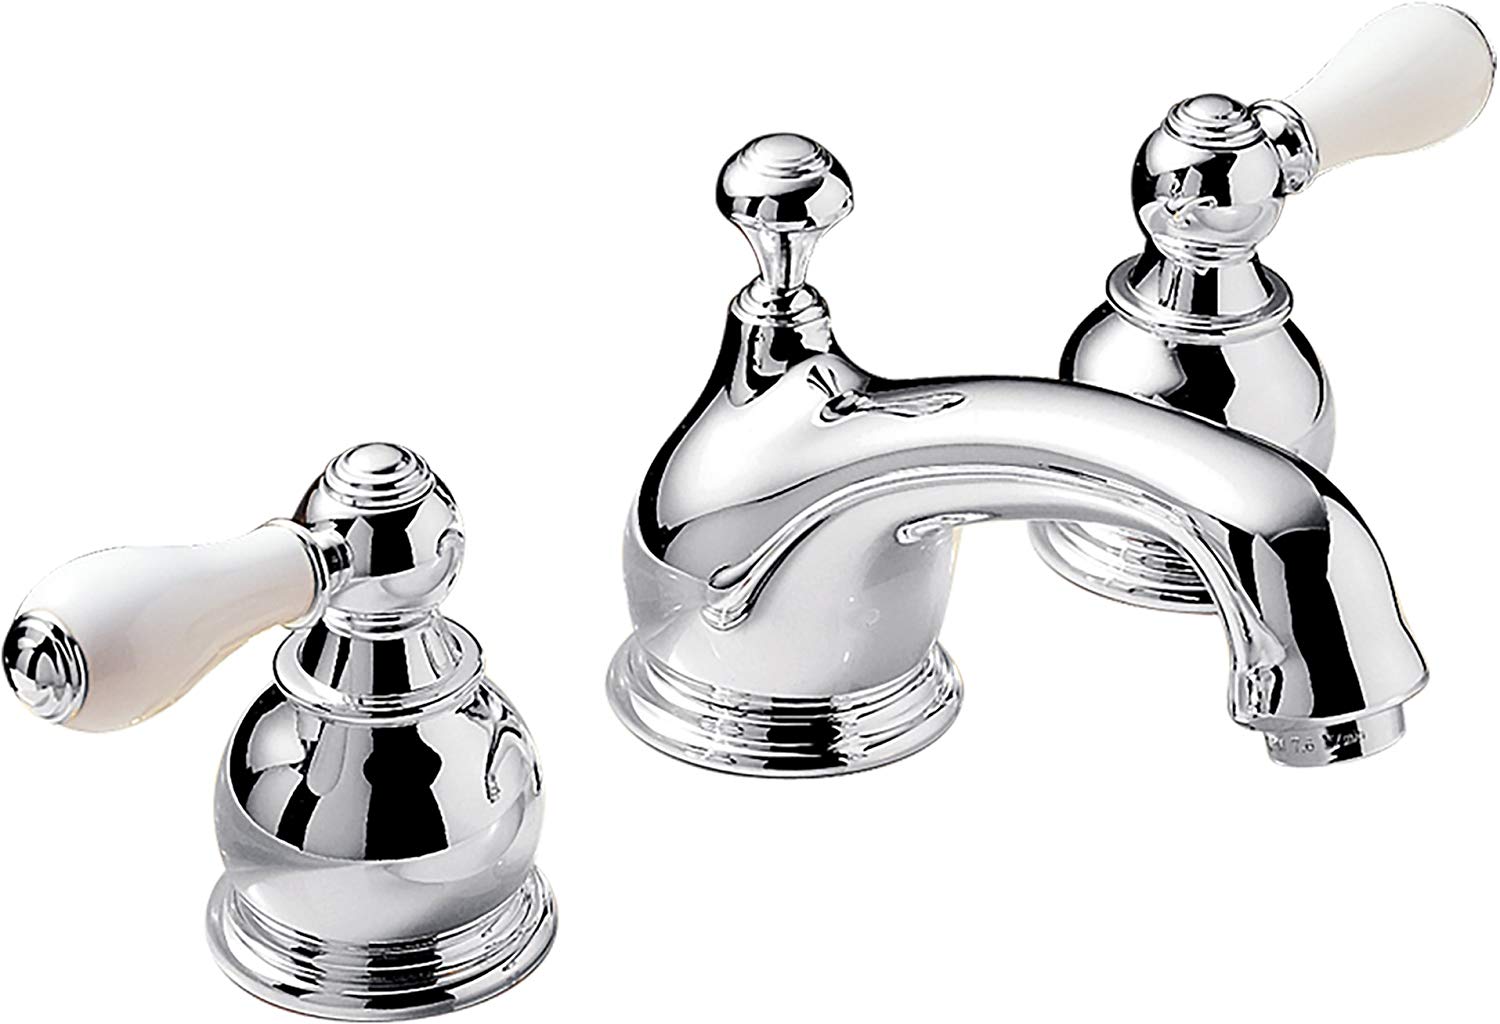
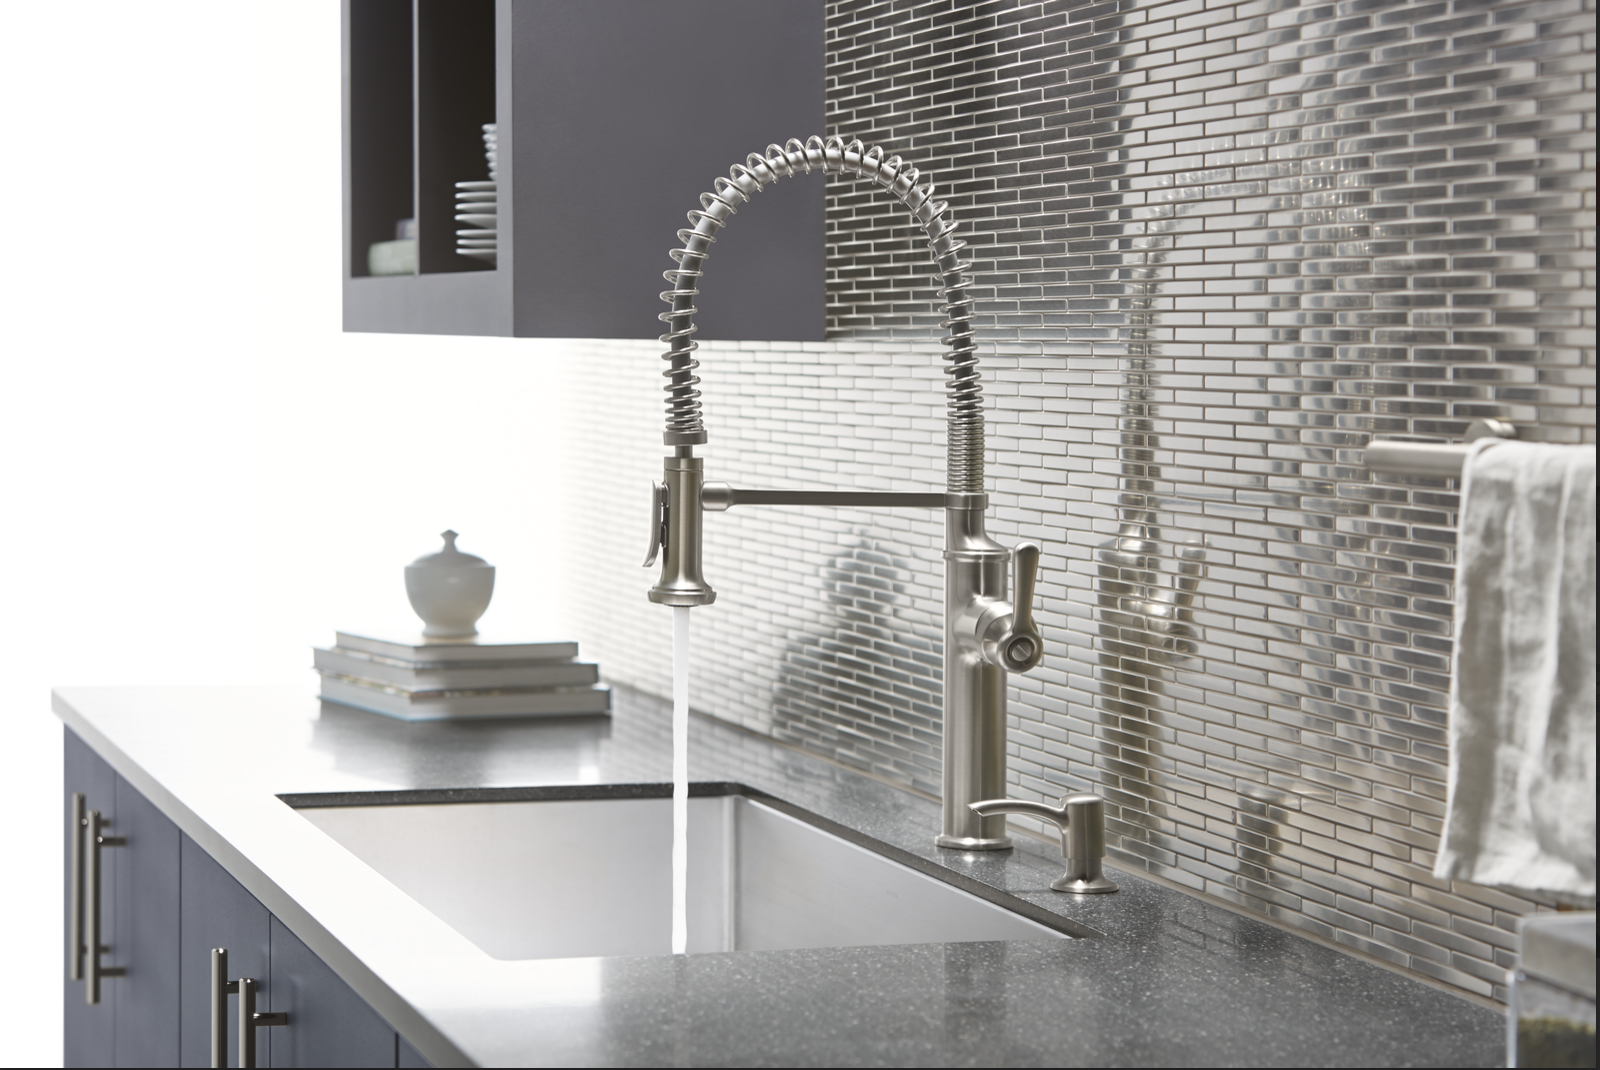
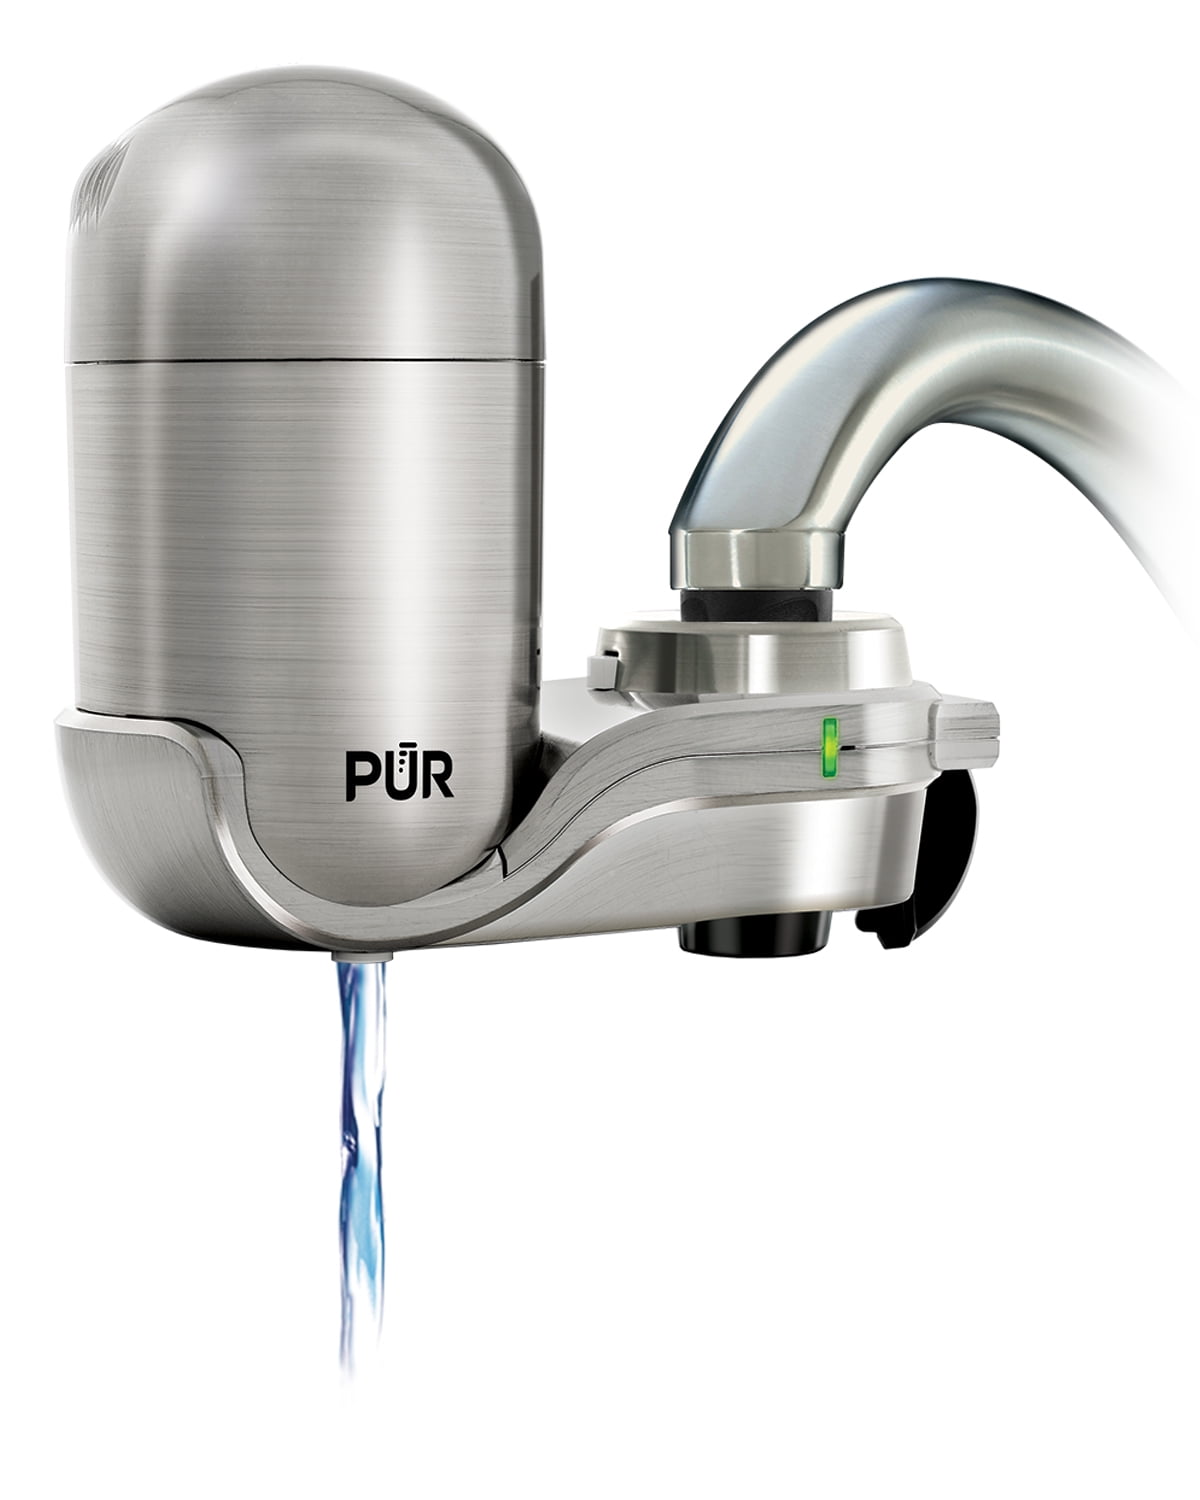
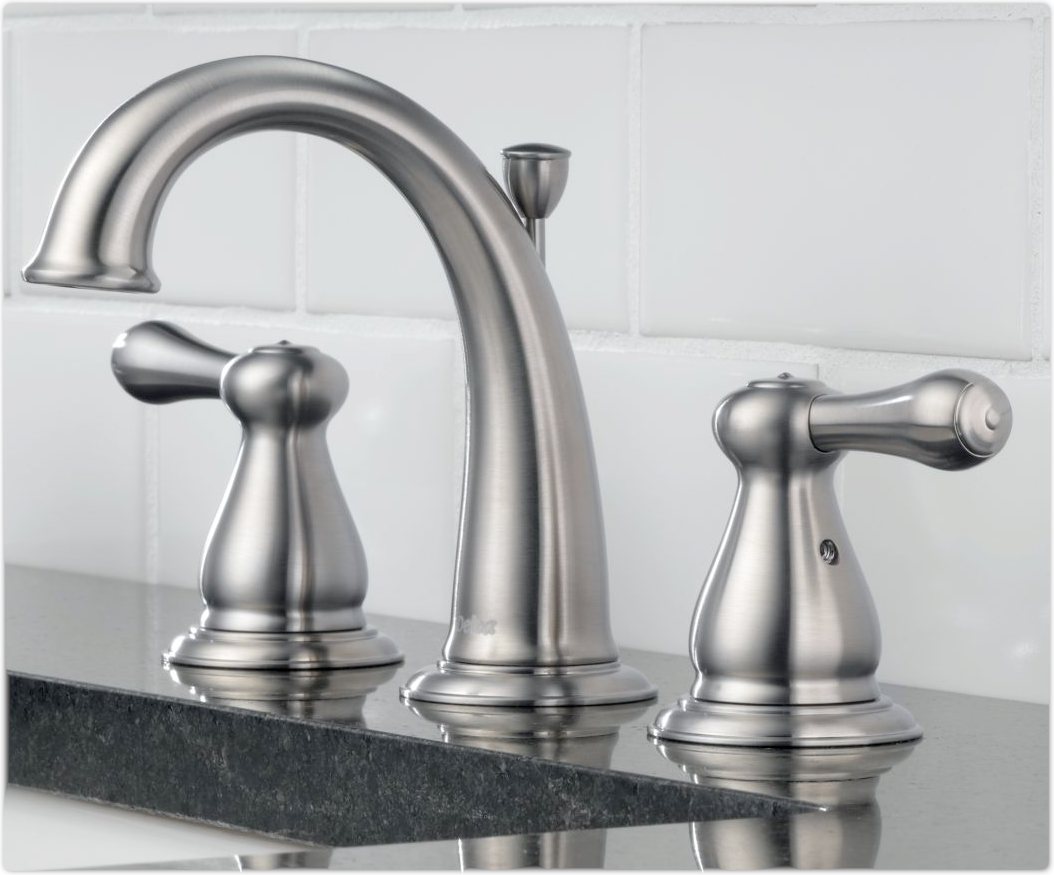
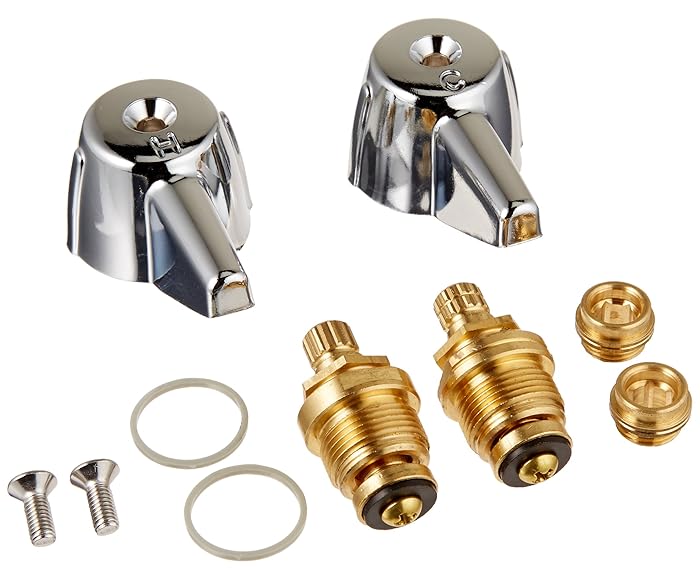
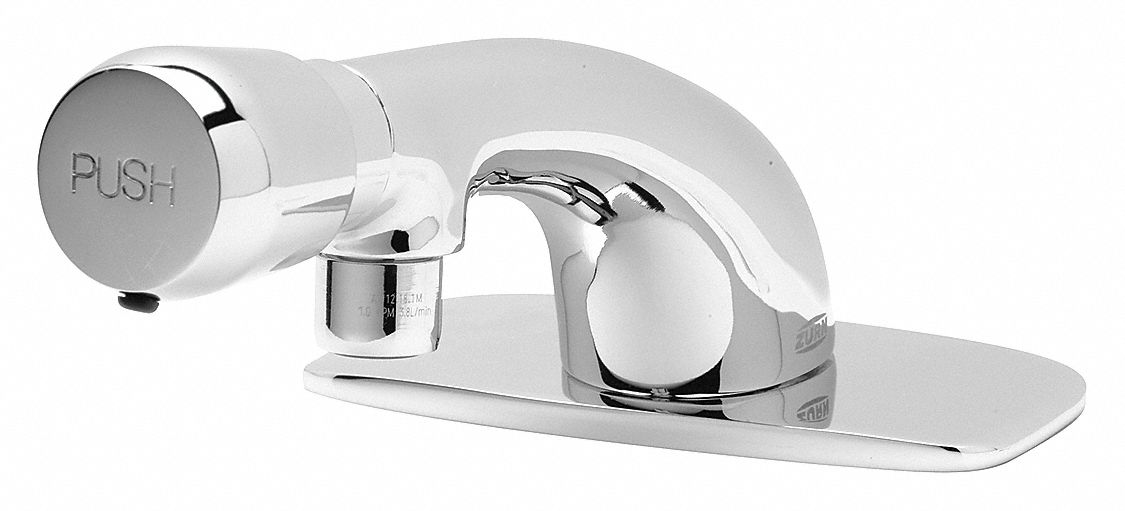
The first step in installing a trim ring is choosing the right one for your bathroom sink faucet. Trim rings come in various styles, sizes, and finishes to match different types of faucets. Make sure to measure your faucet's diameter and check the manufacturer's recommendations for the appropriate trim ring size and style.2. Choosing the Right Trim Ring for Your Bathroom Sink Faucet
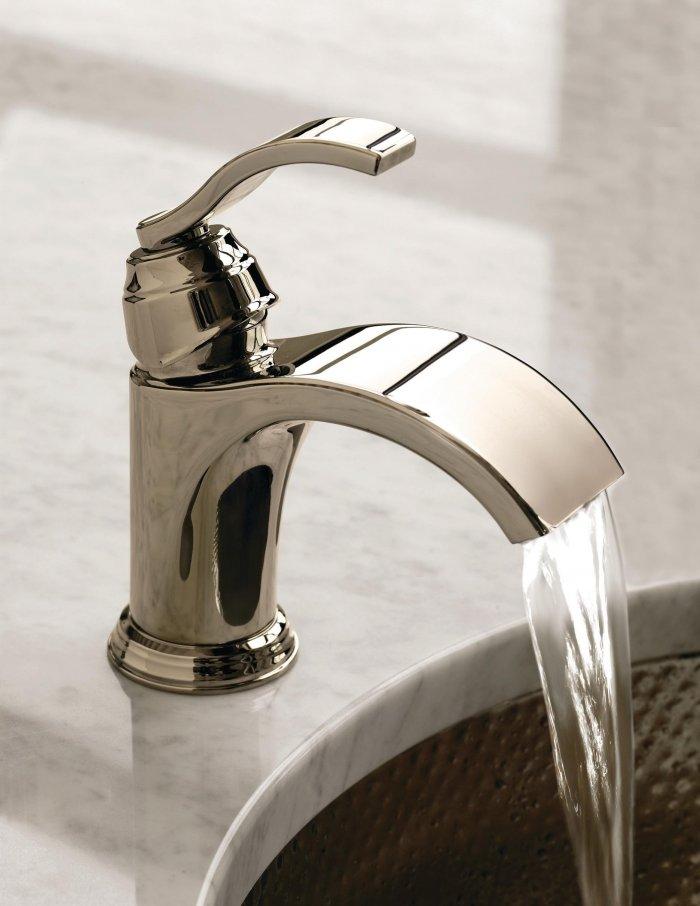

bathroom sink faucet


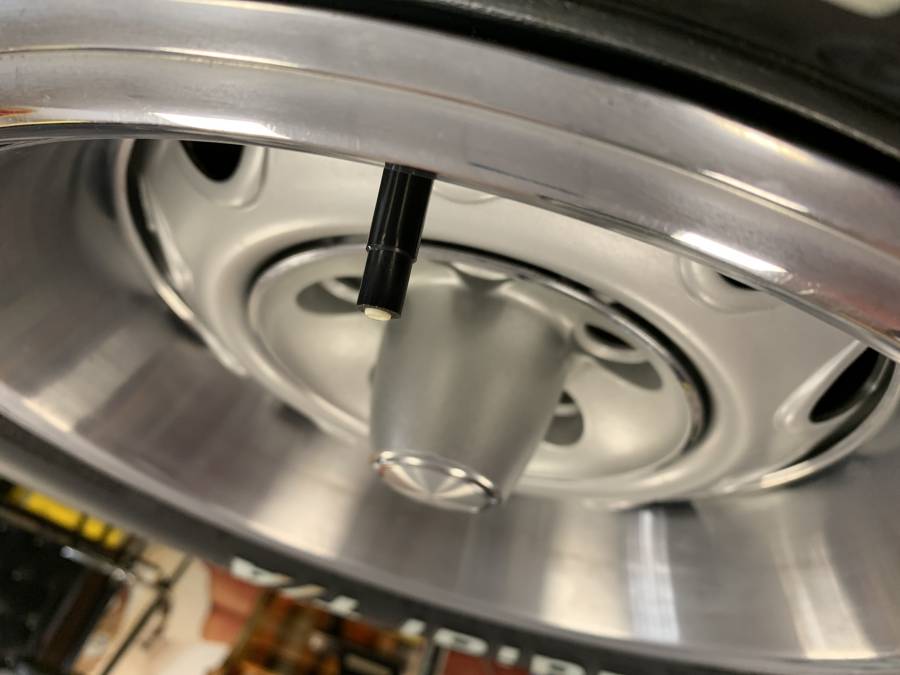
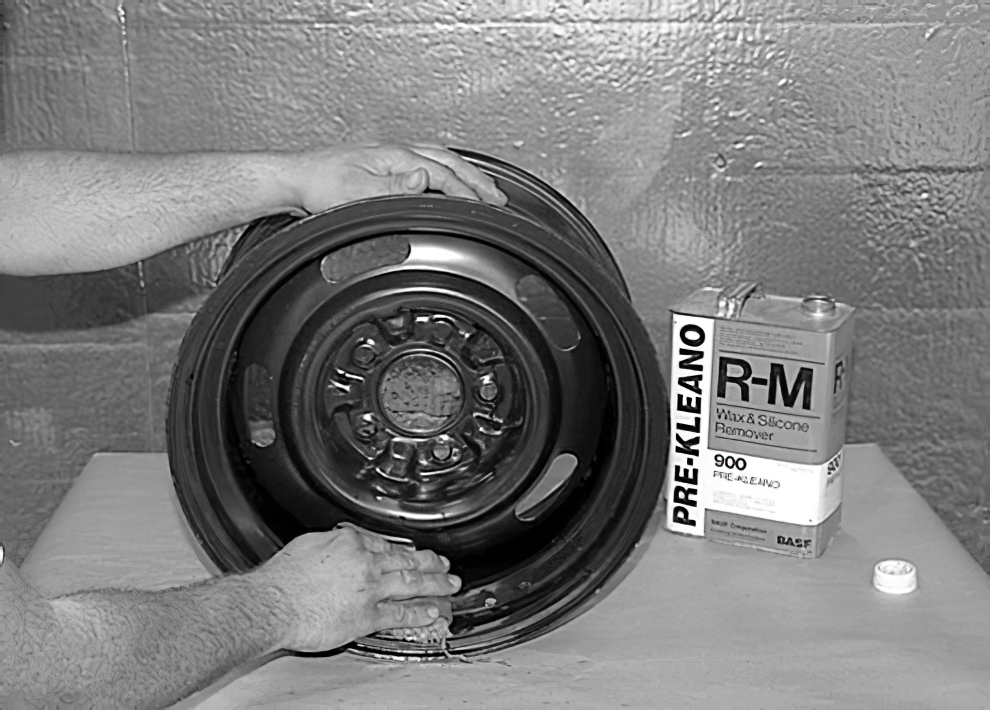
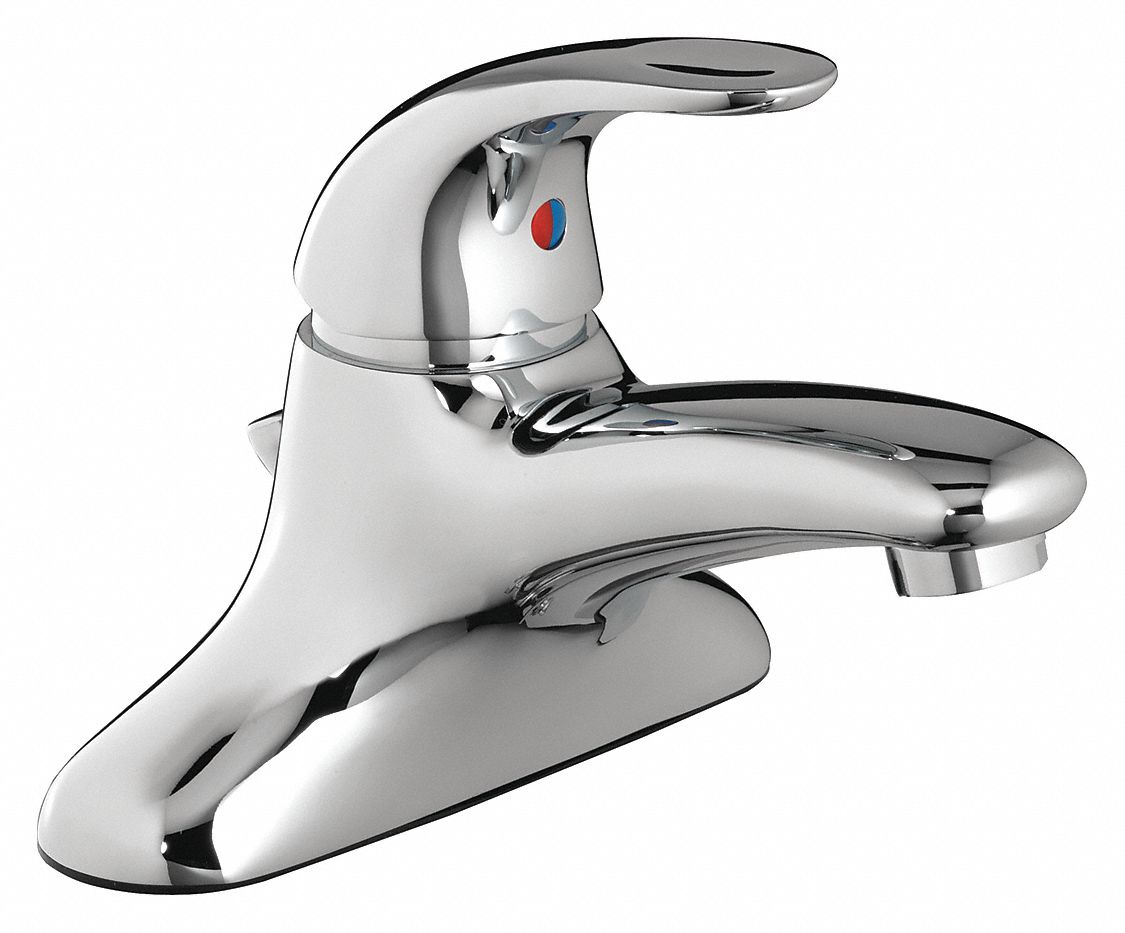
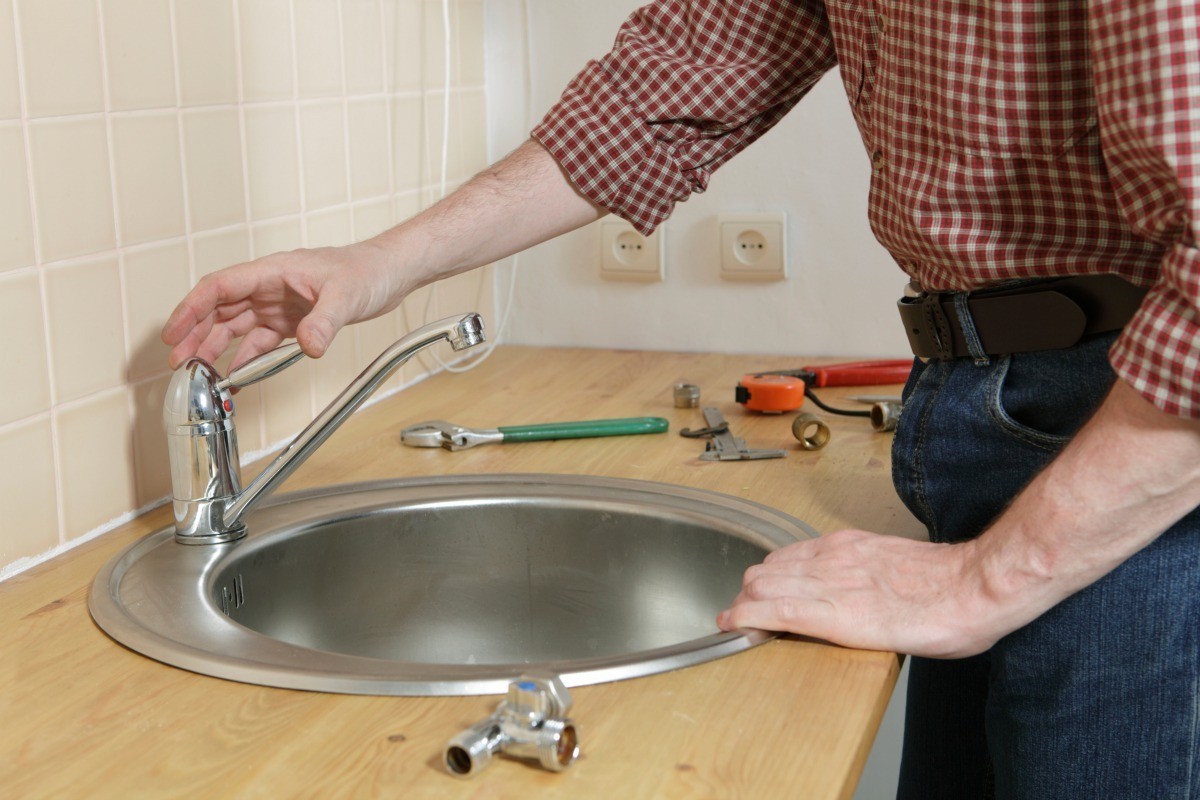
Before installing the trim ring, it is crucial to prepare your bathroom sink. This includes cleaning the sink thoroughly and removing any old caulk or sealant from around the faucet. You can use a putty knife or a caulk remover to get rid of any residue. A clean surface will ensure a better seal for the trim ring.3. Preparing Your Bathroom Sink for Trim Ring Installation


faucet installation


/173579315-56a4a2a83df78cf772835c77.jpg)


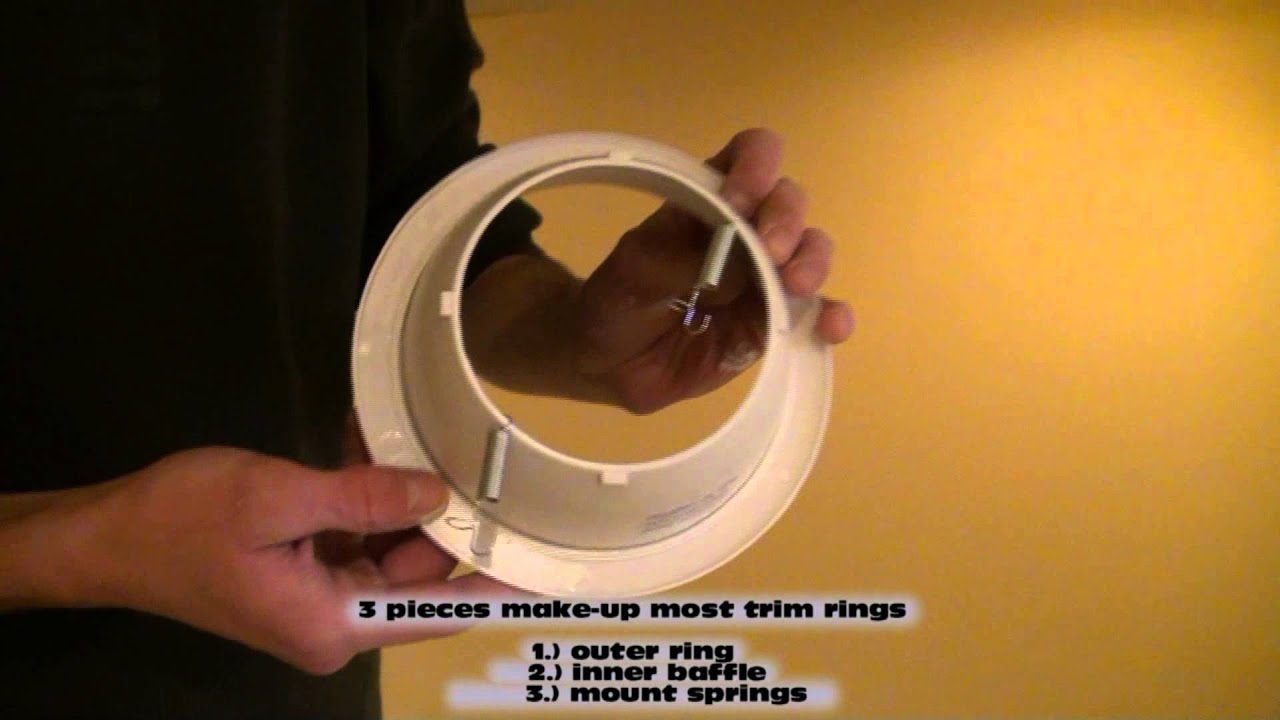
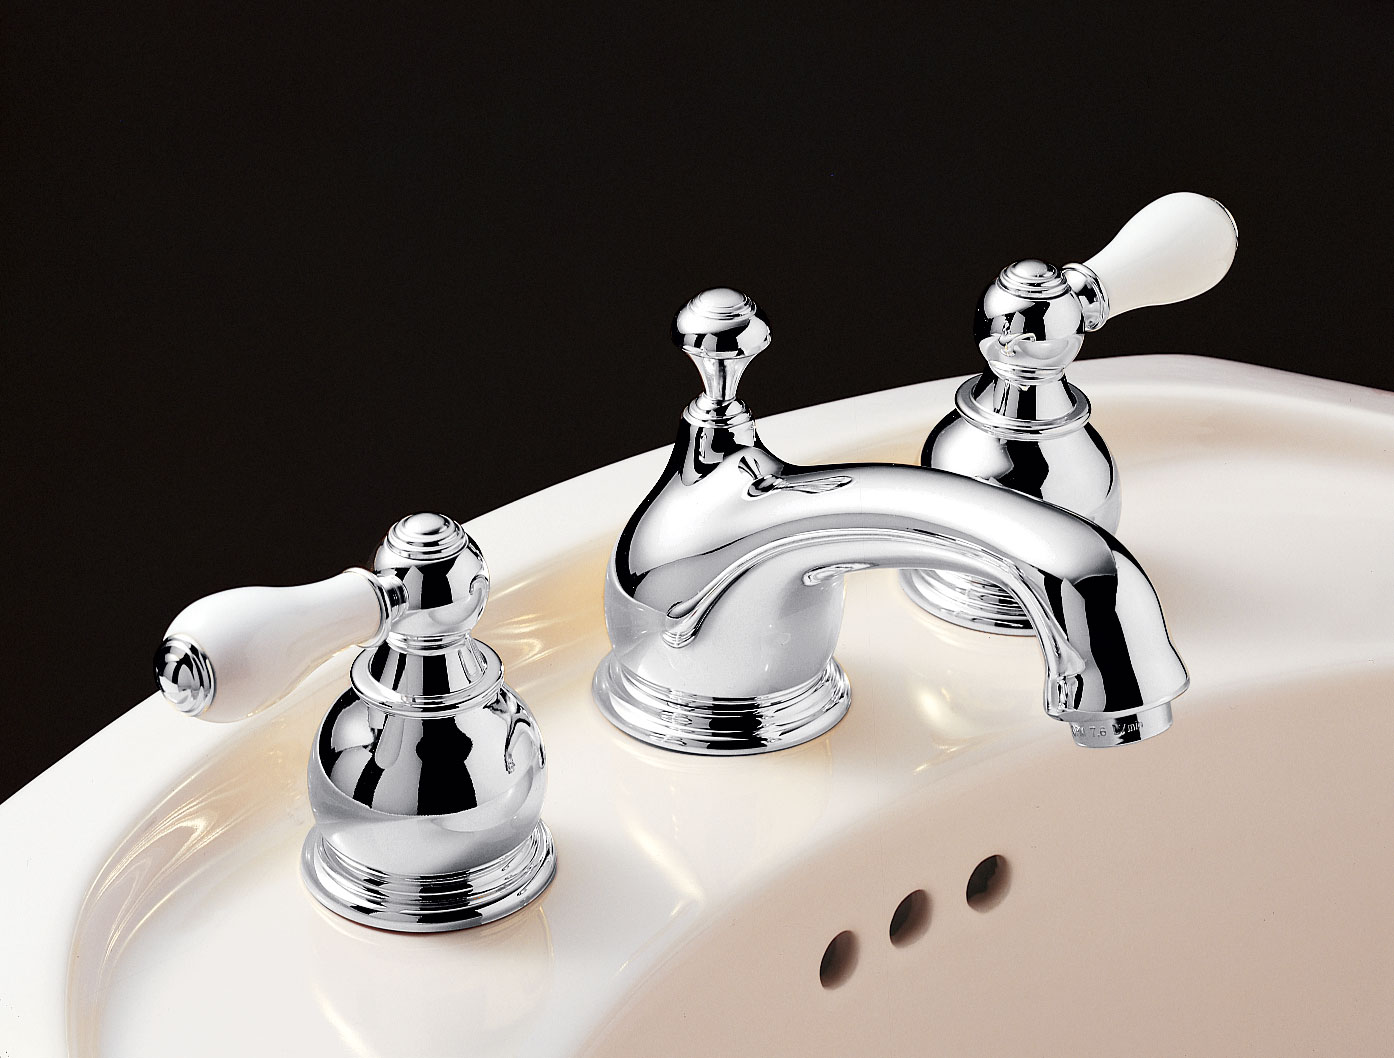
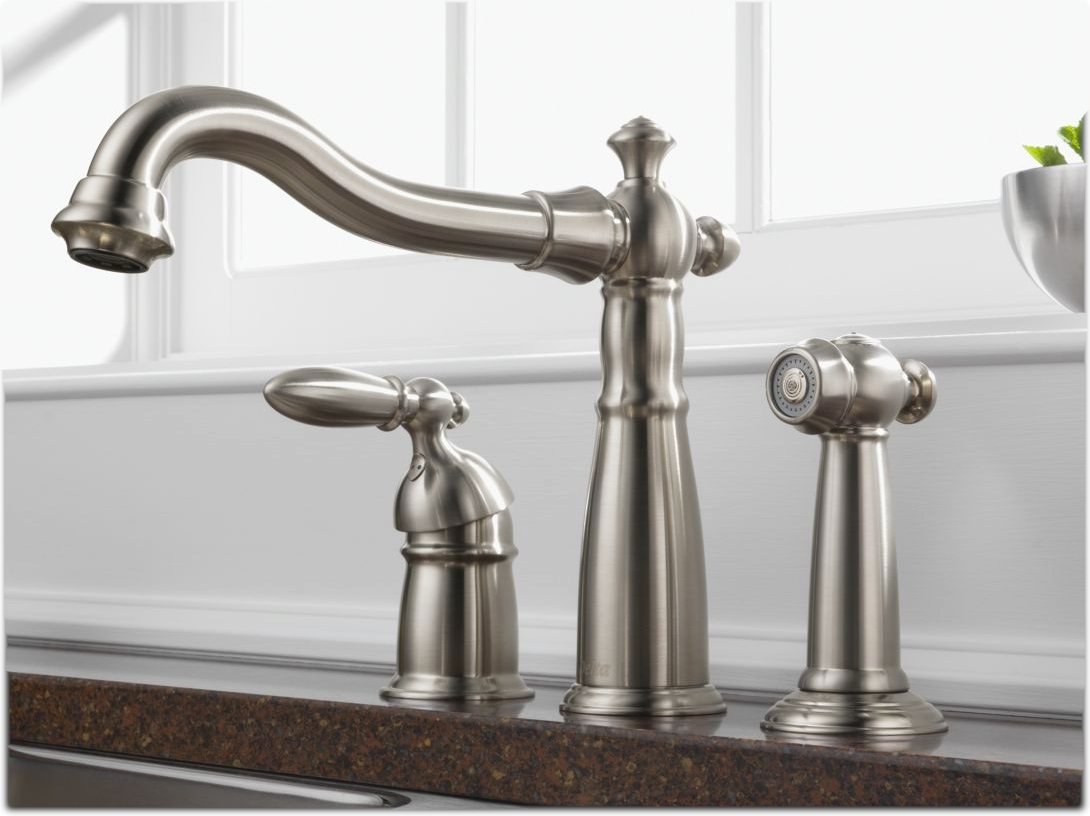
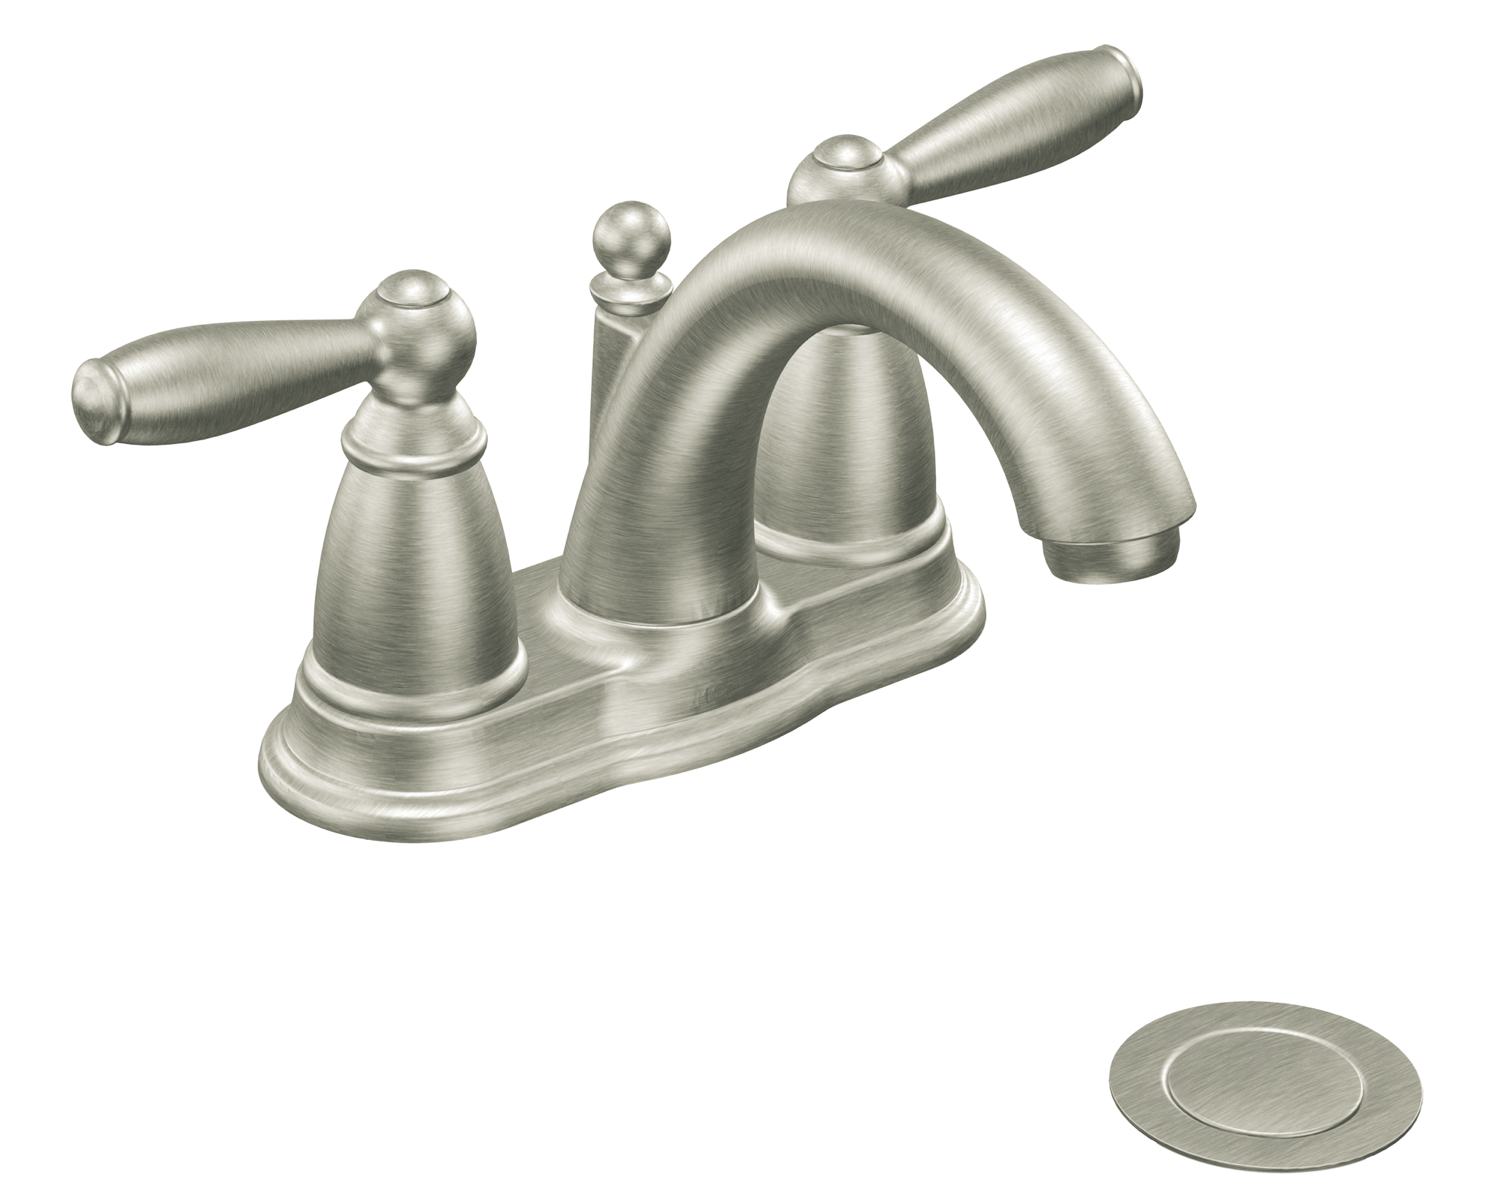
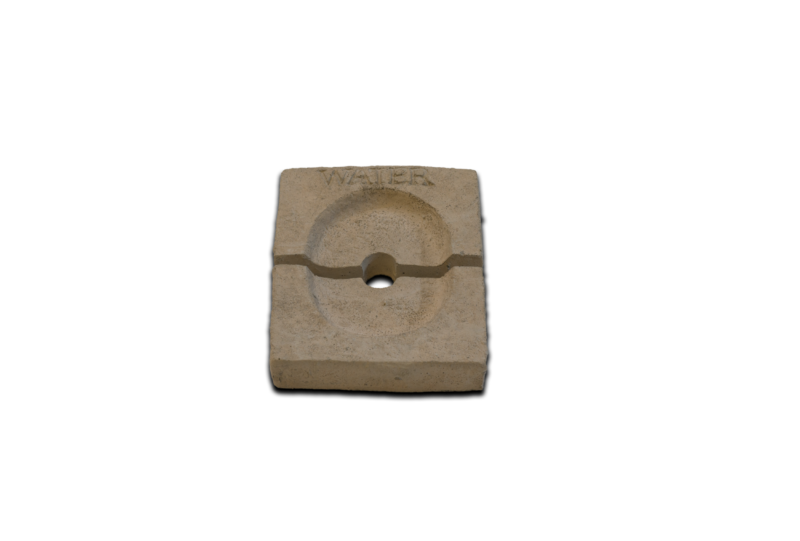
Most trim rings come in two or three pieces that need to be assembled before installation. Carefully read the instructions provided by the manufacturer to ensure you put the pieces together correctly. The assembled trim ring will then be placed on top of the sink, covering the faucet's base.4. Assembling the Trim Ring Components


bathroom sink


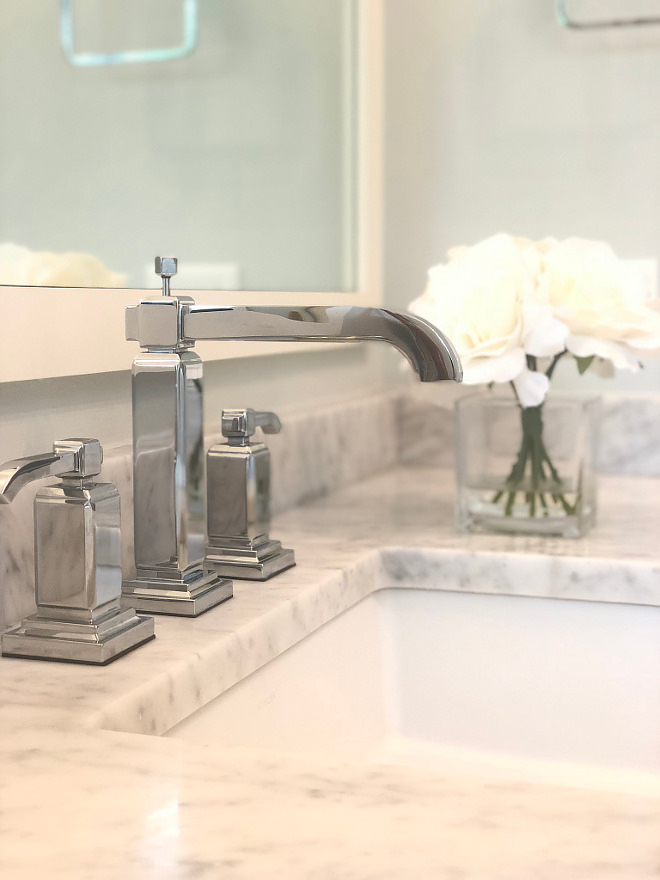
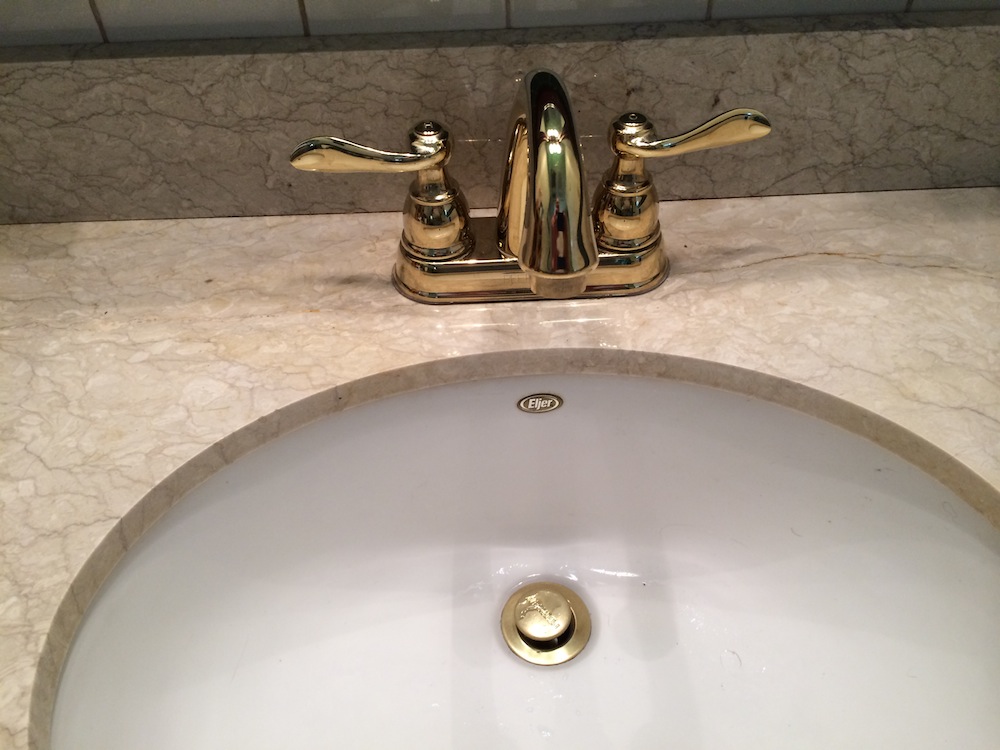
Now it's time to place the assembled trim ring on top of the bathroom sink. Make sure the ring is centered and aligned with the faucet. Use a pencil to mark the outline of the trim ring on the sink. This step will help guide you when applying caulk or sealant.5. Placing the Trim Ring on the Bathroom Sink


trim ring installation


Caulk or sealant is essential in keeping your trim ring in place and preventing water from seeping through. Apply a thin bead of caulk or sealant around the outline of the trim ring on the sink. Make sure to use a waterproof and mildew-resistant product for better durability.6. Applying Caulk or Sealant


sink faucet


Once you have applied the caulk or sealant, carefully place the trim ring on top of the sink, aligning it with the pencil markings. Press down gently to ensure the ring adheres to the sink and the caulk or sealant creates a tight seal. Use a damp cloth to remove any excess caulk or sealant.7. Placing the Trim Ring on the Bathroom Sink

bathroom faucet


Some trim rings come with a screw or clip to secure them to the faucet. If your trim ring has this feature, make sure to follow the manufacturer's instructions to properly secure it. This step will ensure the trim ring stays in place and prevents any water leakage around the faucet base.8. Securing the Trim Ring with the Faucet


faucet trim ring


After securing the trim ring, it is crucial to let the caulk or sealant dry completely. This process can take anywhere from 24 to 48 hours, depending on the product used. Avoid using the sink during this time to allow the caulk or sealant to set properly.9. Allowing the Caulk or Sealant to Dry

sink installation


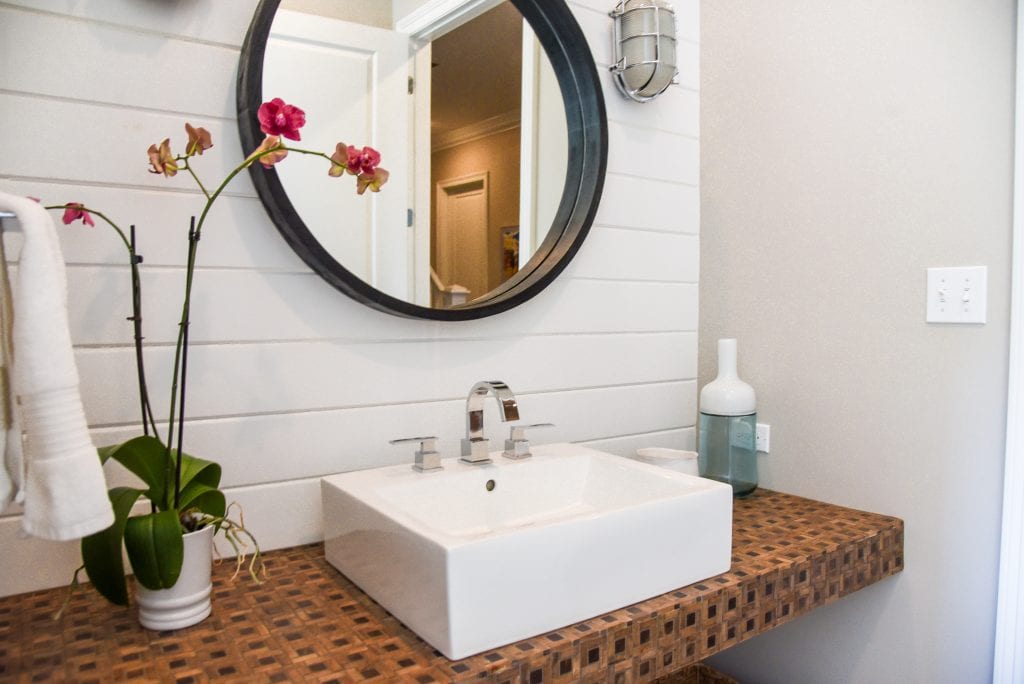
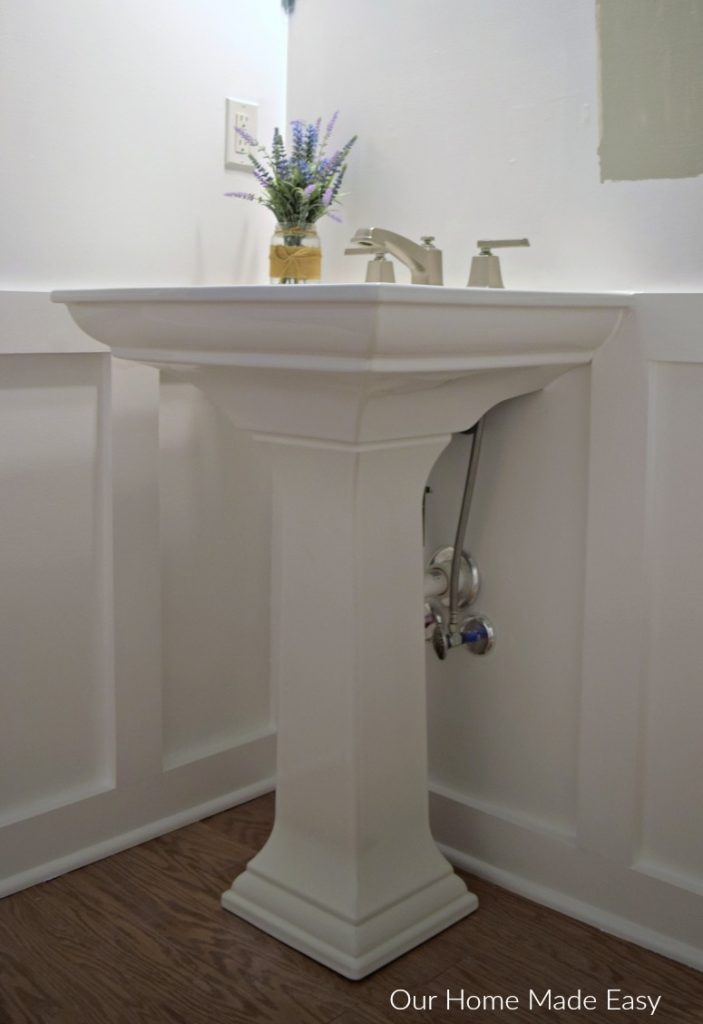
Voila! Your trim ring is now installed, and your bathroom sink faucet has a new and improved look. Not only does the trim ring add a decorative element to your sink, but it also helps protect it from water damage and keeps it clean and free of debris. With proper maintenance, your trim ring can last for many years to come.10. Enjoying Your Newly Installed Trim Ring on Your Bathroom Sink Faucet


bathroom sink installation


How to Install a Trim Ring on Your Bathroom Sink Faucet: A Step-by-Step Guide

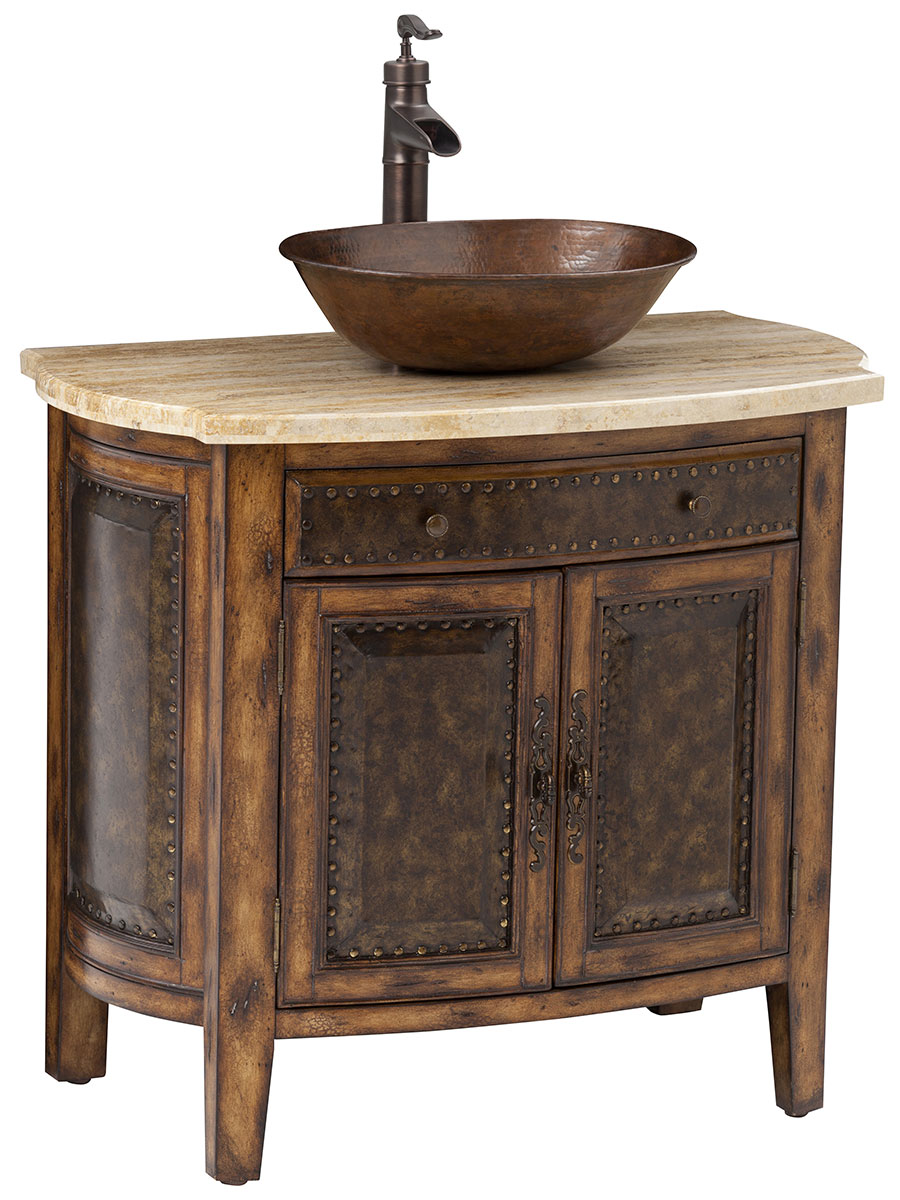
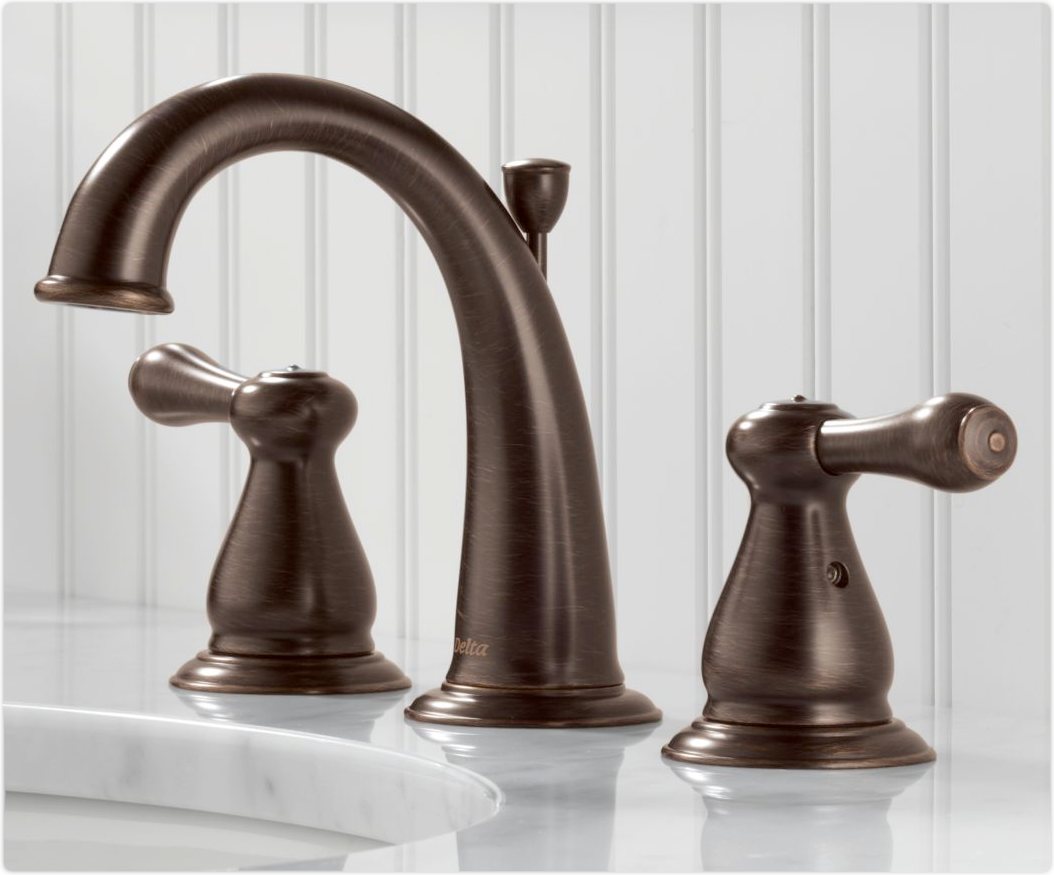
Why Install a Trim Ring?
 A trim ring is a small but important detail in your bathroom design. It is the final touch that adds a polished and professional look to your bathroom sink faucet. Not only does it enhance the aesthetic appeal, but it also serves as a protective barrier between your faucet and the countertop, preventing water damage and potential leaks. In this article, we will guide you through the steps to install a trim ring on your bathroom sink faucet.
Step 1: Gather Your Materials
 Before beginning the installation process, make sure you have all the necessary materials. These include the trim ring, a wrench, plumber's putty, and a clean cloth.
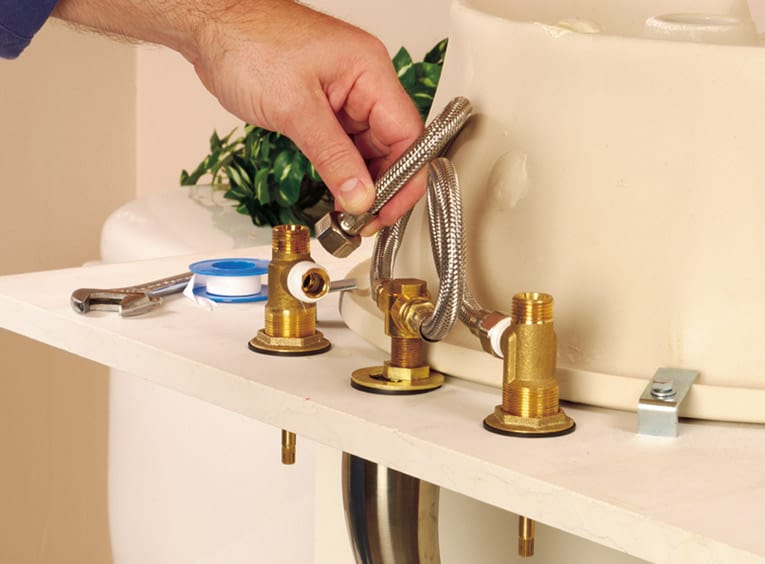
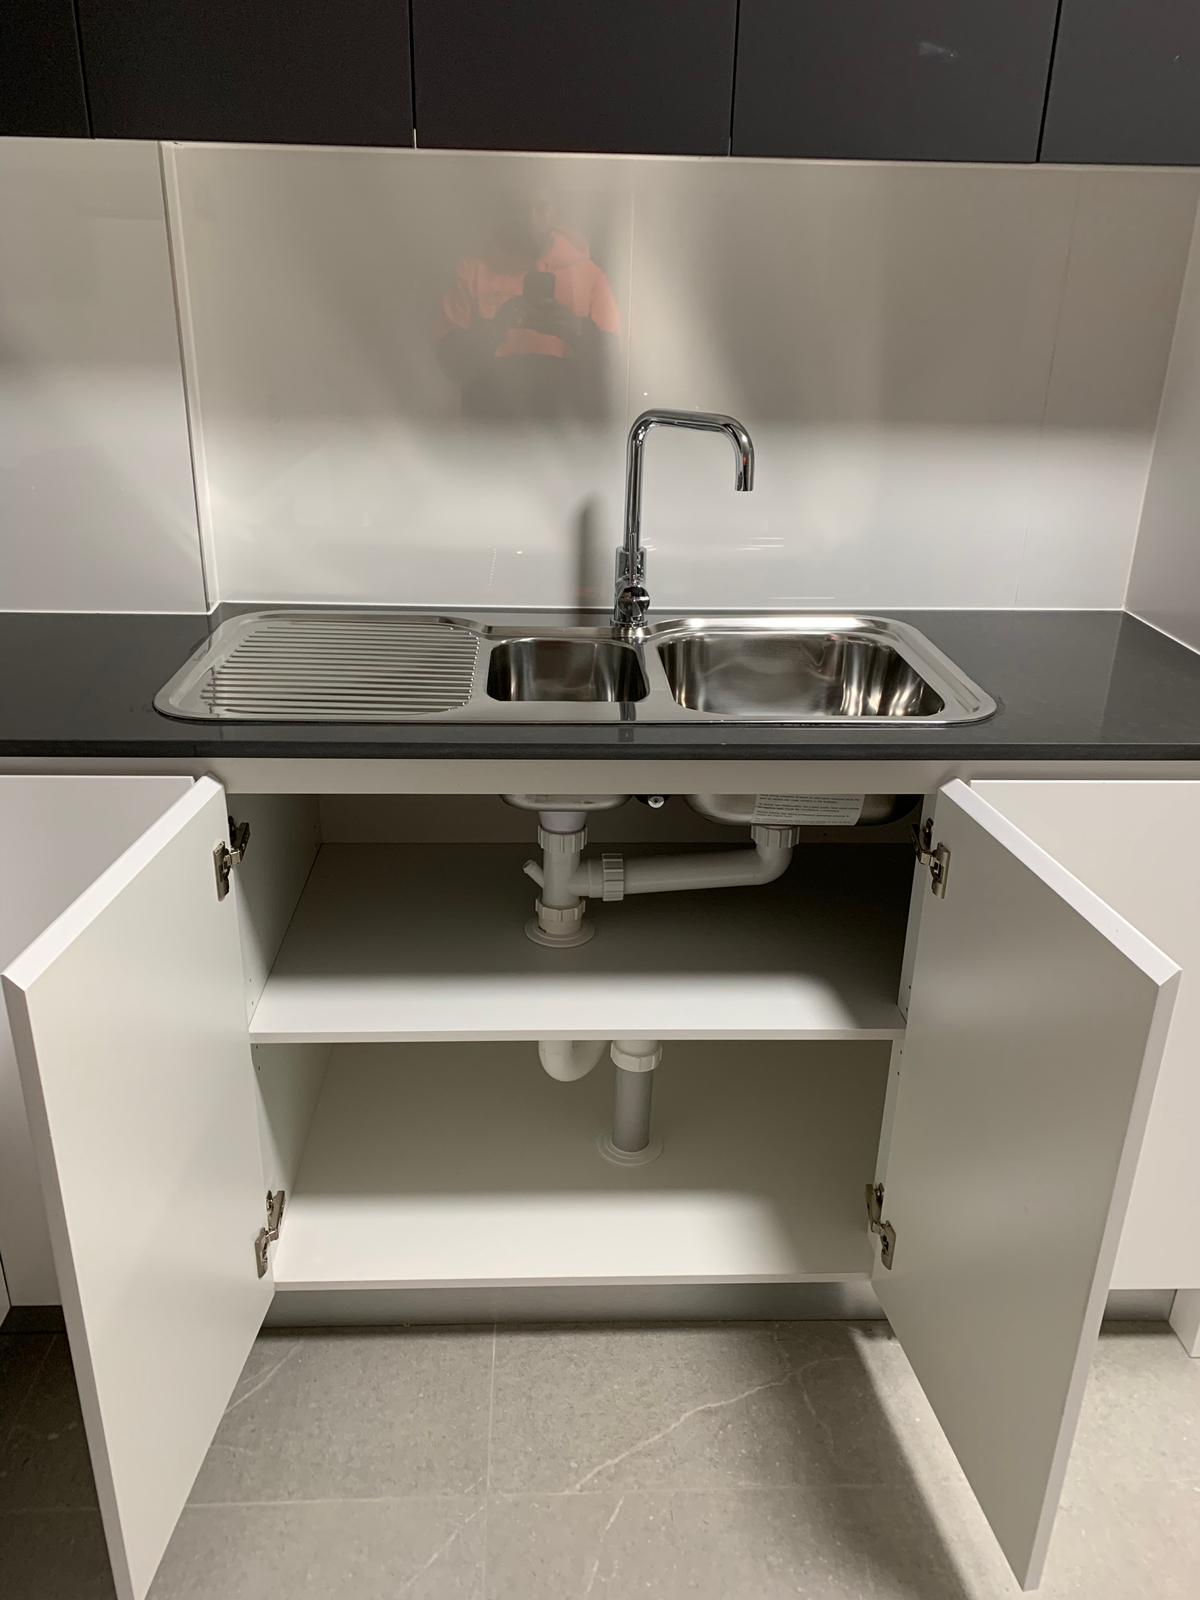
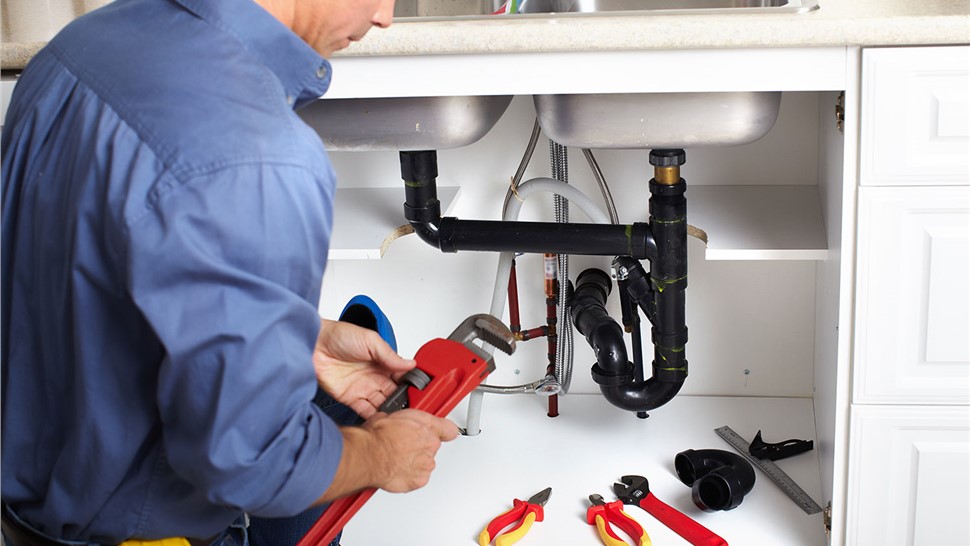
Step 2: Turn Off the Water Supply
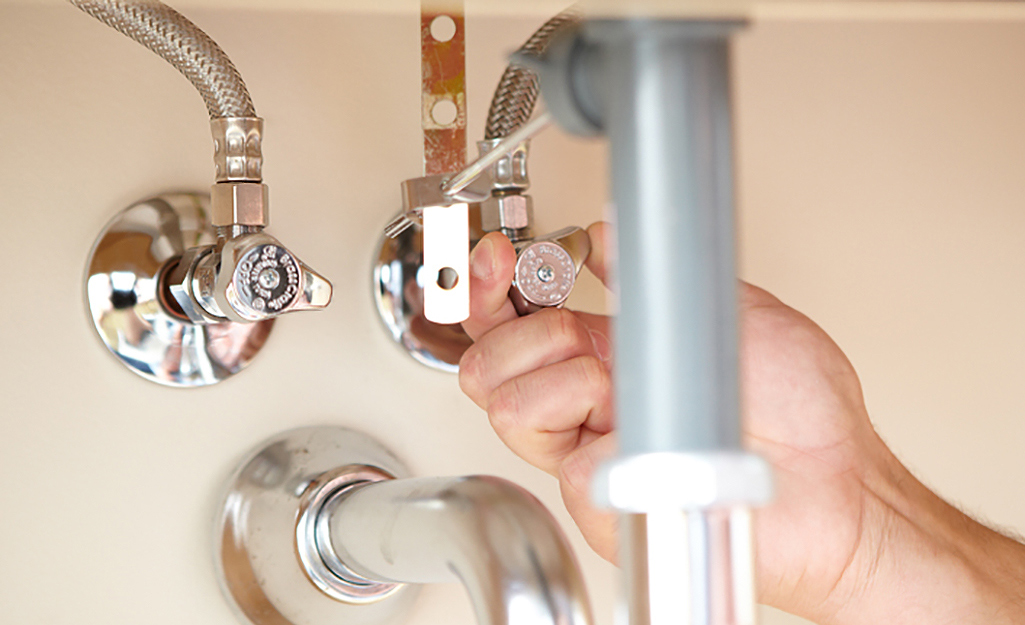 Before working on your faucet, it is essential to turn off the water supply. This can usually be done by turning off the water valves located under the sink.
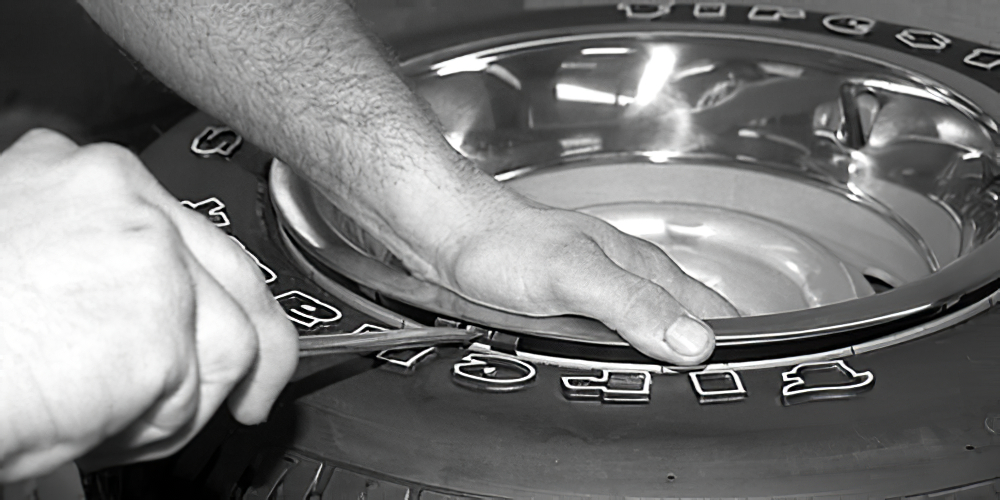
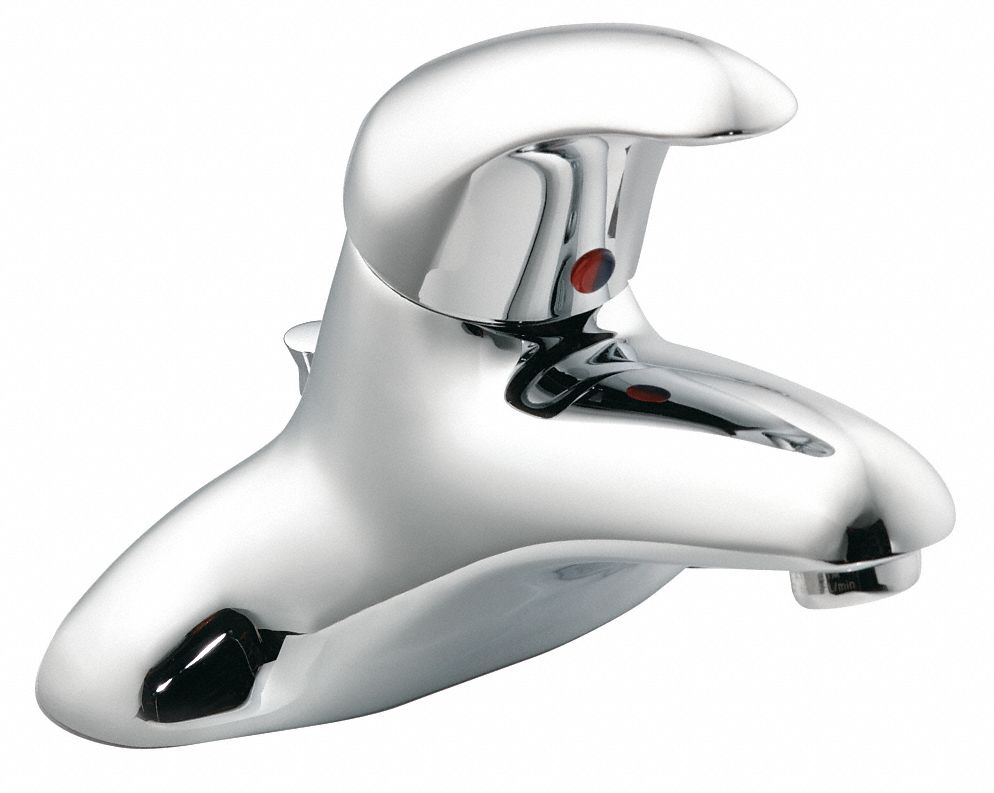
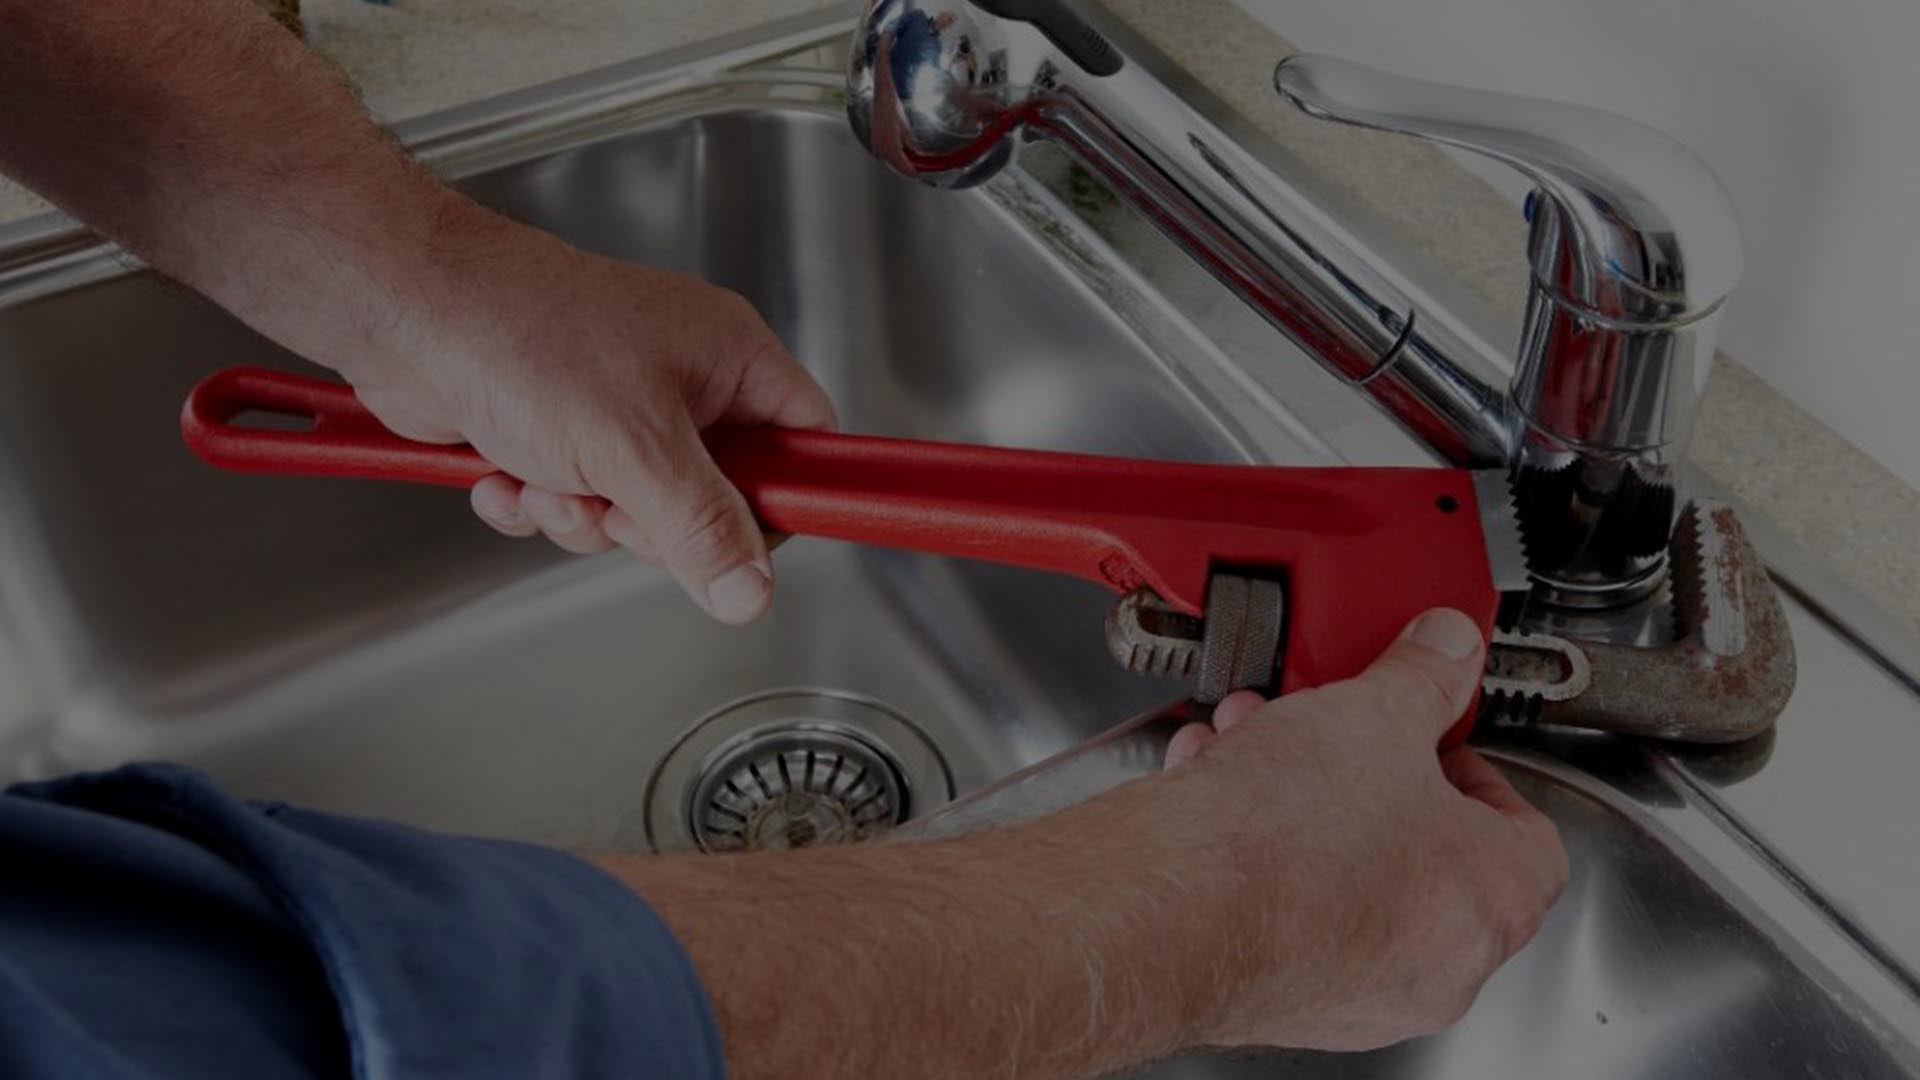
Step 3: Remove the Old Faucet Ring
 Use a wrench to loosen and remove the old faucet ring. Clean the area where the old ring was located with a clean cloth to remove any debris or residue.
Step 4: Apply Plumber's Putty
 Take a small amount of plumber's putty and roll it into a thin rope. Apply it around the base of the faucet where the trim ring will be placed. This will create a watertight seal and prevent any leaks.
Step 5: Place the Trim Ring
 Carefully place the trim ring over the faucet and press down firmly. Make sure it is centered and level.
Step 6: Tighten the Trim Ring
 Using a wrench, tighten the trim ring until it is secure. Be careful not to over-tighten as this can cause damage to the faucet.
Step 7: Clean Up
 Wipe away any excess putty that may have squeezed out from under the trim ring. Turn on the water supply and check for any leaks. If everything looks good, you're all set!
Featured Keywords:
install, trim ring, bathroom sink faucet, step-by-step guide, materials, turn off, water supply, remove, old faucet ring, plumber's putty, apply, seal, prevent, leaks, place, tighten, secure, clean up.
Main Keywords:
trim ring, bathroom sink faucet, installation, design, aesthetic appeal, protective barrier, water damage, leaks, water valves, plumber's putty.
Wipe away any excess putty that may have squeezed out from under the trim ring. Turn on the water supply and check for any leaks. If everything looks good, you're all set!
Featured Keywords:
install, trim ring, bathroom sink faucet, step-by-step guide, materials, turn off, water supply, remove, old faucet ring, plumber's putty, apply, seal, prevent, leaks, place, tighten, secure, clean up.
Main Keywords:
trim ring, bathroom sink faucet, installation, design, aesthetic appeal, protective barrier, water damage, leaks, water valves, plumber's putty.

/boho-style-bathroom-interior--1177306338-afc711bce8584c10be0b3272dec8711c.jpg)