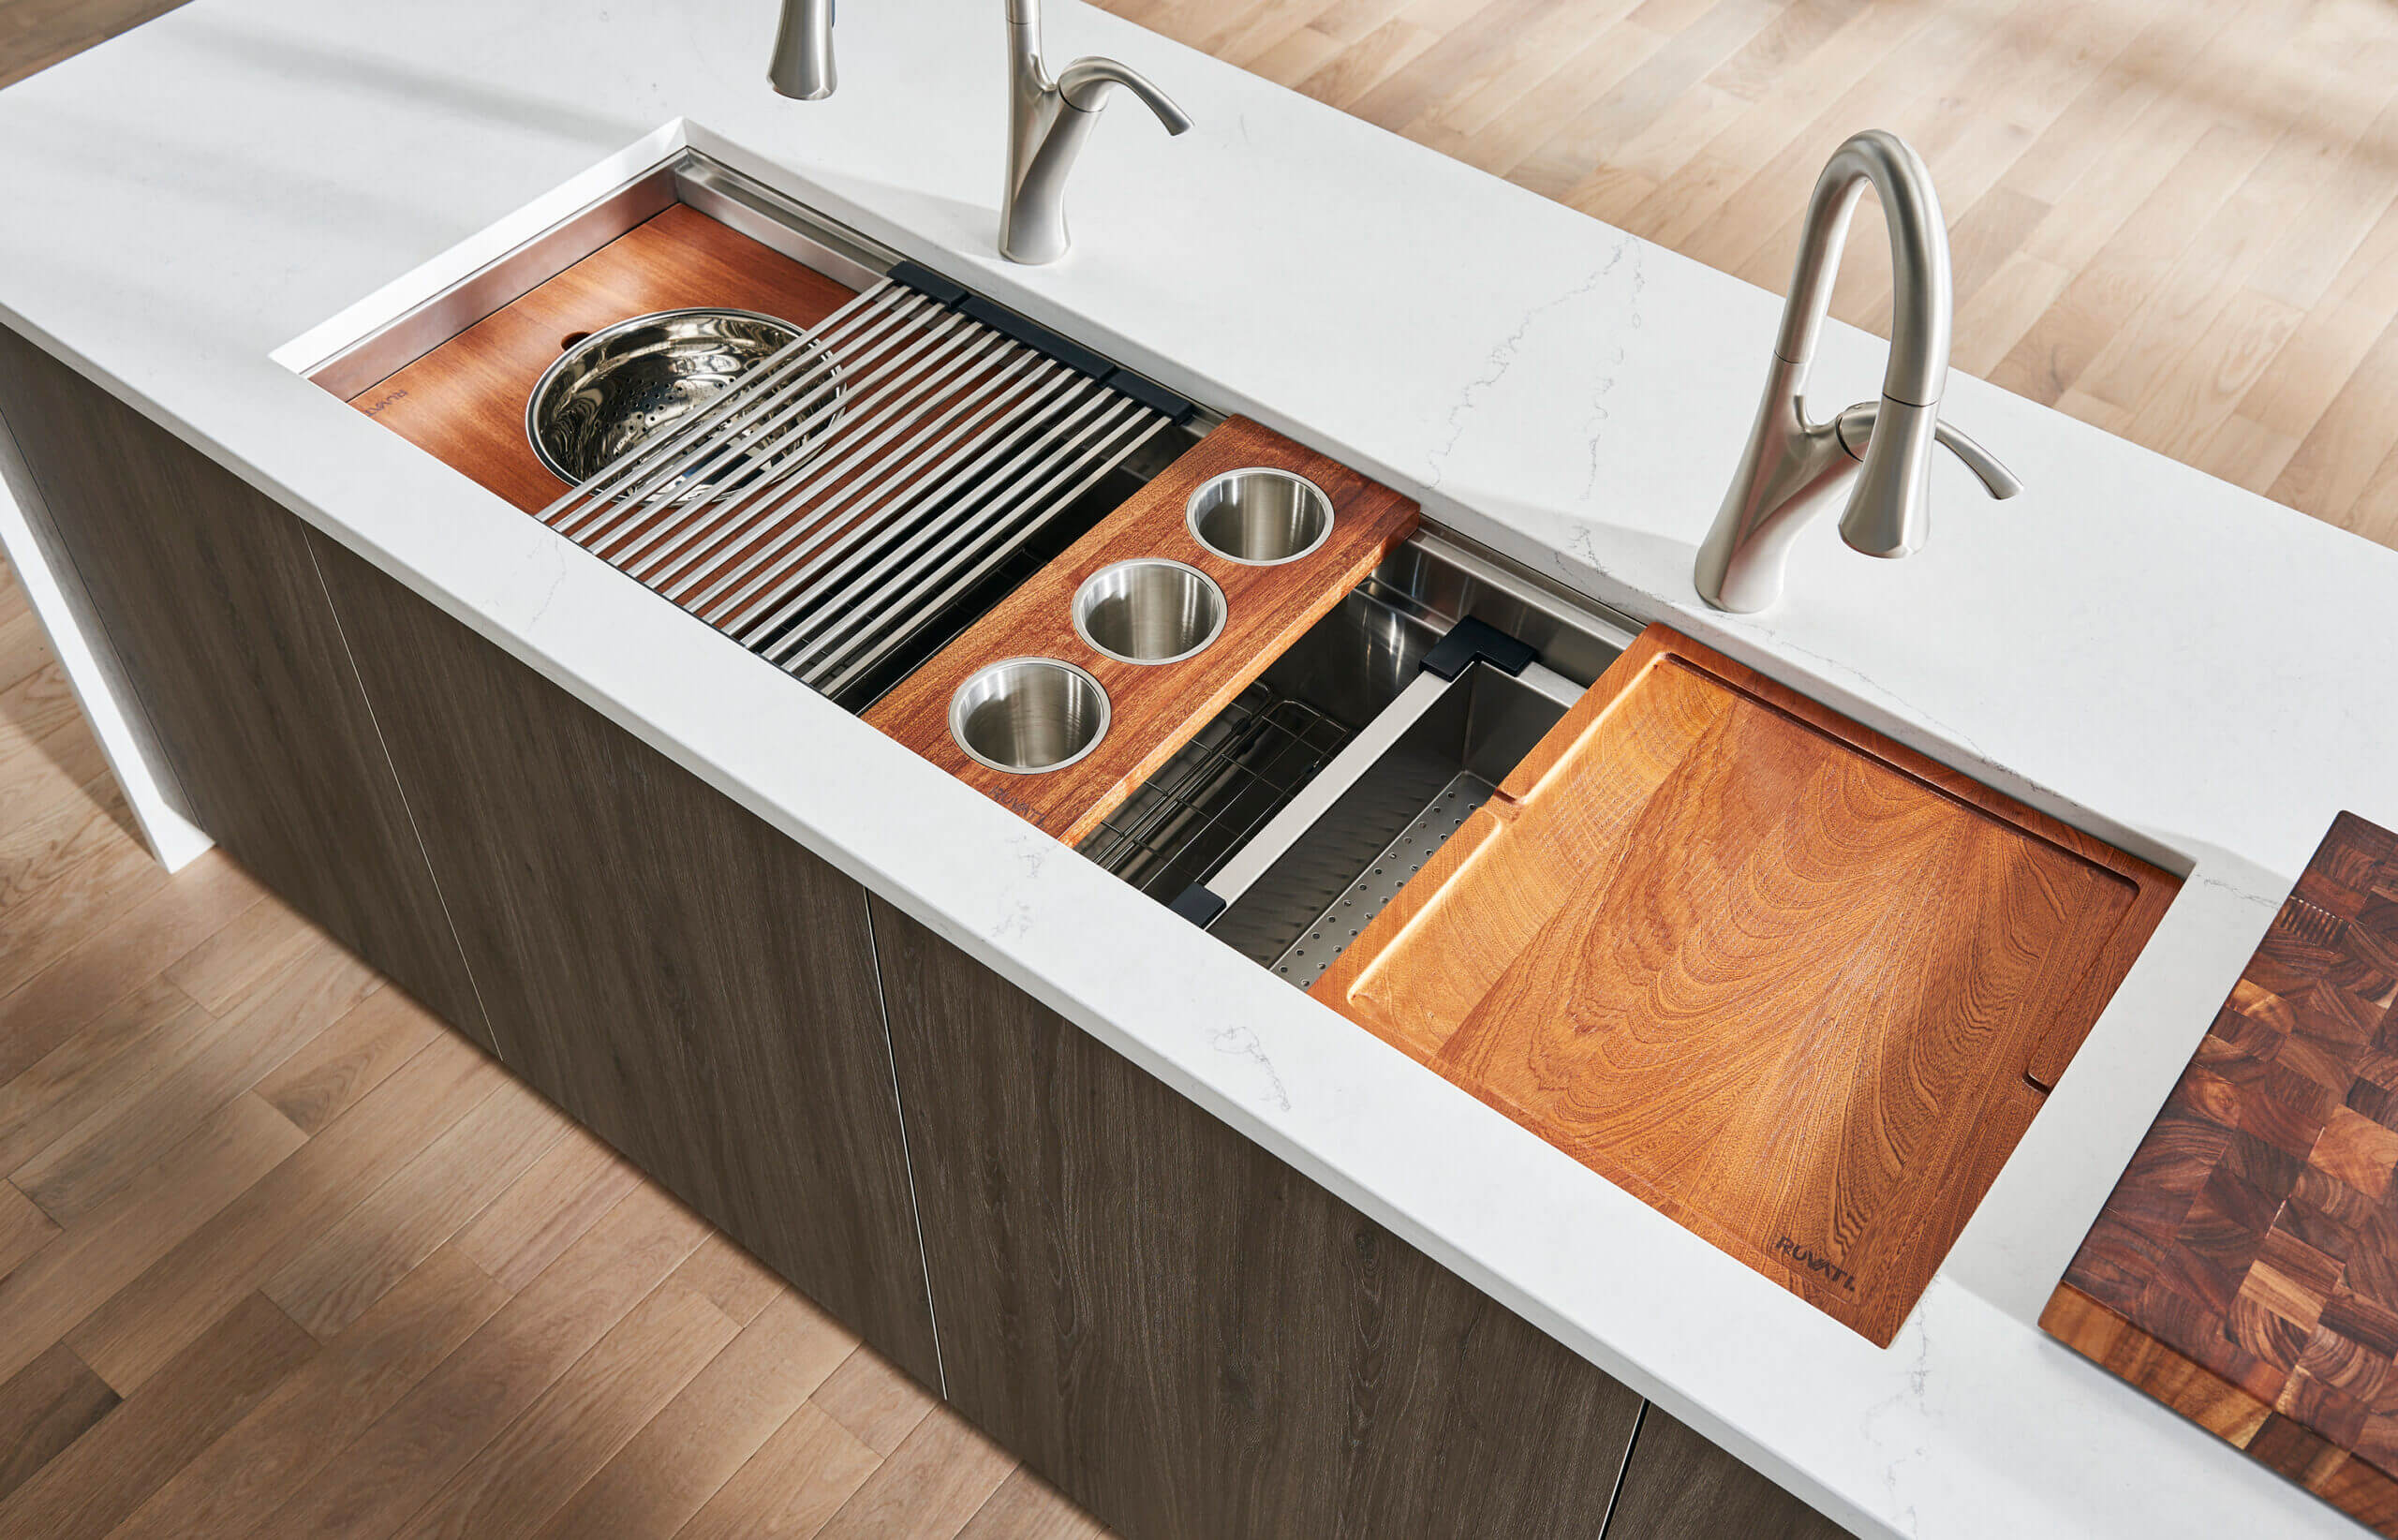
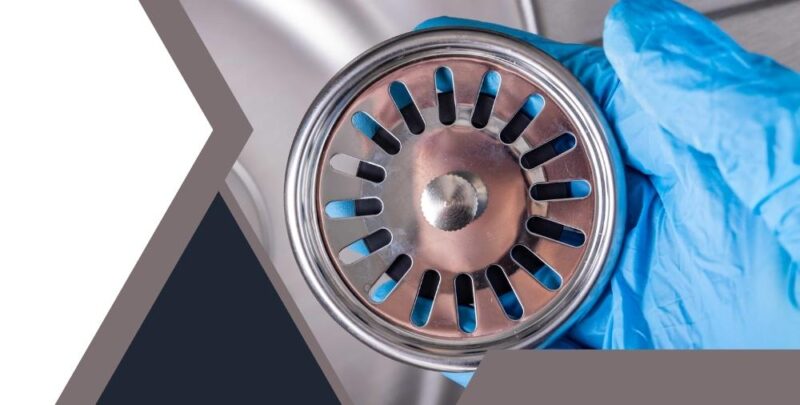
If you're looking to update your kitchen sink, one easy and affordable way to do so is by installing a new strainer kit. This not only improves the functionality of your sink, but it also adds a touch of style to your kitchen. In this guide, we'll walk you through the simple steps of installing a kitchen sink strainer kit on your own.How to Install a Kitchen Sink Strainer Kit


How to Install a Kitchen Sink Strainer Kit

/how-to-install-a-sink-drain-2718789-hero-b5b99f72b5a24bb2ae8364e60539cece.jpg)
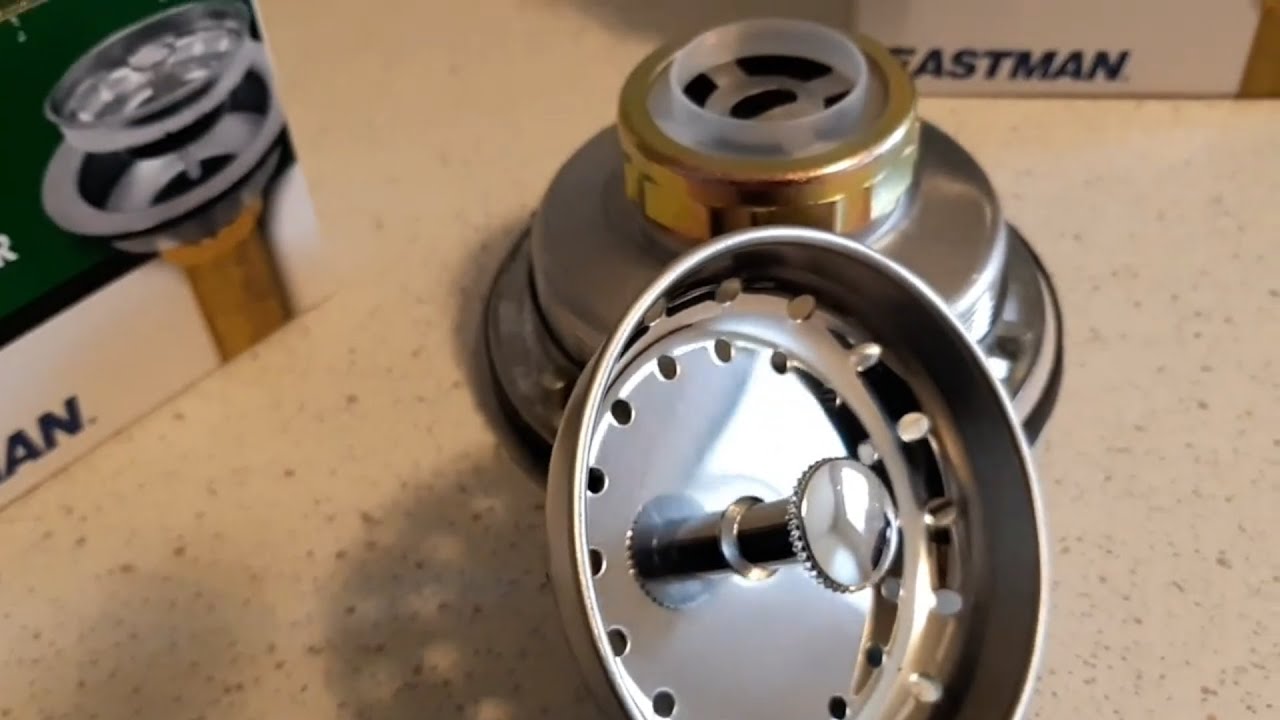

The first step in installing a kitchen sink strainer kit is to remove the old one. Start by turning off the water supply and placing a bucket under the sink to catch any water. Then, use a wrench to loosen the nuts connecting the drain pipes to the strainer. Once the nuts are removed, you can easily lift out the old strainer.How to Install a Kitchen Sink Strainer


How to Install a Kitchen Sink Strainer


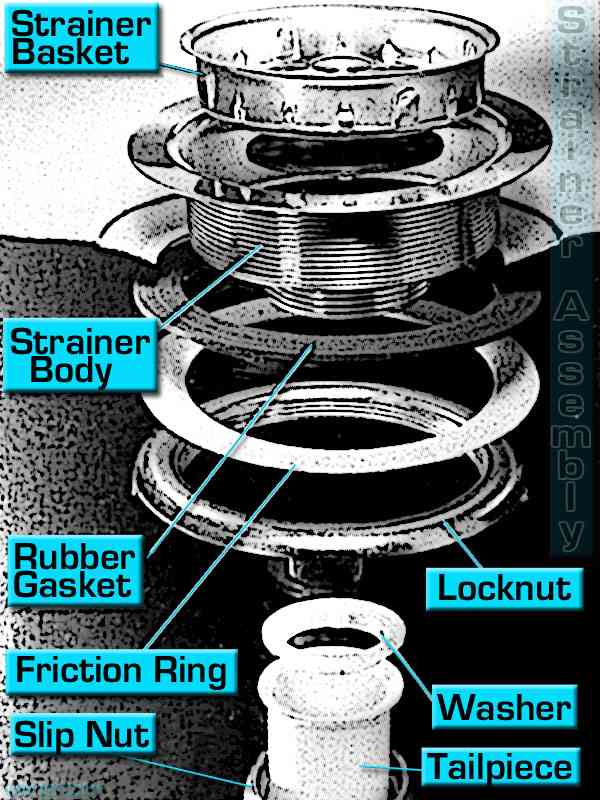
Installing a kitchen sink strainer kit is a simple DIY project that can be done in just a few steps. After removing the old strainer, clean the sink surface where the strainer sits to ensure a tight seal. Next, insert the new strainer into the sink opening and secure it with the provided locknut and gasket.DIY Kitchen Sink Strainer Kit Installation


DIY Kitchen Sink Strainer Kit Installation


Step 1: Turn off the water supply and place a bucket under the sink to catch any water.Step-by-Step Guide for Installing a Kitchen Sink Strainer Kit
Step 2: Loosen the nuts connecting the drain pipes to the old strainer.
Step 3: Lift out the old strainer.
Step 4: Clean the sink surface where the strainer sits.
Step 5: Insert the new strainer into the sink opening.
Step 6: Secure the strainer with the provided locknut and gasket.
Step 7: Reattach the drain pipes and turn the water supply back on.
Step 8: Test the new strainer by running water through it.
Step 9: Make any necessary adjustments to ensure a tight seal.
Step 10: Enjoy your newly installed kitchen sink strainer kit!


Step-by-Step Guide for Installing a Kitchen Sink Strainer Kit


:no_upscale()/cdn.vox-cdn.com/uploads/chorus_asset/file/19495086/drain_0.jpg)

With a few simple tools and some basic DIY skills, installing a kitchen sink strainer kit can be a quick and easy process. The key is to make sure you have all the necessary tools and follow the instructions carefully. With just a little bit of effort, you can have a new and improved kitchen sink in no time.Easy Kitchen Sink Strainer Kit Installation

Easy Kitchen Sink Strainer Kit Installation
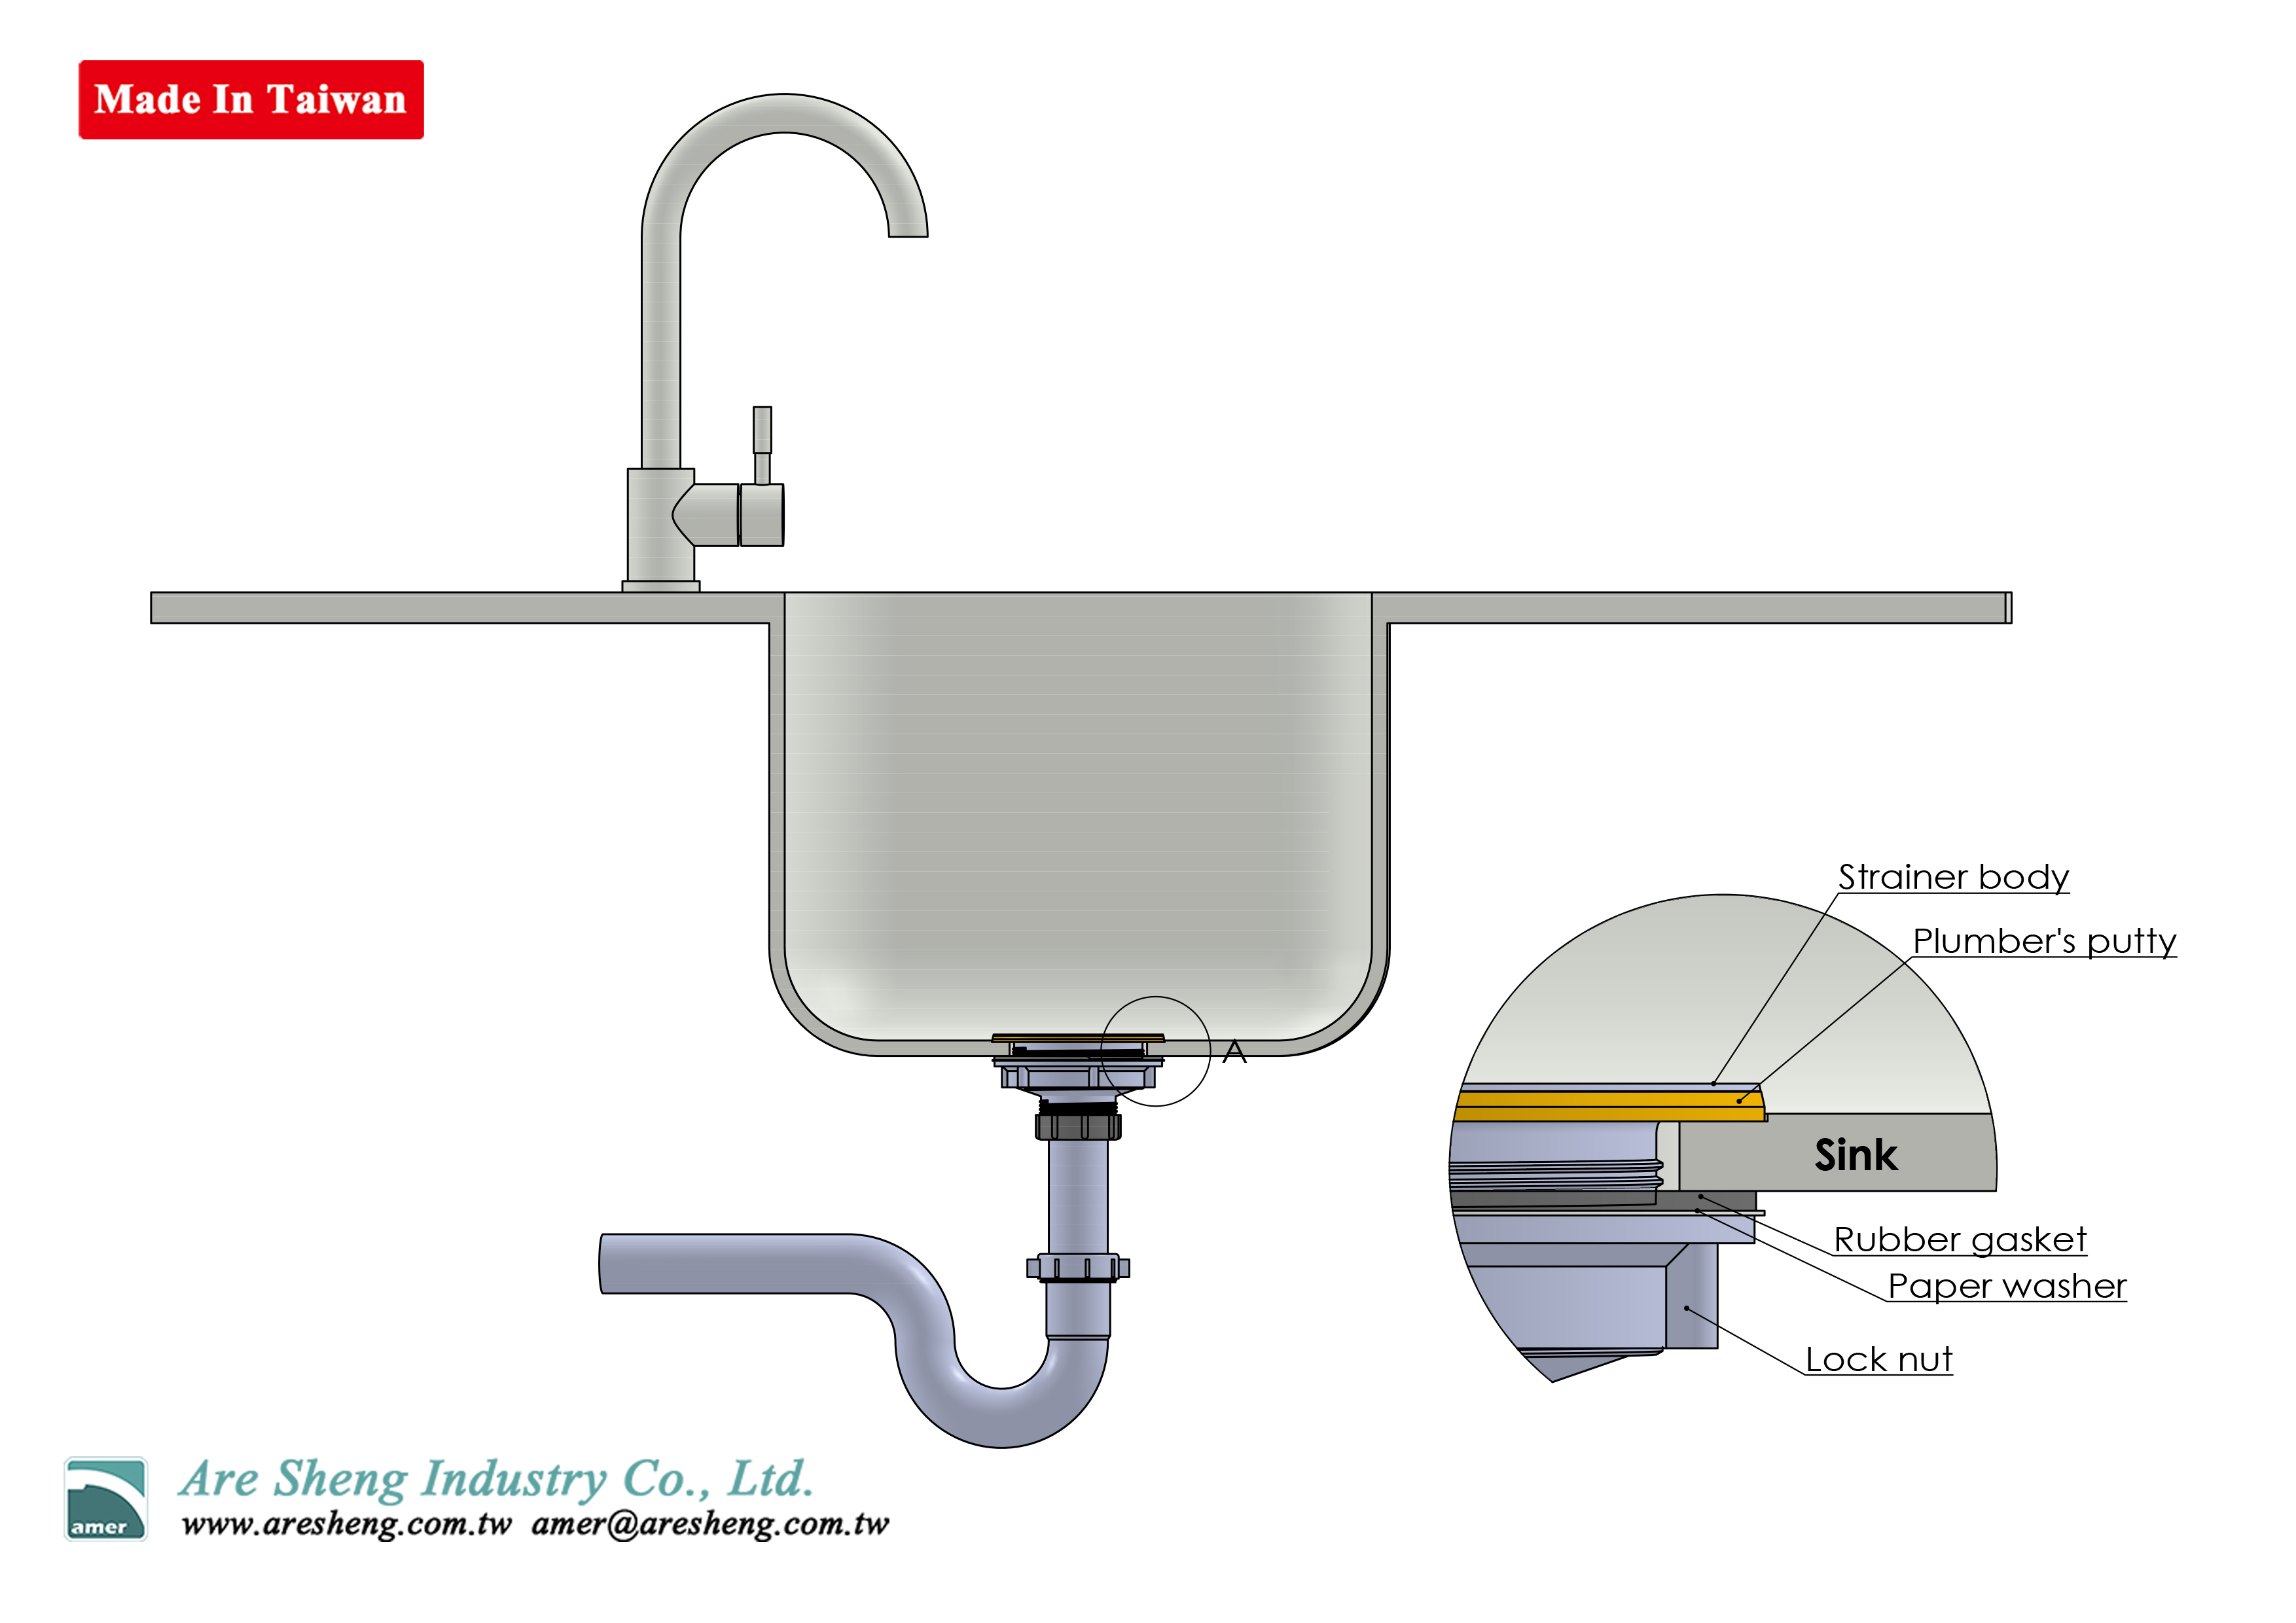


When installing a kitchen sink strainer kit, there are a few tips and tricks that can make the process even easier. For example, make sure to use plumber's putty or silicone to create a tight seal between the strainer and the sink surface. Also, be sure to tighten the locknut evenly to avoid any leaks.Installing a Kitchen Sink Strainer Kit: Tips and Tricks

Installing a Kitchen Sink Strainer Kit: Tips and Tricks

Before you begin installing a kitchen sink strainer kit, make sure you have all the necessary tools on hand. These may include a wrench, plumber's putty or silicone, a screwdriver, and a bucket. Having all the tools ready before you start will help make the process go smoothly.Tools You'll Need for Installing a Kitchen Sink Strainer Kit


Tools You'll Need for Installing a Kitchen Sink Strainer Kit


While installing a kitchen sink strainer kit is a relatively simple task, there are some common mistakes that can easily be avoided. These include not properly sealing the strainer, not tightening the locknut evenly, and not testing for leaks before finishing the installation. By being mindful of these mistakes, you can ensure a successful installation.Common Mistakes to Avoid When Installing a Kitchen Sink Strainer Kit


Common Mistakes to Avoid When Installing a Kitchen Sink Strainer Kit


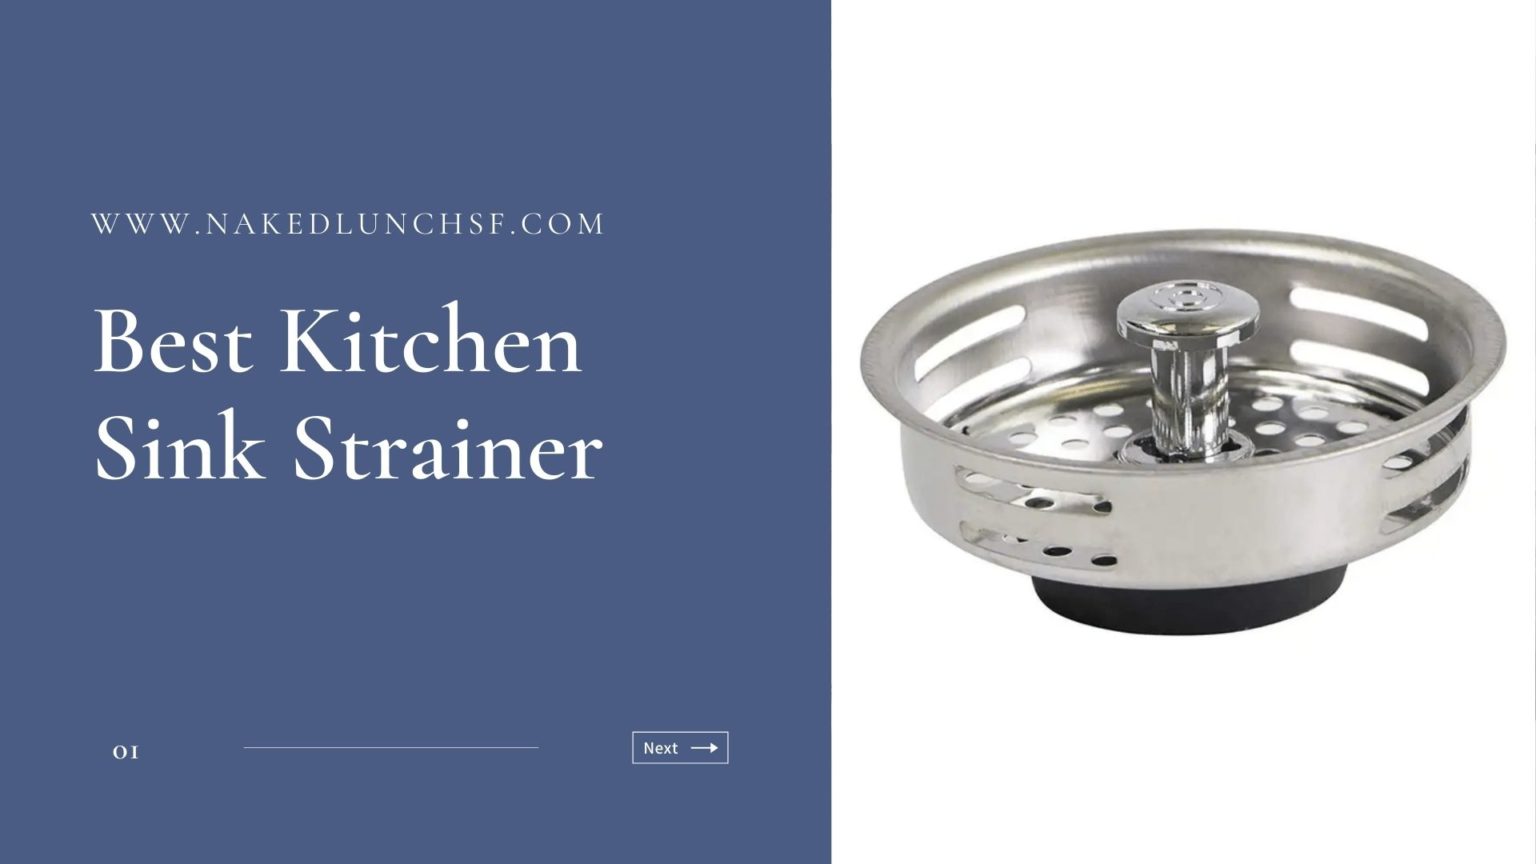
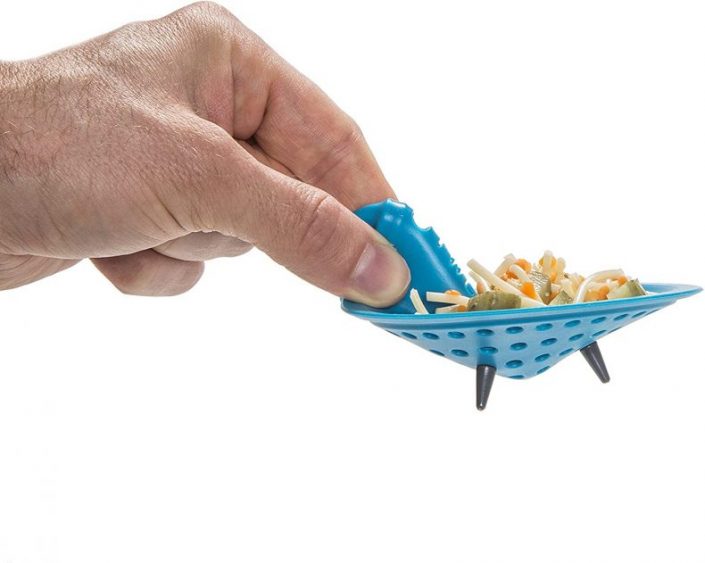
When it comes to choosing a kitchen sink strainer kit, there are a few things to consider. First, make sure to measure the diameter of your sink opening to ensure you get the right size strainer. You'll also want to choose a style and finish that complements your kitchen's decor. Additionally, look for a strainer with a removable basket for easy cleaning.How to Choose the Right Kitchen Sink Strainer Kit for Your Sink


How to Choose the Right Kitchen Sink Strainer Kit for Your Sink


While installing a kitchen sink strainer kit can be a simple DIY project, some may prefer to have it done by a professional. If you're not confident in your DIY skills or don't have the necessary tools, hiring a professional can save you time and potential frustration. However, for those who enjoy DIY projects, installing a kitchen sink strainer kit can be a rewarding and cost-effective option.Professional vs. DIY Kitchen Sink Strainer Kit Installation: Which is Right for You?


Professional vs. DIY Kitchen Sink Strainer Kit Installation: Which is Right for You?


Why a Kitchen Sink Strainer Kit is Essential for Your Home Design

Maximizing Functionality and Aesthetics
 When it comes to designing your kitchen, functionality and aesthetics go hand in hand. This is where a
kitchen sink strainer kit
comes in. Not only does it serve a practical purpose, but it also adds to the overall look and feel of your kitchen.
Installing a kitchen sink strainer kit
allows you to easily drain excess water and prevent food scraps from clogging your sink, keeping it clean and hygienic. With a wide range of designs and finishes available, you can choose a strainer kit that complements your kitchen's style and adds a touch of elegance.
When it comes to designing your kitchen, functionality and aesthetics go hand in hand. This is where a
kitchen sink strainer kit
comes in. Not only does it serve a practical purpose, but it also adds to the overall look and feel of your kitchen.
Installing a kitchen sink strainer kit
allows you to easily drain excess water and prevent food scraps from clogging your sink, keeping it clean and hygienic. With a wide range of designs and finishes available, you can choose a strainer kit that complements your kitchen's style and adds a touch of elegance.
Preventing Costly Plumbing Issues
 One of the main reasons why a
kitchen sink strainer kit
is a must-have in your home design is its ability to prevent costly plumbing issues. Without a strainer, food scraps and other debris can easily get washed down the drain, leading to blockages and potential damage to your pipes. This can result in expensive repairs and even the need to replace your entire sink. By
installing a kitchen sink strainer kit
, you can avoid these issues and save yourself from unnecessary expenses.
One of the main reasons why a
kitchen sink strainer kit
is a must-have in your home design is its ability to prevent costly plumbing issues. Without a strainer, food scraps and other debris can easily get washed down the drain, leading to blockages and potential damage to your pipes. This can result in expensive repairs and even the need to replace your entire sink. By
installing a kitchen sink strainer kit
, you can avoid these issues and save yourself from unnecessary expenses.
An Eco-Friendly Choice
 In today's society, more and more people are becoming conscious of their environmental impact. By
using a kitchen sink strainer kit
, you are making an eco-friendly choice. Instead of letting food scraps and other waste go down the drain and end up in landfills, the strainer collects it for easy disposal. This not only helps reduce your carbon footprint, but it also keeps your pipes and drains clear, avoiding potential harm to the environment.
In today's society, more and more people are becoming conscious of their environmental impact. By
using a kitchen sink strainer kit
, you are making an eco-friendly choice. Instead of letting food scraps and other waste go down the drain and end up in landfills, the strainer collects it for easy disposal. This not only helps reduce your carbon footprint, but it also keeps your pipes and drains clear, avoiding potential harm to the environment.
Easy to Install and Maintain
 One of the best things about
kitchen sink strainer kits
is that they are easy to install and maintain. With the right tools and a few simple steps, you can have your strainer kit up and running in no time. Plus, most strainers are made from durable materials like stainless steel, making them easy to clean and maintain. This not only saves you time and effort but also ensures that your strainer kit will last for years to come.
In conclusion,
installing a kitchen sink strainer kit
is essential for both the functionality and aesthetics of your kitchen design. It prevents costly plumbing issues, is an eco-friendly choice, and is easy to install and maintain. With all these benefits, it's clear why a
kitchen sink strainer kit
is a must-have for any home design. So, next time you're designing or renovating your kitchen, don't forget to add this small yet important detail to your plans.
One of the best things about
kitchen sink strainer kits
is that they are easy to install and maintain. With the right tools and a few simple steps, you can have your strainer kit up and running in no time. Plus, most strainers are made from durable materials like stainless steel, making them easy to clean and maintain. This not only saves you time and effort but also ensures that your strainer kit will last for years to come.
In conclusion,
installing a kitchen sink strainer kit
is essential for both the functionality and aesthetics of your kitchen design. It prevents costly plumbing issues, is an eco-friendly choice, and is easy to install and maintain. With all these benefits, it's clear why a
kitchen sink strainer kit
is a must-have for any home design. So, next time you're designing or renovating your kitchen, don't forget to add this small yet important detail to your plans.