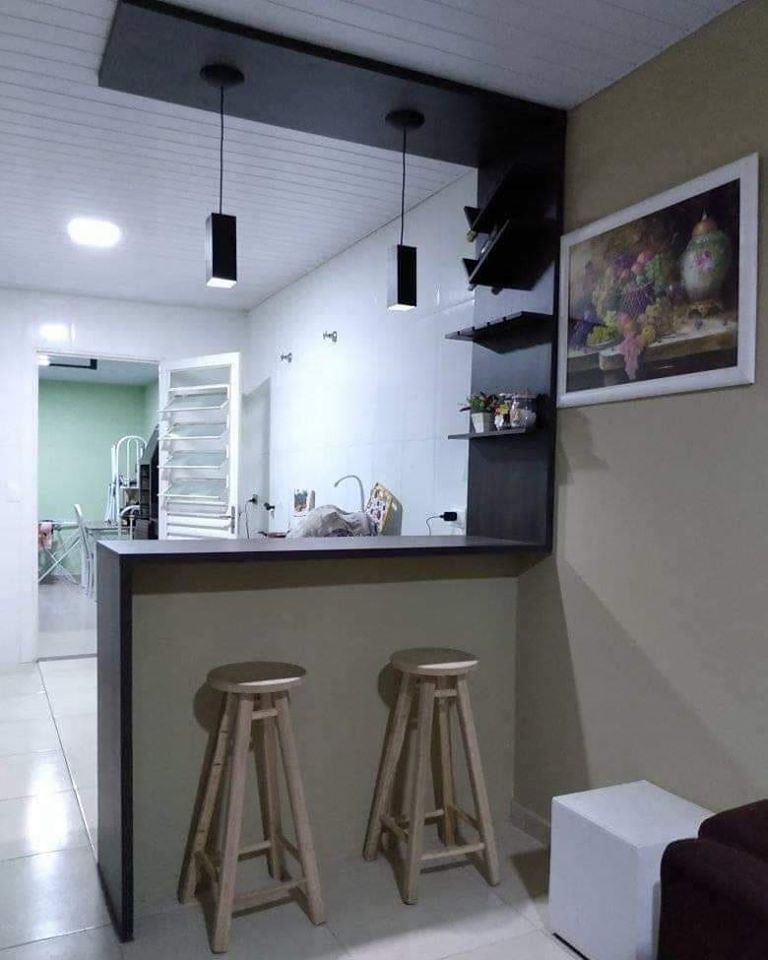
1. How to Build a Kitchen Bar Top
Are you looking to add a unique and functional element to your kitchen? Consider building a kitchen bar top! This is a great way to create extra seating and counter space, while also adding a stylish touch to your kitchen. In this article, we will discuss the steps to building your own kitchen bar top, along with some design ideas and materials you can use.


:max_bytes(150000):strip_icc()/kitchen-bars-15-pure-salt-magnolia-31fc95f86eca4e91977a7881a6d1f131.jpg)
1. How to Build a Kitchen Bar Top


2. DIY Kitchen Bar Top
Building your own kitchen bar top is a great DIY project that can save you money and give you a sense of accomplishment. With the right tools and materials, you can create a beautiful and functional piece for your kitchen. Plus, you can customize it to fit your specific space and design preferences.


2. DIY Kitchen Bar Top
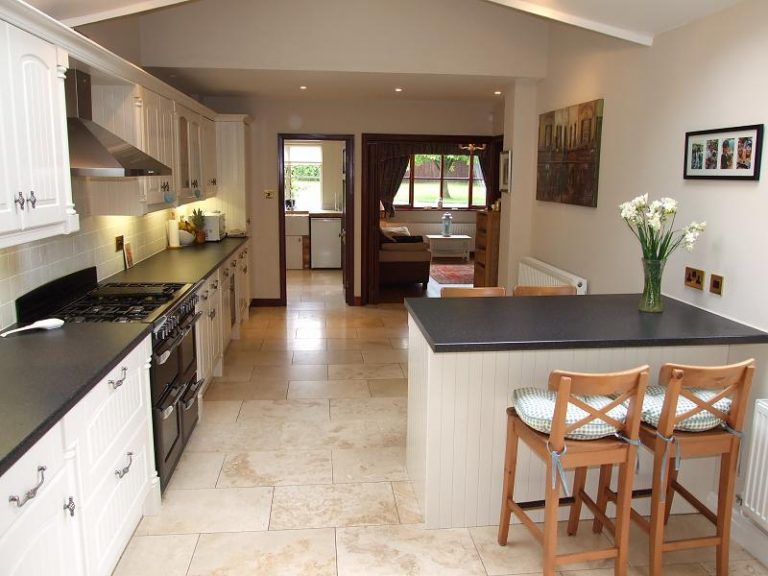


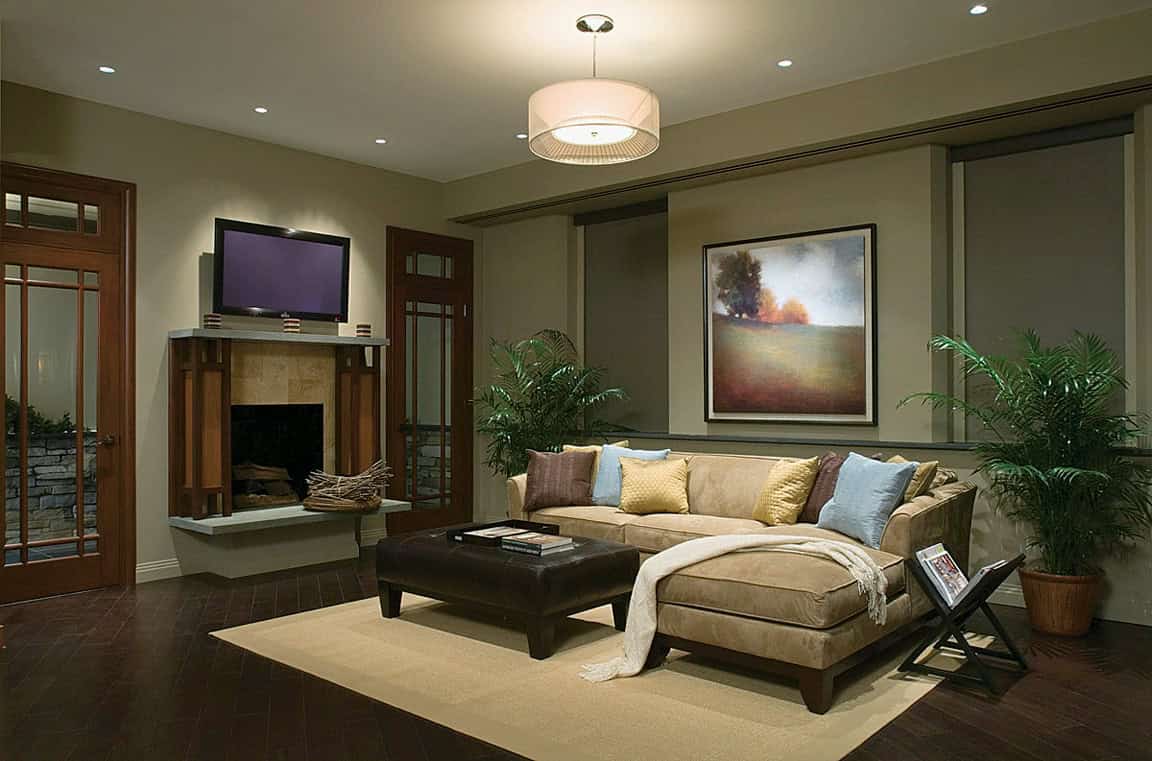
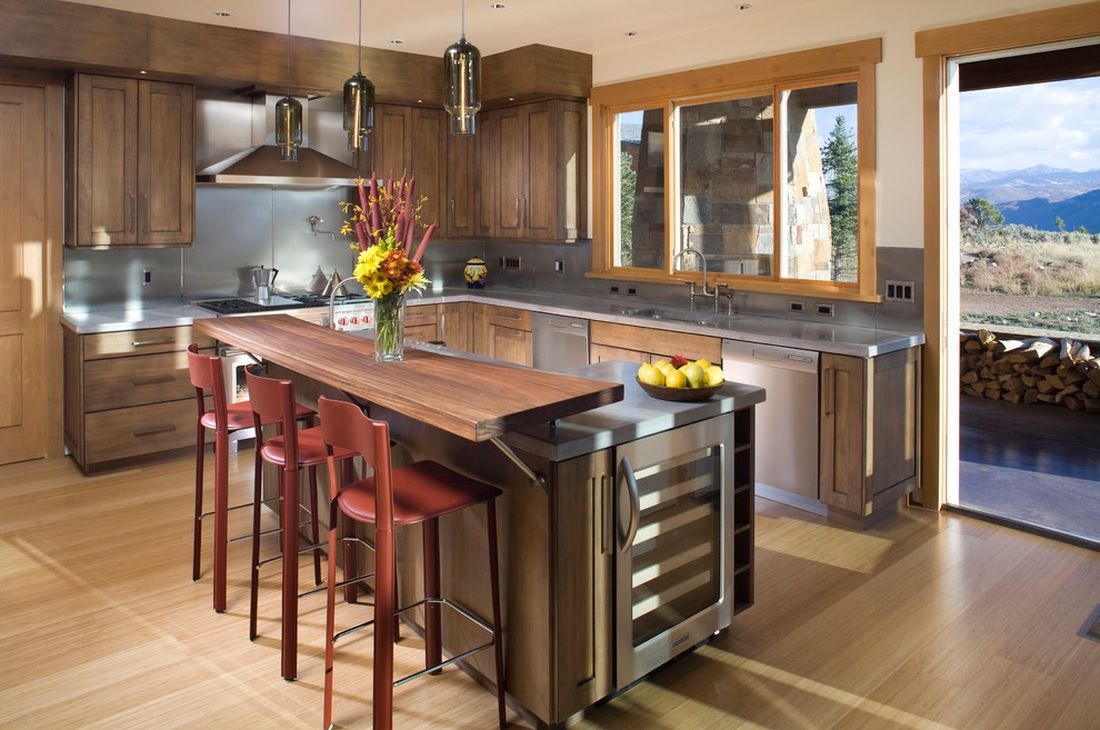
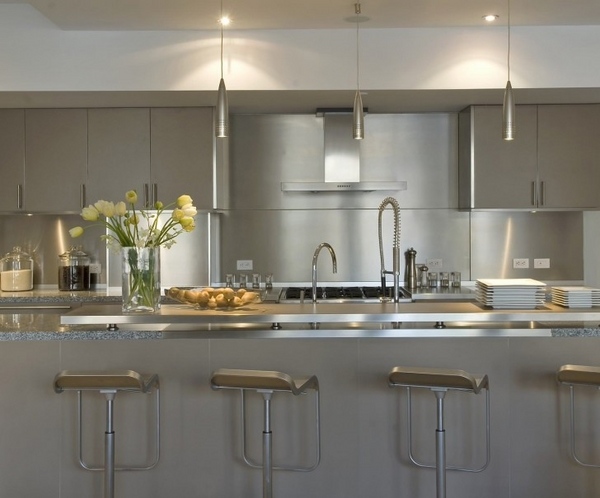
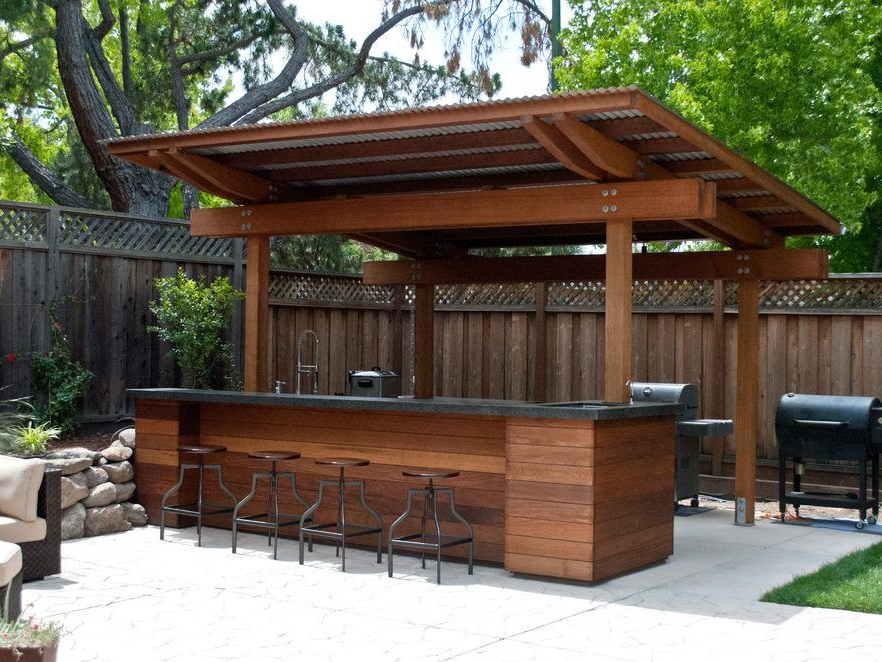
3. Kitchen Bar Top Ideas
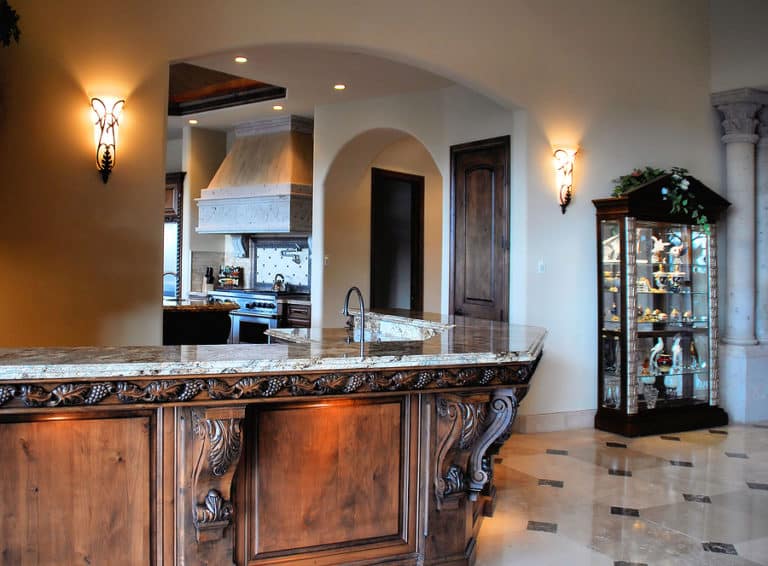
When it comes to designing your kitchen bar top, the possibilities are endless. You can choose from a variety of styles, materials, and sizes to fit your kitchen’s overall aesthetic. Some popular ideas include a rustic wooden bar top, a sleek and modern concrete bar top, or a colorful tiled bar top. Consider your kitchen’s style and your own personal taste when deciding on the design for your bar top.


3. Kitchen Bar Top Ideas


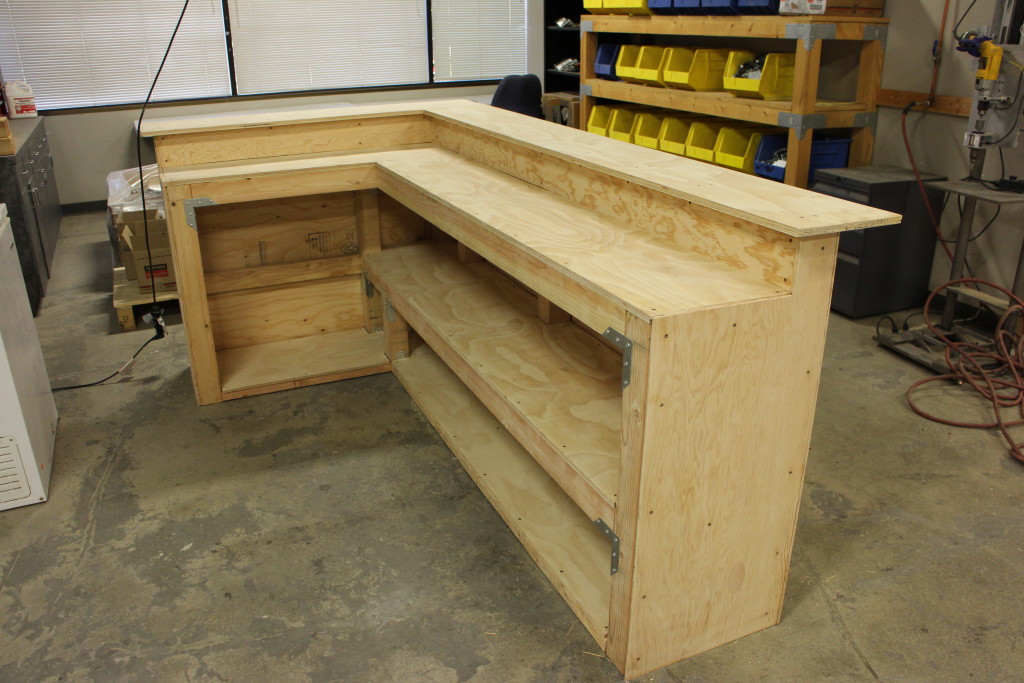
4. Building a Kitchen Bar Counter
The first step in building a kitchen bar top is to create a sturdy and level counter to support it. You can use pre-made cabinets or build your own base with wood and screws. Make sure to measure and cut the wood to the appropriate size and secure it together with screws. This will serve as the foundation for your bar top.

4. Building a Kitchen Bar Counter
/kitchen-bars-15-pure-salt-magnolia-31fc95f86eca4e91977a7881a6d1f131.jpg)
:strip_icc()/kitchen-bars-22-michelle-boudreau-photo-lance-gerber-e67465cde2174b6eb758124a49fb43ef.png)


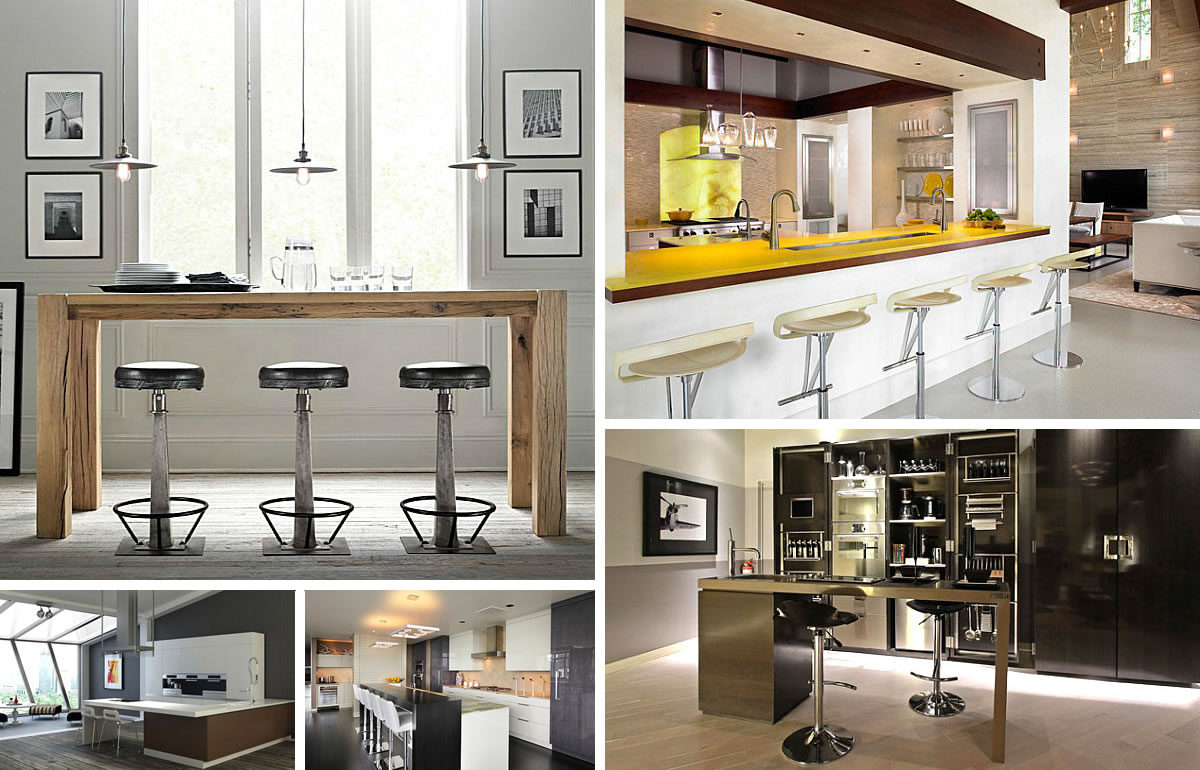
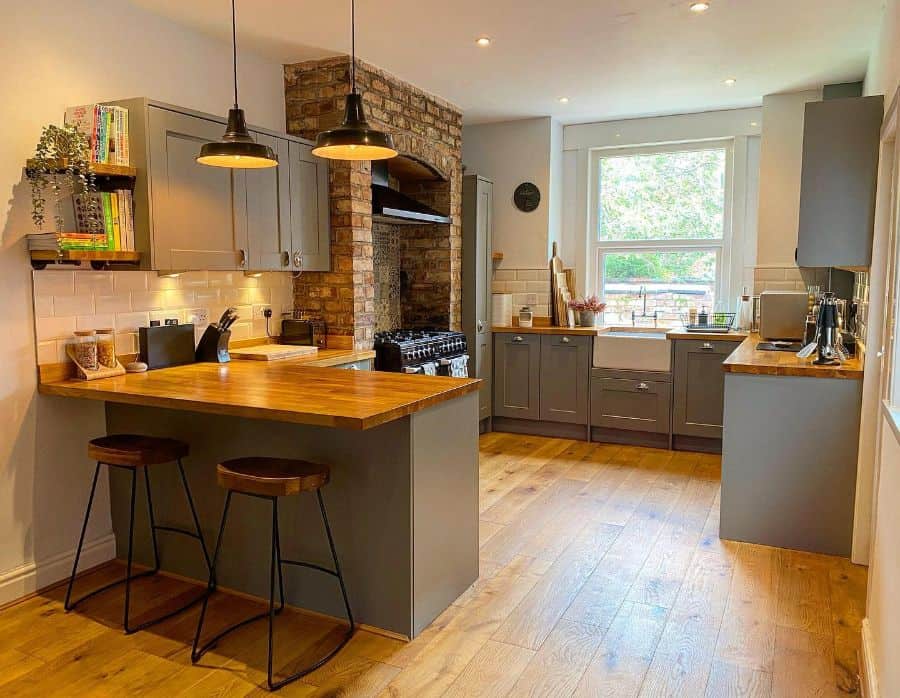
5. Kitchen Bar Top Materials
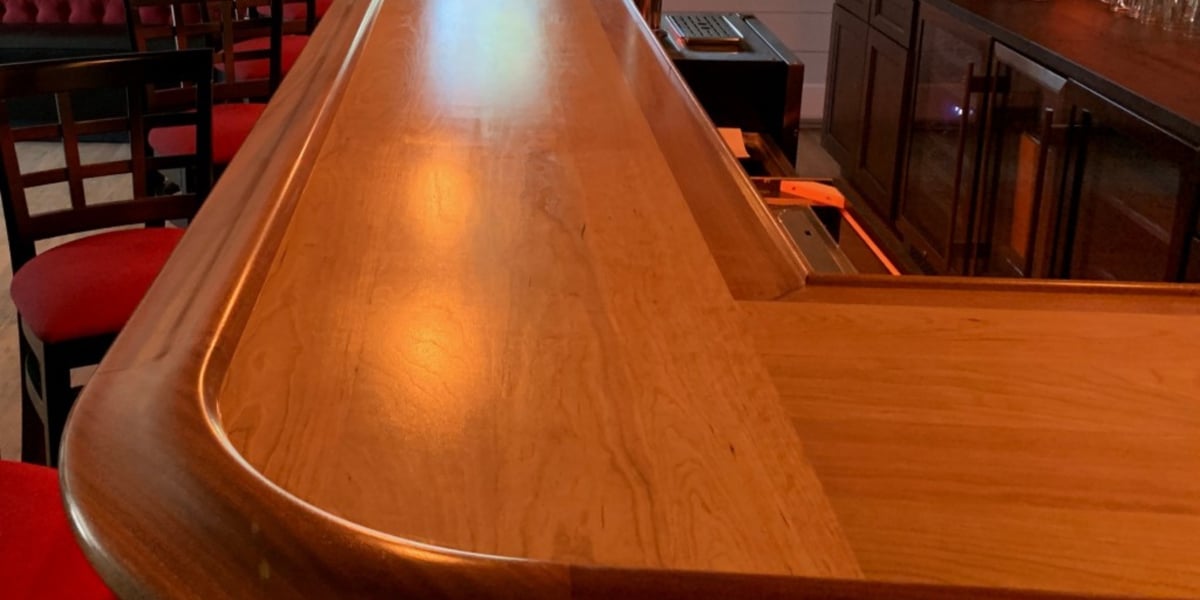
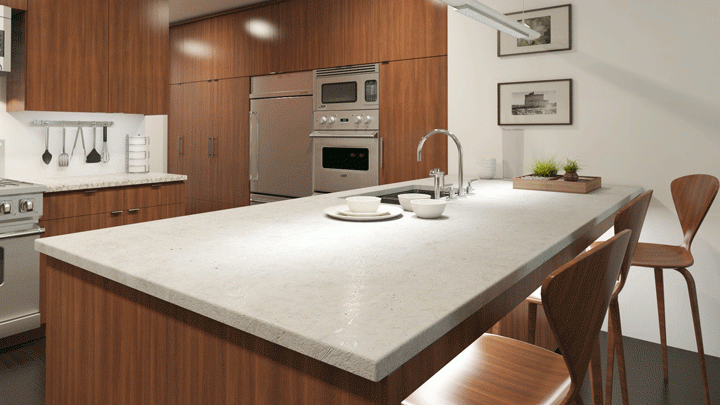
Choosing the right material for your kitchen bar top is essential for both durability and design. Some popular options include wood, concrete, granite, and tile. Each material has its own unique look and benefits, so be sure to research and consider which one will work best for your kitchen. You can also mix and match materials for a more eclectic and personalized look.
5. Kitchen Bar Top Materials


6. Step-by-Step Guide to Building a Kitchen Bar Top
Once you have your base and materials ready, it’s time to start building your kitchen bar top. Here is a general step-by-step guide to help you with the process:
Step 1: Measure and cut your chosen material to fit the size of your counter base.
Step 2: Sand down the edges and surface of the material to create a smooth finish.
Step 3: Use wood glue or adhesive to secure the material to the counter base.
Step 4: Add any finishing touches, such as a varnish or sealant, to protect the bar top.
Step 5: Install the bar top onto the counter base, making sure it is level and secure.

6. Step-by-Step Guide to Building a Kitchen Bar Top


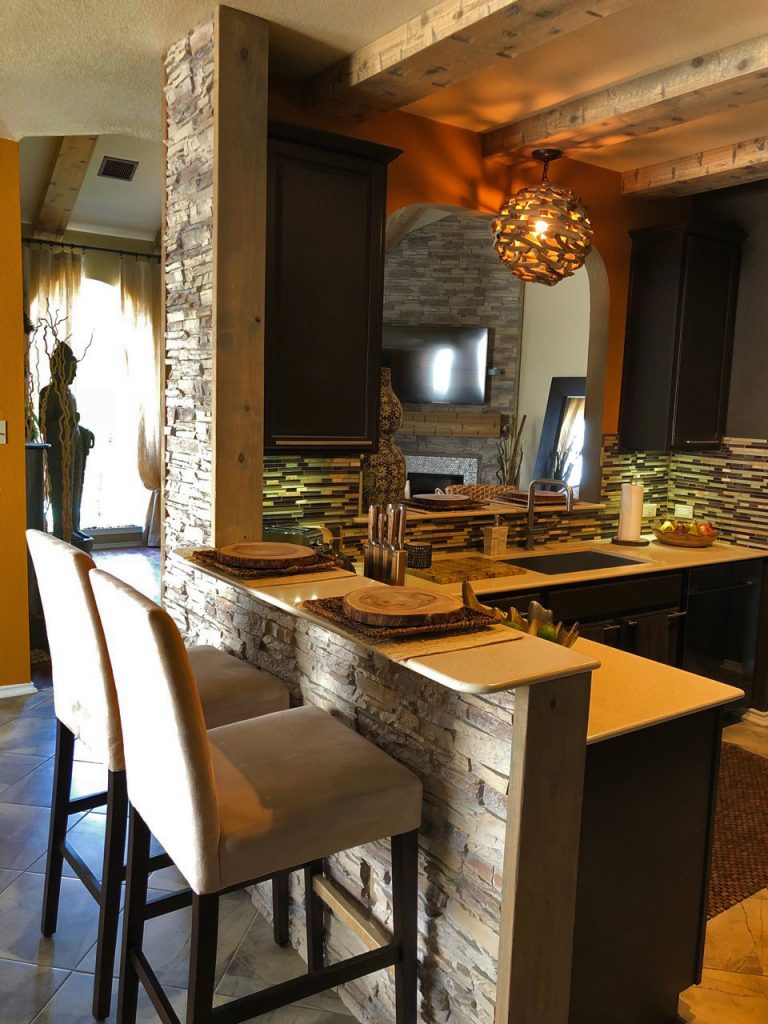
7. Kitchen Bar Top Design
The design of your kitchen bar top is an important aspect to consider. As mentioned before, you can choose from a variety of styles and materials to fit your kitchen’s aesthetic. You can also add unique elements such as a built-in wine rack, shelves, or a hanging glass rack. Get creative and design a bar top that not only looks great, but also serves your specific needs.


7. Kitchen Bar Top Design


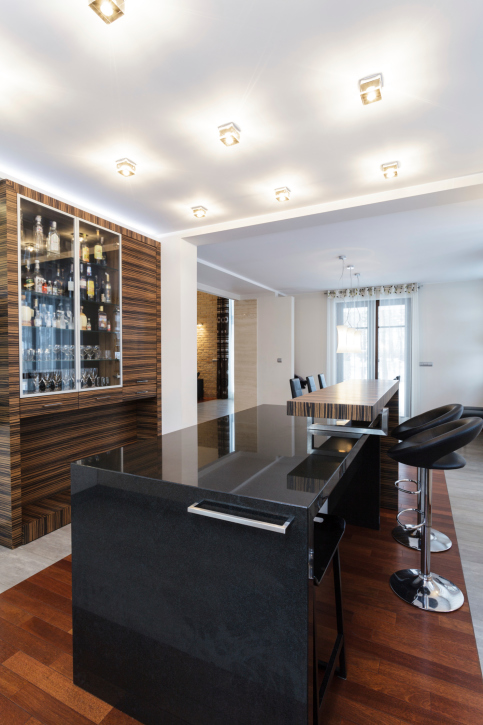
8. Kitchen Bar Top Construction
The construction of your kitchen bar top is crucial to ensure its durability and stability. Make sure to use strong and sturdy materials, and to secure them properly to the counter base. If you are not confident in your construction skills, it may be best to hire a professional to assist you.


8. Kitchen Bar Top Construction

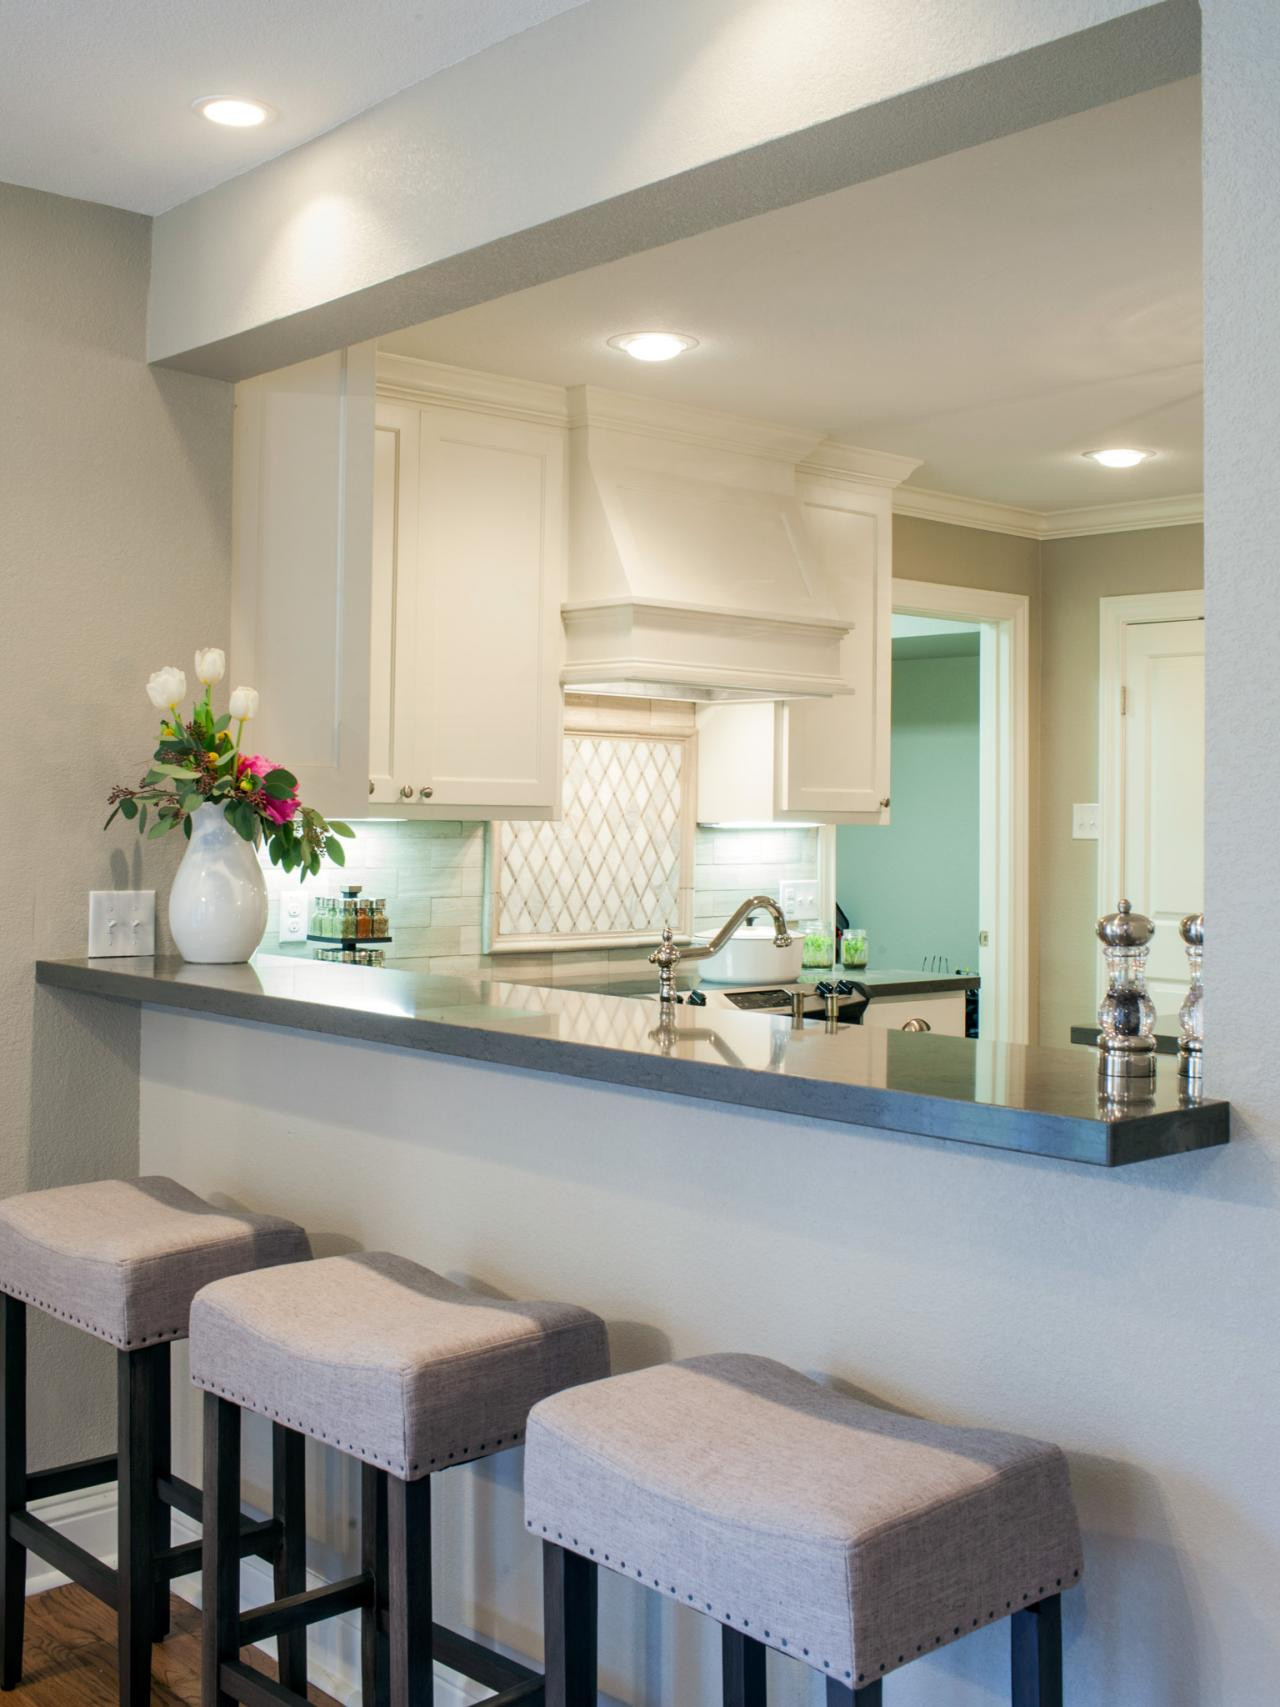
9. How to Install a Kitchen Bar Top
Installing your kitchen bar top onto the counter base is the final step in the process. Make sure to use the appropriate tools and techniques to secure the bar top in place. You can also add caulking or sealant around the edges to prevent any water or food from seeping in.

9. How to Install a Kitchen Bar Top

10. Kitchen Bar Top Plans
If you’re not sure where to start with building your kitchen bar top, consider looking for plans or tutorials online. There are plenty of resources available that can provide step-by-step instructions and design ideas. You can also consult with a professional for advice and assistance in creating your perfect kitchen bar top.
In conclusion, building a kitchen bar top is a fun and rewarding project that can add value to your kitchen and home. With the right materials, design, and construction, you can create a unique and functional space for cooking, dining, and entertaining. Use this guide to get started on your own DIY kitchen bar top and enjoy the benefits it brings to your home.

10. Kitchen Bar Top Plans


Creating a Functional and Stylish Kitchen Bar Top

Choosing the Right Materials
 When it comes to building a kitchen bar top, one of the most important decisions you will make is choosing the right materials. The materials you choose will determine not only the overall look and feel of your bar top, but also its durability and functionality.
Granite, quartz, and marble
are popular choices for their durability and timeless appeal, while
wood, concrete, and tile
offer a more customizable and budget-friendly option. Consider the aesthetic you want to achieve and the level of maintenance you are willing to commit to when selecting your materials.
When it comes to building a kitchen bar top, one of the most important decisions you will make is choosing the right materials. The materials you choose will determine not only the overall look and feel of your bar top, but also its durability and functionality.
Granite, quartz, and marble
are popular choices for their durability and timeless appeal, while
wood, concrete, and tile
offer a more customizable and budget-friendly option. Consider the aesthetic you want to achieve and the level of maintenance you are willing to commit to when selecting your materials.
Designing the Layout
 Before you start building your kitchen bar top, it is important to have a clear idea of the layout you want to achieve.
U-shaped, L-shaped, and straight
layouts are commonly used in kitchen bar designs, each with its own benefits and drawbacks.
U-shaped bars
provide ample counter space and seating, but may take up more room.
L-shaped bars
are great for maximizing space and creating a more open feel, but may limit seating options.
Straight bars
are a simple and compact option, but may not offer as much counter space. Consider the size and layout of your kitchen, as well as your personal preferences, when deciding on the design for your bar top.
Before you start building your kitchen bar top, it is important to have a clear idea of the layout you want to achieve.
U-shaped, L-shaped, and straight
layouts are commonly used in kitchen bar designs, each with its own benefits and drawbacks.
U-shaped bars
provide ample counter space and seating, but may take up more room.
L-shaped bars
are great for maximizing space and creating a more open feel, but may limit seating options.
Straight bars
are a simple and compact option, but may not offer as much counter space. Consider the size and layout of your kitchen, as well as your personal preferences, when deciding on the design for your bar top.
Building the Frame
 Once you have chosen your materials and designed the layout, it's time to start building your kitchen bar top. The first step is to create a sturdy frame for your bar top to sit on. Use
2x4 lumber
to construct the frame, making sure to secure it to the wall and floor for stability. This frame will provide the support needed for your chosen materials and any added features, such as a sink or appliances.
Once you have chosen your materials and designed the layout, it's time to start building your kitchen bar top. The first step is to create a sturdy frame for your bar top to sit on. Use
2x4 lumber
to construct the frame, making sure to secure it to the wall and floor for stability. This frame will provide the support needed for your chosen materials and any added features, such as a sink or appliances.
Installing the Bar Top
 Now comes the exciting part – installing the actual bar top. If you have chosen a
natural stone
material, it is best to have it professionally installed to ensure a perfect fit and proper sealing. For other materials, you can use
construction adhesive and screws
to secure the bar top to the frame. Make sure to use spacers to maintain an even gap between the bar top and the base cabinets for a polished look.
Now comes the exciting part – installing the actual bar top. If you have chosen a
natural stone
material, it is best to have it professionally installed to ensure a perfect fit and proper sealing. For other materials, you can use
construction adhesive and screws
to secure the bar top to the frame. Make sure to use spacers to maintain an even gap between the bar top and the base cabinets for a polished look.
Adding Finishing Touches
 To complete your kitchen bar top, add some finishing touches like a
backsplash
,
undermount sink
, or
LED lighting
. These details not only enhance the functionality of your bar top, but also add a touch of personal style. Don't be afraid to get creative and make your kitchen bar top a unique and eye-catching feature in your home.
With these tips, you can confidently build a functional and stylish kitchen bar top that suits your needs and enhances your home's design. Remember to always prioritize safety and follow proper building techniques for a successful and long-lasting result. Happy building!
To complete your kitchen bar top, add some finishing touches like a
backsplash
,
undermount sink
, or
LED lighting
. These details not only enhance the functionality of your bar top, but also add a touch of personal style. Don't be afraid to get creative and make your kitchen bar top a unique and eye-catching feature in your home.
With these tips, you can confidently build a functional and stylish kitchen bar top that suits your needs and enhances your home's design. Remember to always prioritize safety and follow proper building techniques for a successful and long-lasting result. Happy building!