Glass bowl bathroom sink installation
Glass bowl bathroom sinks have become increasingly popular in recent years, adding a touch of elegance and modernity to any bathroom. However, installing a glass bowl sink may seem like a daunting task for those who are not experienced in plumbing. But fear not, with a few tools and some basic knowledge, you can easily install a glass bowl bathroom sink on your own. In this article, we will guide you through the process of installing a glass bowl bathroom sink, step-by-step.
How to install a glass bowl bathroom sink
Before you begin the installation process, make sure you have all the necessary tools and materials. This includes a glass bowl sink, mounting ring, drain and overflow assembly, silicone sealant, plumber's putty, adjustable wrench, and a screwdriver. Once you have everything, follow these steps to install your glass bowl bathroom sink:
Step 1: Prepare the area
The first step is to prepare the area where you will be installing the sink. Remove the old sink and clean the countertop thoroughly. Measure the hole for the sink and mark the location for the drain and faucet holes.
Step 2: Install the mounting ring
Place the mounting ring on the countertop and secure it with the provided screws. Make sure the ring is level and centered over the drain hole.
Step 3: Apply plumber's putty
Roll a small amount of plumber's putty into a thin rope and place it around the bottom of the mounting ring. This will help create a waterproof seal between the sink and the countertop.
Step 4: Install the sink
Carefully lower the sink onto the mounting ring, making sure it is centered and level. Press down firmly to seal the sink to the putty and mounting ring.
Step 5: Connect the drain and overflow assembly
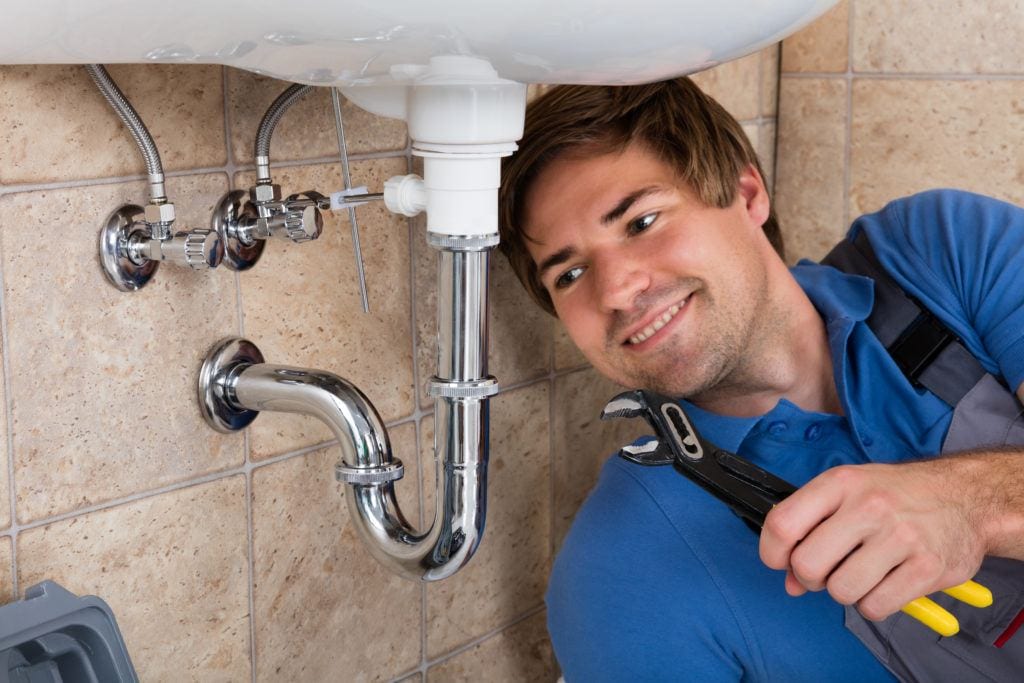
Install the drain and overflow assembly according to the manufacturer's instructions. Make sure all connections are tight and secure.
Step 6: Apply silicone sealant
Apply a thin bead of silicone sealant around the edge of the sink, where it meets the countertop. This will provide additional waterproofing and prevent any leaks.
Step 7: Connect the faucet
Install the faucet according to the manufacturer's instructions. Make sure all connections are tight and secure.
Step 8: Test the sink
Turn on the water and check for any leaks. Adjust the connections if necessary. Once everything is working properly, wipe away any excess sealant and clean the sink.
Why Glass Bowl Bathroom Sinks are the Perfect Addition to Your Home

Elevate Your Bathroom Design
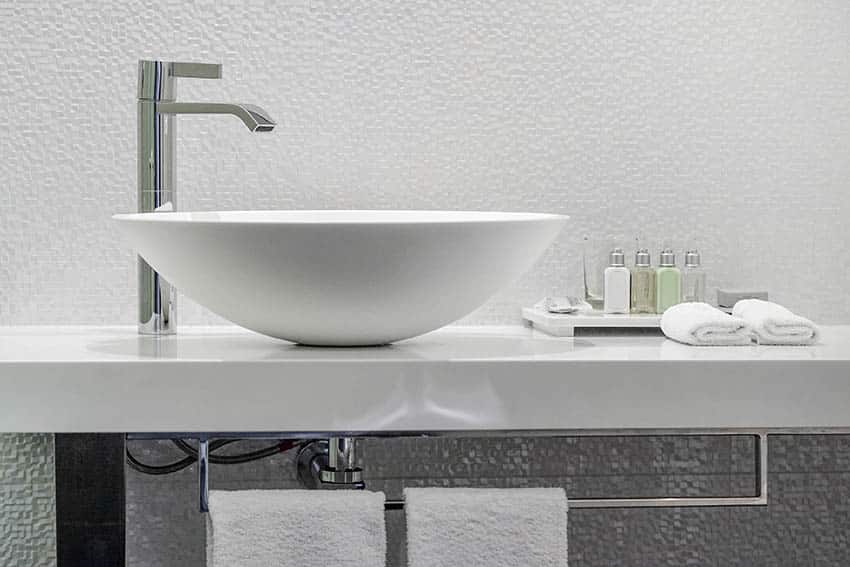
 When it comes to designing your home, every detail counts. And that includes your bathroom. While it may be one of the smaller rooms in your house, it is still an important space that deserves to be functional and aesthetically pleasing. One element that can instantly elevate the design of your bathroom is a glass bowl sink.
Glass bowl bathroom sinks
are a modern and stylish alternative to traditional
bathroom sinks
. They are typically made from tempered glass, which is a type of glass that is strengthened through a heating and cooling process. This makes them durable and resistant to scratches and cracks, making them a practical choice for a high-traffic area like the bathroom.
Unlimited Design Possibilities
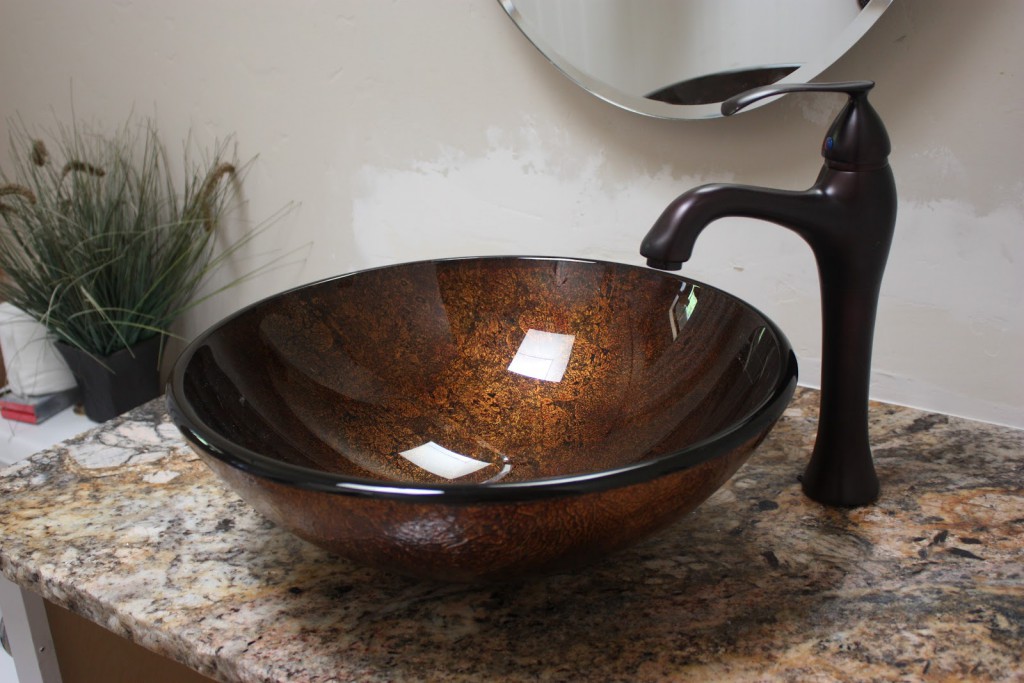 One of the biggest advantages of choosing a
glass bowl sink
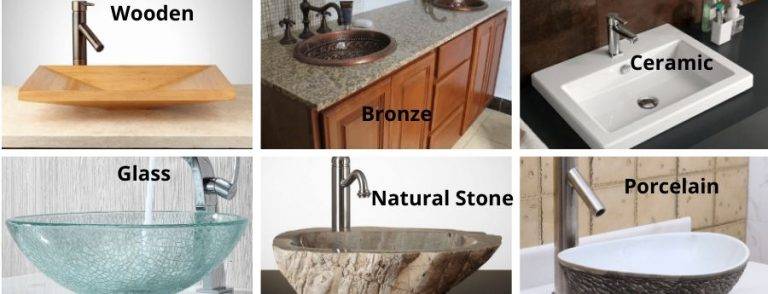
is the endless design possibilities it offers. With a variety of shapes, sizes, and colors available, you can easily find a sink that complements your bathroom's overall design aesthetic. Whether you want a sleek and modern look or a more traditional and elegant feel, there is a glass bowl sink that will fit your style.
You can also play with different
glass finishes
to add a unique touch to your sink. Frosted, tinted, or textured glass can add dimension and visual interest to your bathroom. Additionally, the transparency of glass can make a small bathroom appear bigger by creating the illusion of more space.
Ease of Installation
 Installing a
glass bowl bathroom sink
is relatively simple, making it a popular choice for DIY enthusiasts. They come with all necessary hardware and can be mounted on a
vanity
or
pedestal
depending on your preference and space limitations. However, it is still recommended to hire a professional plumber to ensure proper installation and avoid any potential leaks or damages.
Low Maintenance and Easy to Clean
 Glass is a non-porous material, which means it does not absorb liquids and is resistant to mold and mildew. This makes
glass bowl sinks
incredibly easy to clean and maintain. A simple wipe down with a mild cleaner is all it takes to keep your sink sparkling and looking like new. It is important to note that harsh chemicals or abrasive cleaners should be avoided as they can damage the glass surface.
In conclusion, a
glass bowl bathroom sink
is a functional and stylish addition to any home. With its modern design, versatility, and easy maintenance, it is a popular choice among homeowners looking to elevate their bathroom design. So why settle for a boring, traditional sink when you can make a statement with a beautiful
glass bowl sink
? Upgrade your bathroom today and enjoy the benefits of this stunning and practical feature.


