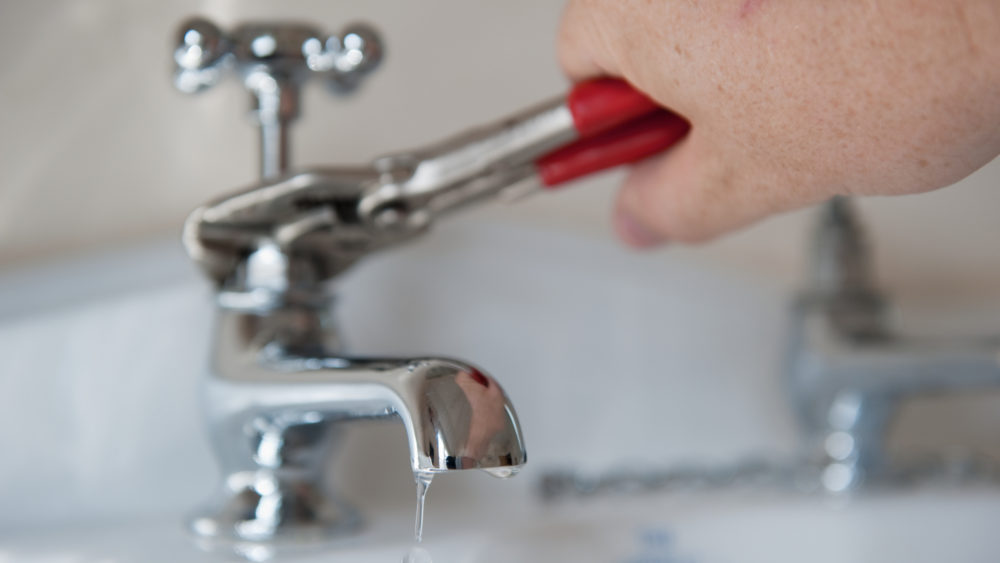
Dealing with a leaky kitchen sink faucet can be a frustrating and messy experience. Not only is it a constant source of annoyance, but it can also lead to bigger issues such as water damage and increased water bills. But fear not, with a few simple steps, you can easily fix a leaky kitchen sink faucet without the need for a plumber. First, you need to identify the type of faucet you have - whether it's a ball, cartridge, or compression faucet. Each type of faucet requires a different approach to fixing a leak. You can refer to the manufacturer's manual or do a quick online search to determine the type of faucet you have. Once you know the type of faucet, you can start the repair process. Make sure to turn off the water supply to your sink before you begin. Then, disassemble the faucet by removing the handles, spout, and any other parts necessary to access the internal components. Inspect the internal components for any signs of wear and tear, such as cracks or mineral buildup. These are common causes of leaks in kitchen sink faucets. If you find any damaged parts, you can replace them with new ones from your local hardware store. Next, clean all the parts thoroughly with a mixture of equal parts water and vinegar. This will help remove any mineral deposits and ensure a smooth flow of water. You can also use a toothbrush to scrub away any stubborn buildup. Once everything is clean and dry, reassemble the faucet and turn the water supply back on. Test the faucet to see if the leak has been fixed. If the problem persists, you may need to seek the help of a professional plumber.1. How to Fix a Leaky Kitchen Sink Faucet
If you're a DIY enthusiast, fixing a leaky kitchen sink can be a fun and rewarding project. Not only will you save money by not hiring a plumber, but you'll also learn new skills and gain a sense of accomplishment. Here's a step-by-step guide on how to fix a leaky kitchen sink on your own. First, gather all the necessary tools and materials. This includes a new set of internal components, a wrench, pliers, and a screwdriver. You may also need a flashlight and a towel to help you see and clean the inside of the faucet. Next, shut off the water supply to your sink and disassemble the faucet. As mentioned earlier, make sure to identify the type of faucet you have before proceeding. You can refer to the manufacturer's manual or do a quick online search for instructions specific to your faucet. Inspect all the internal parts for any damage or buildup. If you find any, replace them with the new components you have. Remember to clean all the parts thoroughly before reassembling the faucet. Once everything is back in place, turn the water supply back on and test the faucet. If the leak has been fixed, congratulations! If not, don't get discouraged. You can try adjusting the internal components or seek the help of a professional plumber.2. DIY: Fixing a Leaky Kitchen Sink
A leaky kitchen sink can be caused by various factors, and it's essential to identify the root cause to effectively fix the issue. Here are some common causes of a leaky kitchen sink and their solutions. Worn out internal components such as O-rings, washers, and valves can cause leaks in kitchen sink faucets. In this case, replacing these parts with new ones can solve the problem. Mineral buildup can also lead to leaks by blocking the flow of water. Cleaning the internal components with a mixture of water and vinegar can help remove this buildup and restore the faucet's functionality. Loose connections or damaged pipes can also cause leaks in kitchen sinks. For this, you may need to tighten the connections or replace the pipes entirely. It's best to seek the help of a professional plumber for this task.3. Common Causes and Solutions for a Leaky Kitchen Sink
If you're a visual learner, here's a step-by-step guide on how to fix a leaky kitchen sink faucet: Step 1: Turn off the water supply to your sink. Step 2: Disassemble the faucet and identify the type of faucet you have. Step 3: Inspect and clean all the internal components. Step 4: Replace any damaged parts with new ones. Step 5: Reassemble the faucet and turn the water supply back on. Step 6: Test the faucet to see if the leak has been fixed. Step 7: If the leak persists, seek the help of a professional plumber.4. Step-by-Step Guide to Fixing a Leaky Kitchen Sink
Fixing a leaky kitchen sink doesn't always have to be a complicated and time-consuming task. Here are some quick and easy ways to fix a leaky kitchen sink: Replace the faucet's aerator: The aerator is the small mesh screen at the end of the faucet. Over time, it can become clogged with debris, leading to a slow leak. Simply unscrew the aerator and replace it with a new one. Use plumber's tape: Sometimes, a leak can be caused by loose connections. Wrapping plumber's tape around the threads of the connections can help create a tighter seal and prevent leaks. Adjust the water pressure: High water pressure can cause leaks in kitchen sinks. Try adjusting the water pressure using the shut-off valve under the sink.5. Quick and Easy Ways to Fix a Leaky Kitchen Sink
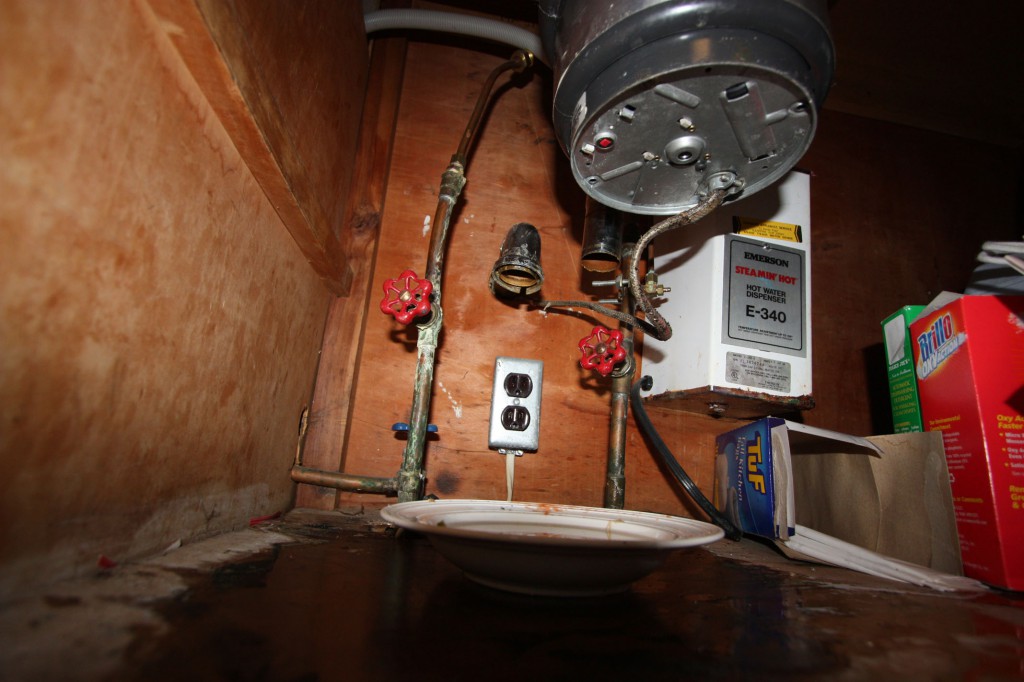
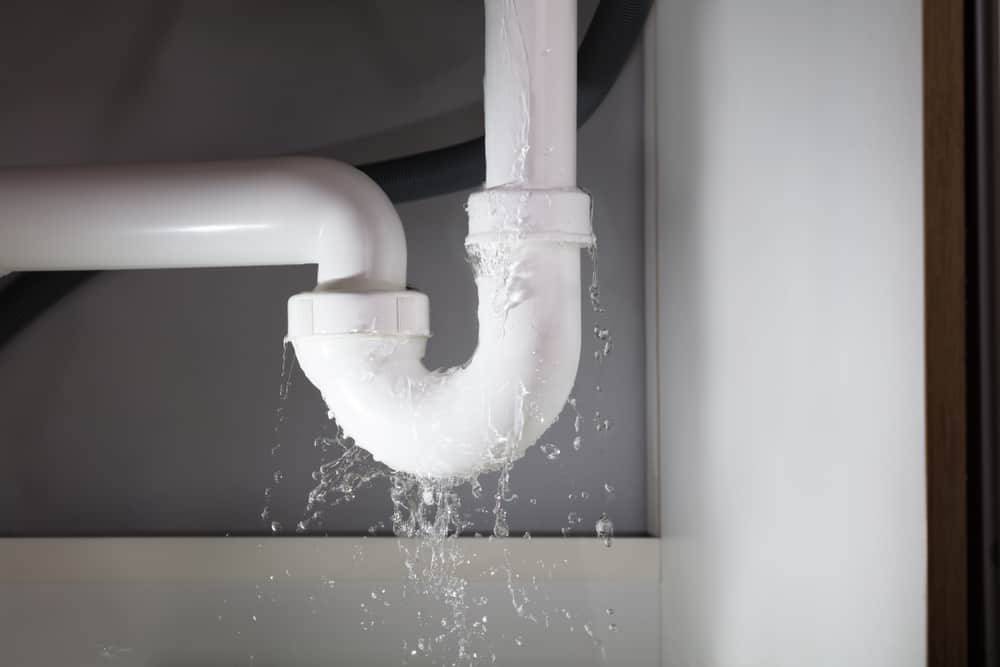
If you're still struggling to fix a leaky kitchen sink, here are some troubleshooting tips and tricks: Check for other leaks: Sometimes, the source of the leak may not be the faucet itself. Check the pipes under the sink for any signs of leakage. Flush the faucet: Mineral buildup can cause leaks in kitchen sinks. To flush out any buildup, turn off the water supply and run the faucet for a few minutes. Seek professional help: If all else fails, it's best to seek the help of a professional plumber. They have the expertise and tools needed to fix any leaky kitchen sink.6. Troubleshooting a Leaky Kitchen Sink: Tips and Tricks
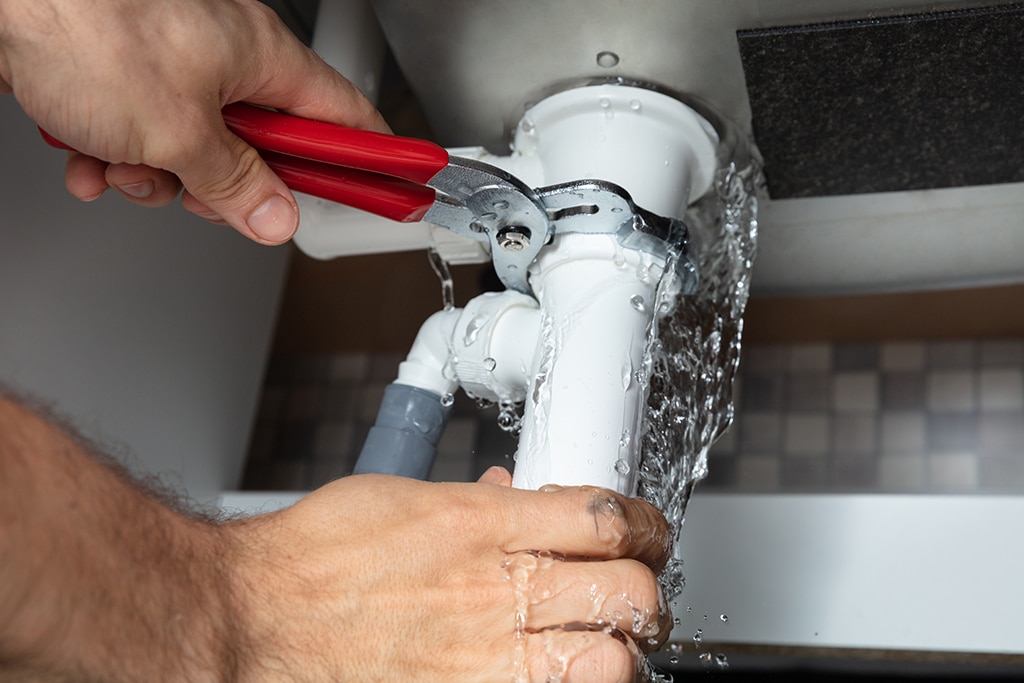
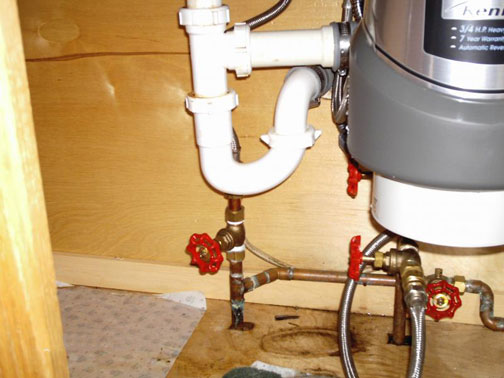
Aside from a leaky faucet, a leaky kitchen sink can also be caused by a faulty drain. Here's how to identify and fix a leaky kitchen sink drain: First, remove the drain cover and inspect the drain for any damage or buildup. You can use a plunger or a plumbing snake to remove any clogs that may be causing the leak. Next, check the seals and gaskets around the drain. If they're damaged, you can replace them with new ones. You can also try tightening the connections to see if that fixes the leak. If the problem persists, it's best to seek the help of a professional plumber as the issue may be more complicated and require specialized tools.7. How to Identify and Fix a Leaky Kitchen Sink Drain
To successfully fix a leaky kitchen sink, you'll need the following tools: Adjustable wrench: This will help you loosen and tighten connections. Pliers: Useful for gripping and turning small parts. Screwdriver: You'll need this to disassemble and reassemble the faucet. Flashlight: To help you see the inside of the faucet and clean any buildup. Towel: To dry and clean the internal components.8. Tools You Need to Fix a Leaky Kitchen Sink
Deciding whether to hire a professional plumber or fix a leaky kitchen sink on your own can be a tough choice. While DIY fixes can save you money, they may not always be the best option. Here are some factors to consider when making this decision: Time and effort: Fixing a leaky kitchen sink can be a time-consuming task, especially if you're not experienced. If you don't have the time or patience to do it yourself, hiring a professional may be the better option. Skill level: Some people may not feel comfortable working with plumbing tools and may prefer to leave it to the professionals. If you're unsure of your skills, it's best to seek the help of a plumber. Cost: DIY fixes can save you money, but they may not always be the most cost-effective option. If the issue is more complicated, you may end up spending more money on tools and materials than you would have by hiring a professional.9. Professional vs. DIY: Which is Better for Fixing a Leaky Kitchen Sink?
Now that you've successfully fixed a leaky kitchen sink, it's essential to take preventive measures to avoid future leaks. Here are some maintenance tips for your kitchen sink: Regularly clean the faucet and its components to prevent mineral buildup. Check for leaks and fix them promptly to prevent them from becoming bigger issues. Replace worn-out parts as needed to prevent them from causing leaks. Adjust the water pressure to avoid putting too much strain on the faucet. With these tips and tricks, you can easily fix a leaky kitchen sink and prevent future leaks. Remember to take your time and follow the instructions carefully to ensure a successful repair. And if you're ever unsure, don't hesitate to seek the help of a professional plumber.10. Preventing Future Leaks: Maintenance Tips for Your Kitchen Sink
Why Fixing a Leaky Kitchen Sink is Essential for a Well-Designed Home

Maintaining a Functional and Aesthetic Kitchen
 A kitchen is the heart of a home, and a leaky sink can quickly turn it into a disaster zone. Not only does it create a mess and waste water, but it can also lead to more significant issues like mold and water damage. As a result, fixing a leaky kitchen sink should be a top priority for any homeowner looking to maintain a functional and aesthetically pleasing kitchen.
Preventing Costly Repairs
 Ignoring a leaky sink may seem like a minor issue, but it can quickly spiral into a more significant problem and result in costly repairs. A small leak can cause damage to your sink, cabinets, and even the flooring, leading to expensive replacements. It is essential to address the issue at the first sign of a leak to avoid unnecessary expenses and keep your kitchen in top condition.
Preserving the Environment
 Homes with leaky sinks waste a significant amount of water, which can have a detrimental impact on the environment. According to the Environmental Protection Agency, household leaks can waste nearly one trillion gallons of water annually in the United States. By fixing a leaky kitchen sink, you are not only saving money on your water bill, but you are also doing your part in conserving our precious resources.
Improving Home Value
 A well-maintained kitchen is a major selling point for any home. By fixing a leaky kitchen sink, you are not only improving the functionality and appearance of your kitchen, but you are also increasing the value of your home. Potential buyers will be impressed by your attention to detail and will be more likely to make a higher offer.
In conclusion, a leaky kitchen sink may seem like a minor inconvenience, but it can lead to significant issues and expenses. By taking the time to fix it promptly, you are not only preserving the functionality and aesthetics of your kitchen, but you are also saving money, helping the environment, and increasing the value of your home. So, don't wait any longer, address that leaky kitchen sink and enjoy a well-designed and functional kitchen.


