Adding a hose to your kitchen sink can be a game changer, making everyday tasks like dishwashing and watering plants much easier. But if you've never done it before, the process may seem daunting. Don't worry, we've got you covered with a step-by-step guide on how to fit a hose to your kitchen sink.1. How to Fit a Hose to a Kitchen Sink


1. How to Fit a Hose to a Kitchen Sink


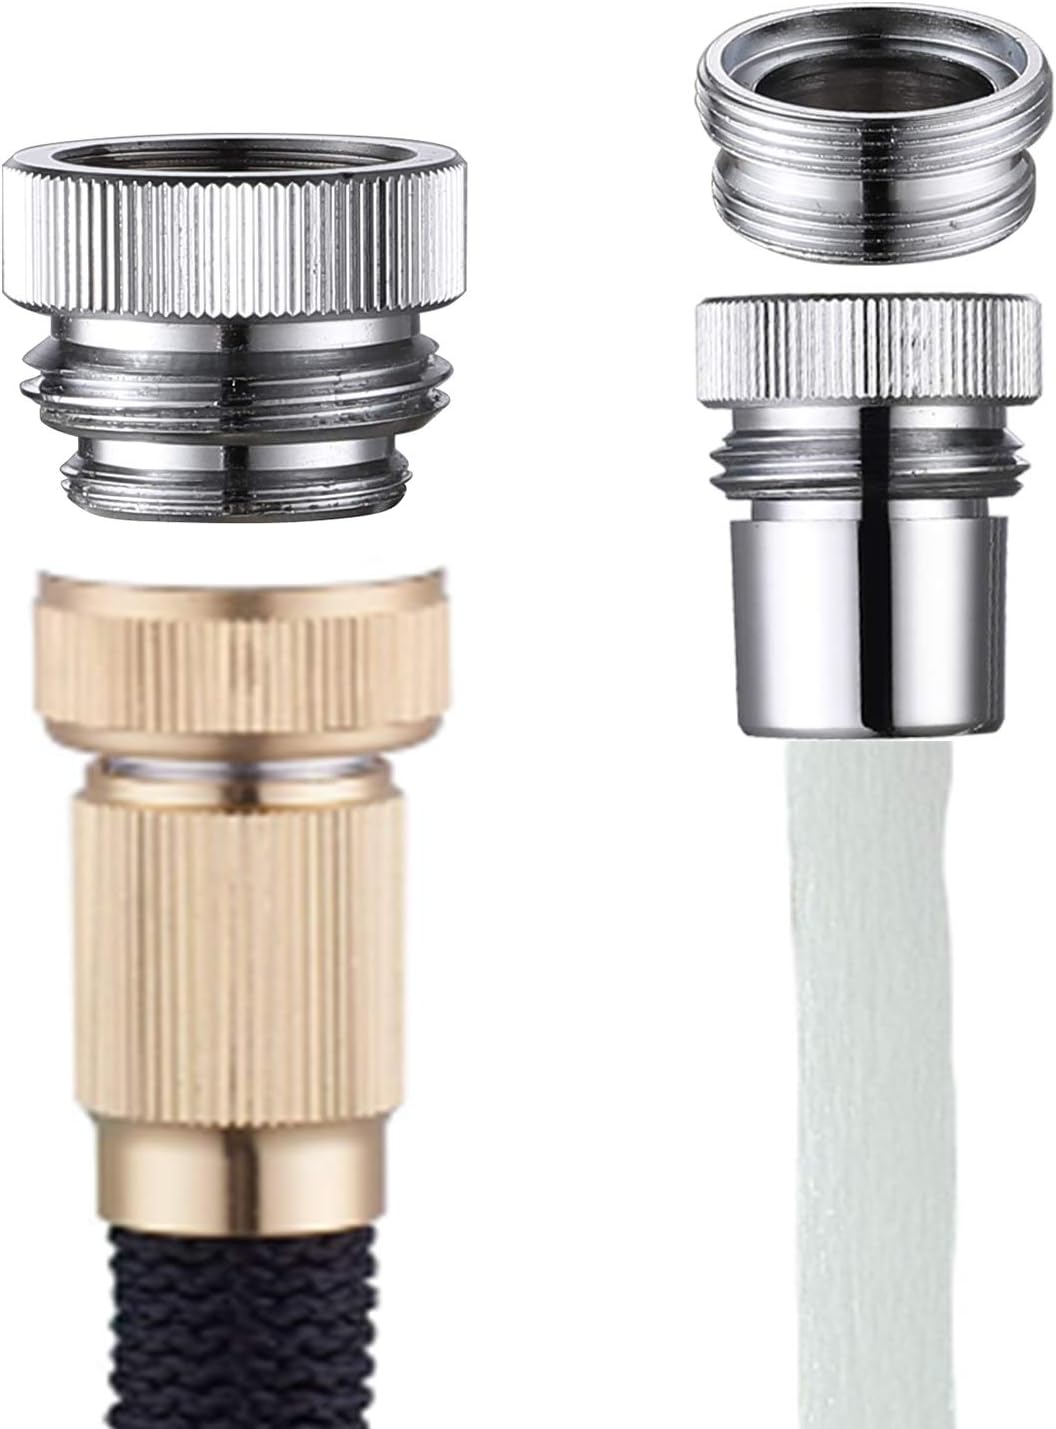
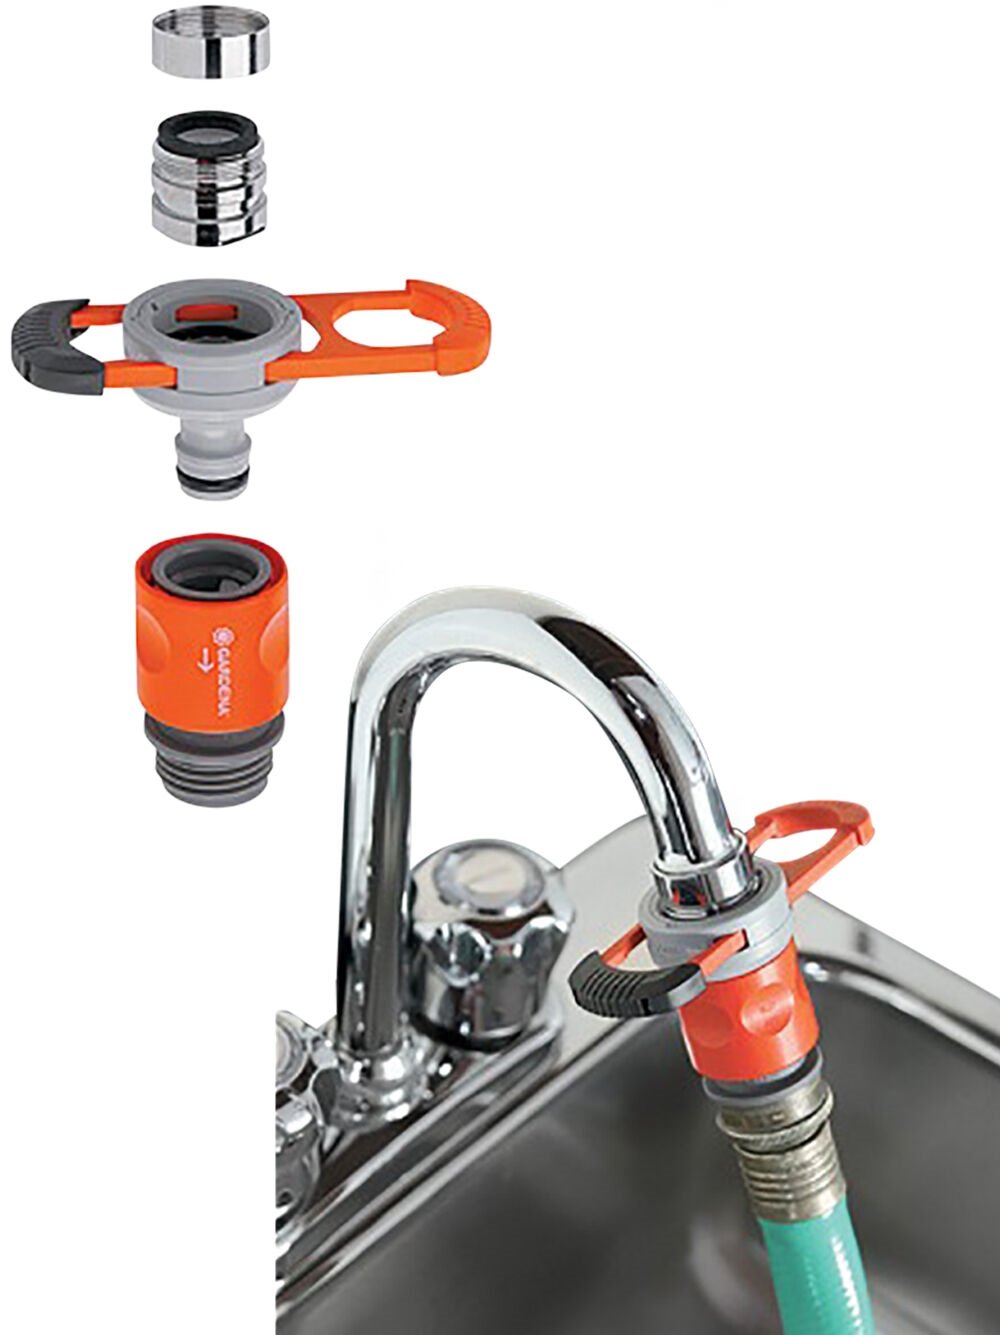
The first step is to gather all the necessary tools and materials. You will need a wrench, Teflon tape, and the hose and attachment you plan to use. Make sure your sink has an available faucet or sprayer hole to attach the hose to. Next, turn off the water supply to your sink by closing the shut-off valves under the sink. This will prevent any water from spraying out while you are working. If you are using a standard kitchen faucet with a hose attachment, simply unscrew the aerator from the faucet and attach the hose adapter. If you are using a separate hose and attachment, you will need to attach the adapter to the end of the hose and then screw it onto the faucet. Once the adapter is securely attached, turn on the water supply and test the connection. If there are any leaks, use a wrench to tighten the connections and wrap Teflon tape around the threads for extra sealant.2. Step-by-Step Guide for Attaching a Hose to a Kitchen Sink


2. Step-by-Step Guide for Attaching a Hose to a Kitchen Sink


If you prefer a more permanent solution, you can install a T-valve under your sink to connect the hose. This allows you to easily switch between using the hose and your regular faucet. To install the T-valve, turn off the water supply under the sink and attach the valve to the hot water shut-off valve. Then, attach the hose to the T-valve and turn the water supply back on. You can now control the flow of water between your faucet and hose using the T-valve.3. DIY: Connecting a Hose to Your Kitchen Sink


3. DIY: Connecting a Hose to Your Kitchen Sink


Before beginning the process of attaching a hose to your kitchen sink, make sure to read the instructions carefully and have all the necessary tools and materials on hand. It's also a good idea to have a bucket or towel nearby in case of any leaks. When attaching the hose, be sure to use Teflon tape on all threaded connections for a secure seal. And don't forget to turn off the water supply before making any adjustments or changes.4. Tips for Successfully Fitting a Hose to Your Kitchen Sink
4. Tips for Successfully Fitting a Hose to Your Kitchen Sink


There is no one "best" way to connect a hose to your kitchen sink, as it ultimately depends on your personal preference and the type of faucet and hose you have. Some may prefer the convenience of a standard faucet with a hose attachment, while others may opt for a more permanent solution with a T-valve. Ultimately, the most important factor is ensuring a secure and leak-free connection. Take your time and follow the instructions carefully to ensure a successful fit.5. The Best Way to Connect a Hose to Your Kitchen Sink


5. The Best Way to Connect a Hose to Your Kitchen Sink


If you encounter any issues when fitting a hose to your kitchen sink, don't panic. Leaks and other problems can often be easily fixed. If you experience leaks, try tightening the connections and adding Teflon tape. If the water flow is too weak, make sure the shut-off valves are fully open and check for any kinks or obstructions in the hose. And if the hose is too short, consider purchasing an extension or longer hose to reach your desired location.6. Troubleshooting Common Issues When Fitting a Hose to a Kitchen Sink


6. Troubleshooting Common Issues When Fitting a Hose to a Kitchen Sink


As mentioned earlier, you will need a wrench, Teflon tape, and the hose and attachment of your choice to fit a hose to your kitchen sink. Depending on the method you choose, you may also need a T-valve and an extension or longer hose. It's always a good idea to have a bucket or towel on hand to catch any water in case of leaks, and some gloves to protect your hands while working.7. Tools and Materials Needed to Fit a Hose to a Kitchen Sink


7. Tools and Materials Needed to Fit a Hose to a Kitchen Sink


To properly seal a hose connection on your kitchen sink, it's important to use Teflon tape on all threaded connections. This will provide an extra layer of protection against leaks. Before attaching the hose, wrap Teflon tape around the threads of the faucet or attachment. Then, screw the hose onto the connection and use a wrench to tighten it if necessary.8. How to Properly Seal a Hose Connection on a Kitchen Sink


8. How to Properly Seal a Hose Connection on a Kitchen Sink


One common mistake when fitting a hose to a kitchen sink is not turning off the water supply before making any adjustments. This can lead to unexpected water spraying out and cause a mess. Another mistake is not using Teflon tape on threaded connections, which can result in leaks. And finally, not following the instructions carefully can also lead to issues when trying to fit a hose to your kitchen sink.9. Common Mistakes to Avoid When Fitting a Hose to a Kitchen Sink


9. Common Mistakes to Avoid When Fitting a Hose to a Kitchen Sink


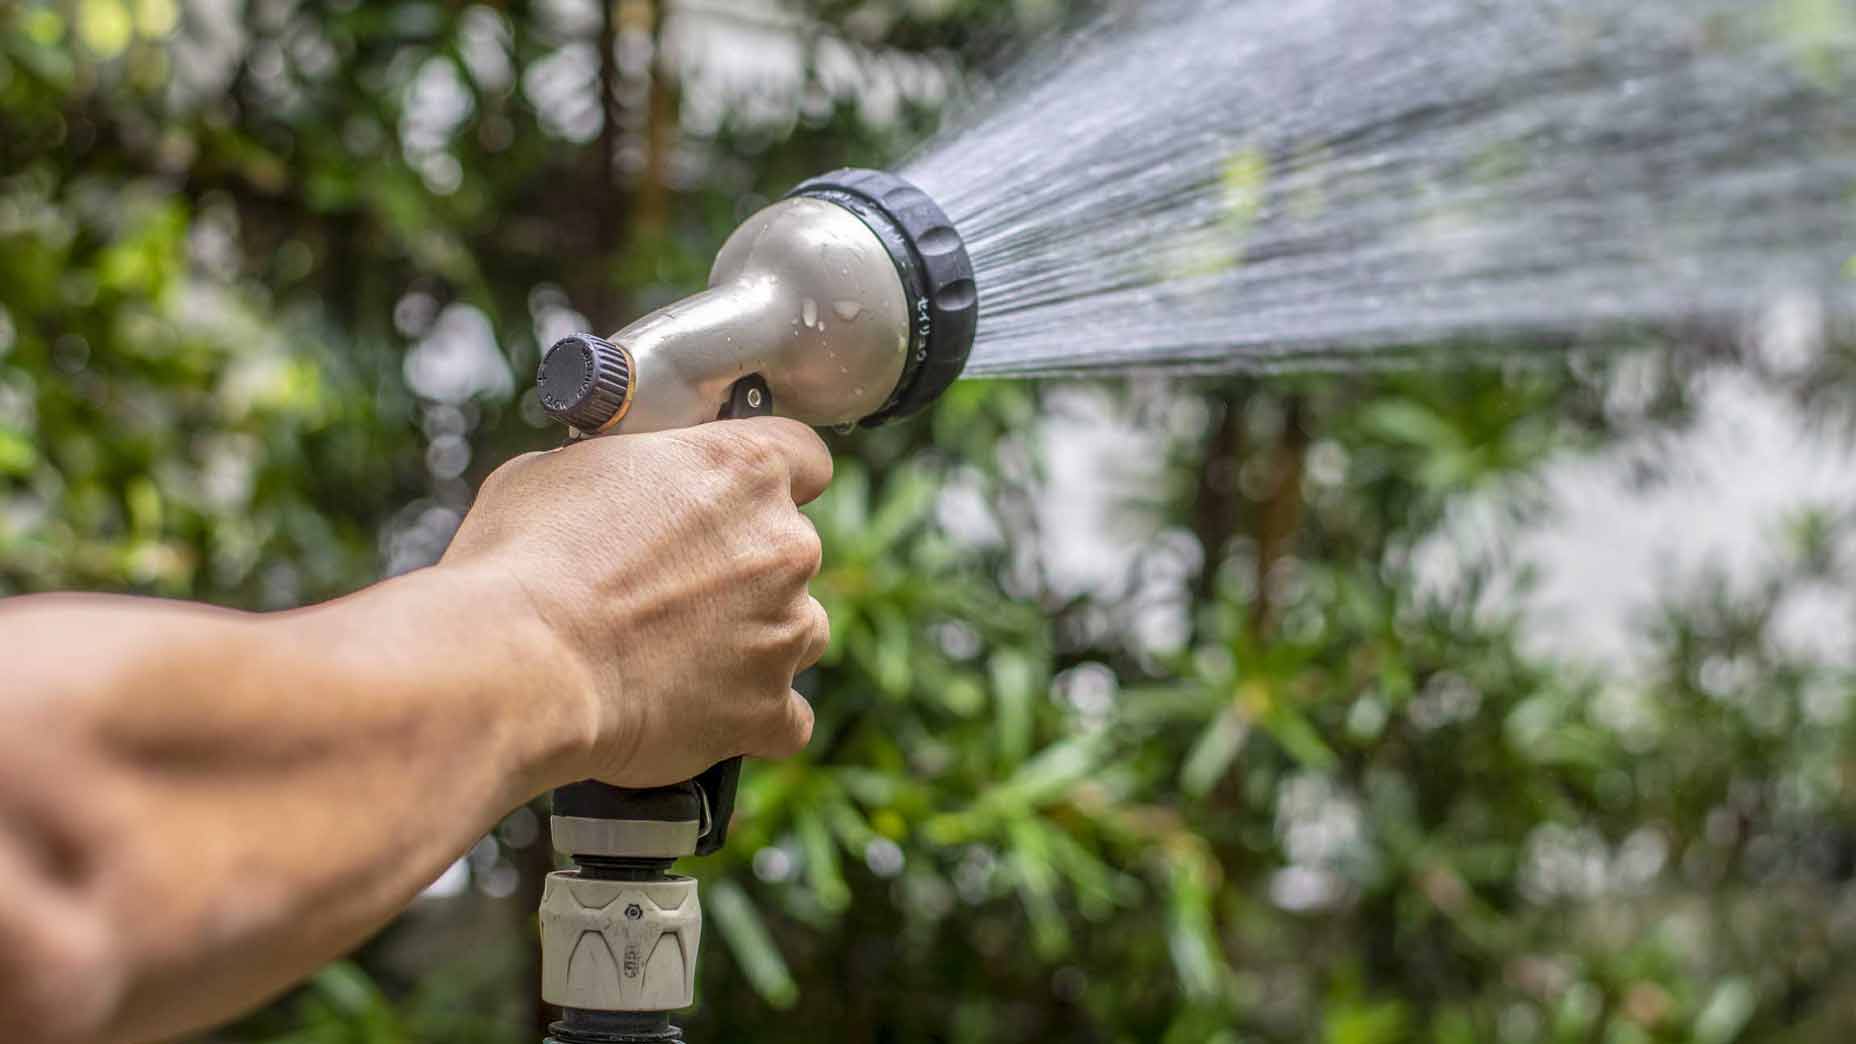

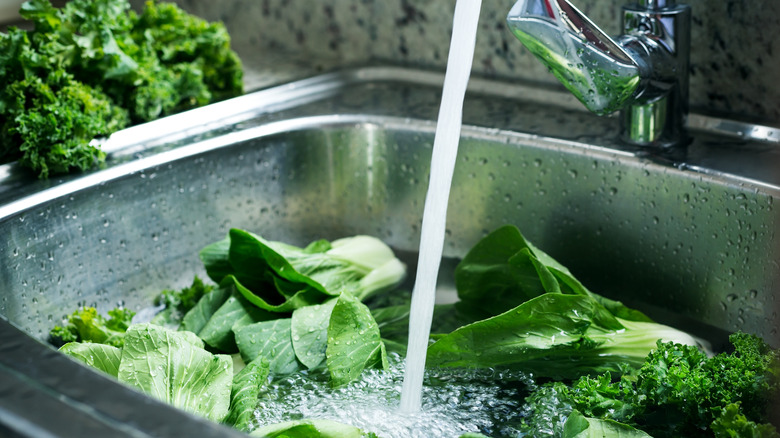
There are many benefits to having a hose attached to your kitchen sink. It allows for easier dishwashing, filling large containers, and watering plants. It can also save you time and energy compared to using a separate outdoor hose or constantly filling up a pitcher or bucket with water. Plus, with the proper attachment, you can also use your kitchen sink to clean and fill your pet's water bowl or give your dog a bath. Fitting a hose to your kitchen sink can be a convenient and versatile addition to your home.10. Why You Should Consider Fitting a Hose to Your Kitchen Sink


10. Why You Should Consider Fitting a Hose to Your Kitchen Sink


How to Properly Fit a Hose to Your Kitchen Sink

Introduction
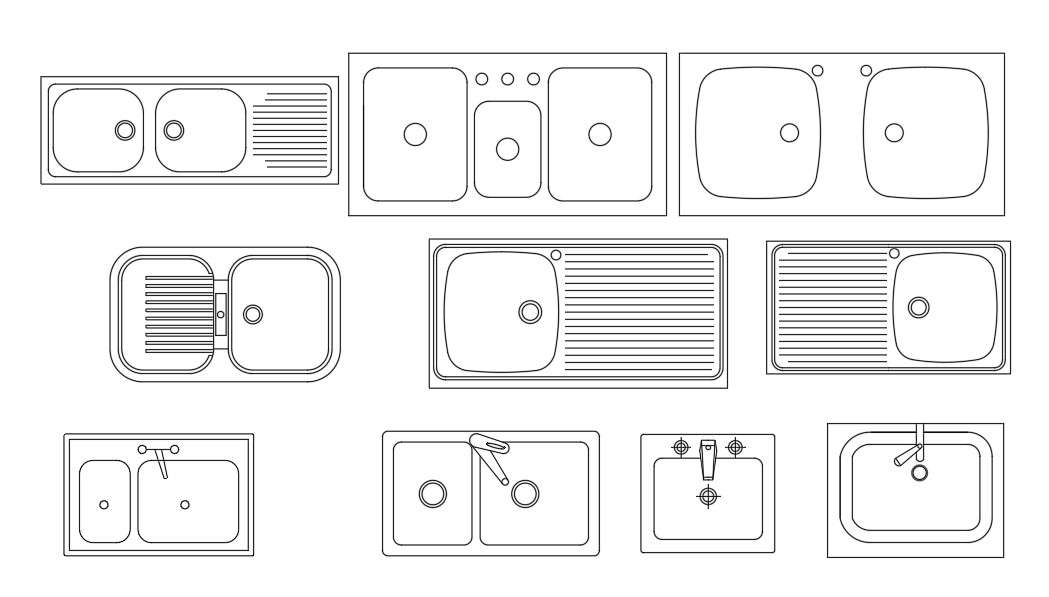
 Having a functional and well-designed kitchen is essential for any household. From the appliances to the layout, every aspect of the kitchen contributes to its overall functionality and aesthetic appeal. One often overlooked but crucial element in a kitchen is the sink. A properly fitted kitchen sink not only enhances the overall design of the kitchen but also makes daily tasks, such as washing dishes, easier and more efficient. In this article, we will focus on one specific aspect of sink design – fitting a hose to your kitchen sink. Read on to learn how to do it properly and avoid any potential mishaps.
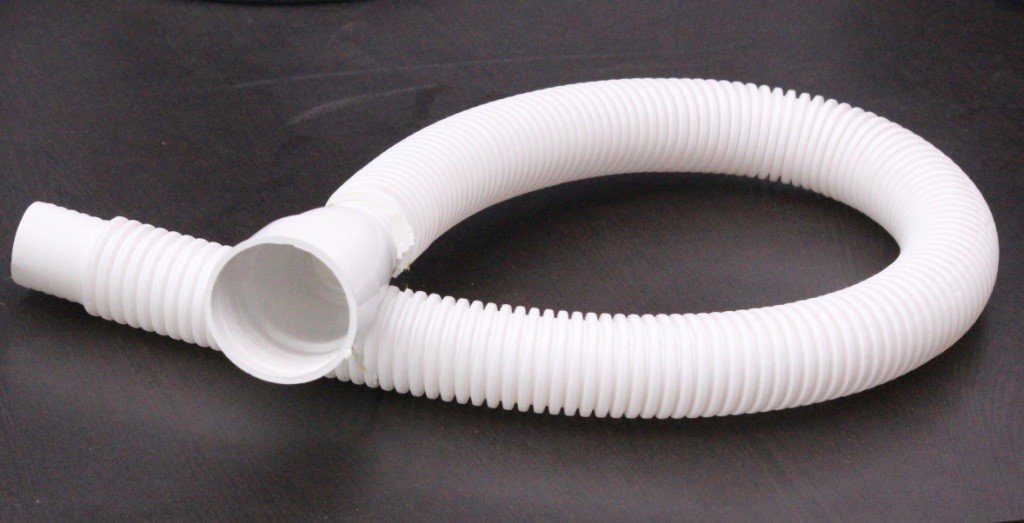
What is a Hose and Why Do I Need One?
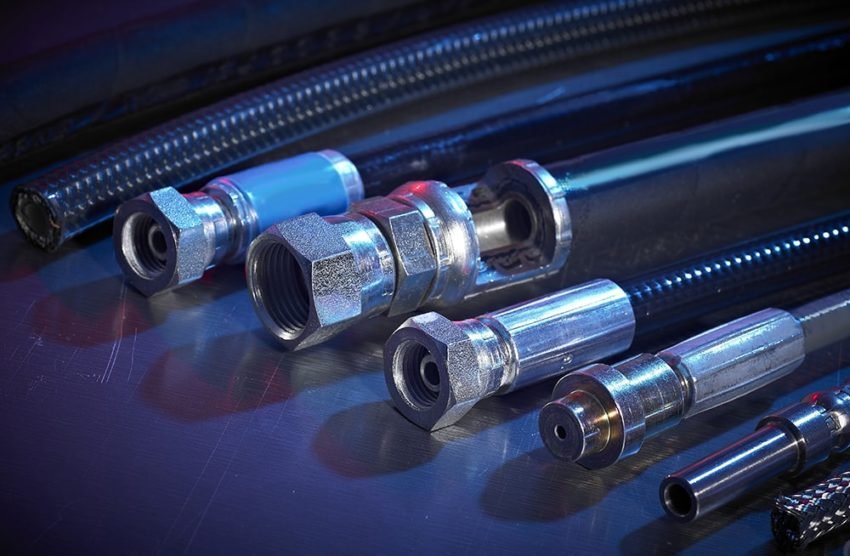
 A hose is a flexible tube that is used to transfer liquid or gas from one location to another. In the context of a kitchen sink, a hose is used to connect the sink to a water supply, allowing for easy access to water for tasks such as washing dishes or filling up pots. Not all sinks come equipped with a hose, so if you don't have one, it may be worth considering installing one for added convenience.
Step-by-Step Guide to Fitting a Hose to Your Kitchen Sink
 Fitting a hose to your kitchen sink may seem daunting, but with the right tools and following these simple steps, it can be done in no time.
Step 1: Gather your tools
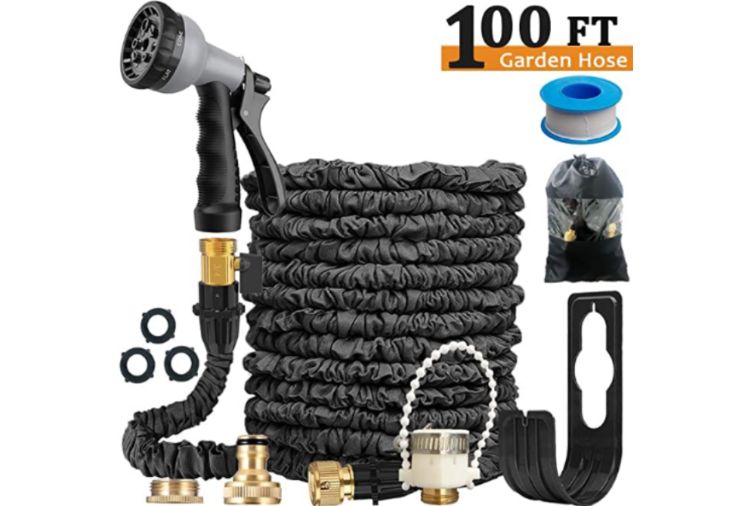
Before you begin, make sure you have all the necessary tools for the job. This includes a wrench, pliers, plumber's tape, and a hose fitting kit.
Step 2: Shut off the water supply
Before attempting to fit the hose, make sure to turn off the water supply to your sink. This can usually be done by turning off the main water valve in your home.
Step 3: Remove the old faucet
If you are replacing an old hose, use a wrench to loosen and remove the old faucet from the sink.
Step 4: Attach the new faucet
Take the new faucet from your hose fitting kit and attach it to the sink, using the appropriate tools to ensure it is securely in place.
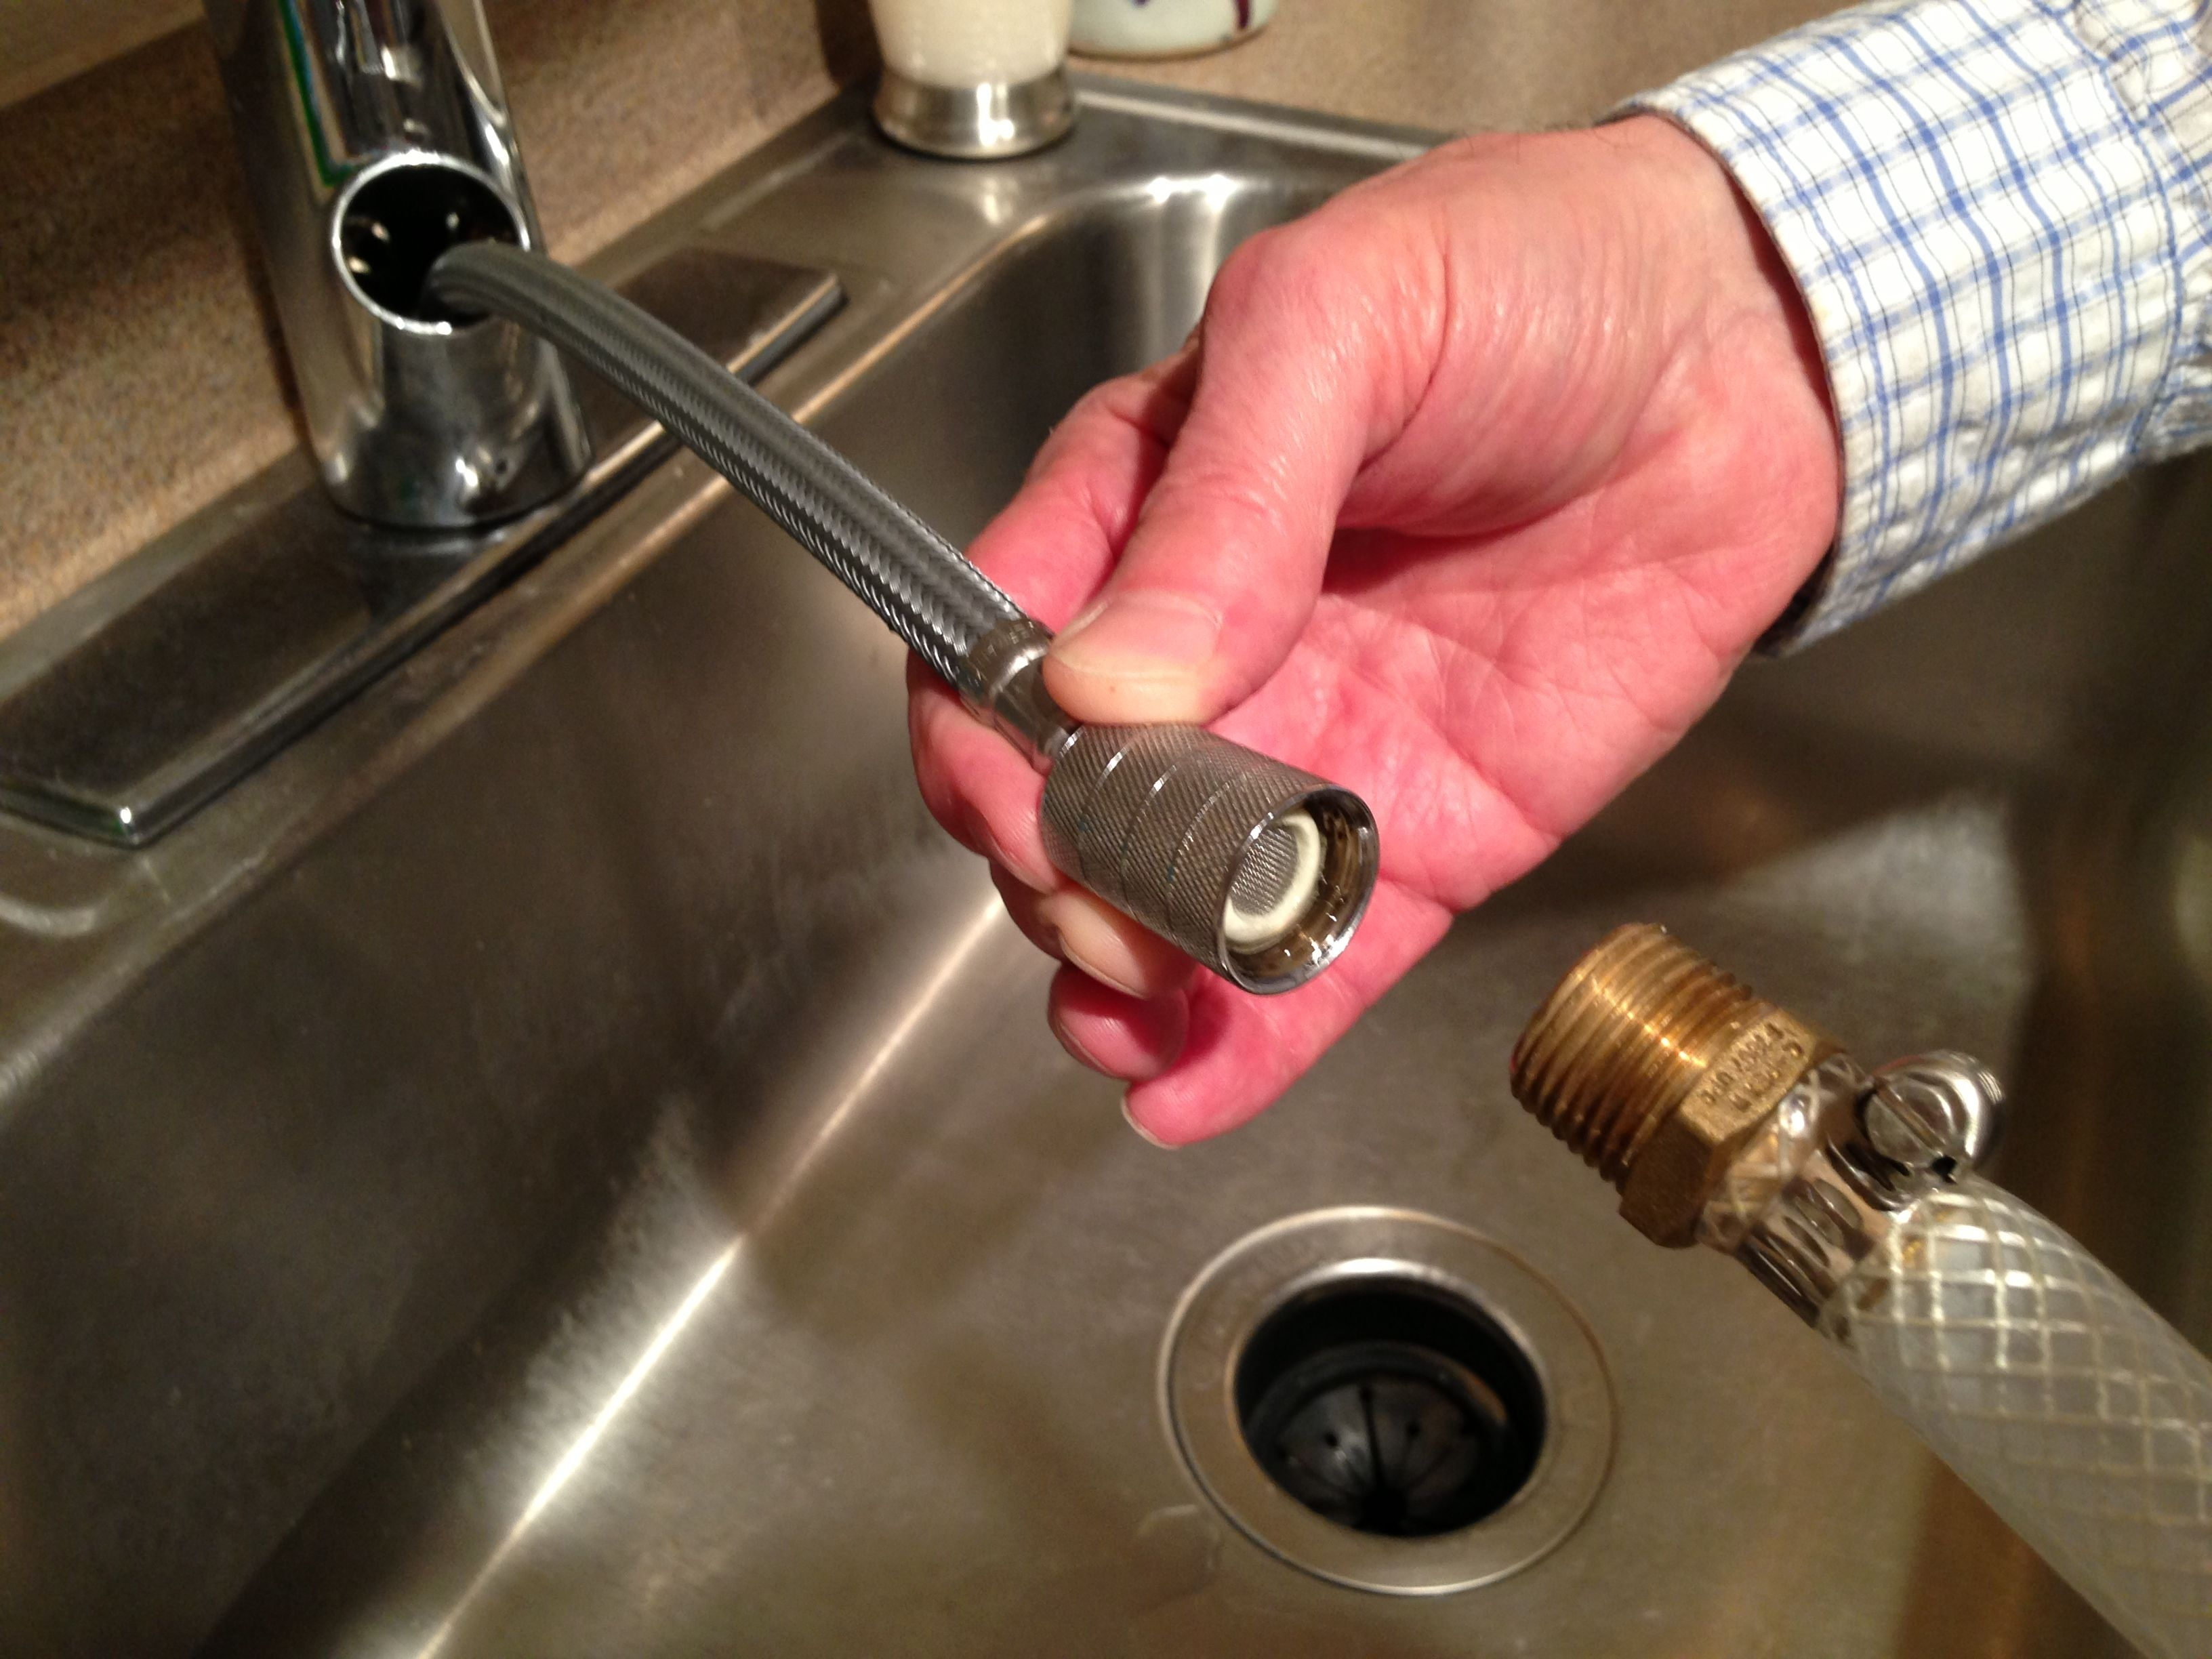
Step 5: Connect the hose
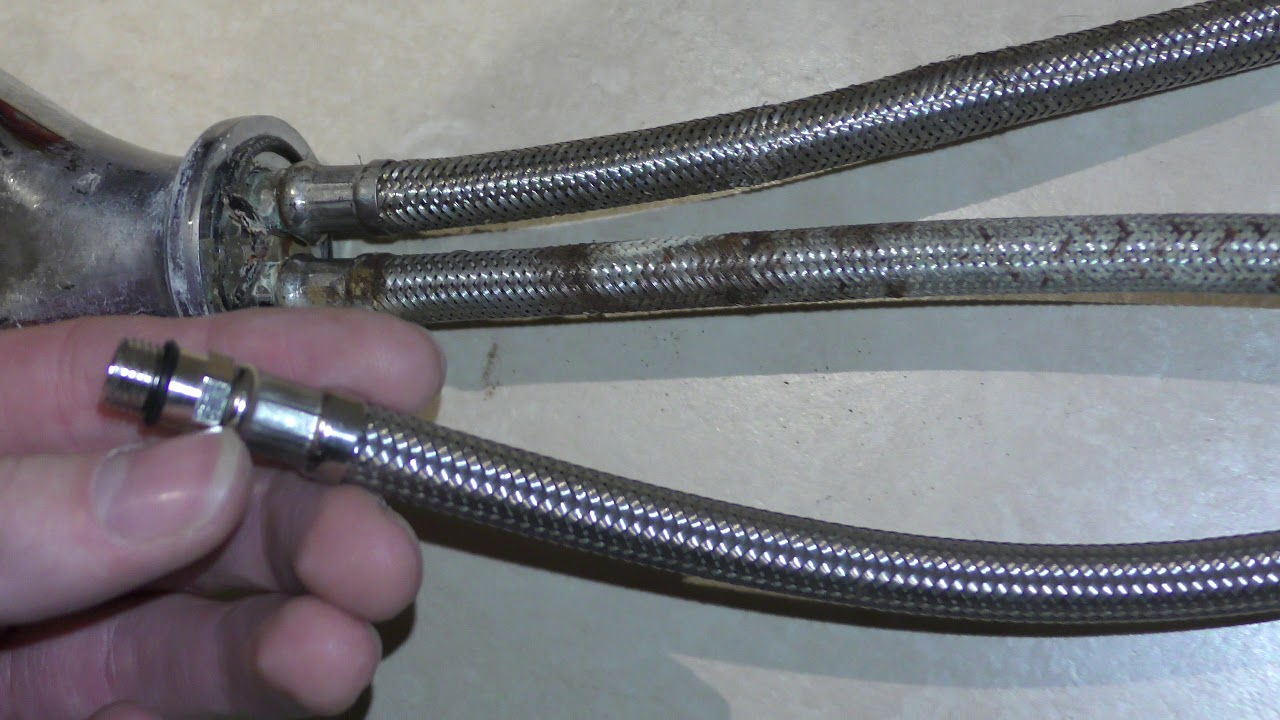
Next, connect the hose to the faucet. Make sure to use plumber's tape to create a tight seal and prevent any leaks.
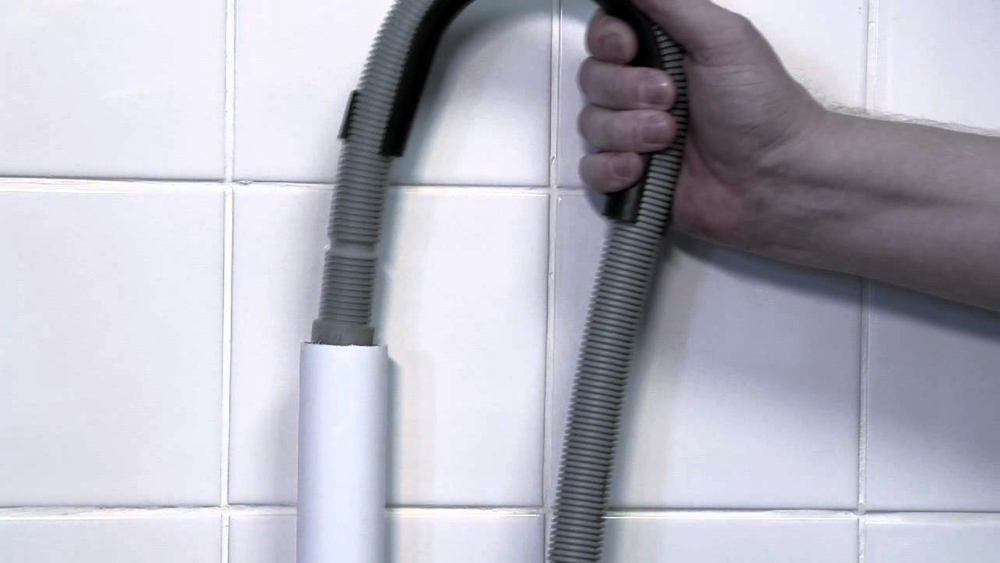
Step 6: Connect the other end of the hose
Attach the other end of the hose to the water supply. Again, use plumber's tape to ensure a secure connection.
Step 7: Turn on the water supply
Turn the water supply back on and check for any leaks. If you notice any, tighten the connections or replace any damaged parts.
Fitting a hose to your kitchen sink may seem daunting, but with the right tools and following these simple steps, it can be done in no time.
Step 1: Gather your tools
Before you begin, make sure you have all the necessary tools for the job. This includes a wrench, pliers, plumber's tape, and a hose fitting kit.
Step 2: Shut off the water supply
Before attempting to fit the hose, make sure to turn off the water supply to your sink. This can usually be done by turning off the main water valve in your home.
Step 3: Remove the old faucet
If you are replacing an old hose, use a wrench to loosen and remove the old faucet from the sink.
Step 4: Attach the new faucet
Take the new faucet from your hose fitting kit and attach it to the sink, using the appropriate tools to ensure it is securely in place.
Step 5: Connect the hose
Next, connect the hose to the faucet. Make sure to use plumber's tape to create a tight seal and prevent any leaks.
Step 6: Connect the other end of the hose
Attach the other end of the hose to the water supply. Again, use plumber's tape to ensure a secure connection.
Step 7: Turn on the water supply
Turn the water supply back on and check for any leaks. If you notice any, tighten the connections or replace any damaged parts.
Conclusion
 Fitting a hose to your kitchen sink is a simple and straightforward process that can greatly improve the functionality and convenience of your kitchen. By following these steps and using the right tools, you can have a properly fitted hose in no time. Remember to also regularly check for any leaks or damage to ensure your hose continues to function properly. With a well-fitted hose, you can make daily tasks in the kitchen a breeze.