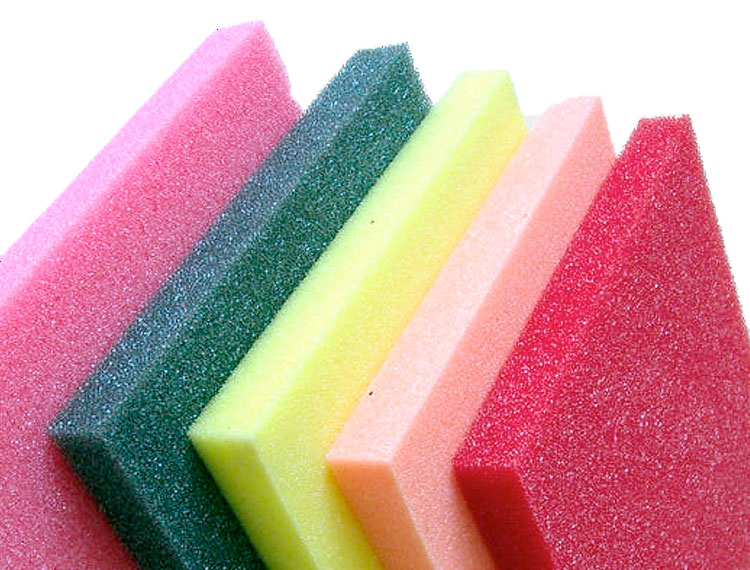
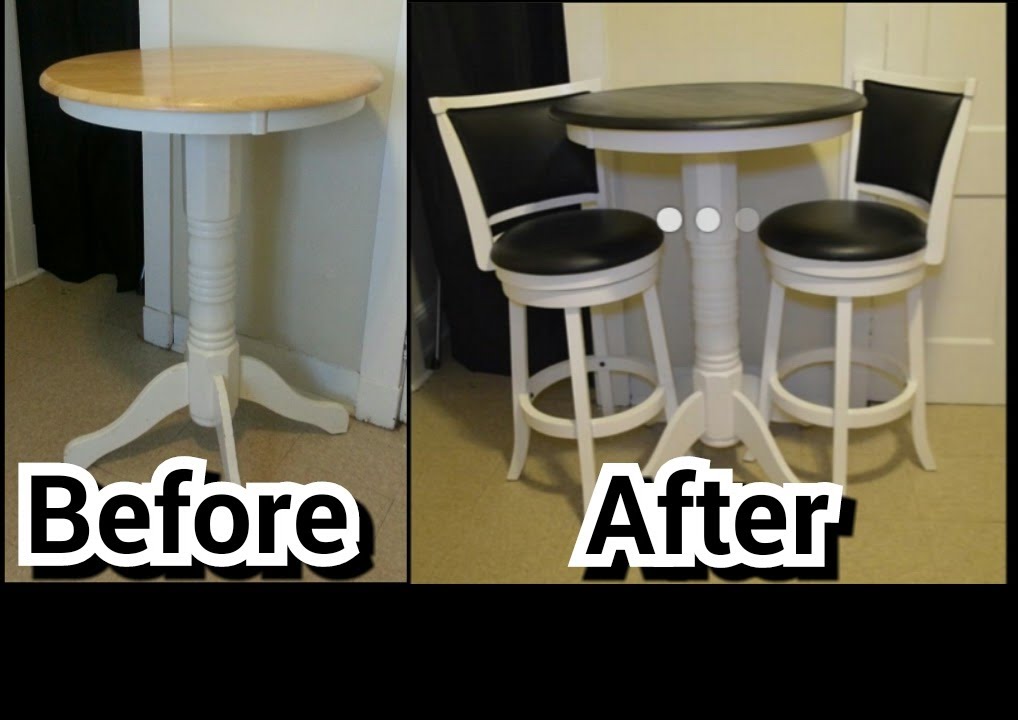
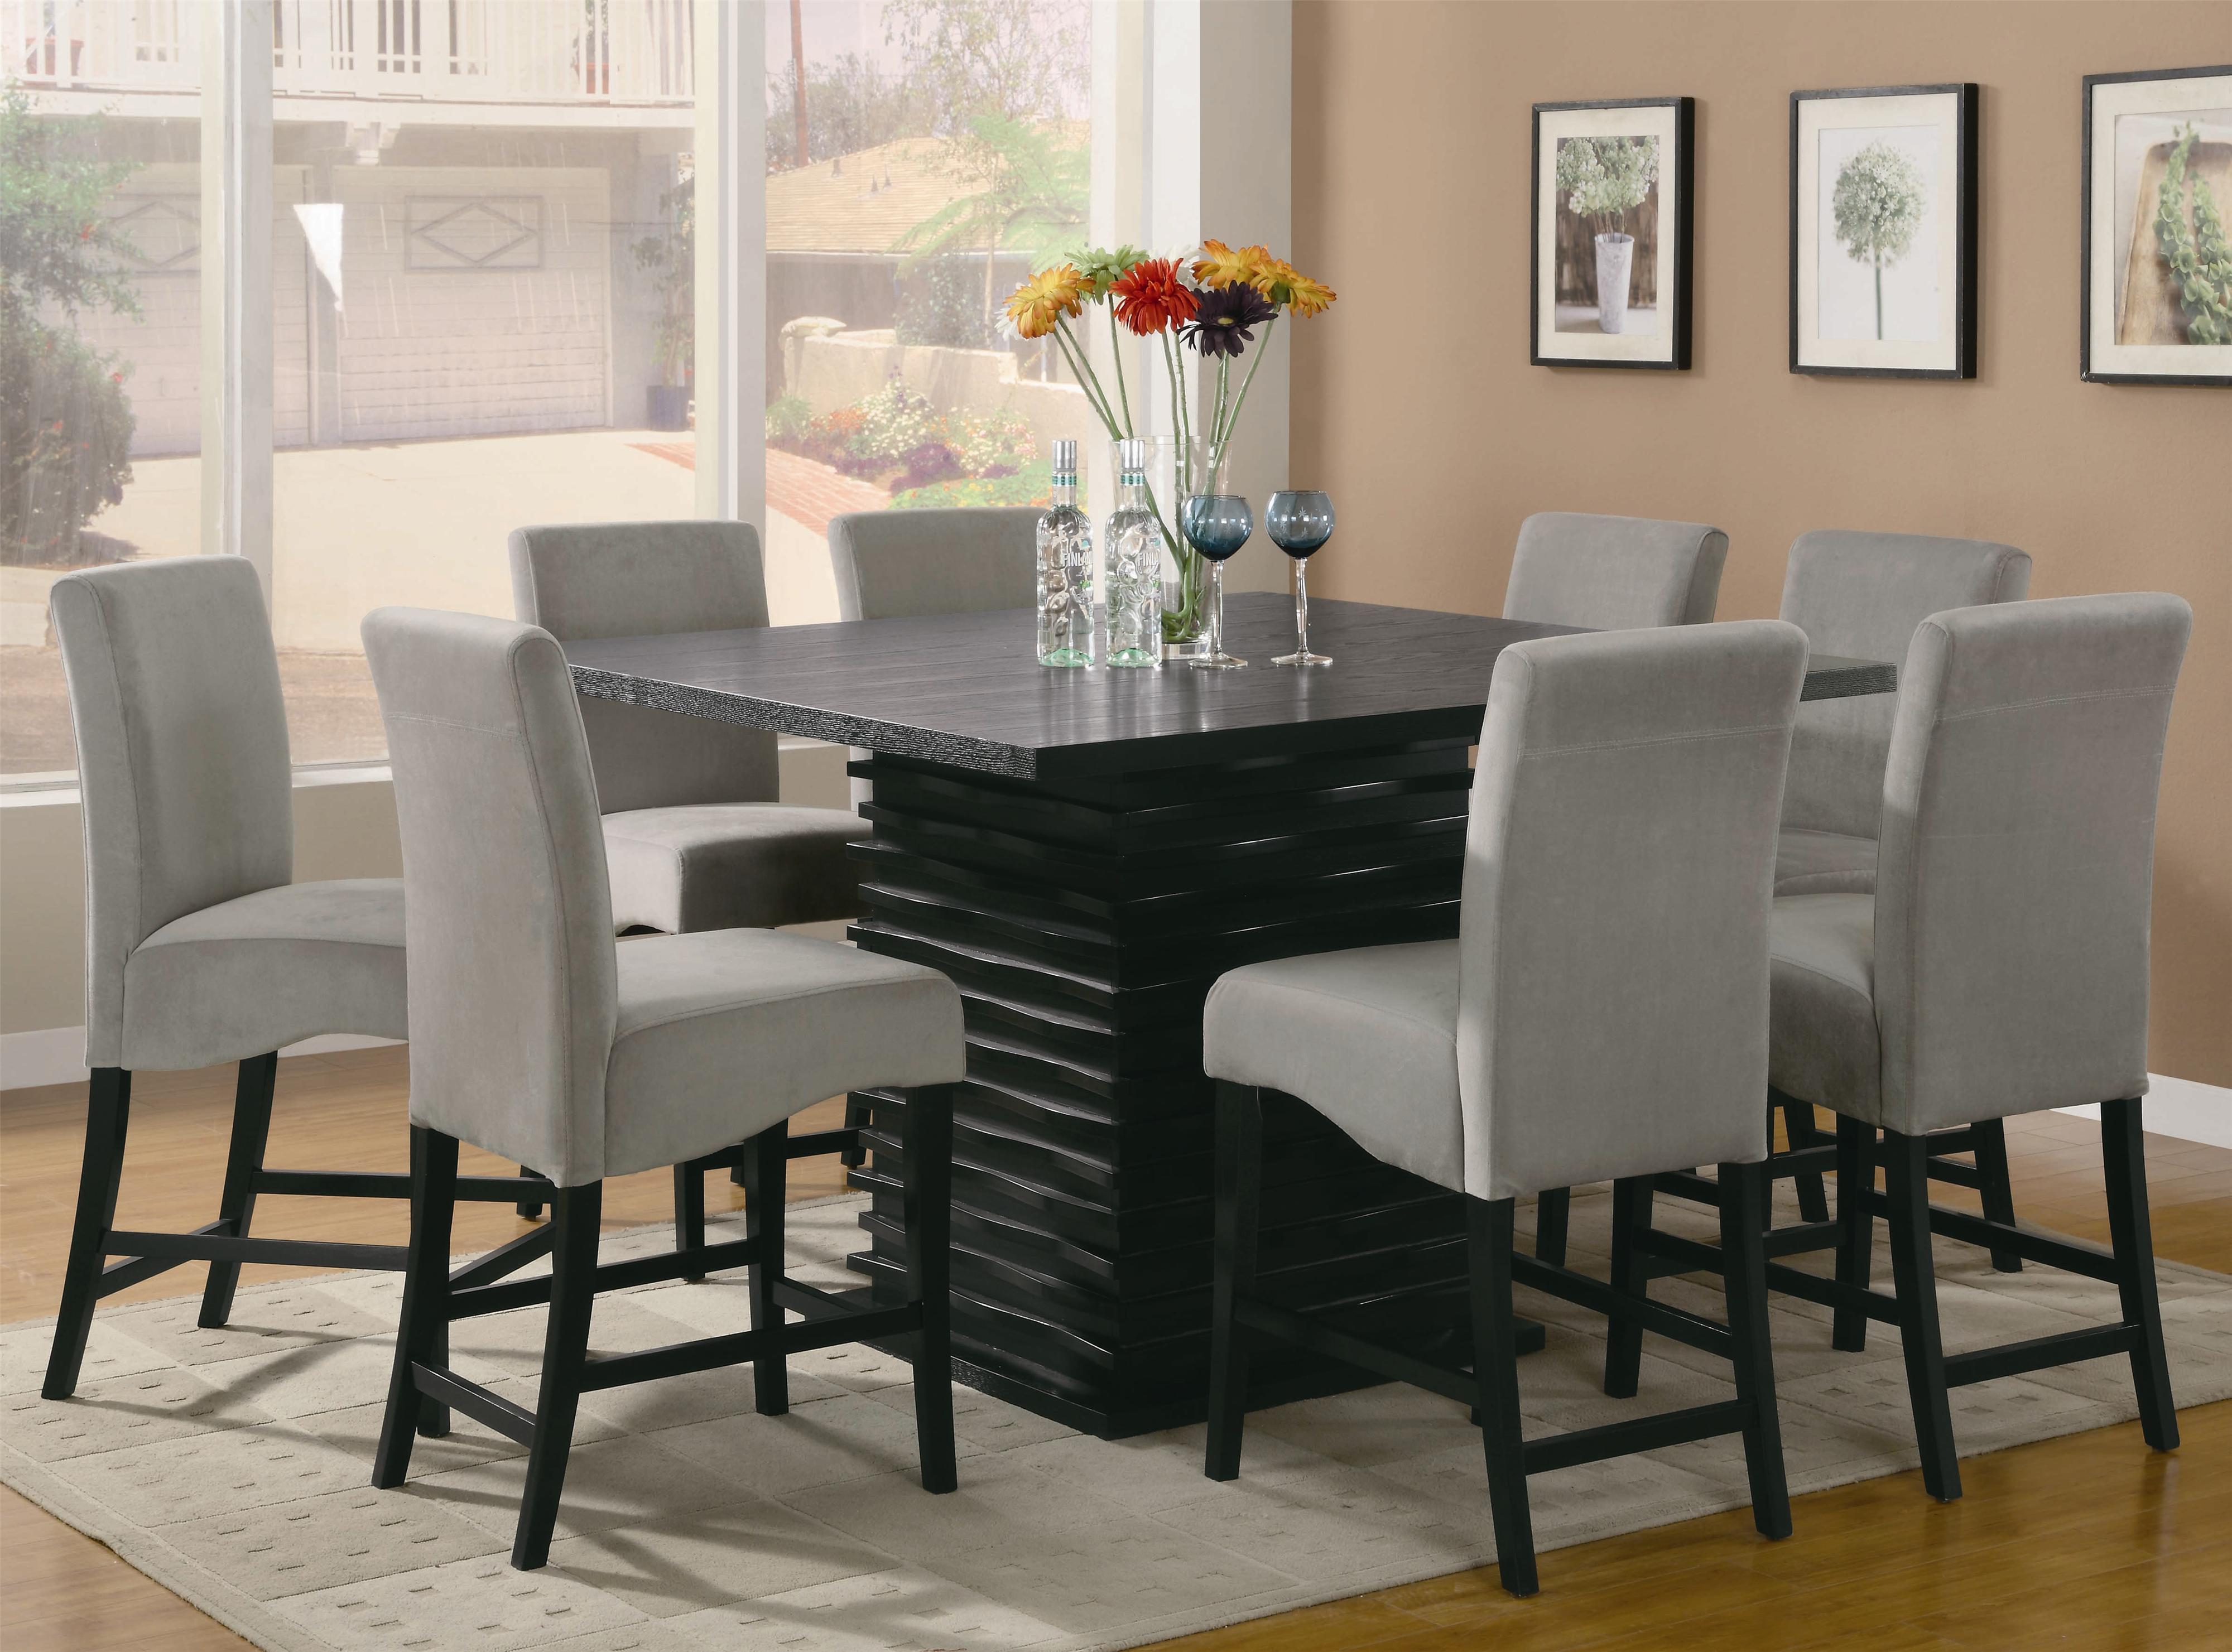
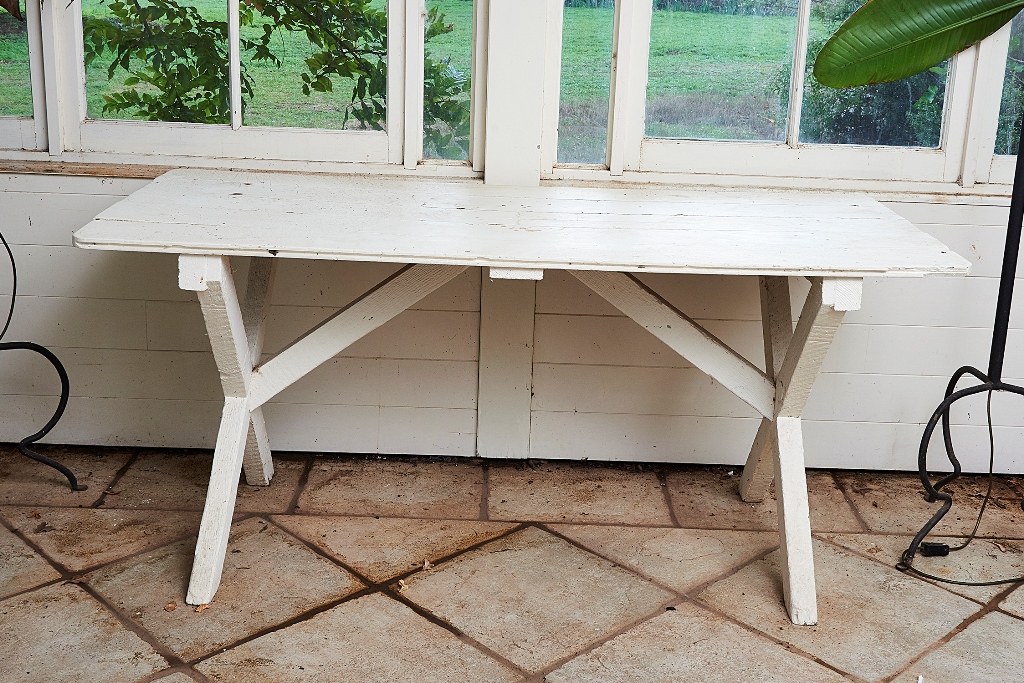
Are you tired of your old and worn-out kitchen table? Or are you looking to add a pop of color to your kitchen decor? Painting your kitchen table is a great way to give it a fresh new look without breaking the bank. In this step-by-step guide, I will walk you through the process of transforming your kitchen table into a beautiful and unique piece of furniture. To get started, gather all your materials. You will need sandpaper, primer, paint, paintbrushes, a drop cloth, and a clean cloth for wiping. Make sure to choose a paint color that complements your kitchen and fits your personal style. And don't forget to protect your work area by laying down a drop cloth. First, prepare the surface of your table by sanding it with a medium grit sandpaper. This will help the paint adhere better and create a smooth finish. After sanding, wipe down the table with a clean cloth to remove any dust or debris. Next, apply a coat of primer to the entire surface of your table using a paintbrush. Make sure to cover all areas evenly and let it dry completely. Primer helps the paint adhere better and prevents any stains or knots from showing through. Now it's time to paint! Using a high-quality paintbrush, apply the first coat of paint in even strokes. Depending on the color and type of paint, you may need to apply multiple coats for full coverage. Allow each coat to dry completely before applying the next one. For a unique and creative touch, consider adding a design or pattern to your kitchen table. You can use stencils or freehand it for a more whimsical look. Just make sure to wait for the base coat to dry before adding any designs. Once you are happy with the color and design of your table, let it dry completely for 24 hours before using it. This will ensure that the paint has fully cured and will prevent any smudges or scratches. Finally, seal your newly painted kitchen table with a clear topcoat. This will protect the paint from any spills or scratches and will make it easier to clean. You can choose between a glossy or matte finish, depending on your preference. And voila! You now have a beautifully painted kitchen table that will add a touch of personality to your space. Get creative and have fun with this DIY project, and enjoy your stunning new table!1. How to Paint a Kitchen Table: A Step-by-Step Guide


1. How to Paint a Kitchen Table: A Step-by-Step Guide


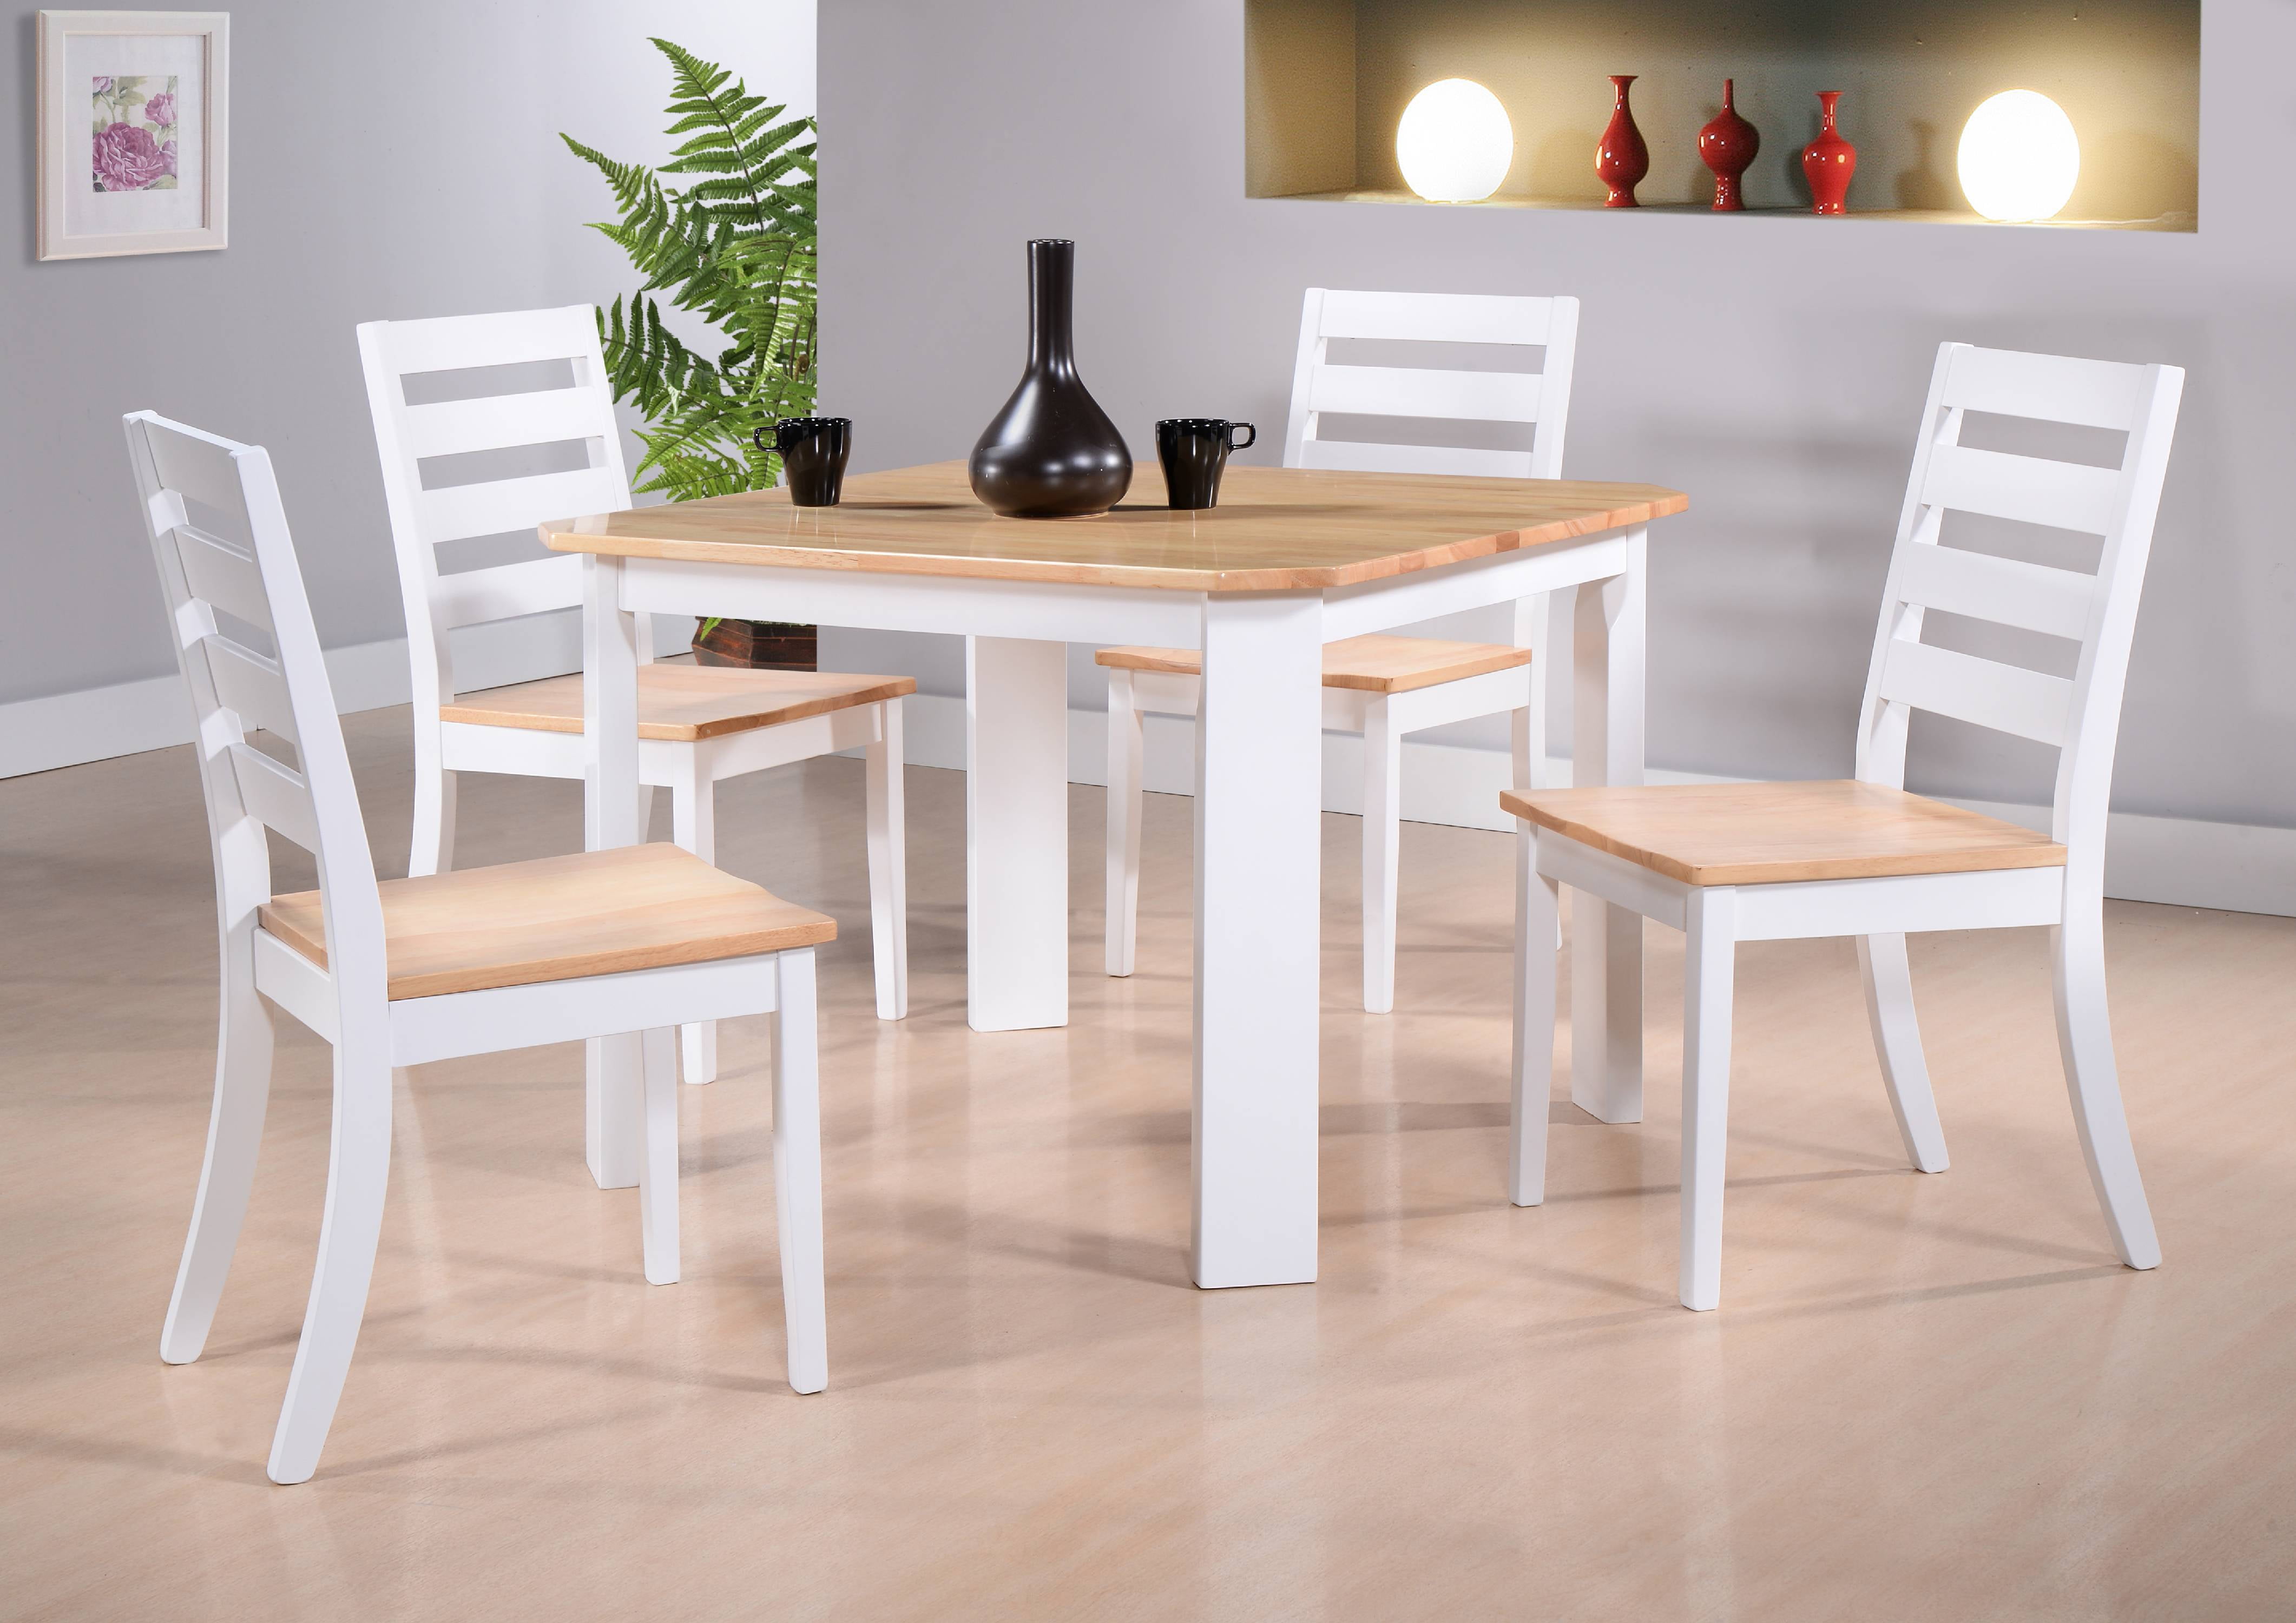
Painting your kitchen table is a budget-friendly and easy way to give your kitchen a fresh new look. But why settle for a plain and basic painted table when you can get creative and make it truly unique? Here are some DIY painted kitchen table ideas to spark your creativity and help you create a one-of-a-kind piece of furniture. 1. Ombre Effect: Give your kitchen table a subtle and elegant touch by painting it with an ombre effect. Start with a light color at the top and gradually transition to a darker shade at the bottom. 2. Colorful Stripes: Add some fun and vibrancy to your kitchen with colorful stripes. You can use painter's tape to create clean and even lines for a professional look. 3. Tribal Design: If you have a knack for art and patterns, try painting a tribal-inspired design on your kitchen table. You can use stencils or freehand it for a more unique look. 4. Chalkboard Table: Turn your kitchen table into a functional and fun chalkboard by painting the top with chalkboard paint. This is perfect for jotting down grocery lists, meal plans, or even doodling while you wait for dinner to cook. 5. Floral Accents: Add a touch of nature to your kitchen by painting your table with floral accents. You can use stencils or paint them freehand for a whimsical and charming look. 6. Geometric Patterns: Create a modern and trendy look by painting your table with geometric patterns. You can use painter's tape to create clean lines or paint them freehand for a more abstract design. 7. Stained Wood Look: If you love the look of natural wood, but don't want to invest in a new table, try painting your table with a faux wood finish. This will give it a rustic and charming look without the hefty price tag. 8. Mix and Match: Who says your kitchen table has to be one solid color? Get creative and mix and match different paint colors for a playful and unique look. 9. Marble Effect: Create a sophisticated and luxurious look by painting your table with a marble effect. You can achieve this by using a sponge or feather to create a marbled pattern with different shades of paint. 10. Personalized Design: Let your imagination run wild and create a personalized design for your kitchen table. You can paint your family's names, a meaningful quote, or anything that speaks to your style and personality.2. DIY Painted Kitchen Table Ideas


2. DIY Painted Kitchen Table Ideas


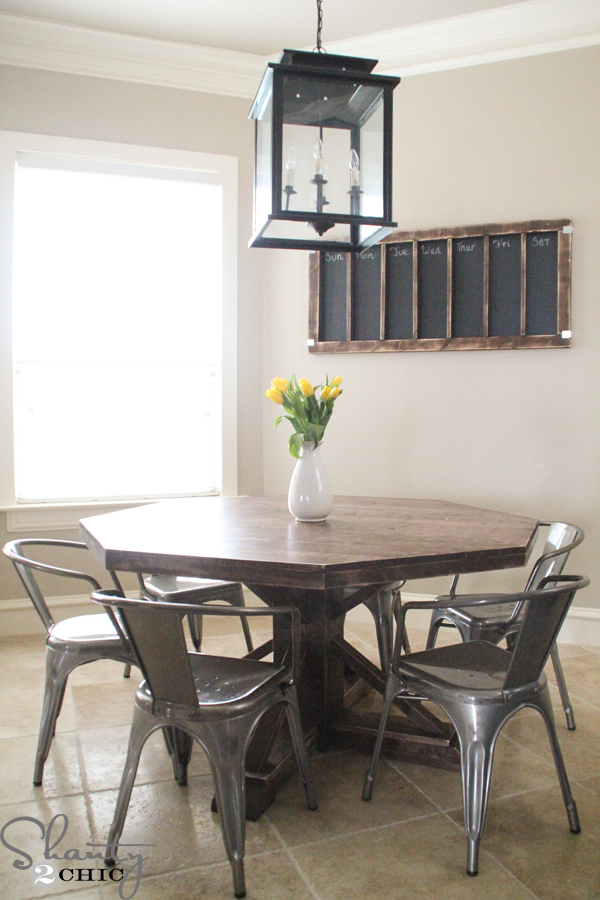
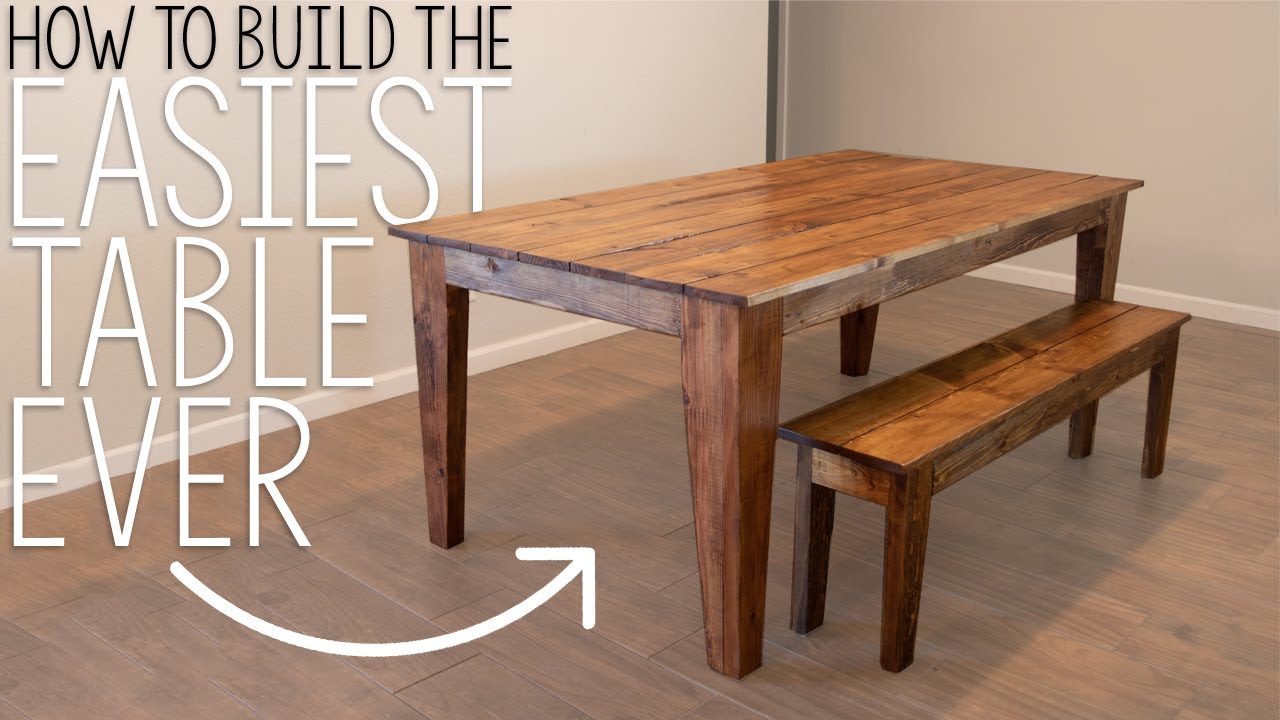
Whether you're looking to revamp your old kitchen table or just add a personal touch to a new one, DIY-ing it is the way to go. Not only is it budget-friendly, but it also allows you to unleash your creativity and make a one-of-a-kind piece of furniture. Here are 10 DIY kitchen table ideas to inspire you. 1. Painted Tabletop: One of the easiest ways to give your kitchen table a new look is by painting the tabletop. You can choose a solid color, add designs, or get creative with patterns. 2. Refinished Wood: If you have a wooden kitchen table, consider giving it a new life by refinishing it. Sand it down and stain it with a new color or simply add a fresh coat of varnish to make it look brand new. 3. Reclaimed Wood Table: For a rustic and charming look, consider building your own kitchen table using reclaimed wood. Not only is it budget-friendly, but it also adds a unique and eco-friendly touch to your space. 4. Tile Tabletop: Add a touch of elegance to your kitchen table by replacing the tabletop with some beautiful tiles. You can choose from a variety of colors and patterns to create a personalized look. 5. Pallet Table: Another budget-friendly option is to repurpose wooden pallets into a kitchen table. You can sand them down and add a coat of paint or leave them as is for a rustic and industrial look. 6. Glass Tabletop: For a modern and sleek look, consider replacing the tabletop with a glass one. This will make your kitchen table look more open and spacious while adding a touch of elegance. 7. Concrete Table: Get creative and build your own concrete kitchen table. You can add color pigment to make it more unique or leave it in its natural grey tone for an industrial look. 8. Stenciled Tabletop: Add a touch of art to your kitchen table by using stencils to create a design or pattern on the tabletop. You can use multiple colors and designs for a more eclectic look. 9. Decoupage Table: If you love to decoupage, why not try it on your kitchen table? You can use patterned paper or even fabric to cover the tabletop and seal it with varnish for a unique and eye-catching design. 10. Tile Mosaic Table: For a truly unique and stunning kitchen table, create a tile mosaic on the tabletop. You can mix and match different colors and sizes of tiles to create a personalized and eye-catching design.3. 10 DIY Kitchen Table Ideas


3. 10 DIY Kitchen Table Ideas


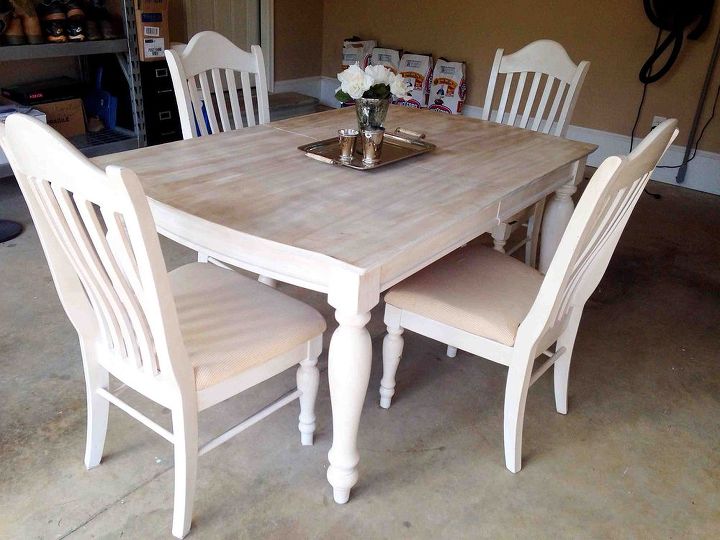
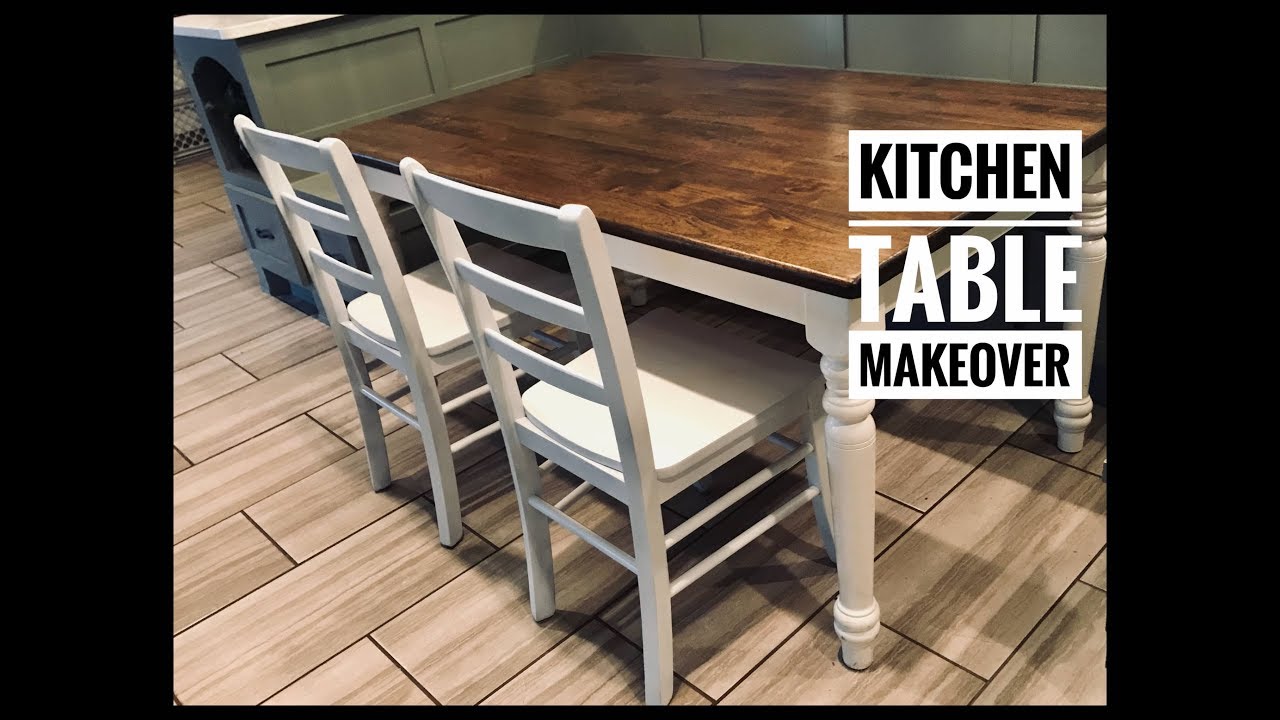
Do you have a tired and worn-out kitchen table that needs a makeover? Don't worry, you don't have to spend a fortune on a new one. With some paint and a little bit of creativity, you can easily transform your kitchen table into a beautiful and stylish piece of furniture. Here's how to do an easy DIY painted kitchen table makeover. Step 1: Prep the Table: Start by removing any hardware or accessories from your table, such as knobs or leaves. Sand down the surface of the table with a medium grit sandpaper to create a smooth and even surface. Step 2: Prime the Table: Apply a coat of primer to the entire surface of the table using a paintbrush. This will help the paint adhere better and create a smooth and even finish. Let it dry completely before moving on to the next step. Step 3: Paint the Table: Using a high-quality paintbrush, apply the first coat of paint in even strokes. Depending on the color and type of paint, you may need to apply multiple coats for full coverage. Allow each coat to dry completely before applying the next one. Step 4: Add a Design: If you want to add a design or pattern to your kitchen table, now is the time to do it. You can use stencils, painter's tape, or paint freehand for a more whimsical look. Make sure to let the base coat of paint dry before adding any designs. Step 5: Seal the Table: Once you are happy with the color and design of your table, let it dry completely for 24 hours. This will ensure that the paint has fully cured and will prevent any smudges or scratches. Finally, seal your table with a clear topcoat to protect the paint from spills and scratches. And there you have it, an easy DIY painted kitchen table makeover that will give your space a whole new look without breaking the bank.4. Easy DIY Painted Kitchen Table Makeover


4. Easy DIY Painted Kitchen Table Makeover


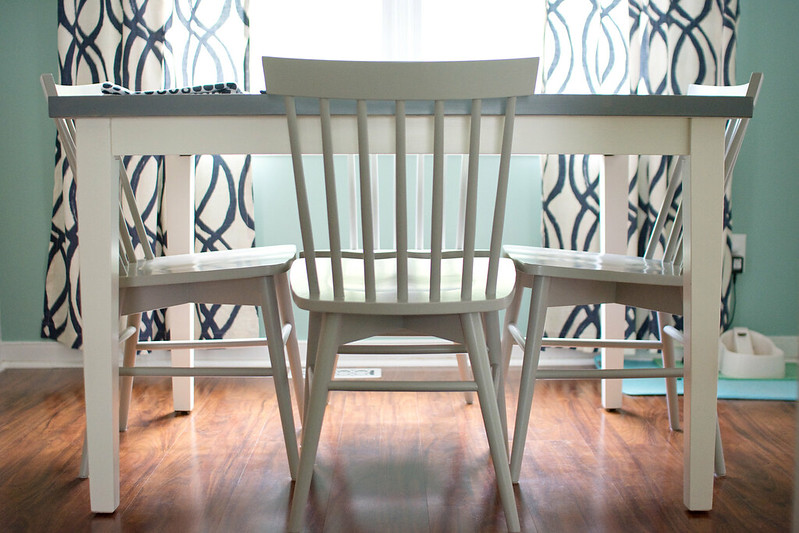

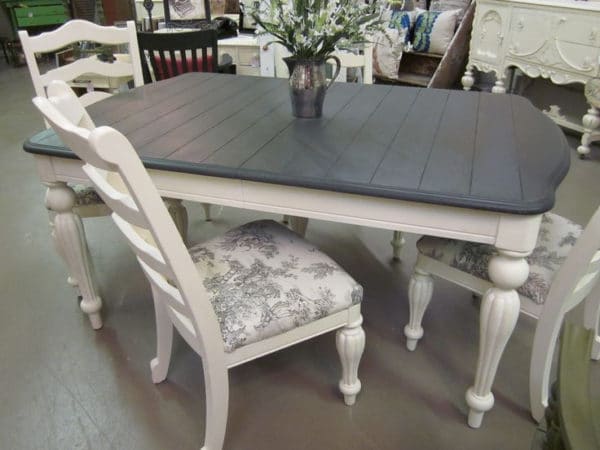
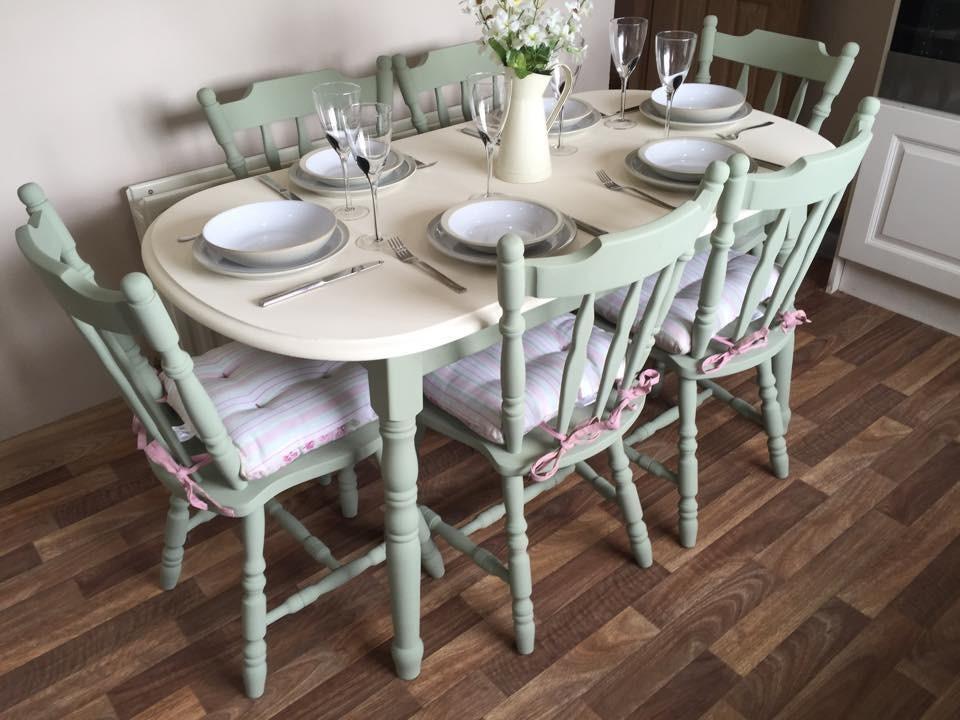
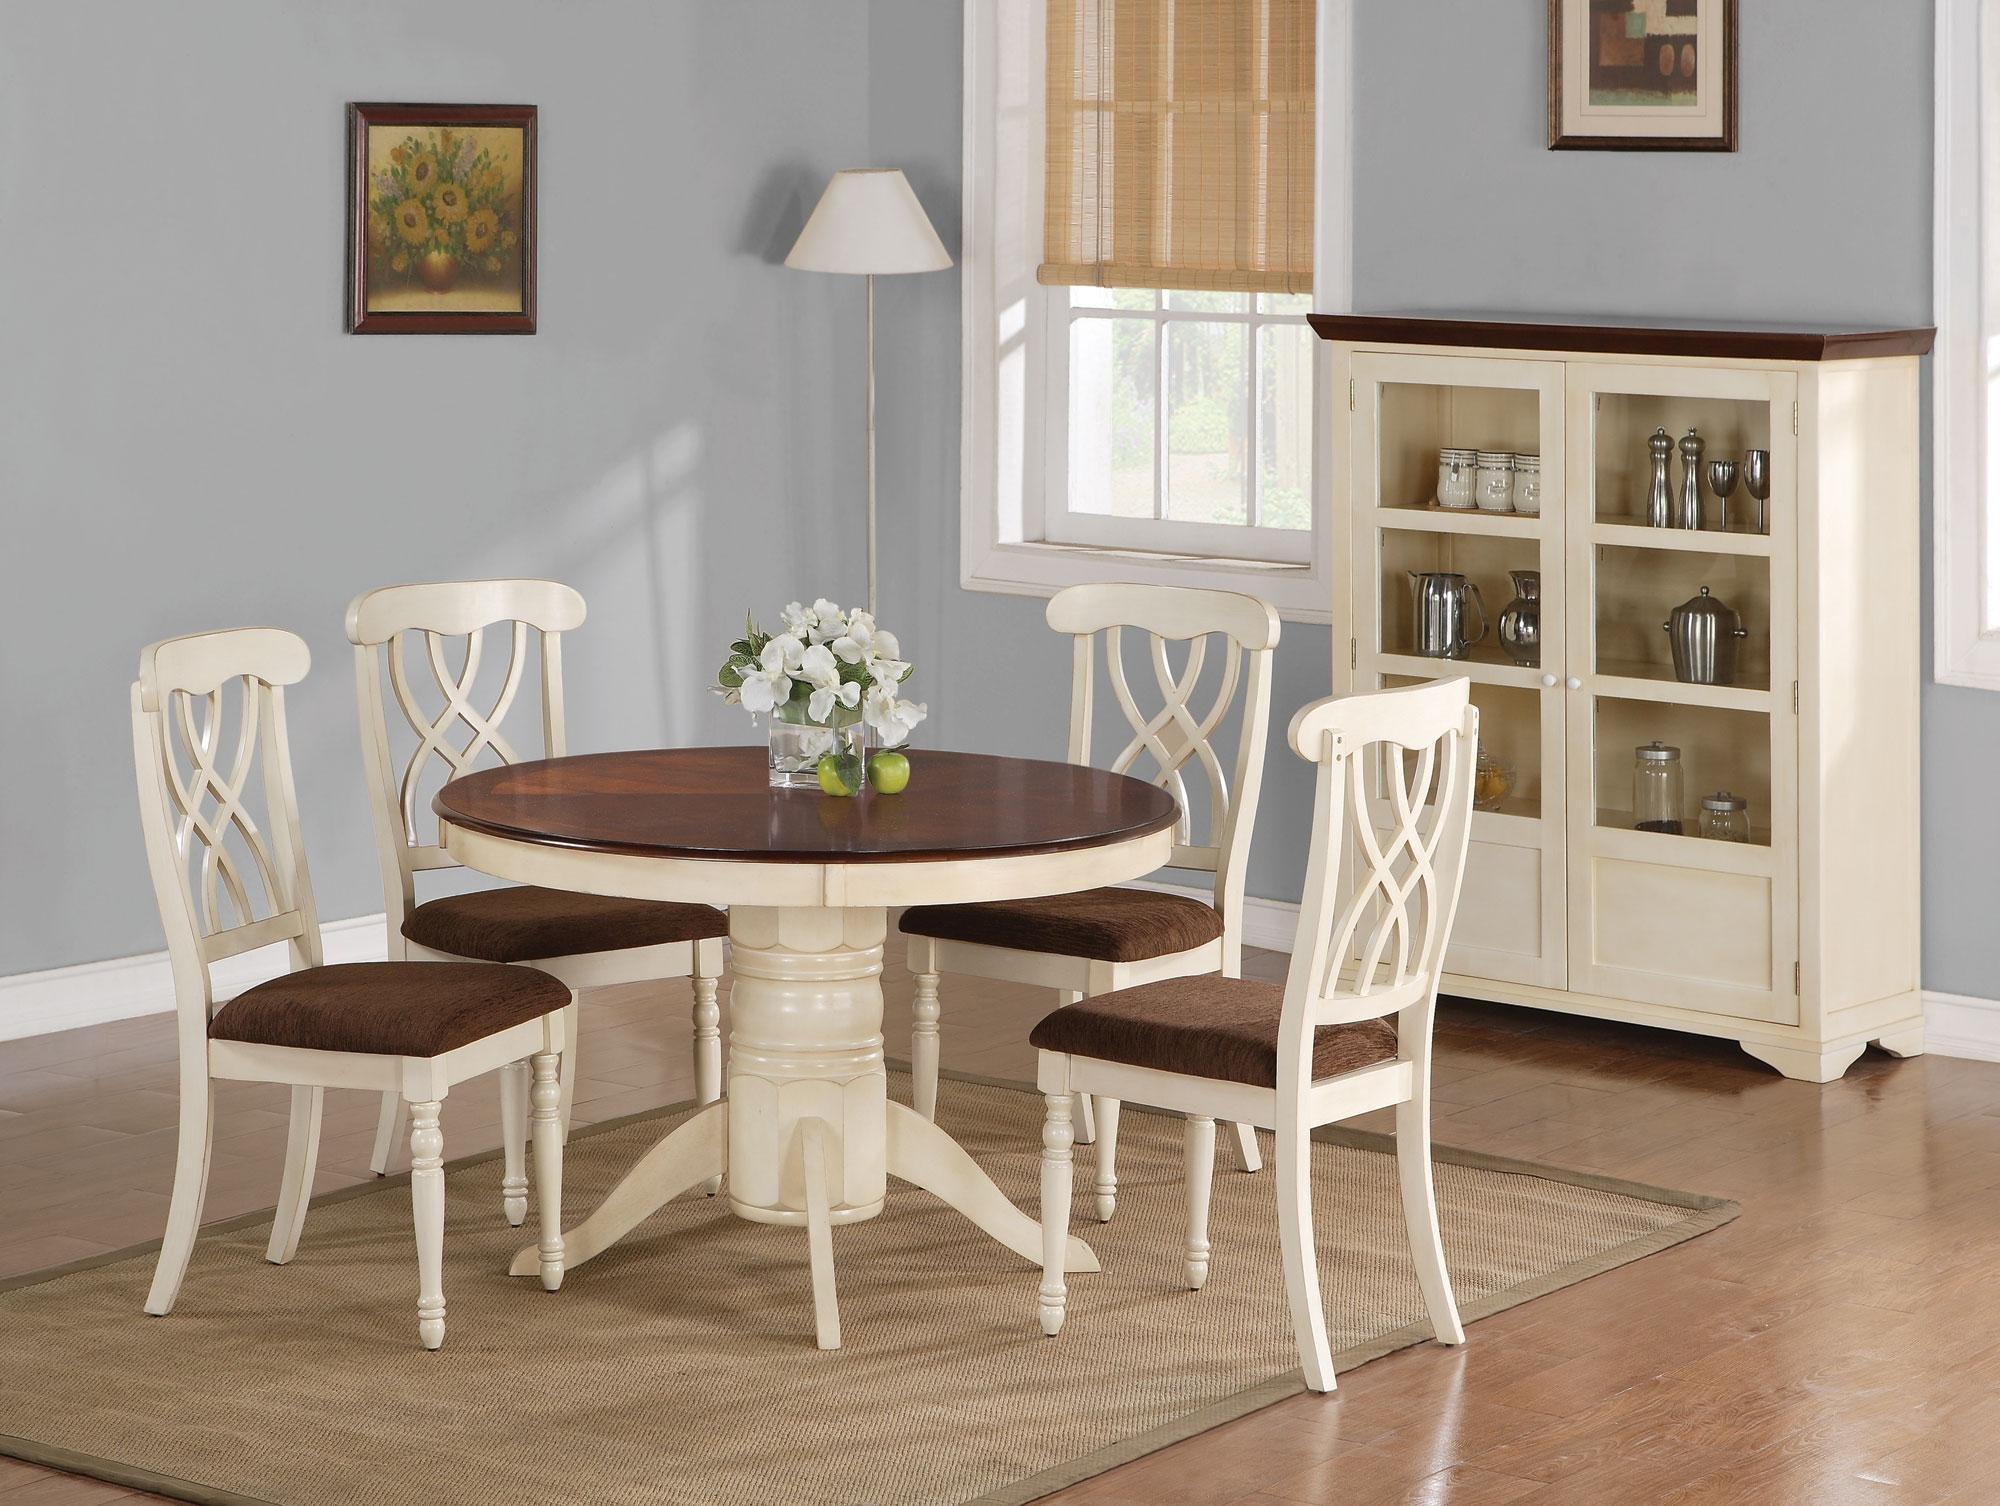
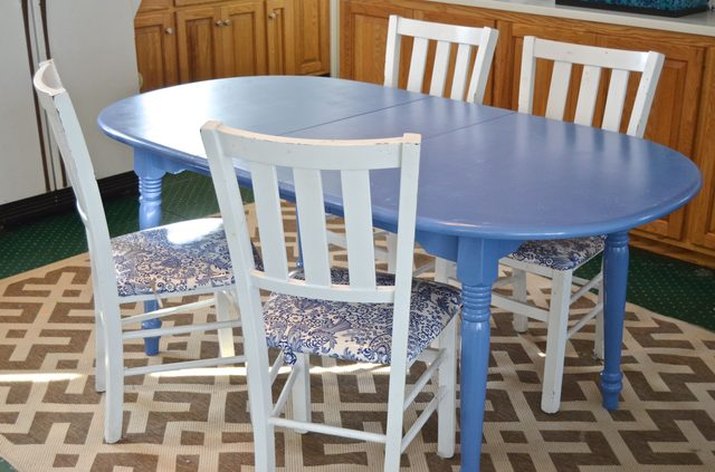
If you have a set of mismatched kitchen table and chairs or just want to give your dining area a cohesive look, consider painting them all in the same color. This is an easy and budget-friendly way to tie the furniture pieces together and create a cohesive look. Here's how to DIY paint your kitchen table and chairs. Step 1: Prep the Furniture: Start by sanding down the surface of your table and chairs with a medium grit sandpaper. This will help the paint adhere better and create a smooth finish. Wipe down the furniture with a clean cloth to remove any dust or debris. Step 2: Prime the Furniture: Apply a coat of primer to the entire surface of the furniture using a paintbrush. This will help the paint adhere better and prevent any stains or knots from showing through. Let it dry completely before moving on to the next step. Step 3: Paint the Furniture: Using a high-quality paintbrush, apply the first coat of paint in even strokes. Depending on the color and type of paint, you may need to apply multiple coats for full coverage. Allow each coat to dry completely before applying the next one. Step 4: Add a Design: If you want to add a design or pattern to your furniture, now is the time to do it. You can use stencils, painter's tape, or paint freehand for a more creative look. Make sure to let the base coat of paint dry before adding any designs. Step 5: Seal the Furniture: Once you are happy with the color and design of your furniture, let it dry completely for 24 hours. This will ensure that the paint has fully cured and will prevent any smudges or scratches. Finally, seal your furniture with a clear topcoat to protect the paint from spills and scratches. And there you have it, a beautifully painted kitchen table and chairs set that will tie your dining area together and add a touch of personality to your space.5. DIY Painted Kitchen Table and Chairs


5. DIY Painted Kitchen Table and Chairs


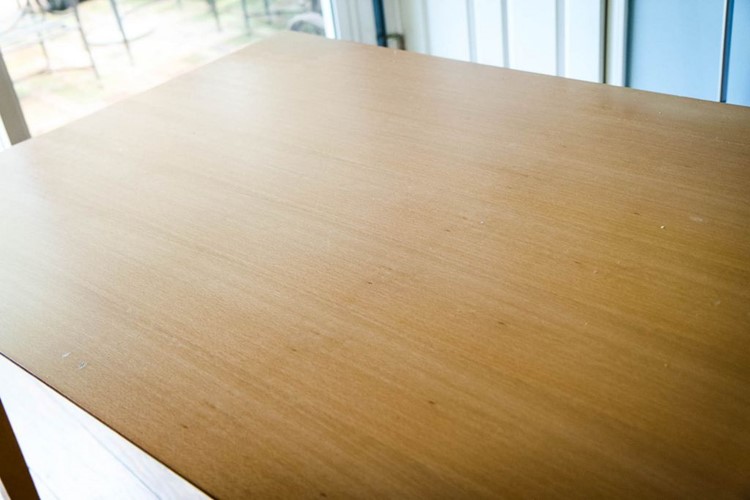
Are you on a tight budget but still want to give your kitchen table a fresh new look? Don't worry, you don't have to spend a fortune to make a statement. With some creativity and a little bit of elbow grease, you can easily give your kitchen table a makeover without breaking the bank. Here's how to do a budget-friendly DIY painted kitchen table. Step 1: Prep the Table: Start by removing any hardware or accessories from your table, such as knobs or leaves. Sand down the surface of the table with a medium grit sandpaper to create a smooth and even surface. Step 2: Clean the Table: After sanding, wipe down the table with a clean cloth to remove any dust or debris. This will ensure that the paint adheres better and creates a smooth finish. Step 3: Paint the Table: Using a high-quality paintbrush, apply the first coat of paint in even strokes. Depending on the color and type of paint, you may need to apply multiple coats for full coverage. Let each coat dry completely before applying the next one. Step 4: Add a Design: If you want to add a design or pattern to your kitchen table, now is the time to do it. You can use stencils, painter's tape, or paint freehand for a more whimsical look. Make sure to let the base coat of paint dry before adding any designs.6. Budget-Friendly DIY Painted Kitchen Table


6. Budget-Friendly DIY Painted Kitchen Table


Transform Your Kitchen with a DIY Painted Table

Affordable and Personalized Design
 Are you tired of your outdated kitchen table and looking for a budget-friendly way to update your space? Look no further than a DIY painted kitchen table. Not only will this project save you money, but it will also give you the opportunity to personalize your table to your unique style and taste. With just a few simple steps, you can transform your kitchen and make it the heart of your home.
Choosing the Perfect Paint
 When it comes to painting your kitchen table, the type of paint you choose is crucial. You want a durable and long-lasting finish that can withstand daily wear and tear.
Acrylic paint
is a great option as it is water-resistant and has a hard, glossy finish. It also comes in a wide range of colors, allowing you to choose the perfect shade for your kitchen.
Chalk paint
is another popular choice, known for its smooth and matte finish. It is also easy to distress, giving your table a rustic and vintage look.
When it comes to painting your kitchen table, the type of paint you choose is crucial. You want a durable and long-lasting finish that can withstand daily wear and tear.
Acrylic paint
is a great option as it is water-resistant and has a hard, glossy finish. It also comes in a wide range of colors, allowing you to choose the perfect shade for your kitchen.
Chalk paint
is another popular choice, known for its smooth and matte finish. It is also easy to distress, giving your table a rustic and vintage look.
Prepping and Priming
 Before you start painting, it is essential to properly prepare your table. Begin by cleaning the surface with a mild cleaner and sanding down any imperfections. This step will ensure that the paint adheres properly and creates a smooth finish. Next, apply a primer to the table. This step is especially crucial if you are painting over a dark or previously painted table. The primer will help the paint adhere and prevent any bleed-through of the original color.
Get Creative with Design
 Now comes the fun part – painting! This is your chance to let your creativity shine. You can choose to paint the entire table one color or get creative with a pattern or design. You can also use stencils to add a unique design to your table. Consider incorporating
featured keywords
such as "stripes," "geometric shapes," or "floral patterns" to add interest and personality to your kitchen table.
Now comes the fun part – painting! This is your chance to let your creativity shine. You can choose to paint the entire table one color or get creative with a pattern or design. You can also use stencils to add a unique design to your table. Consider incorporating
featured keywords
such as "stripes," "geometric shapes," or "floral patterns" to add interest and personality to your kitchen table.
Sealing and Protecting
 Once your paint has dried completely, it's time to seal and protect your new table. A clear topcoat or wax will not only give your table a professional finish but also protect it from scratches and spills. Be sure to follow the manufacturer's instructions for the proper application and drying time.
A Final Touch to Your Kitchen
 By following these simple steps, you can easily transform your kitchen table into a beautiful and personalized piece of furniture. Not only is this project affordable, but it also allows you to add your personal touch to your kitchen design. So grab your paintbrush and get ready to give your kitchen a fresh and stylish update with a DIY painted table.
Ready to get started?
With just a few supplies and a little bit of creativity, you can have a brand new kitchen table that will be the envy of all your guests. So why wait? Start your DIY project today and see the amazing transformation a painted kitchen table can bring to your home.
By following these simple steps, you can easily transform your kitchen table into a beautiful and personalized piece of furniture. Not only is this project affordable, but it also allows you to add your personal touch to your kitchen design. So grab your paintbrush and get ready to give your kitchen a fresh and stylish update with a DIY painted table.
Ready to get started?
With just a few supplies and a little bit of creativity, you can have a brand new kitchen table that will be the envy of all your guests. So why wait? Start your DIY project today and see the amazing transformation a painted kitchen table can bring to your home.