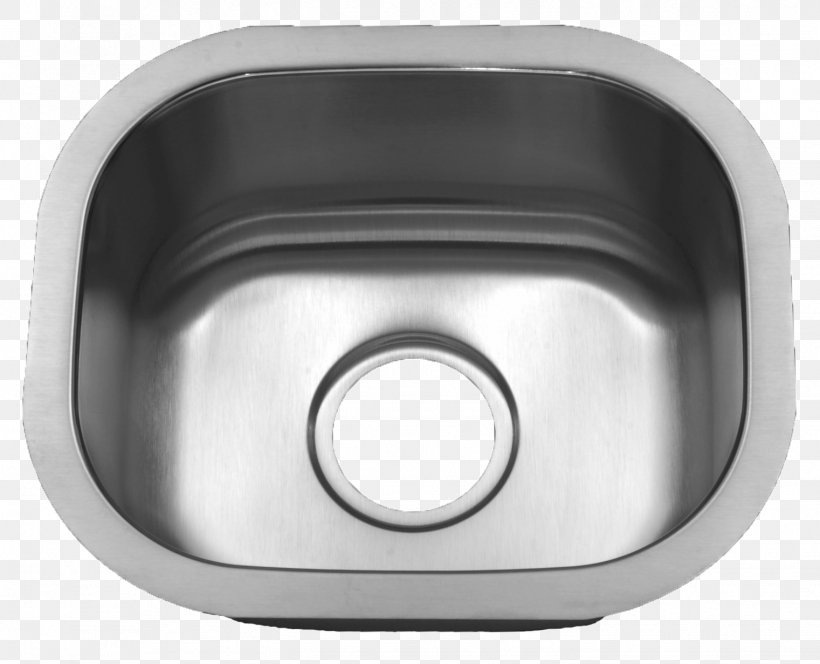
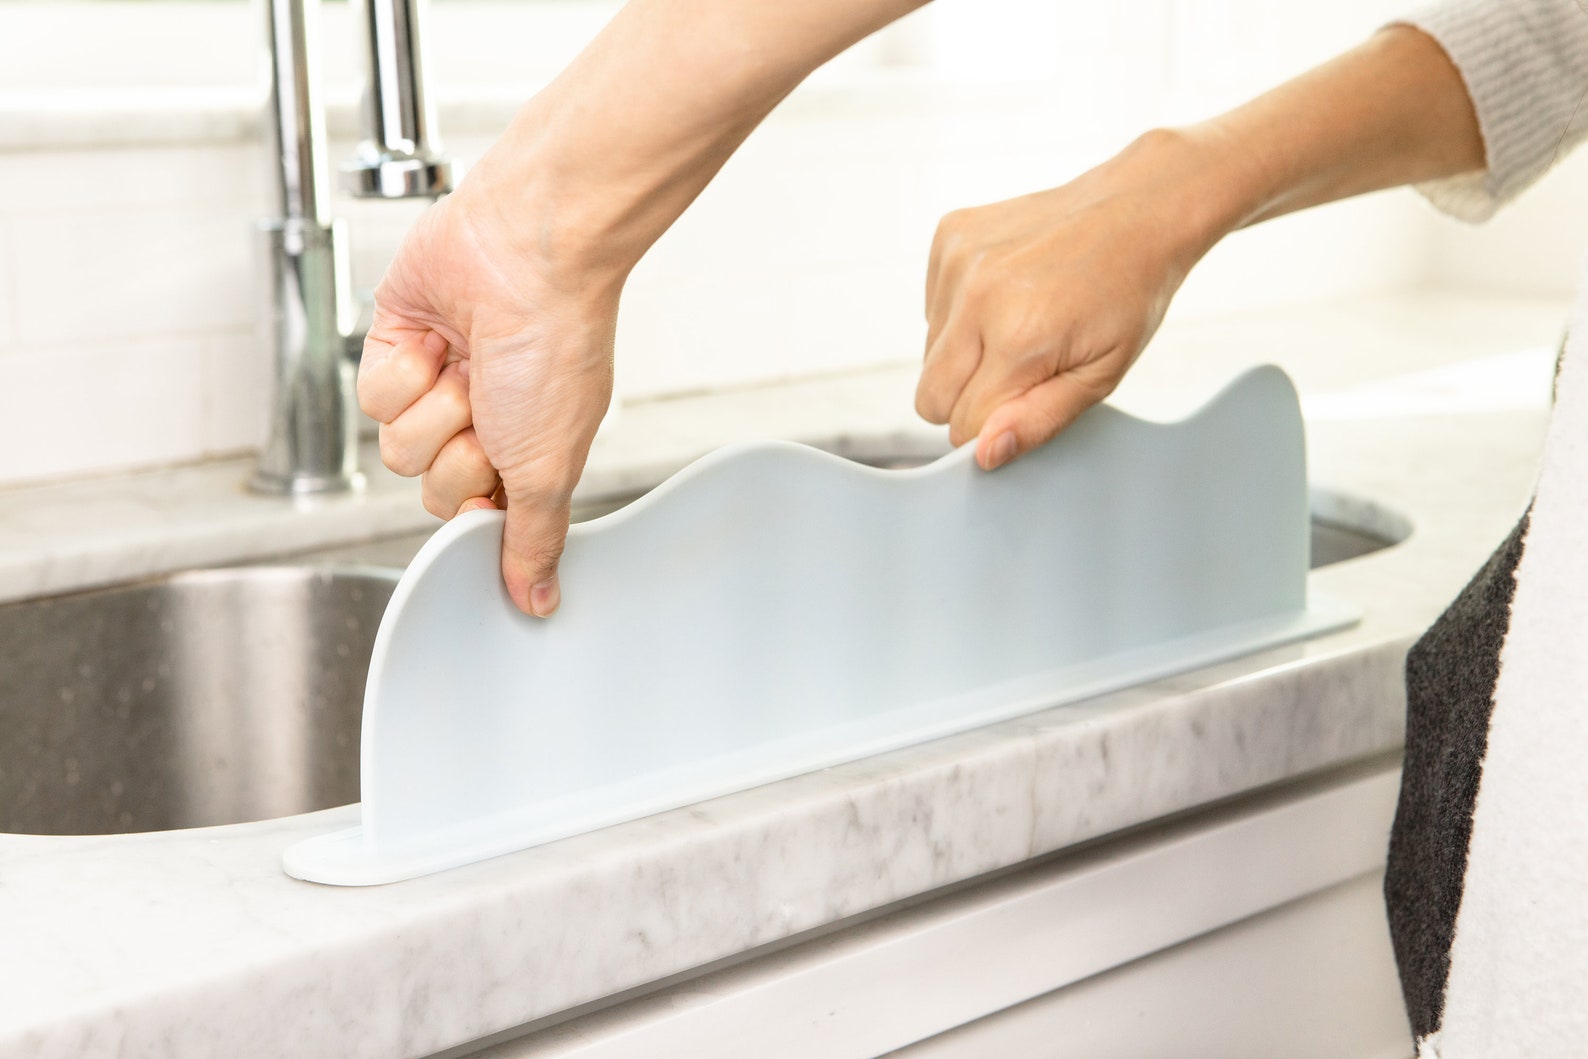
Are you tired of your old, leaky kitchen sink faucet? Want to upgrade to a more modern and functional one? Look no further, because installing a kitchen sink faucet is a simple and satisfying DIY project that you can do in just a few steps. First, gather all the necessary tools and materials such as a new faucet, adjustable wrench, plumber's tape, and a bucket. Turn off the water supply under the sink, and then remove the old faucet by unscrewing the nuts and disconnecting the water supply lines. Next, follow the manufacturer's instructions to install the new faucet, making sure to use plumber's tape to secure the connections. Finally, turn the water supply back on, and test your new faucet for any leaks. Voila, you now have a brand new kitchen sink faucet!1. How to Install a Kitchen Sink Faucet


1. How to Install a Kitchen Sink Faucet

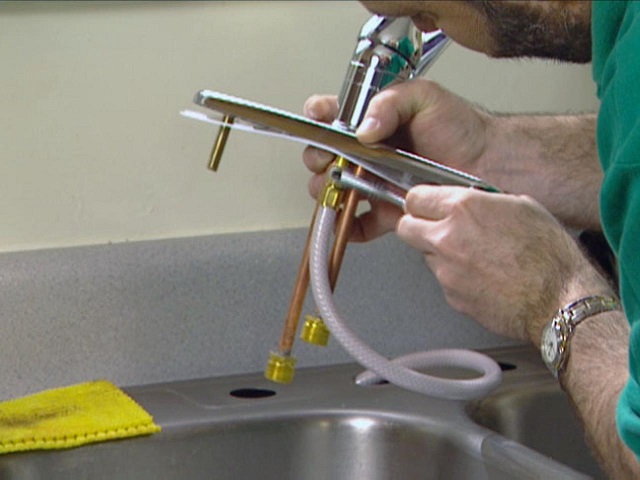


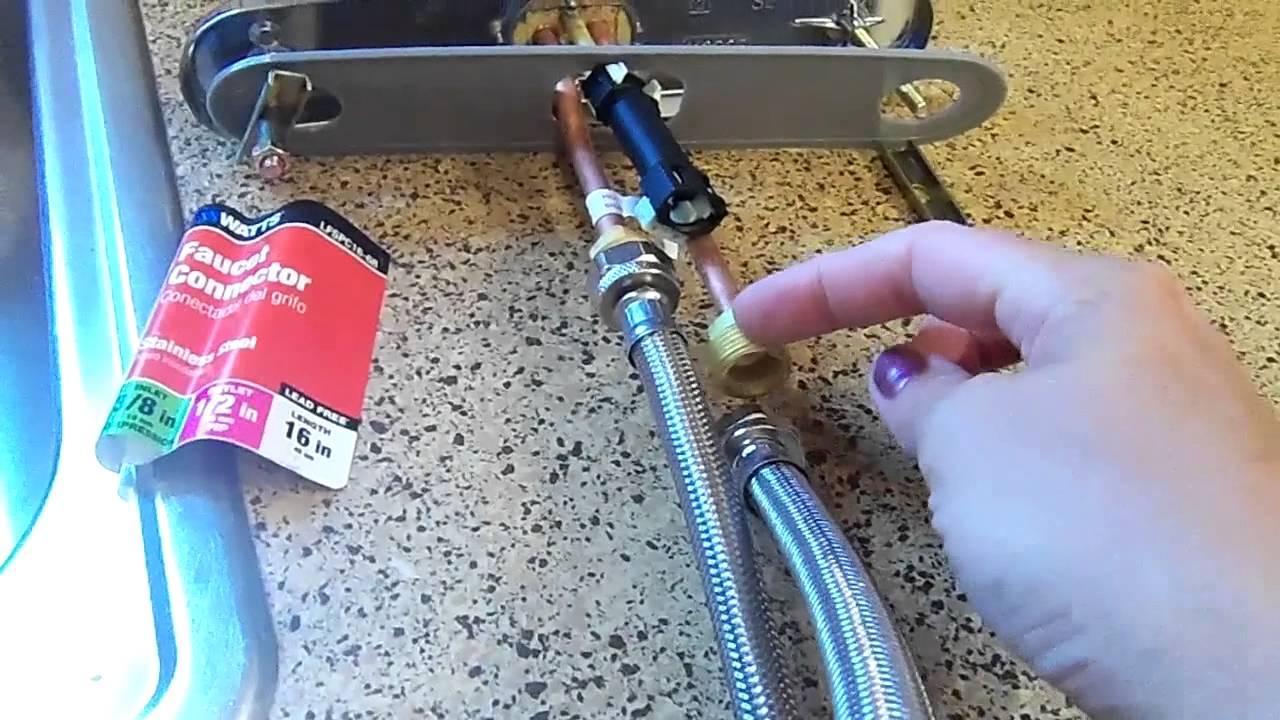
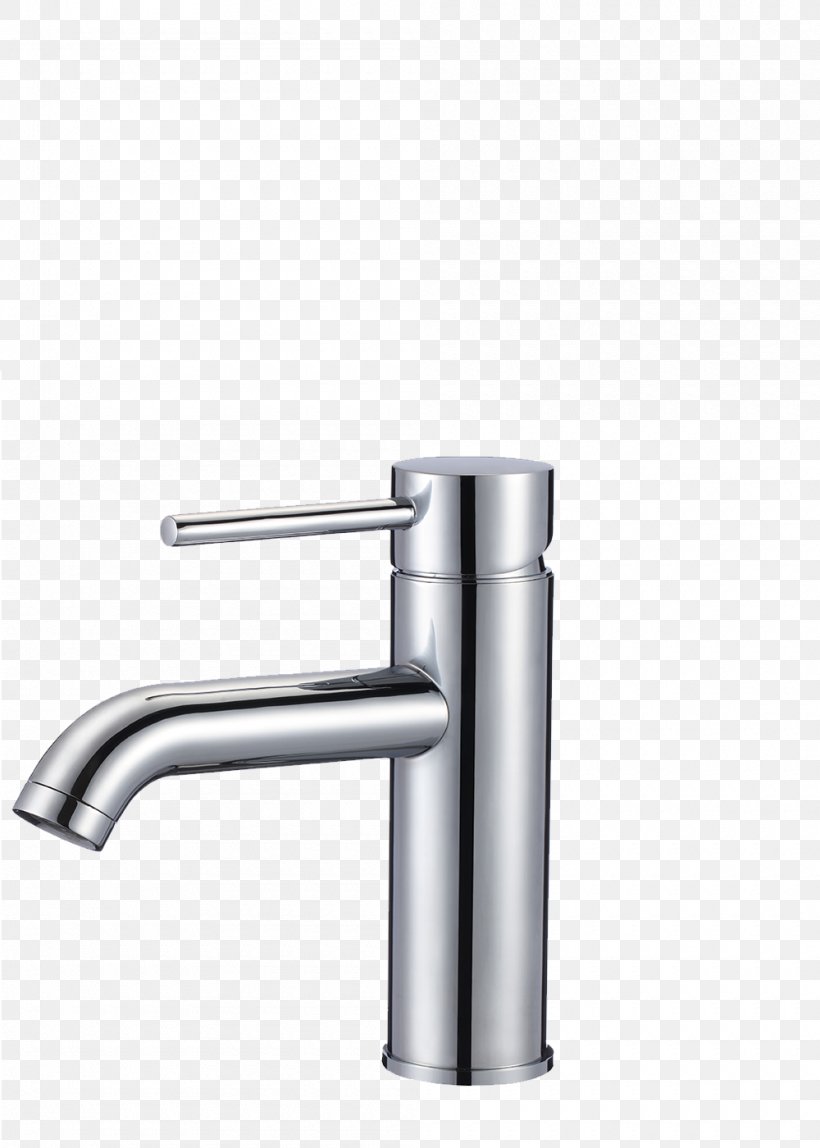
If you're looking to upgrade your kitchen sink faucet but don't want to spend a lot of money on a professional plumber, a DIY faucet replacement is the way to go. With just a few tools and some basic plumbing knowledge, you can easily replace your old faucet with a new one. Start by turning off the water supply and disconnecting the old faucet. Then, use a wrench to unscrew the nuts and remove the old faucet. Follow the manufacturer's instructions to install the new faucet, and make sure to use plumber's tape to secure the connections. Once everything is in place, turn the water supply back on and test your new faucet. If there are any leaks, tighten the connections or add more plumber's tape. With a little bit of effort, you can have a new kitchen sink faucet in no time.2. DIY Kitchen Sink Faucet Replacement
2. DIY Kitchen Sink Faucet Replacement


Is your kitchen sink tap constantly dripping or not working properly? Don't rush to call a plumber just yet. With a few simple tools and some basic knowledge, you can easily repair your kitchen sink tap yourself. First, turn off the water supply to the tap. Then, disassemble the tap by removing the handle, bonnet, and valve stem. Check for any worn or damaged parts and replace them if necessary. Clean the parts and reassemble the tap, making sure to use plumber's tape to secure the connections. Turn the water supply back on and test your tap. If the problem persists, you may need to replace the entire tap. But with a little DIY repair, you may be able to save yourself some money and extend the lifespan of your kitchen sink tap.3. Easy DIY Kitchen Sink Tap Repair


3. Easy DIY Kitchen Sink Tap Repair


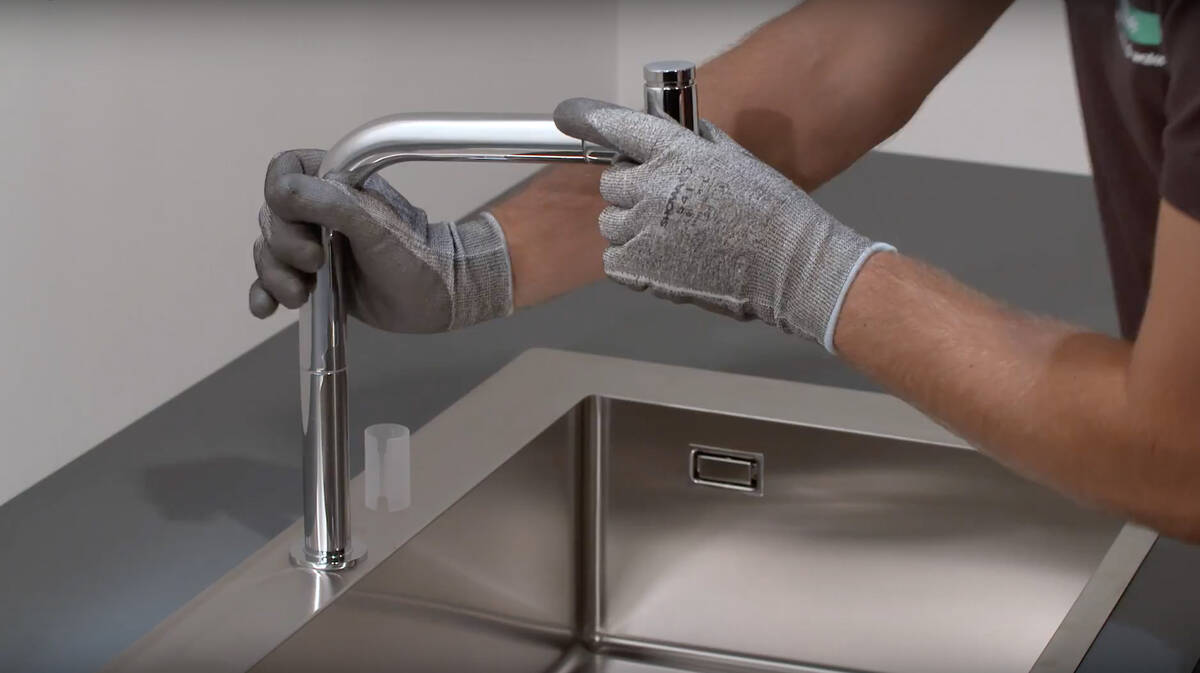
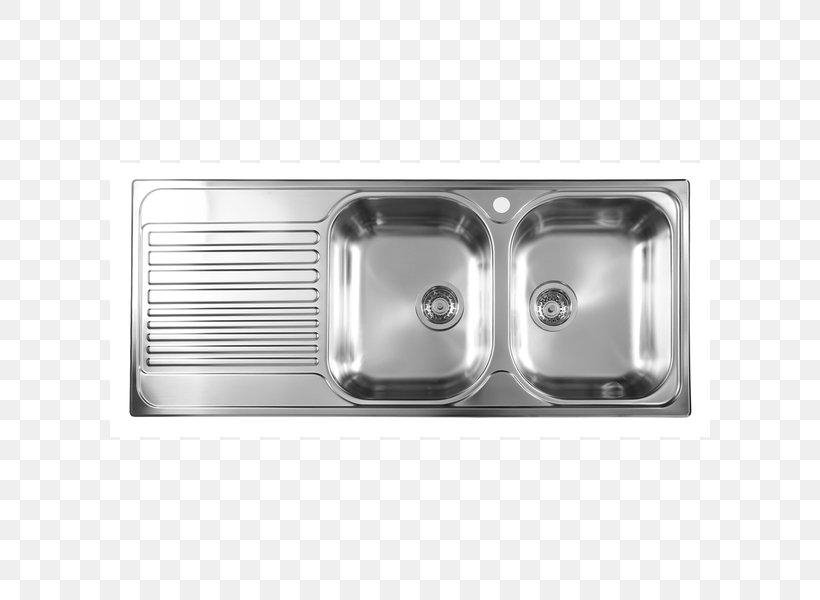
Installing a new kitchen sink tap may seem like a daunting task, but with this step-by-step guide, you can easily do it yourself in no time. The first step is to gather all the necessary tools and materials, including a new tap, adjustable wrench, and plumber's tape. Next, turn off the water supply to the sink and remove the old tap. Follow the manufacturer's instructions to install the new tap, making sure to use plumber's tape to secure the connections. Turn the water supply back on and test your new tap for any leaks. If you encounter any difficulties, consult the manufacturer's instructions or seek the help of a professional. But with this guide, you can confidently install your new kitchen sink tap without any hassle.4. DIY Kitchen Sink Tap Installation Guide


4. DIY Kitchen Sink Tap Installation Guide


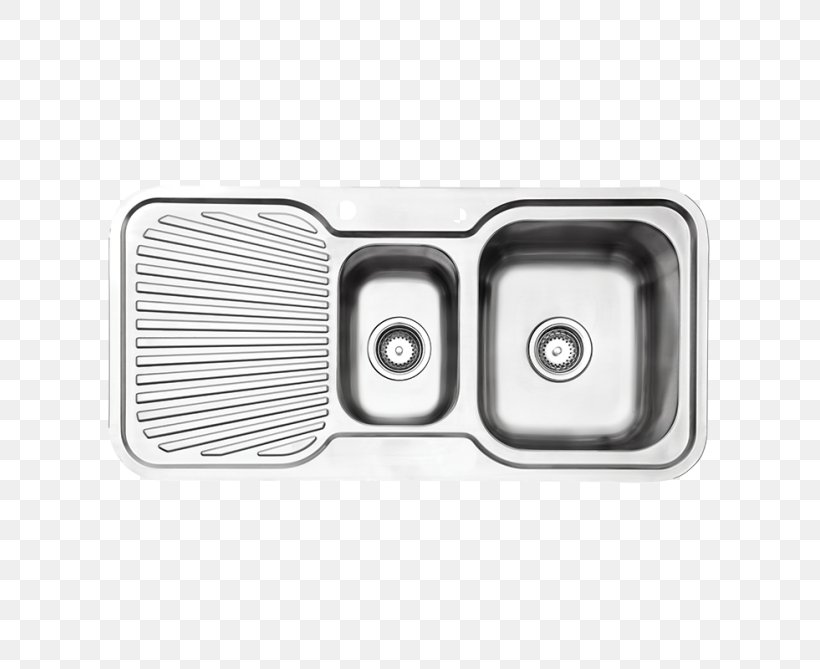
There's nothing more annoying than a constantly dripping kitchen sink tap. Not only does it waste water, but it can also drive you crazy. But don't worry, fixing a leaky tap is a simple DIY project that you can do in just a few steps. Start by turning off the water supply to the tap. Then, use an adjustable wrench to tighten any loose connections. If the tap continues to leak, you may need to replace the O-rings, washers, or valve stem. Follow the manufacturer's instructions to replace the damaged parts. Once everything is in place, turn the water supply back on and test your tap. If the leak persists, it may be time to replace the entire tap. But with a little DIY know-how, you can fix that pesky leak and save yourself some money in the process.5. How to Fix a Leaky Kitchen Sink Tap


5. How to Fix a Leaky Kitchen Sink Tap


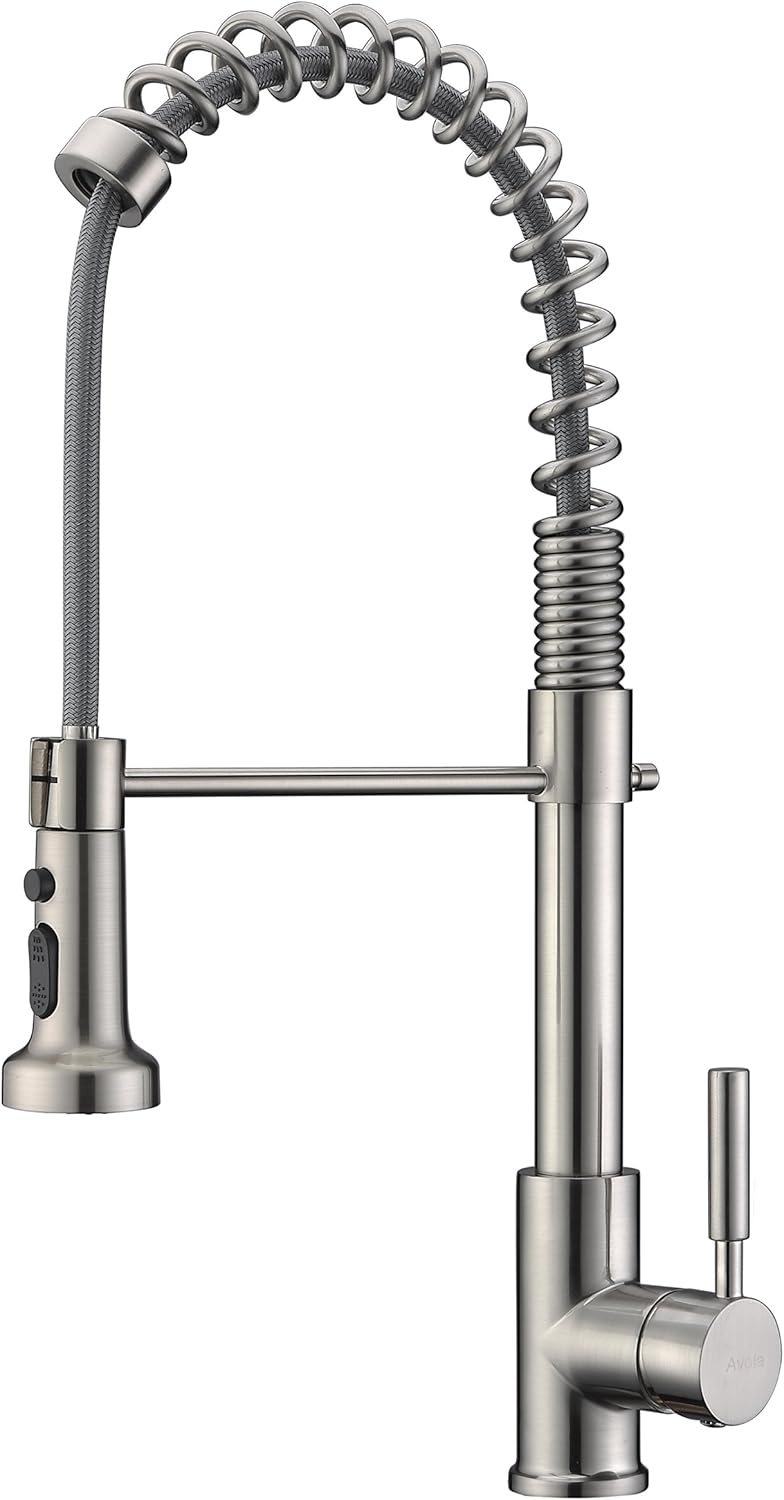
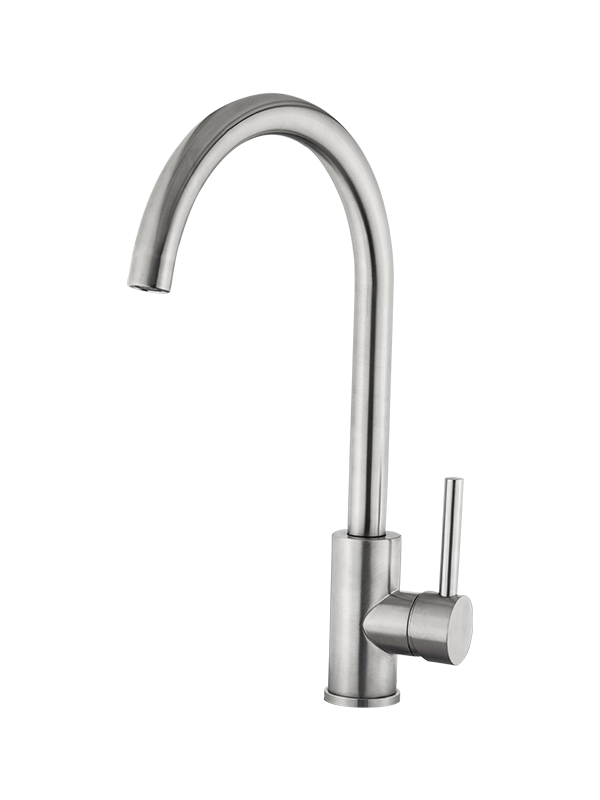
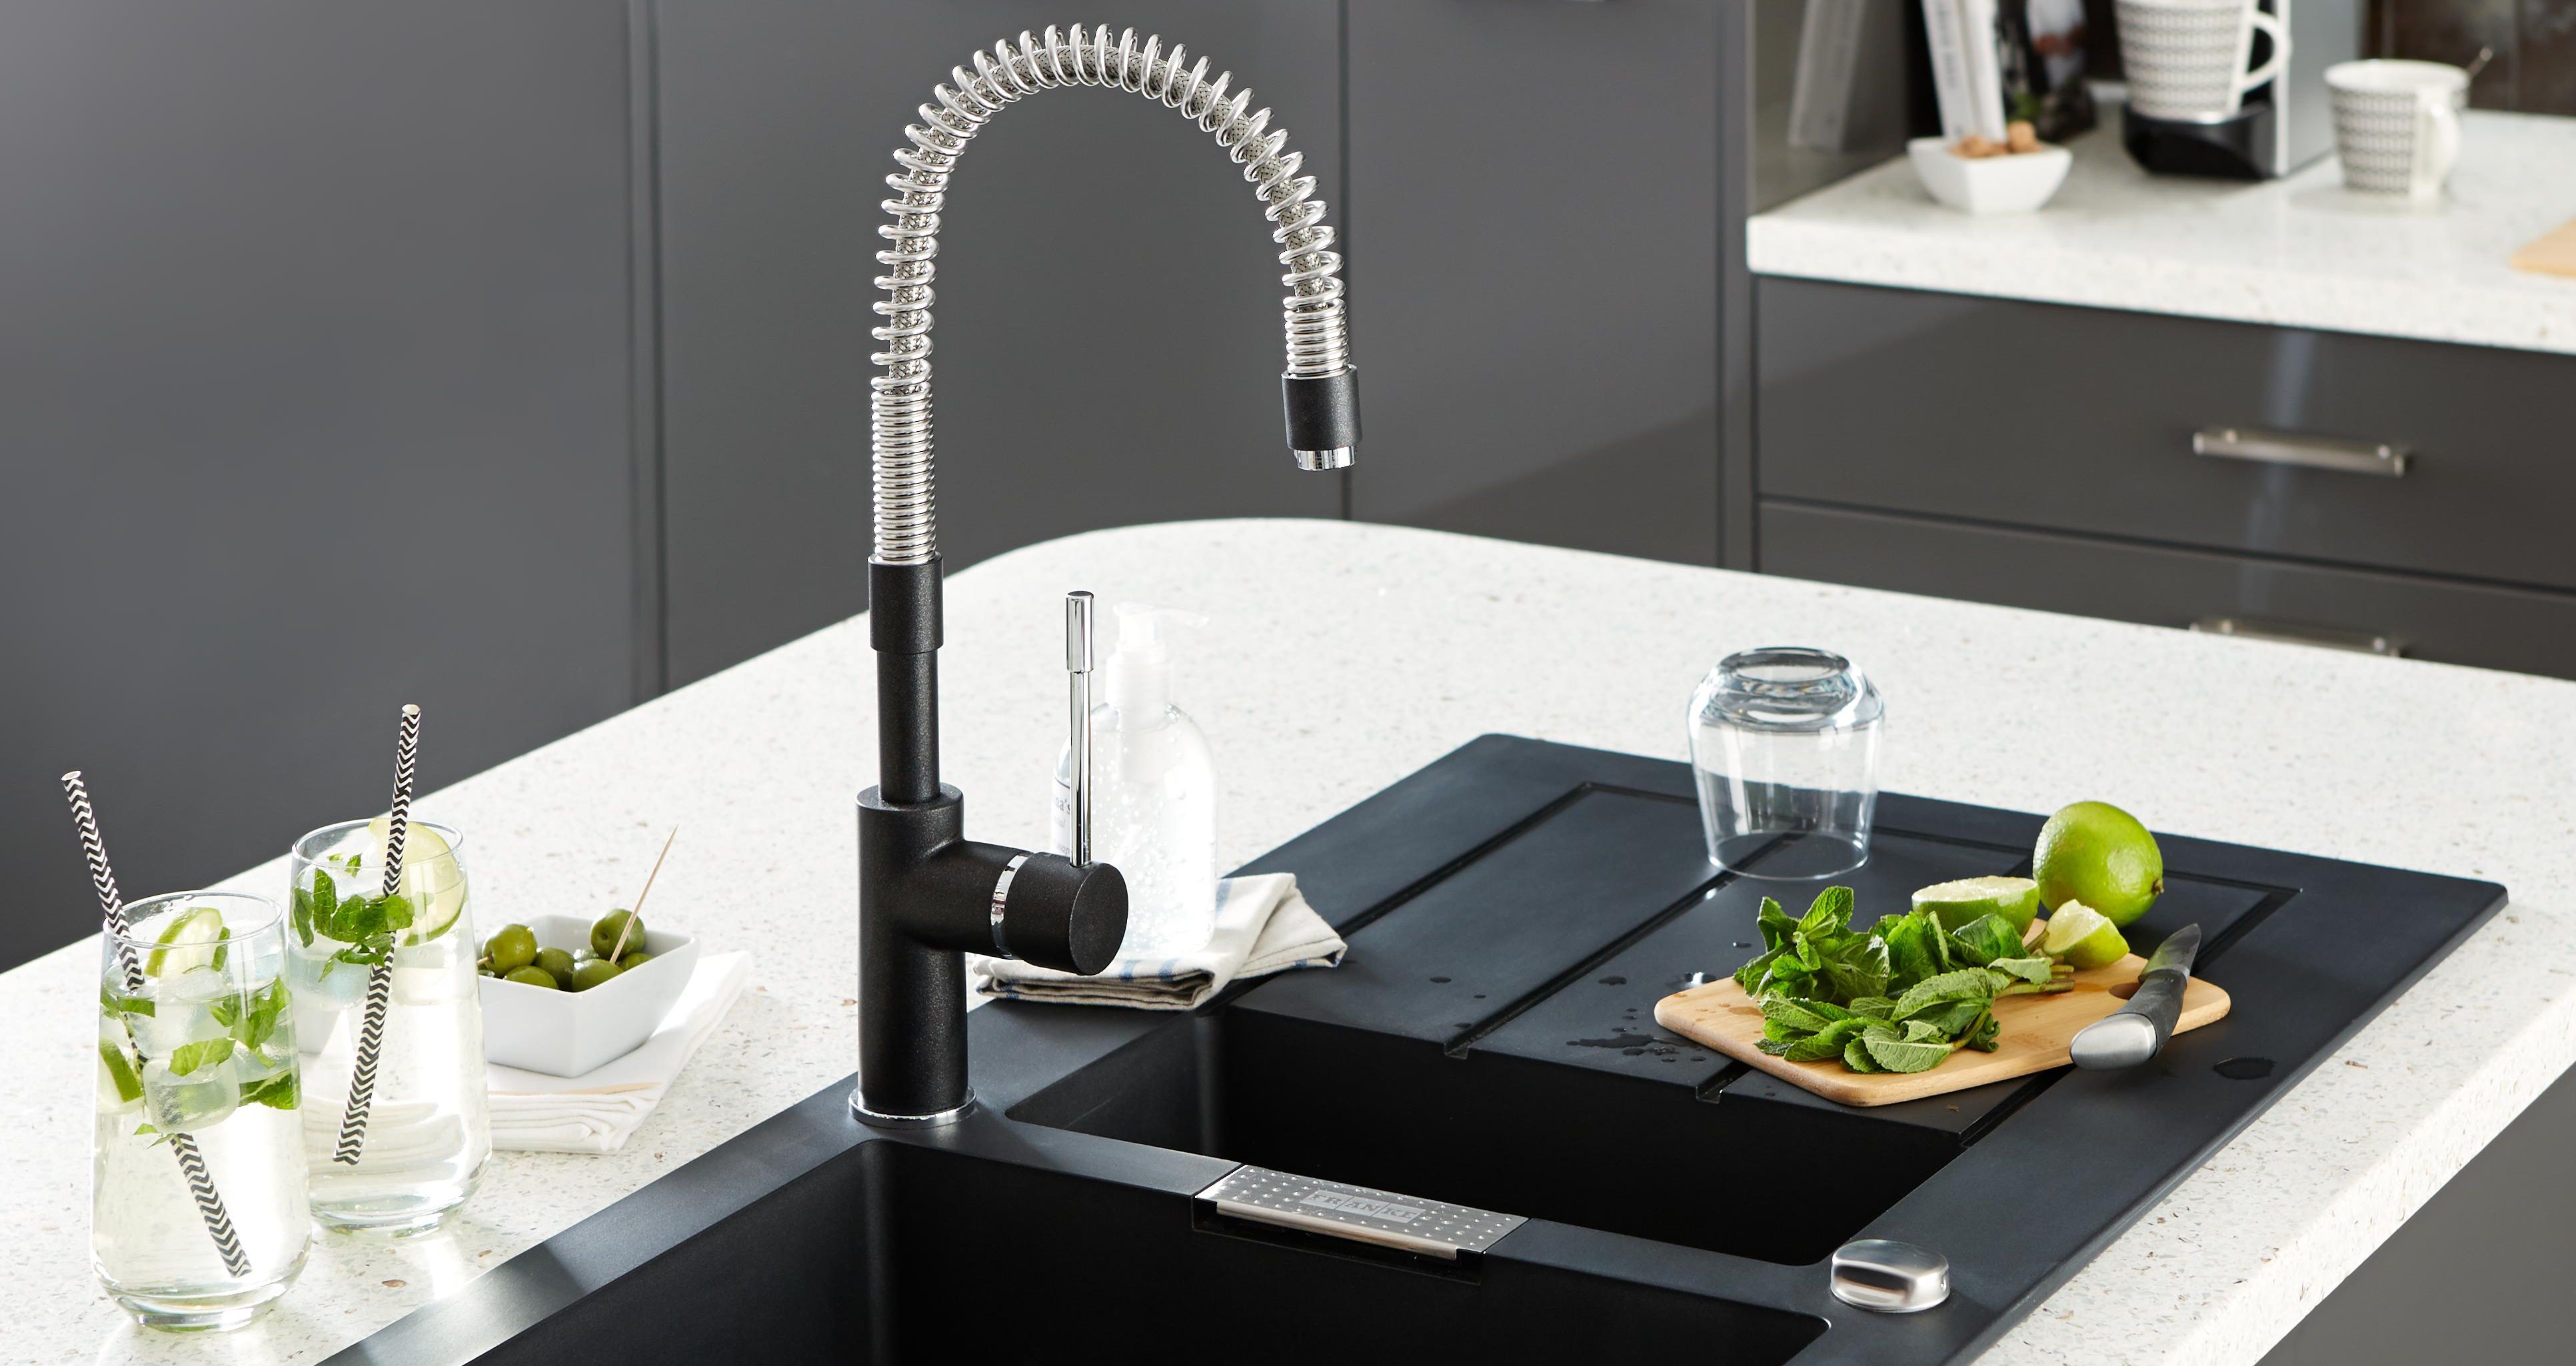
Looking to give your kitchen sink a fresh new look? Why not start with the tap? Upgrading your kitchen sink tap is an easy and affordable way to add style and function to your space. You can opt for a sleek and modern design, a vintage-inspired tap, or even a touchless tap for added convenience. Consider the overall aesthetic of your kitchen and choose a tap that complements it. You can also add a soap dispenser or a water filtration system for added convenience and functionality. With so many options available, a DIY kitchen sink tap upgrade is a great way to transform your kitchen without breaking the bank.6. DIY Kitchen Sink Tap Upgrade Ideas


6. DIY Kitchen Sink Tap Upgrade Ideas


Replacing a kitchen sink tap may seem like a daunting task, but with this step-by-step guide, you can easily do it yourself without any hassle. Start by turning off the water supply and removing the old tap. Next, follow the manufacturer's instructions to install the new tap, making sure to use plumber's tape to secure the connections. Turn the water supply back on and test your new tap for any leaks. If everything is in working order, you've successfully replaced your kitchen sink tap! If you encounter any difficulties, consult the manufacturer's instructions or seek the help of a professional. But with this guide, you can confidently replace your kitchen sink tap in just a few simple steps.7. Step-by-Step DIY Kitchen Sink Tap Replacement


7. Step-by-Step DIY Kitchen Sink Tap Replacement


Proper maintenance is key to ensuring that your kitchen sink tap stays in good condition for years to come. Here are some simple maintenance tips to keep in mind: Regularly clean the tap with a mild soap and water to prevent buildup and maintain its shine. Check for any leaks or loose connections and tighten them if necessary. Replace any worn or damaged parts promptly to avoid bigger problems in the future. These simple maintenance tasks can help prolong the life of your kitchen sink tap and save you from costly repairs.8. DIY Kitchen Sink Tap Maintenance Tips


8. DIY Kitchen Sink Tap Maintenance Tips


Who says kitchen sink taps have to be boring? With a little creativity, you can turn your tap into a unique and eye-catching design element in your kitchen. Consider painting the tap in a bold color, adding decorative accents, or even using unconventional materials like copper or wood. You can also play with different faucet designs, such as a gooseneck or bridge faucet, to give your kitchen sink a more interesting look. Let your imagination run wild and create a DIY kitchen sink tap design that reflects your personal style.9. Creative DIY Kitchen Sink Tap Designs


9. Creative DIY Kitchen Sink Tap Designs


Cleaning your kitchen sink tap doesn't have to be a tedious chore. With these easy DIY cleaning hacks, you can easily keep your tap sparkling clean: Use a mixture of equal parts vinegar and water to remove mineral deposits and buildup. For tough stains, make a paste with baking soda and water and scrub it onto the tap. For a quick and easy clean, wipe the tap with a microfiber cloth and a few drops of dish soap. These simple cleaning hacks can help keep your kitchen sink tap looking like new without the use of harsh chemicals or expensive cleaning products.10. DIY Kitchen Sink Tap Cleaning Hacks


10. DIY Kitchen Sink Tap Cleaning Hacks


Revamp Your Kitchen with DIY Kitchen Sink Taps

Effortless Upgrade for Your Kitchen
 Are you looking to give your kitchen a fresh new look without breaking the bank? Look no further than your
kitchen sink taps
. These often overlooked fixtures can make a huge impact on the overall design and functionality of your kitchen. With a little bit of creativity and some
DIY
skills, you can easily upgrade your kitchen sink taps and give your kitchen a whole new vibe.
Are you looking to give your kitchen a fresh new look without breaking the bank? Look no further than your
kitchen sink taps
. These often overlooked fixtures can make a huge impact on the overall design and functionality of your kitchen. With a little bit of creativity and some
DIY
skills, you can easily upgrade your kitchen sink taps and give your kitchen a whole new vibe.
Benefits of DIY Kitchen Sink Taps
 There are many benefits to opting for
DIY
kitchen sink taps. Firstly, it is a cost-effective way to update your kitchen without spending a fortune. You can choose from a wide range of
affordable
and
stylish
tap designs to suit your personal taste and budget. Secondly, by doing it yourself, you have complete control over the
design
and
installation
process, ensuring that your kitchen sink taps are exactly how you want them. Lastly, DIY projects are a great way to unleash your
creativity
and add a personal touch to your home.
There are many benefits to opting for
DIY
kitchen sink taps. Firstly, it is a cost-effective way to update your kitchen without spending a fortune. You can choose from a wide range of
affordable
and
stylish
tap designs to suit your personal taste and budget. Secondly, by doing it yourself, you have complete control over the
design
and
installation
process, ensuring that your kitchen sink taps are exactly how you want them. Lastly, DIY projects are a great way to unleash your
creativity
and add a personal touch to your home.
Step-by-Step Guide to DIY Kitchen Sink Taps
 Before you begin your DIY project, make sure you have all the necessary tools and materials. These may include a wrench, pliers, plumber's tape, and your chosen tap set. Follow these simple steps to upgrade your kitchen sink taps in no time:
Step 1: Remove the Old Taps
Start by turning off the water supply to your kitchen sink. Use a wrench to loosen and remove the old taps. Once the taps are removed, clean the area thoroughly and make sure there is no debris left behind.Step 2: Install the New Taps
Follow the instructions provided with your new tap set to install the new taps. Make sure to use plumber's tape to secure the joints and prevent any leaks.Step 3: Test and Adjust
Turn the water supply back on and test the new taps. If there are any leaks or the water pressure is not right, use pliers to adjust the connections until everything is working properly.Step 4: Enjoy Your New Kitchen Sink Taps
Congratulations, you have successfully upgraded your kitchen sink taps! Step back and admire your handy work. Not only have you saved money, but you have also added a personal touch to your kitchen design.Final Thoughts
 Don't underestimate the impact that
DIY kitchen sink taps
can have on your kitchen design. With a little bit of effort, you can easily transform your kitchen and create a space that is both functional and stylish. So, put your
DIY
skills to the test and give your kitchen a much-needed upgrade.
Don't underestimate the impact that
DIY kitchen sink taps
can have on your kitchen design. With a little bit of effort, you can easily transform your kitchen and create a space that is both functional and stylish. So, put your
DIY
skills to the test and give your kitchen a much-needed upgrade.