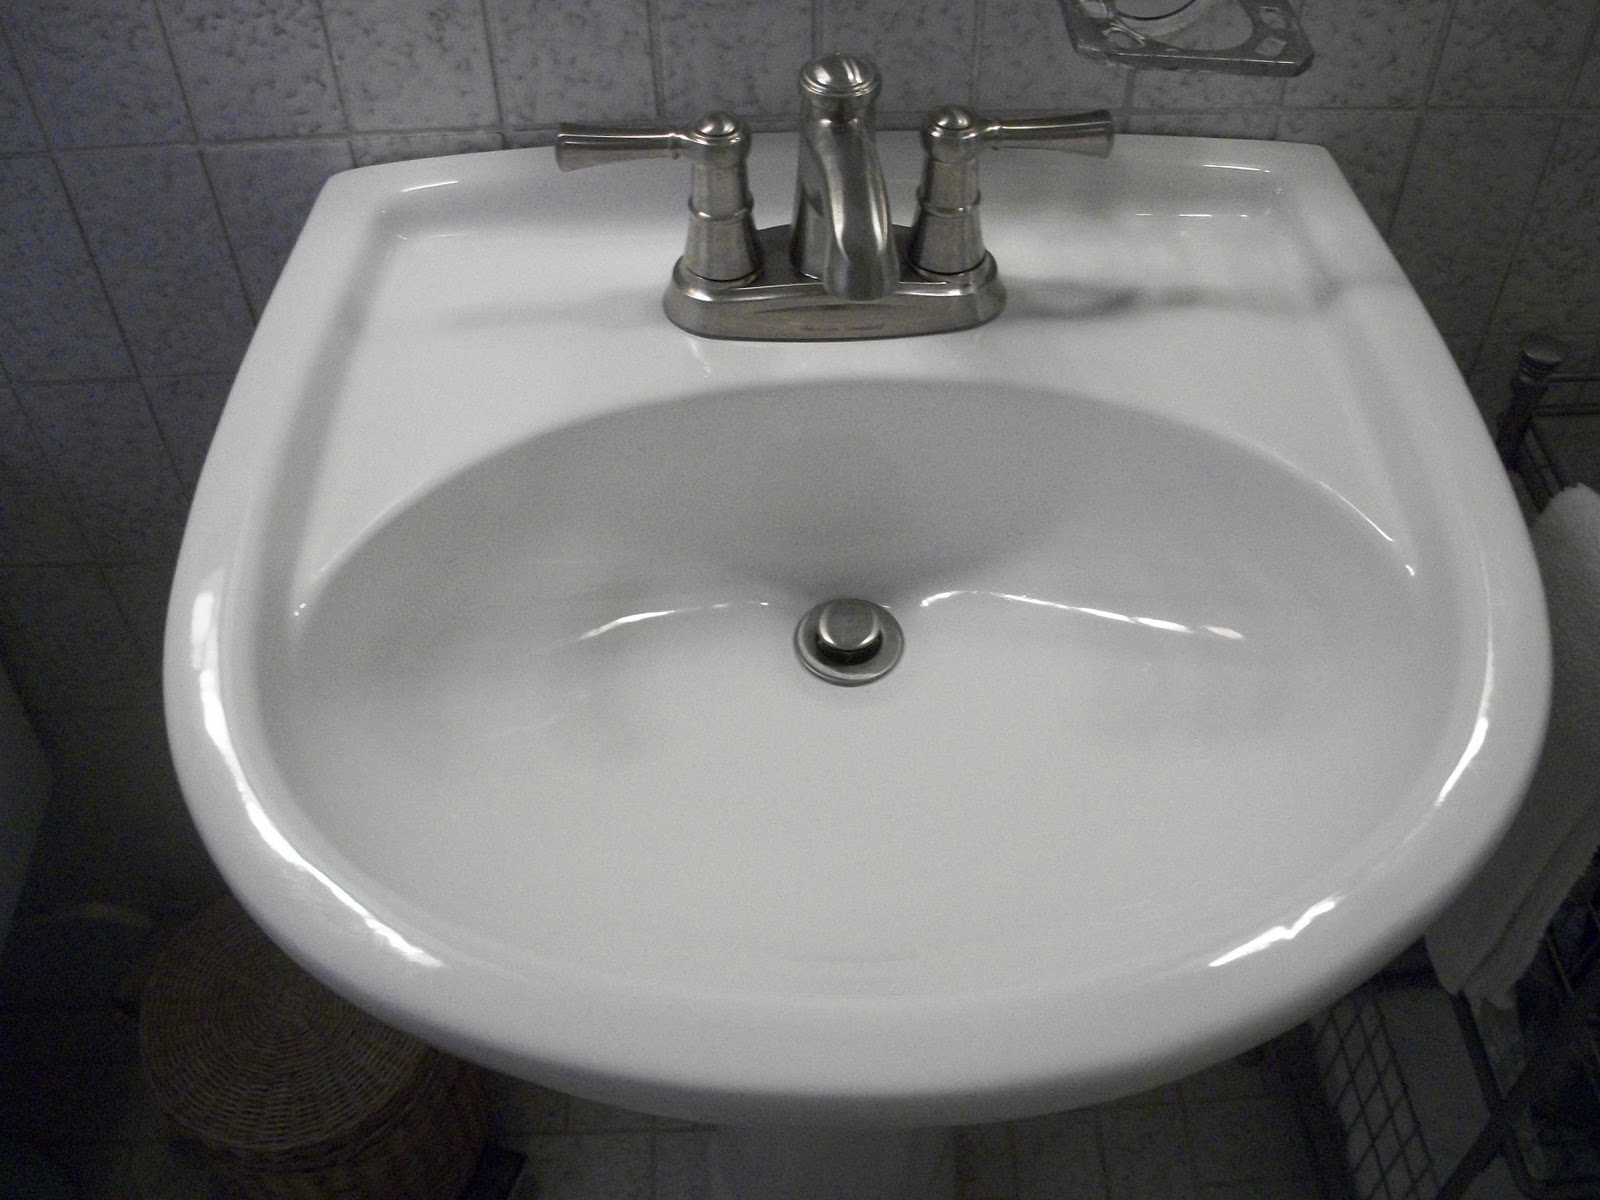
Upgrading your bathroom with granite countertops is a great way to add value and style to your home. However, the process of connecting the bathroom sink after the granite transformation install can seem daunting. Don't worry, we've got you covered with this step-by-step guide.1. Connecting the Bathroom Sink After Granite Transformation Install: A Guide


connecting bathroom sink


Before we get into connecting the sink, it's important to understand the granite transformation process. This involves removing the old countertop, measuring and cutting the granite slab, and securing it in place with adhesive. The sink is then installed on top of the new granite countertop.2. Understanding the Granite Transformation Process


granite transformation install


First, you'll need to prepare the sink and vanity for installation. This includes making sure the sink and faucet are the correct size and style for the new granite countertop. If you're using an undermount sink, make sure the edges are smooth and free of any chips or cracks.3. Preparing the Sink and Vanity


connecting sink


/how-to-install-a-sink-drain-2718789-hero-24e898006ed94c9593a2a268b57989a3.jpg)
/how-to-install-a-sink-drain-2718789-hero-b5b99f72b5a24bb2ae8364e60539cece.jpg)


In order to securely connect the sink to the granite countertop, you'll need to install sink clips. These can be found at your local hardware store and are typically made of metal. Use a drill to create holes in the granite where the sink clips will be placed.4. Installing the Sink Clips


bathroom sink


Next, you'll need to apply silicone adhesive to the bottom of the sink. This will help create a seal between the sink and the countertop. Be sure to use a high-quality adhesive that is safe for use with granite.5. Applying Silicone Adhesive


granite transformation


Now comes the tricky part - placing the sink on top of the countertop. It's important to be careful and precise when doing this step to ensure that the sink is centered and level. You may want to enlist the help of a friend or family member for this step.6. Placing the Sink on the Countertop


install


Once the sink is in place, use the sink clips to secure it to the countertop. Make sure the clips are tight and evenly spaced. This will help prevent the sink from shifting or moving once it's in use.7. Securing the Sink with Clips


connecting


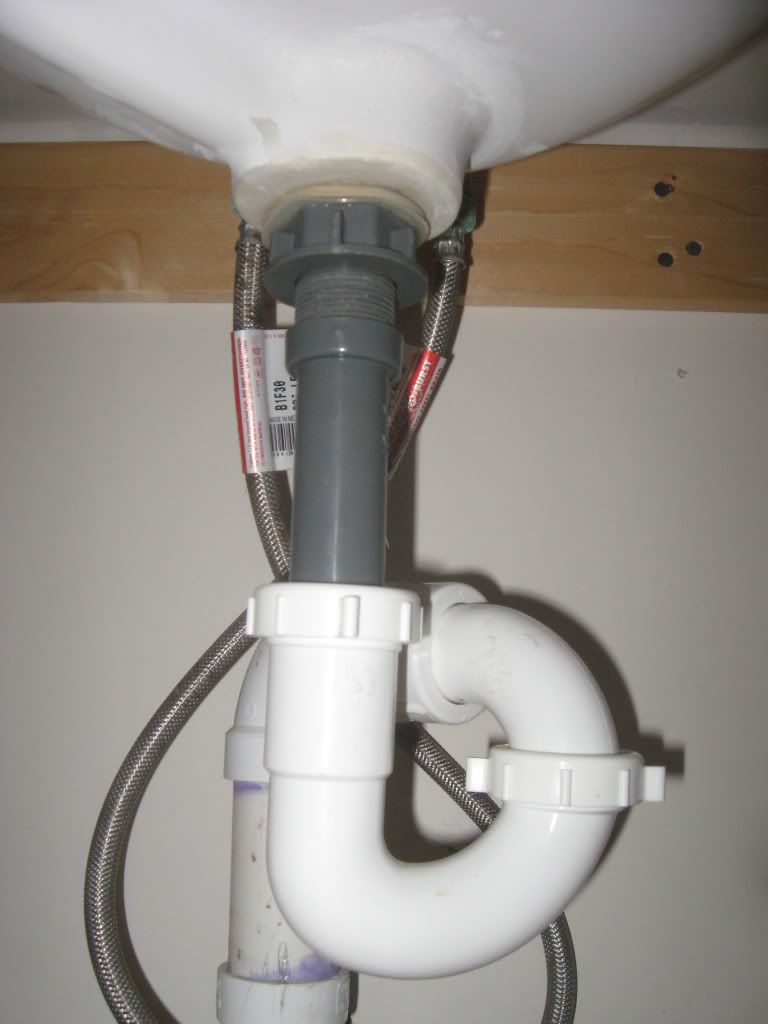
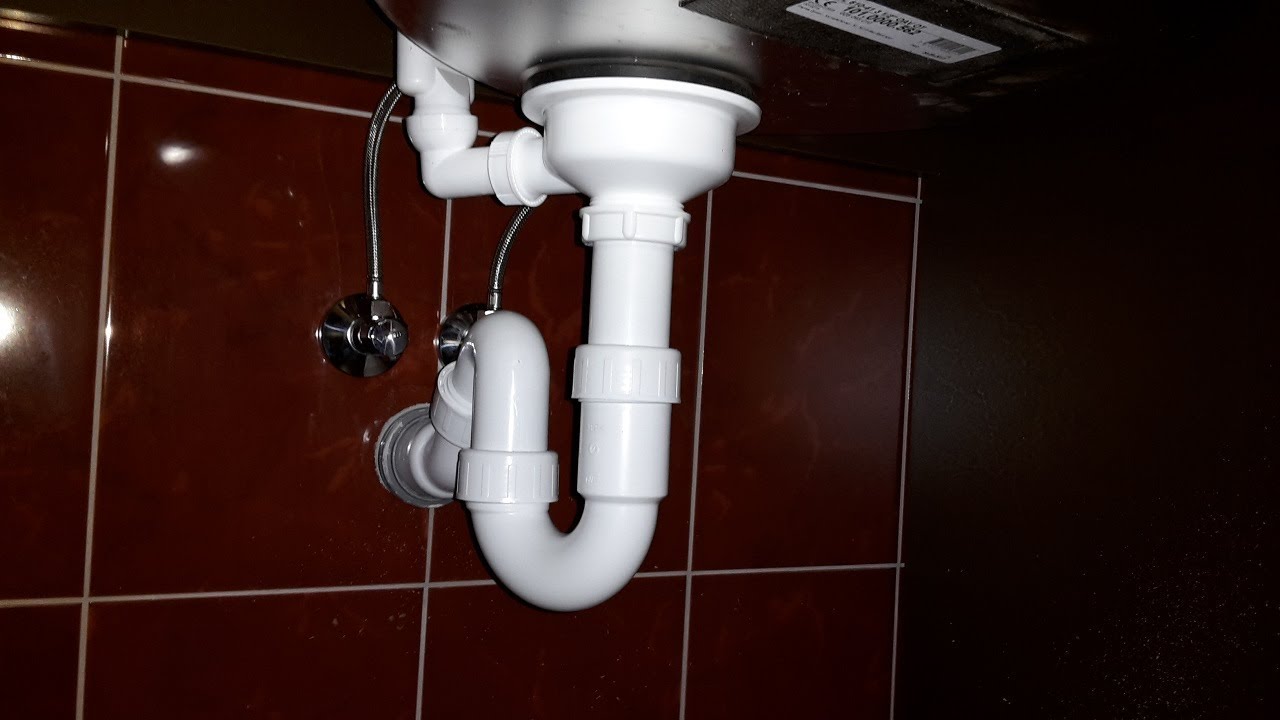
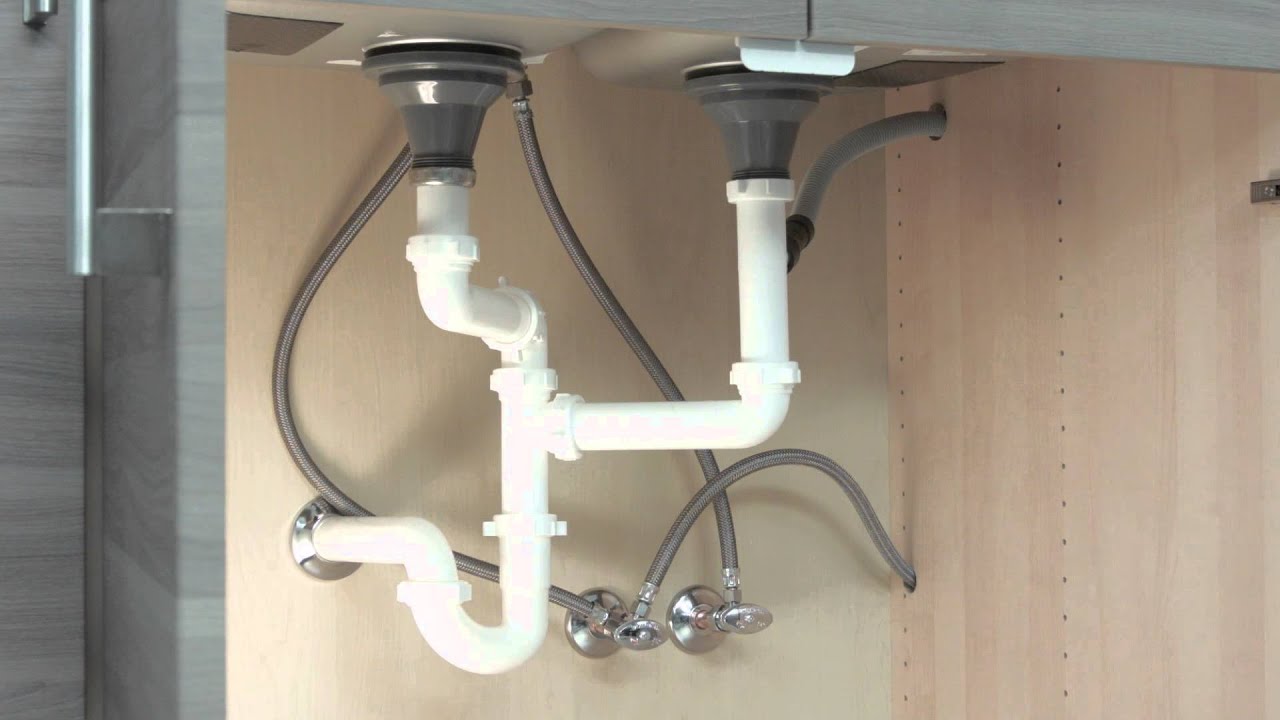
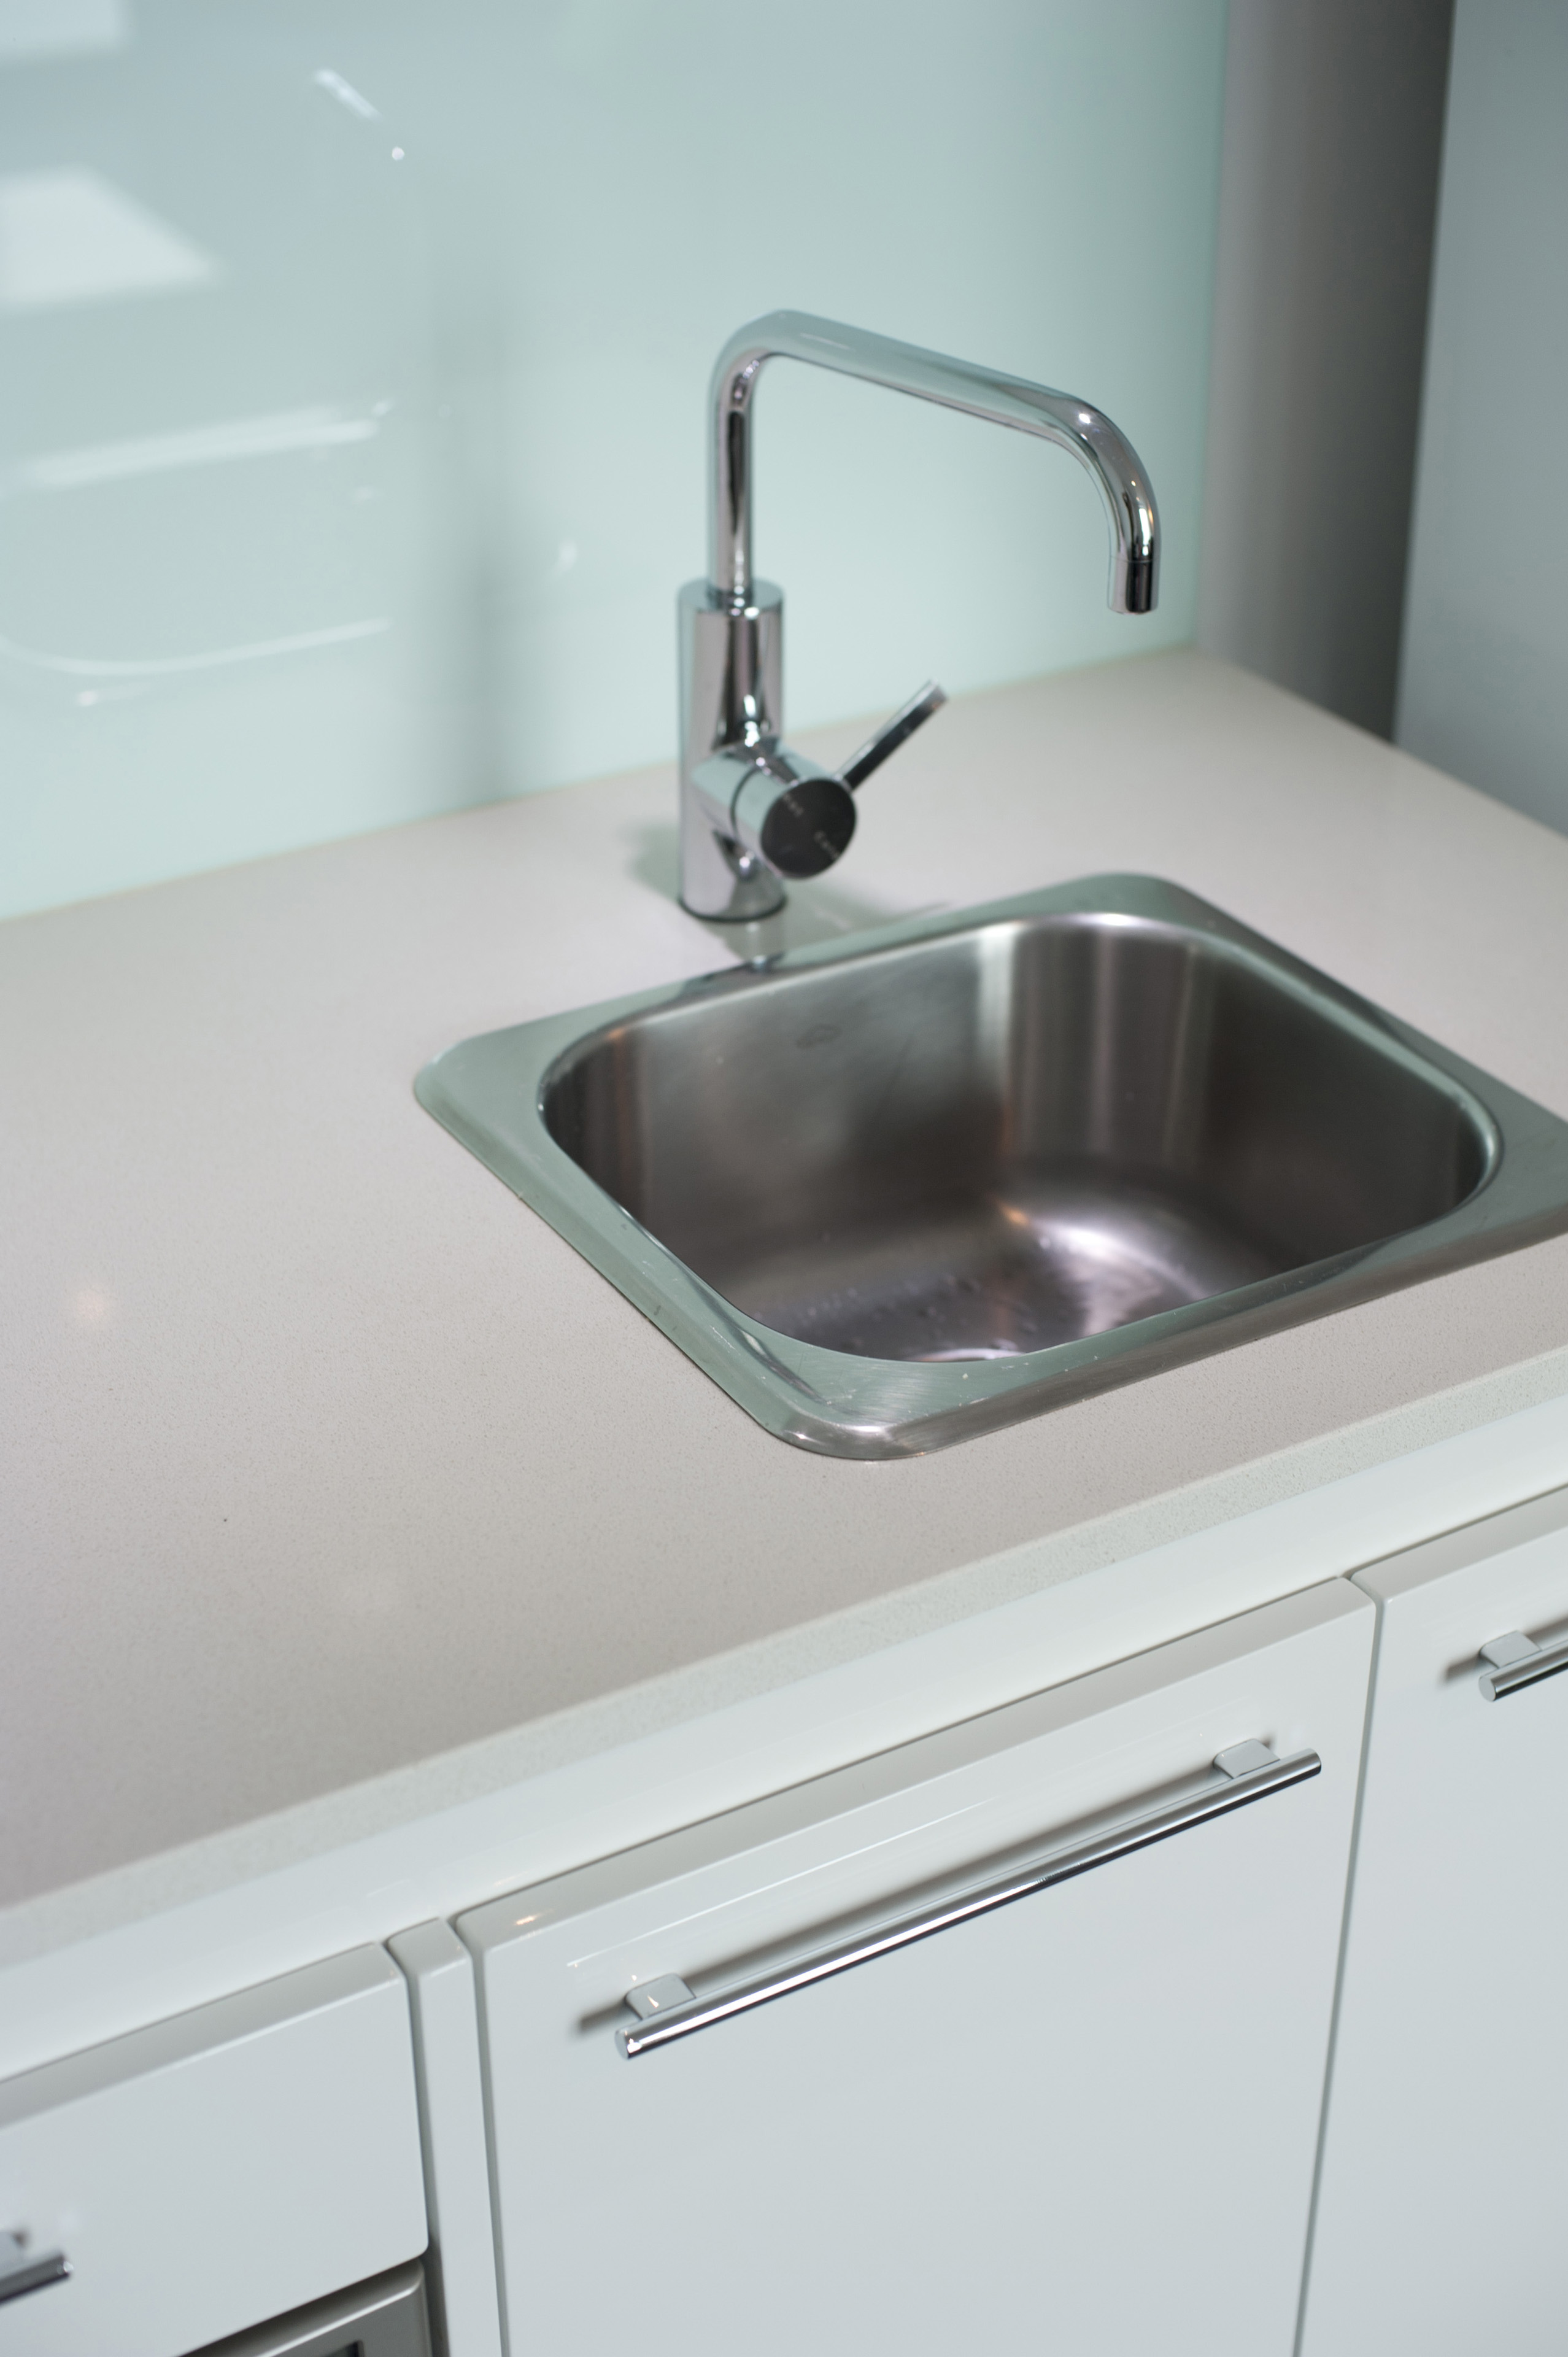
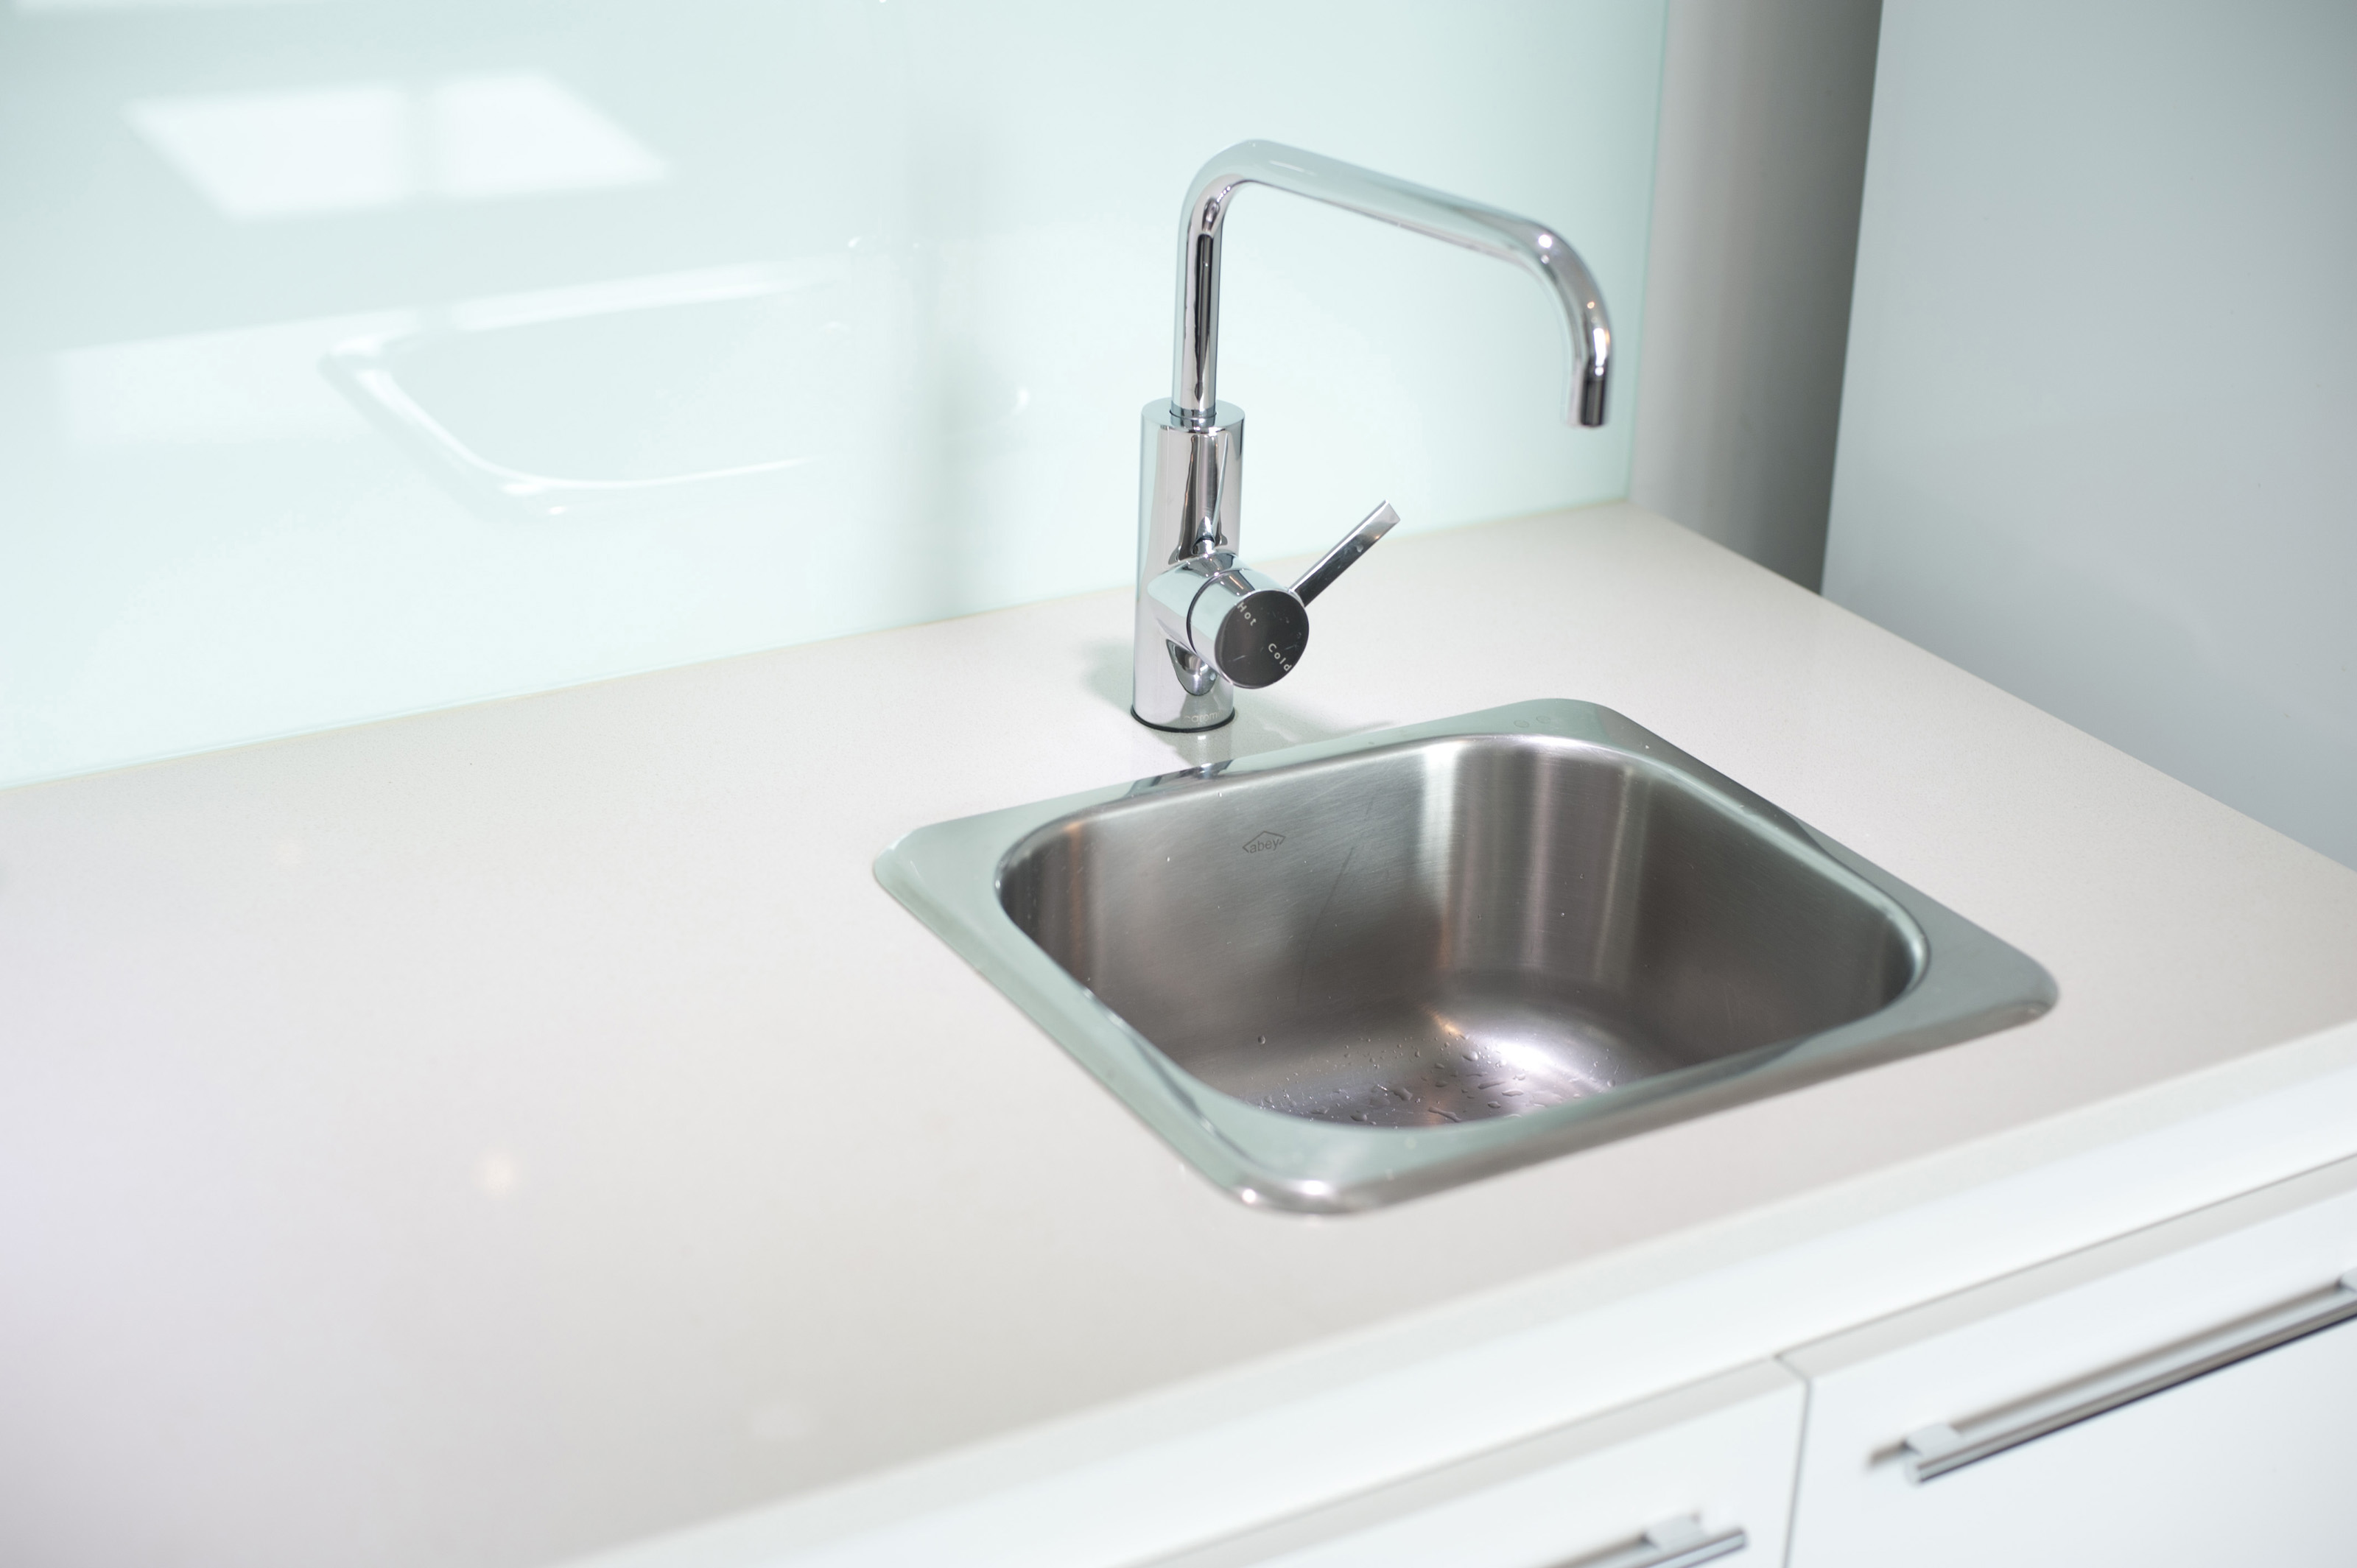
With the sink in place, it's now time to connect the drain and faucet. You'll need to follow the manufacturer's instructions for your specific sink and faucet, but typically this involves attaching the drain and connecting the water lines to the faucet.8. Connecting the Drain and Faucet


bathroom


/master-bathroom-design-ideas-4129362-hero-d896a889451341dfaa59c5b2beacf02d.jpg)


/beautiful-modern-bathroom-1036309750-19b81debcd5e49288b5e146214725274.jpg)
.jpg)

After the sink is installed and connected, it's important to seal the area where the sink meets the countertop. This will help prevent any water from leaking into the space between the two and causing damage. Use a high-quality granite sealant for best results.9. Sealing the Sink and Countertop

sink


Congratulations, you've successfully connected your bathroom sink after the granite transformation install! Now it's time to sit back, relax, and enjoy your beautiful new bathroom. With proper maintenance, your granite countertop and sink will continue to look stunning for years to come.10. Enjoy Your Newly Connected Sink


granite


How to Connect the Bathroom Sink After a Granite Transformation Install

A Crucial Step in Completing Your House Design
 When it comes to home renovations, one of the most popular enhancements is a granite transformation. This durable and beautiful material can completely transform the look and feel of a room, especially when used in the bathroom. However, with such a major change, it's important not to overlook the smaller details, such as connecting the bathroom sink. While it may seem like a simple task, it is a crucial step in completing your house design. In this article, we will discuss the importance of connecting your bathroom sink after a granite transformation install and provide some helpful tips to ensure a successful and functional result.
The Importance of Properly Connecting the Bathroom Sink
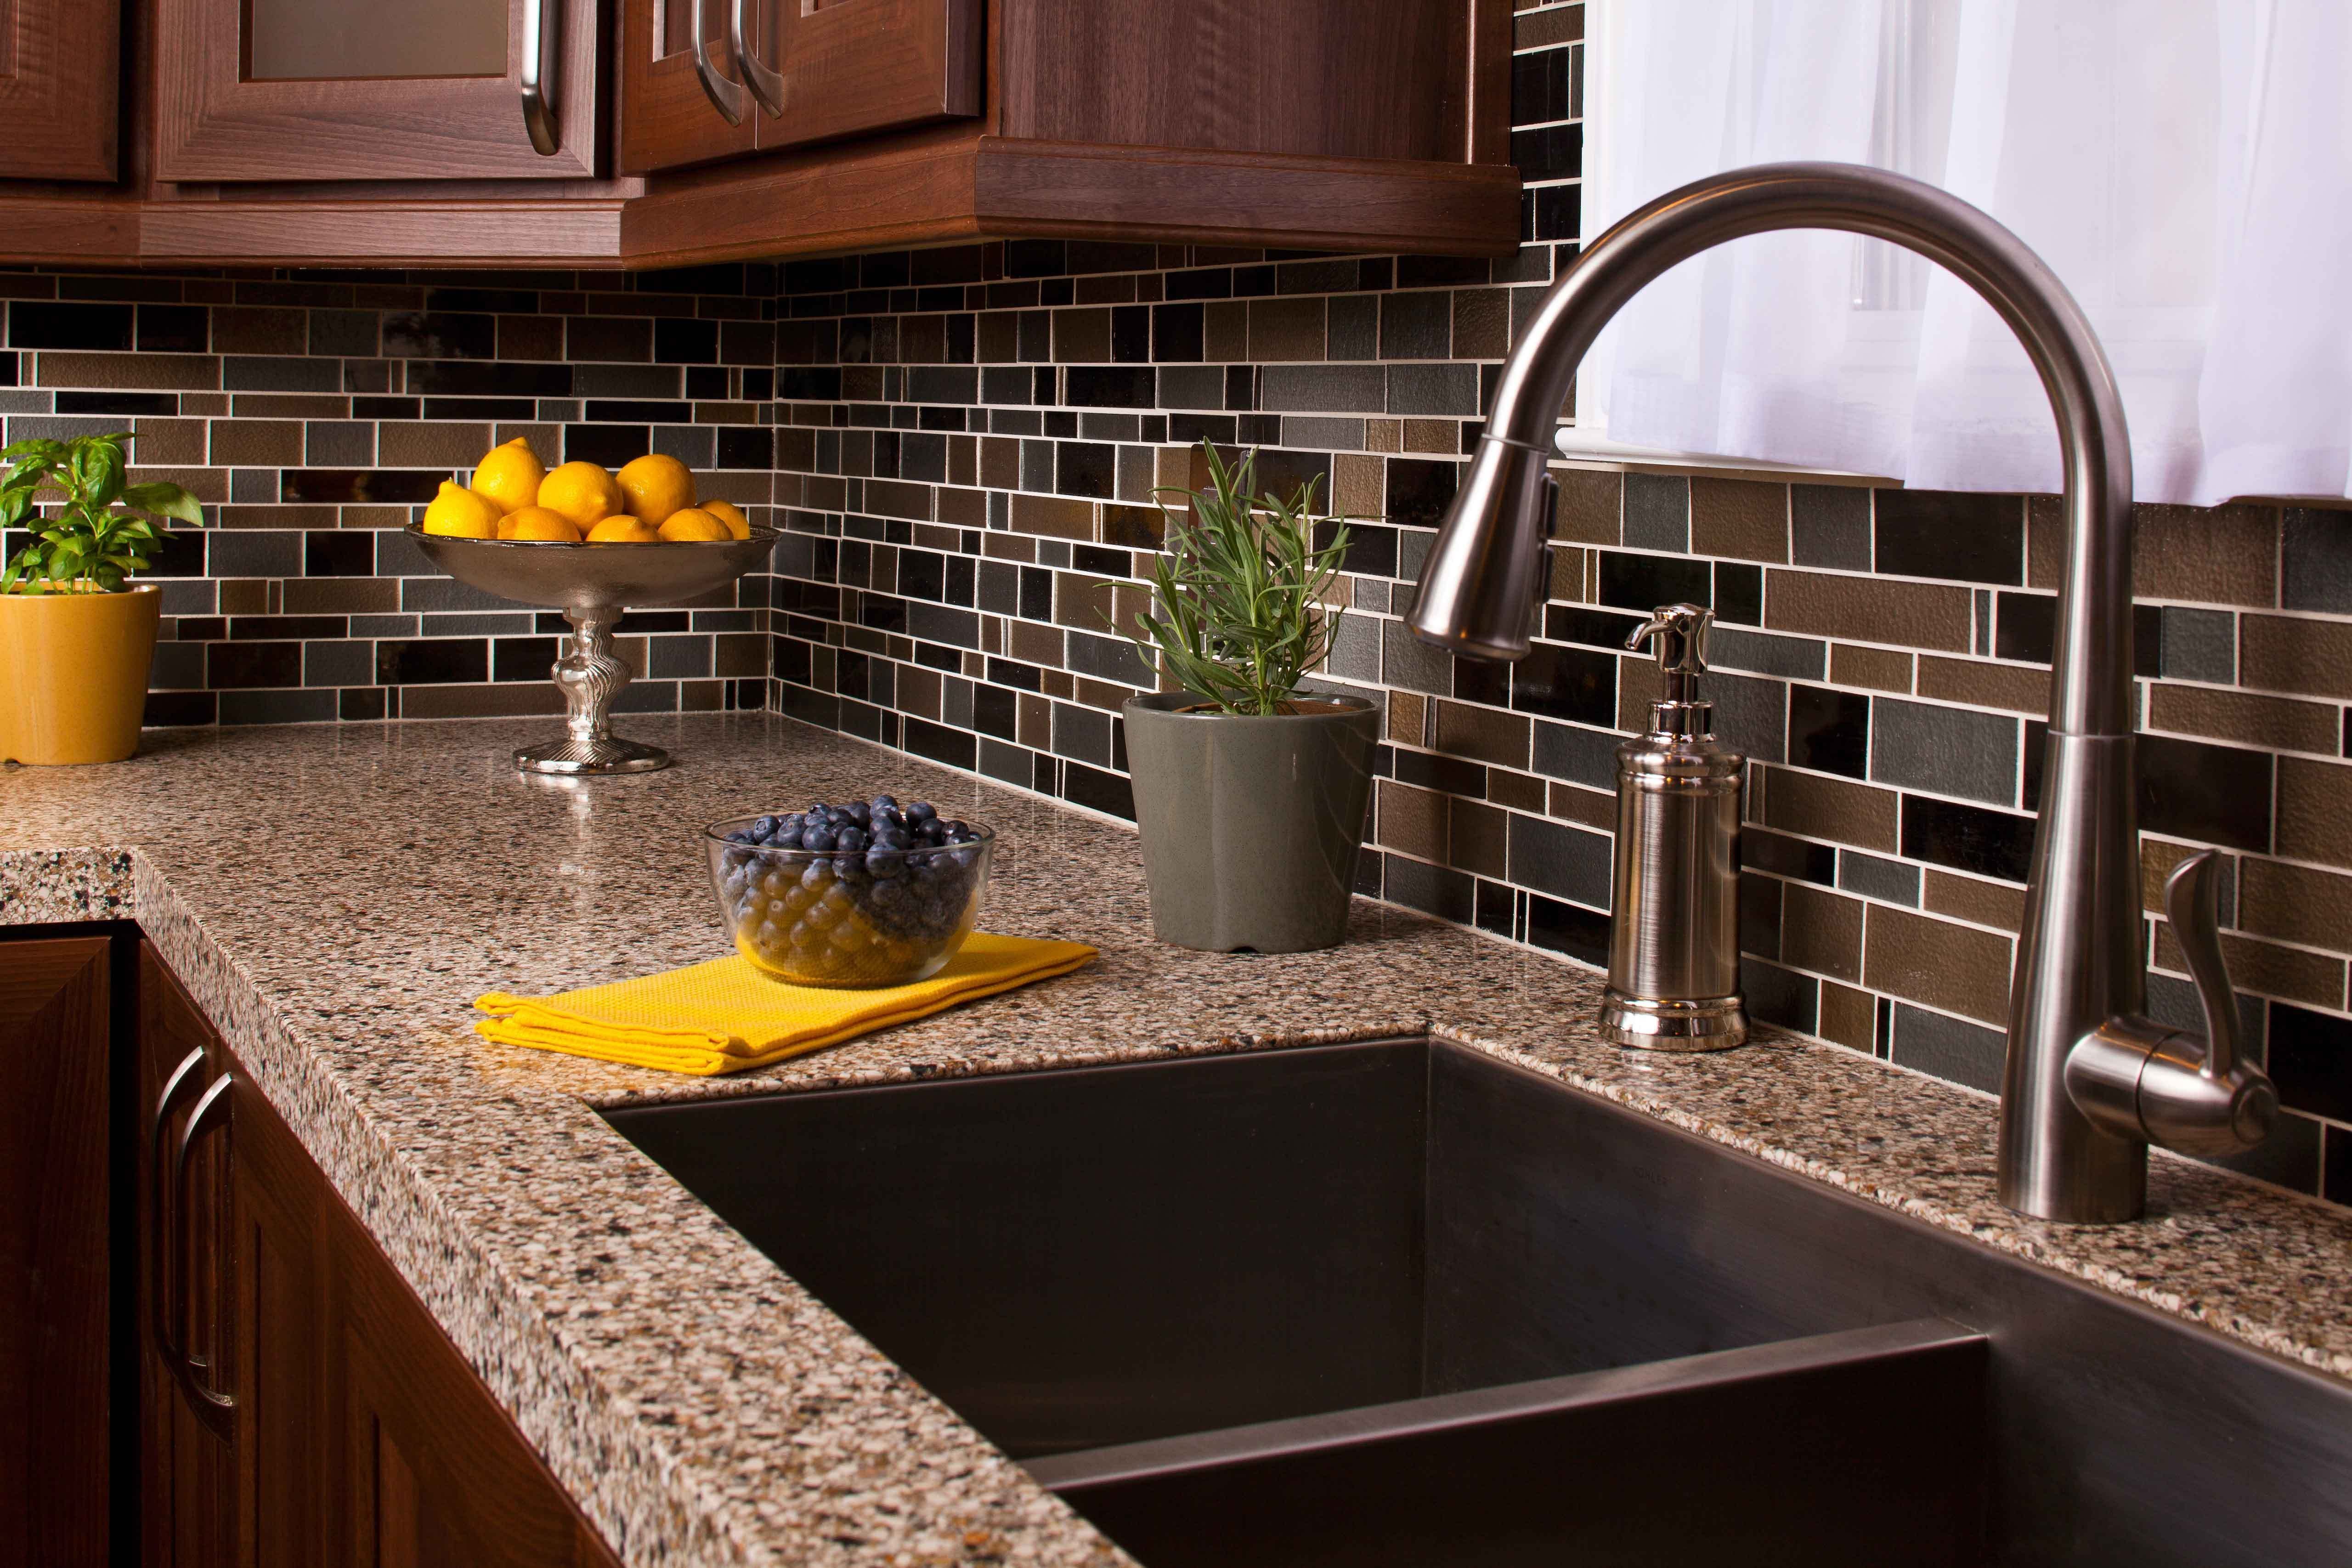
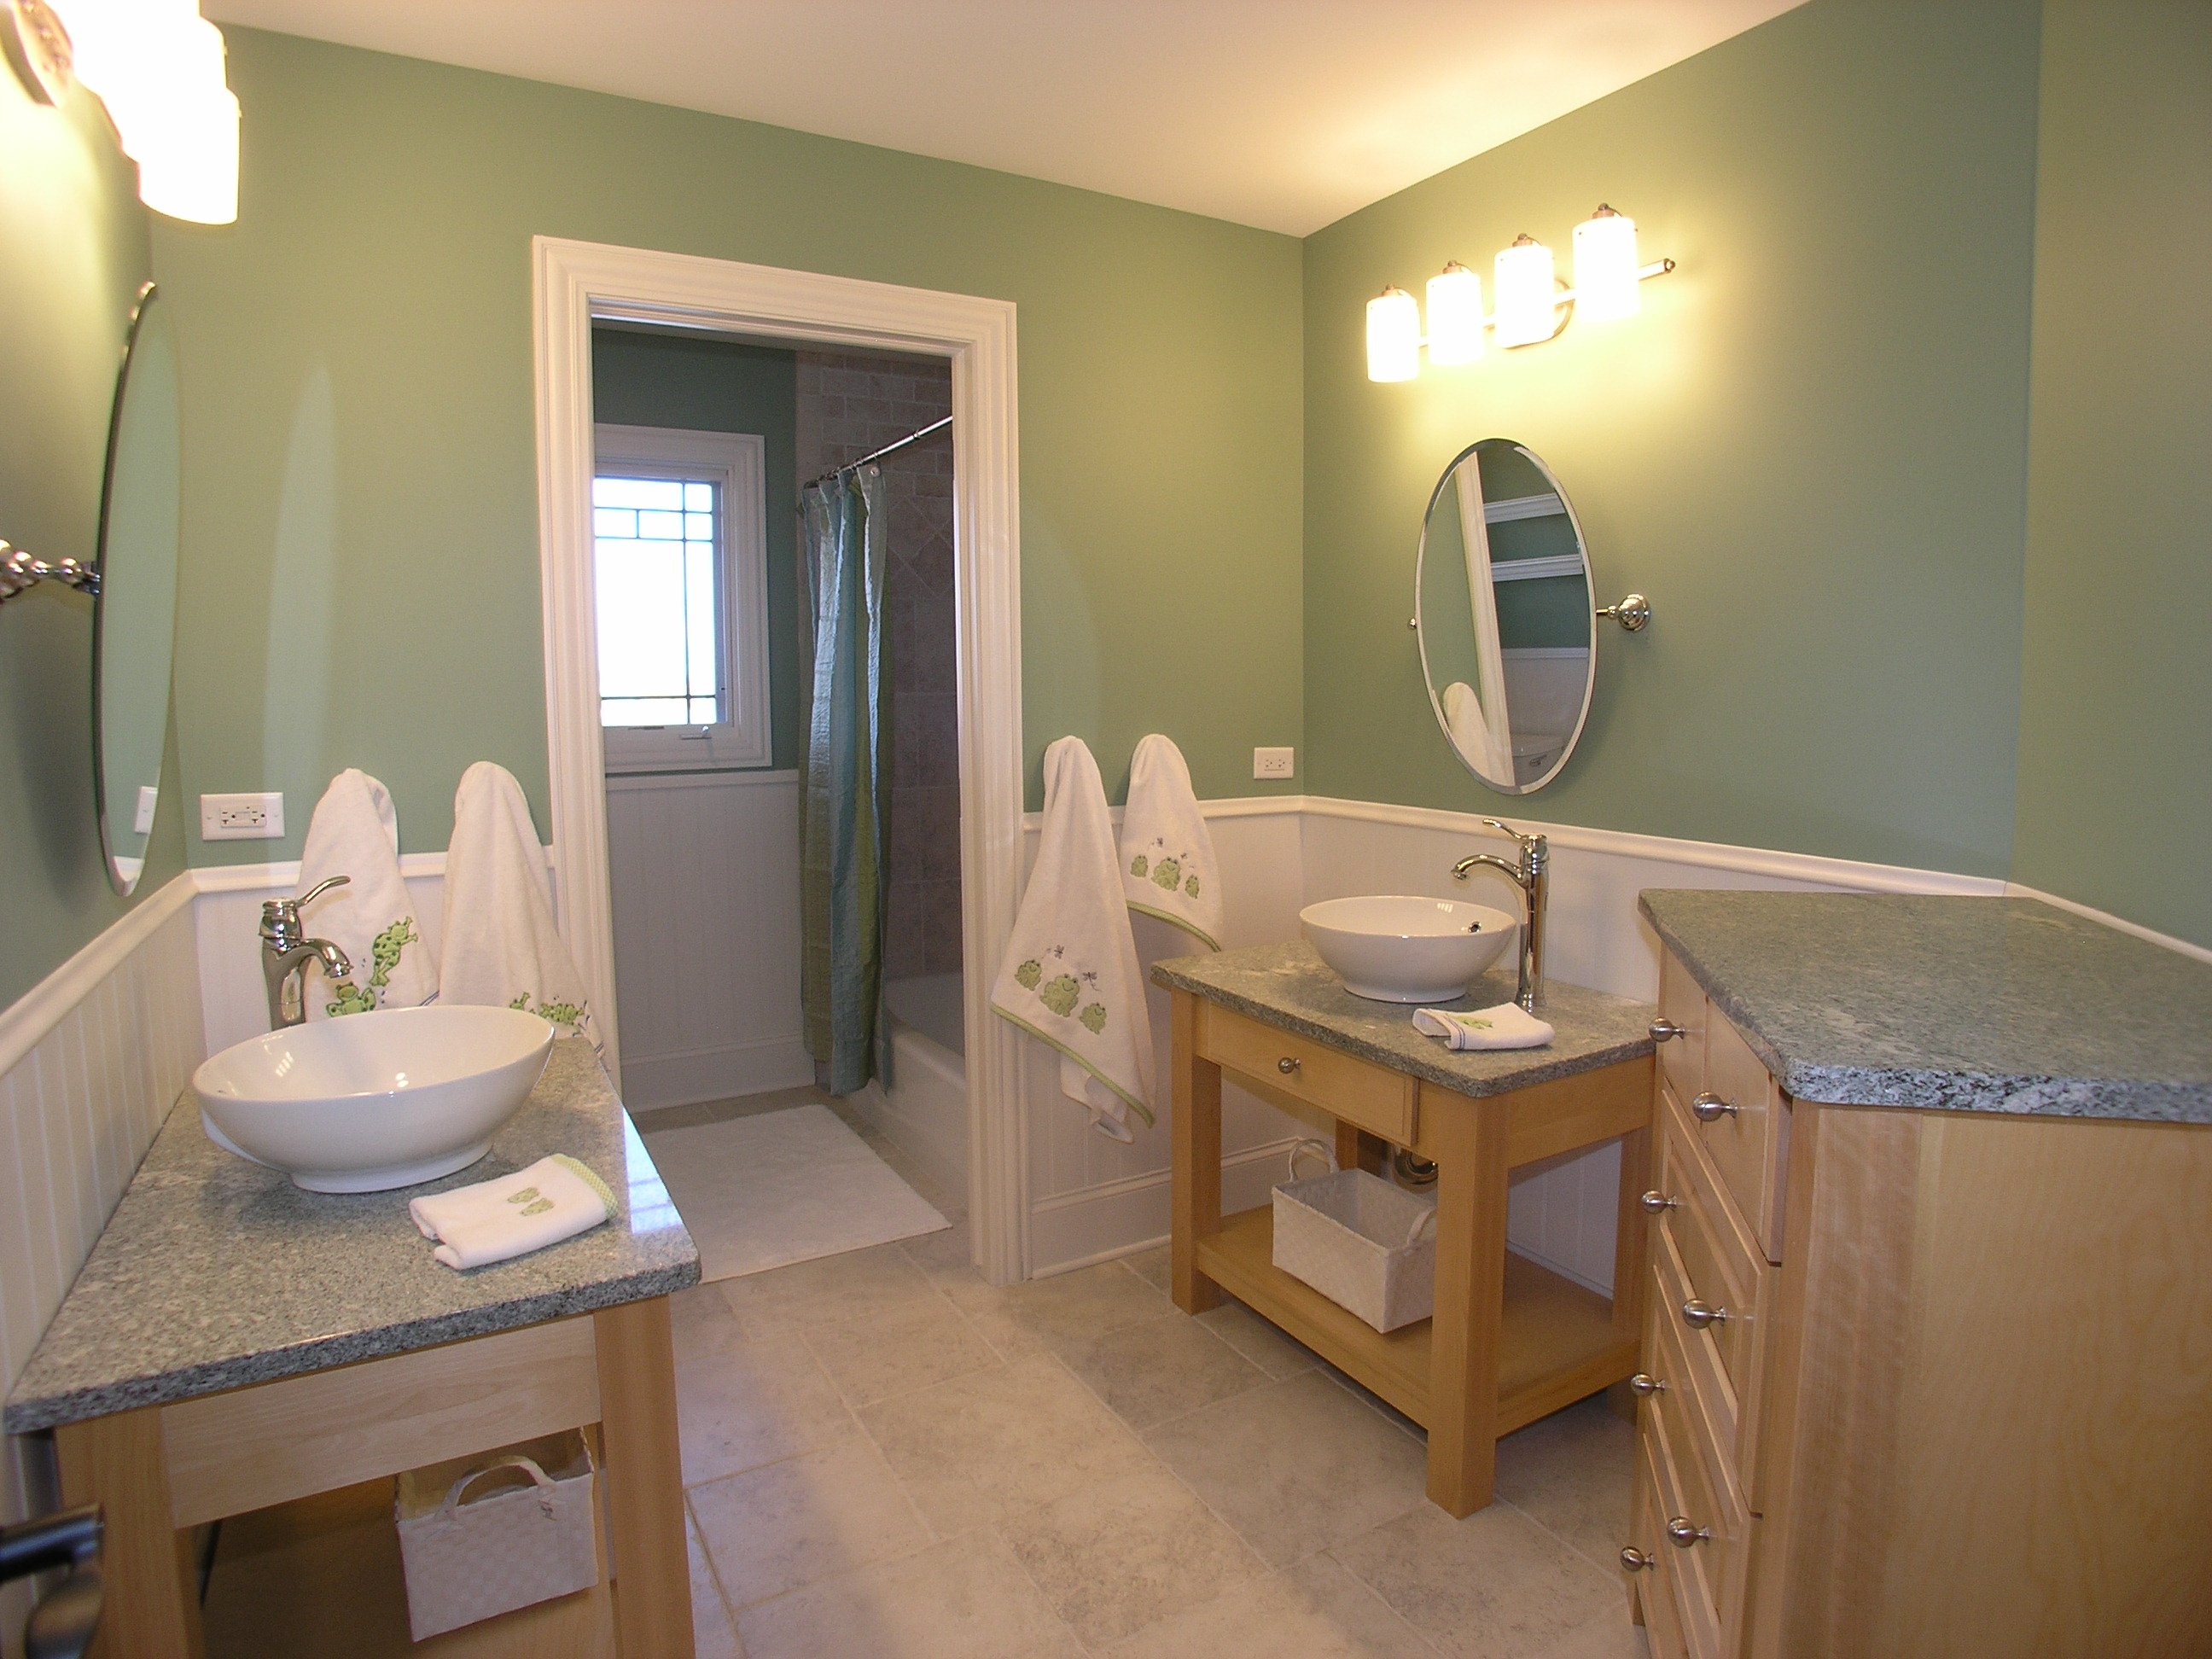
The bathroom sink is an essential element in any bathroom design. It not only serves a functional purpose, but it also adds to the overall aesthetic of the room. When it comes to a granite transformation, the sink must be properly connected to ensure it integrates seamlessly with the new countertops. This not only ensures a cohesive and polished look, but it also prevents any potential issues, such as leaks or damage to the newly installed granite.
When it comes to home renovations, one of the most popular enhancements is a granite transformation. This durable and beautiful material can completely transform the look and feel of a room, especially when used in the bathroom. However, with such a major change, it's important not to overlook the smaller details, such as connecting the bathroom sink. While it may seem like a simple task, it is a crucial step in completing your house design. In this article, we will discuss the importance of connecting your bathroom sink after a granite transformation install and provide some helpful tips to ensure a successful and functional result.
The Importance of Properly Connecting the Bathroom Sink
The bathroom sink is an essential element in any bathroom design. It not only serves a functional purpose, but it also adds to the overall aesthetic of the room. When it comes to a granite transformation, the sink must be properly connected to ensure it integrates seamlessly with the new countertops. This not only ensures a cohesive and polished look, but it also prevents any potential issues, such as leaks or damage to the newly installed granite.
Tips for Connecting the Bathroom Sink After a Granite Transformation Install
 1. Choose the Right Sink
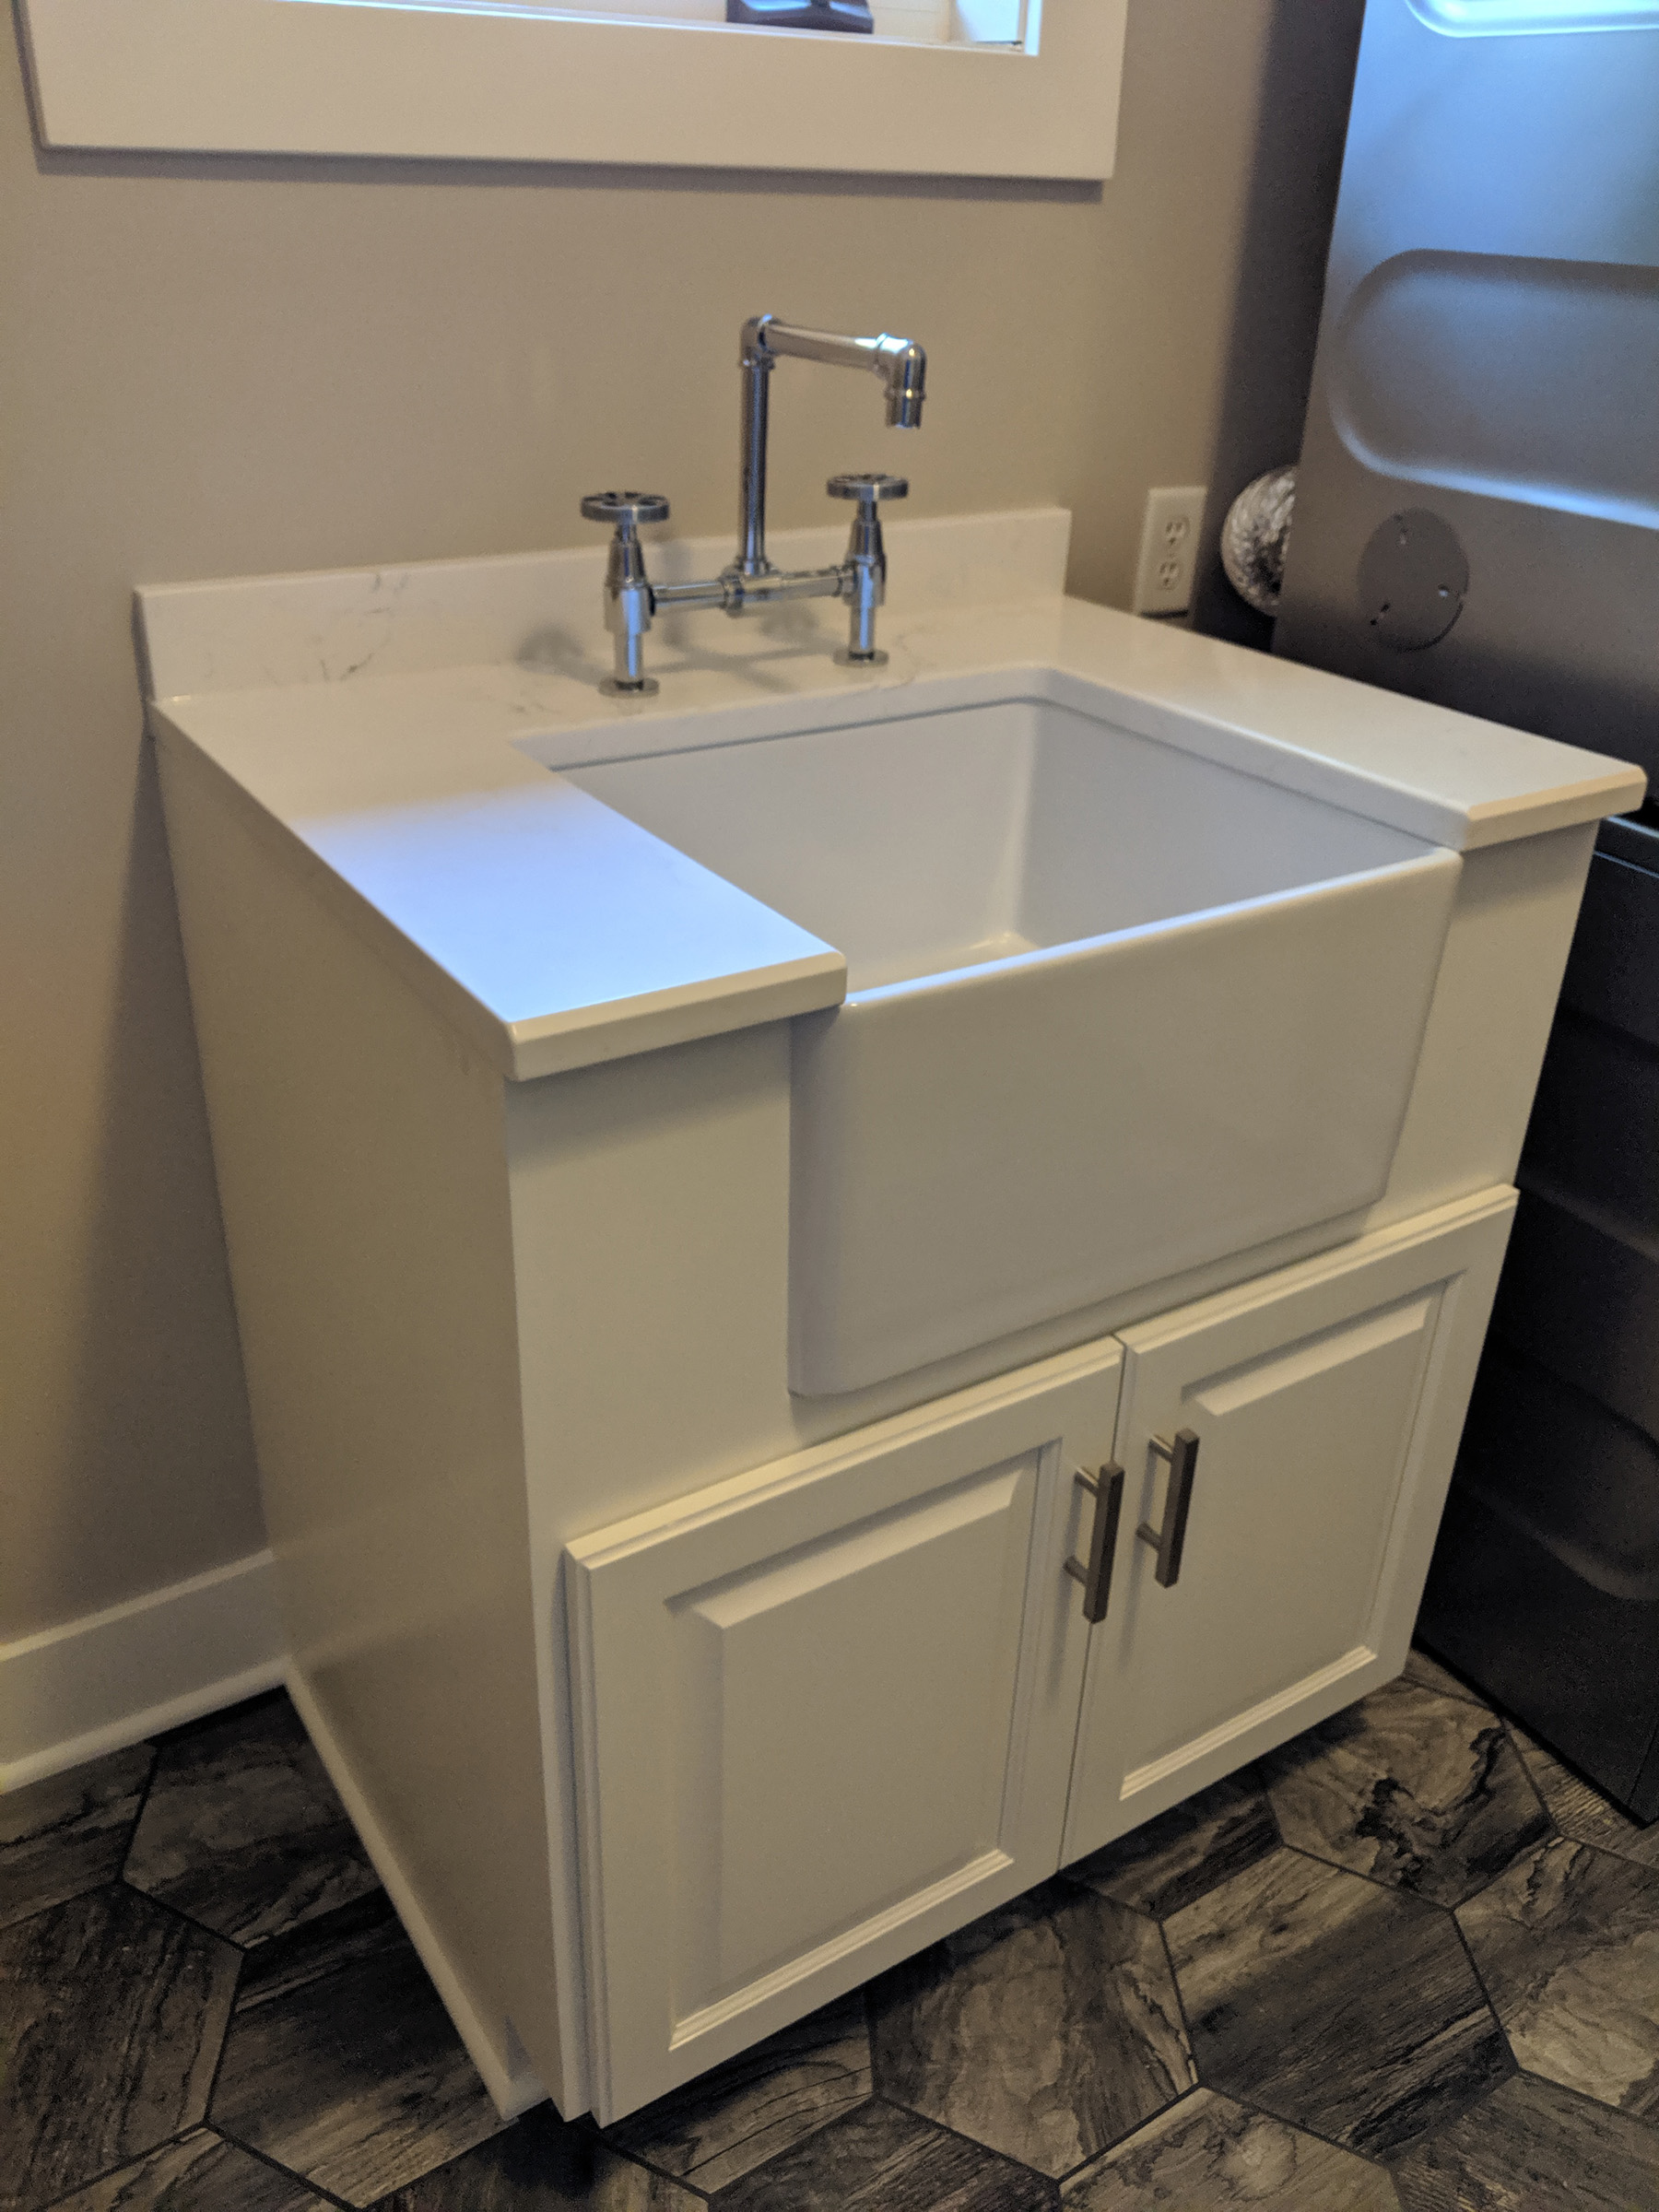
Before you even begin the installation process, it's important to choose the right sink for your bathroom. Consider the size, shape, and style that will best complement your new granite countertops. It's also important to ensure that the sink is compatible with the type of faucet you plan to install.
2. Prepare the Area
Before installing the sink, make sure the area is properly prepared. This includes cutting a hole in the granite for the sink to fit into and ensuring the plumbing is ready for connection. It's also important to have all necessary tools and materials on hand for a smooth installation process.
3. Properly Seal the Sink
Once the sink is in place, it's crucial to properly seal it to prevent any water from seeping into the granite and causing damage. This can be done using a waterproof sealant around the edges of the sink.
4. Connect the Plumbing
The final step in connecting the bathroom sink is to properly connect the plumbing. This includes attaching the faucet, drain, and water supply lines. It's important to double-check all connections and fix any leaks before considering the installation complete.
Conclusion
Connecting the bathroom sink after a granite transformation install may seem like a minor detail, but it plays a significant role in the overall look and functionality of your bathroom. By following these tips and paying attention to the details, you can ensure a successful and professional result that perfectly complements your new granite countertops. Don't overlook the importance of this step in completing your house design and creating a beautiful and functional bathroom space.
1. Choose the Right Sink
Before you even begin the installation process, it's important to choose the right sink for your bathroom. Consider the size, shape, and style that will best complement your new granite countertops. It's also important to ensure that the sink is compatible with the type of faucet you plan to install.
2. Prepare the Area
Before installing the sink, make sure the area is properly prepared. This includes cutting a hole in the granite for the sink to fit into and ensuring the plumbing is ready for connection. It's also important to have all necessary tools and materials on hand for a smooth installation process.
3. Properly Seal the Sink
Once the sink is in place, it's crucial to properly seal it to prevent any water from seeping into the granite and causing damage. This can be done using a waterproof sealant around the edges of the sink.
4. Connect the Plumbing
The final step in connecting the bathroom sink is to properly connect the plumbing. This includes attaching the faucet, drain, and water supply lines. It's important to double-check all connections and fix any leaks before considering the installation complete.
Conclusion
Connecting the bathroom sink after a granite transformation install may seem like a minor detail, but it plays a significant role in the overall look and functionality of your bathroom. By following these tips and paying attention to the details, you can ensure a successful and professional result that perfectly complements your new granite countertops. Don't overlook the importance of this step in completing your house design and creating a beautiful and functional bathroom space.