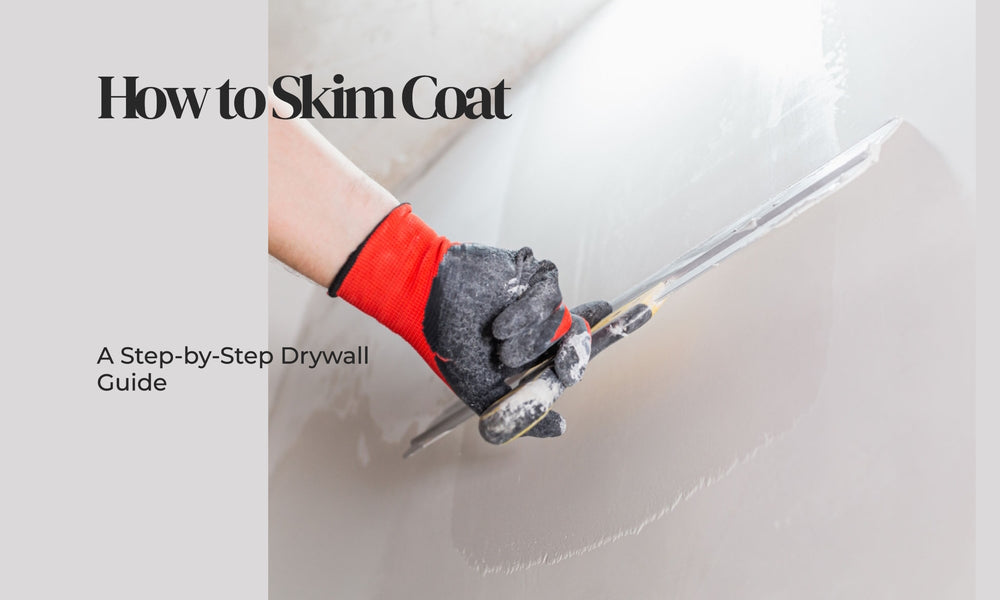
Applying a skim coat to your kitchen walls can give them a fresh, smooth, and professional-looking finish. This thin layer of concrete is perfect for covering up any imperfections or uneven surfaces, leaving you with a blank canvas to paint or decorate as you please. But how exactly do you apply a skim coat to concrete walls? Let's dive into the process step-by-step.1. How to Apply a Skim Coat to Concrete Walls


1. How to Apply a Skim Coat to Concrete Walls


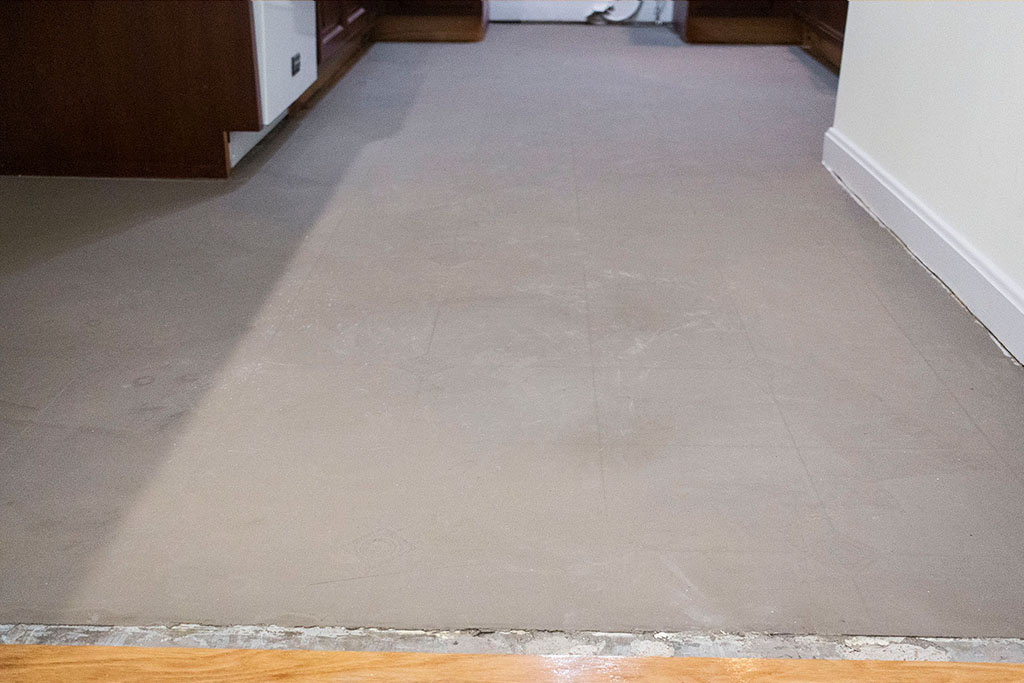
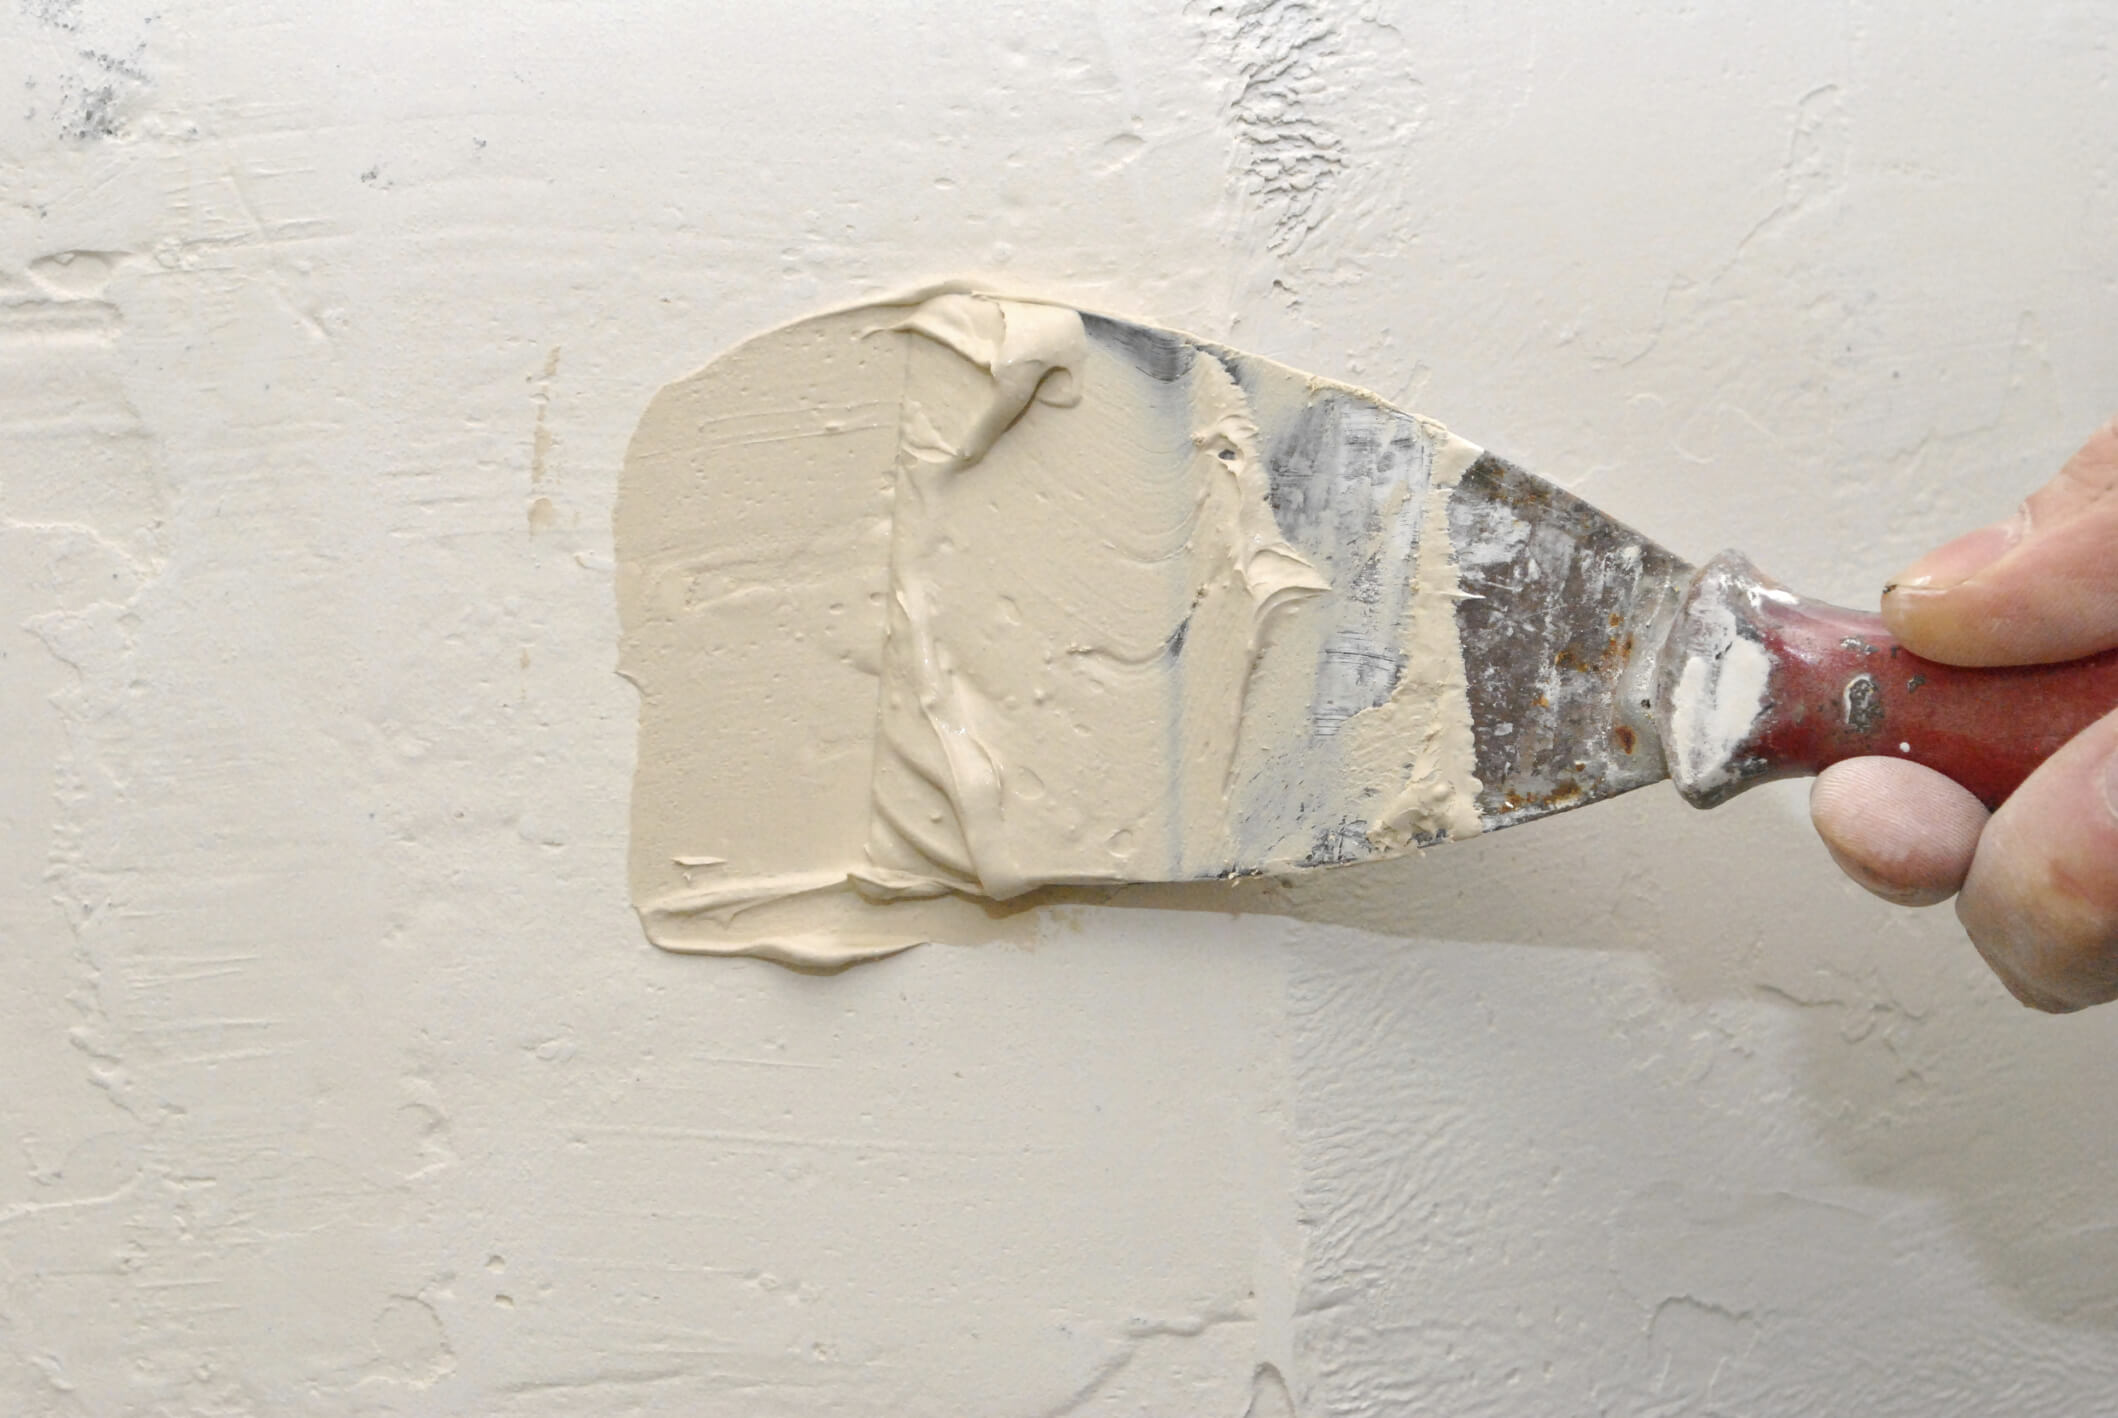
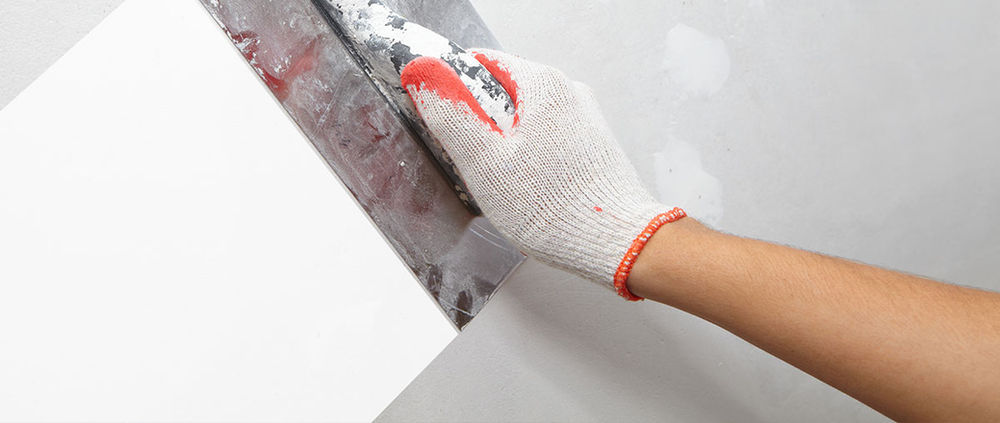
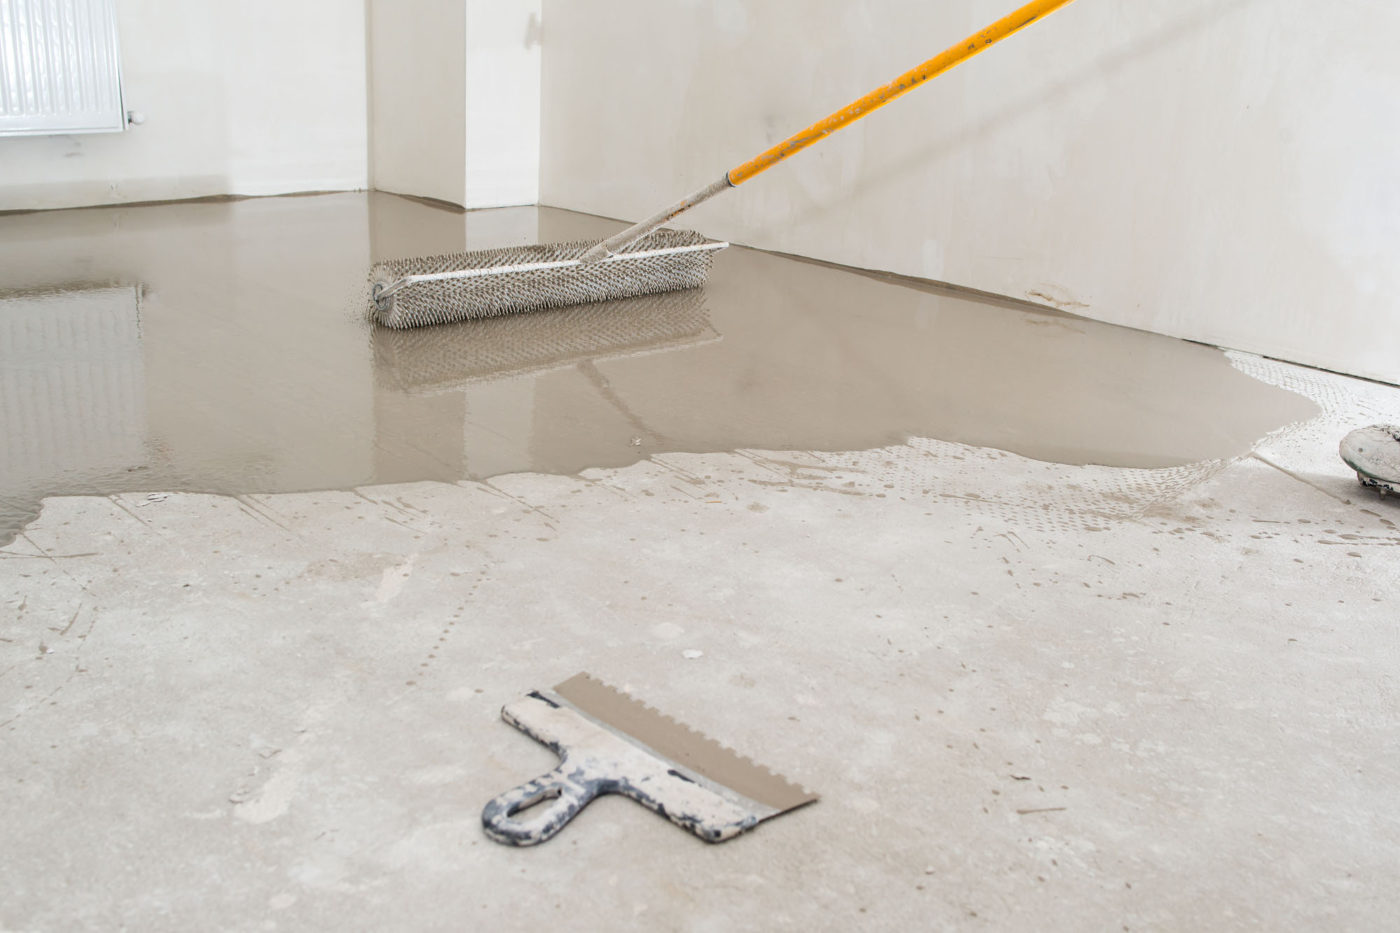
Skim coating is a popular technique used to achieve a smooth and uniform surface on concrete walls. It involves applying a thin layer of concrete, typically 1/8 to 1/4 inch thick, over the existing wall surface. This helps to level out any bumps, cracks, or uneven areas, resulting in a flawless finish. It's also a great way to refresh the look of your kitchen without having to completely replace the walls.2. Skim Coating Concrete Walls for a Smooth Finish


2. Skim Coating Concrete Walls for a Smooth Finish


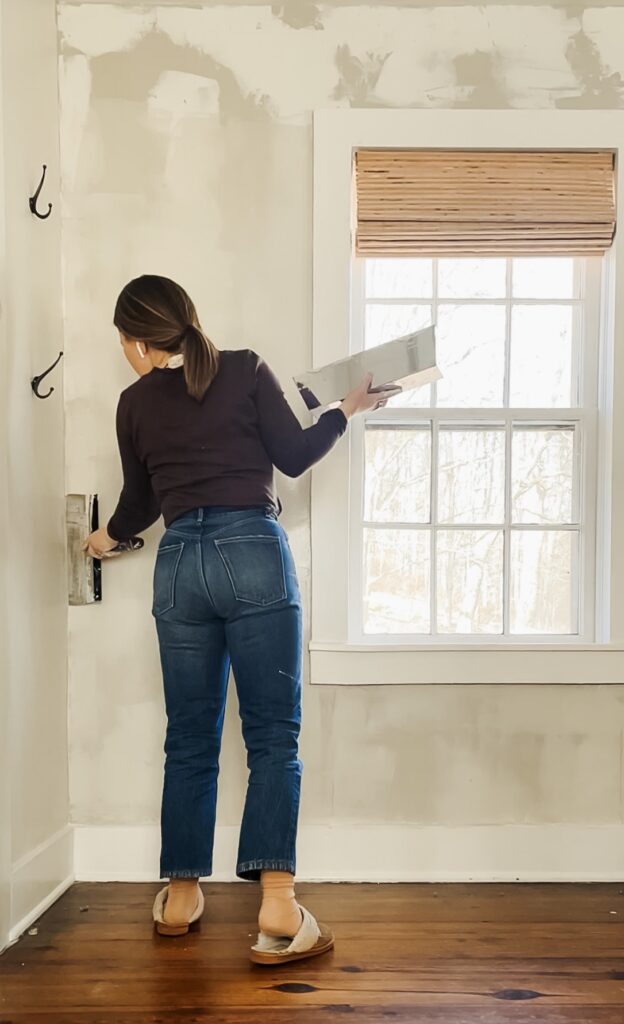
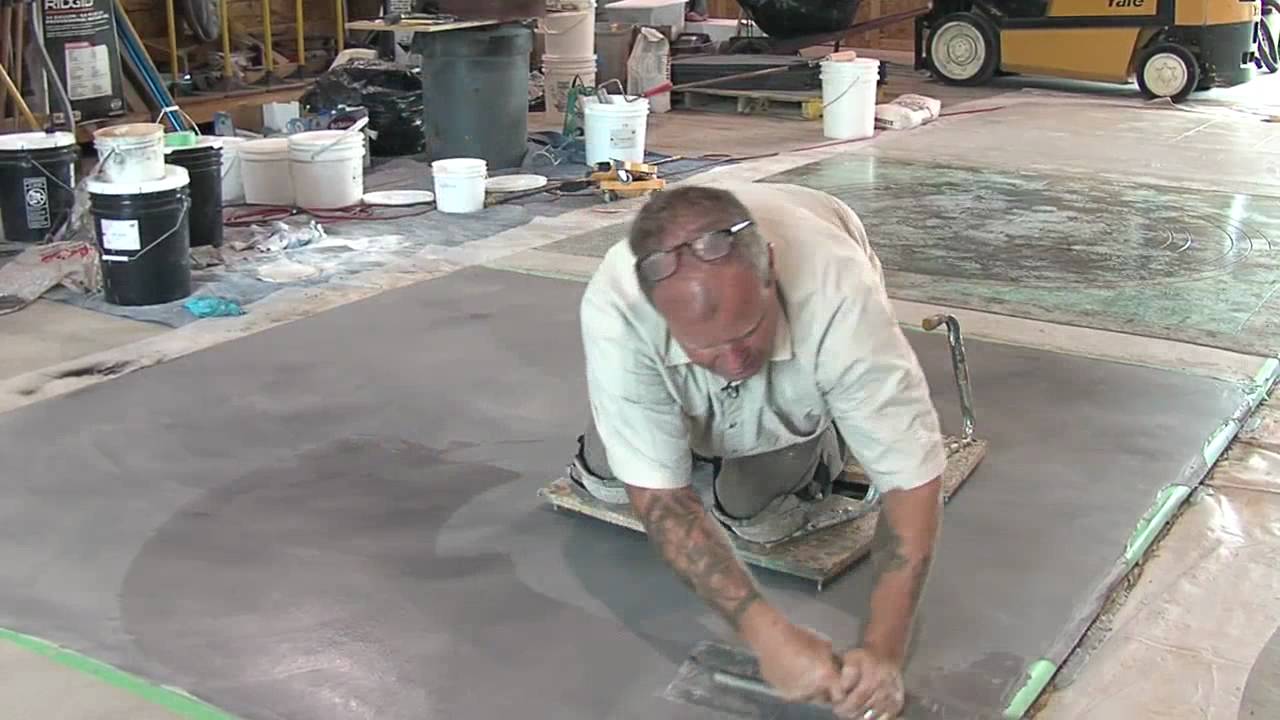
If you're a fan of DIY projects, then skim coating your kitchen walls is a great way to add a personal touch to your home. The process is relatively simple and can be done by almost anyone with the right tools and materials. You can save money by doing it yourself and also have the satisfaction of completing a project on your own.3. DIY Concrete Skim Coat for Kitchen Walls


3. DIY Concrete Skim Coat for Kitchen Walls


Skim coating your kitchen walls offers many benefits, making it a popular choice among homeowners and contractors alike. The most obvious benefit is the smooth and flawless finish it provides, but there are other advantages as well. A skim coat can help to increase the durability and strength of your walls, as well as improve their resistance to moisture and stains.4. The Benefits of Using a Skim Coat on Kitchen Walls


4. The Benefits of Using a Skim Coat on Kitchen Walls
/SkimCoatingaWall-08a4b62342314e5aa0b3feadaf8a6194.jpg)


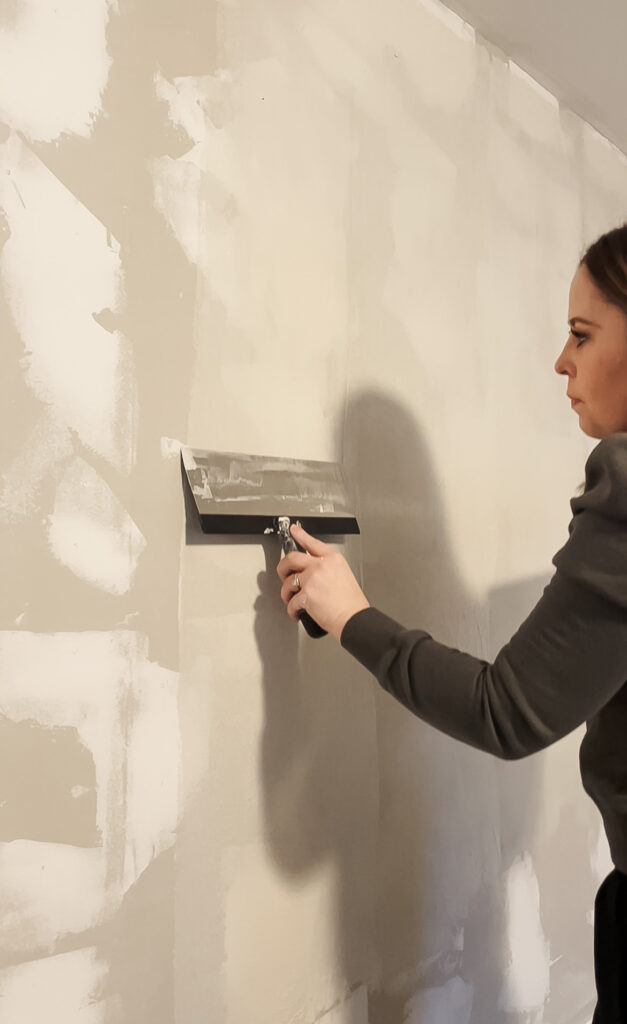
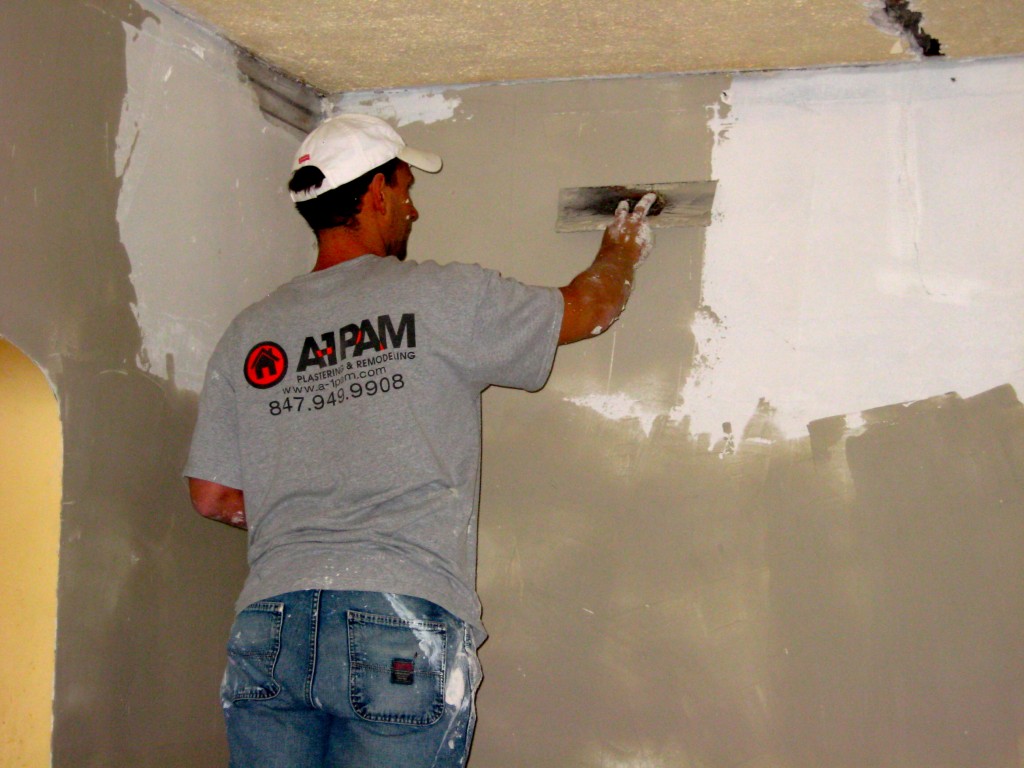
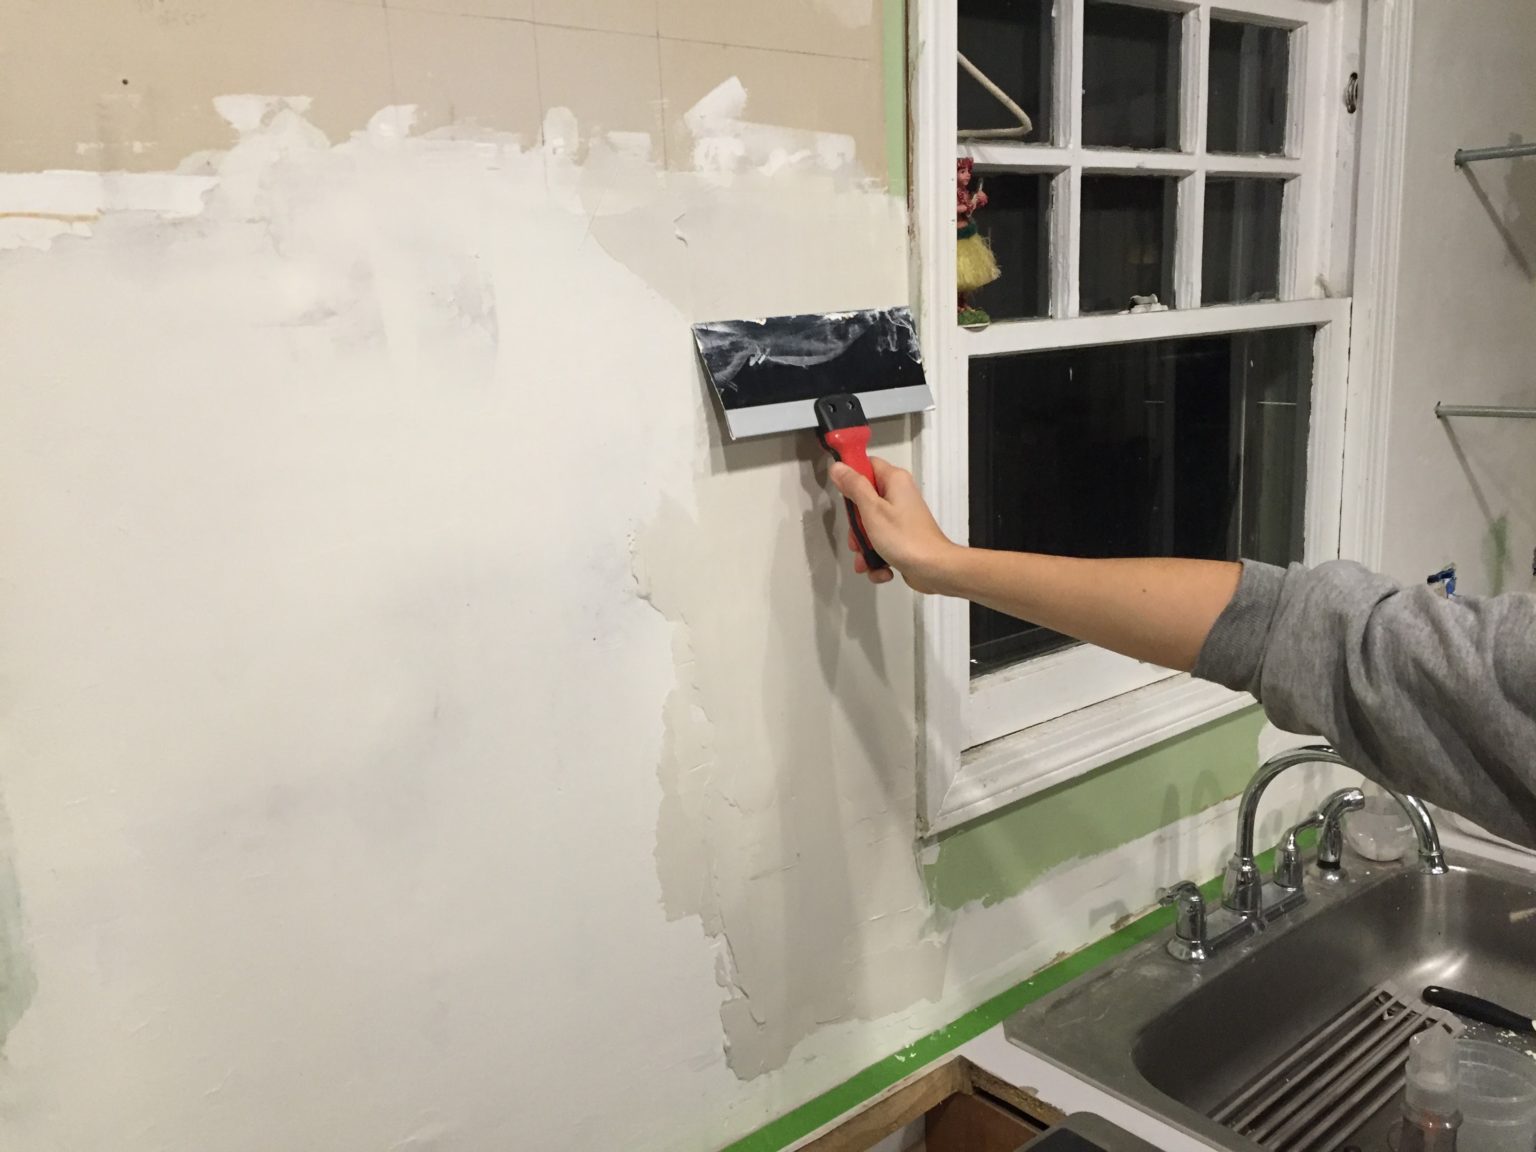
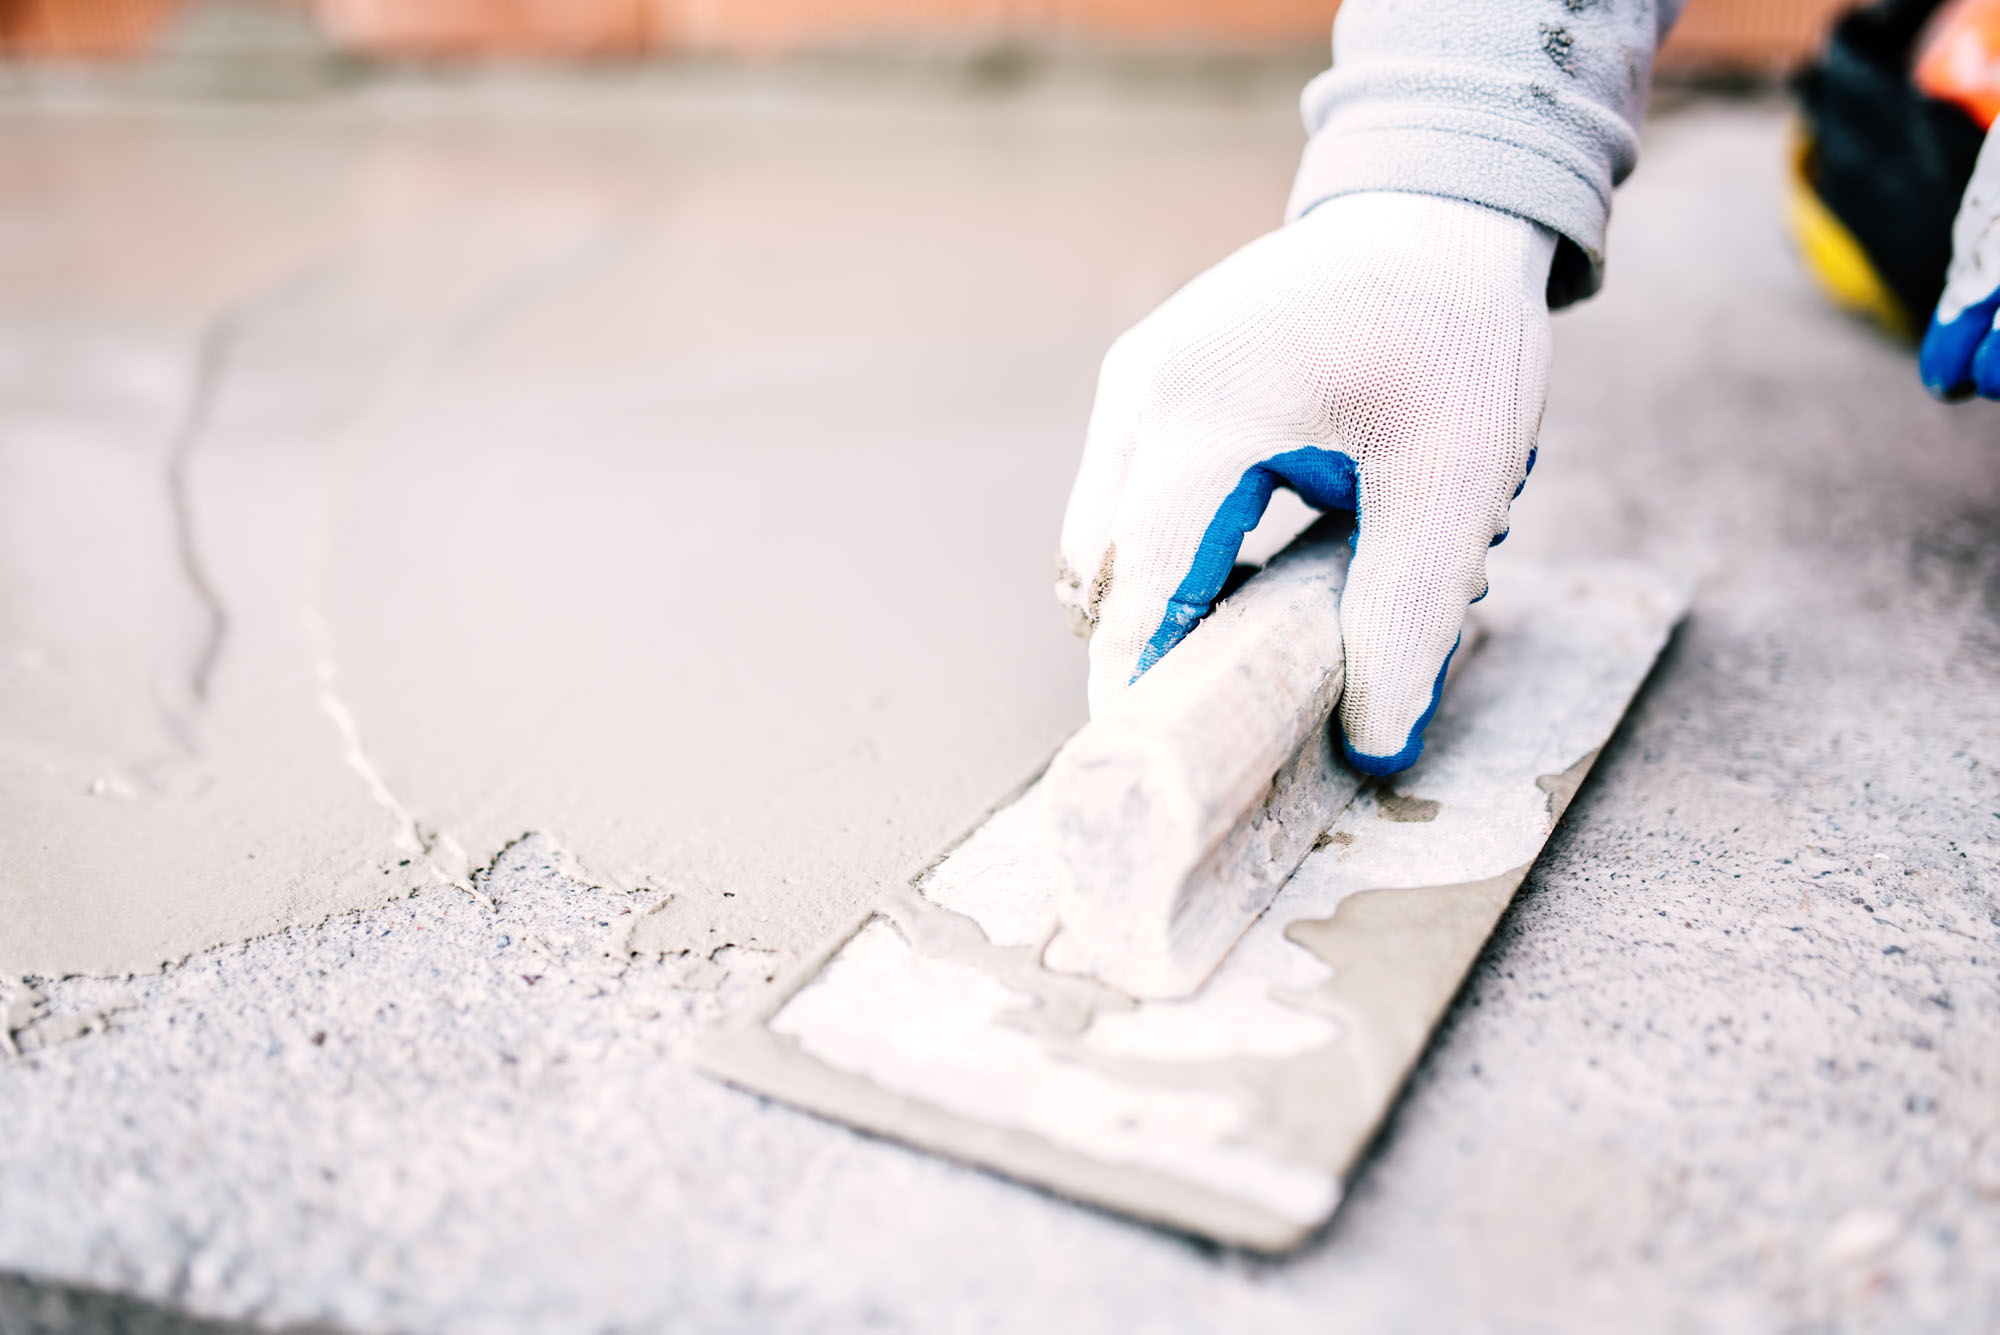
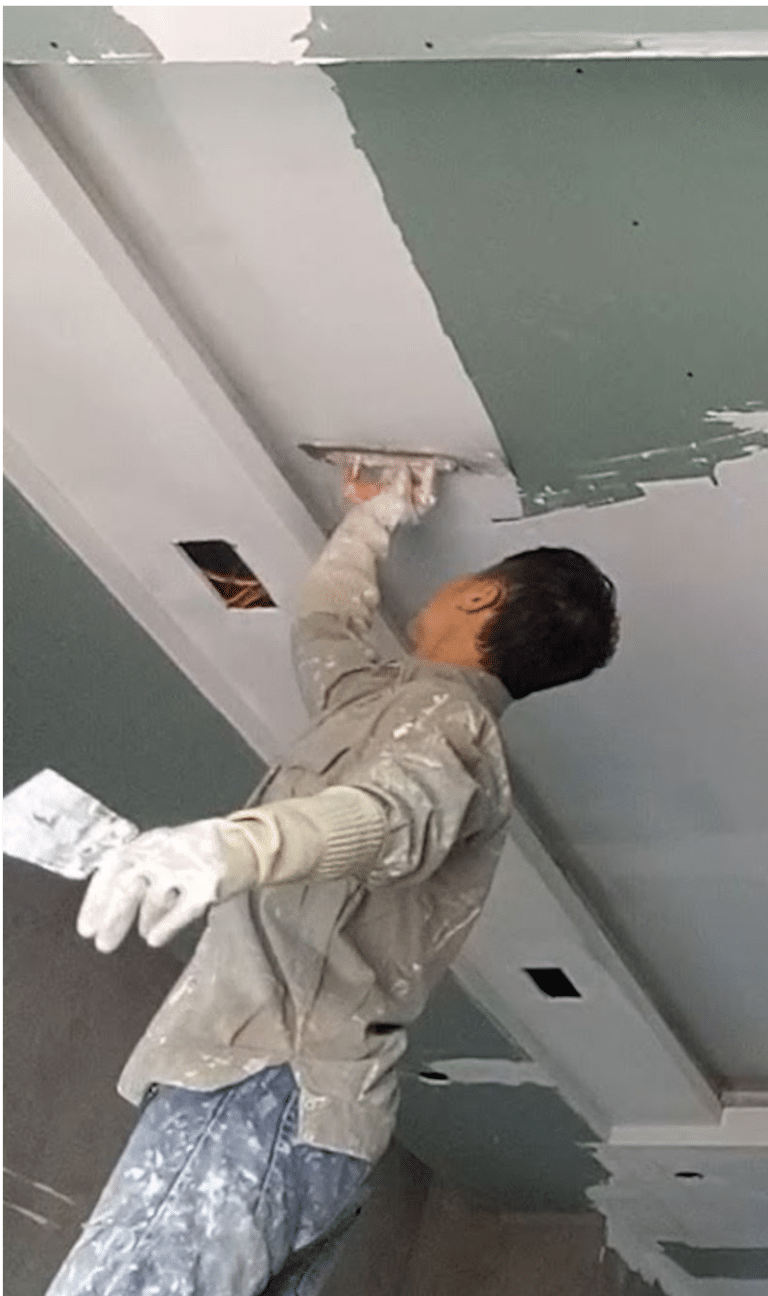
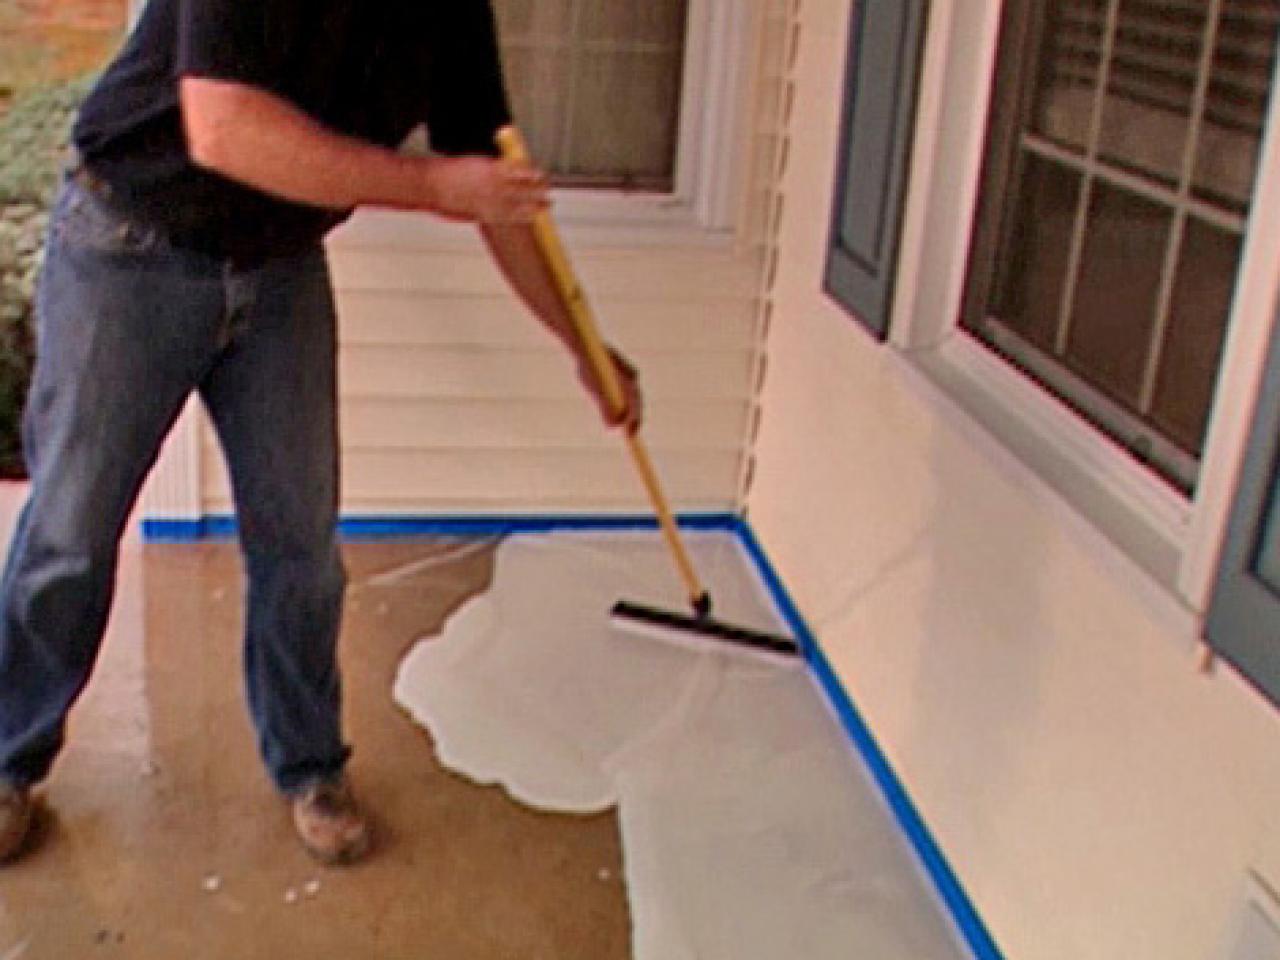
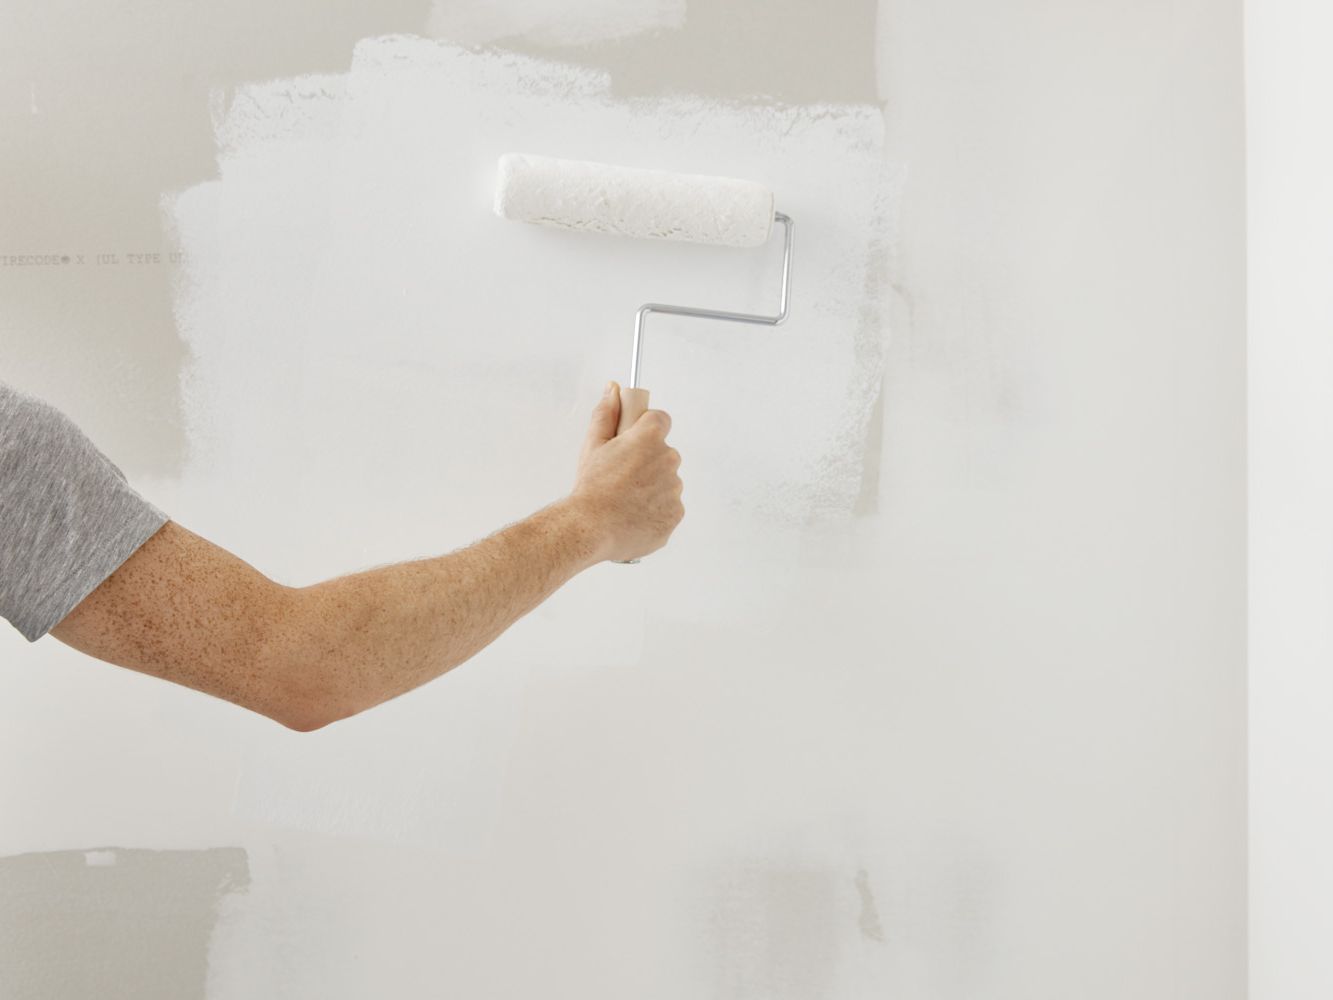
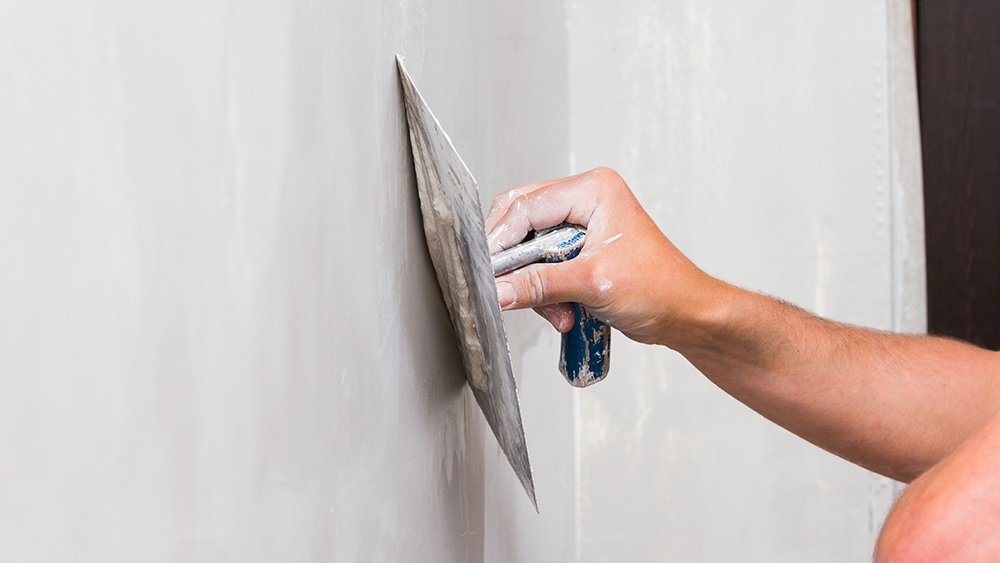
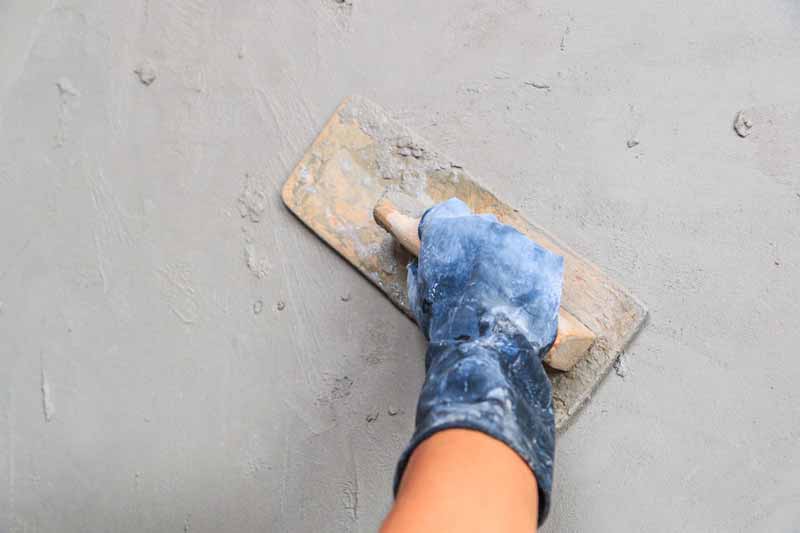
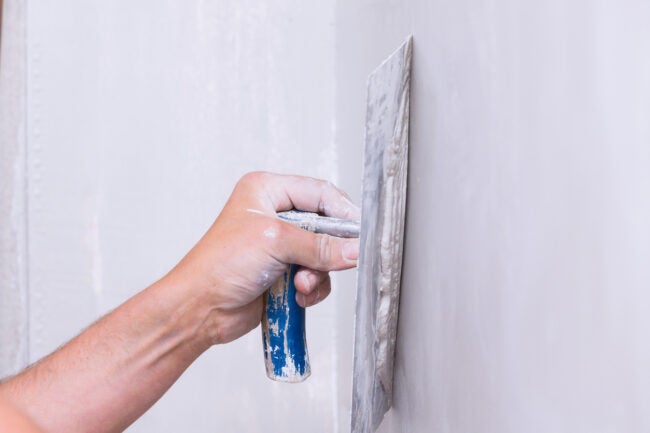
Now, let's break down the process of applying a skim coat to your kitchen walls into simple steps: Step 1: Prepare the surface by cleaning it thoroughly and removing any loose debris or paint. Step 2: Mix your skim coat according to the manufacturer's instructions. It's important to get the right consistency for easy application. Step 3: Using a trowel, spread the skim coat onto the wall in a thin and even layer. Step 4: Smooth out the coat using a trowel or drywall knife, making sure to eliminate any air bubbles. Step 5: Let the skim coat dry completely before sanding it lightly to remove any imperfections. Step 6: Repeat the process for a second coat, if needed, and let it dry again. Step 7: Sand the final coat to achieve a smooth and even finish.5. Step-by-Step Guide to Skim Coating Kitchen Walls


5. Step-by-Step Guide to Skim Coating Kitchen Walls


When it comes to choosing the right products for your skim coating project, there are a few options to consider. Some popular choices include pre-mixed skim coat compounds, dry powder mixes, and even joint compound. Always make sure to read the instructions and choose a product that is suitable for your specific wall surface.6. Best Products for Skim Coating Concrete Walls


6. Best Products for Skim Coating Concrete Walls


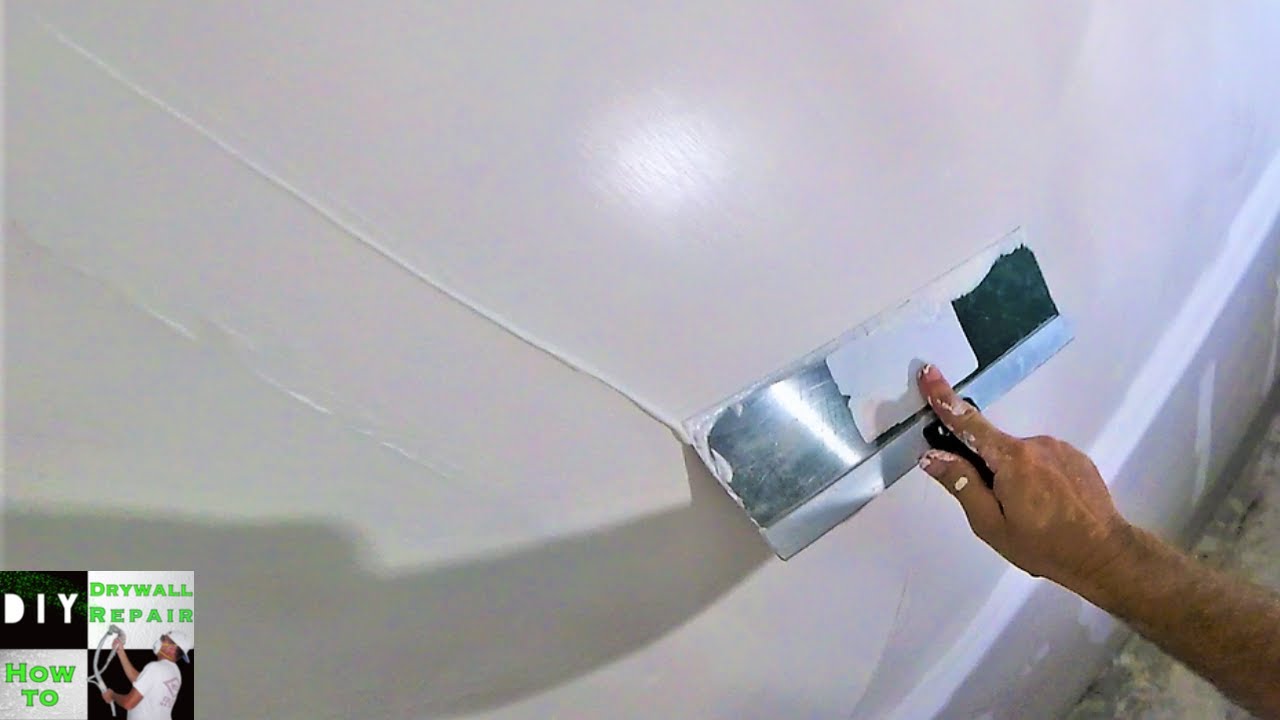
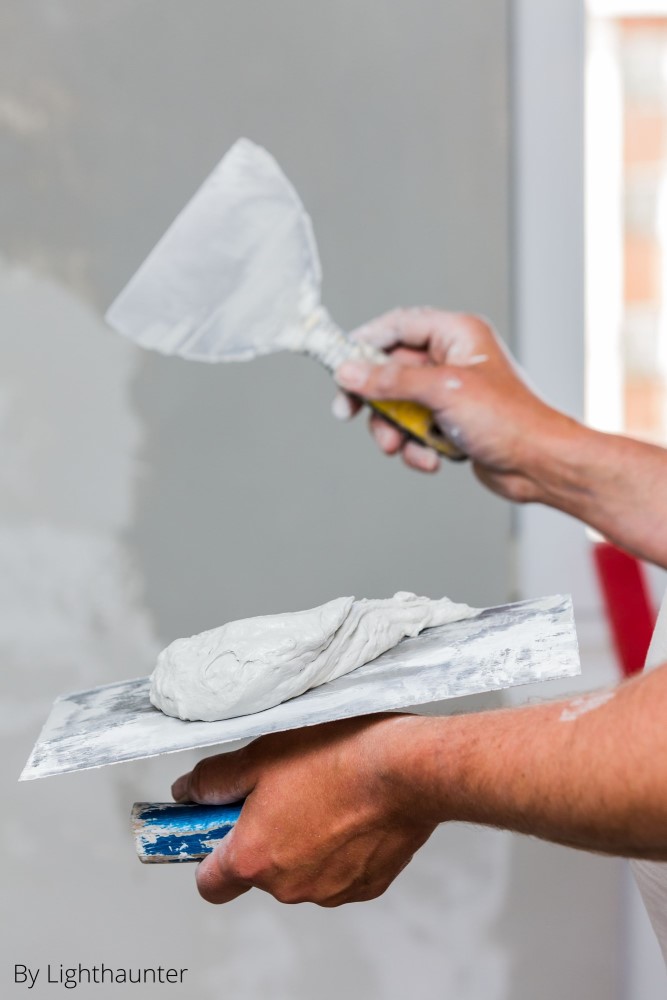
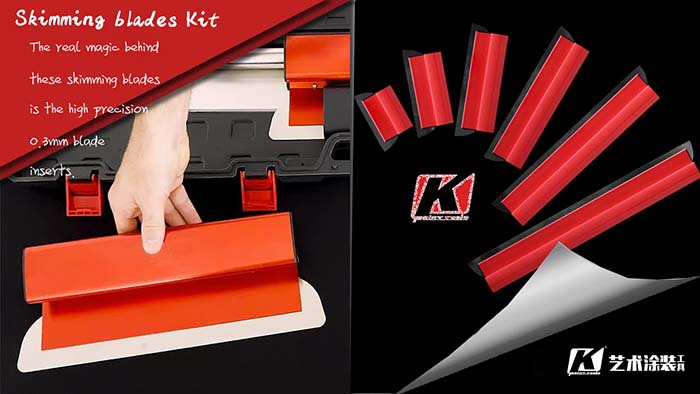
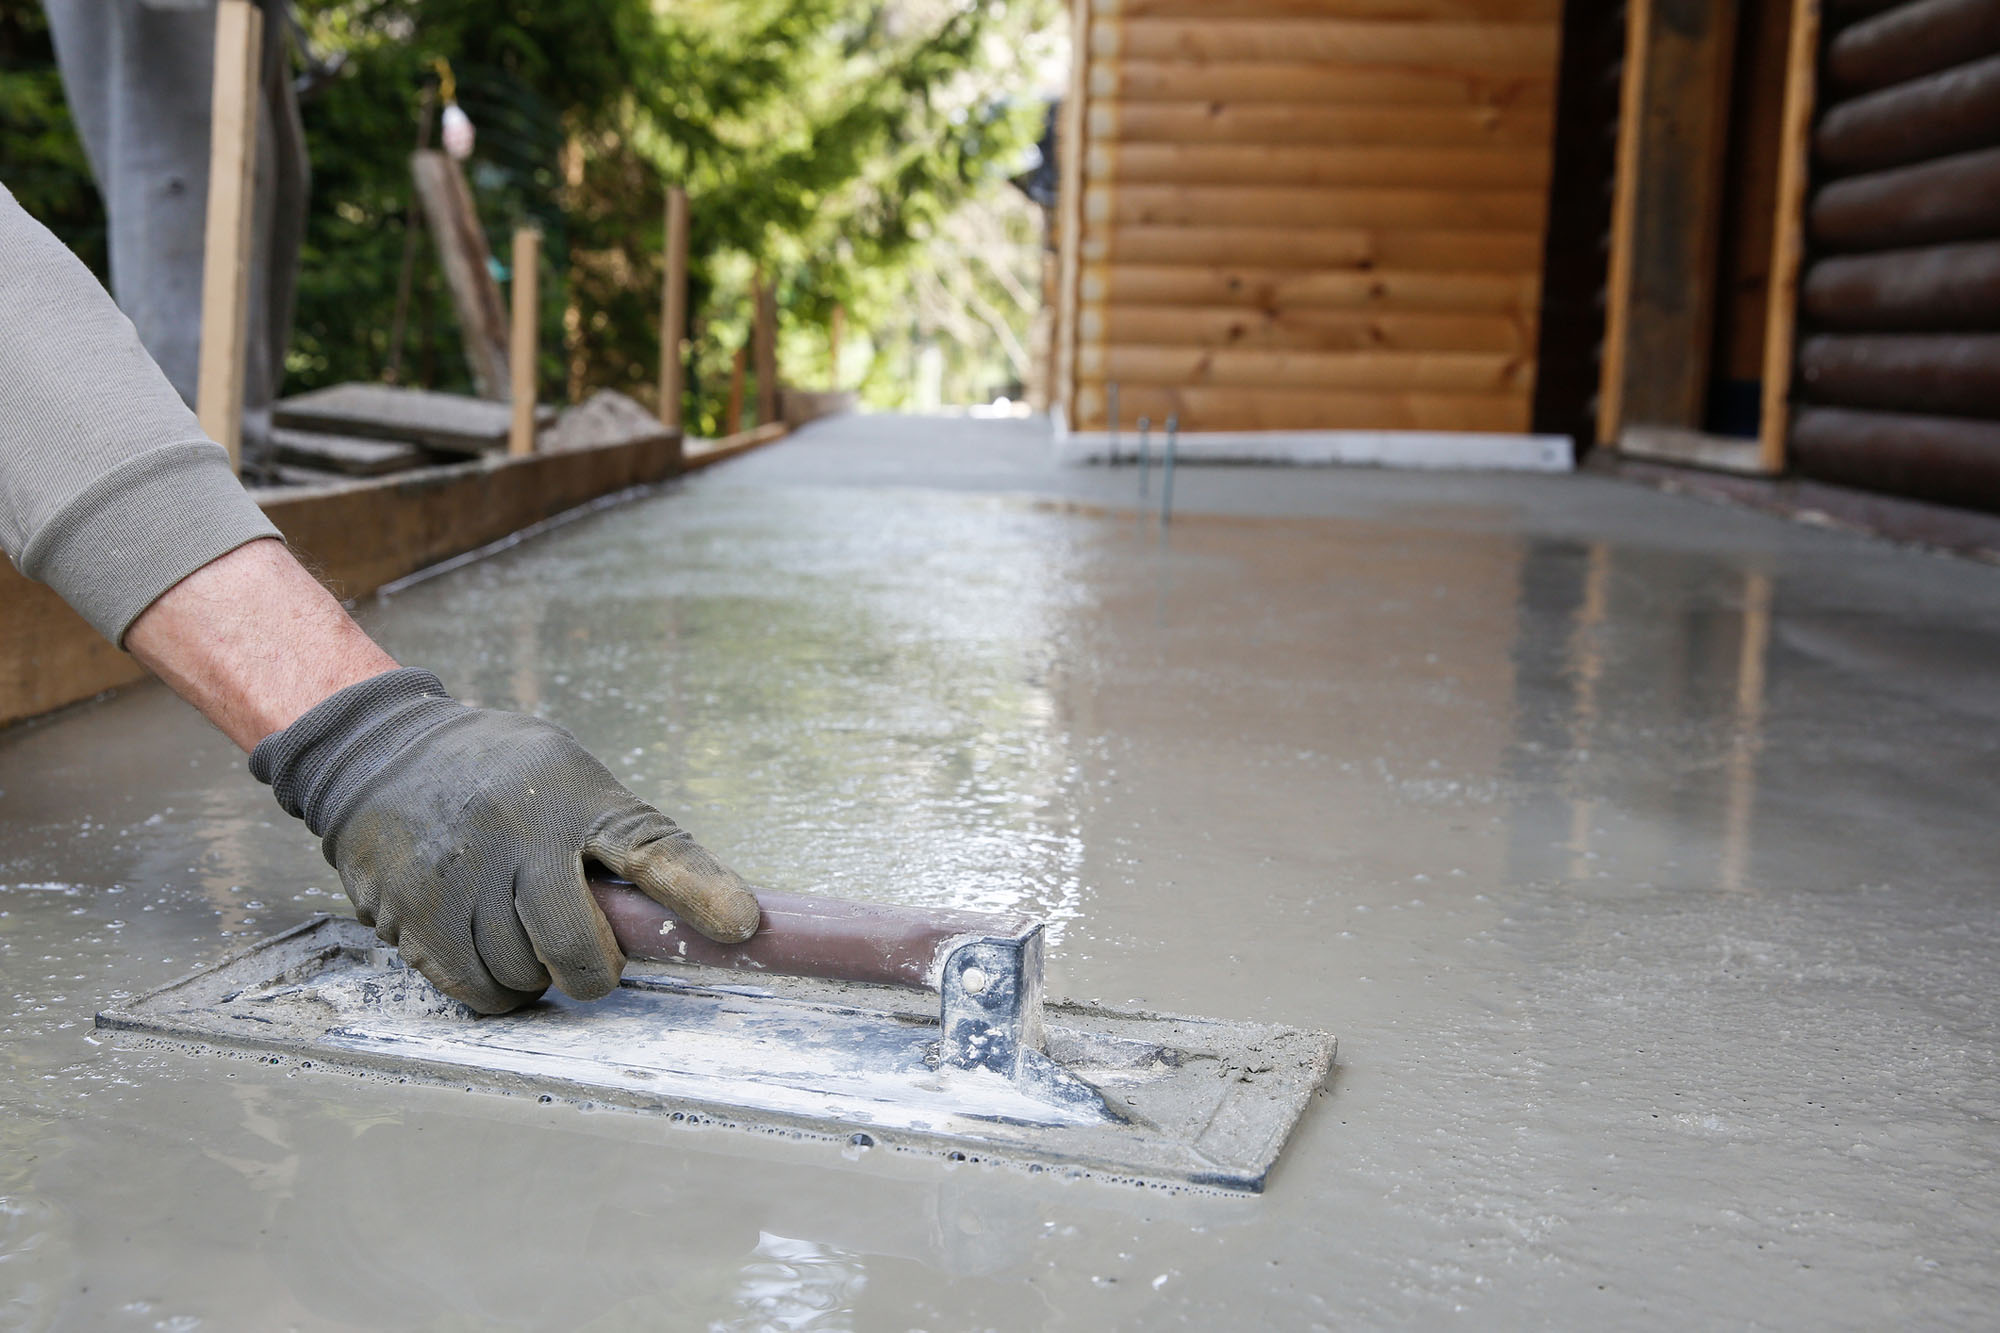
Skim coating may seem like an easy task, but it does require some skill and technique to achieve a flawless finish. Here are a few tips to help you get professional results: • Use a trowel with rounded corners to avoid leaving lines or marks on the wall. • Work in small sections and avoid applying too much pressure to the trowel. • Keep your trowel clean and wipe off any excess skim coat as you work. • Practice on a small area before tackling your entire kitchen walls.7. Tips for Achieving a Professional-Looking Skim Coat on Kitchen Walls

7. Tips for Achieving a Professional-Looking Skim Coat on Kitchen Walls


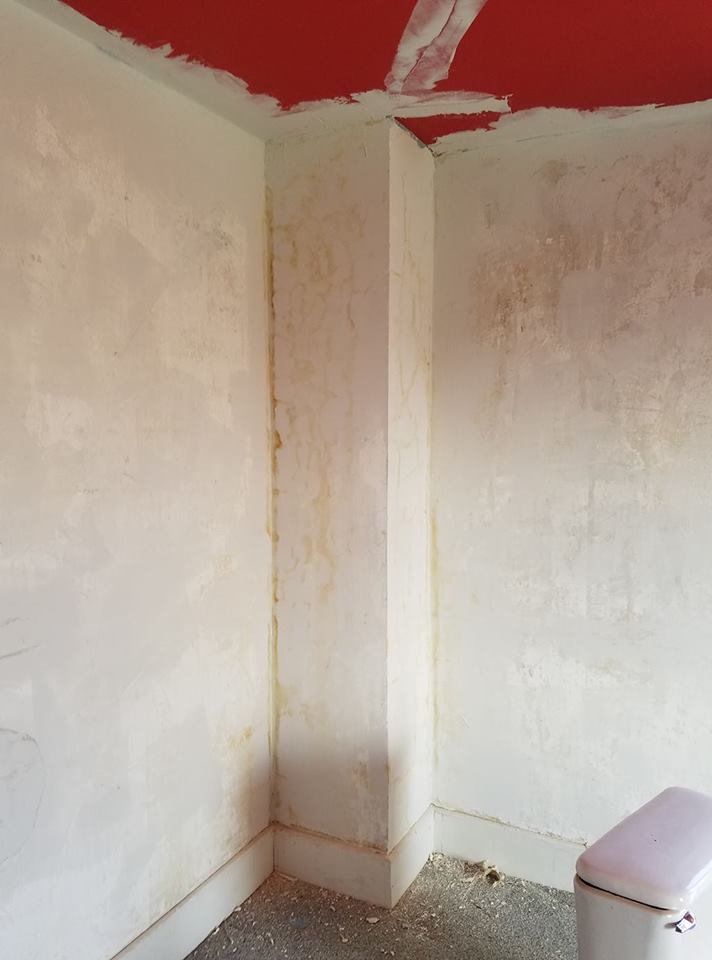
If your kitchen walls have significant damage such as large cracks or holes, you may need to repair them before applying a skim coat. This can be done using a patching compound or joint compound. Once the repairs are complete, you can follow the steps outlined above to skim coat the walls and achieve a smooth finish.8. How to Repair and Skim Coat Damaged Concrete Kitchen Walls


8. How to Repair and Skim Coat Damaged Concrete Kitchen Walls


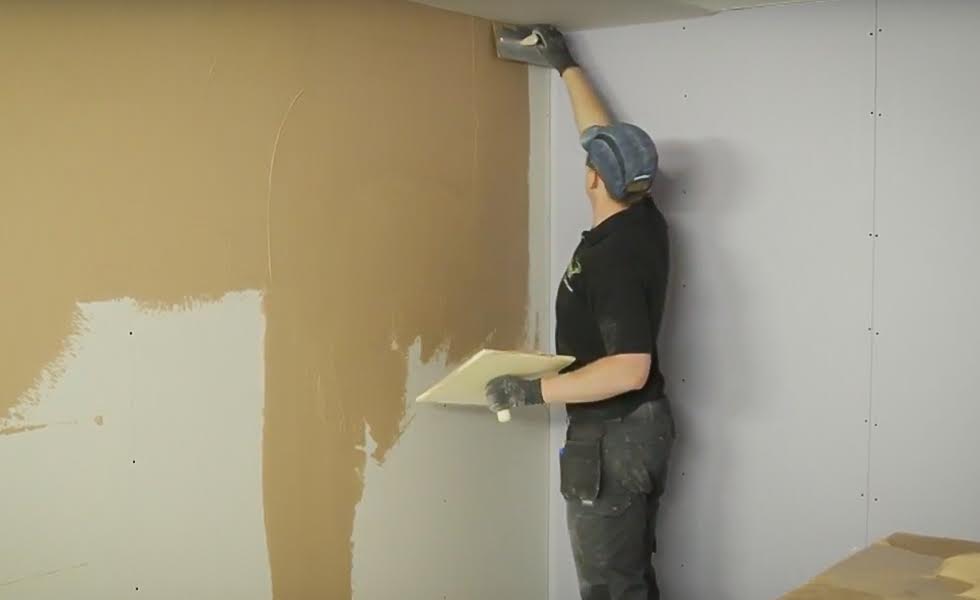
Traditionally, plastering was the go-to method for creating a smooth and even surface on walls. However, skim coating has become a popular alternative due to its ease of application and shorter drying time. While both methods can achieve similar results, skim coating is typically more cost-effective and suitable for DIY projects.9. Skim Coating vs. Traditional Plastering for Kitchen Walls


9. Skim Coating vs. Traditional Plastering for Kitchen Walls

While skim coating can be a relatively simple process, there are some mistakes that are commonly made. These include: • Not preparing the wall surface properly before applying the skim coat. • Applying too thick of a coat, resulting in cracking or uneven drying. • Rushing and not allowing enough time for the coats to dry completely. • Not using the right tools or products for the job. In conclusion, skim coating your concrete kitchen walls can be a great way to achieve a smooth and flawless finish. With the right tools, materials, and techniques, anyone can successfully complete this project and transform the look of their kitchen. So why not give it a try and see the amazing results for yourself?10. Common Mistakes to Avoid When Skim Coating Concrete Kitchen Walls


10. Common Mistakes to Avoid When Skim Coating Concrete Kitchen Walls


Why Choose a Concrete Skim Coat for Your Kitchen Walls?

Benefits of Concrete Skim Coat
 When it comes to designing or renovating your kitchen, one of the most important factors to consider is the type of material you will use for your walls. While there are various options available,
concrete skim coat
has been gaining popularity in recent years. This thin layer of concrete is applied on top of existing walls, providing a smooth and durable finish. Here are some of the benefits of choosing a concrete skim coat for your kitchen walls:
When it comes to designing or renovating your kitchen, one of the most important factors to consider is the type of material you will use for your walls. While there are various options available,
concrete skim coat
has been gaining popularity in recent years. This thin layer of concrete is applied on top of existing walls, providing a smooth and durable finish. Here are some of the benefits of choosing a concrete skim coat for your kitchen walls:
Durable and Long-Lasting
 One of the main advantages of using a concrete skim coat is its durability. This material is known for its strength and can withstand wear and tear, making it perfect for high-traffic areas like the kitchen. Moreover, concrete is resistant to moisture, making it suitable for a space that is prone to spills and splatters. With proper maintenance, a concrete skim coat can last for years without showing signs of wear.
Customizable Designs
 Many homeowners are hesitant to choose concrete for their kitchen walls because of its plain and industrial look. However, with a concrete skim coat, you can have the best of both worlds – the durability of concrete and the design possibilities of other wall materials.
Related main keywords
such as
stenciling, stamping, and staining
can be used to create a variety of patterns, textures, and colors on your kitchen walls. This allows you to personalize your kitchen and make it unique to your style.
Many homeowners are hesitant to choose concrete for their kitchen walls because of its plain and industrial look. However, with a concrete skim coat, you can have the best of both worlds – the durability of concrete and the design possibilities of other wall materials.
Related main keywords
such as
stenciling, stamping, and staining
can be used to create a variety of patterns, textures, and colors on your kitchen walls. This allows you to personalize your kitchen and make it unique to your style.
Easy Maintenance
 Another reason why concrete skim coat is a popular choice for kitchen walls is its low maintenance. Unlike other materials, concrete doesn't require frequent cleaning or sealing. Any spills or stains can easily be wiped clean with a damp cloth. This makes it a practical option for busy homeowners who don't have much time for upkeep.
Cost-Effective
 In addition to its durability and low maintenance, a concrete skim coat is also a cost-effective option for kitchen walls. Since it can be applied directly on top of existing walls, you can save on the cost of demolition and disposal of old materials. Moreover, its long lifespan means you won't have to spend on frequent repairs or replacements.
Conclusion
 A
concrete skim coat
is a practical and stylish choice for your kitchen walls. Its durability, design flexibility, easy maintenance, and cost-effectiveness make it a popular option among homeowners. So, if you're looking to upgrade your kitchen walls, consider a concrete skim coat for a long-lasting and beautiful finish.
A
concrete skim coat
is a practical and stylish choice for your kitchen walls. Its durability, design flexibility, easy maintenance, and cost-effectiveness make it a popular option among homeowners. So, if you're looking to upgrade your kitchen walls, consider a concrete skim coat for a long-lasting and beautiful finish.