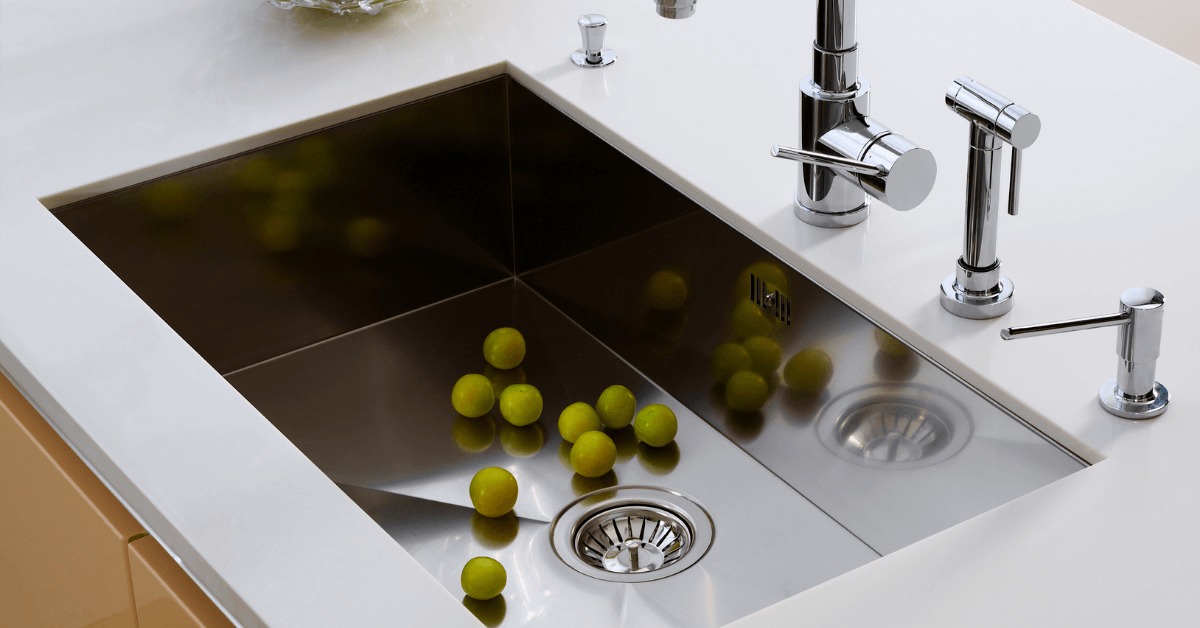
Changing out a kitchen sink can seem like a daunting task, but with the right tools and knowledge, it can be a simple and rewarding DIY project. Whether you're looking to update the look of your kitchen or your sink is worn out and needs to be replaced, this step-by-step guide will walk you through the process.How to Change Out a Kitchen Sink
Before you begin, gather all the necessary tools and materials. You will need a new sink, a wrench, plumber's putty, silicone caulk, a screwdriver, and a bucket. Once you have everything you need, follow these 6 steps to replace your kitchen sink.Replacing a Kitchen Sink: 6 Steps
The first step in changing out a kitchen sink is to disconnect the old one. Start by turning off the water supply to the sink and disconnecting the water lines. Next, remove any remaining water in the pipes by placing a bucket under the pipes and opening the valves. Once the water is drained, you can disconnect the drain pipe and remove the old sink.Step 1: Disconnect the Old Sink
Before installing the new sink, prepare it by attaching any necessary mounting brackets and seals. If your sink comes with a template, use it to mark the location of the sink on your countertop. Then, drill any necessary holes for the faucet and other fixtures.Step 2: Prepare the New Sink
Place the new sink into the cutout on your countertop and secure it in place with mounting brackets. If your sink doesn't come with brackets, you can use silicone caulk to hold it in place. Once the sink is secure, attach the water lines and drain pipe.Step 3: Install the New Sink
Using plumber's putty, create a ring around the edge of the drain opening. This will create a watertight seal between the drain and the sink. Make sure to press the putty firmly into place.Step 4: Apply Plumber's Putty
Place the drain into the sink and tighten the nut from below to secure it in place. Use a wrench to ensure it is tight and then wipe away any excess putty.Step 5: Connect the Drain
Finally, use silicone caulk to seal the edges of the sink where it meets the countertop. This will prevent any water from leaking between the sink and the counter. Smooth out the caulk with your finger or a caulk finishing tool for a clean, professional look.Step 6: Seal the Sink
Now that you know the steps to replace a kitchen sink, there are a few things you should keep in mind. Measurements: Make sure to measure the cutout in your countertop and the dimensions of your new sink to ensure a proper fit. Water Supply: If your new sink has a different number of holes for fixtures, you may need to make adjustments to your water supply lines. Drain Size: It's important to make sure the drain size of your new sink matches the existing plumbing in your kitchen. Materials: Use high-quality materials, such as stainless steel or porcelain, for your new sink to ensure durability and longevity.Replacing a Kitchen Sink: What You Need to Know
To make the process of changing out a kitchen sink even easier, here are a few tips and tricks to keep in mind. Turn off the water supply: Before beginning any work, make sure to turn off the water supply to your sink to avoid any accidents. Protect your countertops: Place a towel or blanket over your countertops to protect them from scratches or damage while working. Have a helper: This project can be easier with an extra set of hands to help hold the sink in place while securing it. Read the instructions: Make sure to read the instructions that come with your new sink for any specific installation requirements.Kitchen Sink Replacement: Tips and Tricks
Why Changing Your Kitchen Sink Can Transform Your Space

Make a Bold Statement with Your Sink
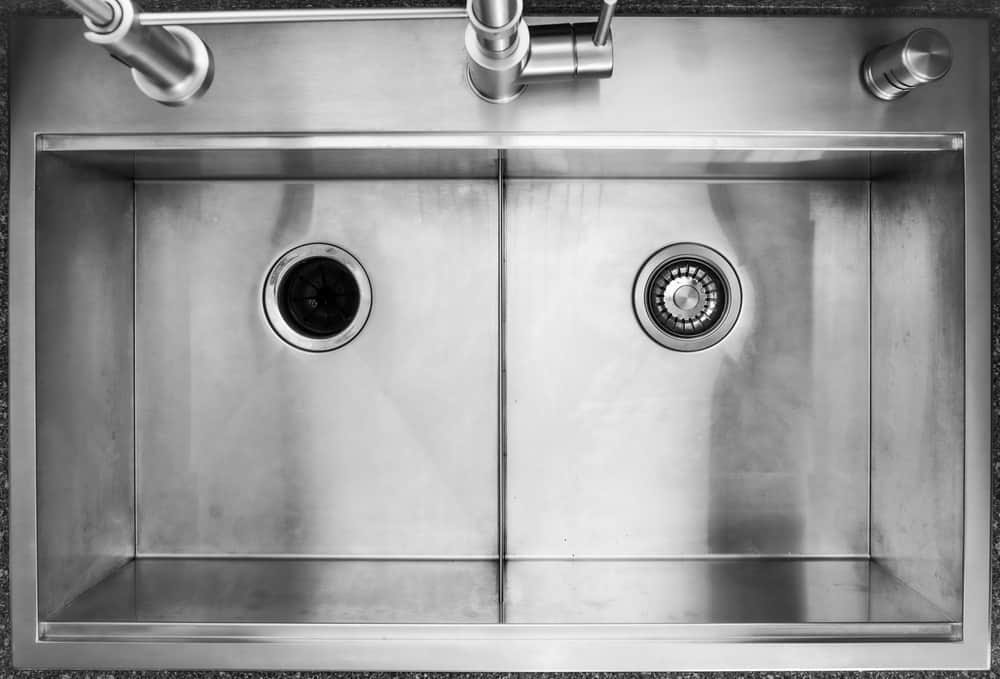
 When it comes to designing a kitchen, the sink is often an overlooked element. However, the sink is not just a functional piece; it can also be a focal point in your space. Changing out your kitchen sink can completely transform the look and feel of your kitchen.
The main keyword
in this article is
changing out a kitchen sink
, and for good reason. Upgrading your sink is a simple and cost-effective way to give your kitchen a fresh new look. Whether you're looking to update your entire kitchen or just give it a mini makeover, changing out your sink is a great place to start.
Choose the Right Material for Your Style
 One of the first things to consider when changing out your kitchen sink is the material. There are a variety of options available, each with its own unique look and feel.
Stainless steel
is a popular choice for its durability and modern aesthetic.
Granite composite
sinks offer a sleek and seamless look, while
fireclay
sinks bring a classic farmhouse feel to your kitchen.
Porcelain
sinks are also a timeless option, with their glossy white finish adding a touch of elegance to any kitchen.
Upgrade Your Functionality
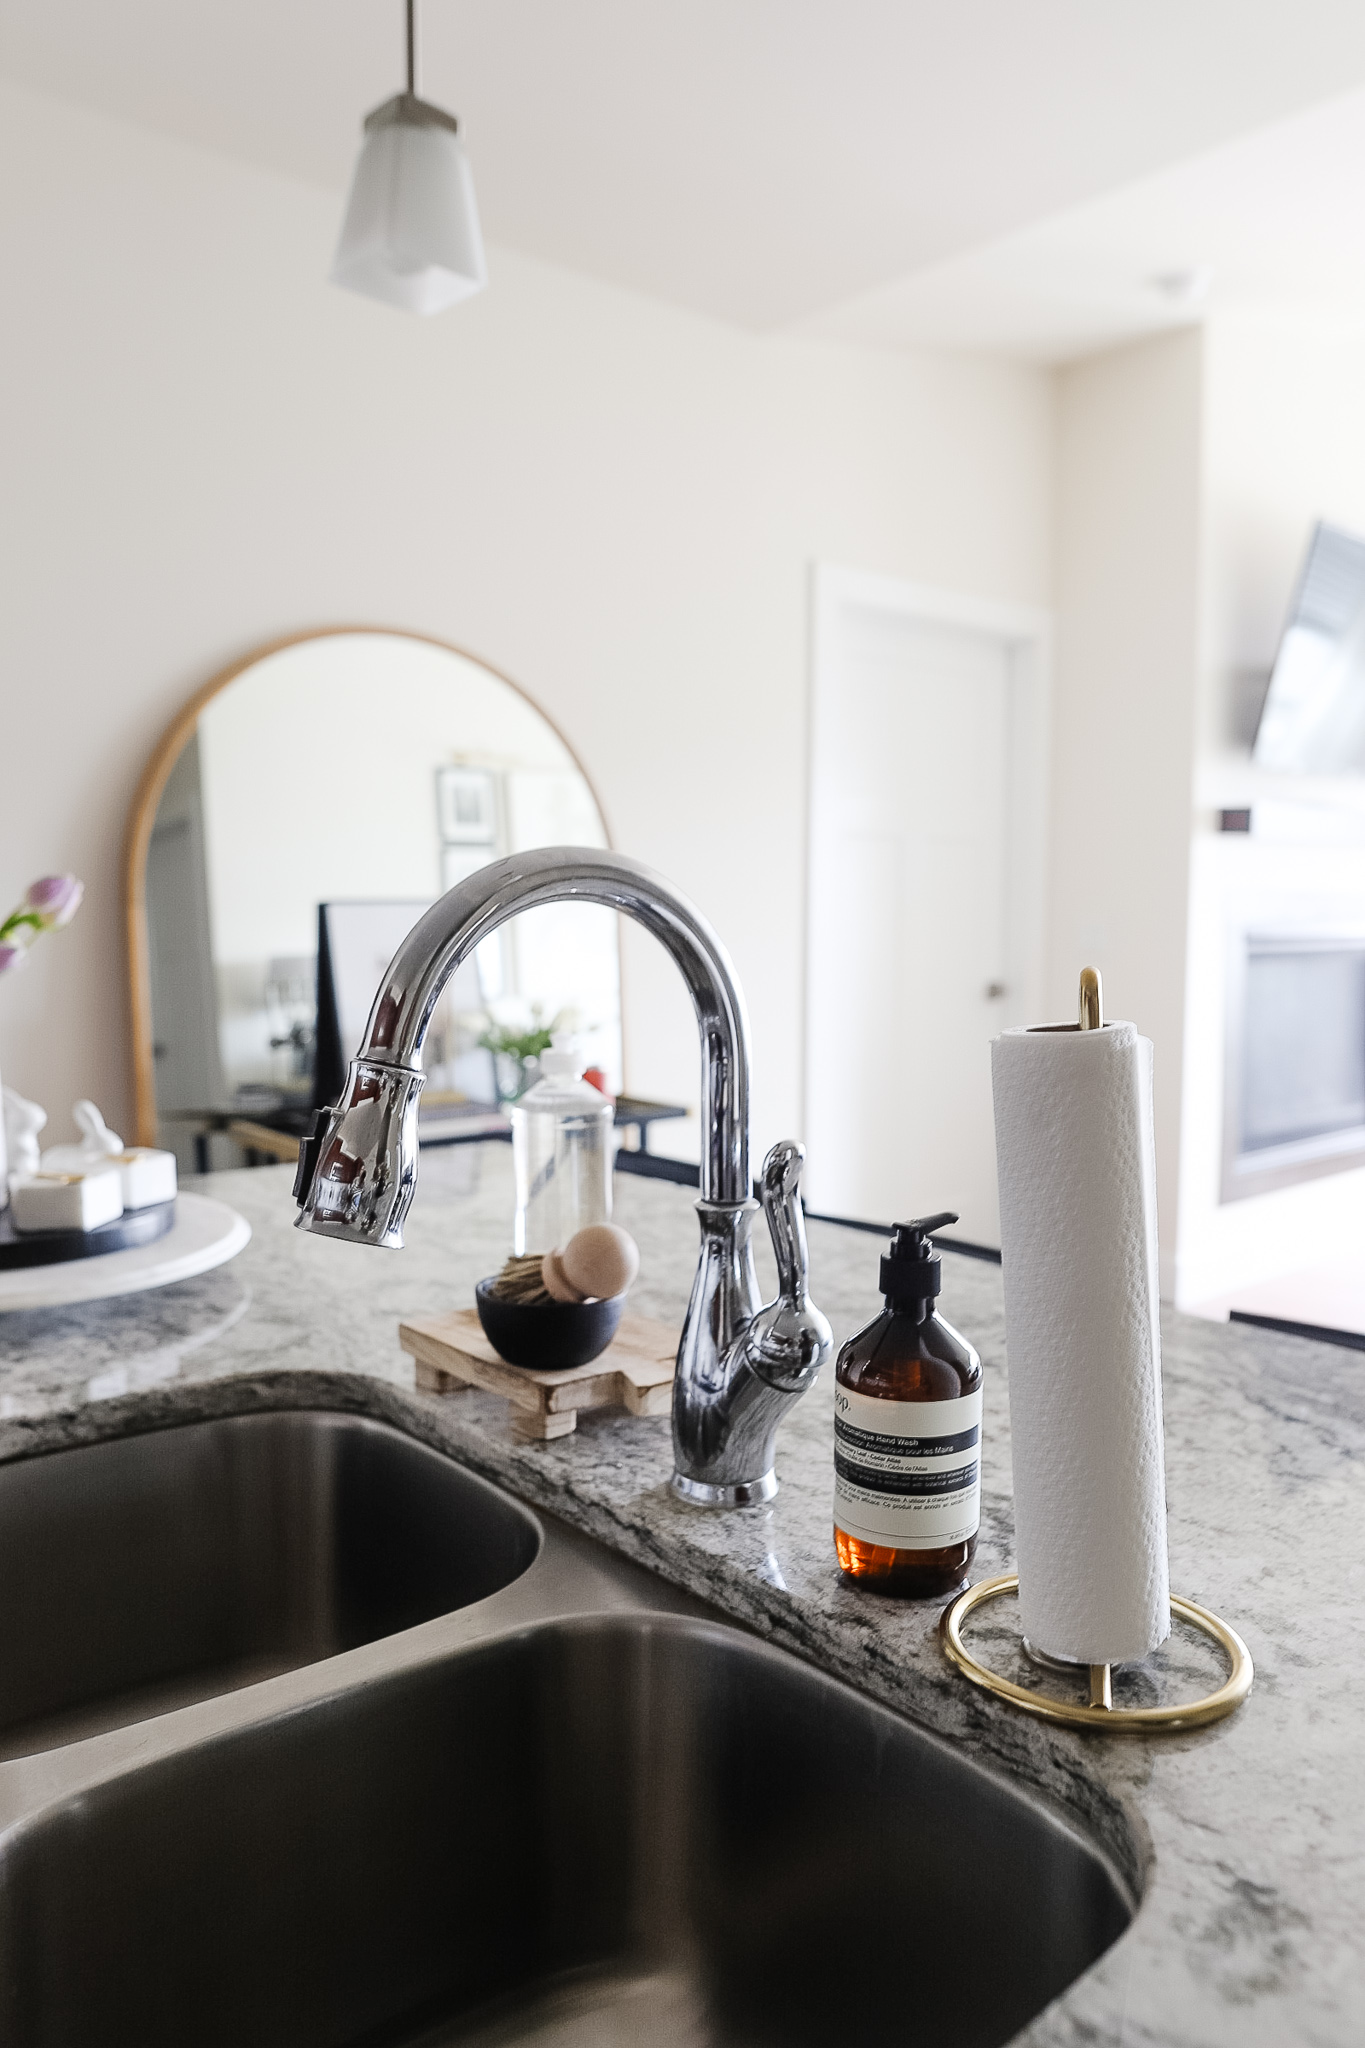
 Not only can a new sink enhance the appearance of your kitchen, but it can also improve its functionality. Consider the size and depth of the sink, as well as the number of bowls, to determine what will work best for your needs. If you have a busy household, a larger sink with multiple bowls may be the way to go. You can also opt for additional features such as a
pull-down faucet
for added convenience, or a
built-in soap dispenser
for a cleaner look.
Don't Forget the Details
 When changing out your kitchen sink, it's important to pay attention to the smaller details as well.
Choosing a sink with the right accessories
can make your kitchen even more functional and efficient. Consider adding a
cutting board
that fits over the sink, or a
colander
that sits inside the sink for easy washing and draining. These small additions can make a big difference in the overall functionality of your kitchen.
In conclusion,
changing out your kitchen sink
is a simple and effective way to give your kitchen a fresh new look. With a wide range of materials, styles, and accessories to choose from, you can customize your sink to fit your unique style and needs. So why wait? Start planning your sink upgrade today and see the transformation it can bring to your space.


