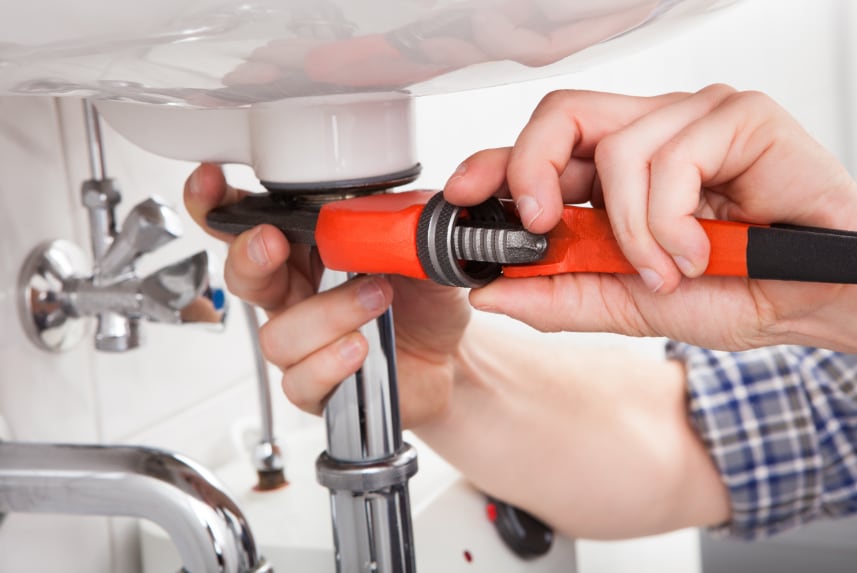
If you notice a constant dripping sound coming from your bathroom sink, you may have a leaky faucet. Not only is this annoying, but it can also waste a lot of water and increase your water bill. Fortunately, fixing a leaky sink is a relatively easy DIY project that can save you time and money in the long run. To fix a leaky sink, start by turning off the water supply to the sink. Then, use a wrench to unscrew the handle and remove it. Next, use pliers to remove the cartridge or ball assembly and replace any worn out O-rings or washers. Finally, reassemble the faucet and turn the water supply back on to check for any leaks. This DIY bathroom sink repair can be done in just a few simple steps and will have your sink working like new again.DIY Bathroom Sink Repair: How to Fix a Leaky Sink


DIY Bathroom Sink Repair: How to Fix a Leaky Sink


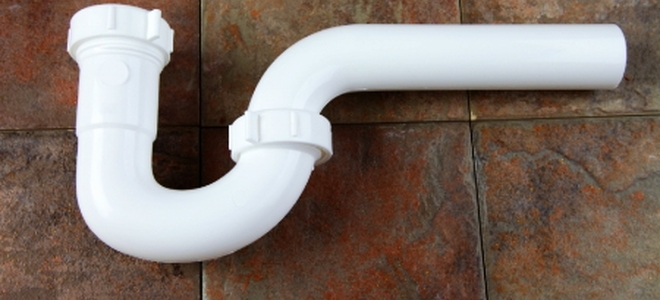
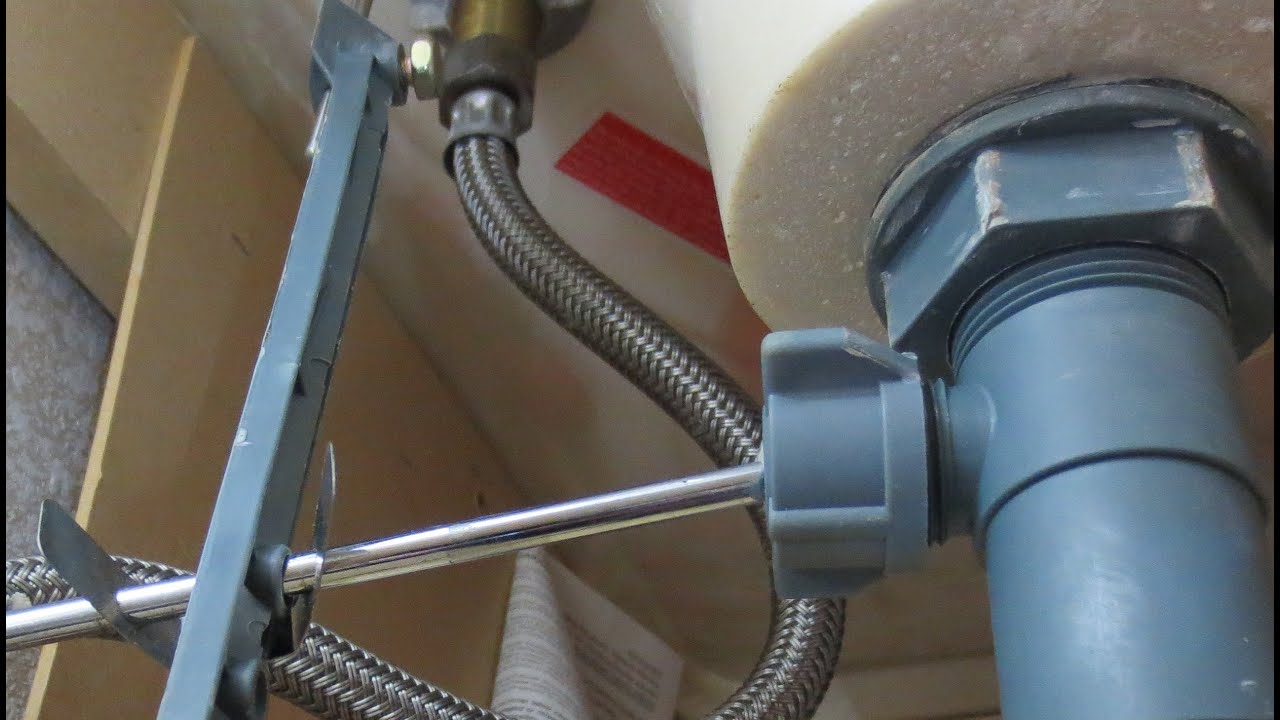
A clogged or leaky P-trap can cause water to back up and not drain properly in your bathroom sink. This may seem like a daunting repair, but with a few tools and some basic knowledge, you can easily fix it yourself. To start, place a bucket or container under the P-trap to catch any excess water. Then, use pliers to loosen and remove the slip nuts on either end of the P-trap. Once the P-trap is removed, clean out any debris or clogs using a wire hanger or plumbing snake. Finally, reattach the P-trap and tighten the slip nuts. This simple DIY bathroom sink repair can save you from having to call a plumber and can have your sink draining properly in no time.How to Repair a Bathroom Sink Drain P-Trap


How to Repair a Bathroom Sink Drain P-Trap


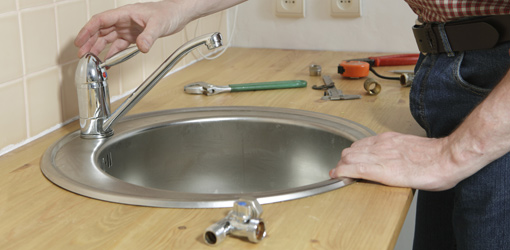
If you're looking to update your bathroom sink, installing a new one yourself can save you money and give you a sense of accomplishment. However, it's important to follow the proper steps to ensure a successful installation. First, measure the dimensions of your new sink and cut an appropriate sized hole in the vanity or countertop. Then, place the sink in the hole and attach the mounting brackets. Next, hook up the water supply and drain pipes, making sure they are tightly secured. Finally, seal the edges of the sink with caulk for a clean finish. By following these steps, you can easily install a new bathroom sink and give your bathroom a fresh new look.DIY Bathroom Sink Installation: Step-by-Step Guide
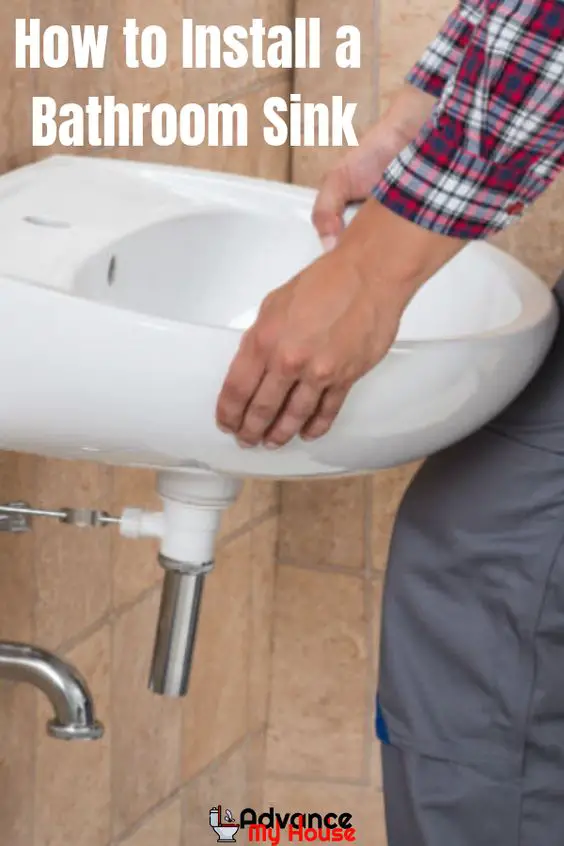

DIY Bathroom Sink Installation: Step-by-Step Guide


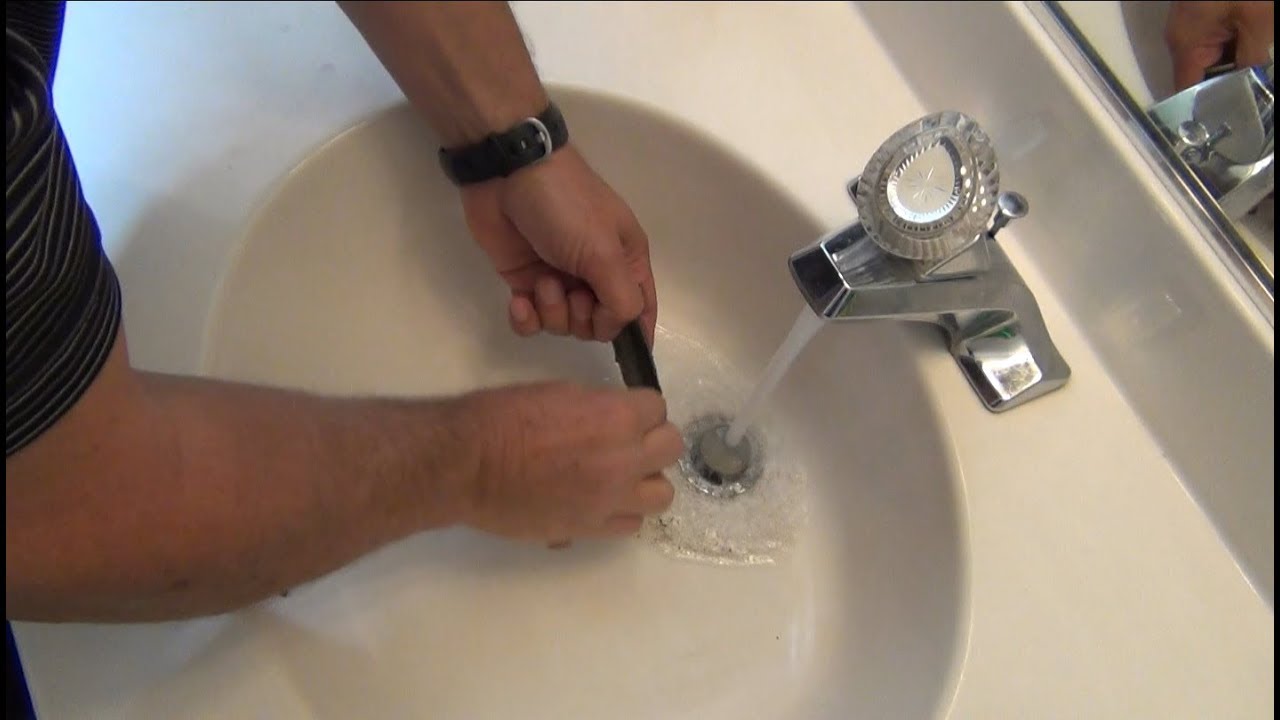
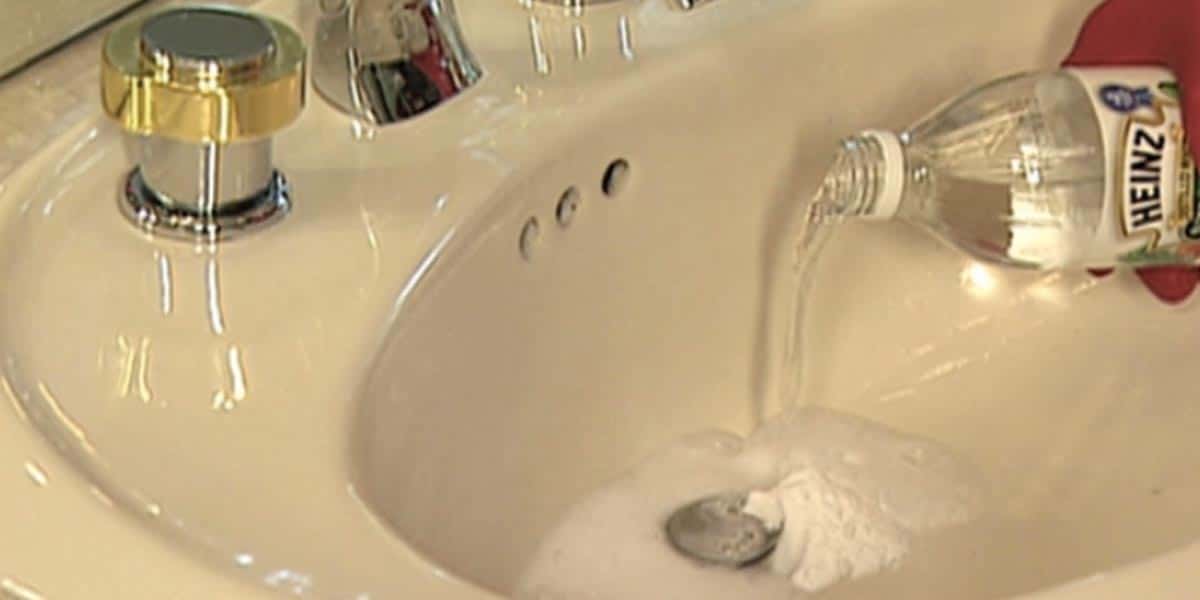
A clogged bathroom sink can be a major inconvenience, but luckily, there are several easy DIY solutions to try before calling a plumber. One method is to use a plunger to try and dislodge the clog. If that doesn't work, you can try using a plumbing snake or a mixture of baking soda and vinegar to break up the clog. Another option is to remove the P-trap and clean it out, as debris often gets trapped there. By trying these simple DIY solutions, you may be able to unclog your sink without having to spend money on a professional plumber.Fixing a Clogged Bathroom Sink: Easy DIY Solutions


Fixing a Clogged Bathroom Sink: Easy DIY Solutions


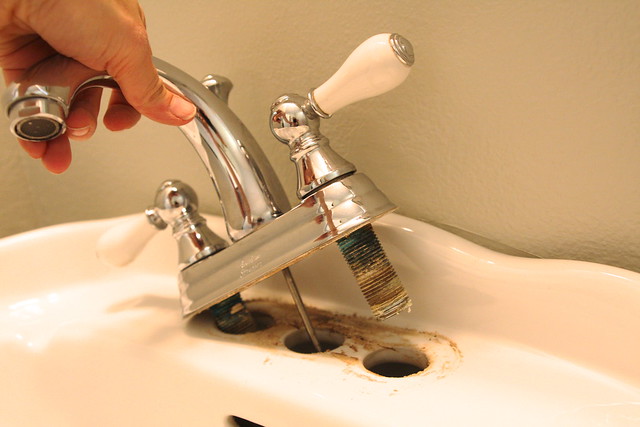
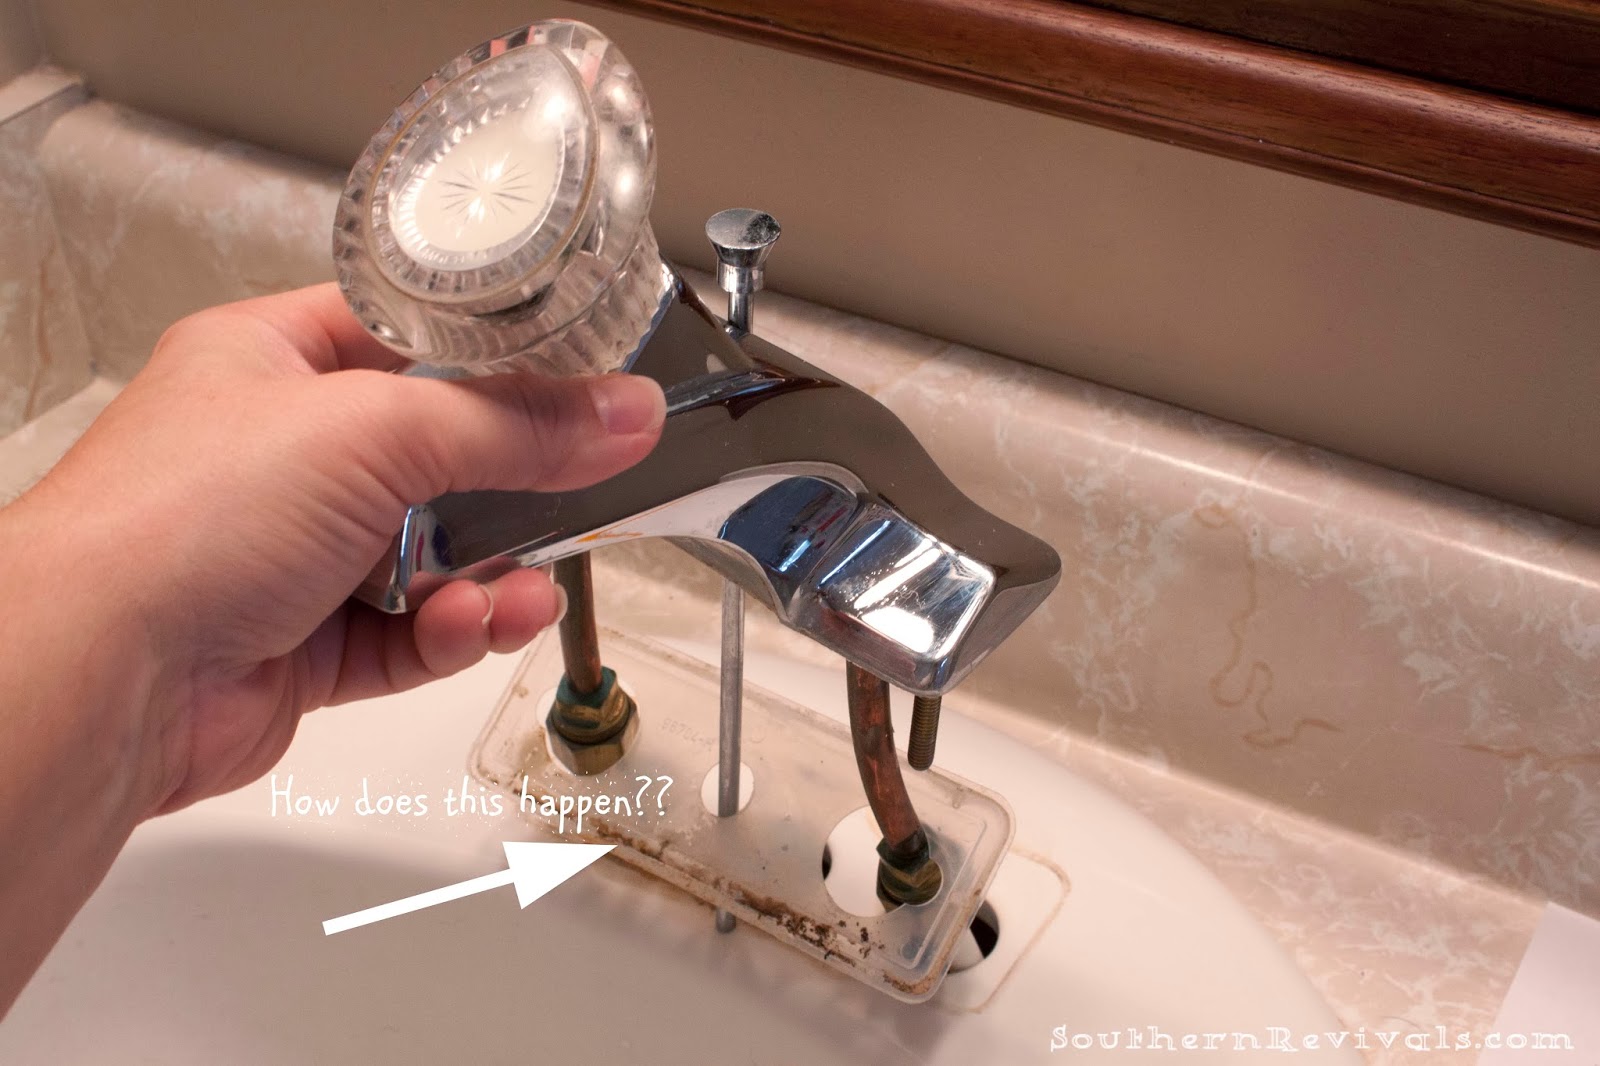
If your bathroom sink faucet is old or broken, replacing it can give your bathroom a fresh new look. While it may seem like a daunting task, it can be easily done with the right tools and knowledge. Start by turning off the water supply to the sink. Then, use a wrench to loosen and remove the old faucet. Next, place the new faucet in the sink and secure it with the mounting hardware. Finally, connect the water supply lines and turn the water back on to test for any leaks. With a little bit of effort, you can easily replace your bathroom sink faucet and give your bathroom a stylish upgrade.How to Replace a Bathroom Sink Faucet


How to Replace a Bathroom Sink Faucet


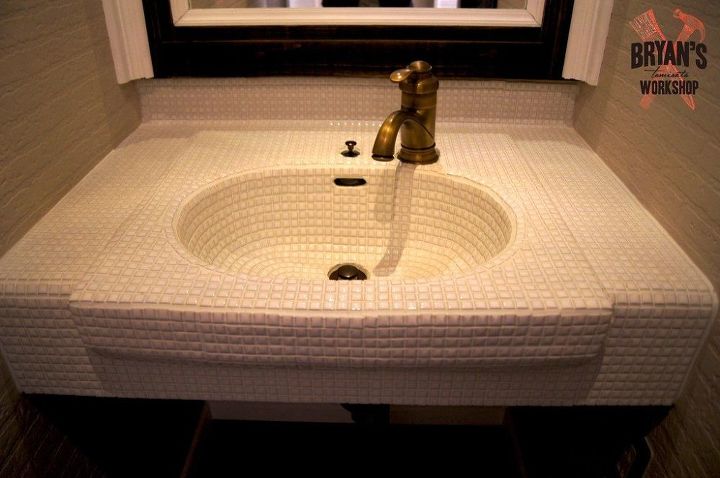
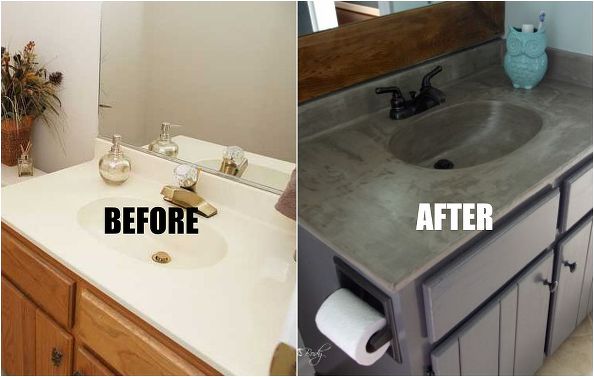
If your bathroom sink is looking worn or outdated, refinishing it can be a cost-effective way to give it a new look without having to replace it entirely. To refinish your sink, start by cleaning it thoroughly with a mild cleaner. Then, sand the surface to remove any scratches or imperfections. Next, apply a primer and let it dry before painting with a high-quality enamel paint. Finally, add a clear sealant to protect the surface and give it a glossy finish. With these simple tips and tricks, you can easily refinish your bathroom sink and give it a fresh new look.DIY Bathroom Sink Refinishing: Tips and Tricks


DIY Bathroom Sink Refinishing: Tips and Tricks


While DIY bathroom sink repairs can save you time and money, there are some common mistakes that can lead to more problems and potentially costly repairs. Avoid these mistakes to ensure a successful repair. One common mistake is not turning off the water supply before starting the repair, which can lead to flooding. Another is using the wrong tools or techniques, which can cause damage to the sink or plumbing. It's also important to use the correct replacement parts to ensure proper function. By being aware of these common mistakes and taking the necessary precautions, you can successfully repair your bathroom sink without any additional issues.Common Bathroom Sink Repair Mistakes to Avoid


Common Bathroom Sink Repair Mistakes to Avoid


If you notice any issues with the plumbing in your bathroom sink, such as slow draining or unusual noises, it's important to troubleshoot and fix the problem before it becomes more serious. One common issue is a clogged drain, which can be fixed by using a plunger or cleaning out the P-trap. Another issue could be a loose or damaged pipe, which can be easily fixed by tightening or replacing the pipe. It's also important to regularly check for leaks and repair them before they cause further damage. By regularly troubleshooting and fixing any plumbing issues, you can keep your bathroom sink functioning properly and avoid any major repairs.DIY Bathroom Sink Plumbing: Troubleshooting and Fixes


DIY Bathroom Sink Plumbing: Troubleshooting and Fixes


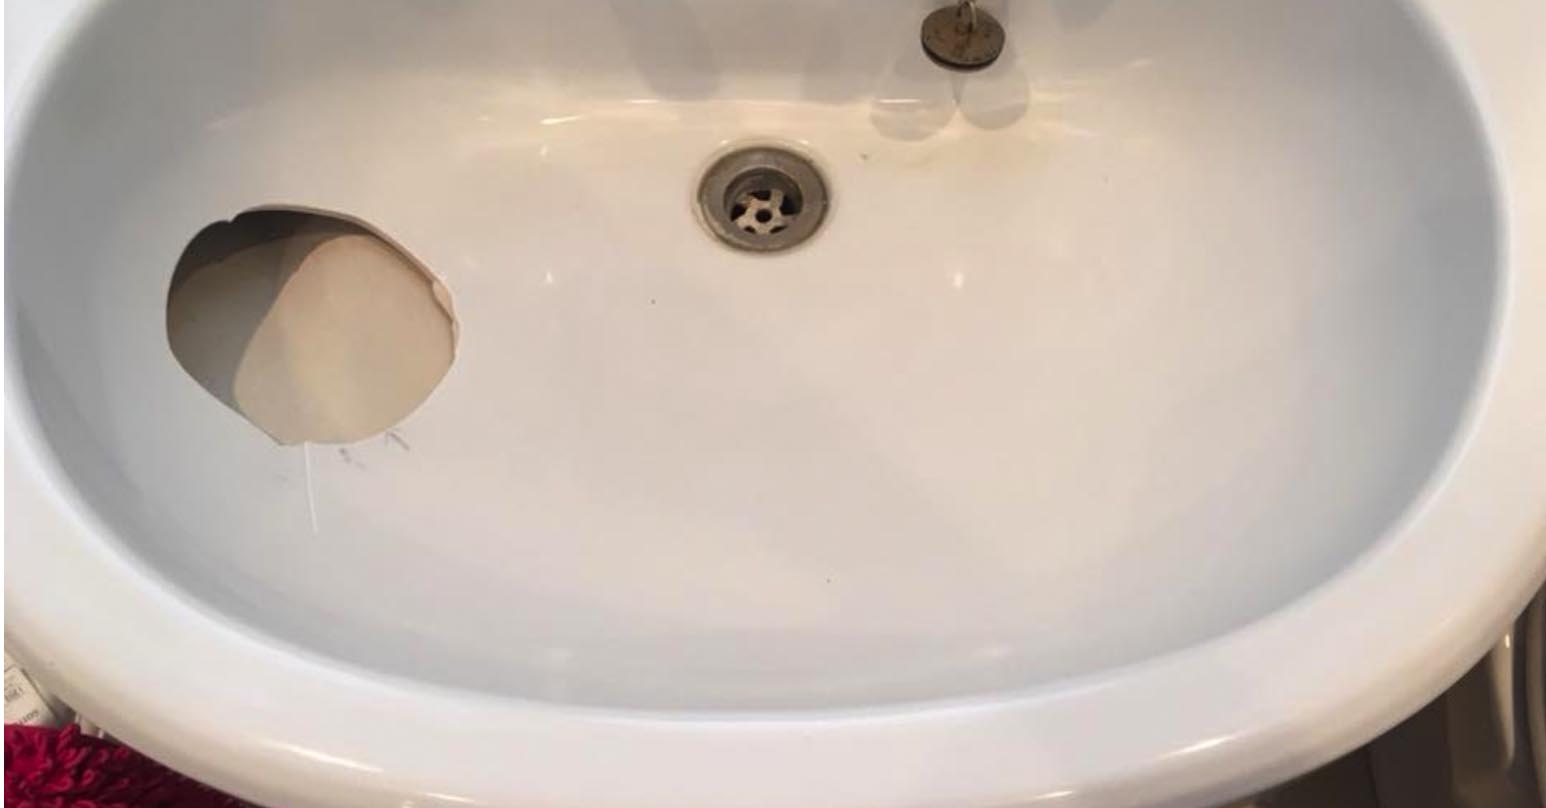
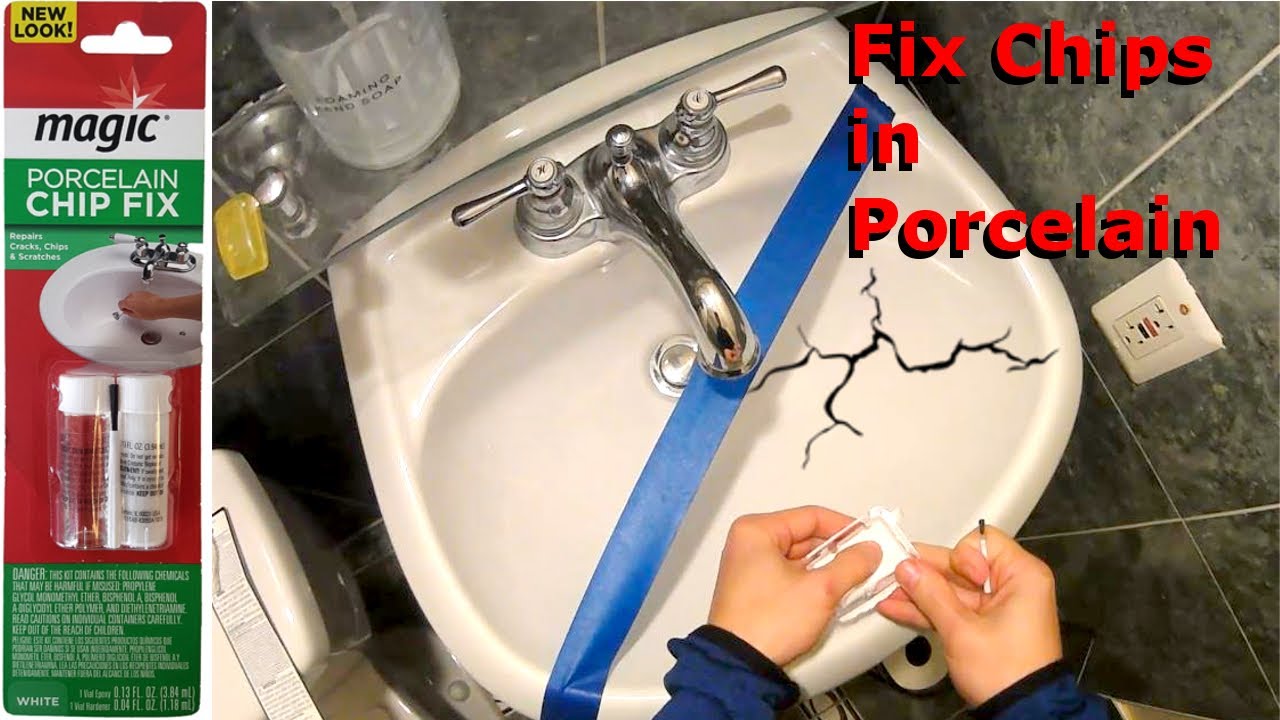
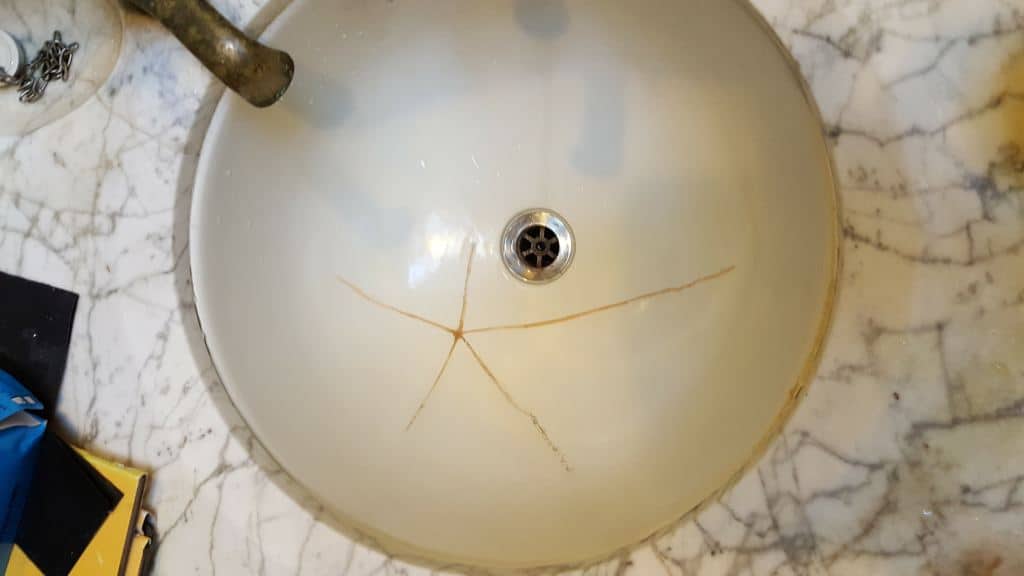
If you notice a crack in your bathroom sink, it's important to repair it as soon as possible to prevent it from getting worse. Fortunately, repairing a cracked sink is a simple DIY project that can save you from having to replace the entire sink. To repair a crack, start by cleaning the area and drying it thoroughly. Then, apply an epoxy or acrylic adhesive and press the crack together. Let it dry completely before sanding and painting over the repaired area. This will not only fix the crack, but it will also prevent any further damage. By following these steps, you can easily repair a cracked bathroom sink and extend its lifespan.How to Repair a Cracked Bathroom Sink


How to Repair a Cracked Bathroom Sink

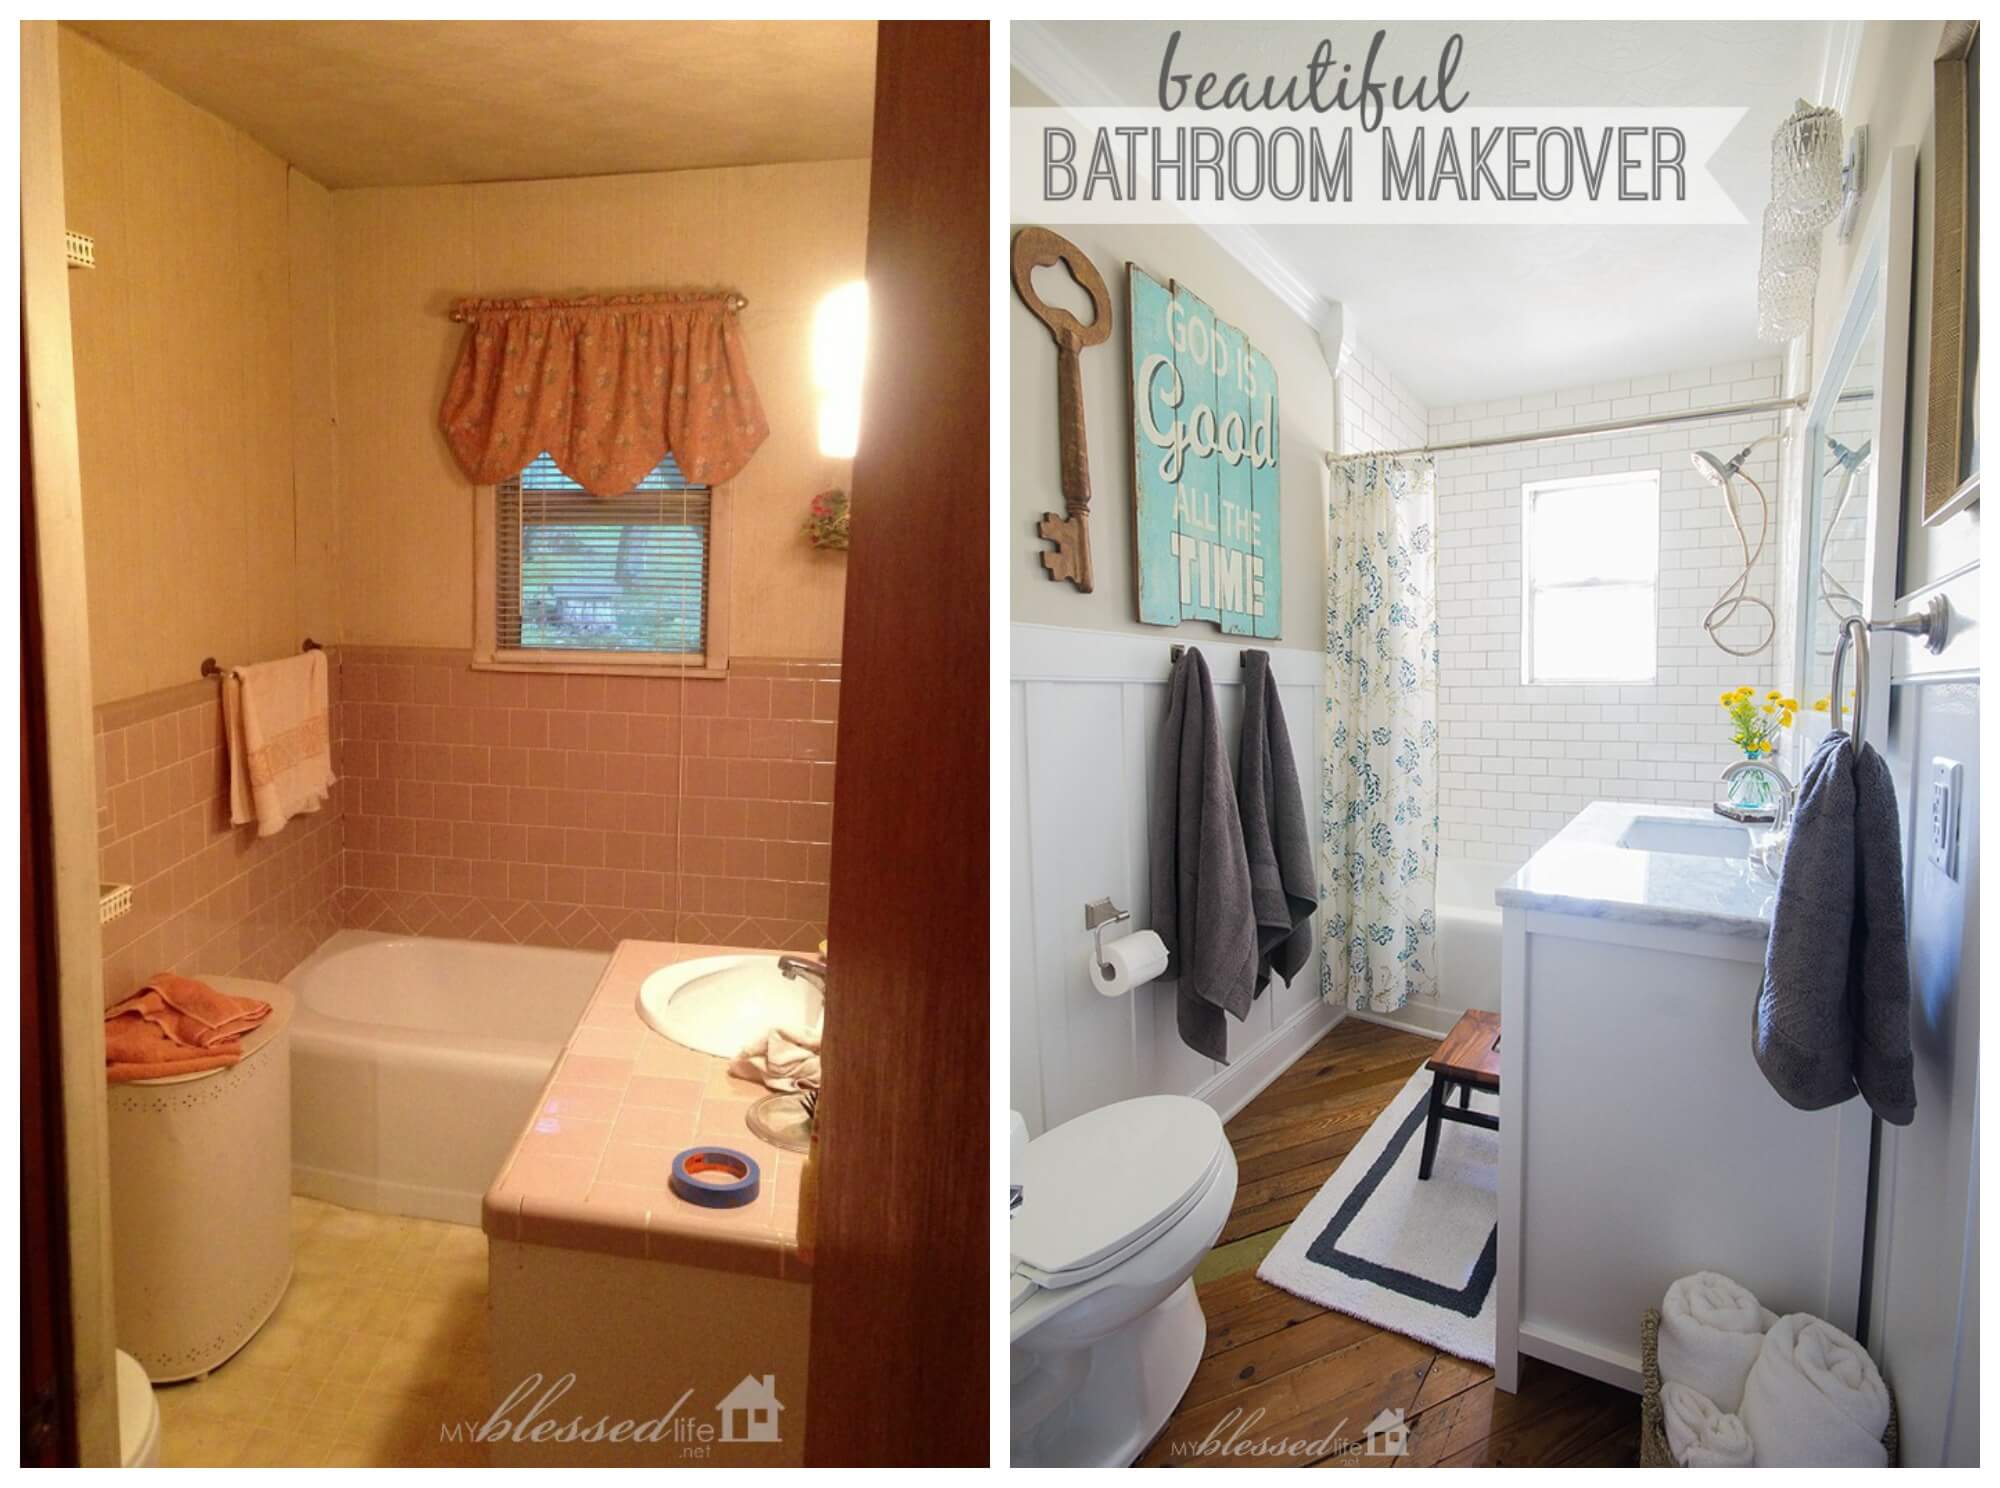
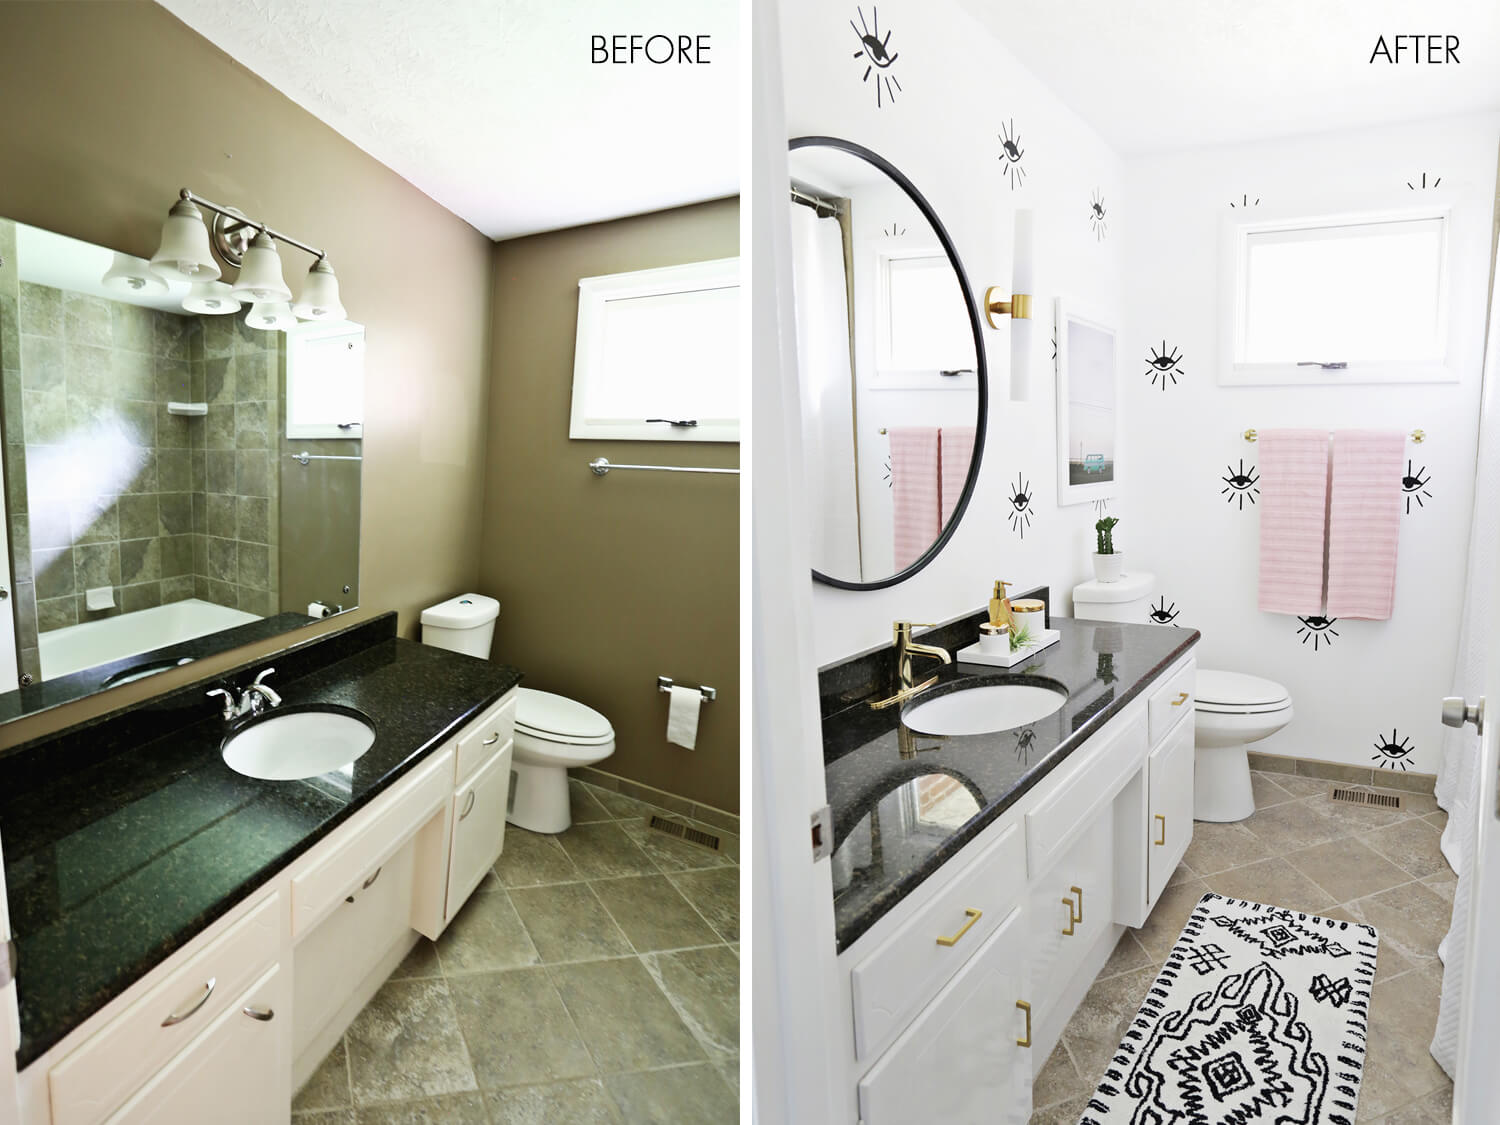
If your bathroom sink is outdated or doesn't match your style, a makeover can give it a fresh new look without breaking the bank. One budget-friendly idea is to replace the faucet and hardware for a modern touch. Another is to refinish the sink using the steps mentioned earlier. You can also change the vanity or countertop for a completely new look. By using these DIY ideas, you can give your bathroom sink a makeover without spending a lot of money.DIY Bathroom Sink Makeover: Budget-Friendly Ideas

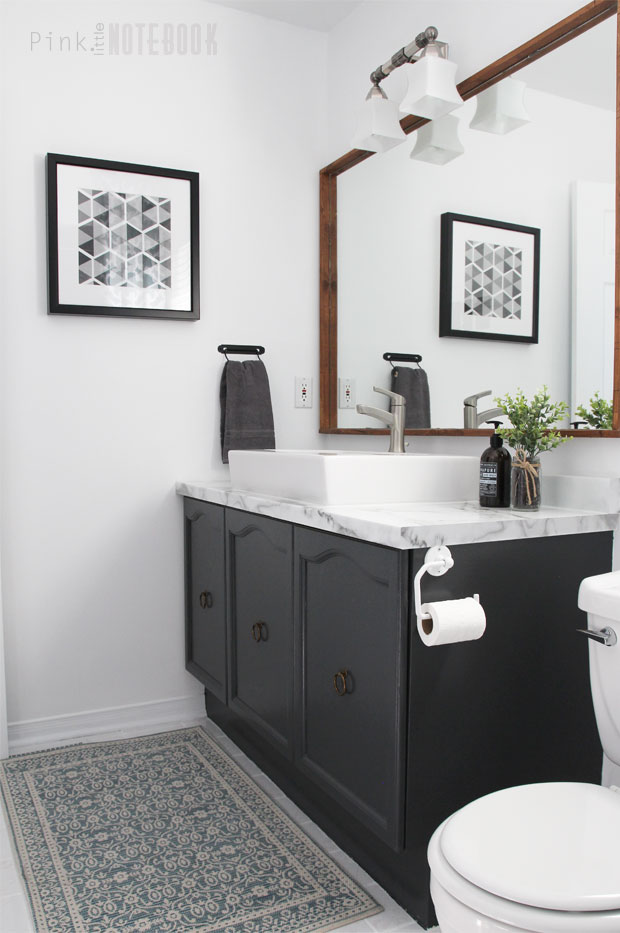

DIY Bathroom Sink Makeover: Budget-Friendly Ideas


Bathroom Sink Repair DIY: A Simple Solution for a Common Household Problem

The Importance of a Functional Bathroom Sink
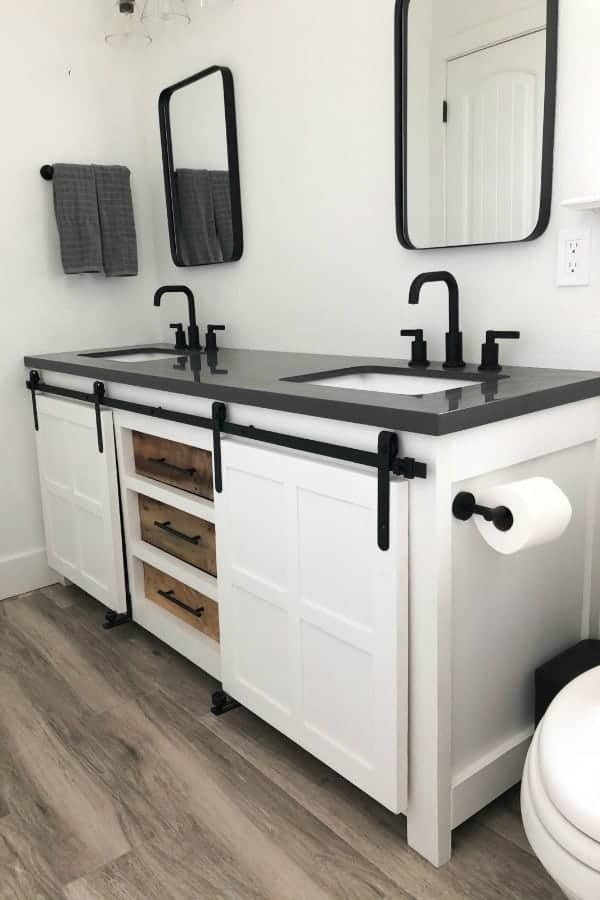
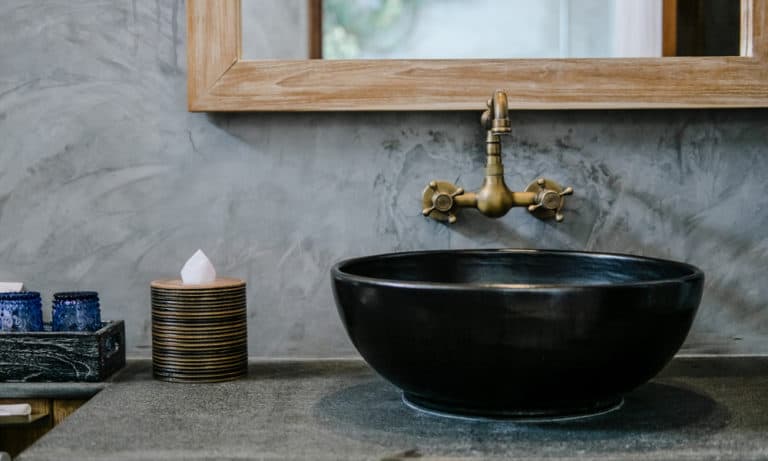
 The bathroom sink is an essential fixture in any household. It is used for daily tasks such as washing hands, brushing teeth, and even for skincare routines. It is also a key component in creating a visually appealing and functional bathroom design. However, over time, sinks can experience wear and tear, leading to leaks, clogs, and other issues. This can not only be inconvenient but also affect the overall aesthetic of your bathroom. Fortunately, with the right tools and techniques, you can easily repair your bathroom sink on your own.
The Common Problems with Bathroom Sinks
 Before diving into the DIY repairs, it's important to identify the common problems that can arise with bathroom sinks. The most common issue is a leaky faucet, which can be caused by worn out washers or O-rings. Another common problem is a clogged drain, which can be caused by a buildup of hair, soap scum, and other debris. Additionally, sinks can also become cracked or chipped over time, which not only affects its functionality but also its appearance.
The DIY Solution: Tips and Tricks for Bathroom Sink Repair
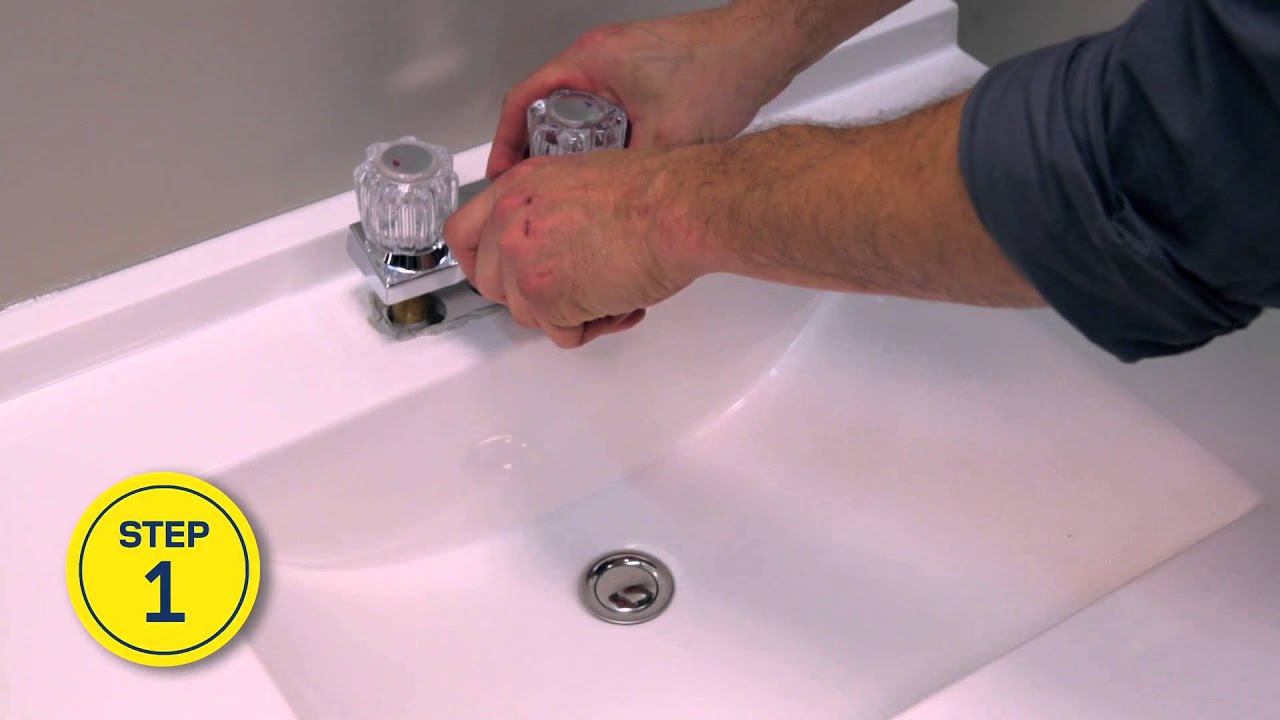
 Fixing a Leaky Faucet:
This is a relatively easy fix and can be done by replacing the worn out washers or O-rings. To do this, turn off the water supply to the sink, remove the faucet handle, and replace the old washers or O-rings with new ones. Make sure to tighten everything back in place before turning the water supply back on.
Unclogging a Drain:
For a minor clog, you can use a plunger to dislodge the blockage. However, for more stubborn clogs, you can use a drain snake or a homemade mixture of baking soda and vinegar to break down the debris. Pour the mixture down the drain and let it sit for a few minutes before flushing it out with hot water.
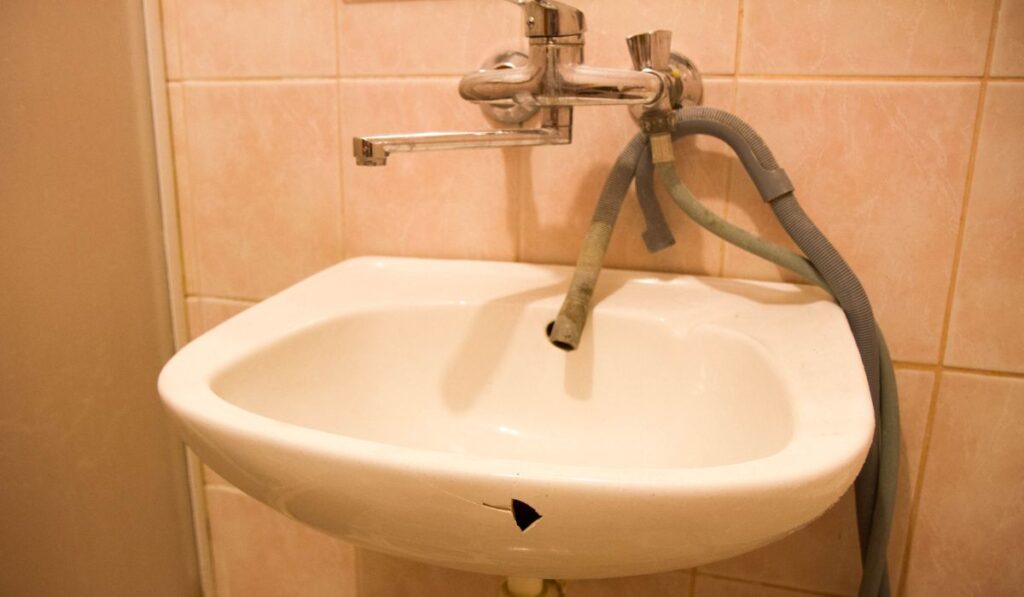
Repairing Cracks or Chips:
To repair cracks or chips in your sink, you can use an epoxy or acrylic filler. Clean the damaged area thoroughly and fill it in with the filler, making sure to smooth it out evenly. Let it dry completely before sanding and painting over it to match the color of your sink.
Fixing a Leaky Faucet:
This is a relatively easy fix and can be done by replacing the worn out washers or O-rings. To do this, turn off the water supply to the sink, remove the faucet handle, and replace the old washers or O-rings with new ones. Make sure to tighten everything back in place before turning the water supply back on.
Unclogging a Drain:
For a minor clog, you can use a plunger to dislodge the blockage. However, for more stubborn clogs, you can use a drain snake or a homemade mixture of baking soda and vinegar to break down the debris. Pour the mixture down the drain and let it sit for a few minutes before flushing it out with hot water.
Repairing Cracks or Chips:
To repair cracks or chips in your sink, you can use an epoxy or acrylic filler. Clean the damaged area thoroughly and fill it in with the filler, making sure to smooth it out evenly. Let it dry completely before sanding and painting over it to match the color of your sink.
Prevention is Key
 While DIY repairs can save you time and money, it's important to also take preventative measures to avoid future issues with your bathroom sink. Regularly clean your sink and drain to prevent clogs, and fix any small problems before they become bigger ones. Additionally, consider investing in high-quality materials when installing or replacing your sink to ensure its longevity.
In conclusion, a functional and aesthetically pleasing bathroom sink is crucial in any house design. With the right know-how and tools, you can easily tackle common sink problems on your own. Just remember to take preventative measures and don't hesitate to call a professional if needed. By following these tips and tricks, you can ensure your bathroom sink stays in top condition for years to come.
While DIY repairs can save you time and money, it's important to also take preventative measures to avoid future issues with your bathroom sink. Regularly clean your sink and drain to prevent clogs, and fix any small problems before they become bigger ones. Additionally, consider investing in high-quality materials when installing or replacing your sink to ensure its longevity.
In conclusion, a functional and aesthetically pleasing bathroom sink is crucial in any house design. With the right know-how and tools, you can easily tackle common sink problems on your own. Just remember to take preventative measures and don't hesitate to call a professional if needed. By following these tips and tricks, you can ensure your bathroom sink stays in top condition for years to come.
HTML Code:
Bathroom Sink Repair DIY: A Simple Solution for a Common Household Problem

The Importance of a Functional Bathroom Sink

The bathroom sink is an essential fixture in any household. It is used for daily tasks such as washing hands, brushing teeth, and even for skincare routines. It is also a key component in creating a visually appealing and functional bathroom design. However, over time, sinks can experience wear and tear, leading to leaks, clogs, and other issues. This can not only be inconvenient but also affect the overall aesthetic of your bathroom. Fortunately, with the right tools and techniques, you can easily repair your bathroom sink on your own.
The Common Problems with Bathroom Sinks

Before diving into the DIY repairs, it's important to identify the common problems that can arise with bathroom sinks. The most common issue is a leaky faucet, which can be caused by worn out washers or O-rings. Another common problem is a clogged drain, which can be caused by a buildup of hair, soap scum, and other debris. Additionally, sinks can also become cracked or chipped over time, which not only affects its functionality but also its appearance.
The DIY Solution: Tips and Tricks for Bathroom Sink Repair

Fixing a Leaky Faucet: This is a relatively easy fix and can be done by replacing the worn out washers or O-rings. To do this, turn off the water supply to the sink, remove the faucet handle, and replace the old wash