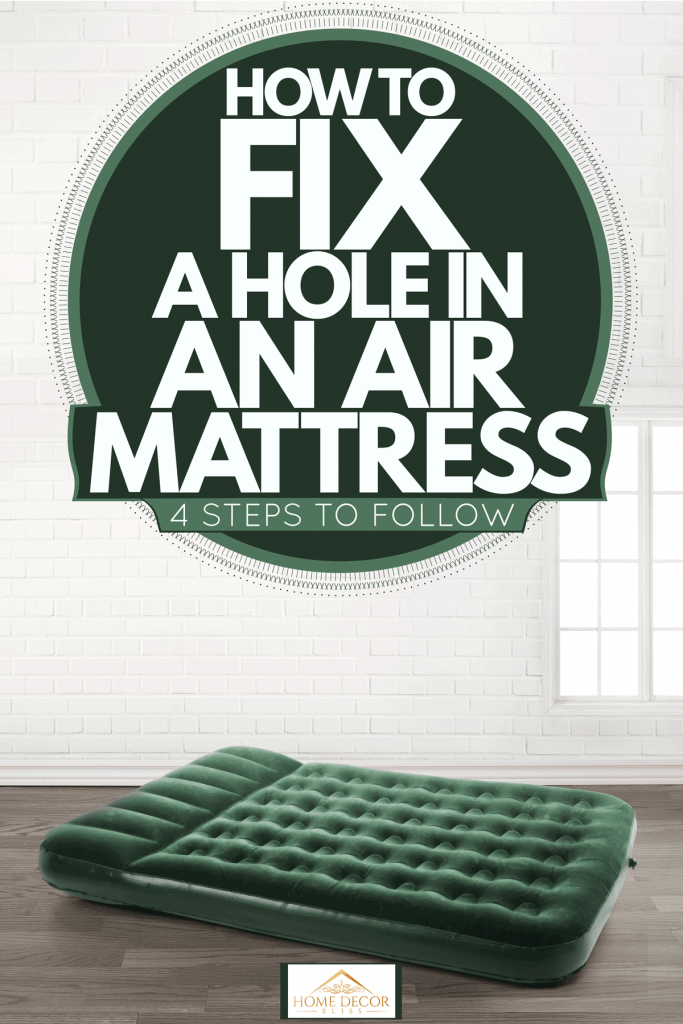
How to Use Fix a Flat on an Air Mattress
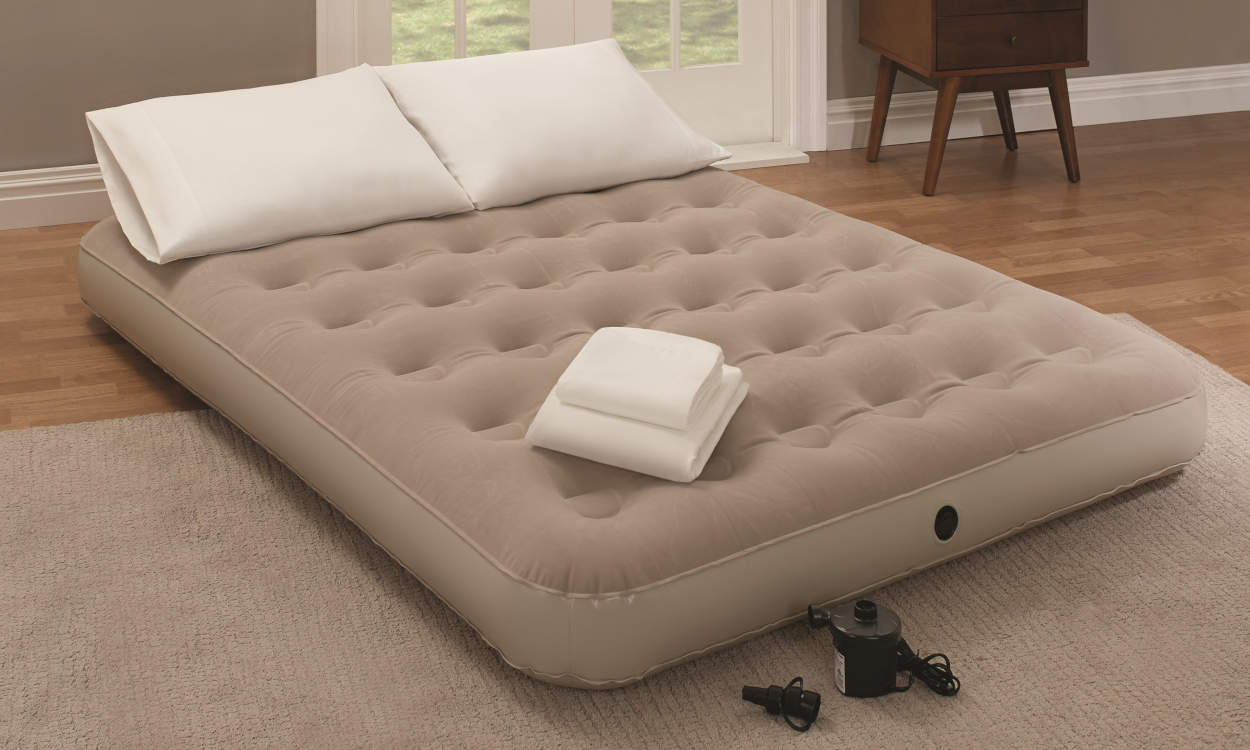
Fixing a leaky air mattress can be a real hassle, especially if you don't have the right tools on hand. But fear not, because Fix a Flat is here to save the day! This innovative product is not just for fixing car tires, it can also be used to repair your air mattress in a pinch. Here's how to use Fix a Flat on an air mattress to get you sleeping soundly again.


How to Use Fix a Flat on an Air Mattress


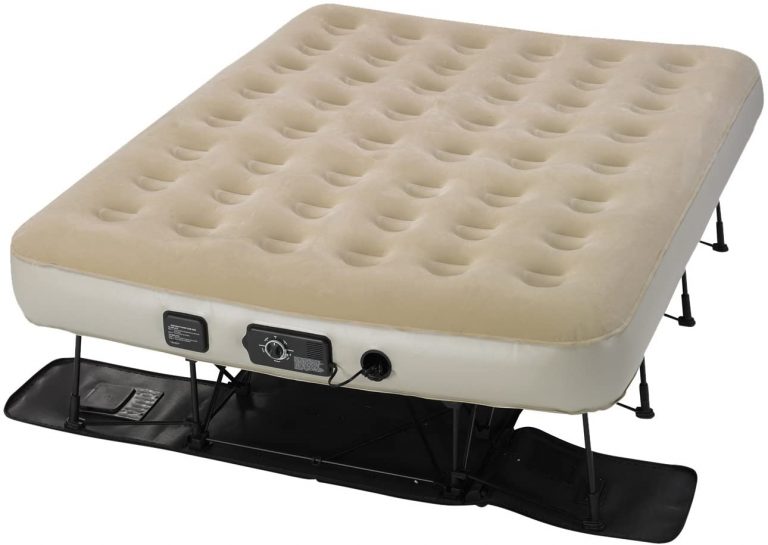
:max_bytes(150000):strip_icc()/aerobed-opti-comfort-queen-air-mattress-with-headboard-93c9f99d65ee4cce88edf90b9411b1cd.jpg)
Fix a Flat on an Air Mattress: Step by Step Guide
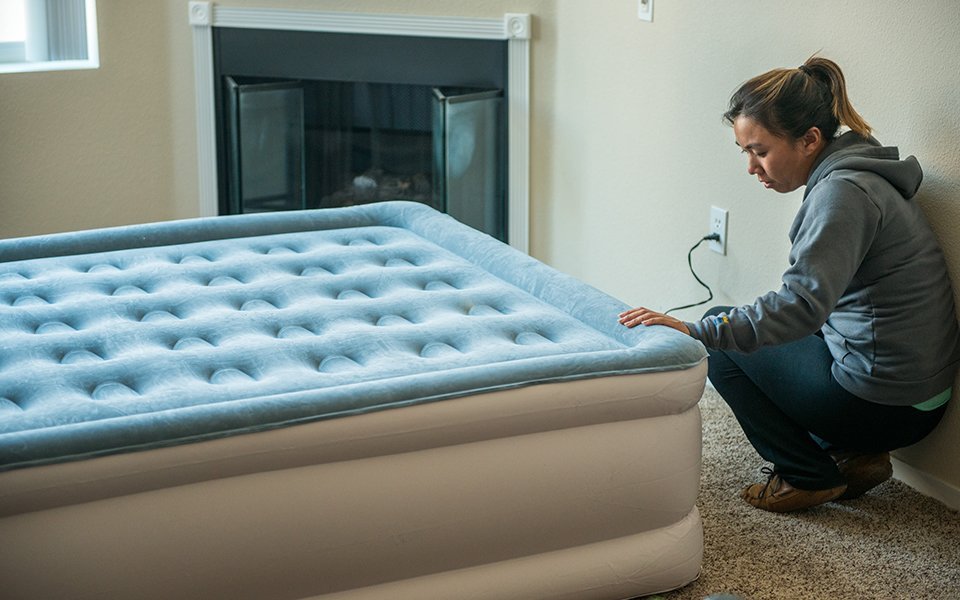
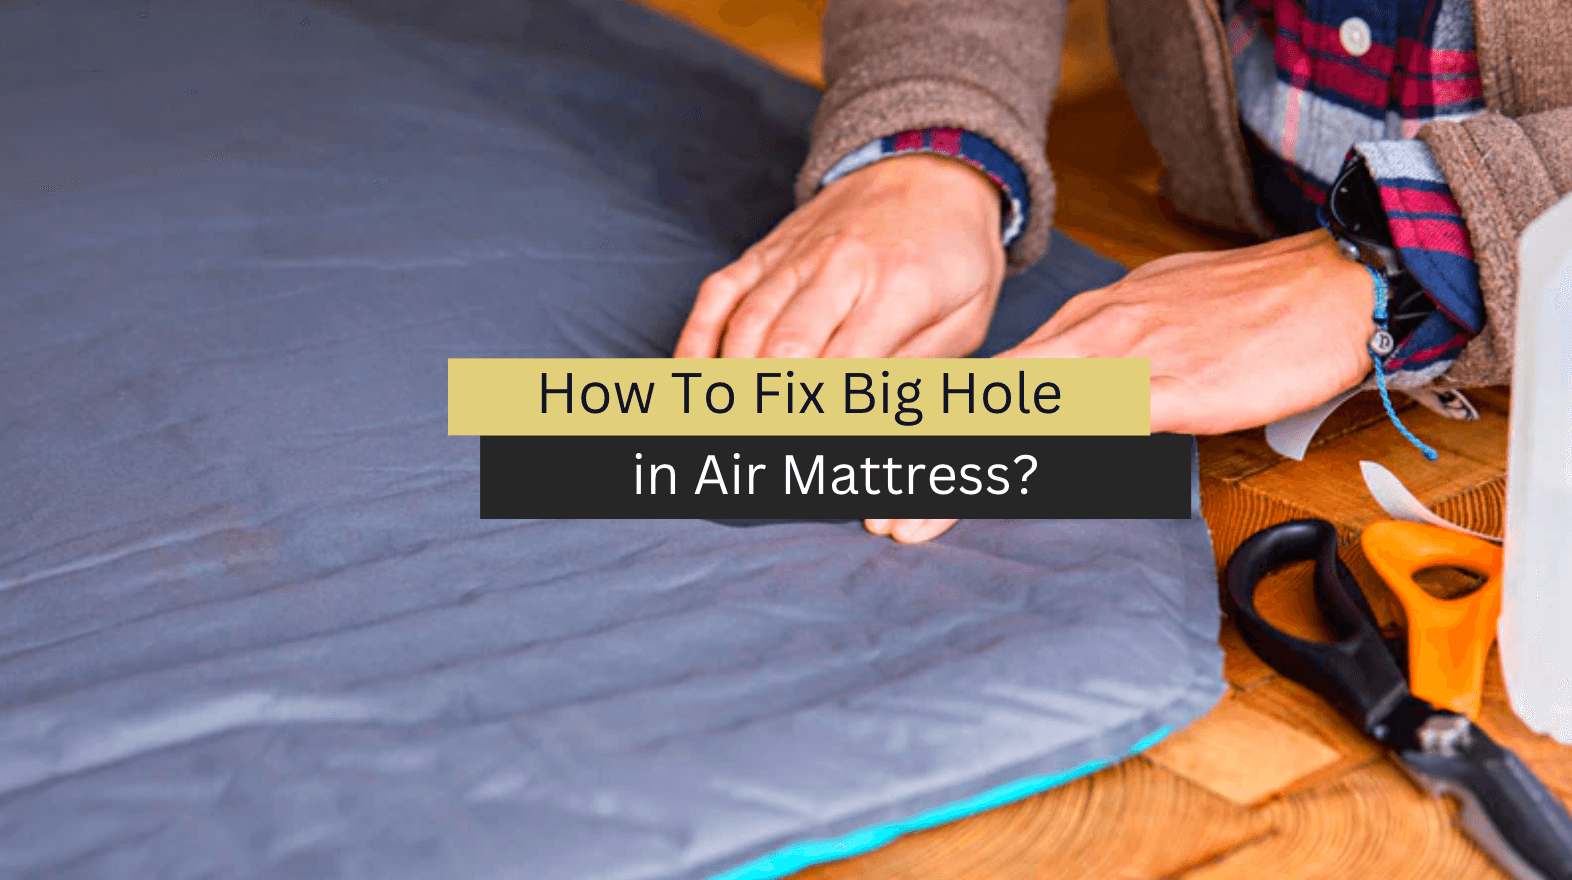
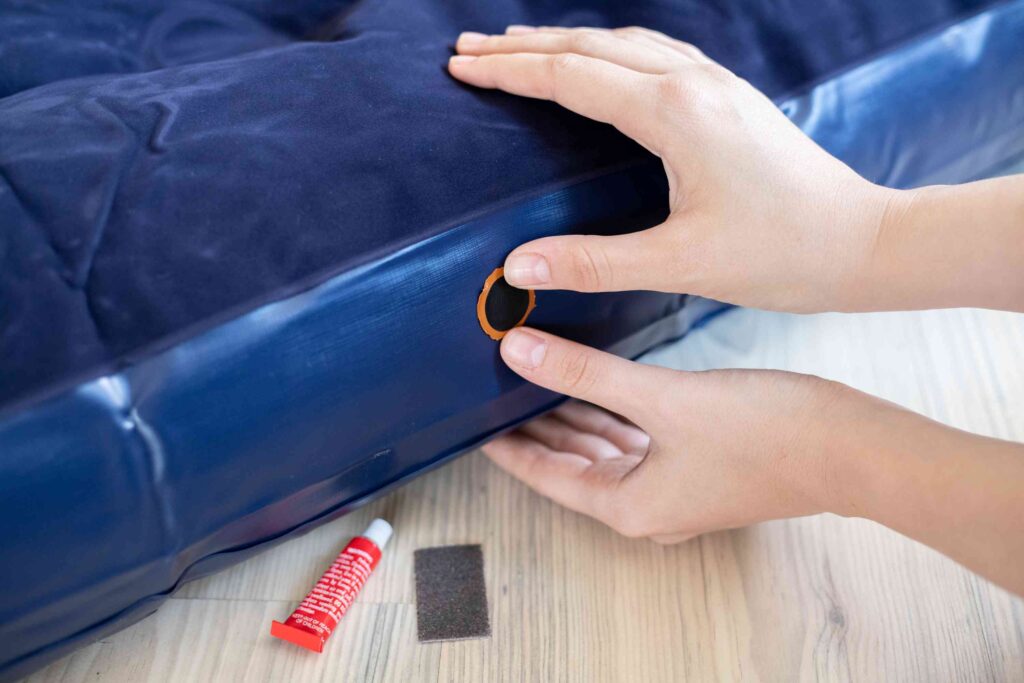
The first step to fixing your air mattress is to locate the leak. This can be done with the help of some soapy water. Mix a few drops of dish soap with water and use a spray bottle to apply it to the mattress. Look for any bubbles forming on the surface, as this indicates a leak. Once you have located the leak, mark it with a pen or a piece of tape.
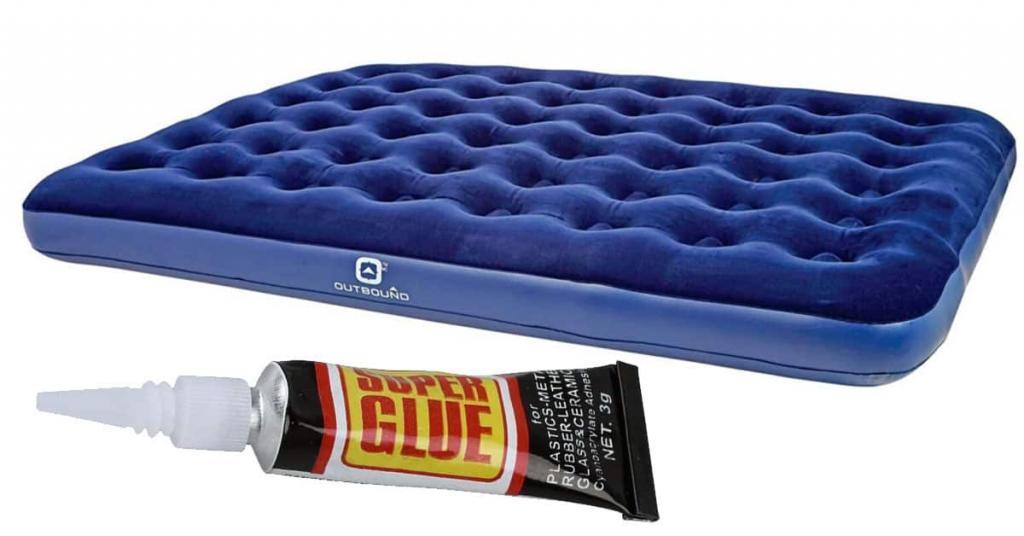
Next, deflate the mattress completely and clean the area around the leak with rubbing alcohol. This will ensure that the Fix a Flat adheres properly to the surface.
Shake the can of Fix a Flat well and remove the cap. Insert the nozzle into the valve of the air mattress and spray the product into the mattress. Make sure to follow the instructions on the can for the recommended amount to use.
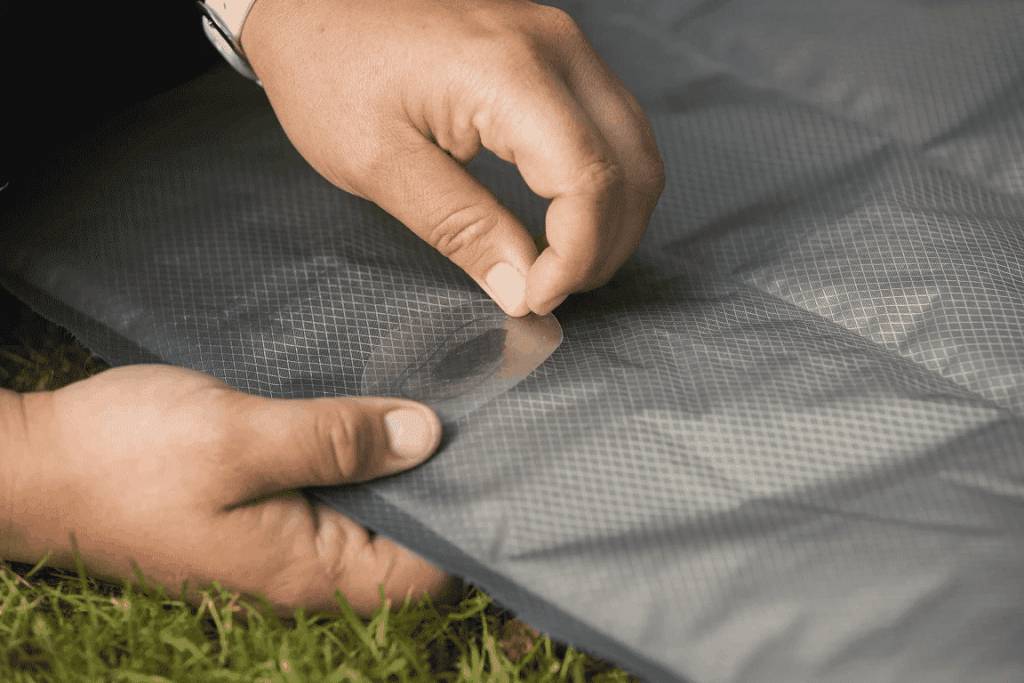
After spraying, quickly close the valve and start shaking the mattress to spread the product evenly inside. The Fix a Flat will start to foam and expand, sealing the leak. Shake the mattress for a few minutes until the foam has settled.
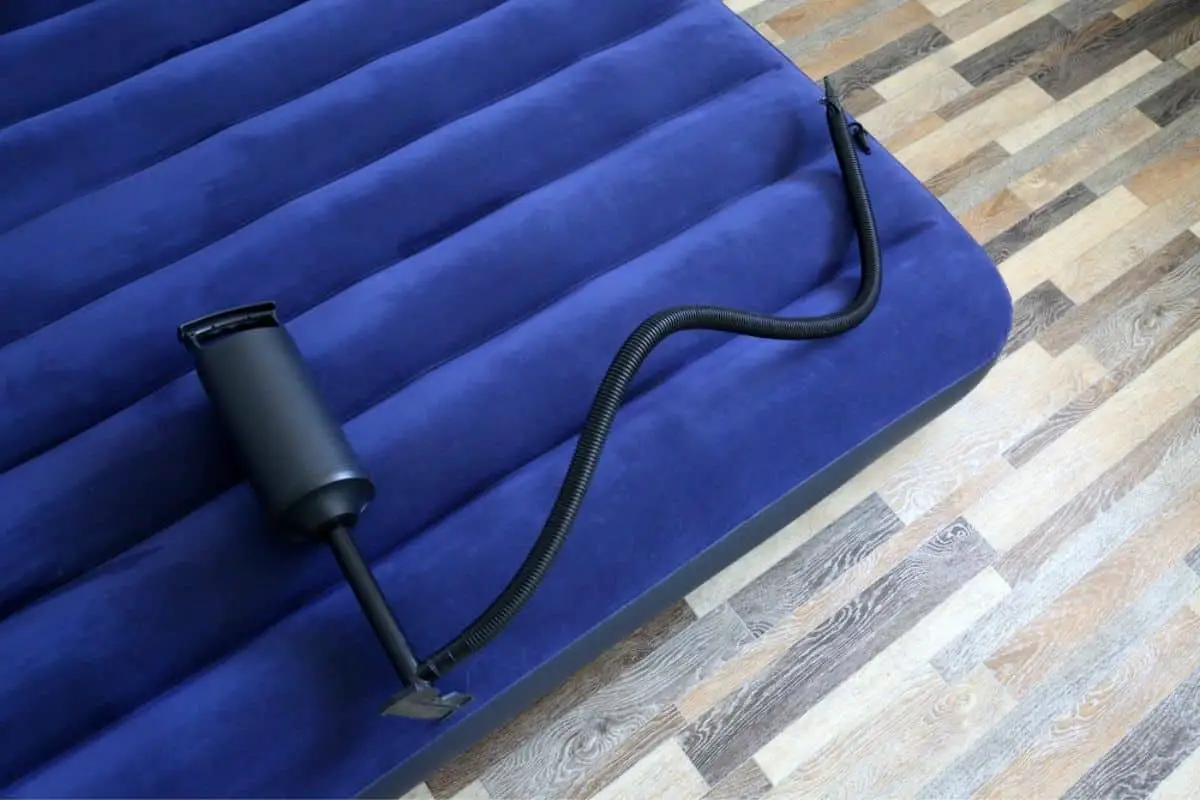
Now, let the mattress sit for at least 30 minutes to allow the Fix a Flat to dry and seal the leak completely. Once the time is up, inflate the mattress again and check for any remaining leaks. If there are still bubbles forming, repeat the process until the mattress is completely sealed.

Fix a Flat on an Air Mattress: Step by Step Guide


Using Fix a Flat to Repair an Air Mattress
Fix a Flat is a quick and easy solution for fixing your air mattress, but it's important to use it correctly to ensure the best results. Here are some tips and tricks to keep in mind when using Fix a Flat on your air mattress.
Choose the right type of Fix a Flat: There are different types of Fix a Flat products available, so make sure you choose one that is suitable for air mattresses. Using the wrong type can damage your mattress and make the leak worse.
Don't overinflate your mattress: While it may be tempting to fully inflate your mattress after using Fix a Flat, it's important to leave a little room for the product to expand and foam inside. Overinflating can cause the Fix a Flat to burst through the surface, creating a bigger mess to clean up.
Check for compatibility: Some air mattresses may not be compatible with Fix a Flat, so it's always a good idea to check with the manufacturer before using the product. Also, make sure the product is safe to use on the material of your mattress.

Using Fix a Flat to Repair an Air Mattress


Fix a Flat for Air Mattresses: Tips and Tricks
Now that you know how to use Fix a Flat on an air mattress, here are some additional tips and tricks to make the process even smoother:
Keep a can on hand: You never know when your air mattress might spring a leak, so it's a good idea to keep a can of Fix a Flat in your camping gear or in your home for unexpected emergencies.
Use on other inflatables: Fix a Flat can also be used to fix other inflatable items, such as pool floats or inflatable boats. Just make sure the product is safe to use on the material of the item.
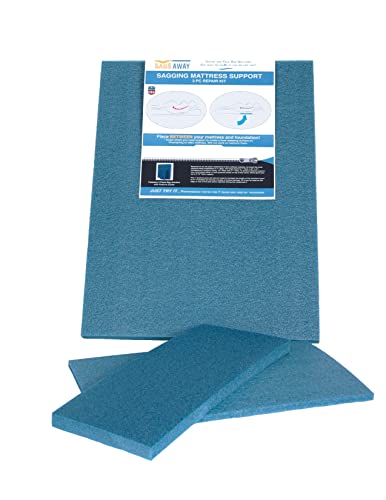
Don't use on large tears: Fix a Flat is designed for small leaks, so it may not be effective for larger tears or holes in your air mattress. In this case, it's best to use a patch kit or replace the mattress altogether.


Fix a Flat for Air Mattresses: Tips and Tricks


Step by Step Guide for Using Fix a Flat on an Air Mattress
To summarize, here is a step by step guide for using Fix a Flat on an air mattress:
1. Locate the leak using soapy water.
2. Deflate and clean the area around the leak with rubbing alcohol.
3. Shake the can of Fix a Flat and insert the nozzle into the valve of the mattress.
4. Spray the product into the mattress and quickly close the valve.
5. Shake the mattress to spread the product evenly.
6. Let the mattress sit for at least 30 minutes to dry.
7. Inflate the mattress and check for any remaining leaks.
8. Repeat the process if necessary.

Step by Step Guide for Using Fix a Flat on an Air Mattress


Fix a Flat on an Air Mattress: A Comprehensive Guide
Fix a Flat is a lifesaver when it comes to fixing leaks in your air mattress. It's easy to use, affordable, and can save you from having to replace your mattress. Just follow the steps outlined in this guide and you'll be back to enjoying a comfortable night's sleep in no time.


Fix a Flat on an Air Mattress: A Comprehensive Guide


Using Fix a Flat to Fix a Leaky Air Mattress
If you're someone who loves the great outdoors and enjoys camping, then you know how important a good air mattress is. But what happens when your mattress starts to leak? Don't let a leak ruin your camping trip, use Fix a Flat to quickly and easily repair your air mattress.
Follow the steps outlined earlier and you'll be able to fix the leak without having to leave the comfort of your campsite. Just remember to always check for compatibility and to keep a can of Fix a Flat on hand for emergencies.

Using Fix a Flat to Fix a Leaky Air Mattress


Fix a Flat on an Air Mattress: Common Mistakes to Avoid
While Fix a Flat is a great solution for fixing your air mattress, there are some common mistakes that can cause the product to be ineffective. Here are some mistakes to avoid when using Fix a Flat on your air mattress:
Not properly cleaning the area: It's important to clean the area around the leak with rubbing alcohol to ensure the Fix a Flat adheres properly.
Using too much product: Using too much Fix a Flat can cause the product to burst through the surface of the mattress, making the leak worse.
Not letting the product dry: It's important to let the Fix a Flat dry completely before using the mattress again. Otherwise, the leak may not be fully sealed.

Fix a Flat on an Air Mattress: Common Mistakes to Avoid


How to Properly Apply Fix a Flat on an Air Mattress
To ensure the best results when using Fix a Flat on your air mattress, make sure to follow these tips:
Shake the can well: This will ensure that the product is properly mixed and will work effectively.
Follow the instructions: Each can of Fix a Flat may have different instructions, so make sure to read and follow them carefully.
Let the product dry completely: Don't rush to reinflate your mattress, it's important to let the Fix a Flat dry completely to ensure the leak is properly sealed.

How to Properly Apply Fix a Flat on an Air Mattress


Fix a Flat on an Air Mattress: Troubleshooting Tips
If you've followed all the steps and your air mattress is still leaking, here are some troubleshooting tips to try:
Check for compatibility: Make sure the product is safe to use on your specific air mattress.
Use more product: If the leak is larger than expected, you may need to use more Fix a Flat to seal it completely.
Try a different product: If Fix a Flat isn't working for you, there are other products available specifically for repairing air mattresses.
If you're tired of constantly replacing your air mattress due to leaks, give Fix a Flat a try. With the right steps and techniques, you can easily fix a leaky air mattress and get back to enjoying a comfortable night's sleep.


Fix a Flat on an Air Mattress: Troubleshooting Tips

Why Fix a Flat is the Best Solution for Your Air Mattress

Extend the Lifespan of Your Air Mattress
 Are you tired of constantly replacing your air mattress every few months? Do you have guests coming over and find out that your air mattress has a leak? Don't worry, you're not alone. Air mattresses are a convenient and practical solution for temporary bedding, but they can also be a hassle when they start to lose air. That's where
Fix a Flat
comes in. This easy-to-use solution is specifically designed to
repair leaks and punctures
in your air mattress, extending its lifespan and saving you money in the long run.
Are you tired of constantly replacing your air mattress every few months? Do you have guests coming over and find out that your air mattress has a leak? Don't worry, you're not alone. Air mattresses are a convenient and practical solution for temporary bedding, but they can also be a hassle when they start to lose air. That's where
Fix a Flat
comes in. This easy-to-use solution is specifically designed to
repair leaks and punctures
in your air mattress, extending its lifespan and saving you money in the long run.
Convenient and Hassle-Free
 One of the main benefits of using
Fix a Flat
on your air mattress is the convenience it provides. Unlike other repair methods, such as patching or using adhesive,
Fix a Flat
is a quick and easy solution that requires no special skills or tools. Simply follow the instructions on the can and
you'll have your air mattress ready to use in no time
. This makes it the perfect solution for unexpected leaks or when you have guests coming over and need a quick fix.
One of the main benefits of using
Fix a Flat
on your air mattress is the convenience it provides. Unlike other repair methods, such as patching or using adhesive,
Fix a Flat
is a quick and easy solution that requires no special skills or tools. Simply follow the instructions on the can and
you'll have your air mattress ready to use in no time
. This makes it the perfect solution for unexpected leaks or when you have guests coming over and need a quick fix.
Multi-Purpose Solution
 Not only is
Fix a Flat
great for repairing air mattresses, but it can also be used for other inflatable items in your home, such as pool toys, inflatable boats, and even inflatable furniture.
It's a versatile solution that can save you time and money
by eliminating the need for multiple products for different items. Keep a can of
Fix a Flat
in your home for all your inflatable repair needs.
Not only is
Fix a Flat
great for repairing air mattresses, but it can also be used for other inflatable items in your home, such as pool toys, inflatable boats, and even inflatable furniture.
It's a versatile solution that can save you time and money
by eliminating the need for multiple products for different items. Keep a can of
Fix a Flat
in your home for all your inflatable repair needs.
Safe and Effective
 You may be wondering, is
Fix a Flat
safe to use on my air mattress? The answer is yes. This product is specifically formulated for use on inflatable items and is safe for both adults and children. It's also
environmentally friendly and non-toxic
, making it a safe solution for your home. Plus, it's
proven to be effective
in sealing leaks and punctures, giving you peace of mind that your air mattress will stay inflated all night long.
You may be wondering, is
Fix a Flat
safe to use on my air mattress? The answer is yes. This product is specifically formulated for use on inflatable items and is safe for both adults and children. It's also
environmentally friendly and non-toxic
, making it a safe solution for your home. Plus, it's
proven to be effective
in sealing leaks and punctures, giving you peace of mind that your air mattress will stay inflated all night long.
Affordable and Long-Lasting
 Compared to constantly buying new air mattresses, using
Fix a Flat
is a cost-effective solution that will save you money in the long run. One can of this product can
fix multiple leaks
, making it a more affordable option. Plus, with its long-lasting seal, you won't have to worry about constantly reapplying it.
It's a one-time fix that will keep your air mattress in good condition for months to come
.
In conclusion,
Fix a Flat
is the best solution for repairing your air mattress. It's convenient, multi-purpose, safe, affordable, and effective, making it a must-have product for every household. Say goodbye to constantly replacing your air mattress and hello to a long-lasting solution with
Fix a Flat
.
Compared to constantly buying new air mattresses, using
Fix a Flat
is a cost-effective solution that will save you money in the long run. One can of this product can
fix multiple leaks
, making it a more affordable option. Plus, with its long-lasting seal, you won't have to worry about constantly reapplying it.
It's a one-time fix that will keep your air mattress in good condition for months to come
.
In conclusion,
Fix a Flat
is the best solution for repairing your air mattress. It's convenient, multi-purpose, safe, affordable, and effective, making it a must-have product for every household. Say goodbye to constantly replacing your air mattress and hello to a long-lasting solution with
Fix a Flat
.