Undermount Bathroom Sink Repair: How to Fix a Fallen Sink
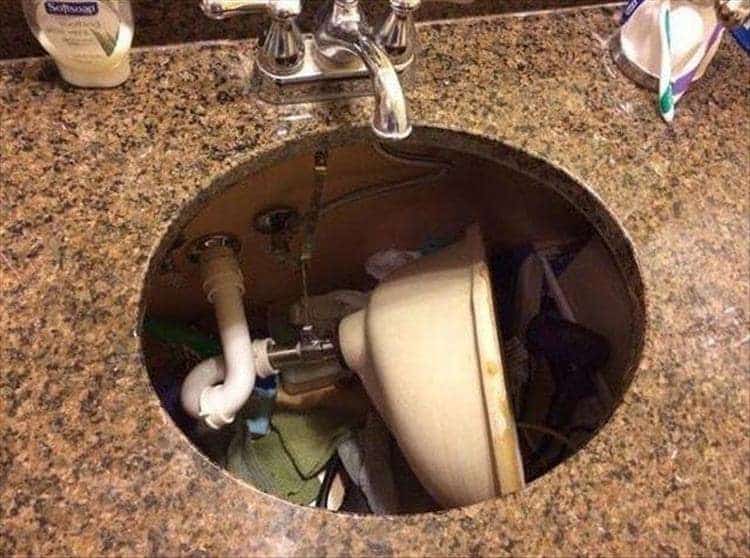
If you have ever walked into your bathroom and noticed that your undermount sink has fallen out, don't panic. It may seem like a daunting task to fix, but with the right tools and knowledge, you can easily reattach your sink and have it looking as good as new. In this article, we will guide you through the steps on how to repair a fallen undermount bathroom sink.


Undermount Bathroom Sink Repair: How to Fix a Fallen Sink


How to Reattach an Undermount Bathroom Sink
Before you begin the repair process, it's important to gather all the necessary tools. You will need a putty knife, silicone adhesive, a caulk gun, and a screwdriver. Once you have these tools ready, follow these steps to reattach your undermount sink:
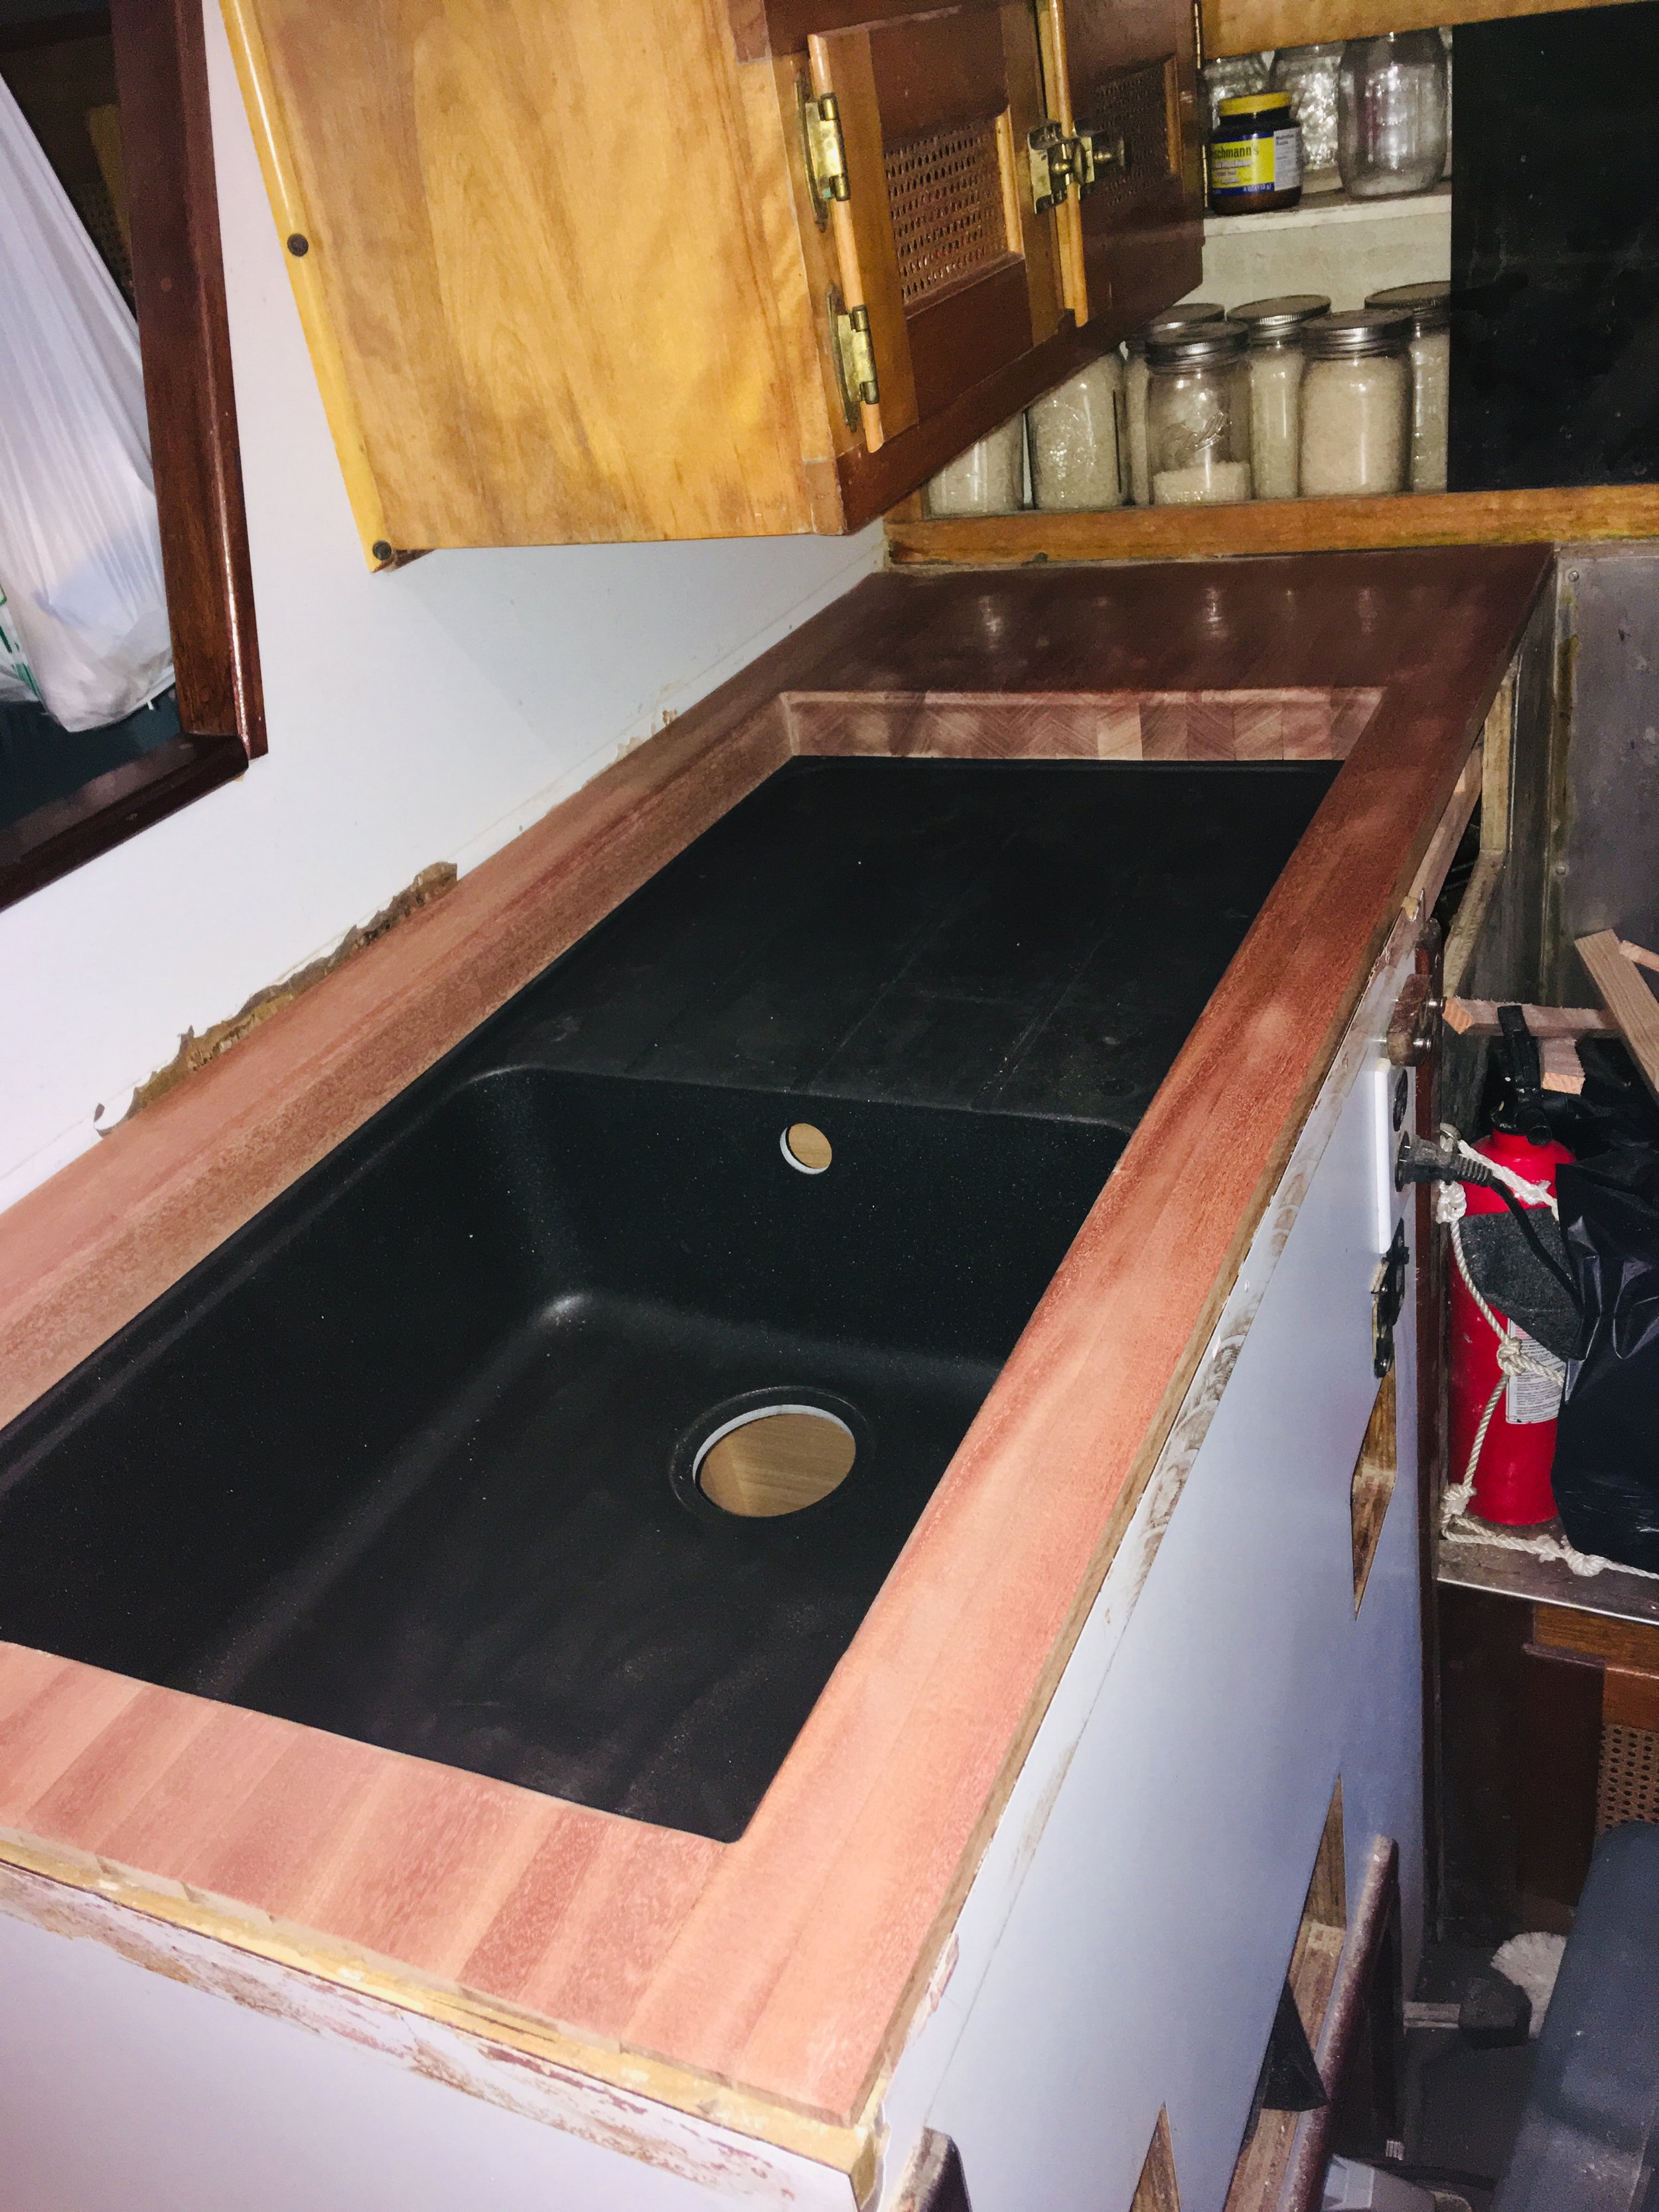
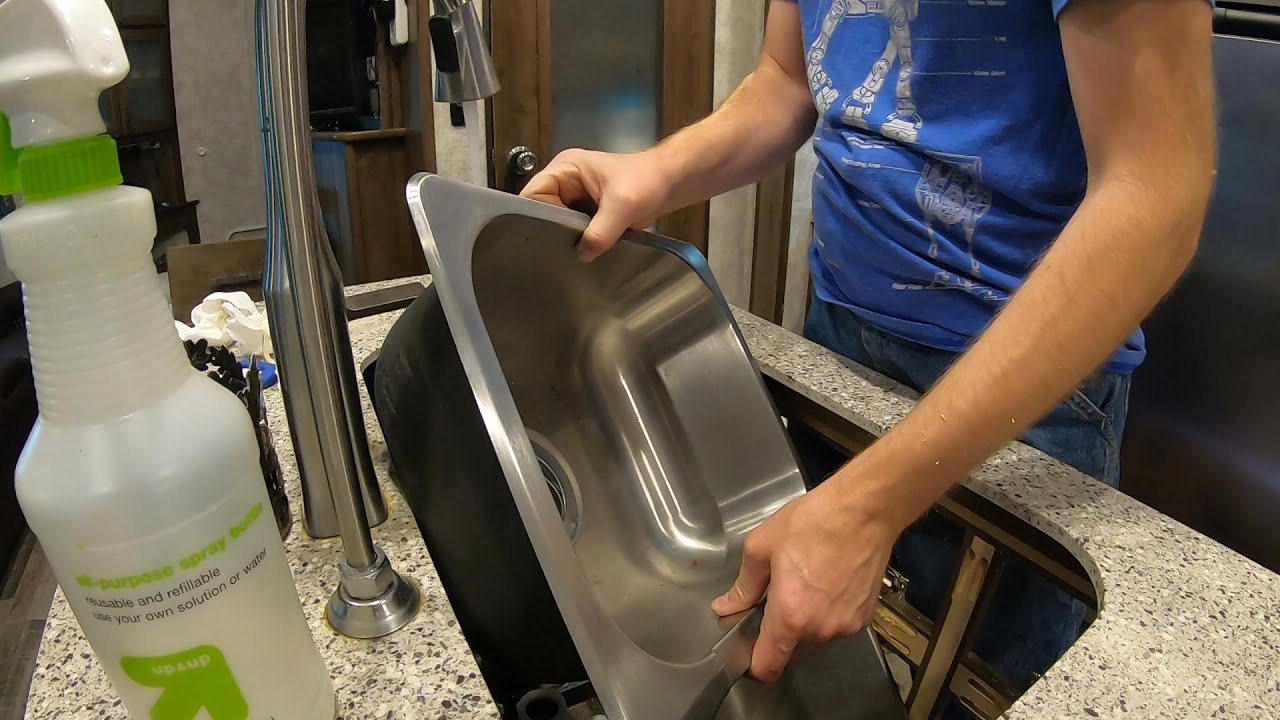
Step 1: Remove the Sink
Start by removing the sink from the countertop. Use a putty knife to gently scrape off any remaining adhesive or caulk from the sink and the countertop. Be careful not to scratch the surface of the countertop.
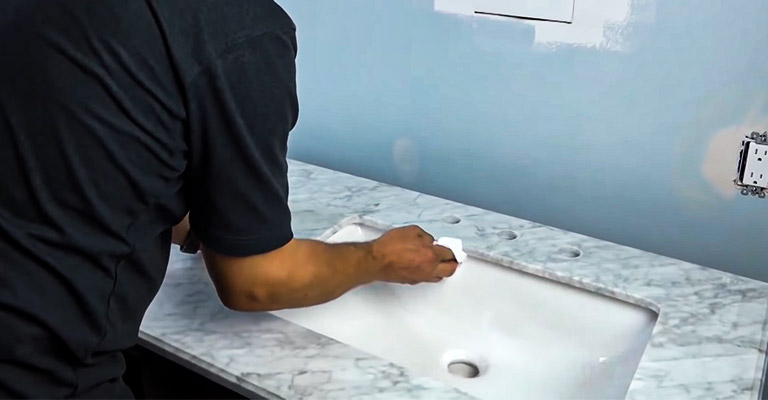
Step 2: Clean the Area
Once the sink is removed, clean the area thoroughly with a mild cleaner. This will ensure that the surface is free of any dirt or residue, which can affect the adhesion of the sink.
Step 3: Apply Silicone Adhesive
Using a caulk gun, apply a generous amount of silicone adhesive along the rim of the sink. Make sure to evenly spread the adhesive to ensure a secure bond.
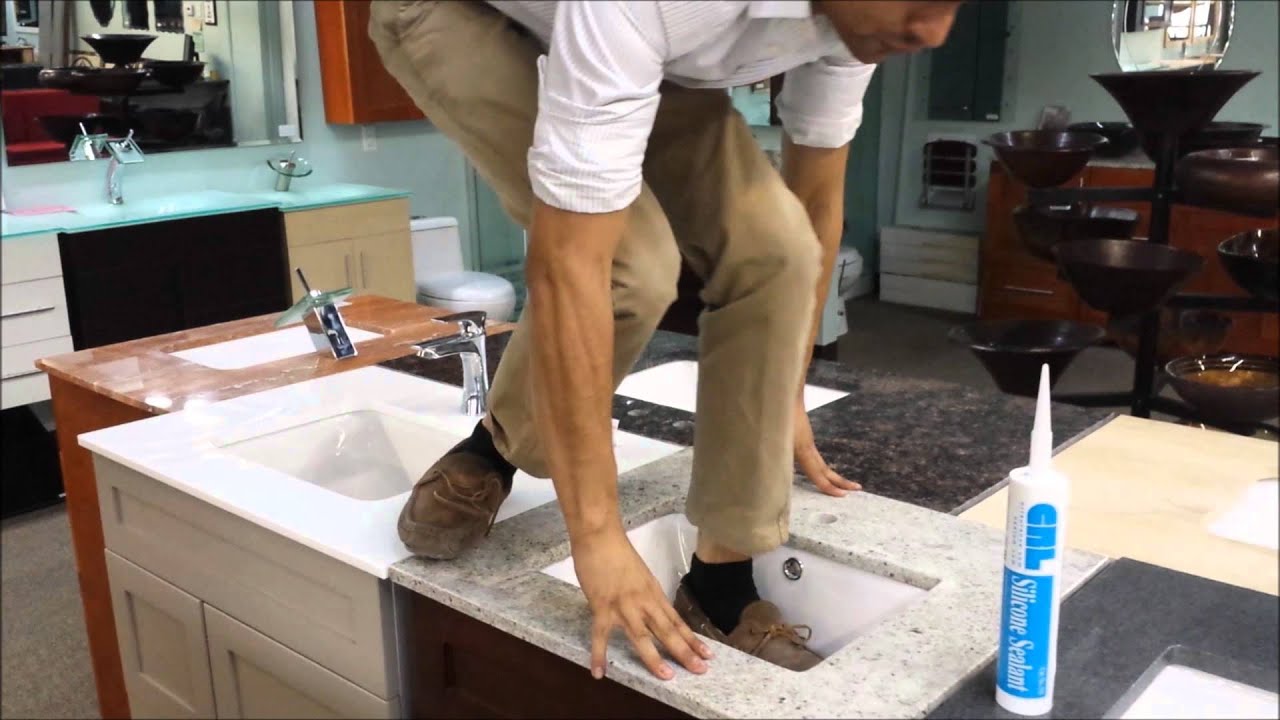
Step 4: Reattach the Sink
Place the sink back onto the countertop and press down firmly. Use a cloth to wipe off any excess adhesive that may have squeezed out from the edges.
Step 5: Secure with Screws
To further secure the sink, use a screwdriver to tighten the clips or brackets that hold the sink in place. This will ensure that the sink stays in place while the adhesive dries.


How to Reattach an Undermount Bathroom Sink


Fixing a Fallen Undermount Sink
If your undermount sink has fallen out due to weak adhesive or improper installation, you may need to repair the sink using a different method. Follow these steps to fix a fallen undermount sink:
Step 1: Remove the Sink
Just like in the previous method, start by removing the sink from the countertop. Use a putty knife to gently scrape off any remaining adhesive or caulk from the sink and the countertop.
Step 2: Clean the Area
Thoroughly clean the area with a mild cleaner to ensure there is no residue left that could affect the adhesion of the sink.
Step 3: Apply Epoxy
Using a putty knife, mix a small amount of epoxy and apply it to the rim of the sink. This will act as a strong adhesive to hold the sink in place.
Step 4: Reattach the Sink
Place the sink back onto the countertop and press down firmly. Wipe off any excess epoxy that may have squeezed out from the edges.
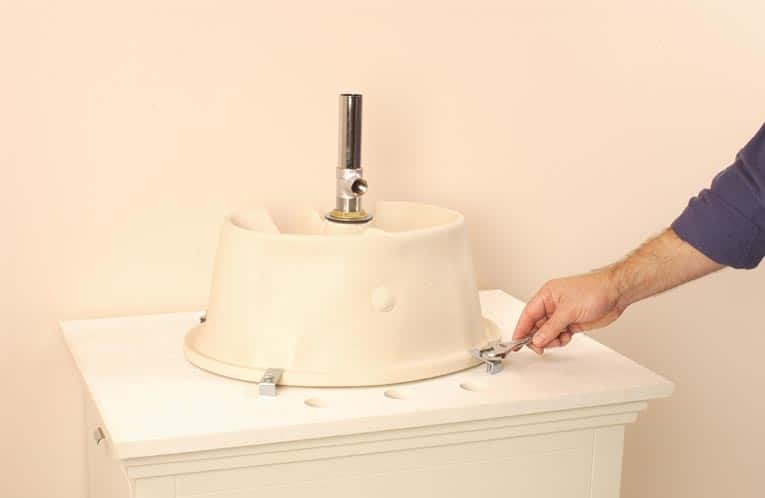
Step 5: Secure with Clamps
To ensure a secure bond, use clamps to hold the sink in place while the epoxy dries. Leave the clamps on for at least 24 hours.
Fixing a Fallen Undermount Sink


DIY: How to Secure an Undermount Sink
If you want to prevent your undermount sink from falling out in the future, follow these simple steps to secure it yourself:
Step 1: Remove the Sink
Start by removing the sink from the countertop using a putty knife to scrape off any remaining adhesive or caulk.
Step 2: Clean the Area
Clean the area with a mild cleaner to ensure there is no residue left that could affect the adhesion of the sink.
Step 3: Apply Silicone Adhesive
Using a caulk gun, apply a generous amount of silicone adhesive along the rim of the sink. Make sure to evenly spread the adhesive to ensure a secure bond.
Step 4: Reattach the Sink
Place the sink back onto the countertop and press down firmly. Use a cloth to wipe off any excess adhesive that may have squeezed out from the edges.
Step 5: Secure with Clamps
To ensure a strong bond, use clamps to hold the sink in place while the adhesive dries. Leave the clamps on for at least 24 hours.


DIY: How to Secure an Undermount Sink


How to Fix a Loose Undermount Sink
If your undermount sink is loose but has not completely fallen out, you can try to fix it using this method:
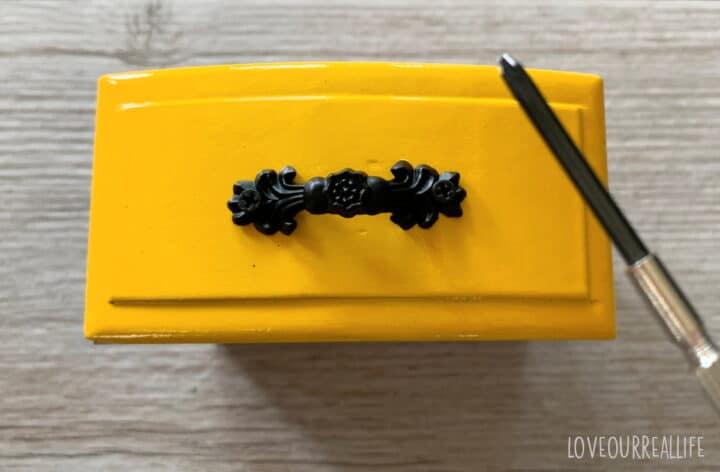
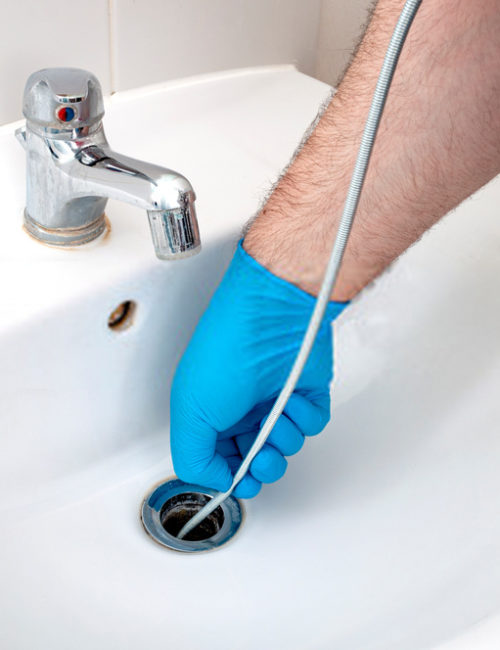
Step 1: Tighten the Brackets
Start by tightening the brackets or clips that hold the sink in place. This may be enough to secure the sink back into place.
Step 2: Apply Silicone Adhesive
If tightening the brackets does not work, follow the same steps as in the previous method to apply silicone adhesive and secure the sink.


How to Fix a Loose Undermount Sink


Reattaching an Undermount Sink: Step-by-Step Guide
Summarized below are the general steps to reattach an undermount sink:
Step 1: Remove the sink from the countertop.
Step 2: Clean the area thoroughly.
Step 3: Apply adhesive or epoxy to the rim of the sink.
Step 4: Reattach the sink to the countertop.
Step 5: Secure with screws or clamps.


Reattaching an Undermount Sink: Step-by-Step Guide


Common Causes of Undermount Sink Falling Out
There are a few reasons why your undermount sink may fall out, including:
Weak adhesive or caulk
Improper installation
Excessive weight or pressure on the sink
Damage to the countertop or sink


Common Causes of Undermount Sink Falling Out


How to Prevent Your Undermount Sink from Falling Out
To avoid the hassle of having to repair or reattach your undermount sink, here are some tips to prevent it from falling out:
Use a high-quality adhesive or caulk during installation.
Ensure the sink is properly installed and secured.
Avoid placing excessive weight or pressure on the sink.
Regularly check and tighten the brackets or clips that hold the sink in place.

How to Prevent Your Undermount Sink from Falling Out
Replacing an Undermount Sink: What You Need to Know
If your undermount sink is damaged beyond repair or you simply want to upgrade your bathroom, here are some things to keep in mind when replacing an undermount sink:
Choose the right size and style of sink for your bathroom.
Make sure the sink is compatible with your countertop material.
Follow the proper installation instructions to ensure a secure and long-lasting sink.


Replacing an Undermount Sink: What You Need to Know


Professional Undermount Sink Repair Services
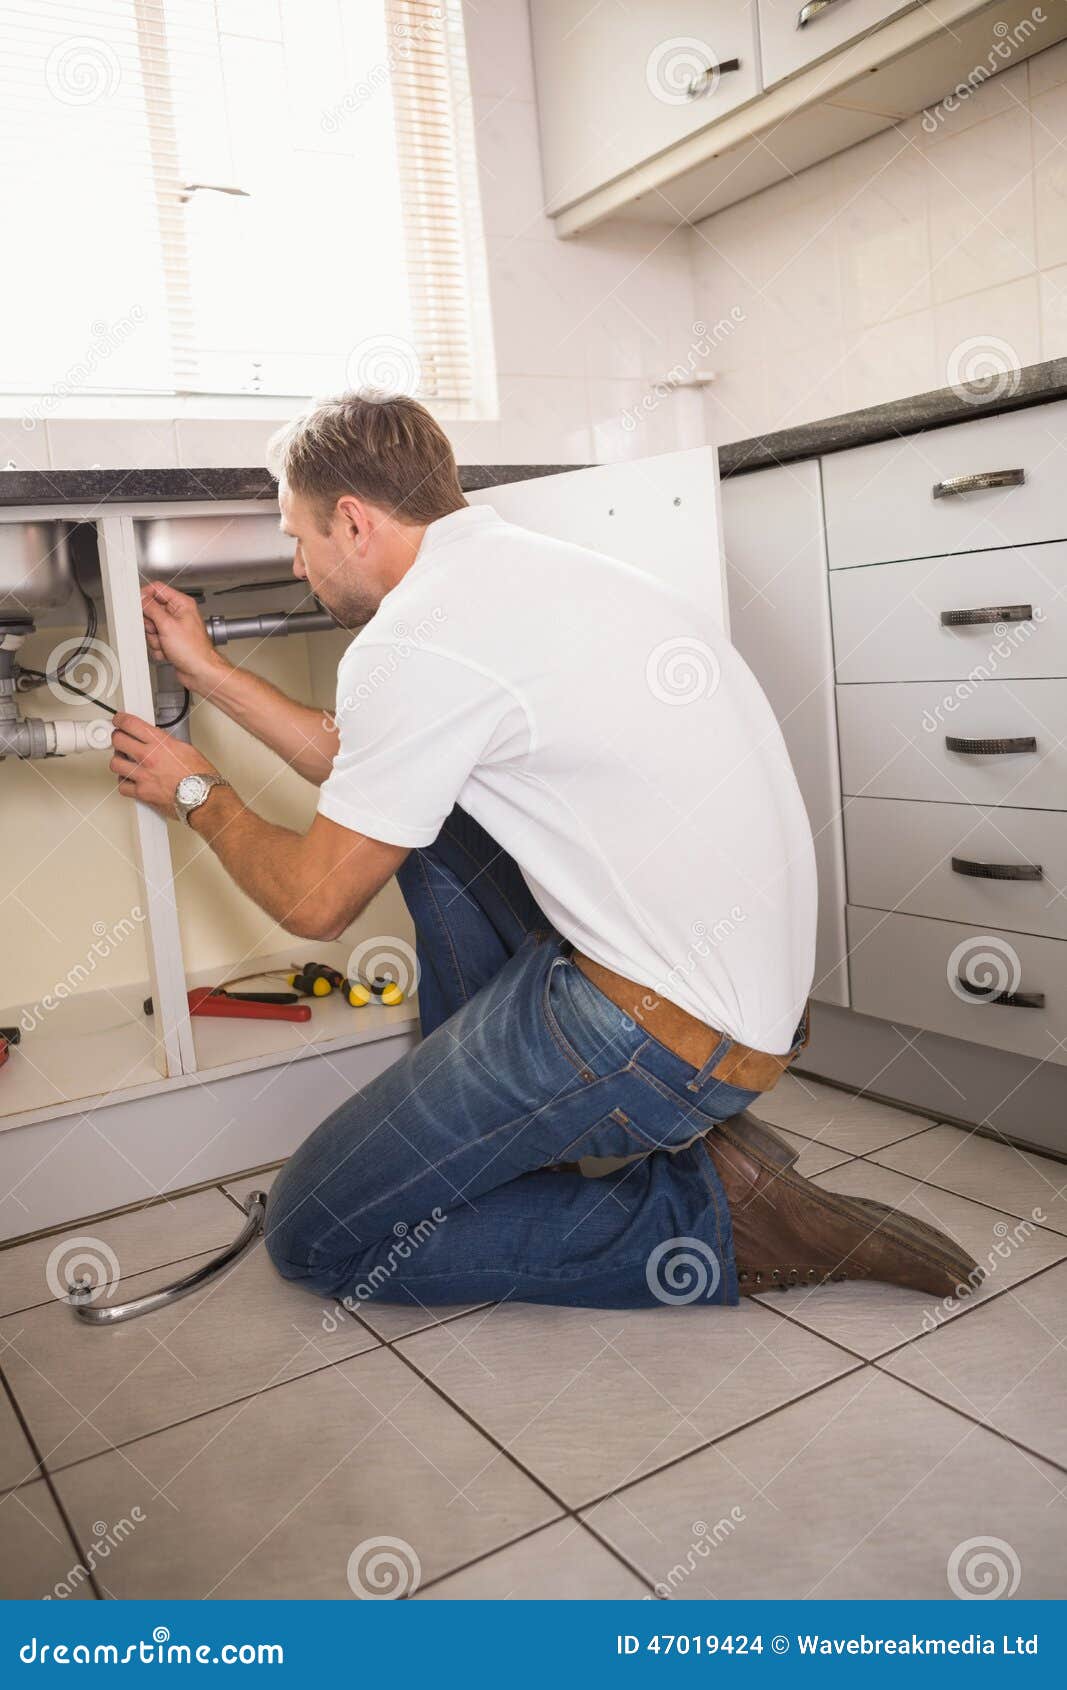
If you are not confident in your DIY skills or simply don't have the time to fix your undermount sink, consider hiring a professional sink repair service. They have the experience and tools to quickly and effectively reattach or replace your sink, saving you time and hassle.

Professional Undermount Sink Repair Services


The Importance of Proper Installation for Undermount Bathroom Sinks
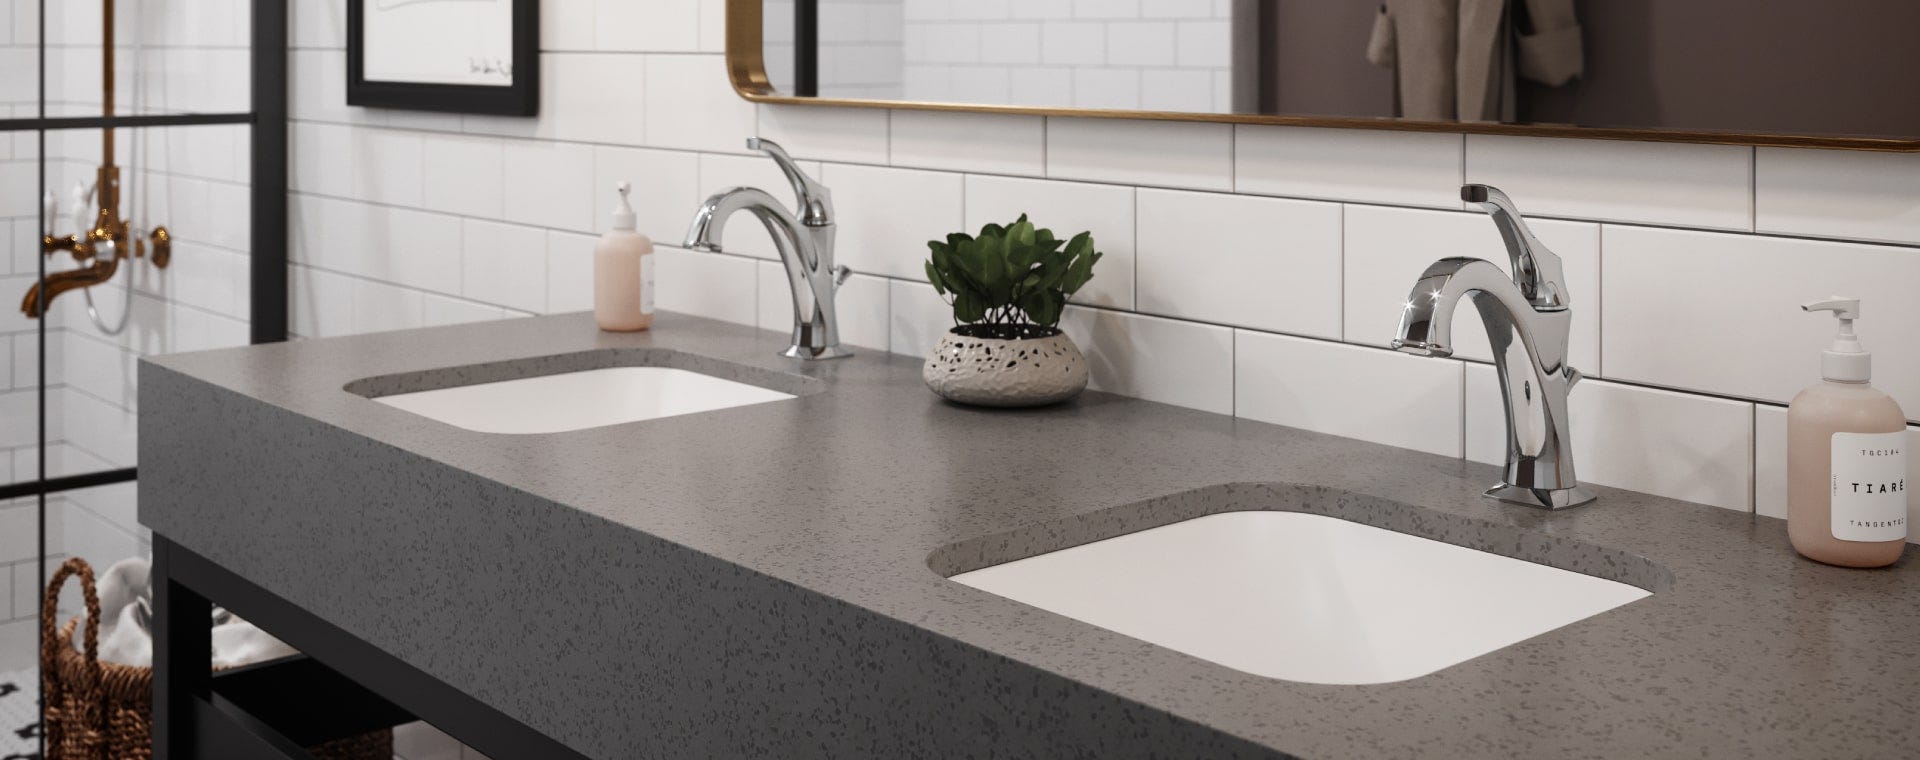
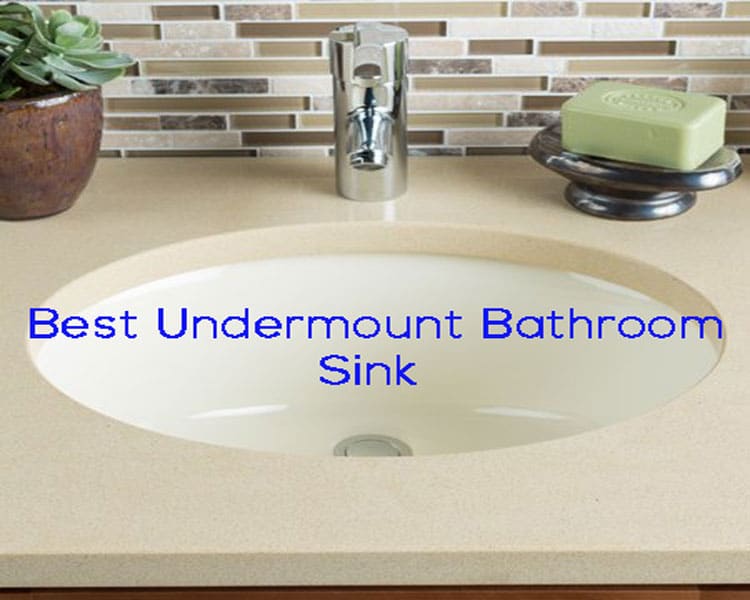
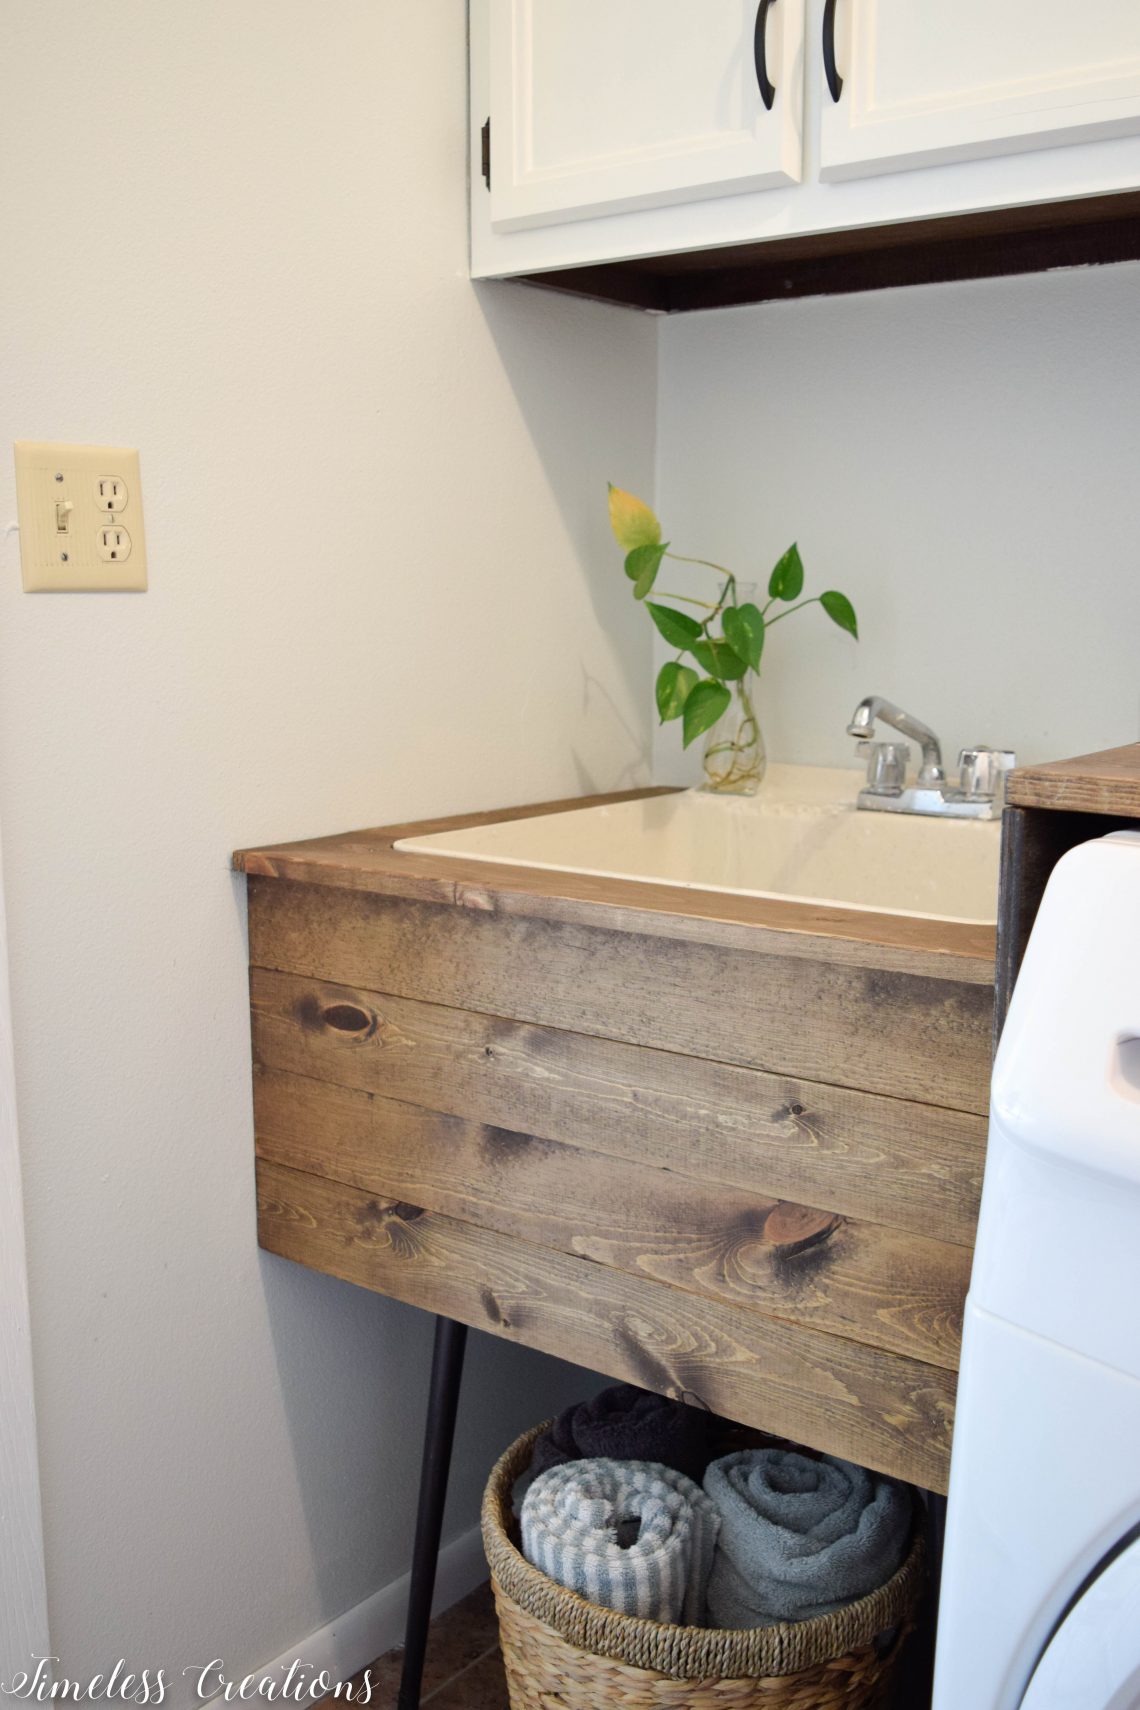
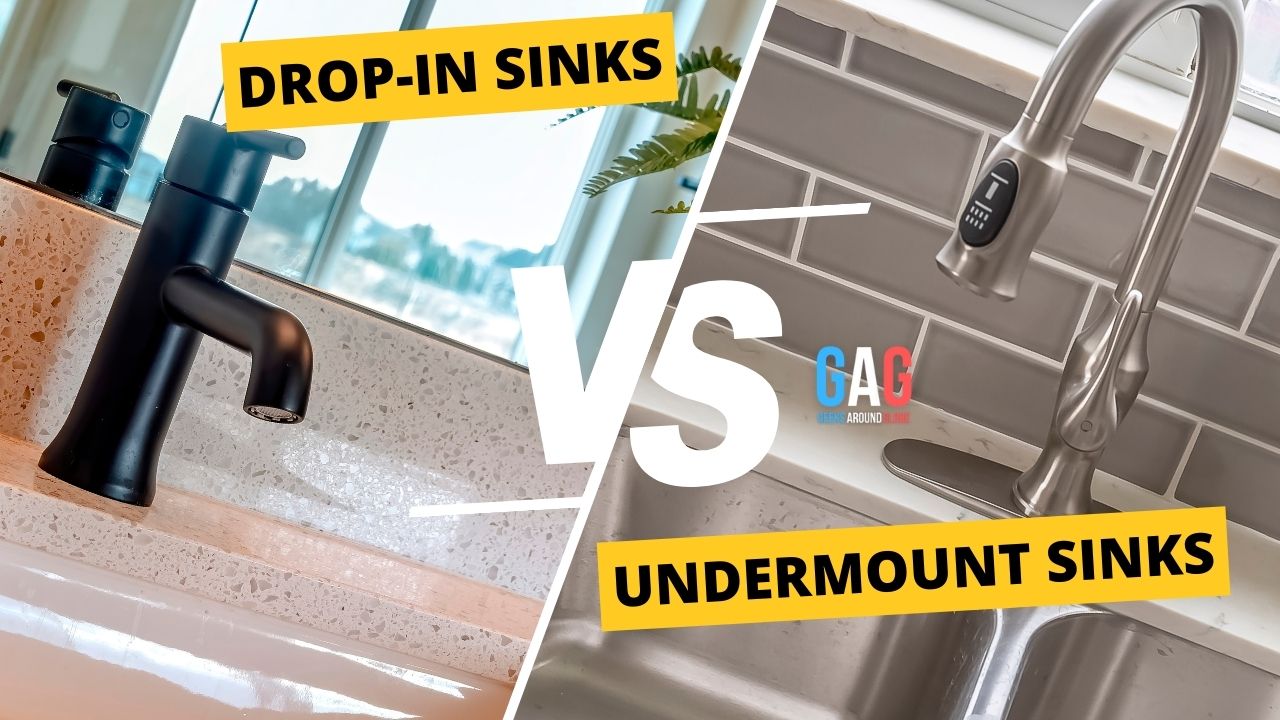
Why Undermount Bathroom Sinks are Popular
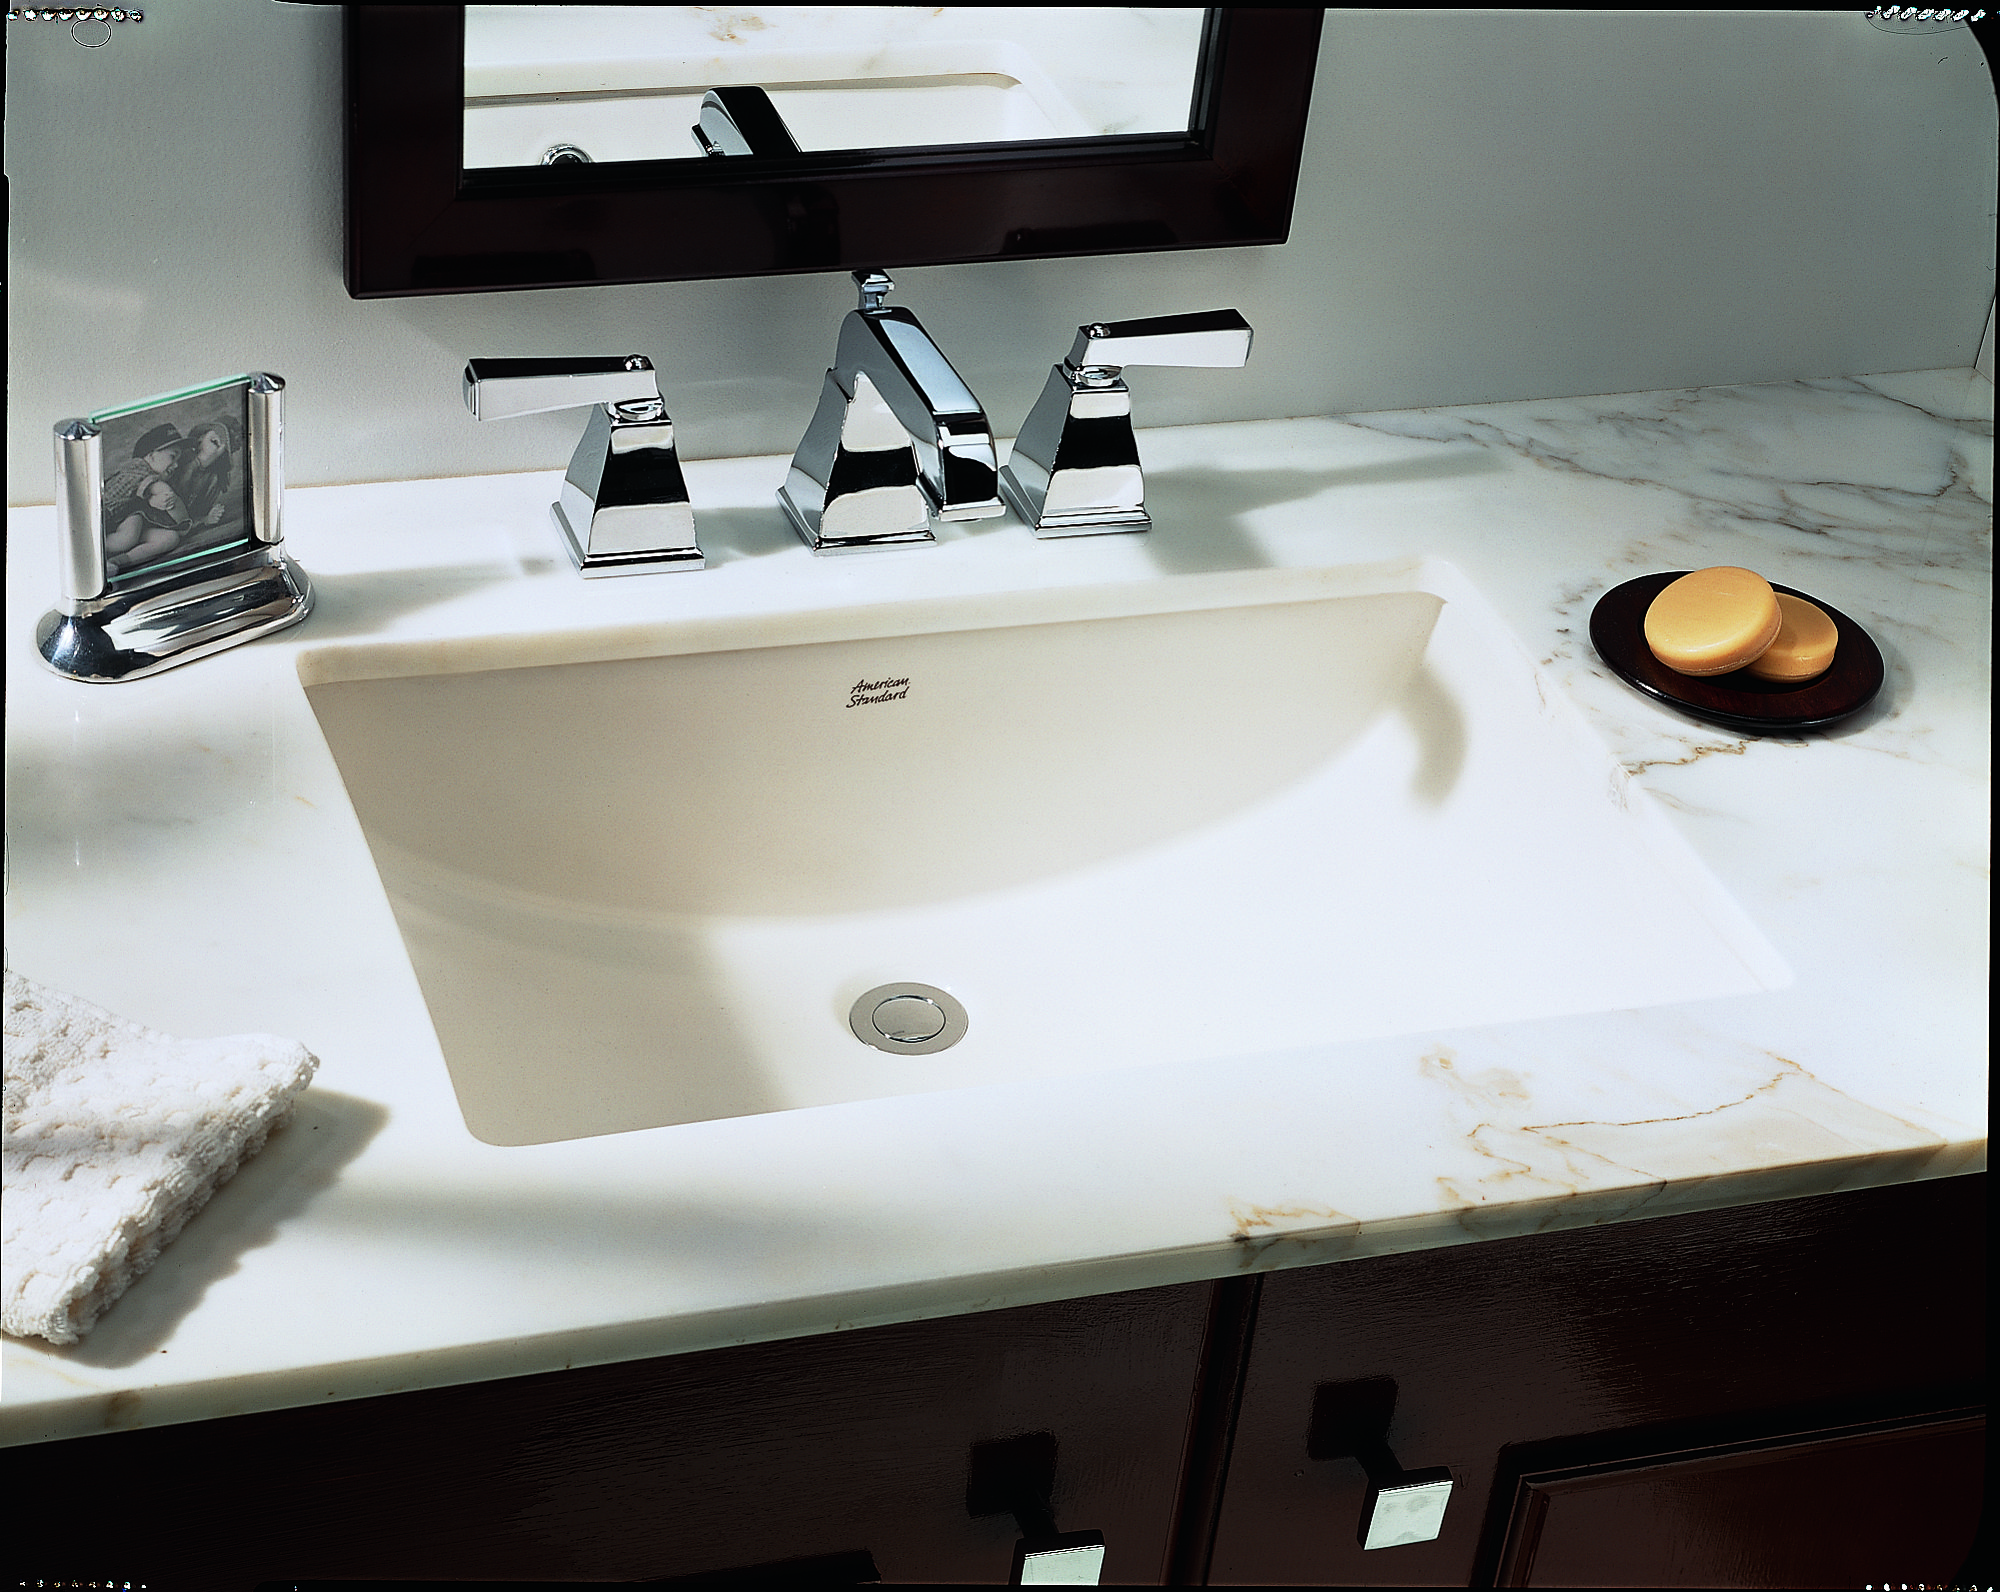
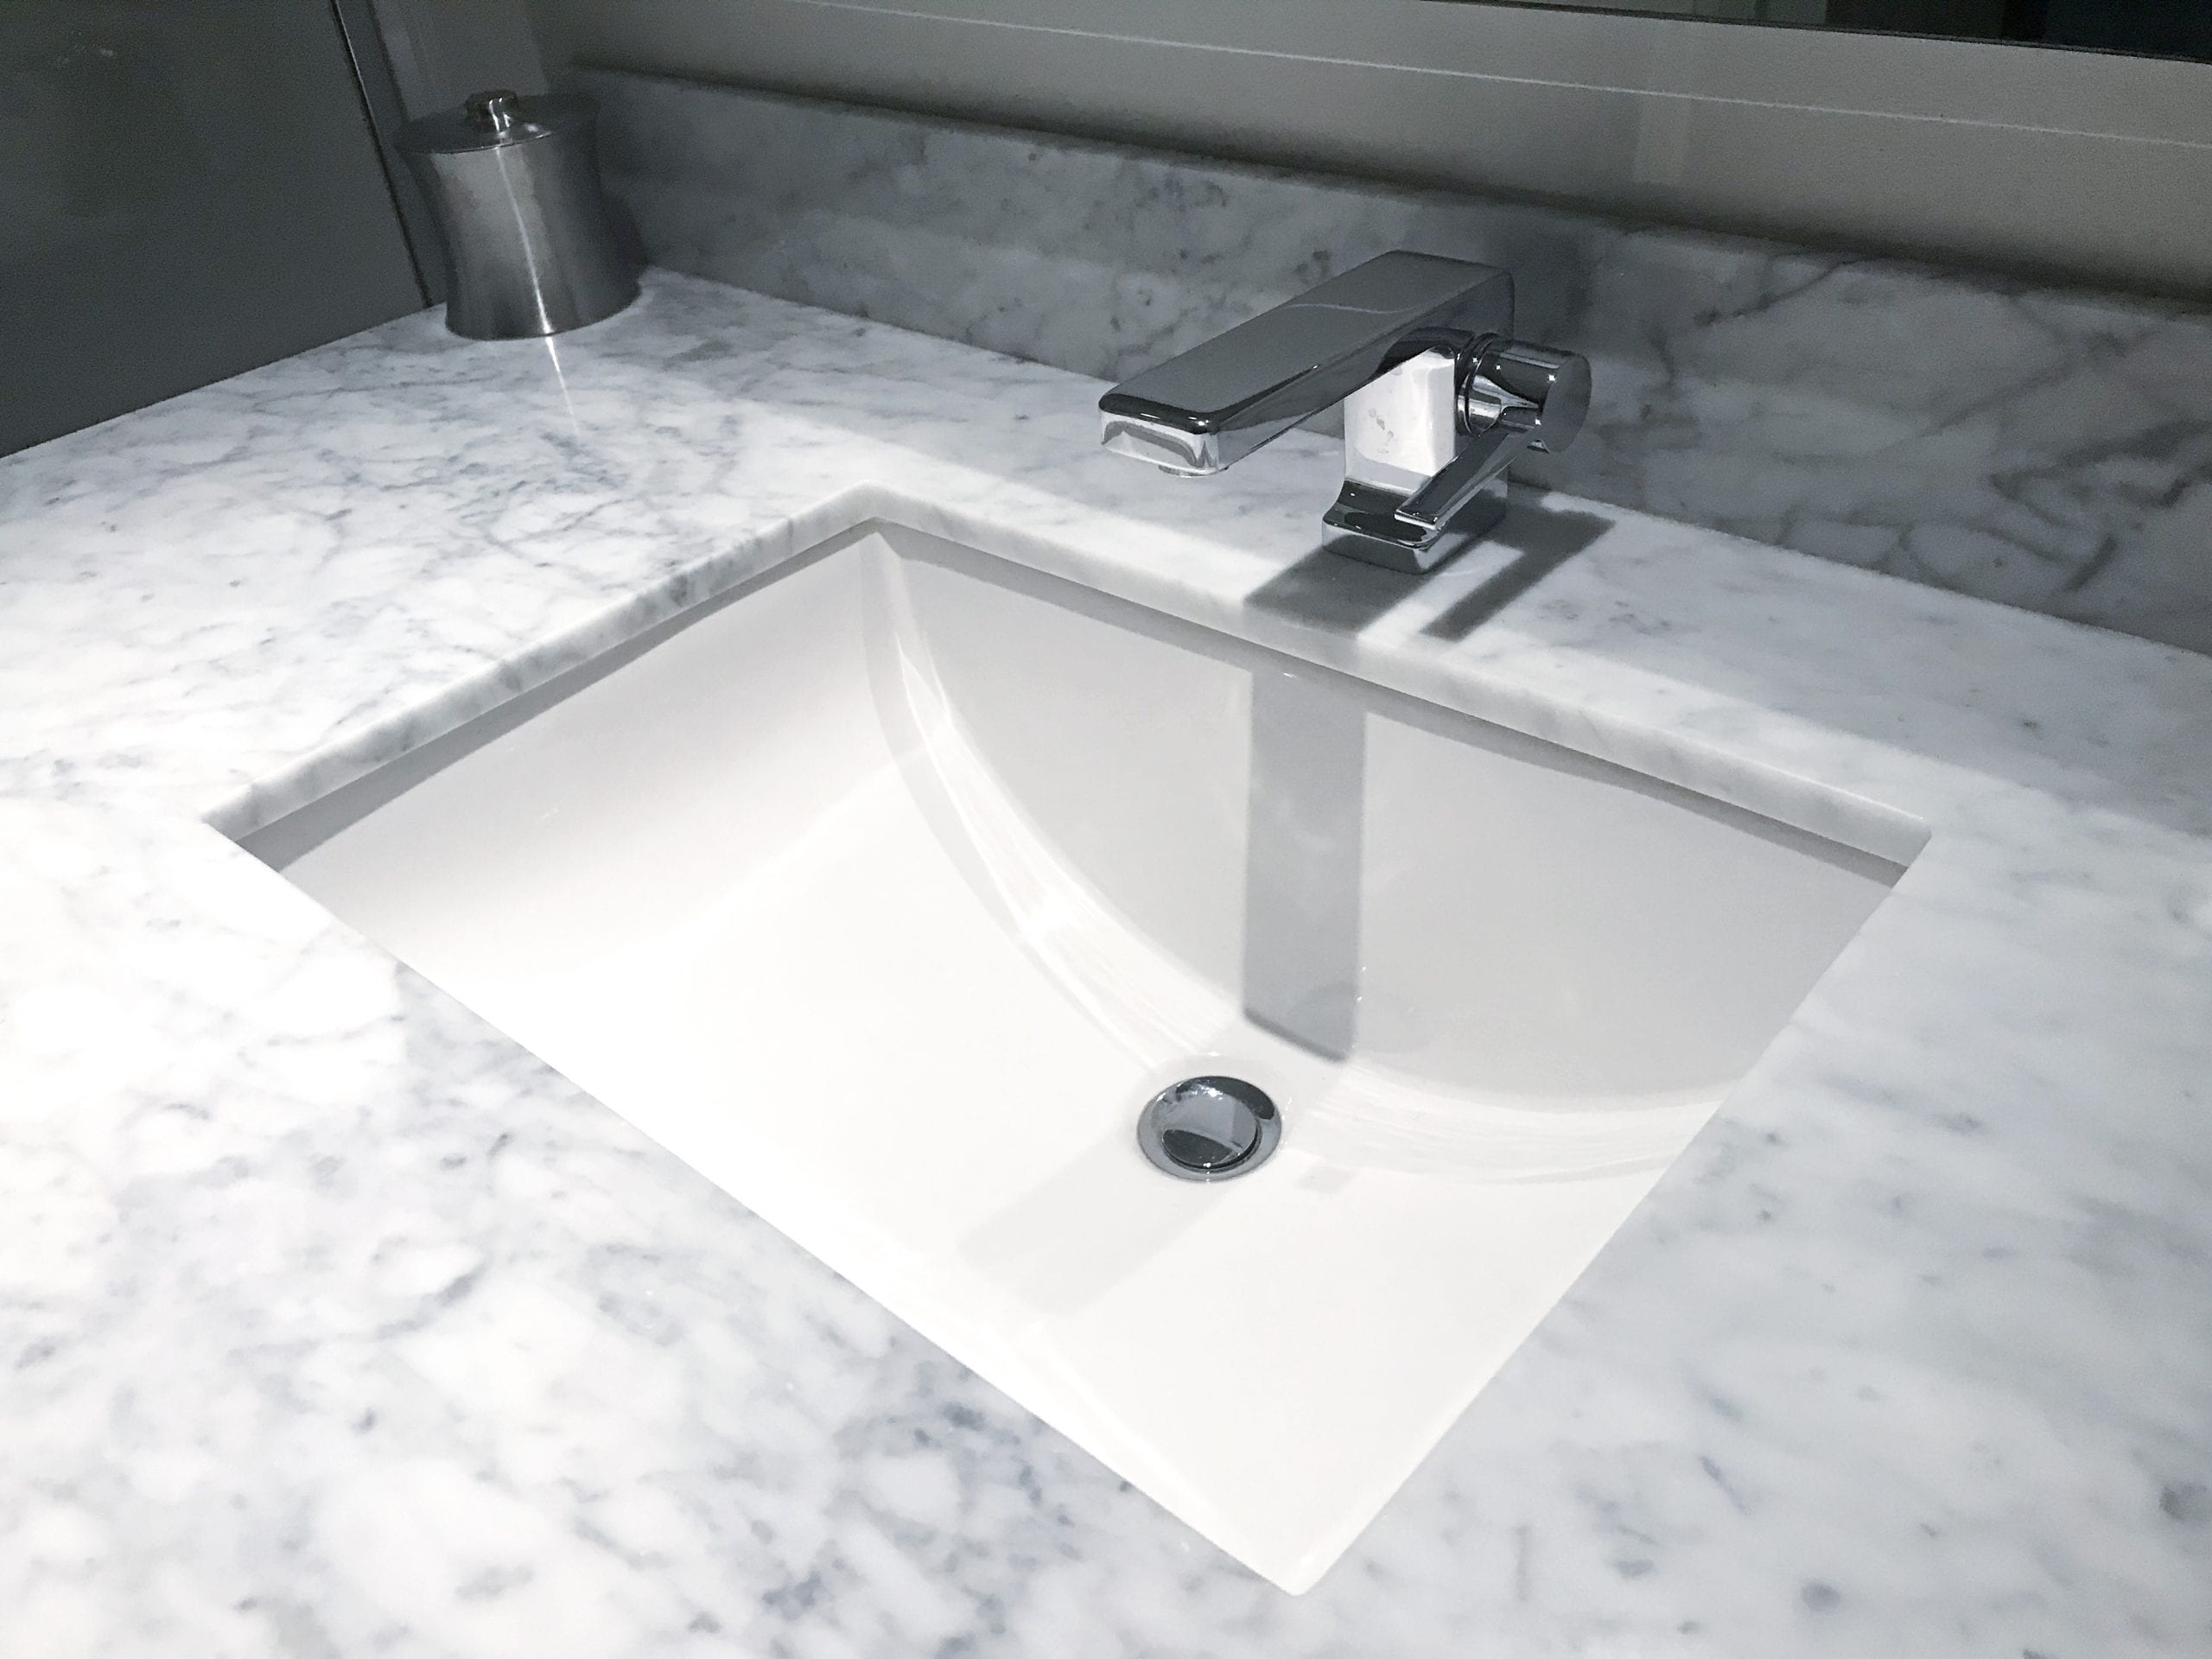
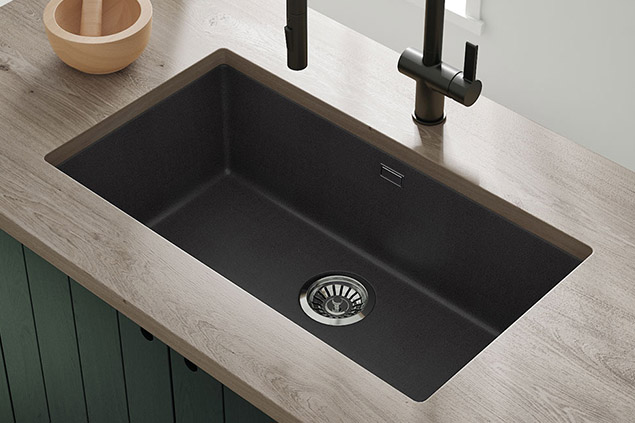
 Undermount bathroom sinks have become a popular choice among homeowners due to their sleek and modern design. They are installed under the countertop, creating a seamless and clean look in the bathroom. However, despite their popularity, undermount bathroom sinks can pose certain issues if not installed properly.
The Dangers of Improper Installation
 One of the most common issues with undermount bathroom sinks is the risk of them falling out. This can happen if the sink is not installed securely or if the proper materials and techniques are not used during installation. A falling sink can not only cause damage to the countertop and surrounding areas, but it can also pose a safety hazard for anyone using the sink.
The Risks of DIY Installation
 Many homeowners may be tempted to install their undermount bathroom sink themselves in order to save money. However, this can lead to improper installation and increased risk of the sink falling out. It is important to remember that undermount sinks require specific tools and techniques for proper installation, which may not be easily accessible for the average homeowner.
The Importance of Professional Installation
 To avoid the dangers of improper installation, it is crucial to hire a professional for the installation of your undermount bathroom sink. A professional will have the necessary tools and expertise to ensure that the sink is securely installed and will not fall out. This will not only provide peace of mind for the homeowner, but it will also save them from potential costly repairs in the future.
The Role of Proper Maintenance
 In addition to professional installation, proper maintenance is also key in ensuring that your undermount bathroom sink stays securely in place. Regular cleaning and proper use of the sink, such as avoiding placing heavy objects on it, can help prevent any damage or loosening of the sink.
In conclusion, proper installation and maintenance are essential for undermount bathroom sinks to prevent them from falling out. Hiring a professional for installation and following proper maintenance guidelines can ensure a safe and long-lasting sink in your bathroom.
So, it is always recommended to invest in professional installation to avoid any potential risks and ensure a beautiful and functional bathroom design.
In addition to professional installation, proper maintenance is also key in ensuring that your undermount bathroom sink stays securely in place. Regular cleaning and proper use of the sink, such as avoiding placing heavy objects on it, can help prevent any damage or loosening of the sink.
In conclusion, proper installation and maintenance are essential for undermount bathroom sinks to prevent them from falling out. Hiring a professional for installation and following proper maintenance guidelines can ensure a safe and long-lasting sink in your bathroom.
So, it is always recommended to invest in professional installation to avoid any potential risks and ensure a beautiful and functional bathroom design.