How to Unclog a Kitchen Sink with a Plunger
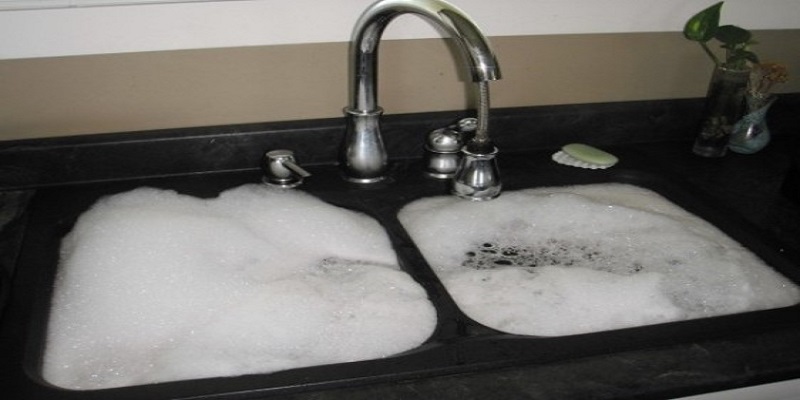
Dealing with a clogged kitchen sink can be a frustrating and messy situation. Fortunately, you can easily unclog your sink using a plunger. This handy tool can quickly clear up any blockages in your kitchen sink, saving you time and money from calling a plumber. In this article, we will guide you through the steps on how to unclog a kitchen sink with a plunger.
Unclogging a Kitchen Sink with a Plunger: Step-by-Step Guide
Step 1: Gather Your Supplies
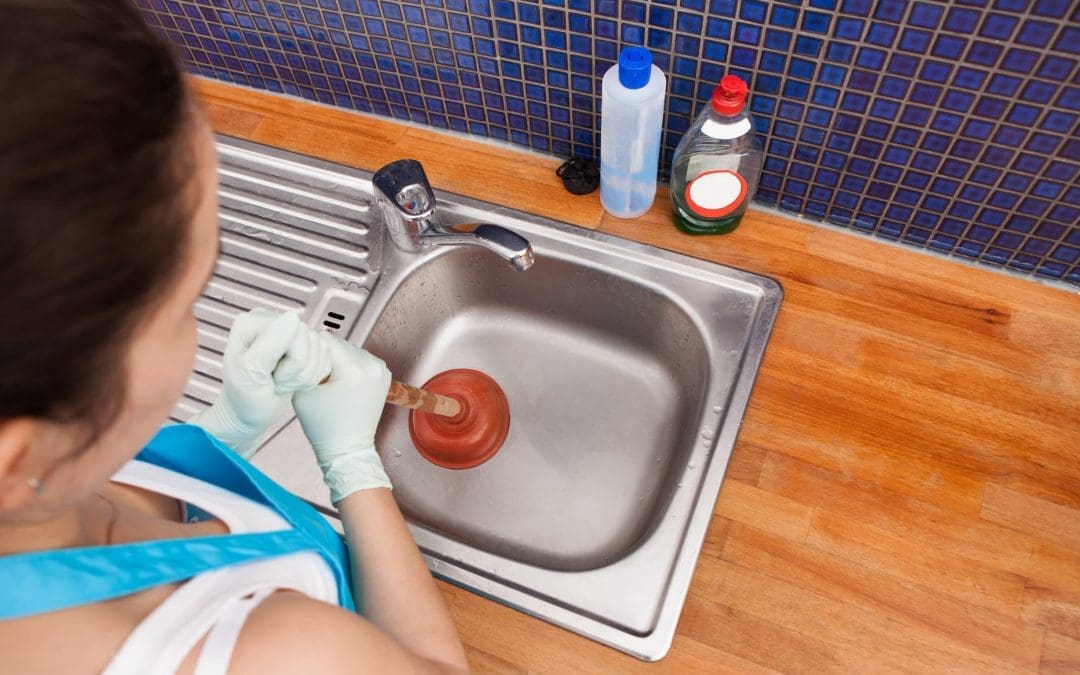
The first thing you need to do is gather all the necessary supplies before starting the unclogging process. These include a plunger, rubber gloves, a bucket, and some old towels or rags to catch any spills or splashes.
Step 2: Remove Standing Water
If there is any standing water in your sink, you will need to remove it before using the plunger. Use a bucket or a cup to scoop out as much water as you can. This will prevent any spills or splashes when using the plunger.
Step 3: Create a Seal
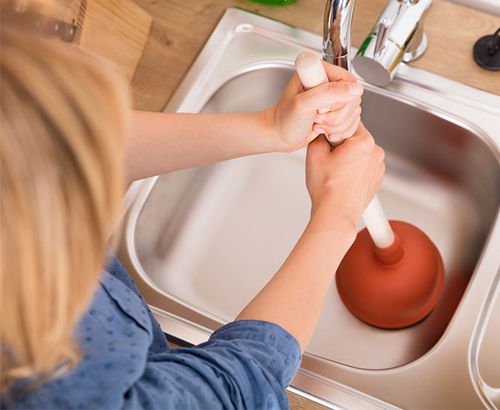
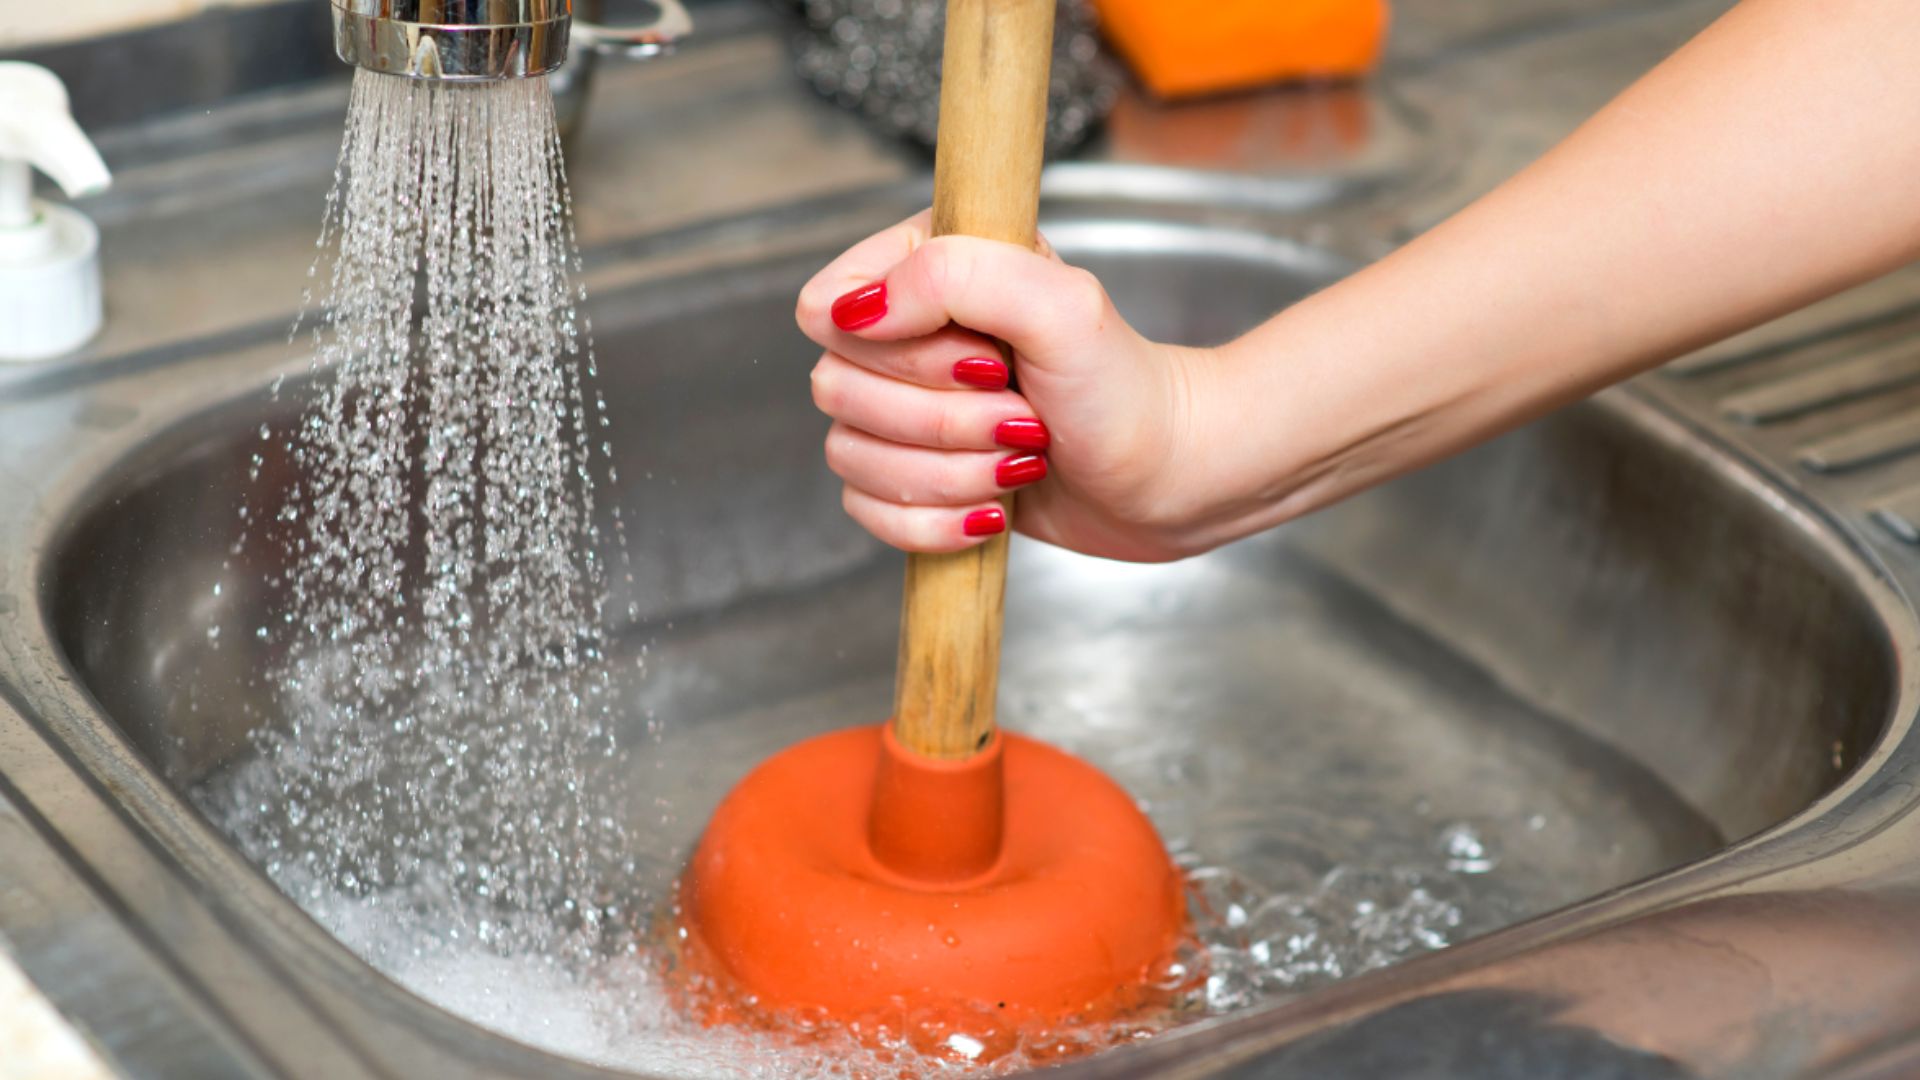
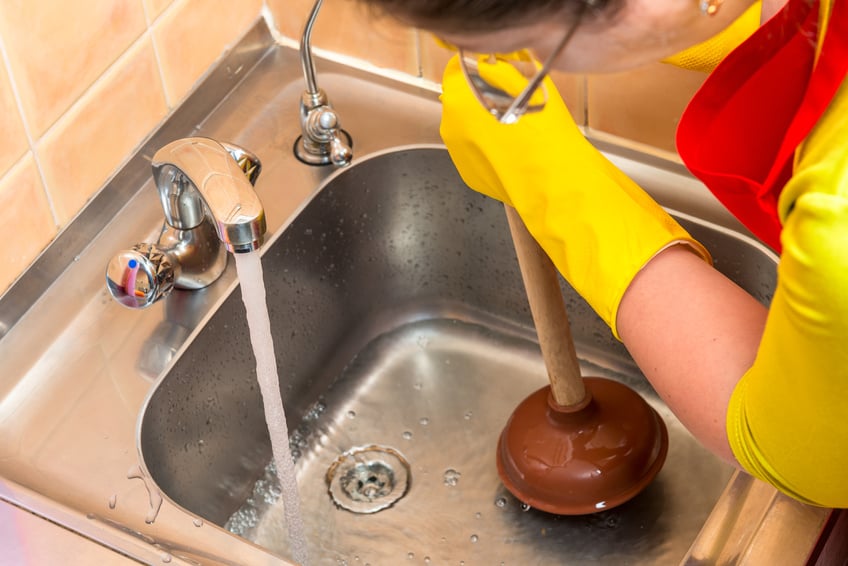
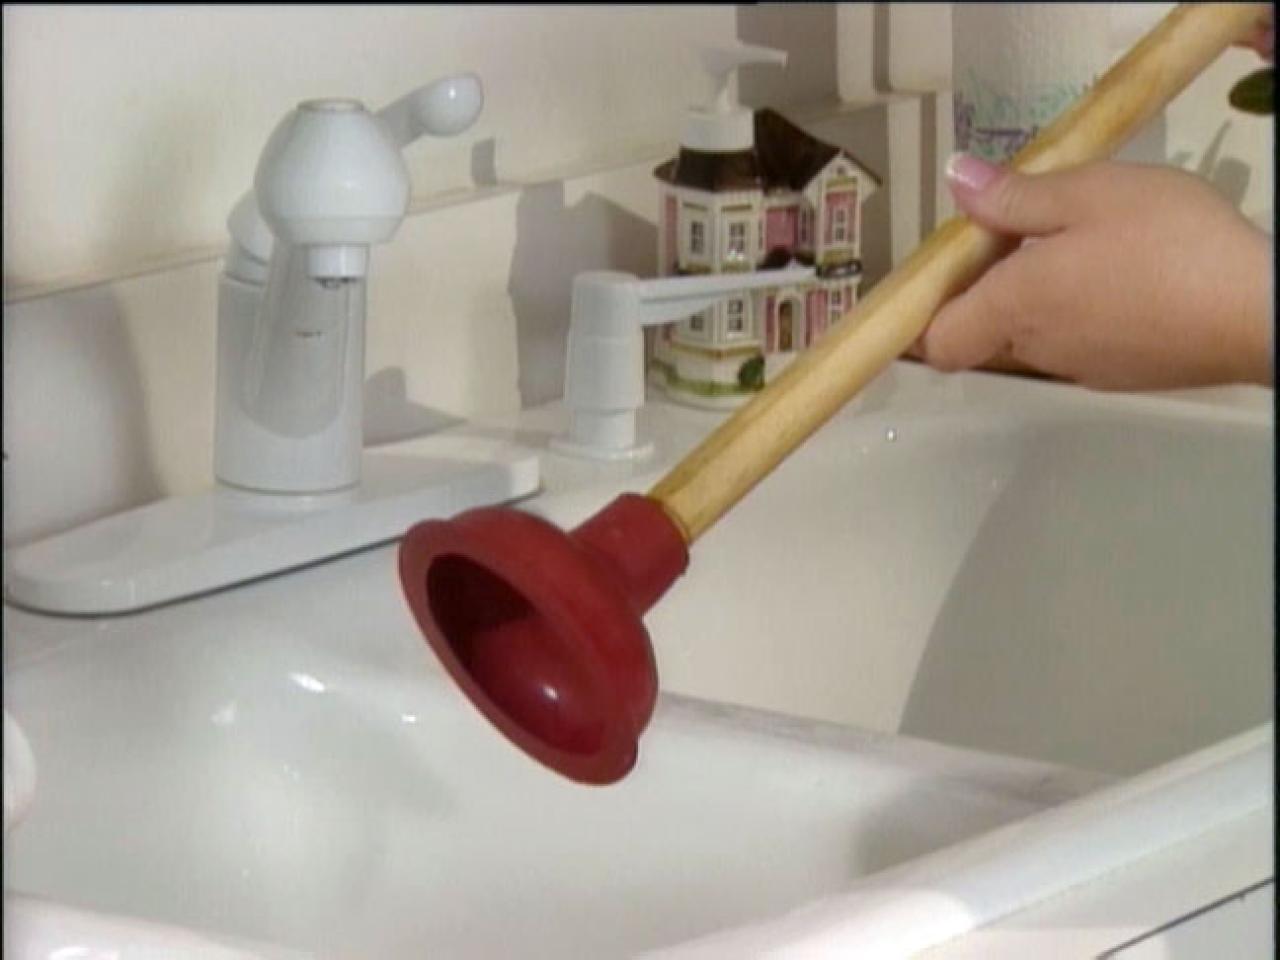
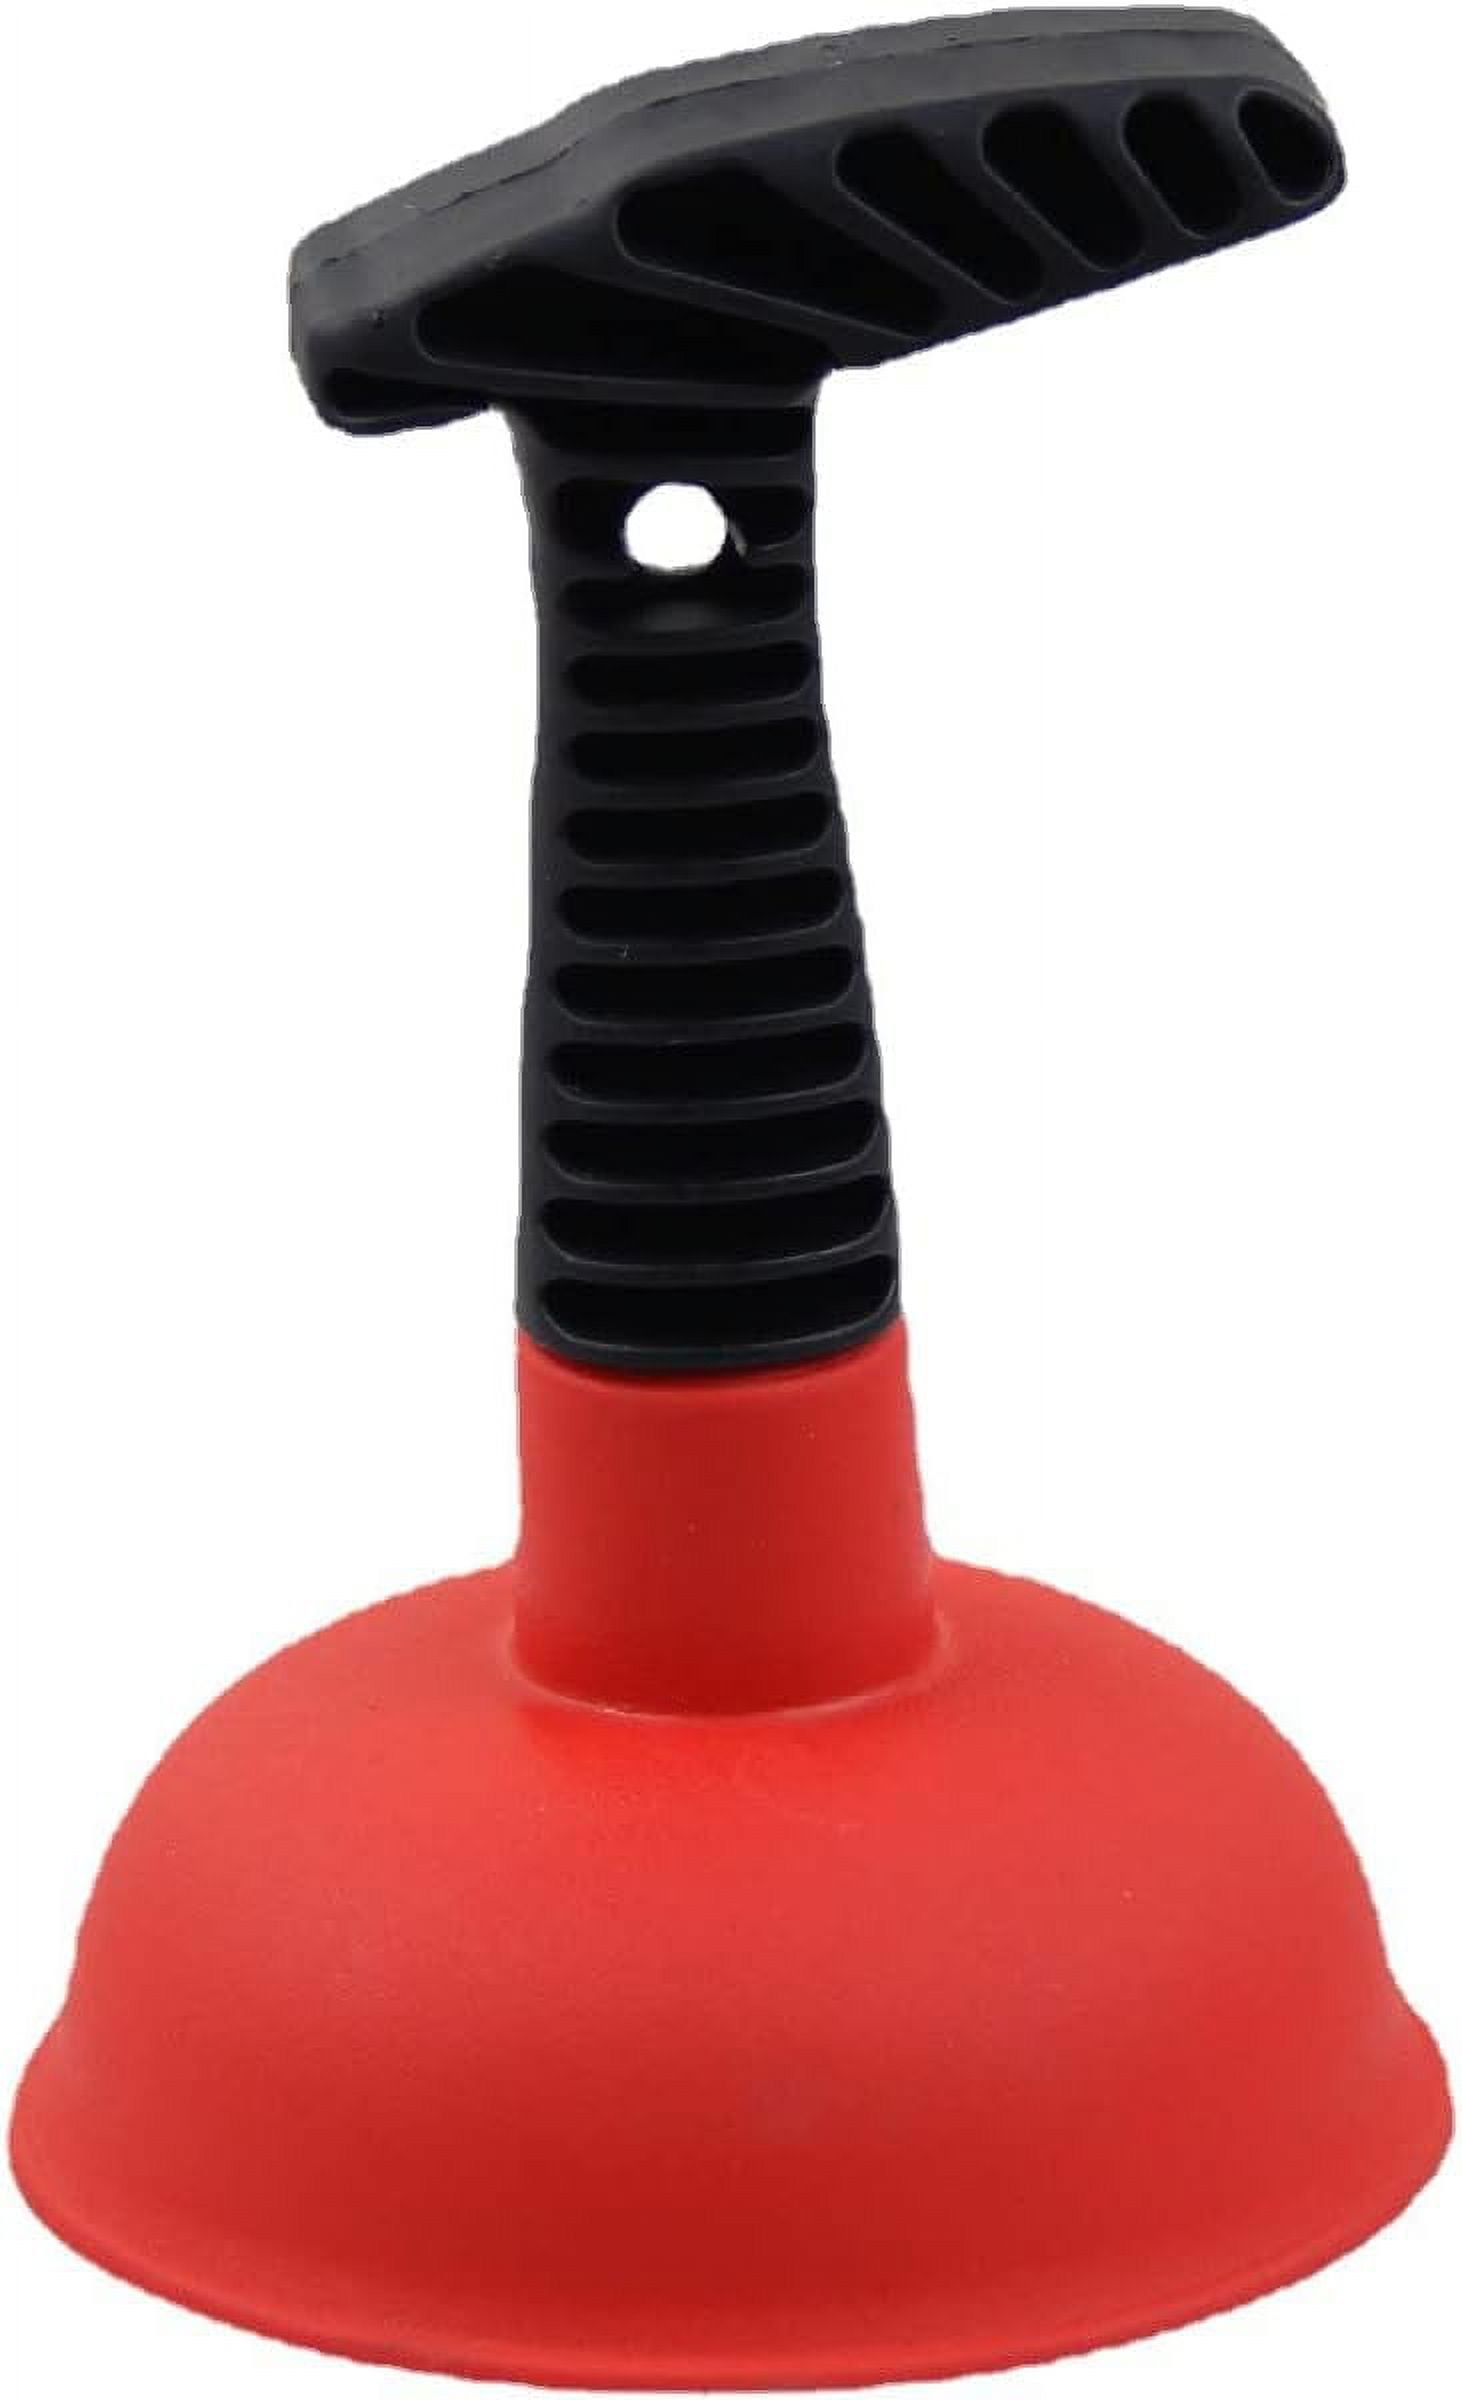
Place the plunger over the drain and press it down firmly to create a seal. Make sure the entire plunger head is covering the drain opening. You can also add some petroleum jelly to the rim of the plunger to create a tighter seal.
Step 4: Start Plunging
Push down on the plunger and then pull up quickly to create suction. Continue this motion for a few seconds, making sure the plunger stays in contact with the drain. This will help to loosen any clogs and push them down the drain.
Step 5: Repeat if Necessary
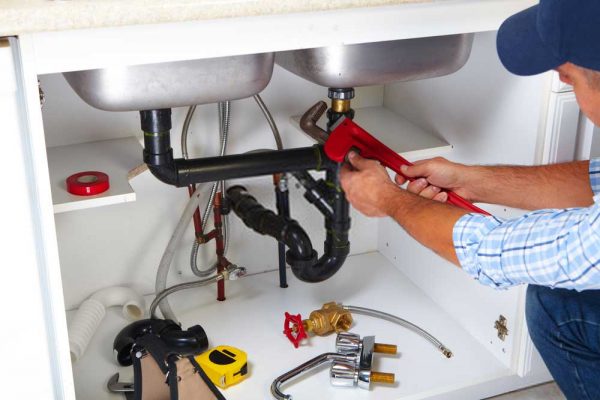
If the water starts to drain, then you have successfully unclogged your kitchen sink. However, if the water is still not draining, repeat the plunging process a few more times. If the clog is stubborn, you may need to try a different technique or call a professional plumber.
DIY: Unclogging a Kitchen Sink with a Plunger
Tip 1: Use Hot Water
Before plunging, you can pour some hot water down the drain to help loosen any debris or grease that may be causing the clog. This will make the plunging process more effective.
Tip 2: Add Baking Soda and Vinegar
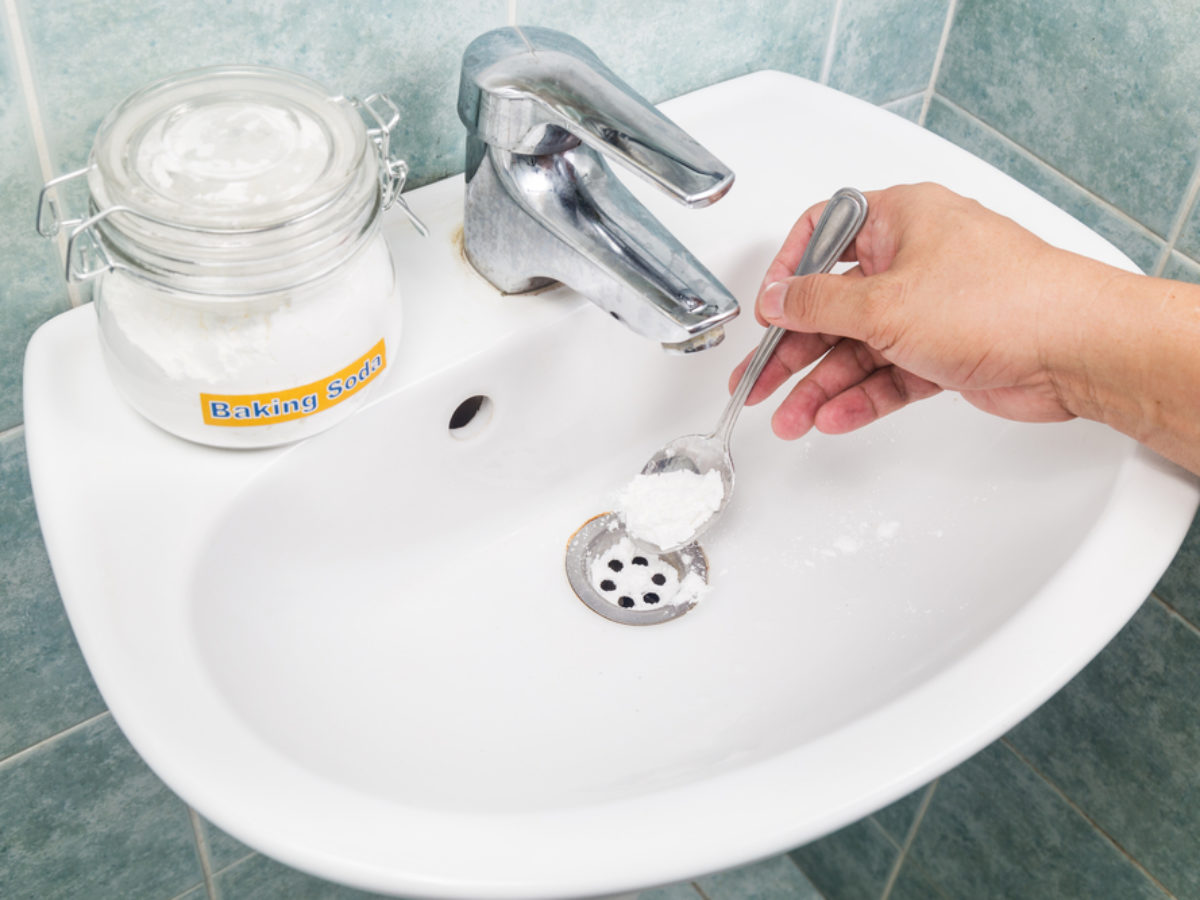
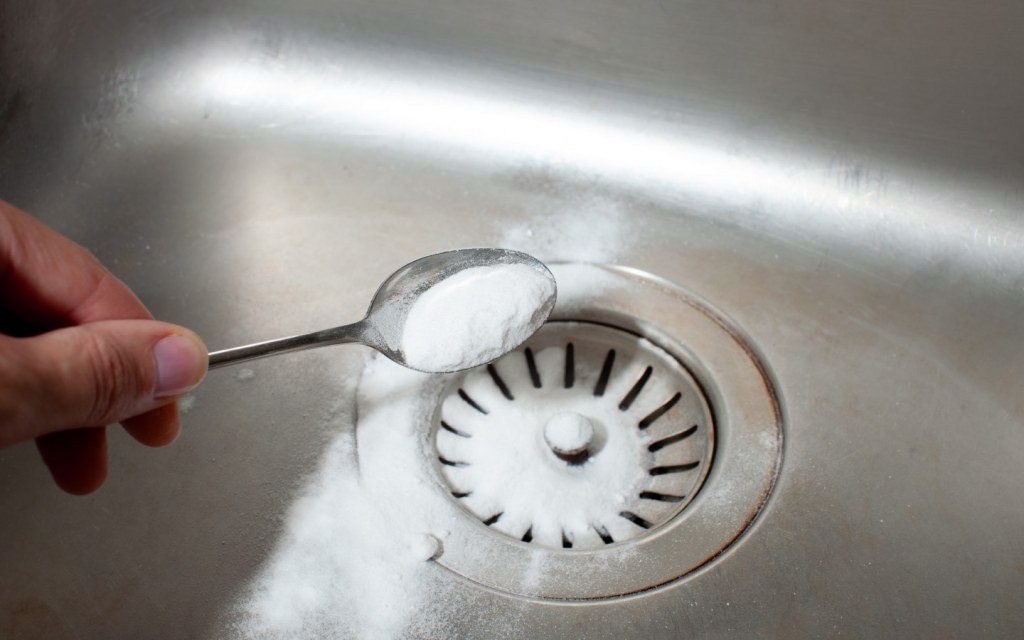
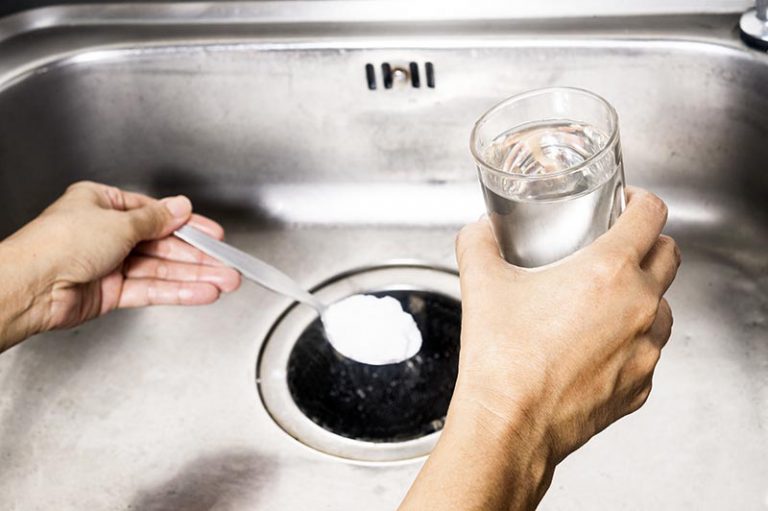
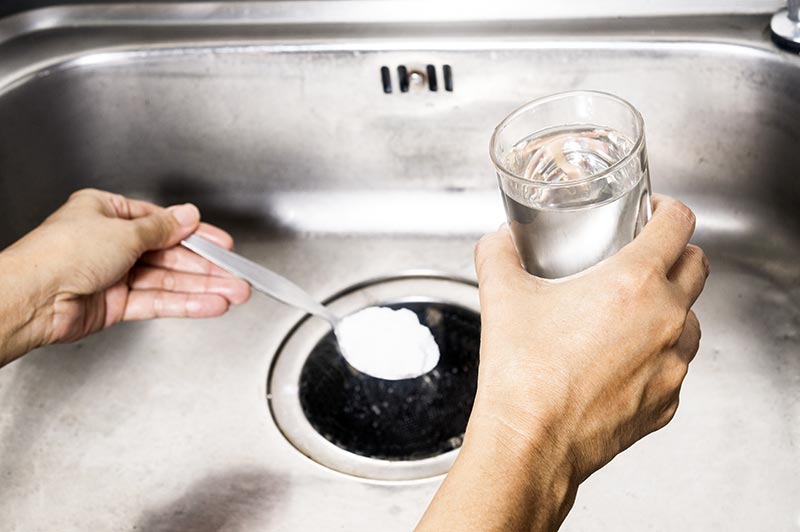
If hot water alone is not enough, you can create a natural drain cleaner by mixing equal parts of baking soda and vinegar. Pour this mixture down the drain and let it sit for a few minutes before plunging. The chemical reaction will help to break down any clogs.
Tip 3: Plunge in Different Directions
If the first plunging technique is not working, try plunging in different directions, such as side to side or at an angle. This can help to dislodge any stubborn clogs.
Unclog Your Kitchen Sink with a Plunger in 5 Easy Steps
Step 1: Remove the Sink Stopper
If your kitchen sink has a stopper, remove it by unscrewing it or pulling it out. This will give you better access to the drain and make plunging easier.
Step 2: Prepare the Plunger
Make sure your plunger is clean and free from any debris. You can also run it under hot water to soften the rubber and create a better seal.
Step 3: Create a Seal
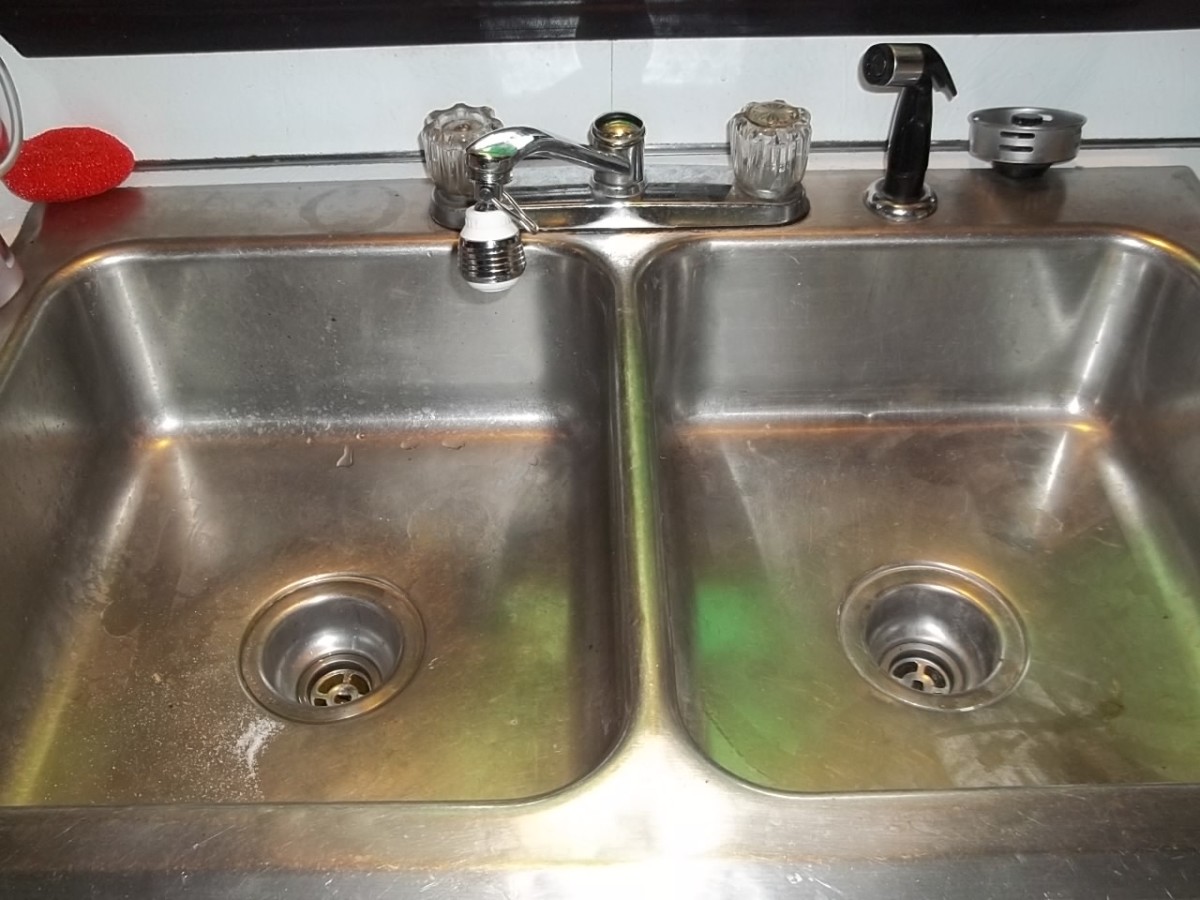
Place the plunger over the drain and press down firmly to create a seal. If there is a second drain opening, use a wet cloth to cover it to create more suction.
Step 4: Plunge the Drain
Push down on the plunger and then pull up quickly to create suction. Repeat this motion a few more times, making sure the plunger stays in contact with the drain.
Step 5: Test the Drain
If the water starts to drain, then you have successfully unclogged your kitchen sink. If not, repeat the plunging process a few more times or try a different technique.
The Best Way to Unclog a Kitchen Sink with a Plunger
Using a plunger is one of the most effective and cost-efficient ways to unclog a kitchen sink. It is also a great DIY solution that can save you from calling a plumber. By following the steps and tips mentioned above, you can easily unclog your kitchen sink and get back to your daily routine in no time.
Unclogging a Kitchen Sink with a Plunger: Tips and Tricks
Tip 1: Use a Wet Cloth
If there is a second drain opening, you can cover it with a wet cloth to create more suction and increase the effectiveness of the plunger.
Tip 2: Use a Snake Auger
If the plunger is not working, you can try using a snake auger to reach and remove any clogs that are deeper in the drain.
Tip 3: Prevent Future Clogs
To prevent future clogs, avoid putting food scraps, grease, and oil down the drain. You can also use a drain strainer to catch any debris before it goes down the drain.
Quick and Easy: Unclogging a Kitchen Sink with a Plunger
Unclogging a kitchen sink with a plunger is a quick and easy solution that can save you time and money. With just a few simple steps, you can clear up any clogs and get your sink back to working order.
Unclog Your Kitchen Sink with These Plunger Techniques
Technique 1: The Plunge and Pull
This is the basic plunging technique where you push down on the plunger and then pull up quickly to create suction.
Technique 2: The Push and Pull
This technique involves pushing down on the plunger and then pulling up slowly to create a stronger suction.
Technique 3: The Twist and Plunge
For this technique, you will twist the plunger while pushing down and then pull up quickly to create suction.
Unclogging a Kitchen Sink with a Plunger: Common Mistakes to Avoid
Mistake 1: Using the Wrong Plunger
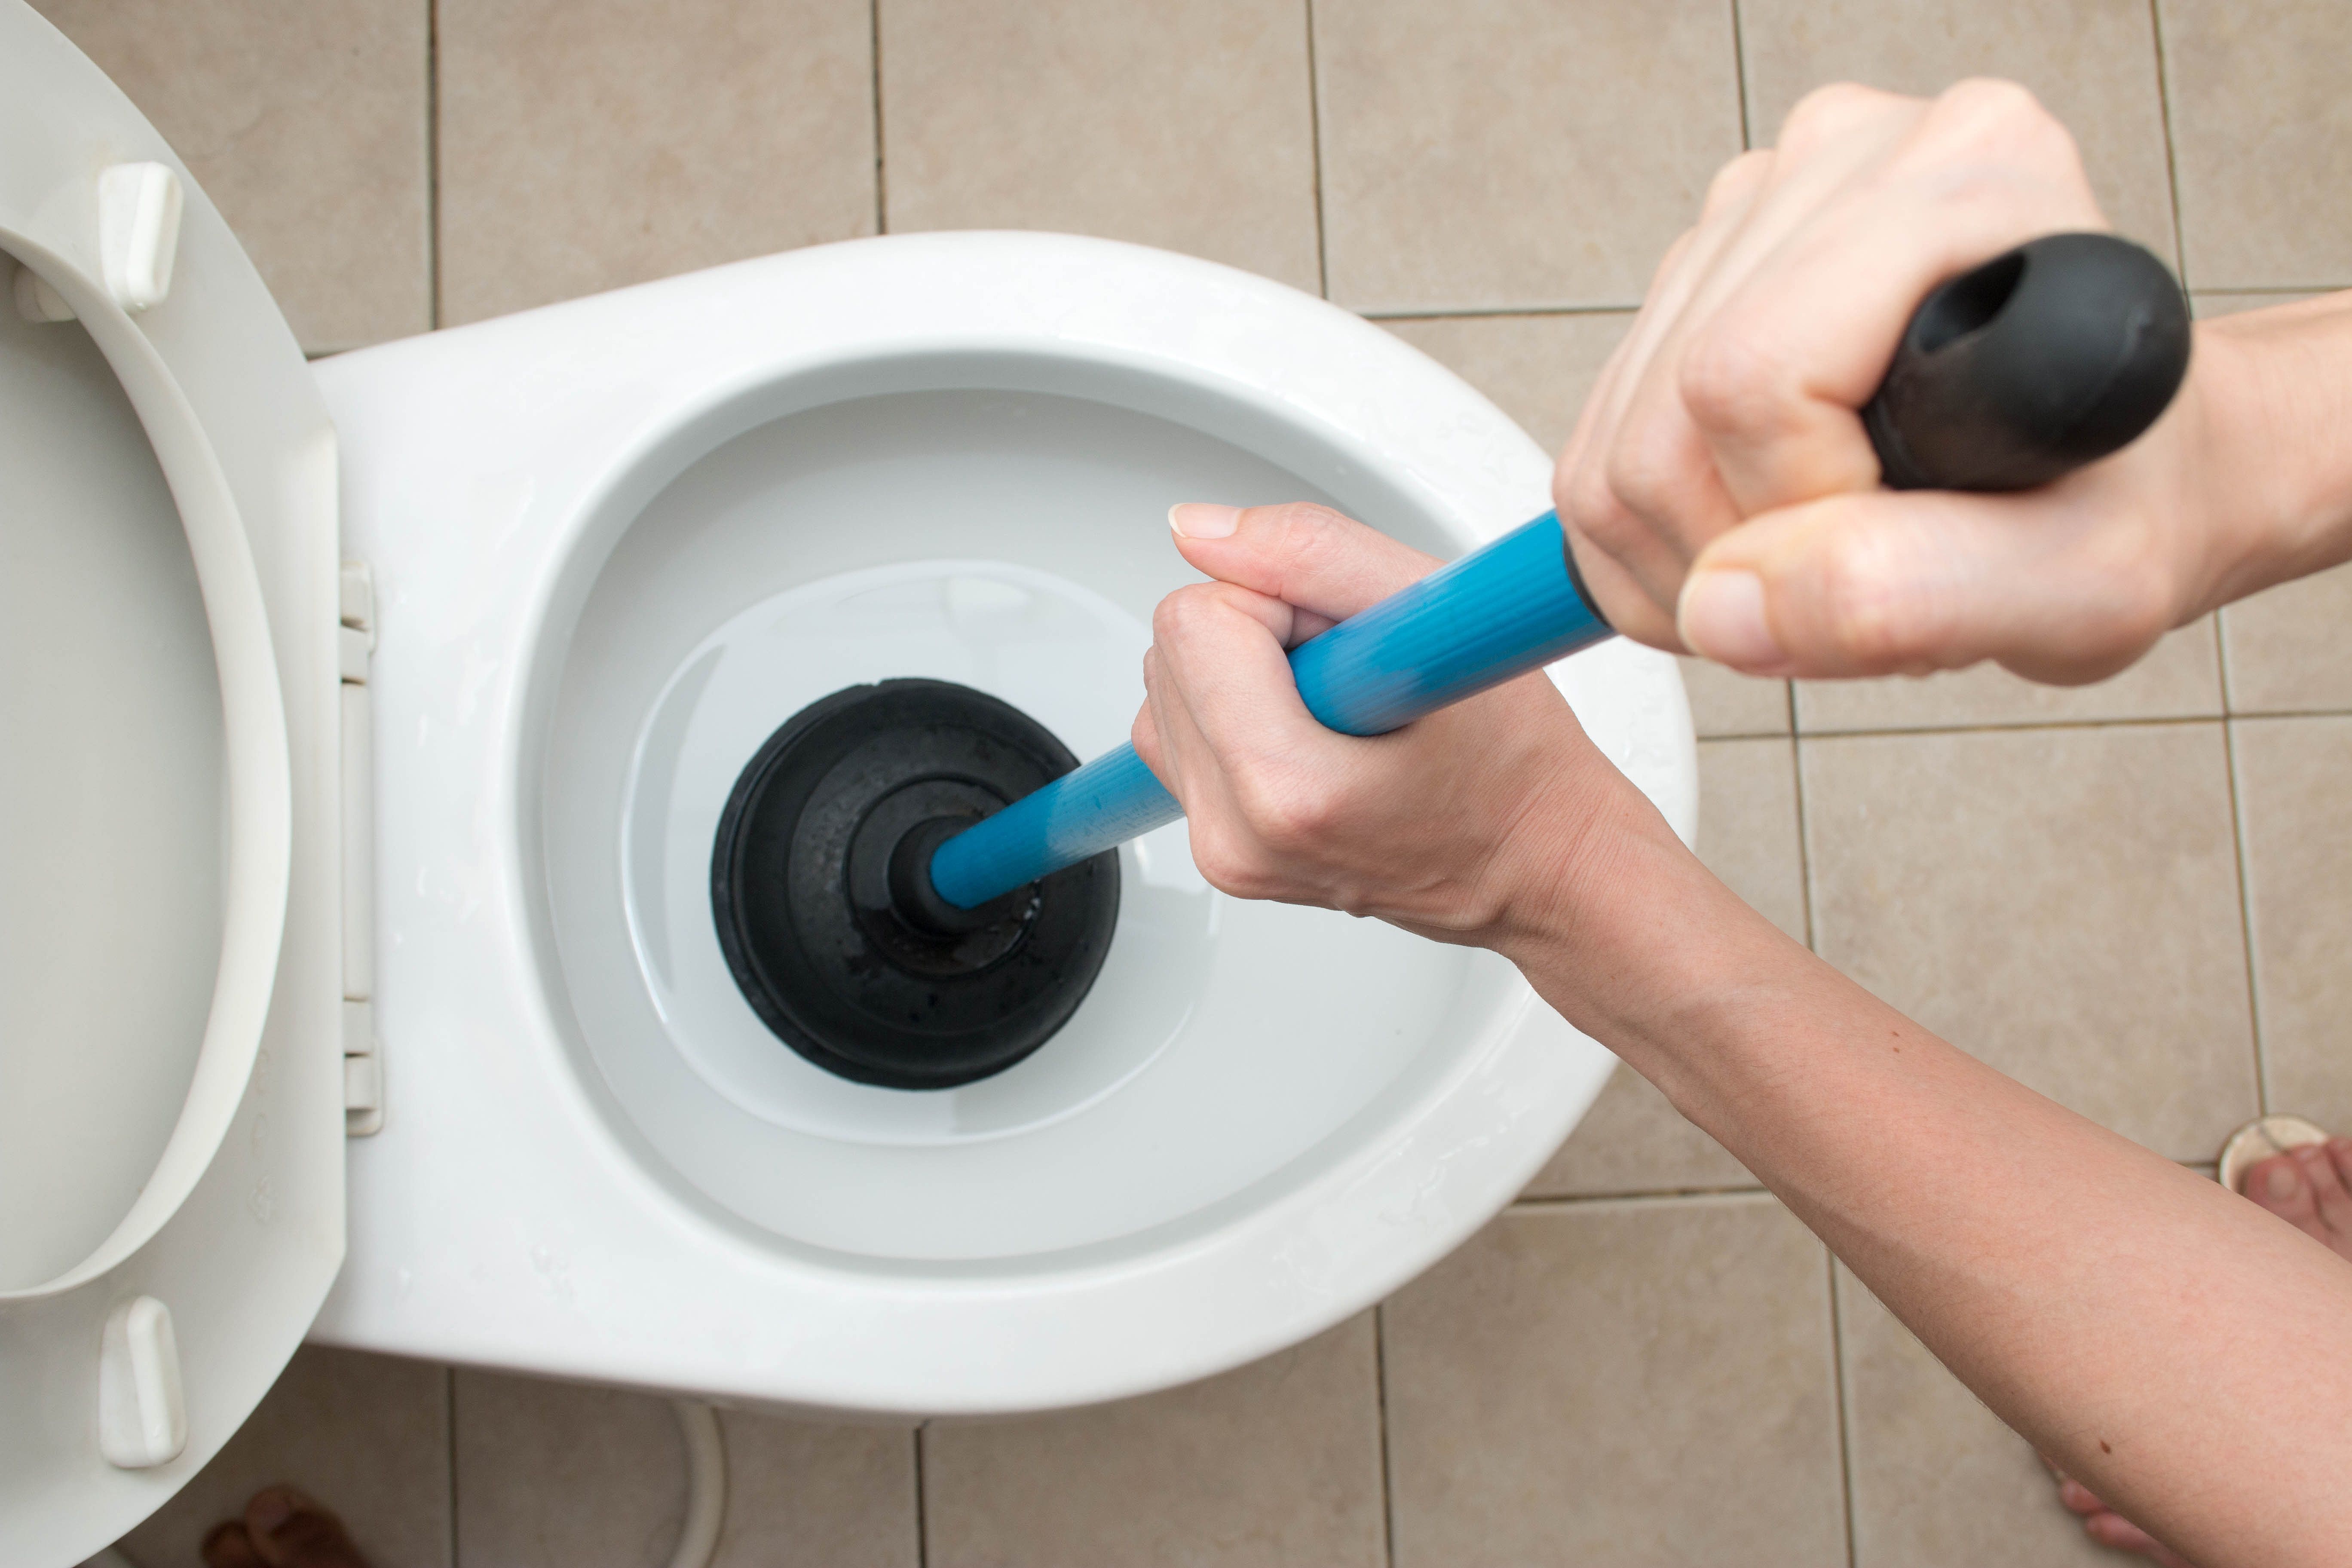
Make sure you are using a plunger specifically designed for sinks. Using a toilet plunger will not be as effective.
Mistake 2: Not Creating a Seal
It is important to create a tight seal between the plunger and the sink drain to create the necessary suction.
Mistake 3: Not Removing Standing Water
Not removing standing water can result in spills and splashes when using the plunger. Make sure to drain the sink before starting the unclogging process.
The Ultimate Guide to Unclogging a Kitchen Sink with a Plunger
In conclusion, unclogging a kitchen sink with a plunger is a simple and effective solution that anyone can do. With the right technique and some helpful tips, you can easily clear up any clogs and keep your sink functioning properly. Remember to take preventative measures to avoid future clogs and always use the correct plunger for the job.
Why a Plunger is the Best Tool to Unclog Your Kitchen Sink
The Power of Suction
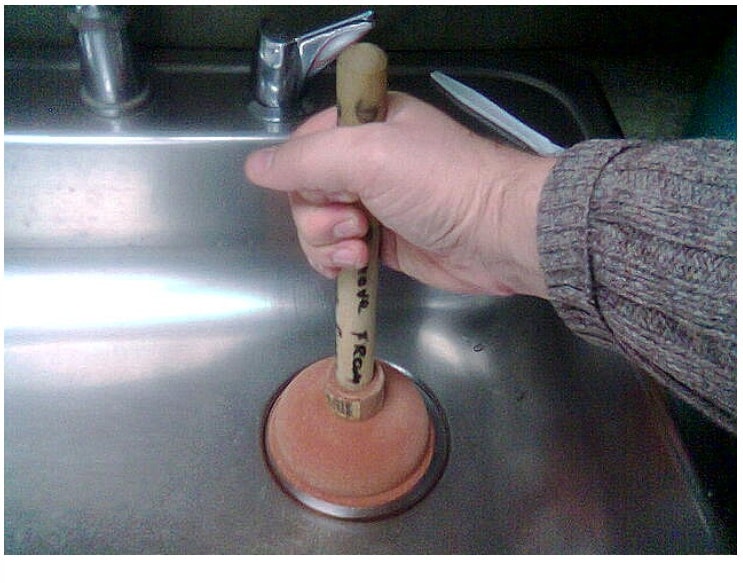 When it comes to unclogging a kitchen sink, many people immediately reach for harsh chemical cleaners or call a plumber. However, one of the most effective and environmentally friendly methods is using a plunger. Not only is it a simple and affordable tool, but it also utilizes the power of suction to loosen and remove clogs.
Featured keyword:
unclog kitchen sink
Easy and Safe to Use
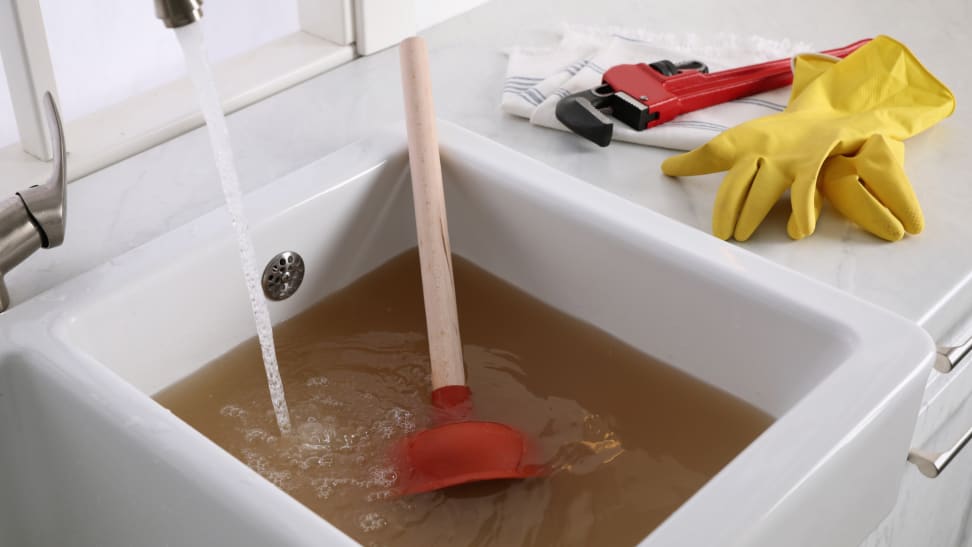
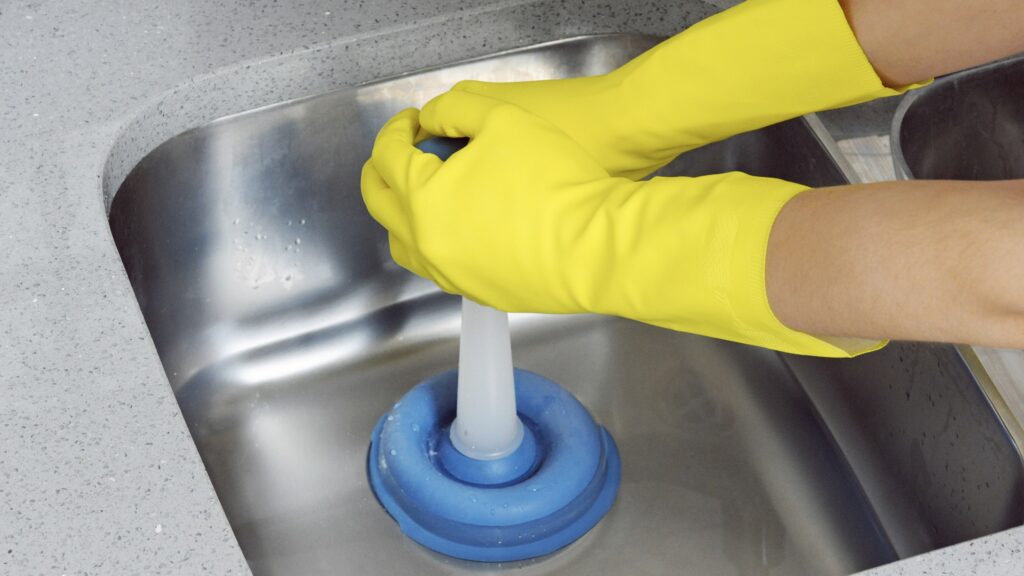 Using a plunger to unclog your kitchen sink is a simple and safe process that anyone can do. Begin by filling the sink with a few inches of water, enough to cover the bottom of the plunger. Then, place the plunger over the drain and firmly push down and pull up in a quick motion. This action creates suction that helps to dislodge any debris or buildup in the pipes.
Featured keyword:
plunger
Effective on All Types of Clogs
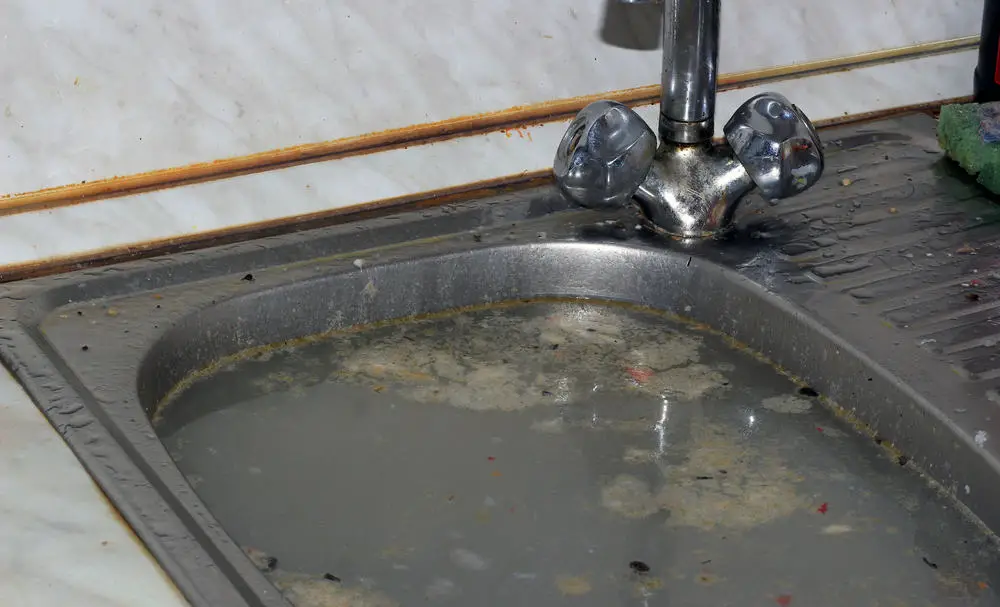 Whether your kitchen sink is clogged with food scraps, grease, or other debris, a plunger can handle it all. The suction created by the plunger can break up and move even the toughest clogs, making it a versatile tool for any type of clog. Plus, it won't damage your pipes like harsh chemicals or tools could, making it a safe option for regular maintenance as well.
Featured keyword:
kitchen sink
Saves Time and Money
 Unclogging a kitchen sink with a plunger is not only effective, but it also saves you time and money. Instead of waiting for a plumber and paying for their services, you can quickly and easily solve the problem yourself. Additionally, you won't need to spend money on expensive chemical cleaners that can be harmful to both your pipes and the environment.
Featured keywords:
unclogging, effective, affordable
Prevent Future Clogs
 Regularly using a plunger to unclog your kitchen sink can also help prevent future clogs from occurring. By keeping your pipes clear of debris, you reduce the chances of a major clog forming. This can save you from potential plumbing emergencies and costly repairs in the future.
Featured keywords:
prevent, future clogs
Conclusion
 In conclusion, a plunger is a powerful and effective tool for unclogging your kitchen sink. It's easy and safe to use, can handle all types of clogs, and saves you time and money. So next time you encounter a clogged kitchen sink, don't reach for harsh chemicals or call a plumber. Instead, grab your trusty plunger and let the power of suction do the work.













:max_bytes(150000):strip_icc()/how-to-unclog-a-kitchen-sink-2718799_sketch_FINAL-8c5caa805a69493ab22dfb537c72a1b7.png)










:max_bytes(150000):strip_icc()/plumber-unclogging-kitchen-sink-169270382-5810e7bb5f9b58564c5dd92b.jpg)
