If you want to keep your kitchen sink clean and free of stubborn stains and odors, then trituration is the key. This simple yet effective process involves grinding and mixing different ingredients to create a powerful cleaning solution. Here's how you can easily triturate for your kitchen sink.How to Triturate for Kitchen Sink


How to Triturate for Kitchen Sink


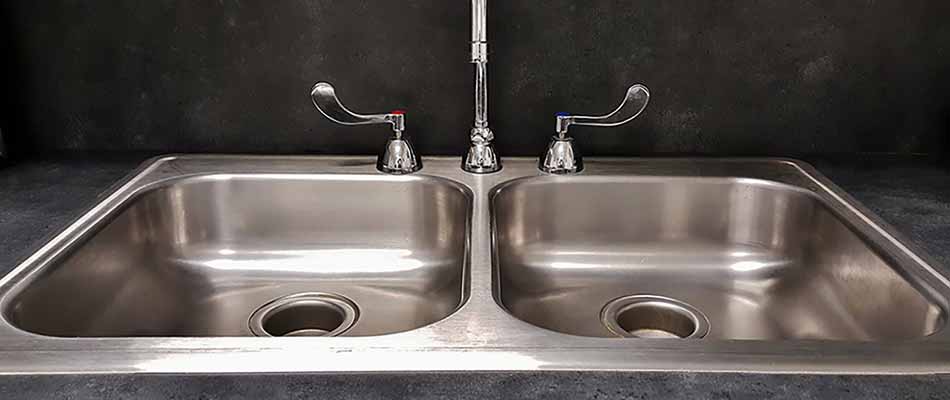
Trituration is a method of preparing a cleaning solution by grinding and mixing different ingredients together. For kitchen sinks, trituration helps to remove tough stains, grease, and bacteria, leaving your sink sparkling clean and hygienic.What is Trituration for Kitchen Sink


What is Trituration for Kitchen Sink


:max_bytes(150000):strip_icc()/how-to-install-a-sink-drain-2718789-hero-24e898006ed94c9593a2a268b57989a3.jpg)


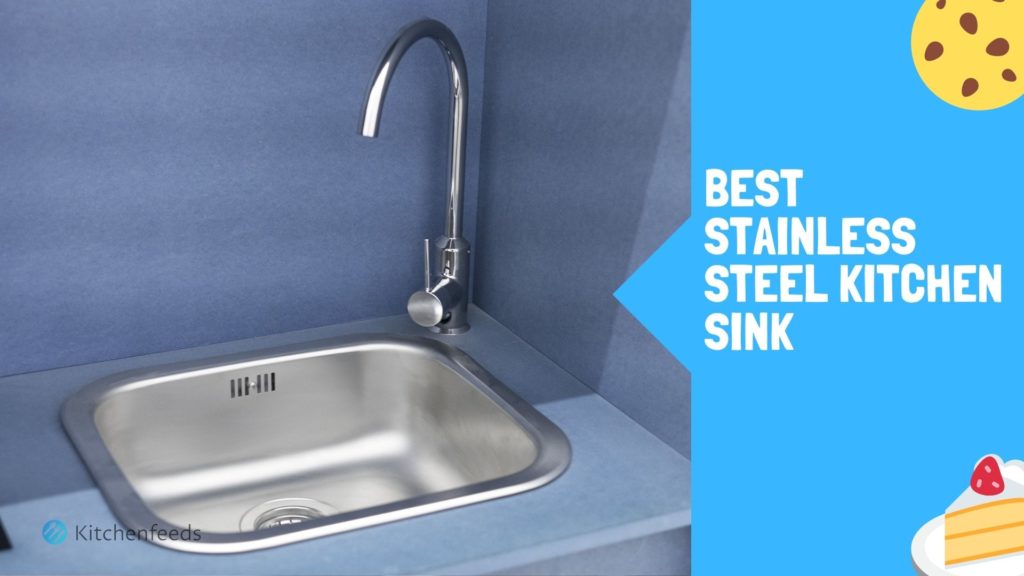
:max_bytes(150000):strip_icc()/Basic-kitchen-sink-types-1821207_color_rev-0b539306b9ef4236a136624ad2a89a4c.jpg)
There are numerous benefits of trituration for your kitchen sink. It not only removes stubborn stains and grease but also eliminates bacteria and foul odors. Trituration is also a cost-effective and eco-friendly cleaning solution as it uses natural ingredients.Benefits of Trituration for Kitchen Sink


Benefits of Trituration for Kitchen Sink

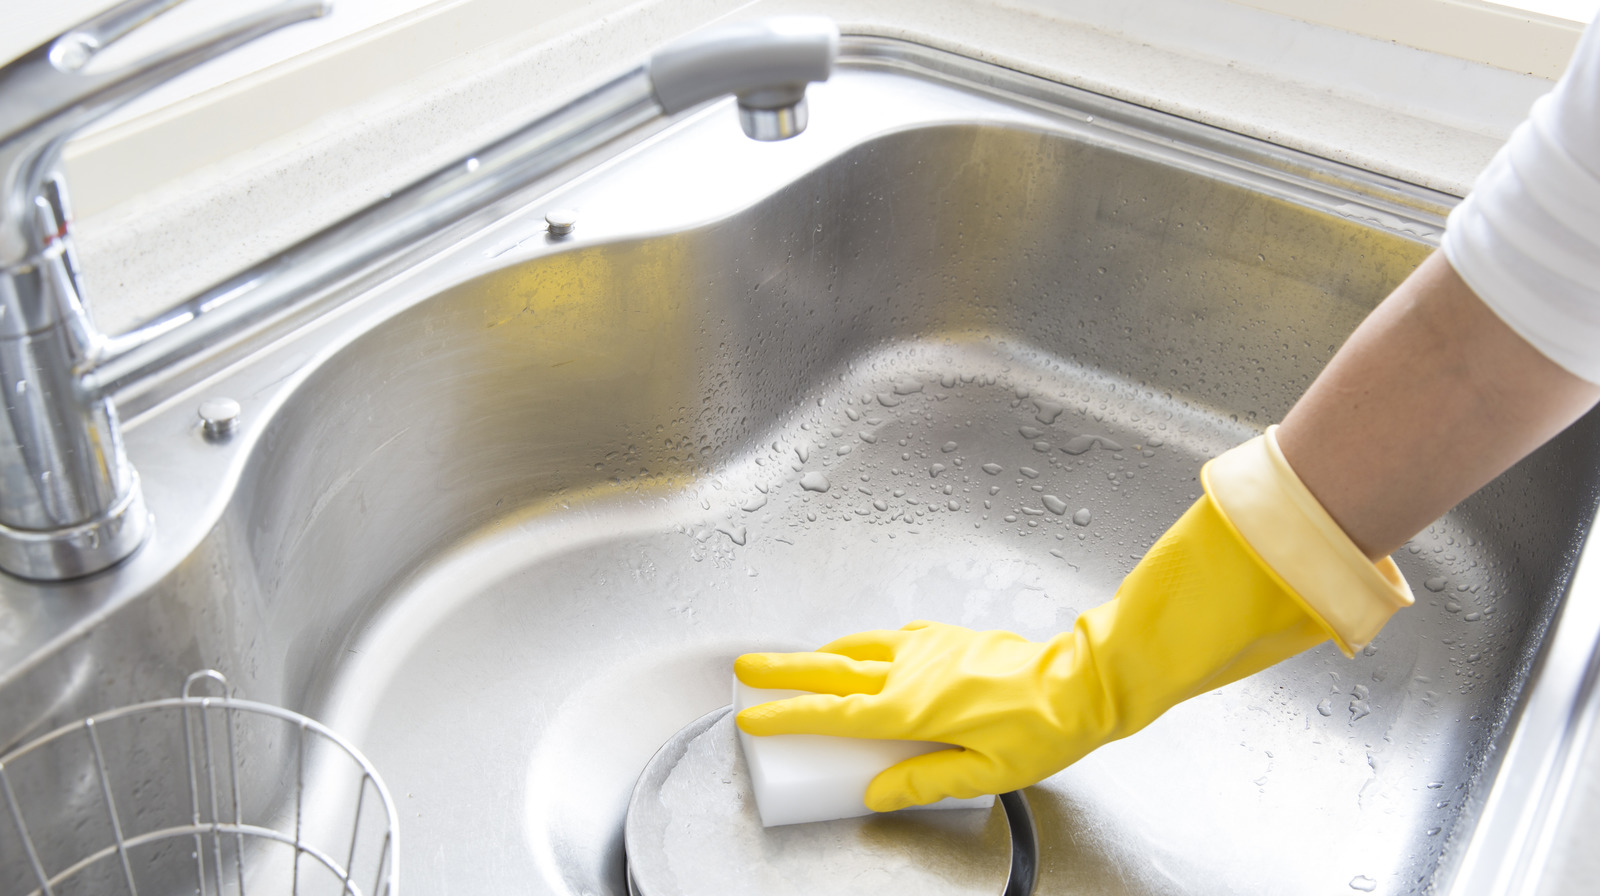
Here's a step-by-step guide to trituration for your kitchen sink: Step 1: Gather Your Ingredients Gather all the necessary ingredients for your cleaning solution, such as baking soda, vinegar, lemon juice, and essential oils. Step 2: Mix the Ingredients In a bowl, mix one part baking soda, one part vinegar, and a few drops of lemon juice and essential oils. This mixture will create a powerful cleaning solution. Step 3: Apply the Solution Apply the solution on your kitchen sink, making sure to cover all areas, especially the tough stains and grease spots. Step 4: Let it Sit Let the solution sit on your sink for about 10-15 minutes. This will give time for the ingredients to work their magic. Step 5: Scrub and Rinse After 15 minutes, use a scrub brush or sponge to gently scrub your sink. Then, rinse it thoroughly with water. Step 6: Enjoy a Clean Sink After rinsing, your sink should be sparkling clean and free of stains and odors. Enjoy your fresh and hygienic kitchen sink!Step-by-Step Guide to Trituration for Kitchen Sink


Step-by-Step Guide to Trituration for Kitchen Sink


:no_upscale()/cdn.vox-cdn.com/uploads/chorus_asset/file/19495086/drain_0.jpg)
While trituration is a simple process, there are some common mistakes that people make which can affect the effectiveness of the cleaning solution. These include using too much vinegar, not letting the solution sit for long enough, and not scrubbing properly.Common Mistakes in Trituration for Kitchen Sink


Common Mistakes in Trituration for Kitchen Sink


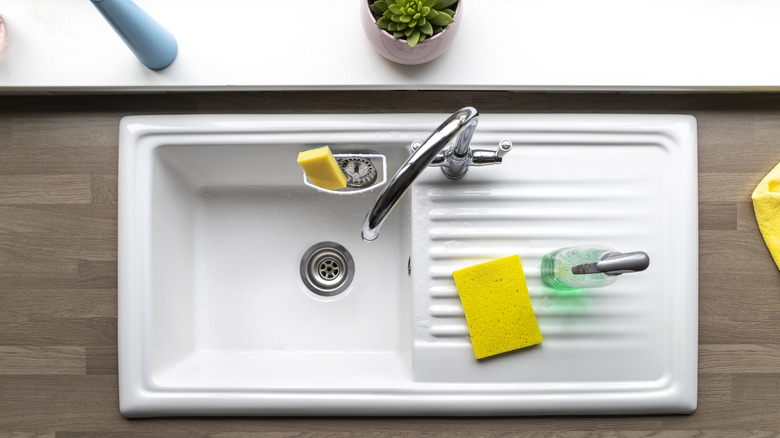
To triturate for your kitchen sink, you will need some basic tools such as a bowl, scrub brush or sponge, and measuring cups. You can also use a spray bottle to apply the cleaning solution on your sink.Tools Needed for Trituration for Kitchen Sink


Tools Needed for Trituration for Kitchen Sink


Here are some best practices to keep in mind while trituration for your kitchen sink: Use natural ingredients: Opt for natural ingredients such as baking soda, vinegar, and lemon juice instead of harsh chemicals. Let the solution sit: Give the solution enough time to work its magic on tough stains and grease. Scrub gently: Avoid scrubbing too hard as it can damage your sink's surface. Rinse thoroughly: Make sure to rinse your sink thoroughly after trituration to remove any residue.Best Practices for Trituration for Kitchen Sink

Best Practices for Trituration for Kitchen Sink


If you don't have the necessary ingredients for trituration, there are alternative methods you can try. You can use a mixture of dish soap and hot water, or a paste of baking soda and water to clean your sink.Alternative Methods for Trituration for Kitchen Sink


Alternative Methods for Trituration for Kitchen Sink


The frequency of trituration for your kitchen sink depends on how often you use it. If you use your sink daily, then trituration once a week should be enough to keep it clean. However, if you notice tough stains or foul odors, then you may need to triturate more frequently.How Often Should You Triturate for Kitchen Sink


How Often Should You Triturate for Kitchen Sink
:max_bytes(150000):strip_icc()/How-Often-Should-You-Work-Out-gif-6fdab8cad6c64a6a9fc12a437840ea30.gif)


While trituration is a safe and eco-friendly cleaning method, there are some precautions you should take: Wear gloves: To protect your hands from the cleaning solution, wear rubber gloves while trituration. Avoid mixing chemicals: Do not mix different chemicals together as it can create toxic fumes. Keep the area well-ventilated: Make sure to open windows or turn on a fan while trituration to avoid inhaling the cleaning solution. Now that you know how to triturate for your kitchen sink, you can easily keep it clean and hygienic without using harsh chemicals. Remember to always use natural ingredients and follow the best practices for the best results. Happy cleaning!Safety Precautions for Trituration for Kitchen Sink

Safety Precautions for Trituration for Kitchen Sink
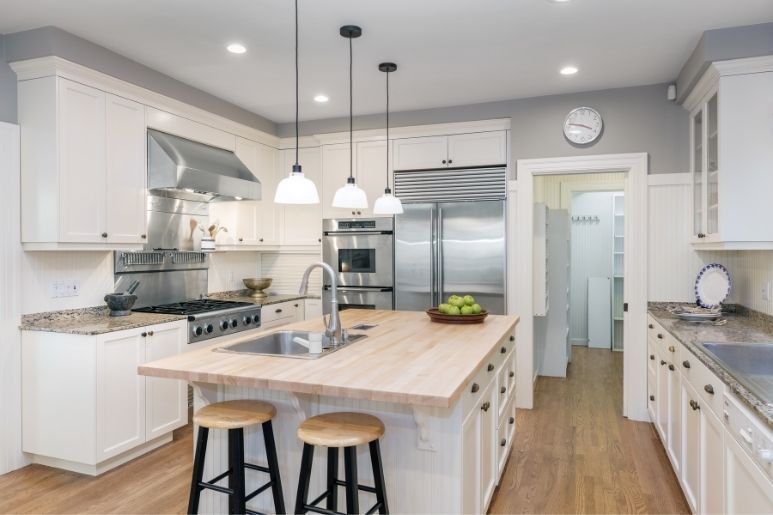


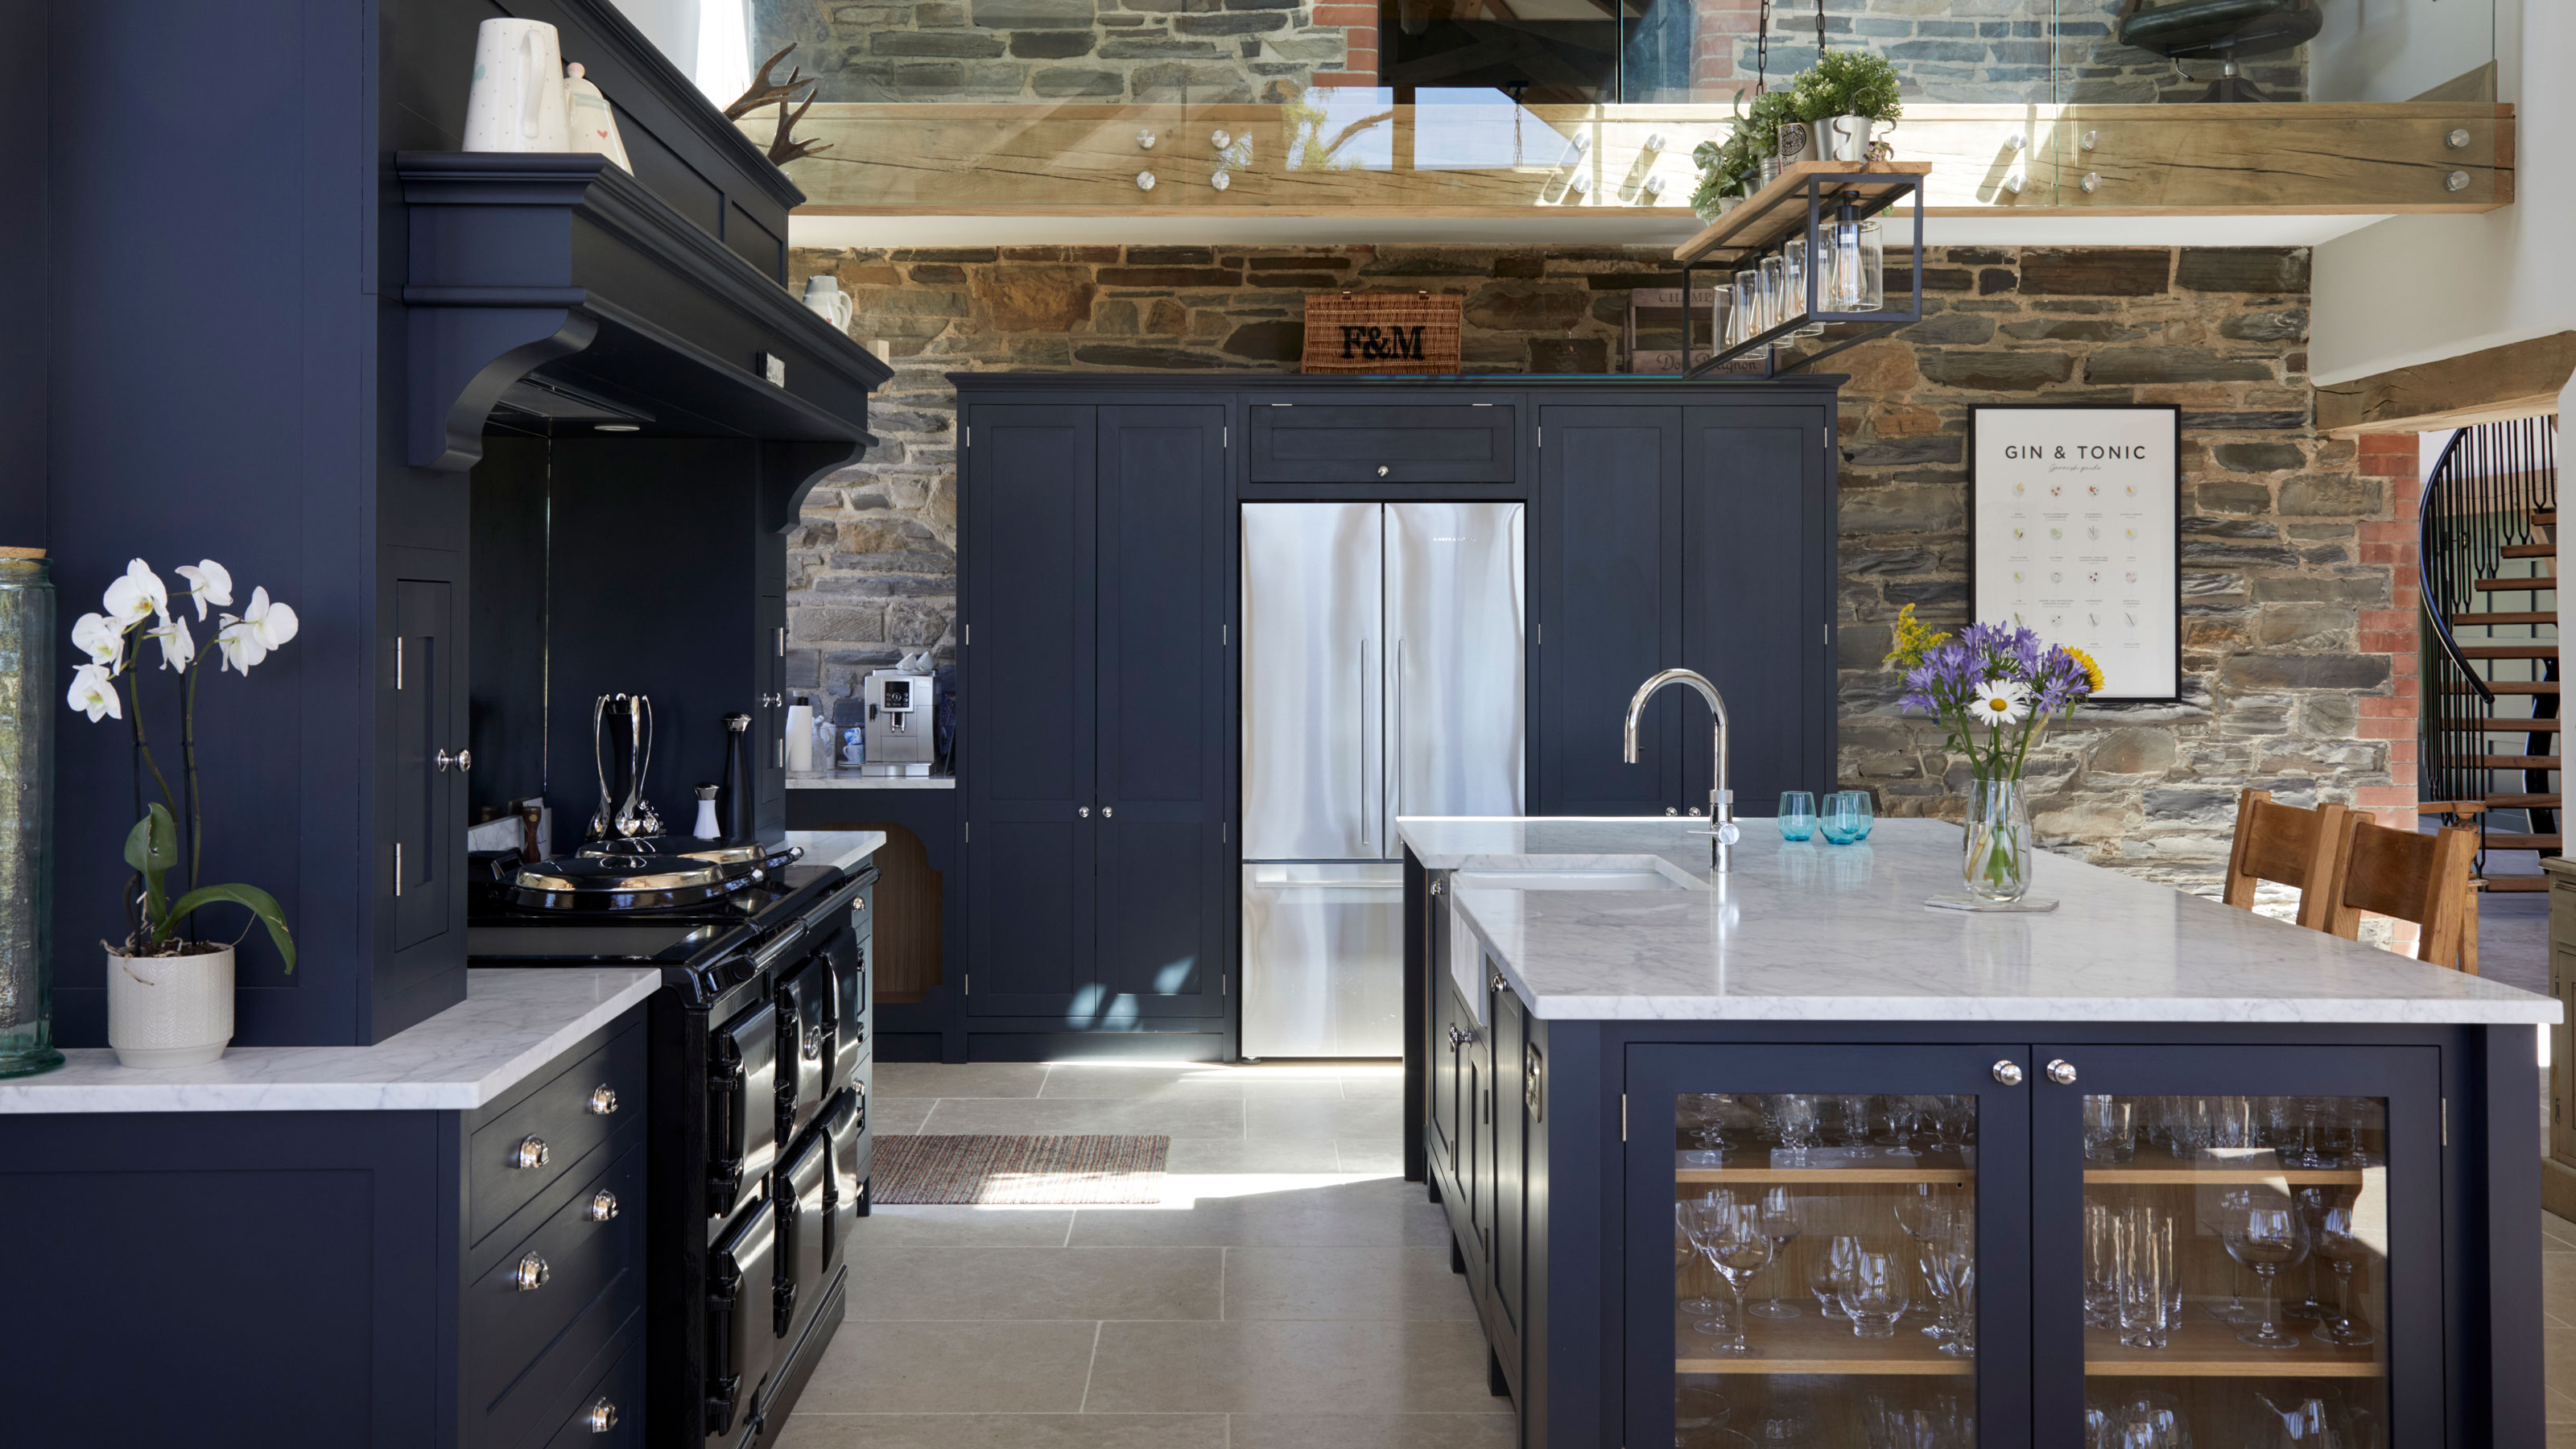
Trituration for Kitchen Sink: An Essential Step in Kitchen Design

The Importance of Trituration in Kitchen Design
 When it comes to designing a kitchen, there are a lot of important factors to consider. From choosing the right appliances to picking out the perfect backsplash, every detail plays a crucial role in creating a functional and visually appealing space. One often overlooked but essential aspect of kitchen design is
trituration
, or the process of grinding or crushing food waste in a kitchen sink. While it may not seem like a significant step, trituration can greatly impact the functionality and cleanliness of your kitchen.
When it comes to designing a kitchen, there are a lot of important factors to consider. From choosing the right appliances to picking out the perfect backsplash, every detail plays a crucial role in creating a functional and visually appealing space. One often overlooked but essential aspect of kitchen design is
trituration
, or the process of grinding or crushing food waste in a kitchen sink. While it may not seem like a significant step, trituration can greatly impact the functionality and cleanliness of your kitchen.
What is Trituration?
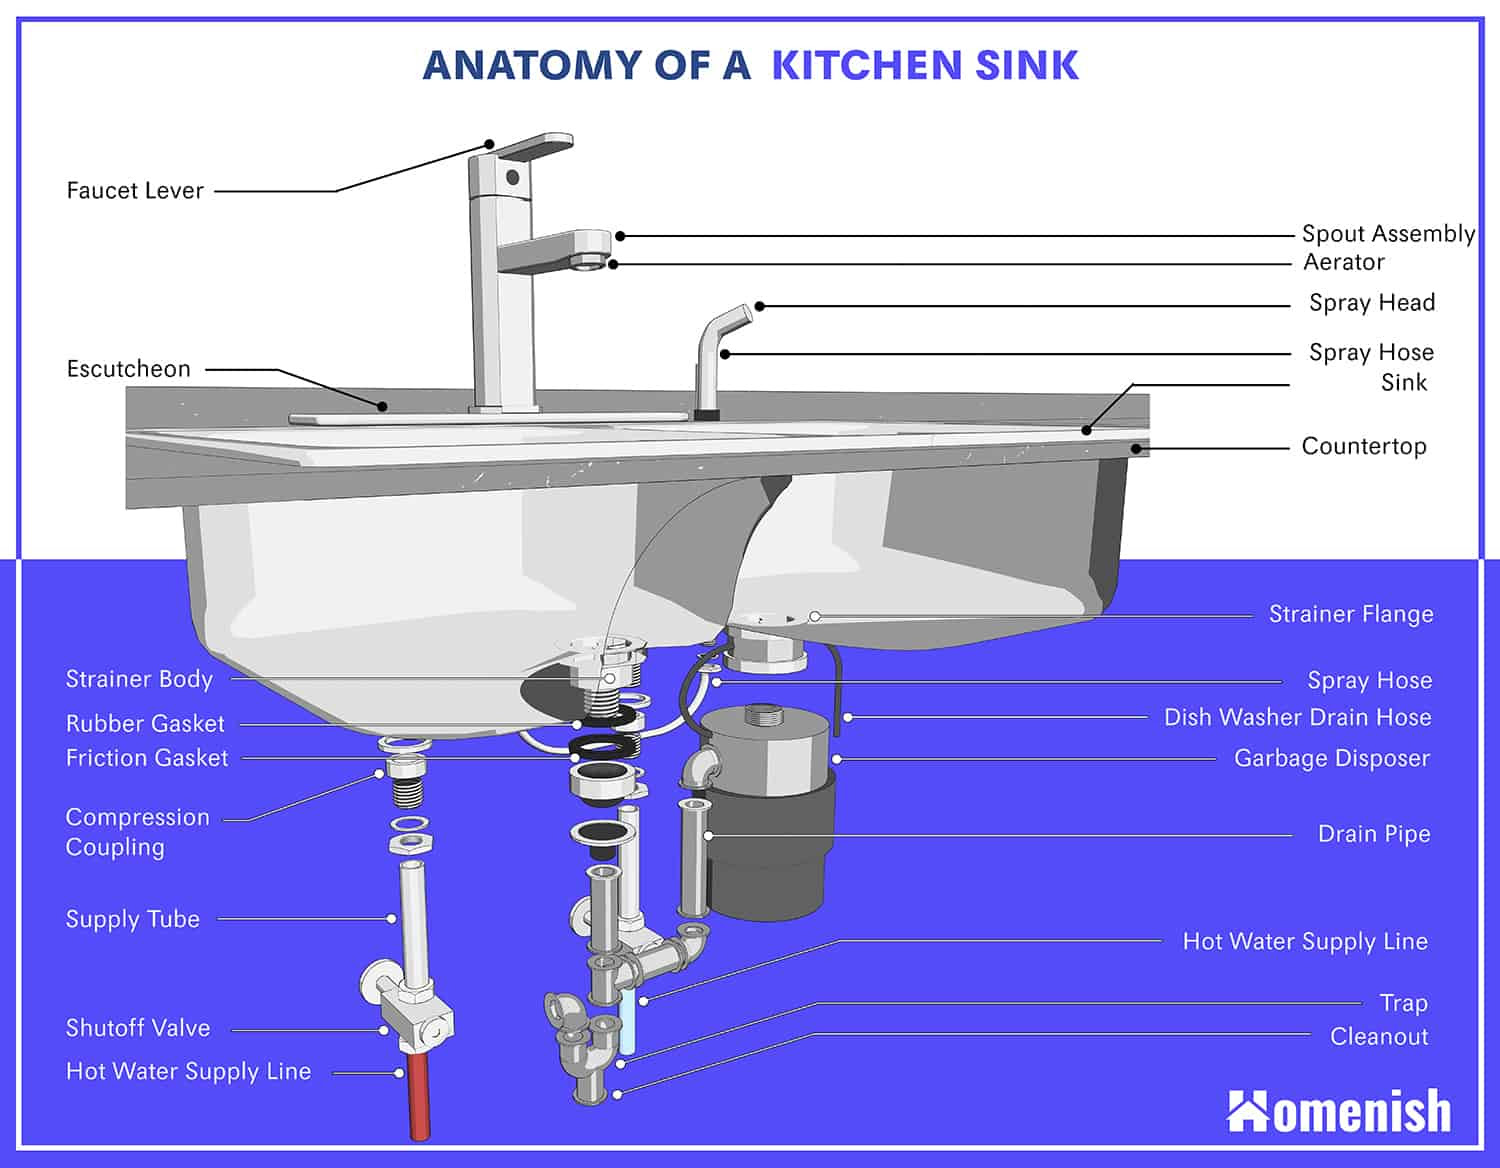
 Trituration involves grinding or crushing food waste in a kitchen sink using a specialized appliance called a
garbage disposal
. This process breaks down the food waste into tiny particles that can easily pass through the plumbing system and into the sewage system. Trituration not only helps to keep your kitchen clean and odor-free, but it also has numerous environmental benefits.
Trituration involves grinding or crushing food waste in a kitchen sink using a specialized appliance called a
garbage disposal
. This process breaks down the food waste into tiny particles that can easily pass through the plumbing system and into the sewage system. Trituration not only helps to keep your kitchen clean and odor-free, but it also has numerous environmental benefits.
The Benefits of Trituration for Kitchen Sinks
 First and foremost, trituration helps to keep your kitchen clean and hygienic. Without a garbage disposal, food waste can quickly pile up in the sink, leading to unpleasant odors and potential pest problems. Triturating food waste also reduces the risk of clogged drains, which can be a costly and inconvenient issue to deal with.
Another important benefit of trituration is its positive impact on the environment. By grinding food waste and sending it to the sewage system, it can be treated and used as a source of renewable energy. This reduces the amount of food waste that ends up in landfills, which not only takes up valuable space but also releases harmful greenhouse gases.
First and foremost, trituration helps to keep your kitchen clean and hygienic. Without a garbage disposal, food waste can quickly pile up in the sink, leading to unpleasant odors and potential pest problems. Triturating food waste also reduces the risk of clogged drains, which can be a costly and inconvenient issue to deal with.
Another important benefit of trituration is its positive impact on the environment. By grinding food waste and sending it to the sewage system, it can be treated and used as a source of renewable energy. This reduces the amount of food waste that ends up in landfills, which not only takes up valuable space but also releases harmful greenhouse gases.
Choosing the Right Trituration System
 When it comes to trituration for kitchen sinks, there are a variety of options available on the market. It's essential to choose a system that is powerful enough to handle your household's food waste and is compatible with your plumbing system. It's also crucial to properly maintain and clean your trituration system to ensure its longevity and effectiveness.
In conclusion, trituration is an essential step in kitchen design that often goes overlooked. It not only helps to keep your kitchen clean and hygienic but also has significant environmental benefits. When choosing a trituration system, be sure to do your research and select one that suits your household's needs. By incorporating trituration into your kitchen design, you can create a functional, efficient, and environmentally friendly space.
When it comes to trituration for kitchen sinks, there are a variety of options available on the market. It's essential to choose a system that is powerful enough to handle your household's food waste and is compatible with your plumbing system. It's also crucial to properly maintain and clean your trituration system to ensure its longevity and effectiveness.
In conclusion, trituration is an essential step in kitchen design that often goes overlooked. It not only helps to keep your kitchen clean and hygienic but also has significant environmental benefits. When choosing a trituration system, be sure to do your research and select one that suits your household's needs. By incorporating trituration into your kitchen design, you can create a functional, efficient, and environmentally friendly space.