The first step in painting your kitchen table is to prepare the surface. This involves removing any existing paint or varnish, filling in any cracks or imperfections, and sanding down the surface to create a smooth base. This will ensure that the new paint adheres properly and creates a professional-looking finish.1. Prep the Table Surface
Sanding the table is an important step in the preparation process. Use a medium-grit sandpaper to remove any rough spots, stains, or varnish. This will also help to smooth out any imperfections and create a clean, even surface for painting. After sanding, wipe down the table with a damp cloth to remove any dust or debris.2. Sand the Table
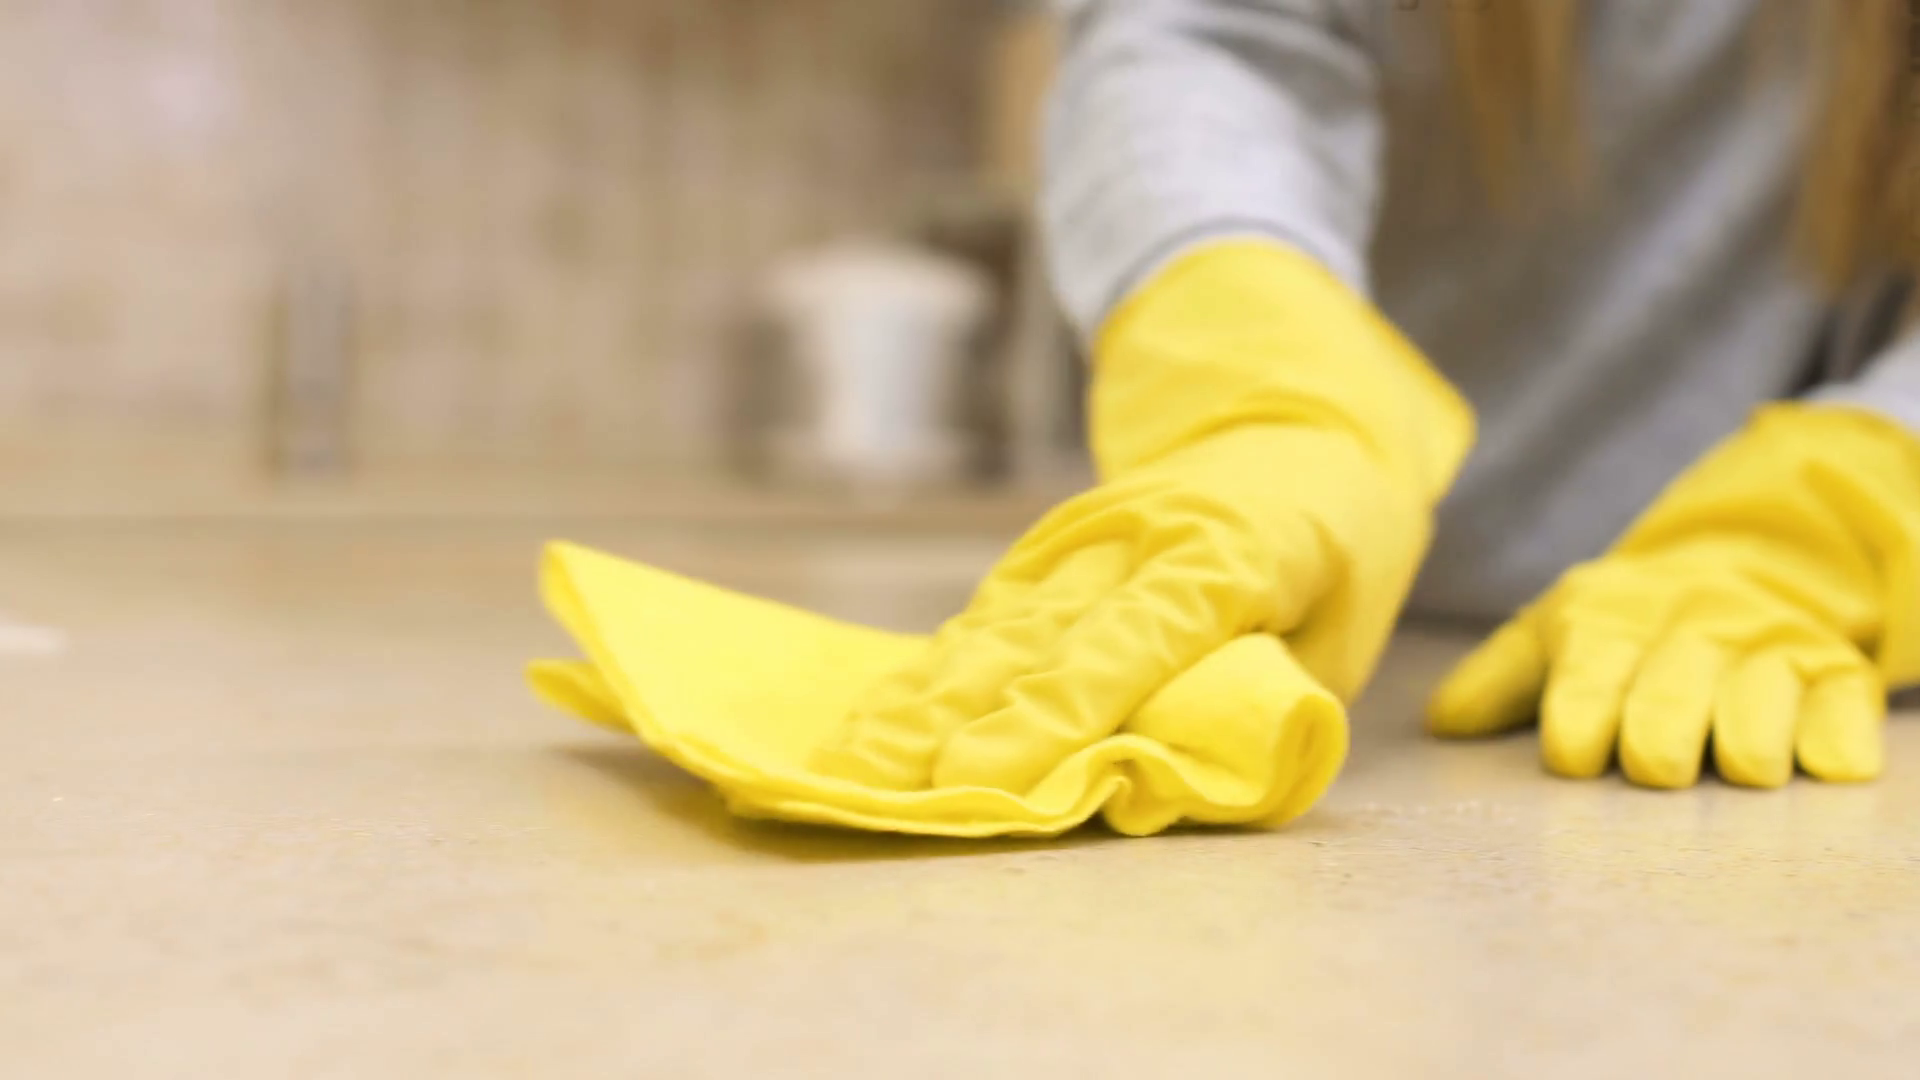
Before painting, it’s important to thoroughly clean the table surface to ensure the paint adheres properly. Use a degreaser or mild detergent and warm water to remove any dirt, grease, or grime. Wipe the table down with a clean cloth and let it dry completely before moving on to the next step.3. Clean the Table
Priming the table is a crucial step in the painting process, especially if you are using a light-colored paint. A good primer will help to seal the surface and create a smooth base for the paint to adhere to. Use a paintbrush or roller to apply a thin, even coat of primer and let it dry completely before moving on to the next step.4. Prime the Table
Choosing the right paint for your kitchen table is key to achieving a durable, long-lasting finish. Look for a high-quality, water-based paint that is specifically designed for furniture. You can also consider using chalk paint for a more rustic, shabby-chic look. Make sure to choose a color that complements your kitchen décor.5. Choose the Right Paint
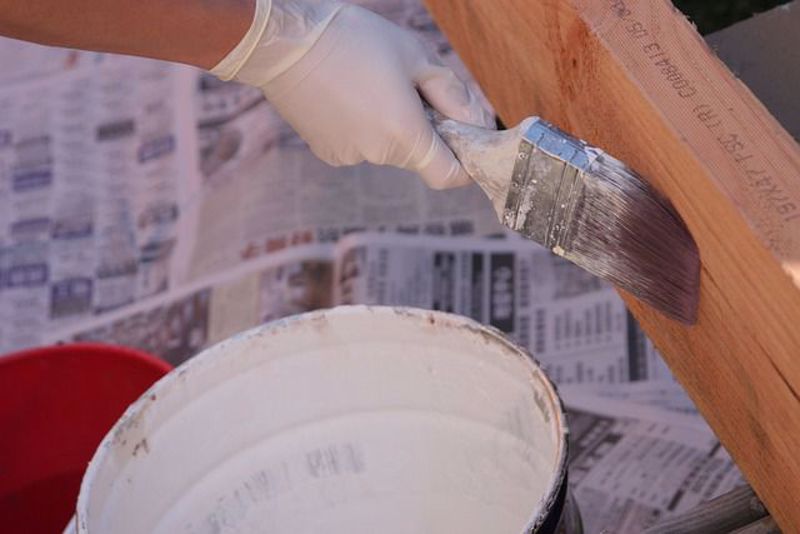
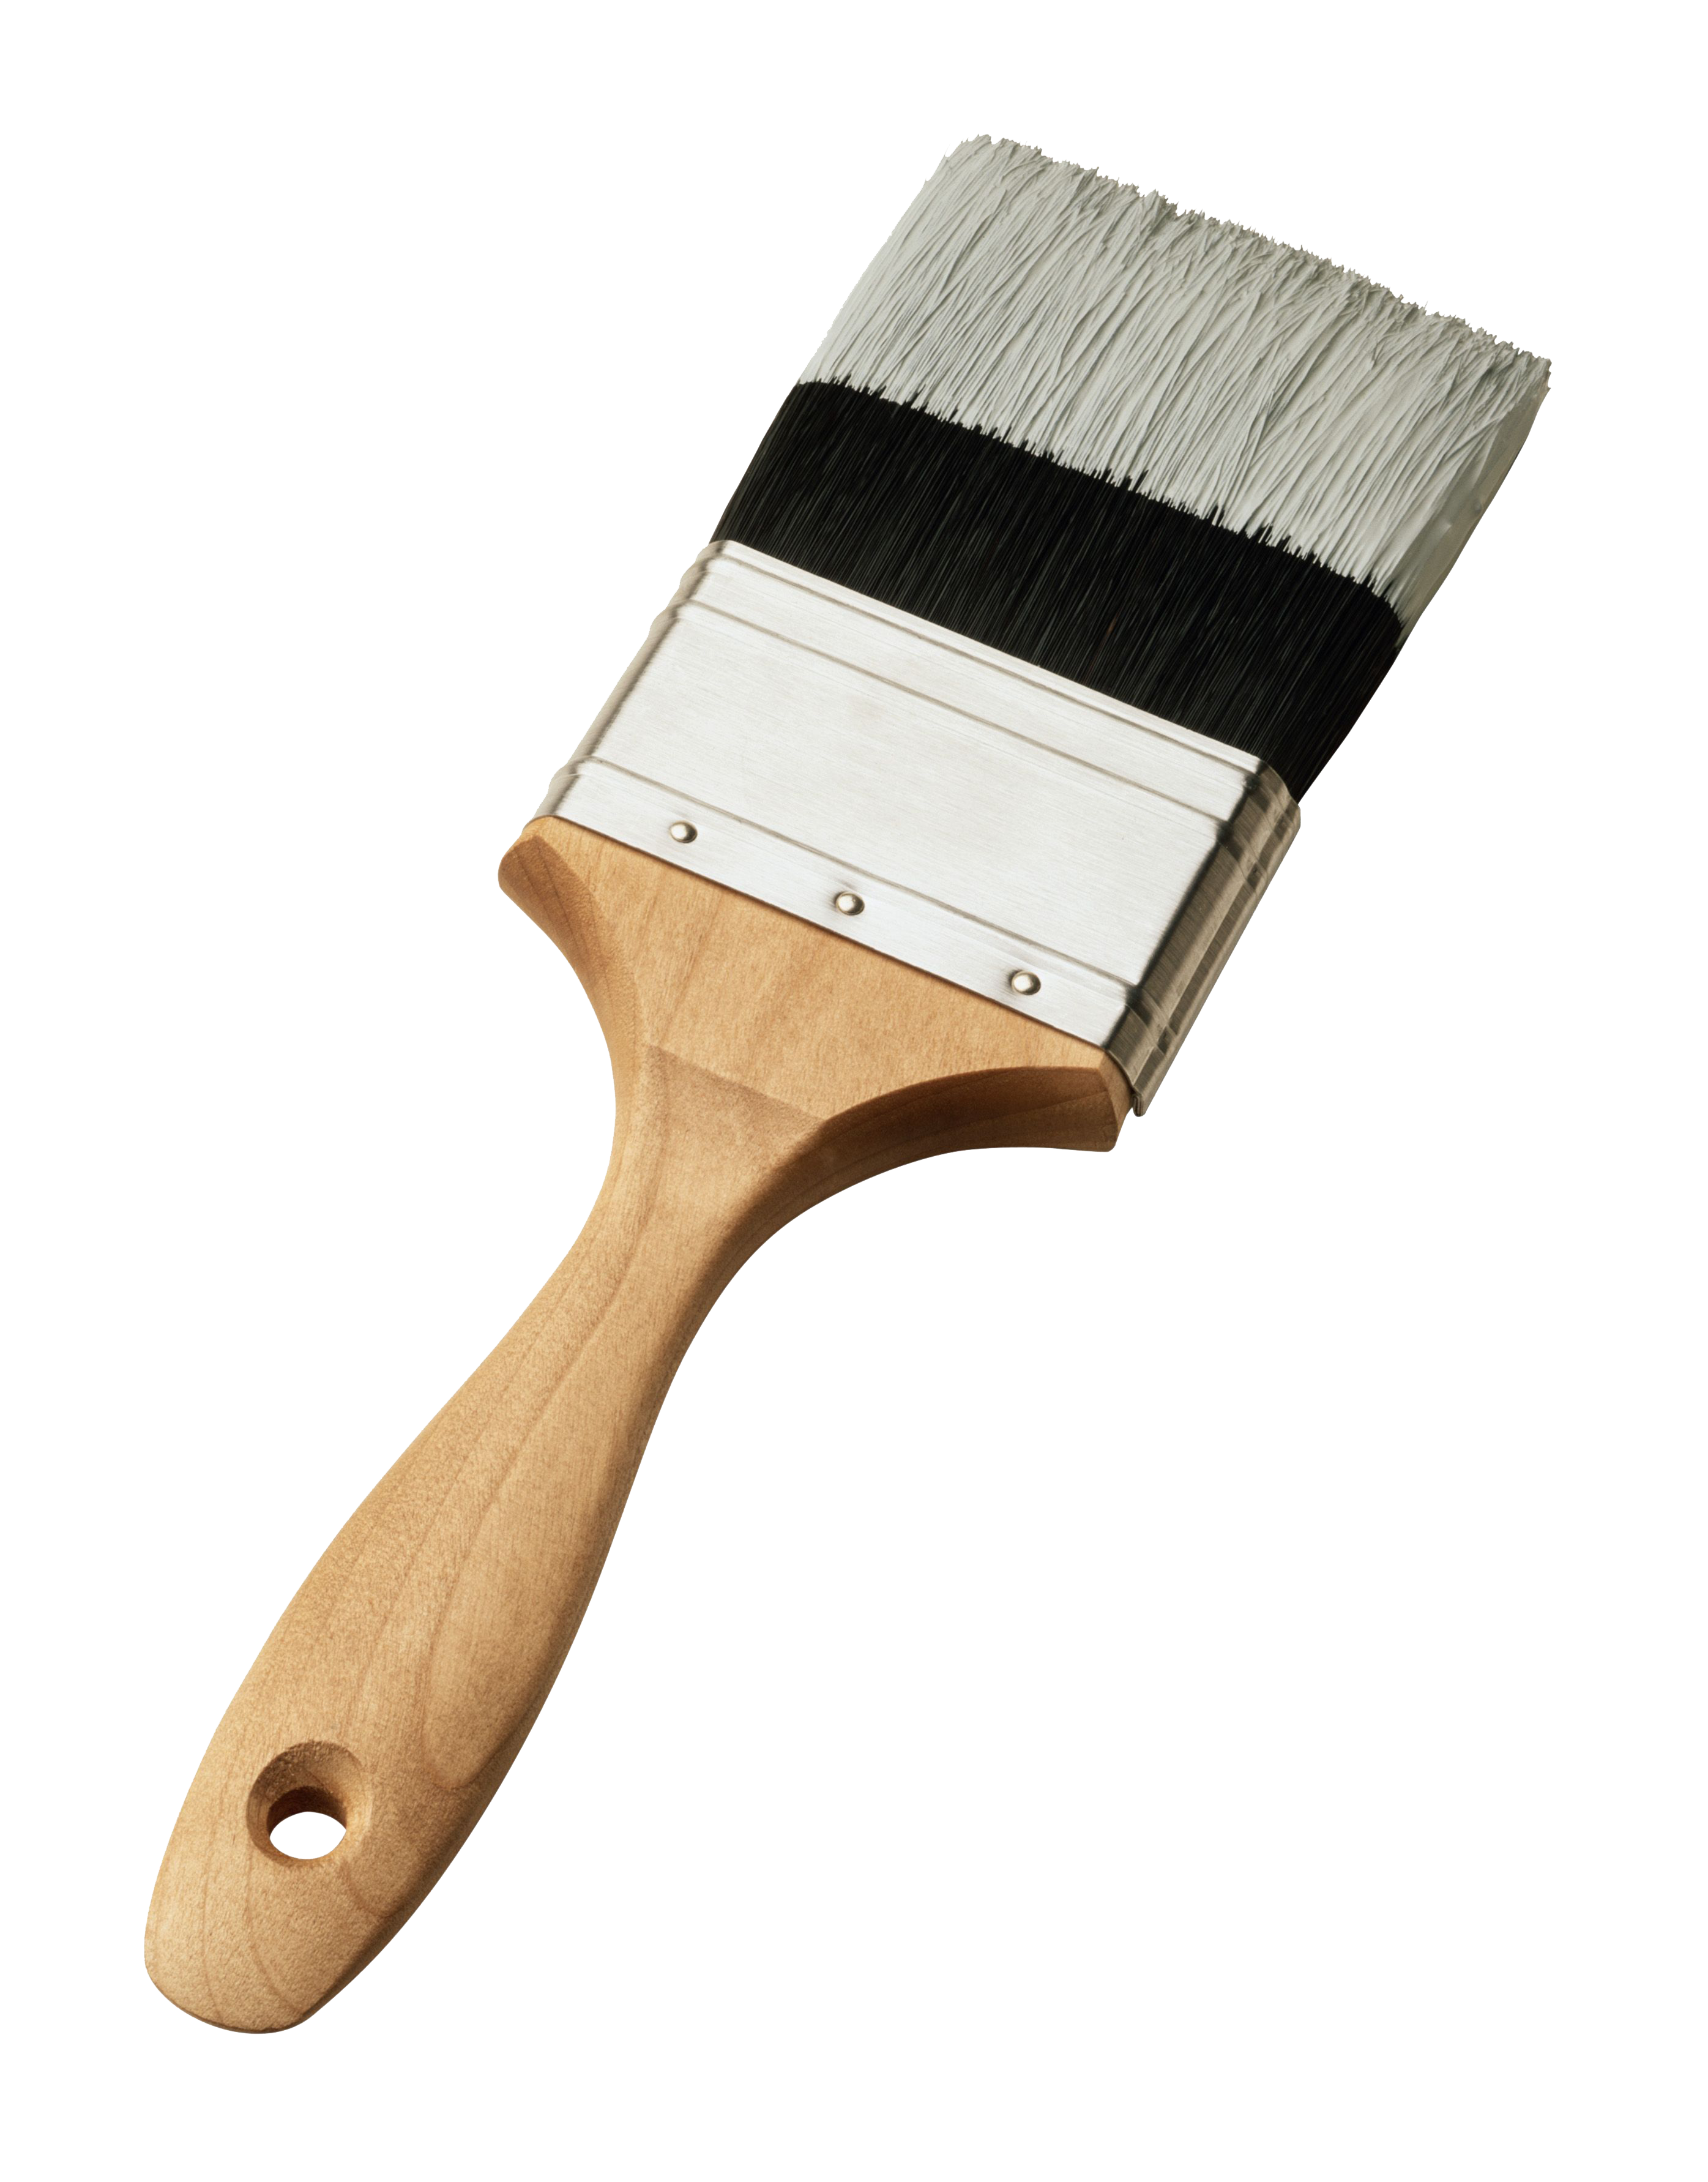
When it comes to applying the paint, you have the option of using a brush or a roller. A brush will give you more control and precision, while a roller will cover larger areas more quickly. Whichever you choose, make sure to apply thin, even coats and use long, smooth strokes for a professional finish.6. Use a Brush or Roller
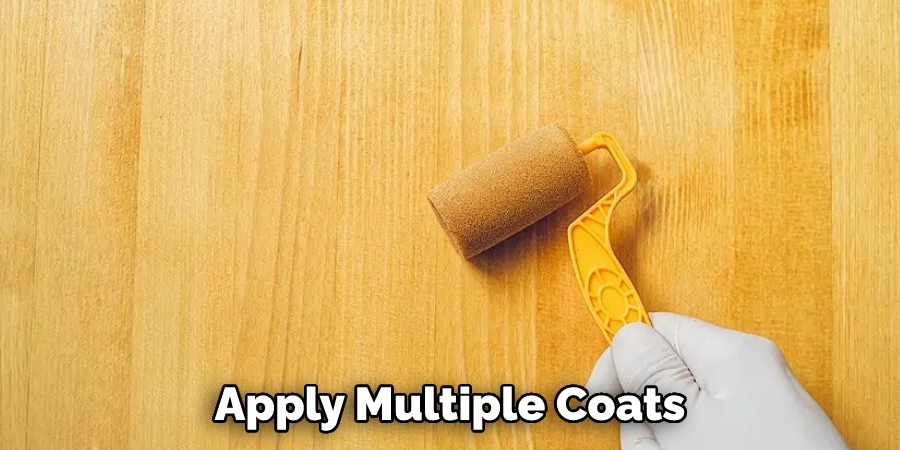
For best results, it’s important to apply multiple coats of paint to your kitchen table. This will ensure full coverage and a smooth, even finish. Allow each coat to dry completely before applying the next. Depending on the type of paint and color, you may need to apply 2-3 coats for optimal coverage.7. Apply Multiple Coats
After applying the final coat of paint, it’s important to let it dry completely before using the table. This can take anywhere from 24-48 hours, depending on the type of paint and the temperature and humidity in your home. Avoid placing any objects on the table or using it until the paint has fully cured.8. Let the Paint Dry Completely
To protect your newly painted kitchen table from scratches, spills, and wear and tear, it’s important to seal it with a clear protective finish. This will also help to enhance the color and give the table a glossy, polished look. Use a water-based polyurethane or wax sealer, and follow the manufacturer’s instructions for application.9. Seal the Table
For added protection and to give your kitchen table a more durable finish, consider adding a protective topcoat. This can help prevent scratches, stains, and fading, and will also make it easier to clean and maintain. Look for a clear, water-based topcoat and apply it according to the manufacturer’s instructions. By following these top 10 tips for painting your kitchen table, you can transform an old, worn-out piece of furniture into a beautiful, functional centerpiece for your kitchen. With the right tools, preparation, and techniques, you can achieve a professional-looking finish that will last for years to come. So, roll up your sleeves and get ready to give your kitchen table a fresh new look!10. Add a Protective Finish
Tips for Painting Your Kitchen Table
Choosing the Right Paint
 When it comes to painting your kitchen table, it's important to choose the right type of paint.
Acrylic paint
is a popular choice because it is durable and easy to clean. However, if you want a more professional finish, consider using
chalk paint
or
milk paint
. These types of paint have a matte finish and can give your table a unique and vintage look.
Preparing the Surface
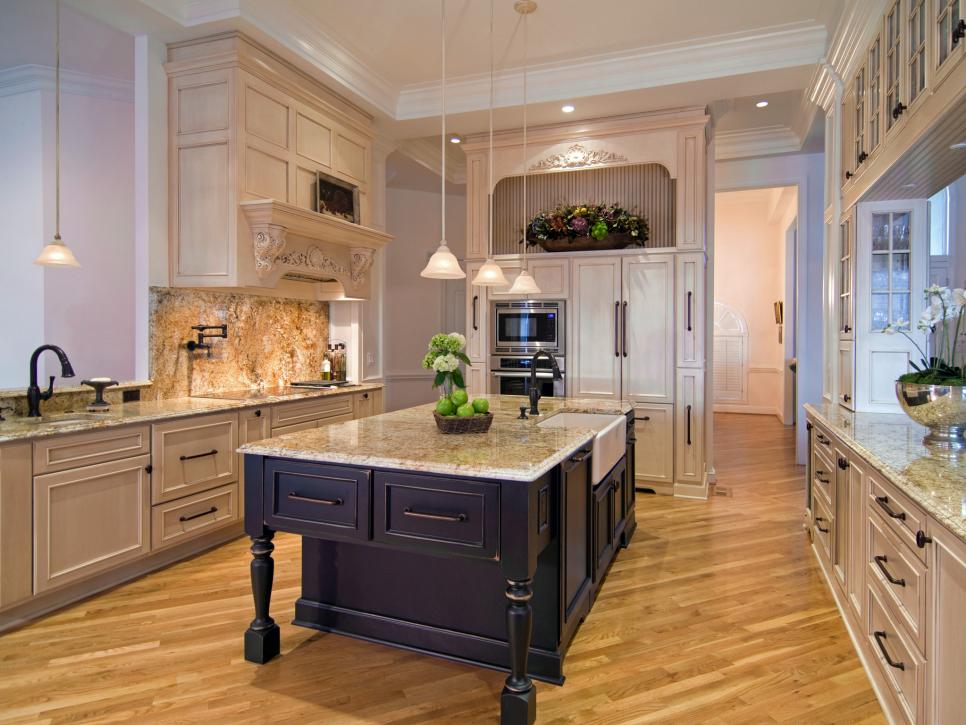 Before you start painting, you need to make sure the surface of your kitchen table is clean and smooth. Use a mild soap and water to clean any dirt or grime off the table. If your table has any rough areas, use sandpaper to smooth them out. Make sure to wipe off any dust after sanding.
Priming the Table
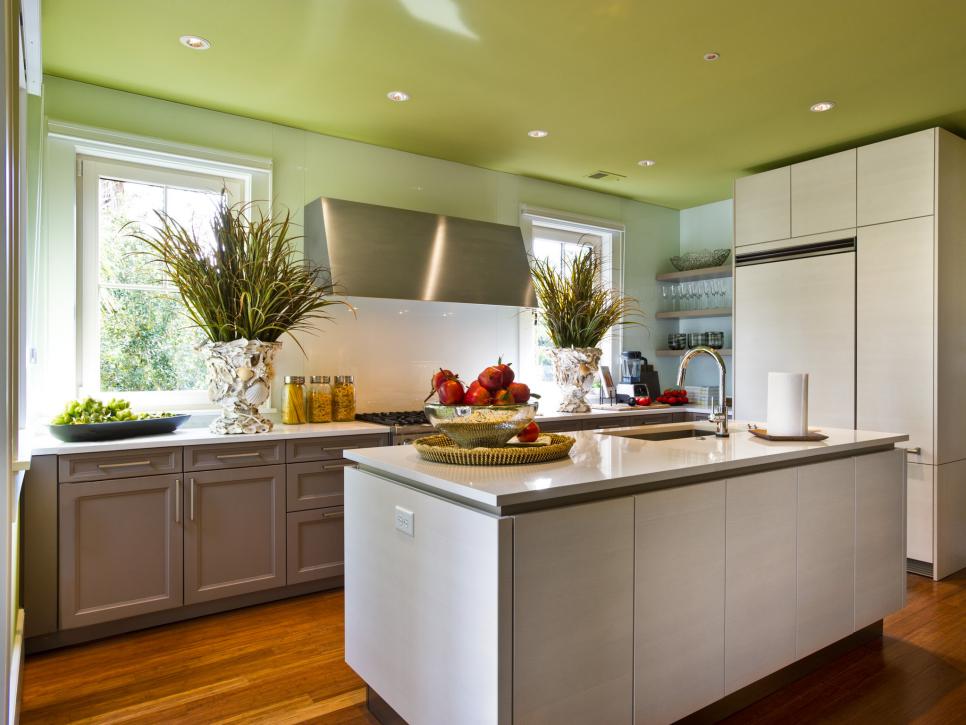 Using a primer is essential for achieving a professional and long-lasting finish.
Oil-based primers
work well for kitchen tables as they are more resistant to stains and scratches. Make sure to apply the primer in thin, even layers and allow it to fully dry before moving on to painting.
Choosing the Right Brush
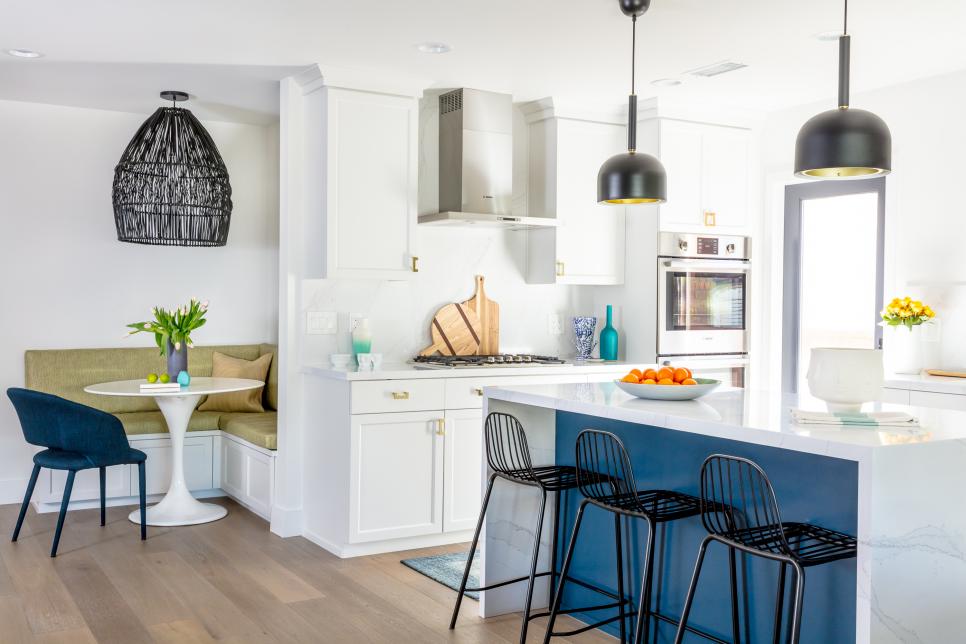 The type of brush you use can make a big difference in the outcome of your painting project. For a smooth and even finish, use a
foam brush
or a
synthetic bristle brush
. These types of brushes are great for applying paint without leaving brush marks.
Painting Techniques
 When it comes to painting your kitchen table, it's important to use the right techniques to achieve the best results. Start by painting in the direction of the wood grain for a more natural look. Apply thin coats of paint and let each layer dry completely before adding another. This will help prevent any drips or runs in the paint.
Sealing the Table
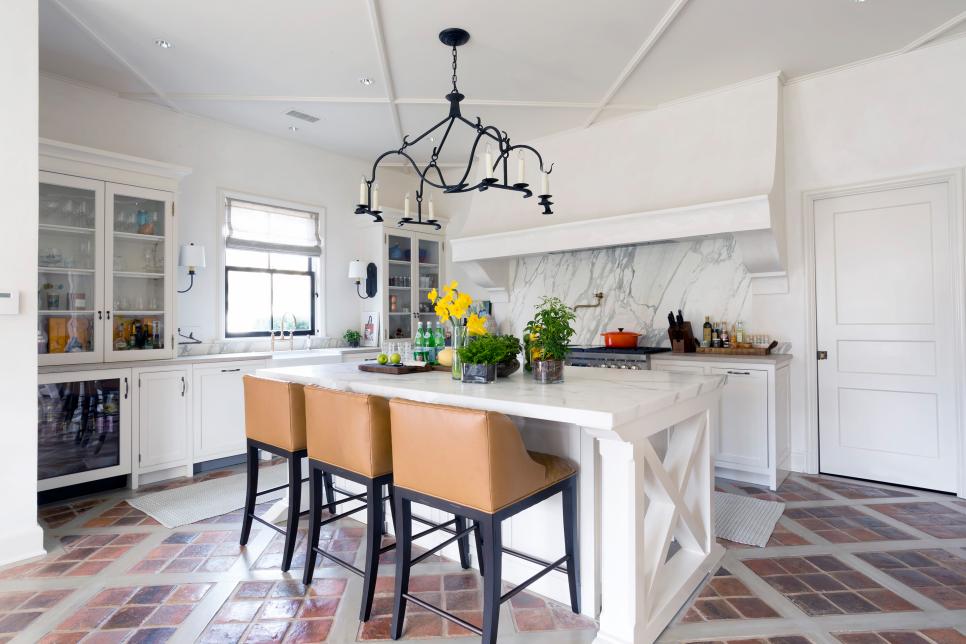 To protect your newly painted kitchen table, it's important to seal it with a clear topcoat. This will also give your table a smooth and shiny finish.
Polyurethane
is a popular choice for sealing furniture as it is durable and water-resistant. Apply the topcoat in thin, even layers and allow it to dry completely before using your table.
Conclusion
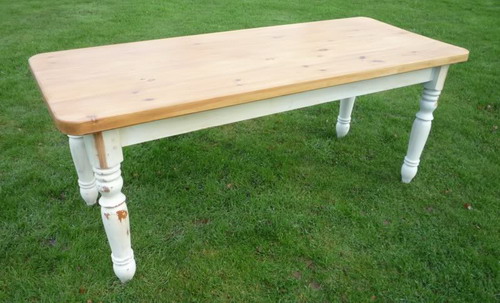 With these tips, you can transform your old and worn-out kitchen table into a beautiful and stylish piece of furniture. Remember to choose the right paint, prepare the surface properly, and use the right techniques for a professional finish. With a little bit of time and effort, you can have a stunning kitchen table that will be the centerpiece of your home.


_2x.jpg?crc=4093018966)
