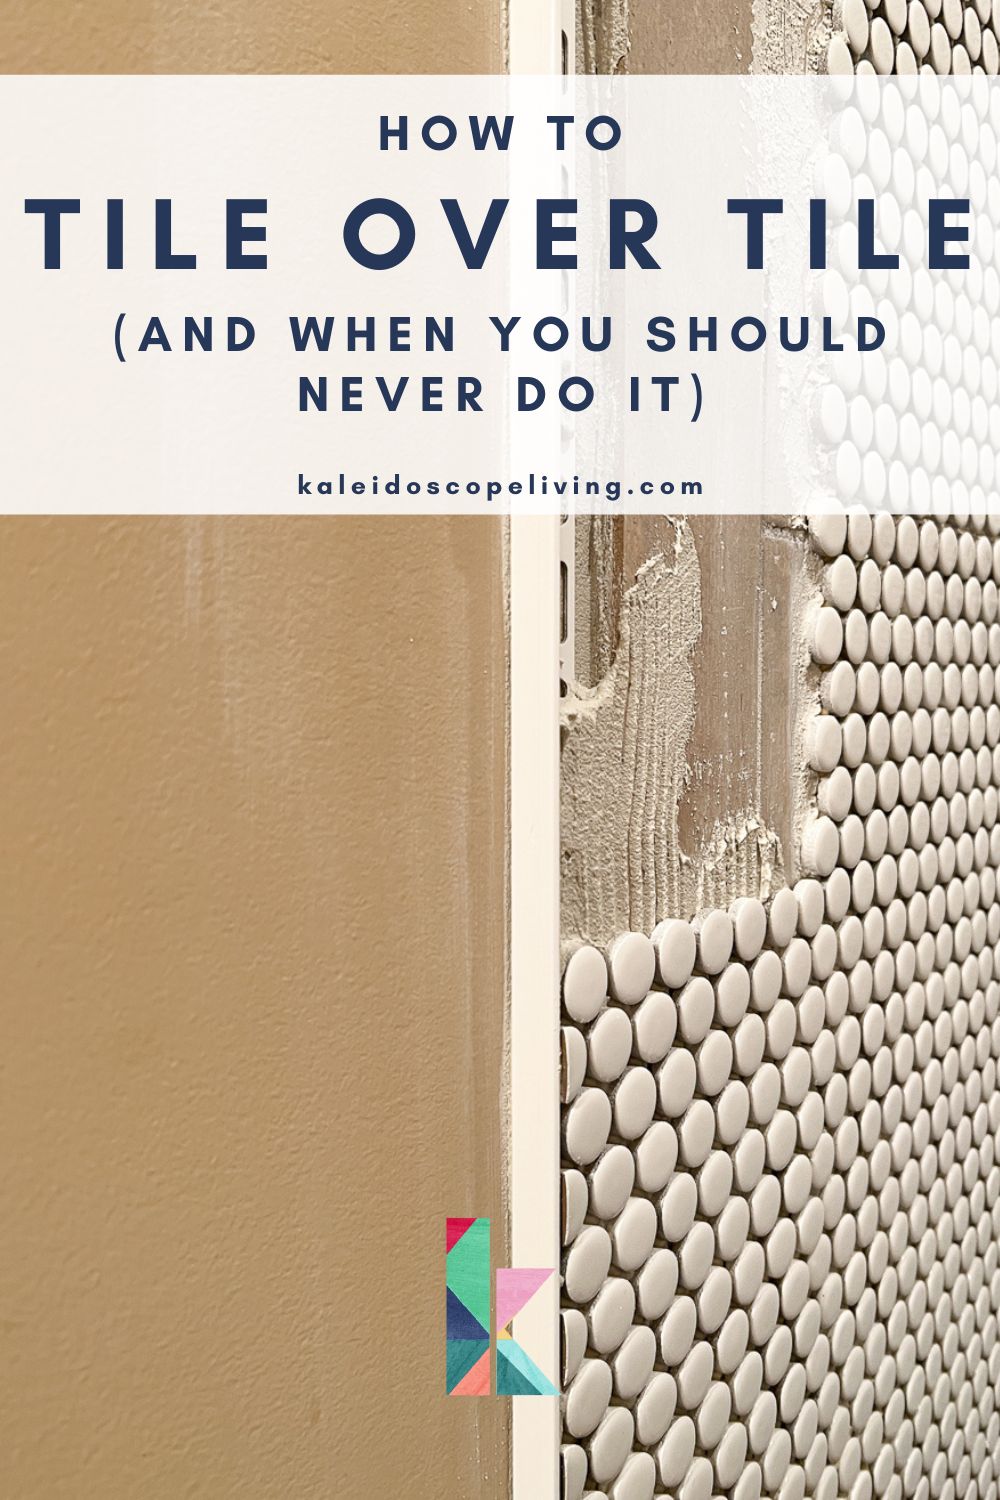
If you're looking to refresh your kitchen without the hassle and expense of removing your old tiles, then tiling over tile may be the perfect solution. This process is not only cost-effective but also saves you time and effort. However, it's important to follow the right steps to ensure a successful project. Here's a step-by-step guide on how to tile over tile in your kitchen.1. How to Tile Over Tile: 13 Simple Steps to Follow | Bob Vila


1. How to Tile Over Tile: 13 Simple Steps to Follow

:max_bytes(150000):strip_icc()/quarry-tiles-139678125-5a983146fa6bcc00376b7b8b.jpg)


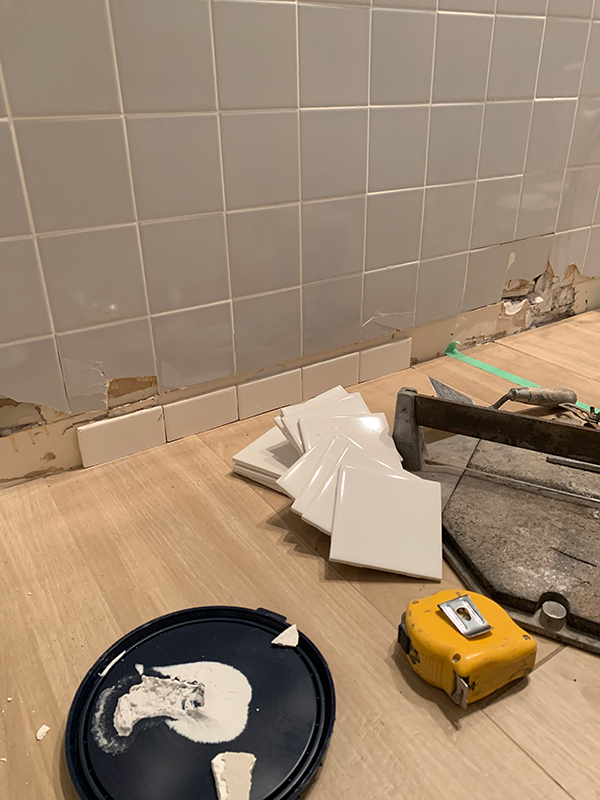
Before you start tiling over your existing tiles, it's essential to assess their condition. If your tiles are cracked, loose, or damaged in any way, it's best to remove them and start with a clean surface. Tiling over damaged tiles will only lead to further issues down the line.2. Assess the Condition of Your Existing Tiles


Bob Vila


Once you've determined that your existing tiles are in good condition, you'll need to thoroughly clean them. Use a degreaser to remove any dirt, grime, or grease buildup on the tiles. This step is crucial as it ensures proper adhesion of the new tiles.3. Clean the Existing Tiles


2. How to Tile Over Tile: 13 Simple Steps to Follow
To create a rough surface for the new tiles to stick to, use a 60-grit sandpaper to lightly sand the existing tiles. Be careful not to sand too hard as it may cause damage to the tiles. This step is especially important if your existing tiles have a glossy finish.4. Sand the Tiles
Bob Vila
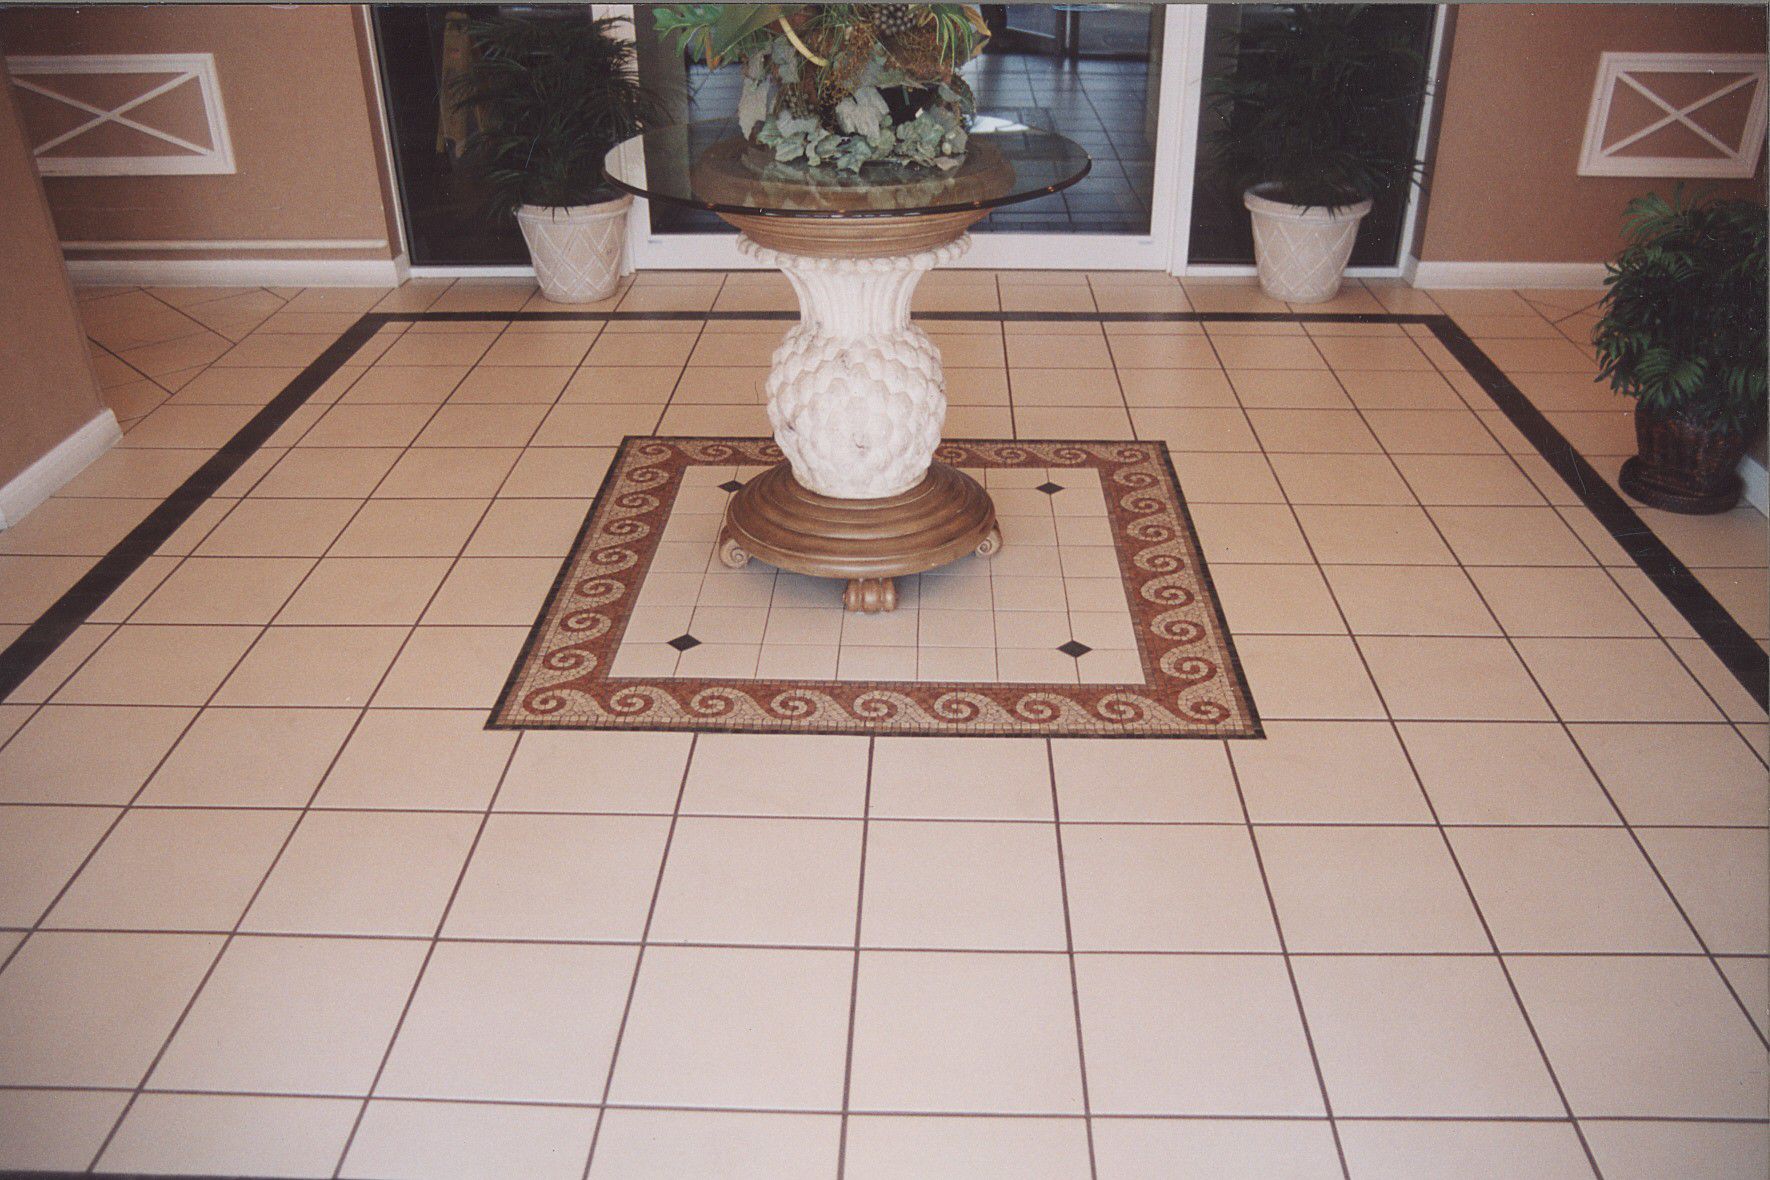
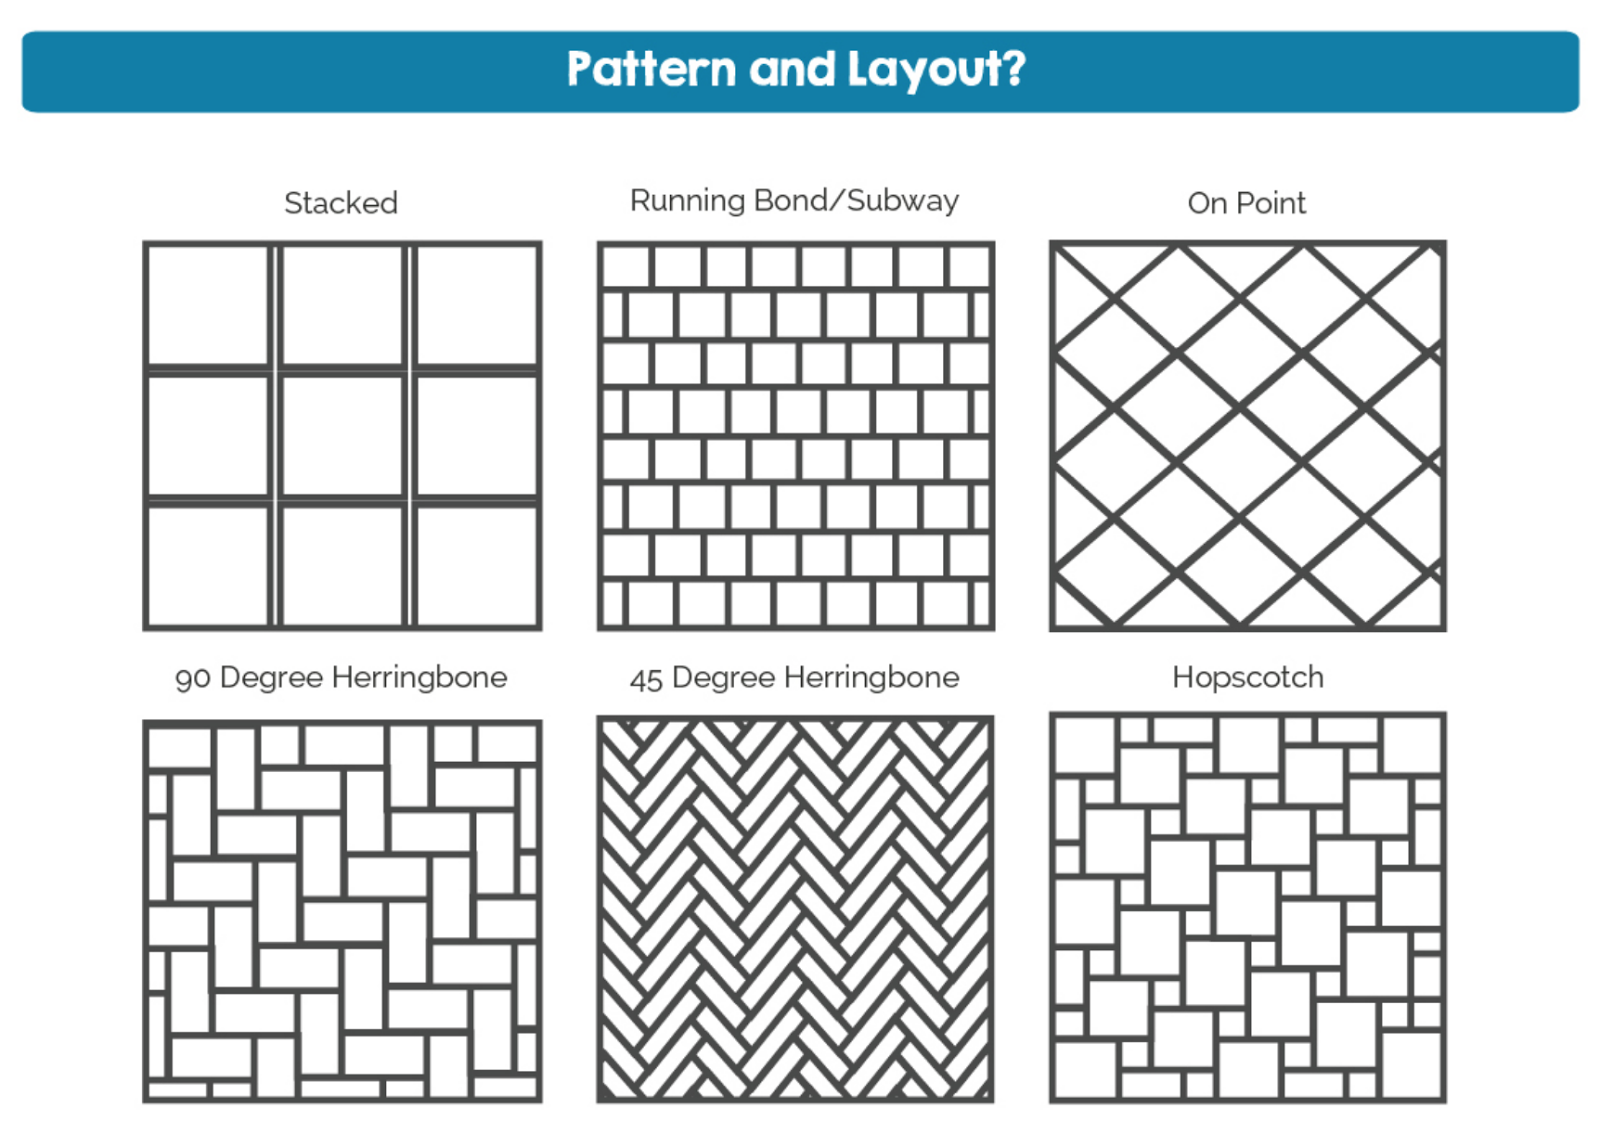
Now comes the fun part - choosing your new tiles! There are endless options when it comes to tile designs, colors, and materials. It's important to select tiles that will complement your kitchen's overall design and color scheme.5. Choose Your New Tiles
3. How to Tile Over Tile: 13 Simple Steps to Follow


Before you start tiling, make sure you have all the necessary tools and materials. These may include a trowel, tile adhesive, grout, spacers, and a tile cutter. It's also a good idea to have some extra tiles on hand in case of any mistakes or breakages during the installation process.6. Gather Your Tools and Materials


Bob Vila


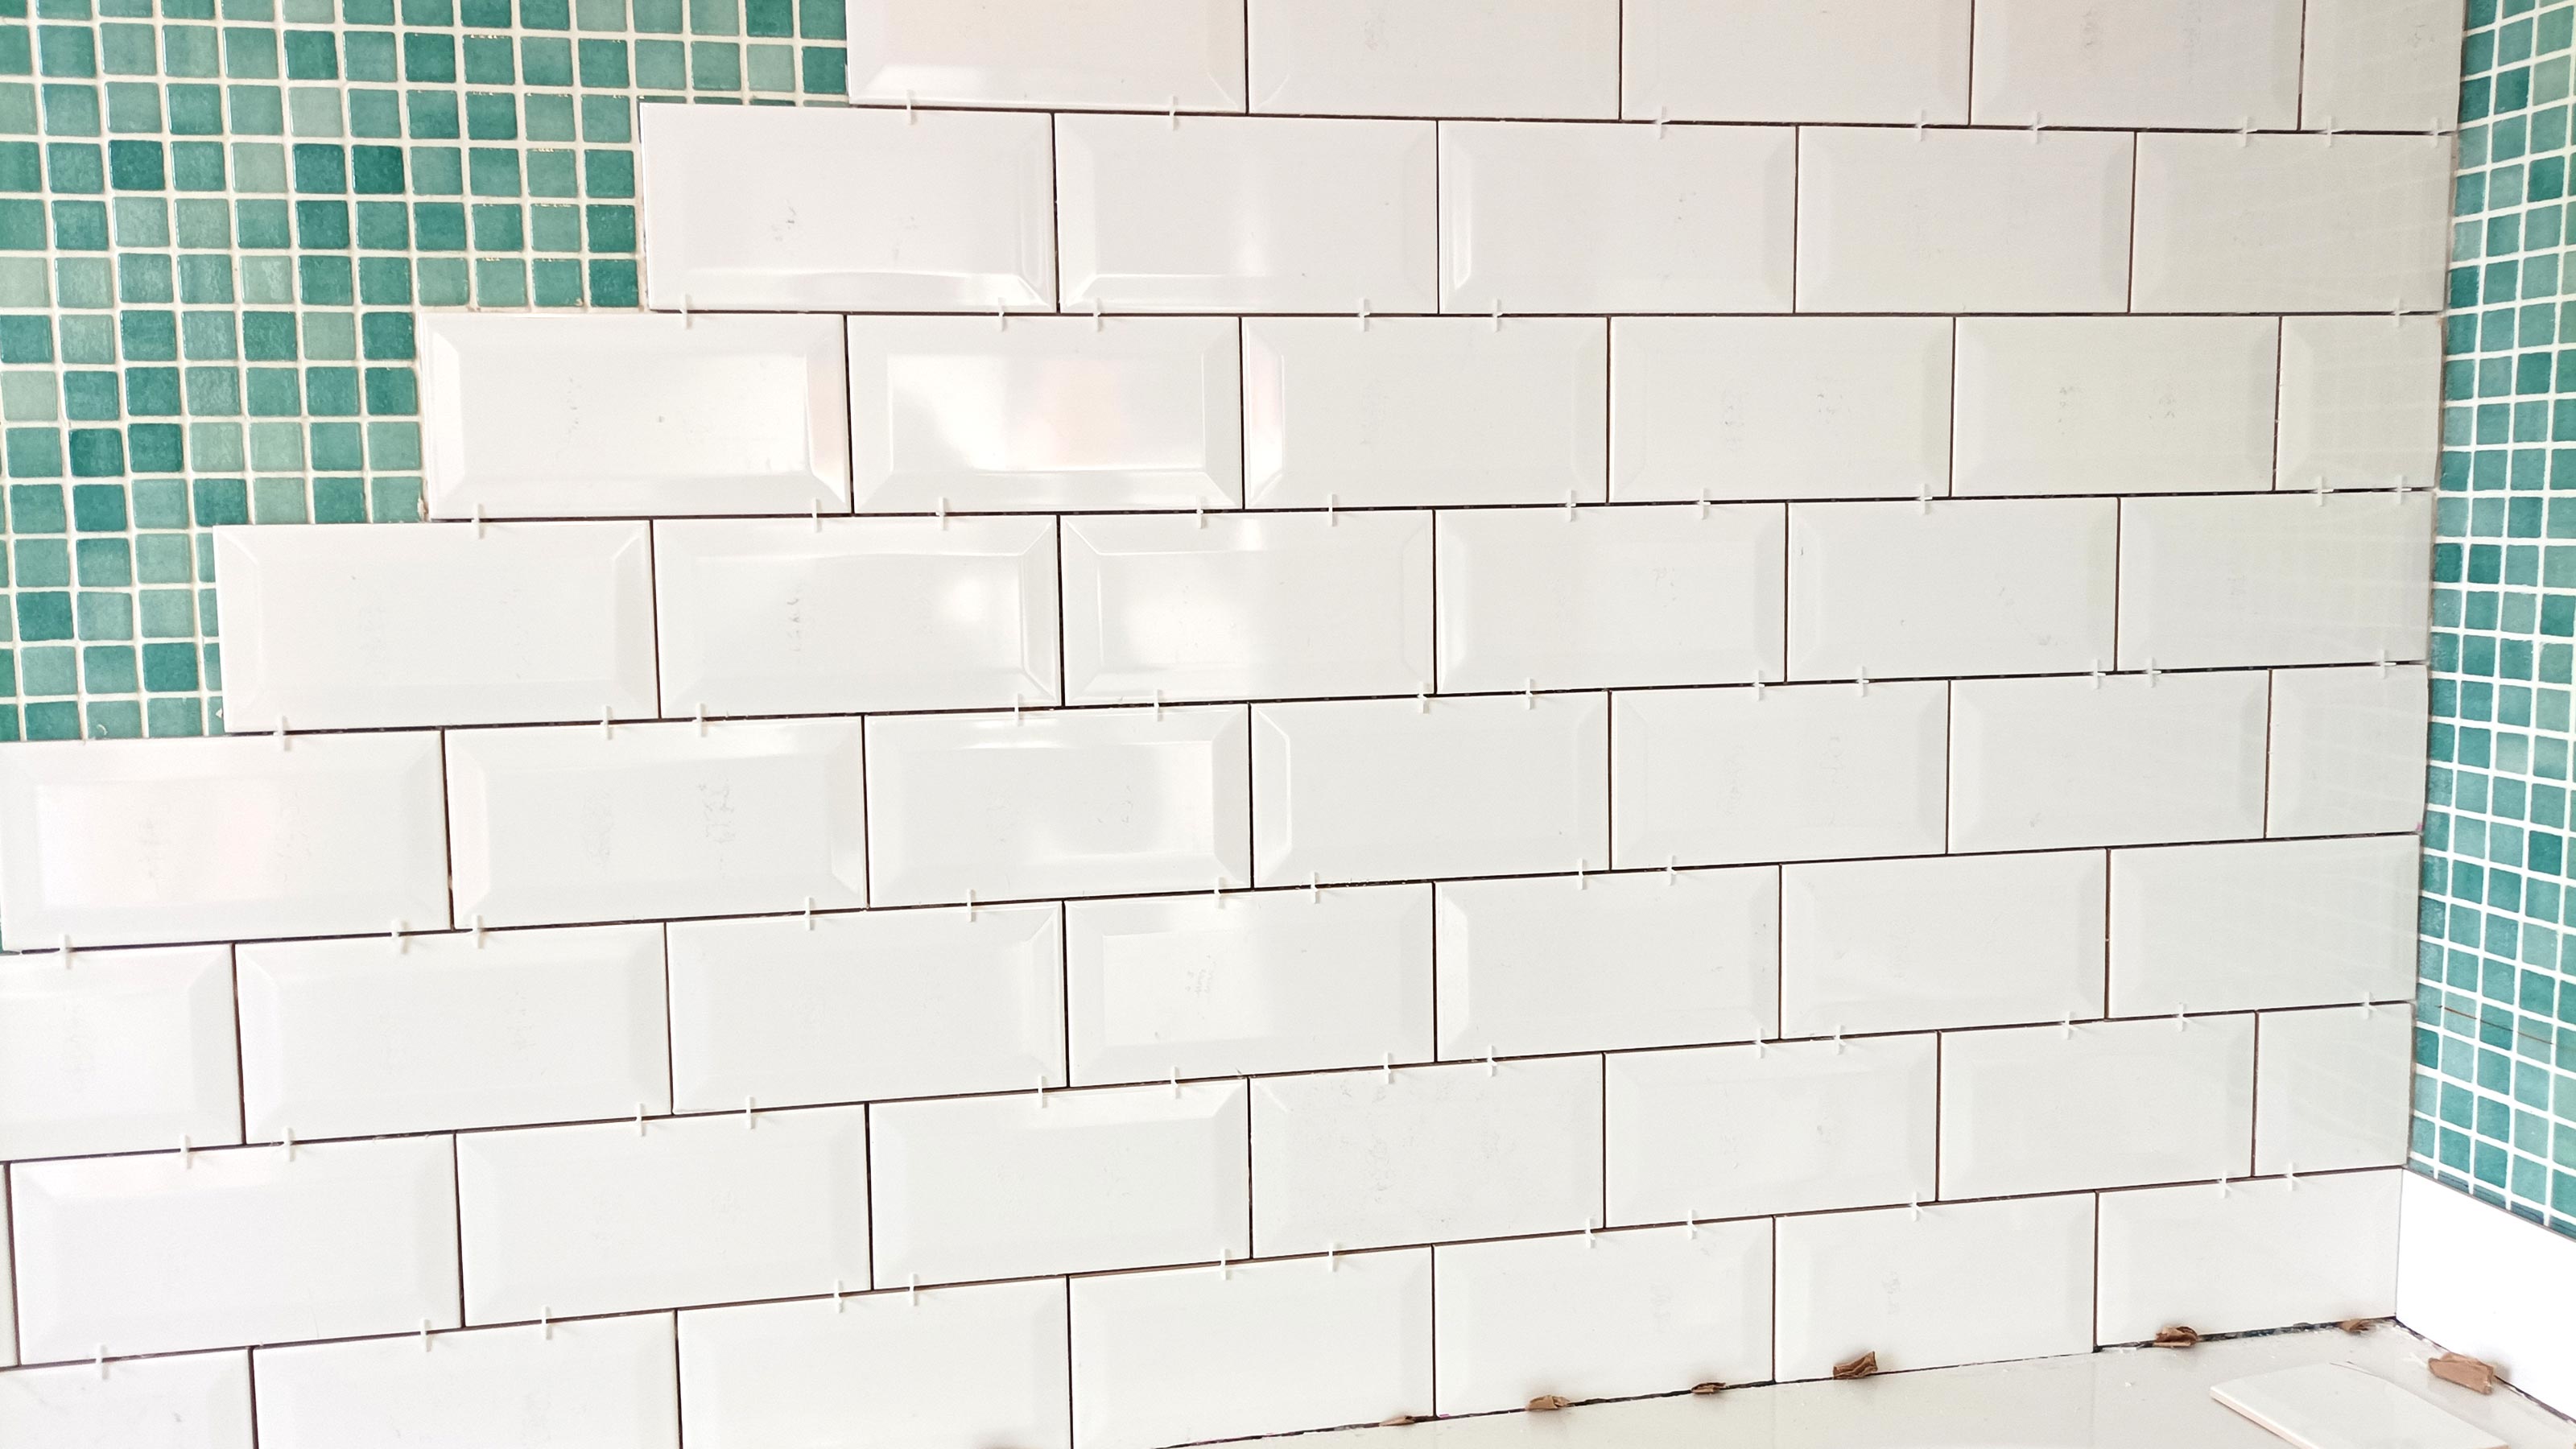
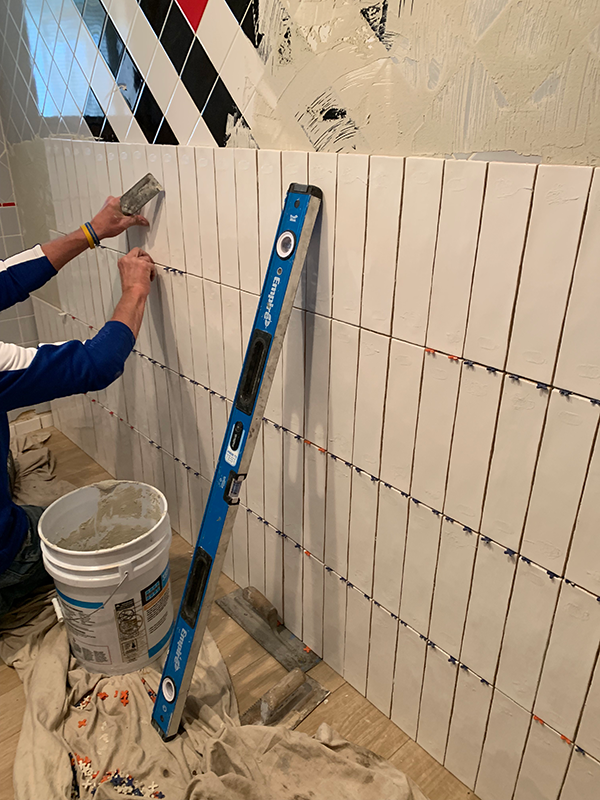
Using a trowel, apply the tile adhesive to the back of the new tile and press it firmly onto the existing tile. Make sure to use enough adhesive to ensure a strong bond. Use spacers to create even and consistent spacing between the tiles.7. Apply Tile Adhesive

4. How to Tile Over Tile: 13 Simple Steps to Follow

If you come across any areas where a full tile won't fit, use a tile cutter to cut the tiles to the desired size. This may include areas around outlets or corners.8. Cut Tiles to Fit
Bob Vila

Once all the tiles are installed, allow the adhesive to dry completely. This may take 24-48 hours, depending on the type of adhesive used.9. Allow Adhesive to Dry

5. How to Tile Over Tile: 13 Simple Steps to Follow
/quarry-tiles-139678125-5a983146fa6bcc00376b7b8b.jpg)


After the adhesive has dried, it's time to grout the tiles. Use a grout float to apply the grout in between the tiles, making sure to fill in all the spaces. Wipe away any excess grout with a damp sponge.10. Grout the Tiles


Bob Vila
To ensure your grout stays clean and protected, it's important to seal it. You can use a grout sealer, which is usually applied with a brush.11. Seal the Grout


6. How to Tile Over Tile: 13 Simple Steps to Follow
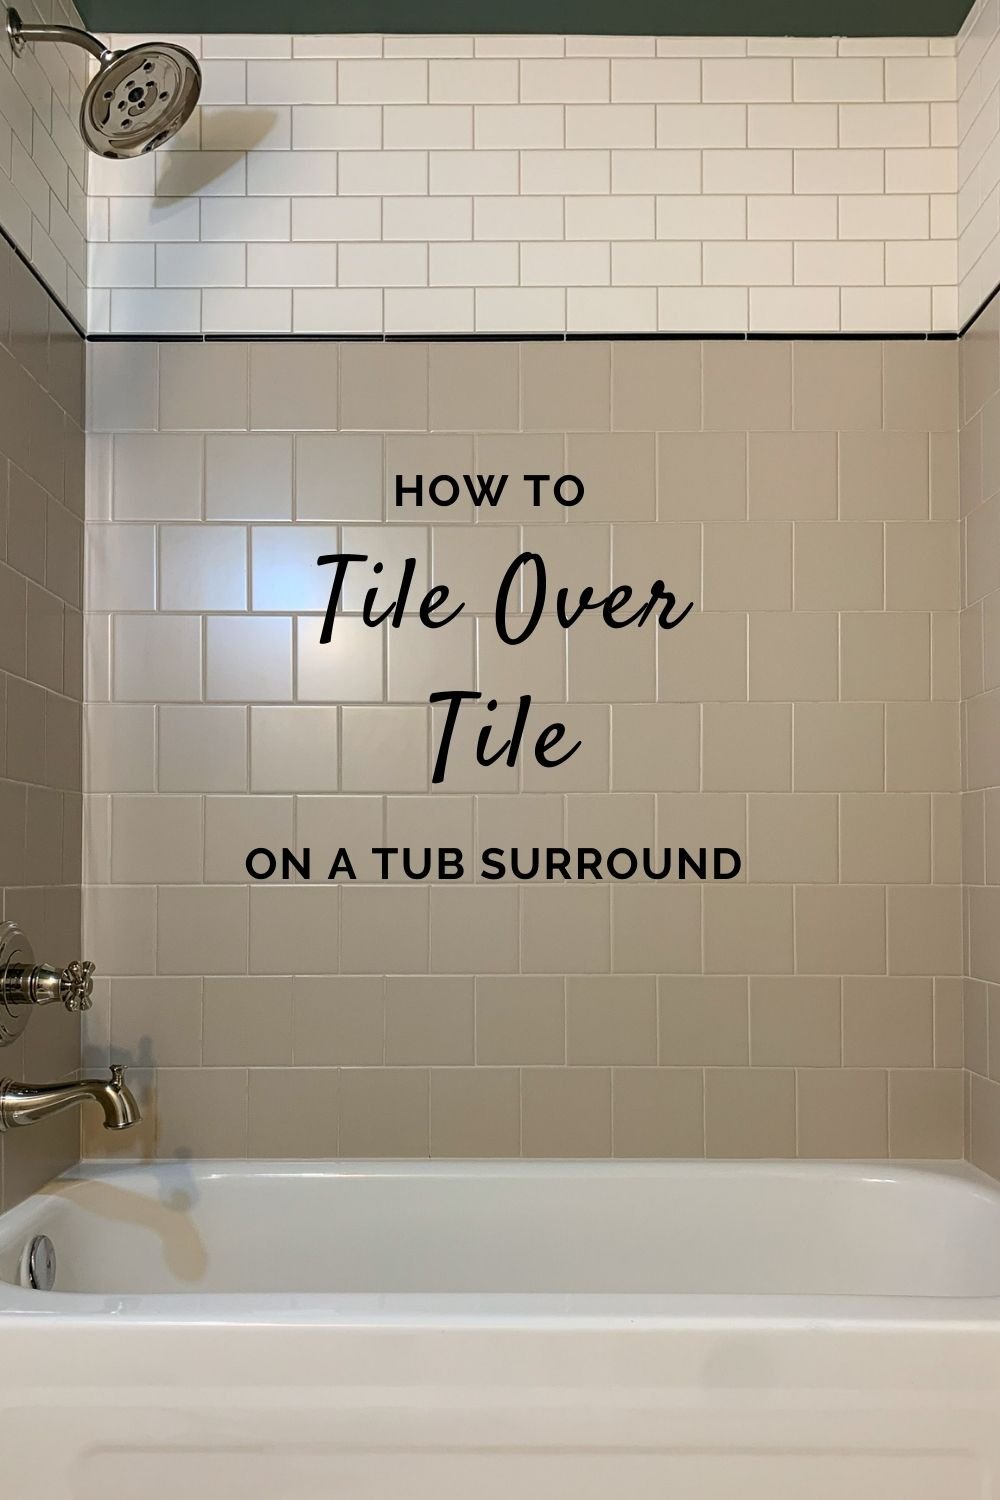
Once the grout has dried, you can now enjoy your newly tiled kitchen! The process of tiling over tile is not only easy and cost-effective, but it also gives your kitchen a fresh new look without the hassle of removing the old tiles.12. Enjoy Your New Kitchen
Bob Vila
Tiling over tile is a great option for those looking to update their kitchen without the time and expense of removing old tiles. By following these simple steps and using the right tools and materials, you can easily achieve a professional-looking finish in your kitchen. So why wait? Give your kitchen a makeover today with tile over tile!13. Conclusion

7. How to Tile Over Tile: 13 Simple Steps to Follow
The Benefits of Tiling Over Tile Walls in Your Kitchen Renovation

Creating a Fresh and Modern Look
 When it comes to kitchen renovations, many homeowners are looking for ways to update their space and give it a fresh new look. One way to achieve this is by tiling over existing tile walls. This not only saves time and money by avoiding the messy and time-consuming process of removing old tiles, but it also creates a modern and updated look in your kitchen. By choosing a new tile design, color, or pattern, you can completely transform the look and feel of your kitchen.
Increased Durability and Longevity
 Tiling over tile walls also has the benefit of increasing the durability and longevity of your kitchen walls. By installing a new layer of tile, you are adding an extra layer of protection to your walls. This is especially beneficial in high-traffic areas like the kitchen, where spills and splashes are common. The new layer of tile will be able to withstand wear and tear better than the old tiles, ensuring your kitchen walls stay looking fresh and new for years to come.
Cost-Effective Solution
 Another advantage of tiling over tile walls is that it is a cost-effective solution for kitchen renovations. Removing old tiles can be a labor-intensive and expensive process, with the added cost of disposing of the old tiles. By tiling over existing tiles, you can save on both labor and material costs. This makes it a budget-friendly option for homeowners who want to update their kitchen without breaking the bank.
Minimizes Disruption to Your Home
 Removing old tiles can be a messy and disruptive process, requiring a lot of time and effort. By tiling over tile walls, you can minimize the disruption to your home. The installation process is much quicker and cleaner, causing minimal disturbance to your daily routine. This is especially beneficial for families who want to avoid the chaos and inconvenience of a full-scale renovation.
Considerations for Tiling Over Tile Walls
 While tiling over tile walls has many advantages, there are a few things to consider before making this decision. It is important to make sure the existing tiles are in good condition and properly adhered to the wall. If there are any loose or damaged tiles, they should be removed and replaced before installing the new layer of tiles. Additionally, the new tiles should be compatible with the existing ones to ensure a seamless and professional finish.
In conclusion, tiling over tile walls in your kitchen renovation is a smart and practical choice. It creates a fresh and modern look, increases durability and longevity, and is a cost-effective and minimally disruptive solution. Just make sure to consider the condition and compatibility of the existing tiles before starting the project. With this approach, you can achieve a beautiful and updated kitchen without the hassle and expense of removing old tiles.
While tiling over tile walls has many advantages, there are a few things to consider before making this decision. It is important to make sure the existing tiles are in good condition and properly adhered to the wall. If there are any loose or damaged tiles, they should be removed and replaced before installing the new layer of tiles. Additionally, the new tiles should be compatible with the existing ones to ensure a seamless and professional finish.
In conclusion, tiling over tile walls in your kitchen renovation is a smart and practical choice. It creates a fresh and modern look, increases durability and longevity, and is a cost-effective and minimally disruptive solution. Just make sure to consider the condition and compatibility of the existing tiles before starting the project. With this approach, you can achieve a beautiful and updated kitchen without the hassle and expense of removing old tiles.