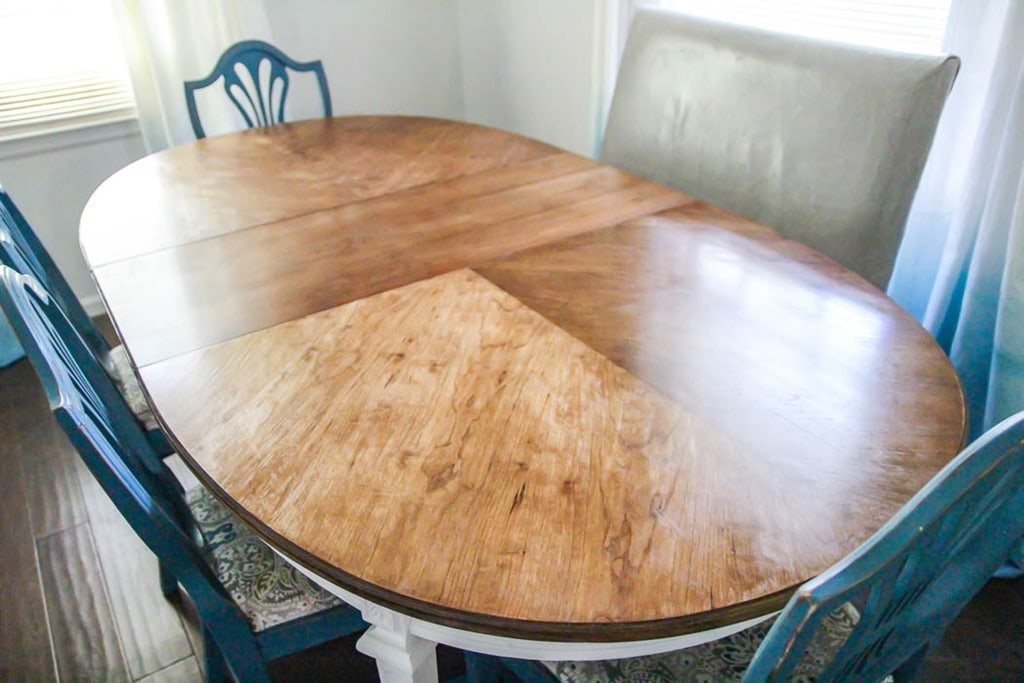
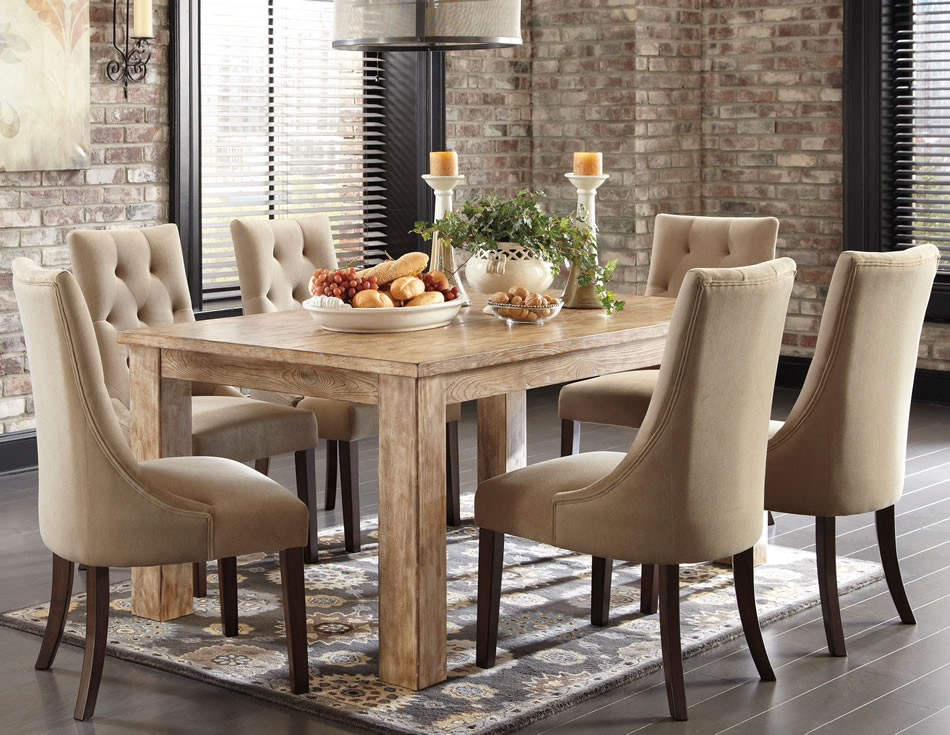
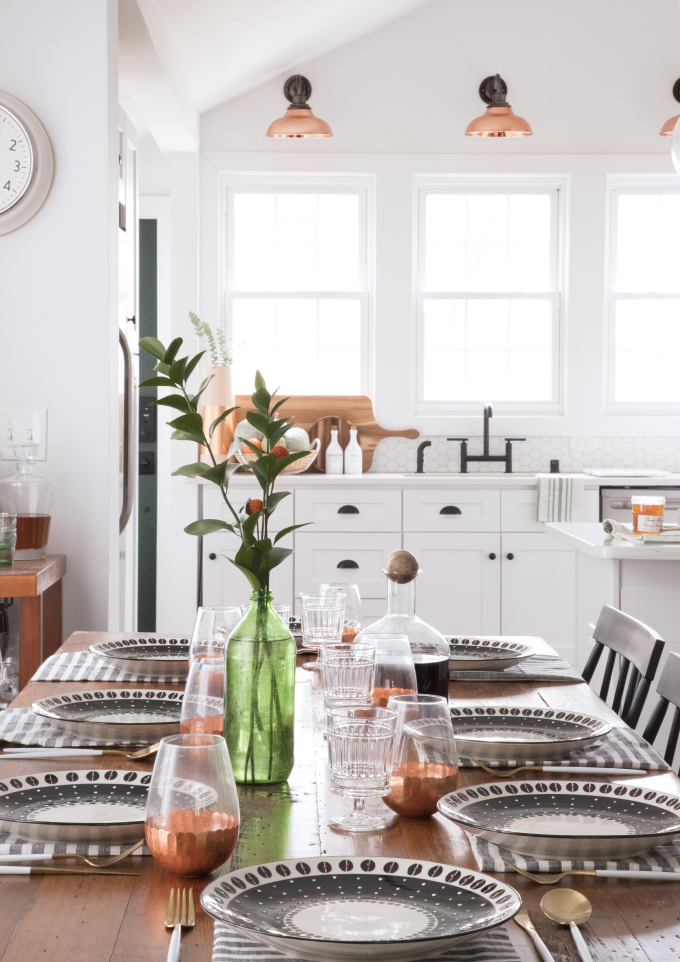
If you're looking to give your dining room table a fresh new look, staining is a great option. Not only does it add a beautiful color to the wood, but it also helps protect it from damage and wear. Staining a dining room table may seem like a daunting task, but with the right tools and techniques, it can be a fun and rewarding DIY project. Follow this step-by-step guide to learn how to stain your dining room table and transform it into a stunning centerpiece for your space.Staining a Dining Room Table: A Step-by-Step Guide
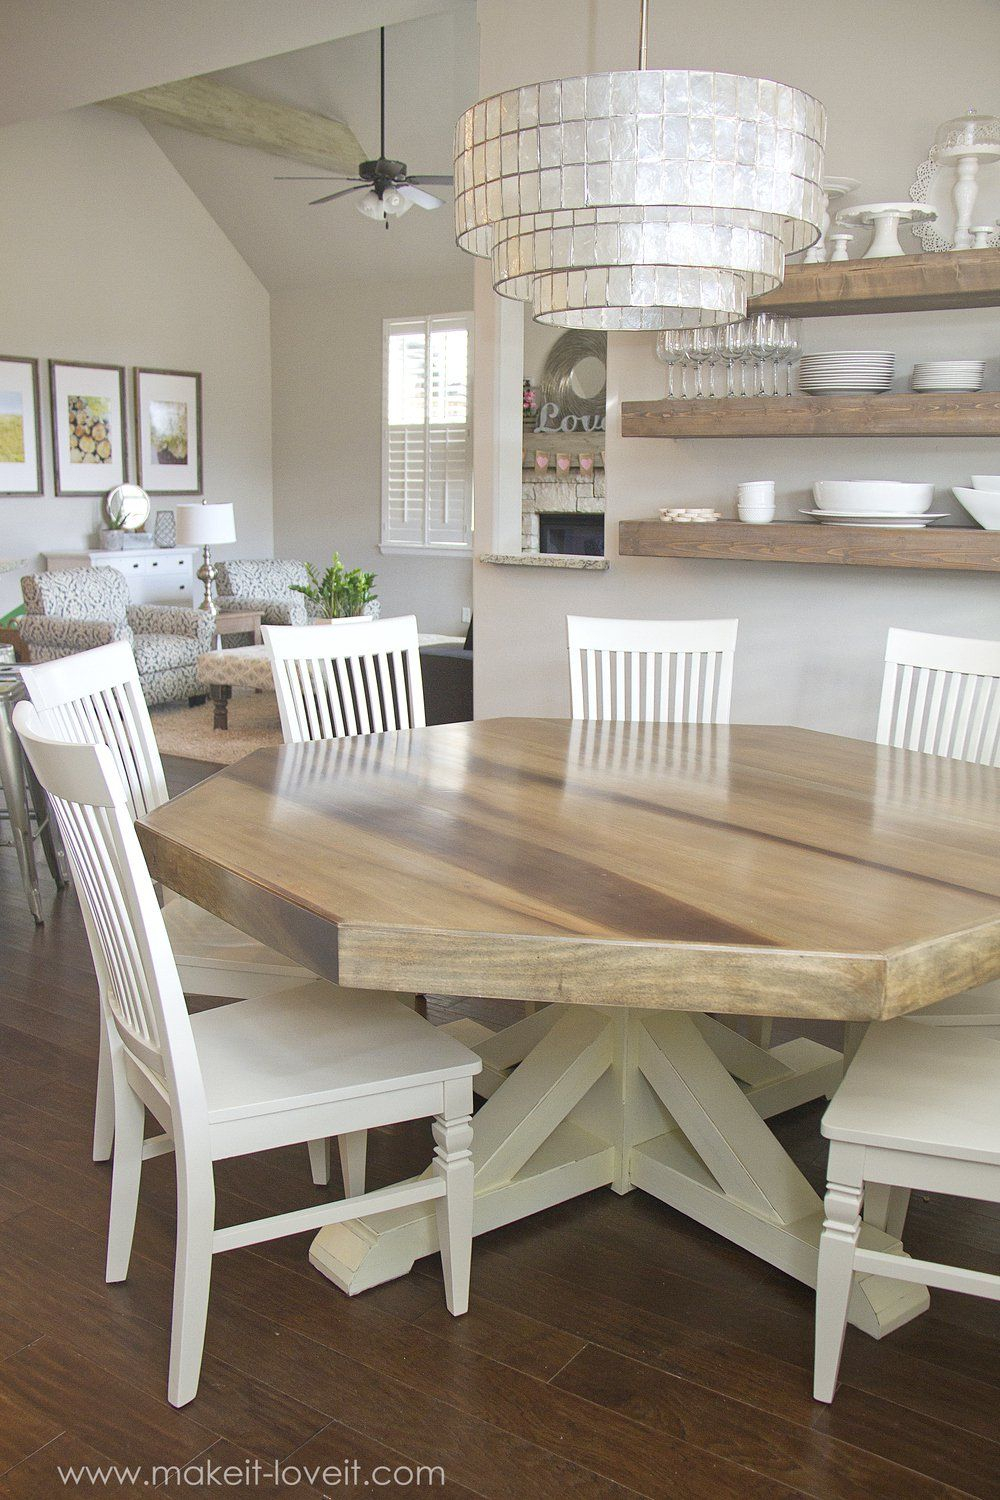


Staining a Dining Room Table: A Step-by-Step Guide


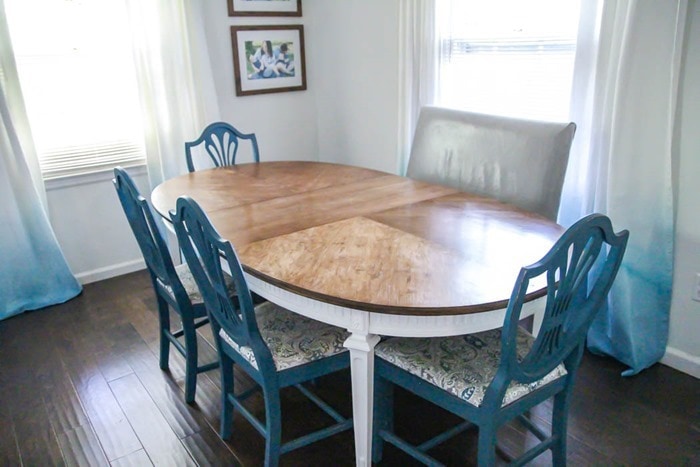
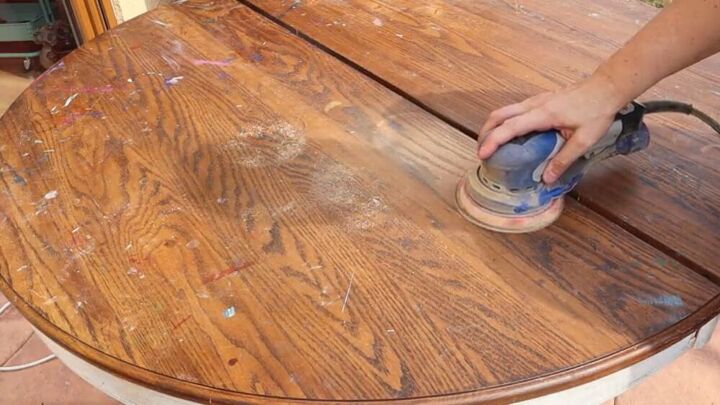
Refinishing a dining room table with stain is a cost-effective way to update the look of your furniture without having to buy a new one. It involves sanding down the existing finish, applying a new stain, and then sealing it with a protective coat. This process can be time-consuming, but the results are well worth the effort. Here's how you can refinish your dining room table with stain: Step 1: Prepare the work area by covering the floor with a drop cloth and protecting any nearby furniture with plastic sheets. Step 2: Remove any hardware or accessories from the table, such as legs or screws. Step 3: Use a sander or sandpaper to remove the existing finish from your dining room table. Start with a coarse grit sandpaper and gradually switch to a finer grit to achieve a smooth surface. Be sure to sand in the direction of the wood grain to avoid scratches. Step 4: Once the table is completely sanded, wipe it down with a damp cloth to remove any dust or debris. Step 5: Apply the stain using a clean cloth or brush, following the directions on the can. Be sure to work in small sections and wipe off any excess stain with a clean cloth. Allow the stain to dry completely before moving on to the next step. Step 6: Apply a protective coat of polyurethane or varnish to seal the stain. Use a brush or a clean cloth to evenly apply the coat, following the directions on the can. Let it dry completely before using the table. Congratulations, you have successfully refinished your dining room table with stain!How to Refinish a Dining Room Table with Stain


How to Refinish a Dining Room Table with Stain


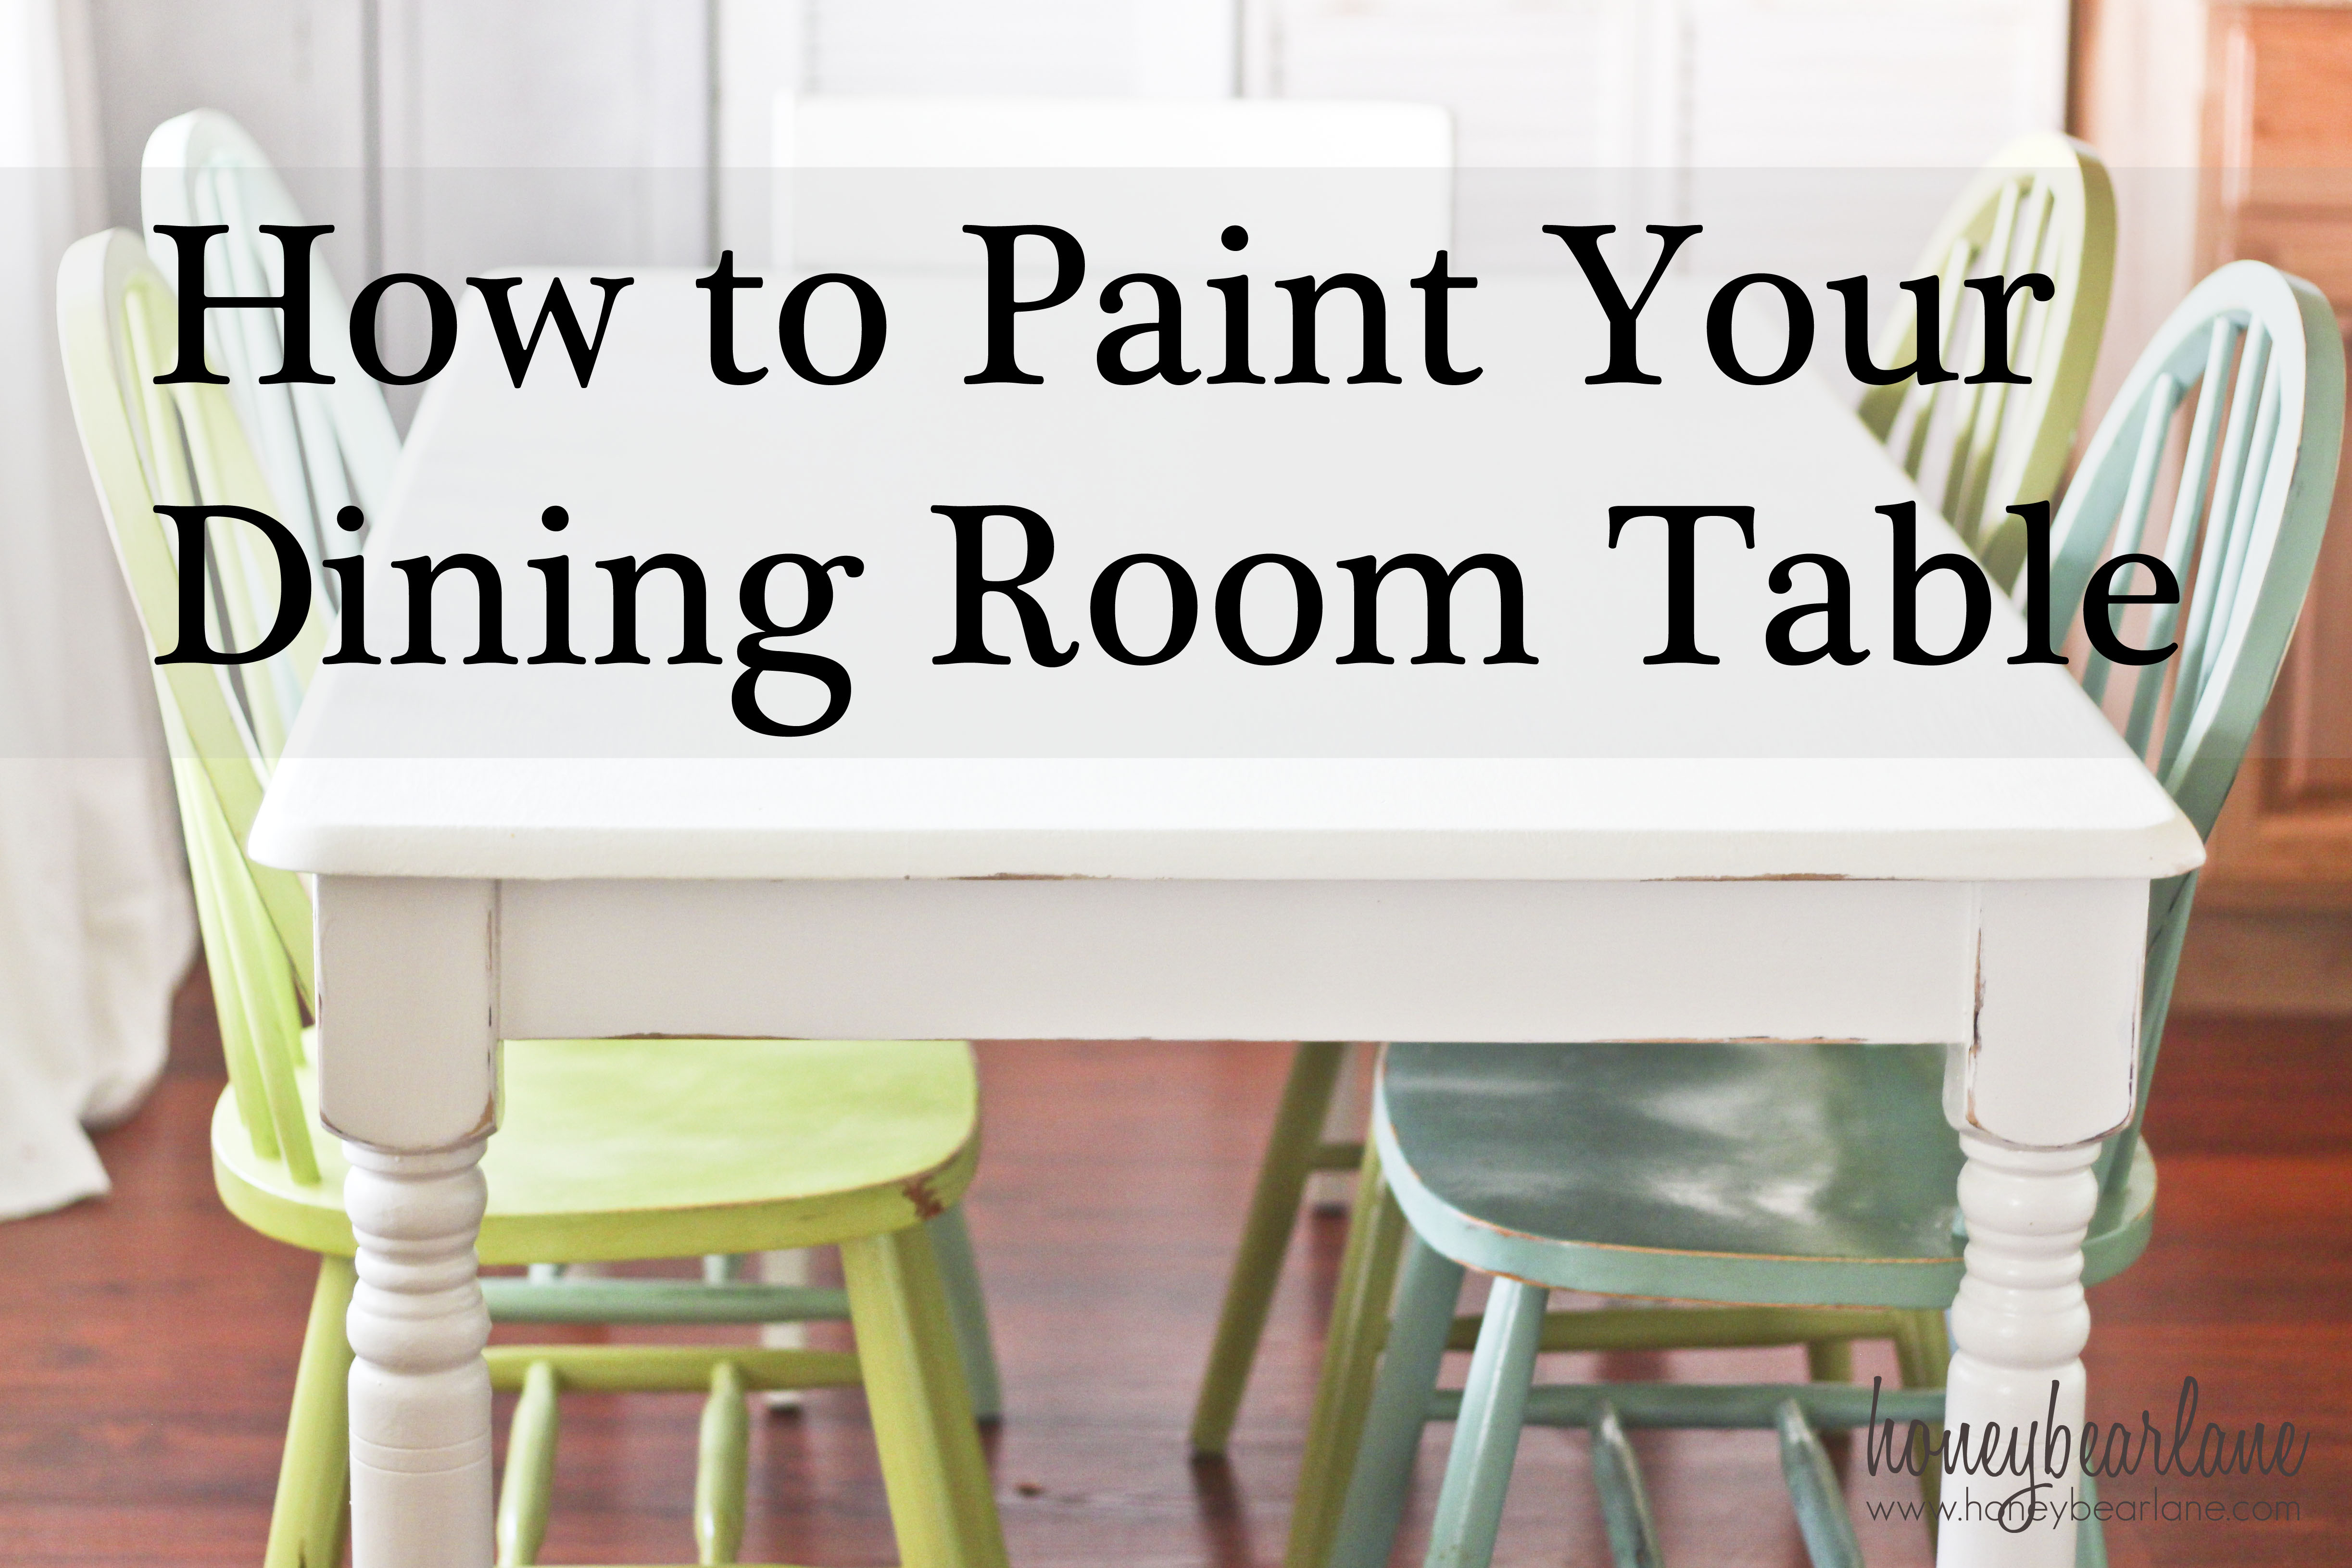
If you're on a budget or enjoy taking on DIY projects, staining your dining room table is a great option. It not only allows you to customize the color and finish of your table but also gives you a sense of accomplishment. Here's a simple DIY guide to staining a dining room table: Step 1: Assemble all necessary tools and materials, including sandpaper, stain, polyurethane, brushes or cloths, and a drop cloth. Step 2: Prepare the table by sanding it down to remove any existing finish or imperfections. Wipe it down with a damp cloth to remove dust and debris. Step 3: Apply the stain using a brush or cloth, following the directions on the can. Make sure to work in small sections and wipe off any excess stain with a clean cloth. Let it dry completely before moving on to the next step. Step 4: Apply a coat of polyurethane or varnish to protect the stain. Use a brush or cloth to evenly apply the coat, following the directions on the can. Allow it to dry completely before using the table. With some patience and a little bit of elbow grease, you can create a beautiful stained dining room table all on your own.DIY: Staining a Dining Room Table

DIY: Staining a Dining Room Table


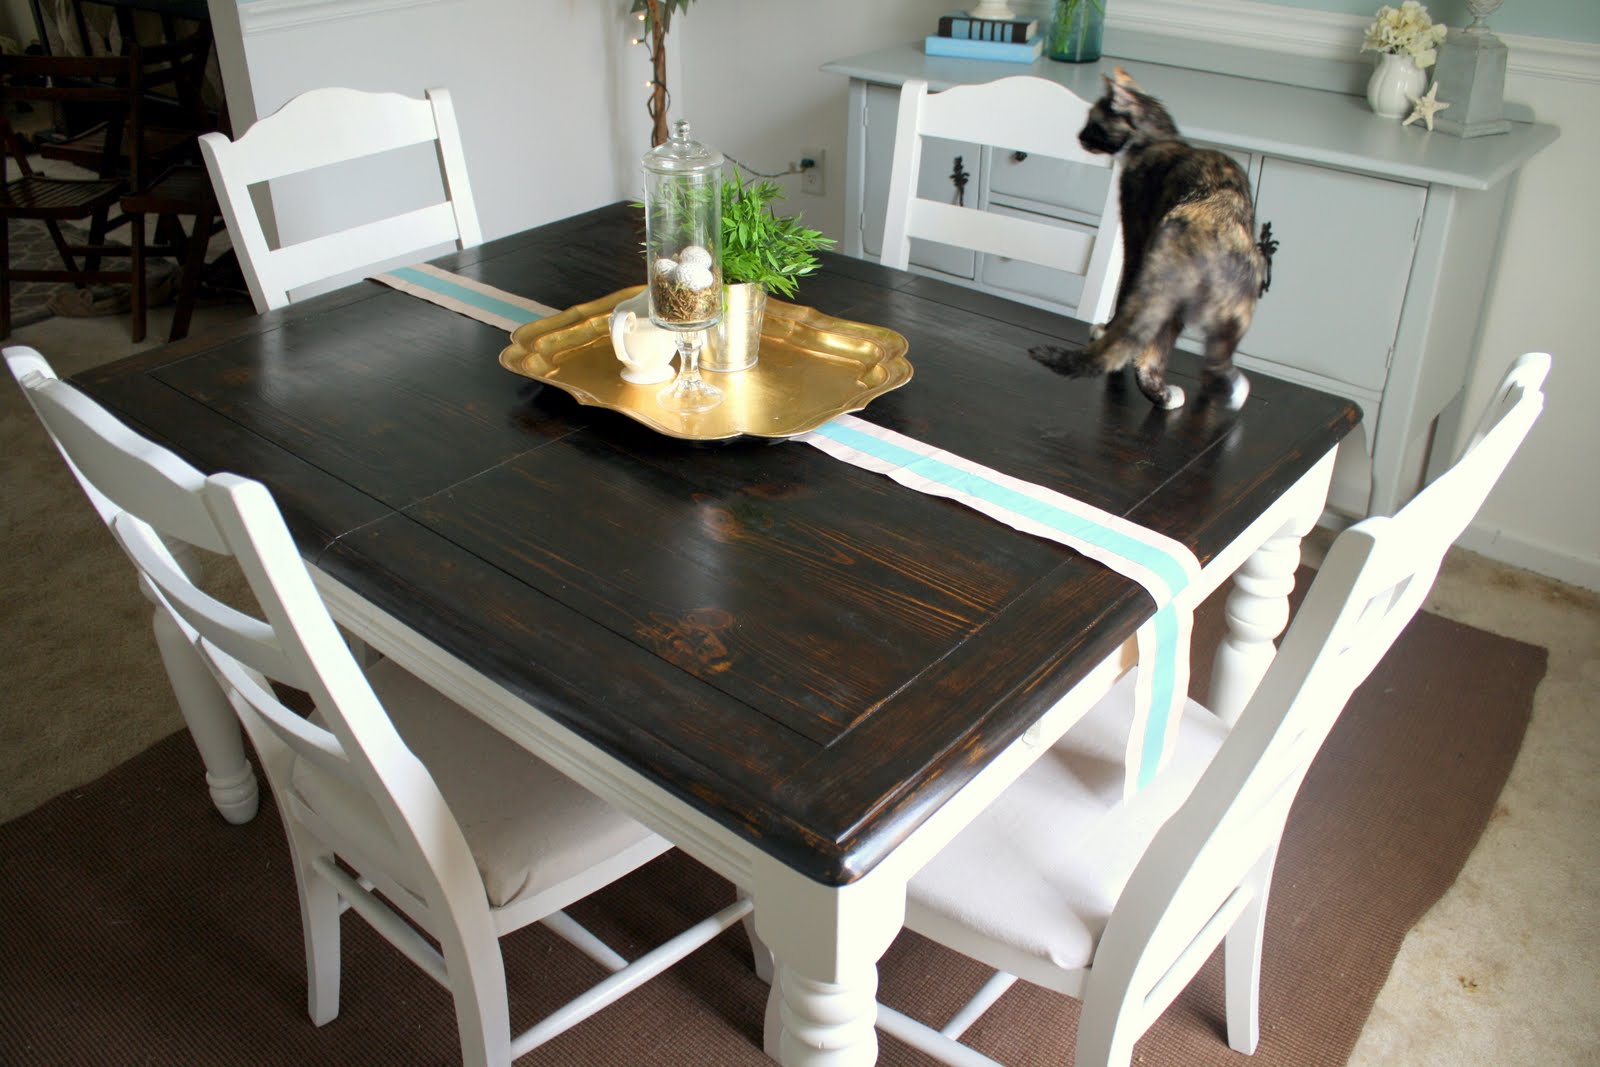
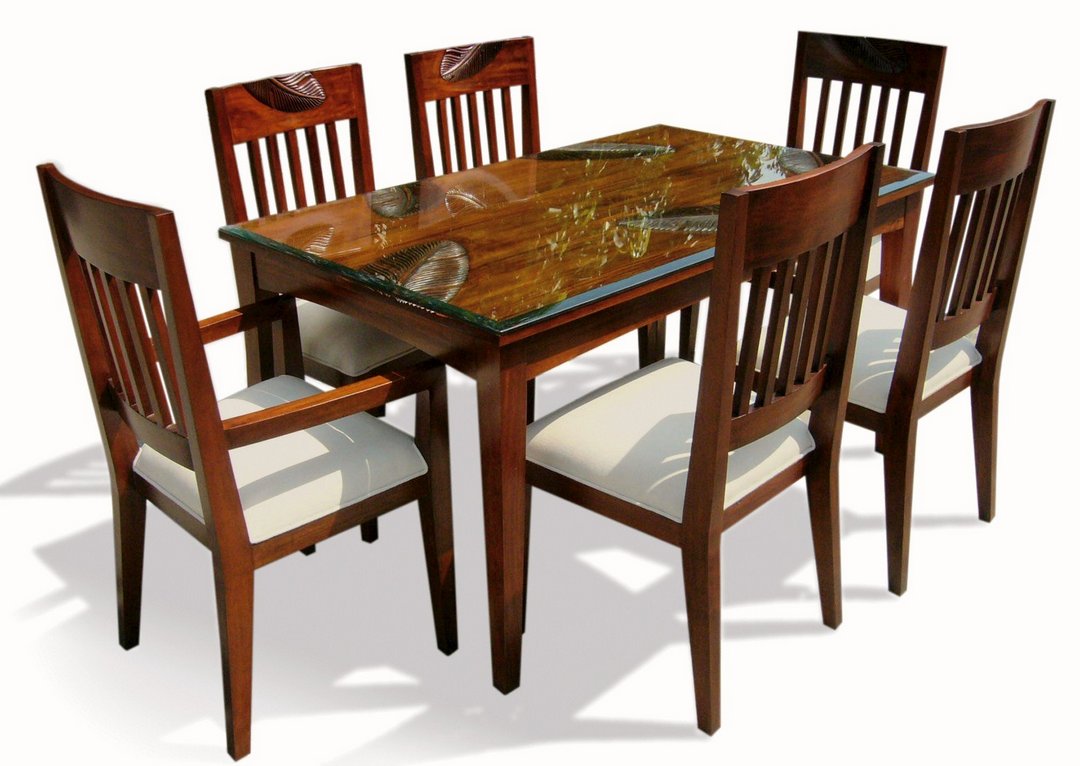
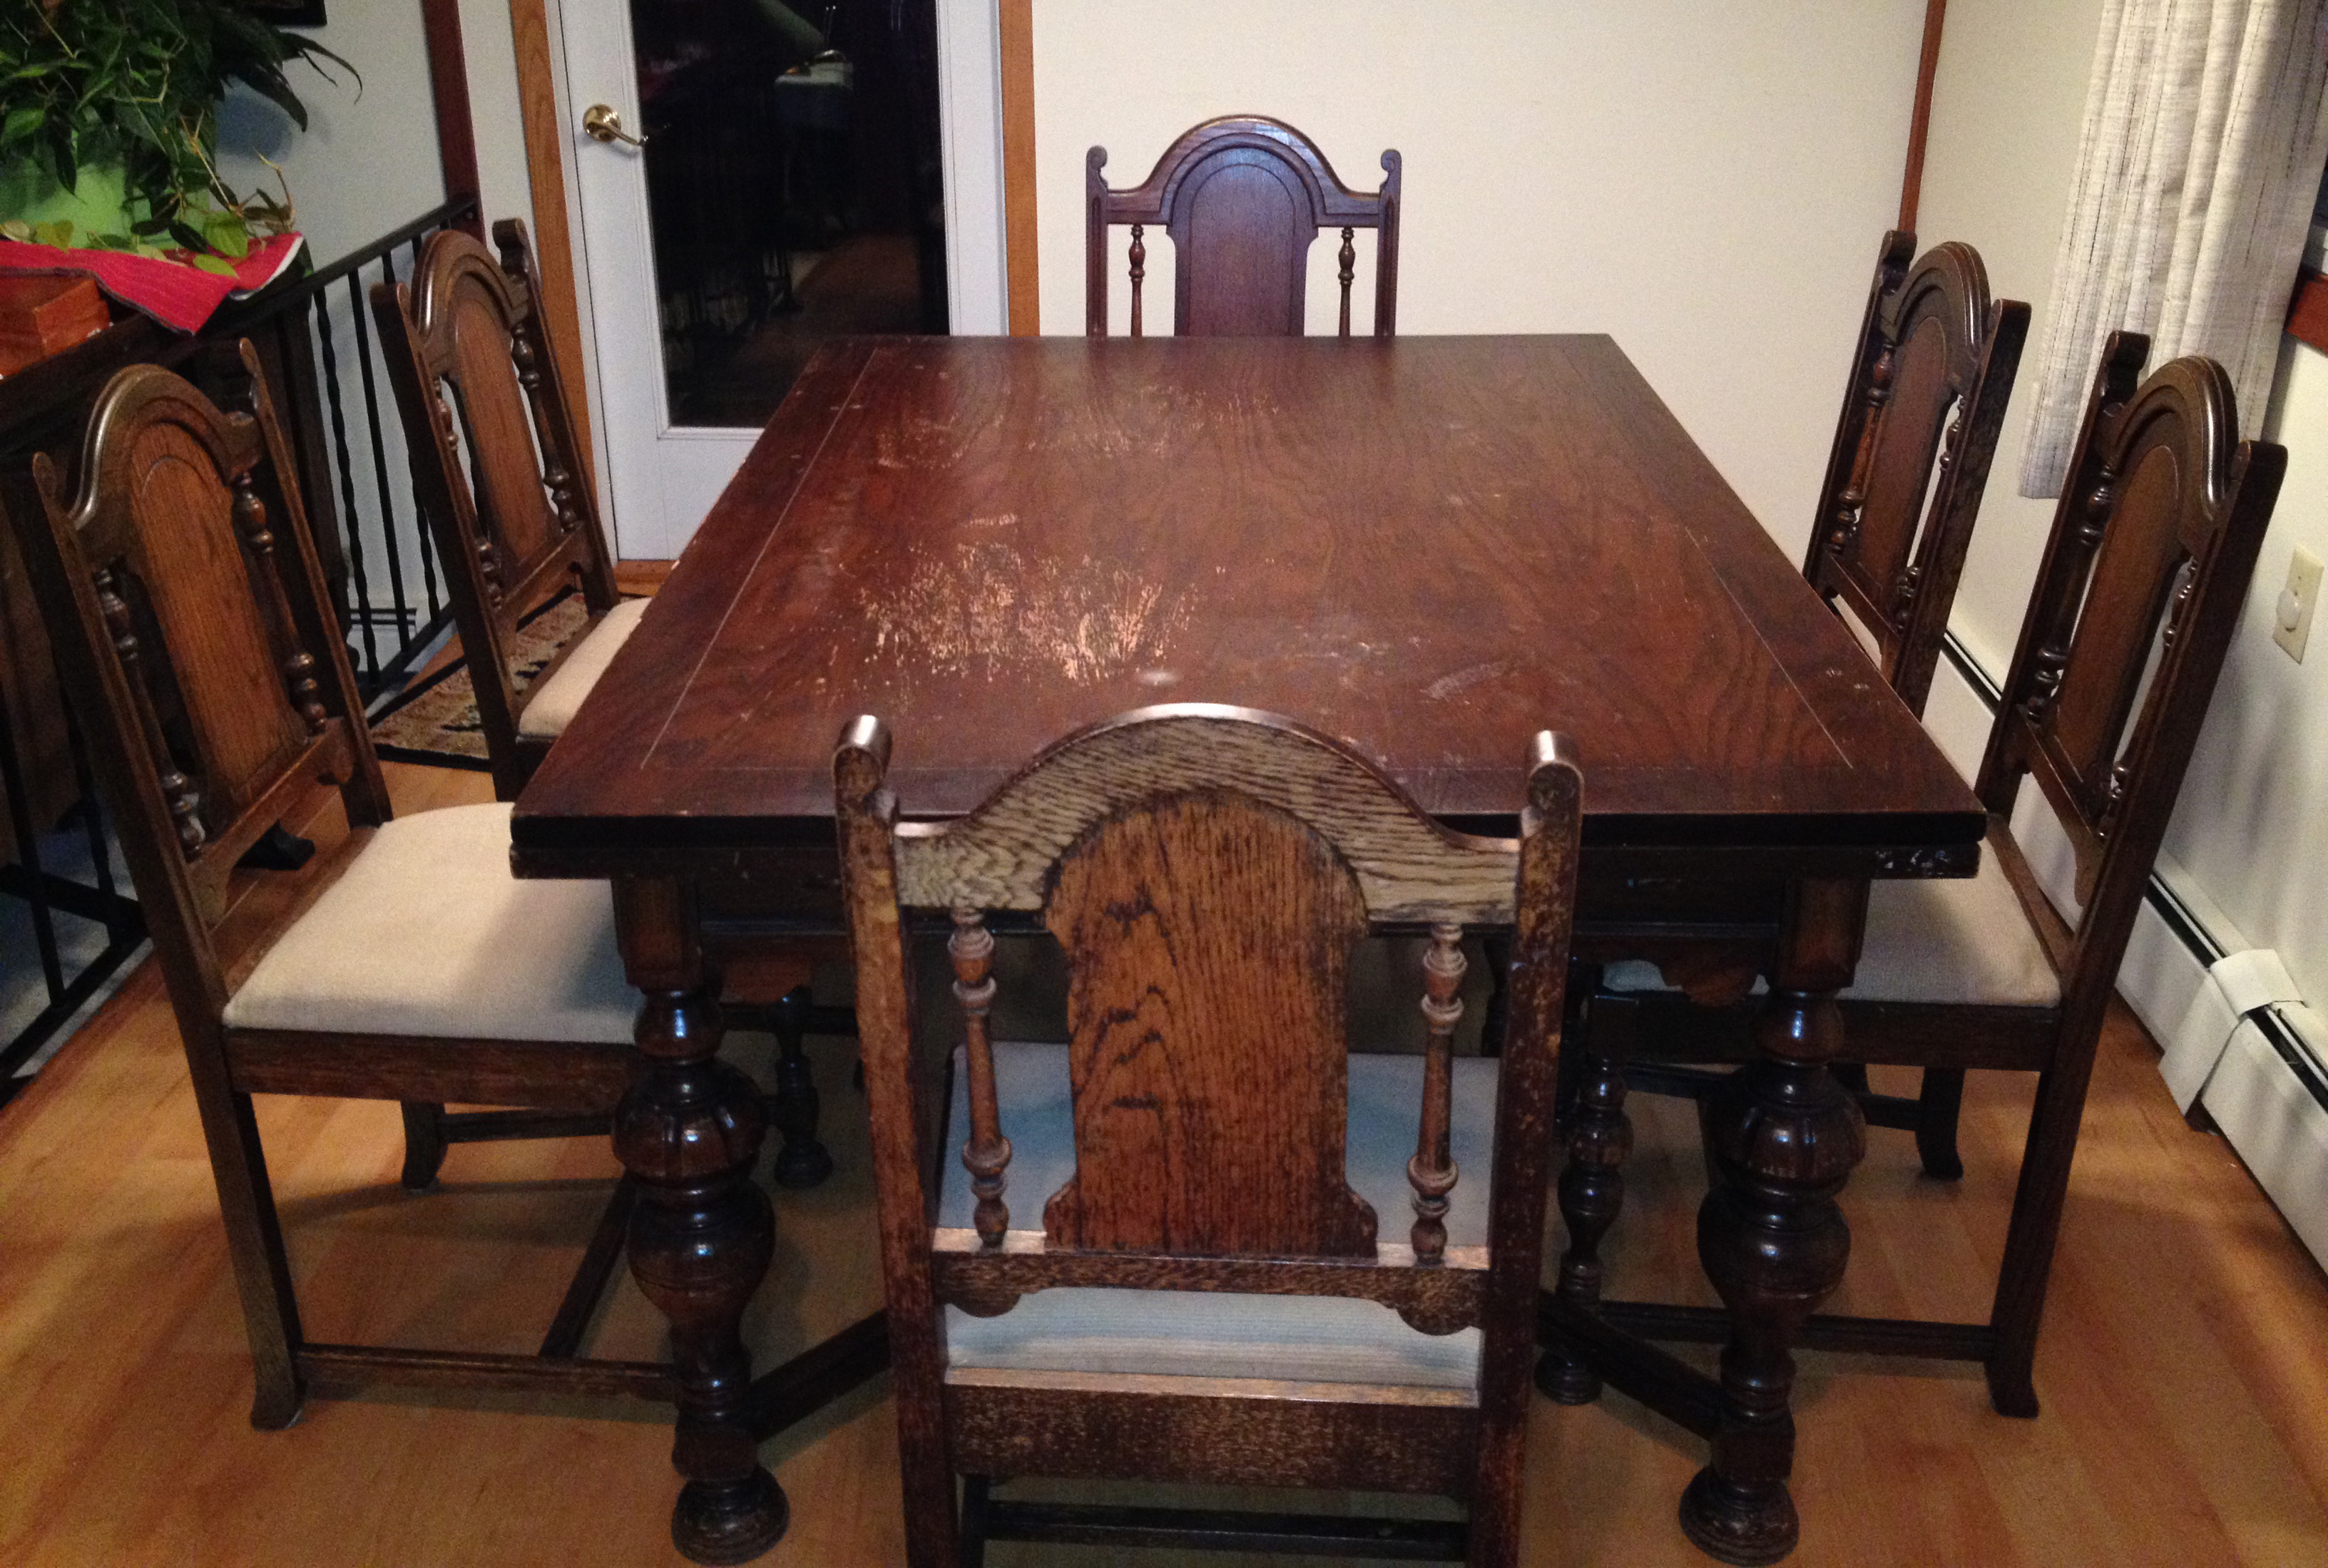
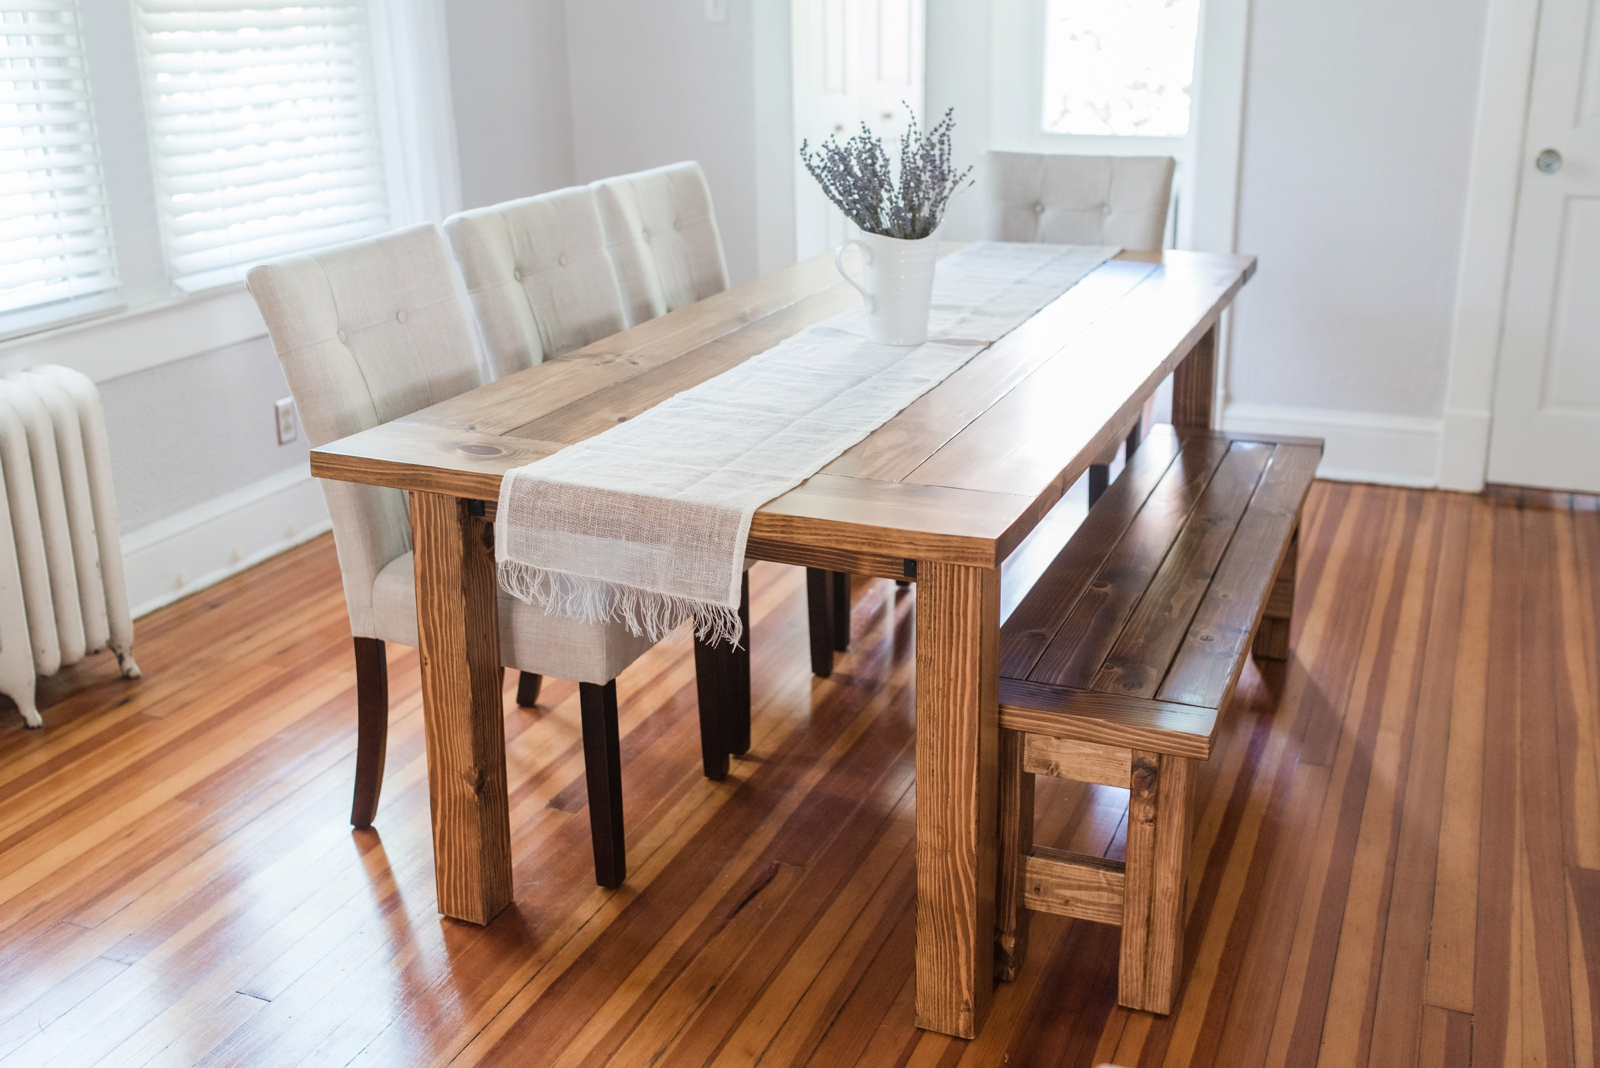
Choosing the right stain for your dining room table can be overwhelming, as there are many options available in the market. Here are some of the best stains for dining room tables: Dark Walnut: This stain gives a rich, dark finish and works well with most types of wood. Golden Oak: This stain gives a warm, golden hue and is perfect for light-colored woods like oak or pine. Espresso: This stain gives a deep, dark brown finish and is ideal for modern or rustic styles. Cherry: This stain gives a warm, reddish tone and works well with cherry or mahogany woods. It's always a good idea to test the stain on a small, inconspicuous area of your table to see how it will look before applying it to the entire surface.Best Stains for Dining Room Tables

Best Stains for Dining Room Tables


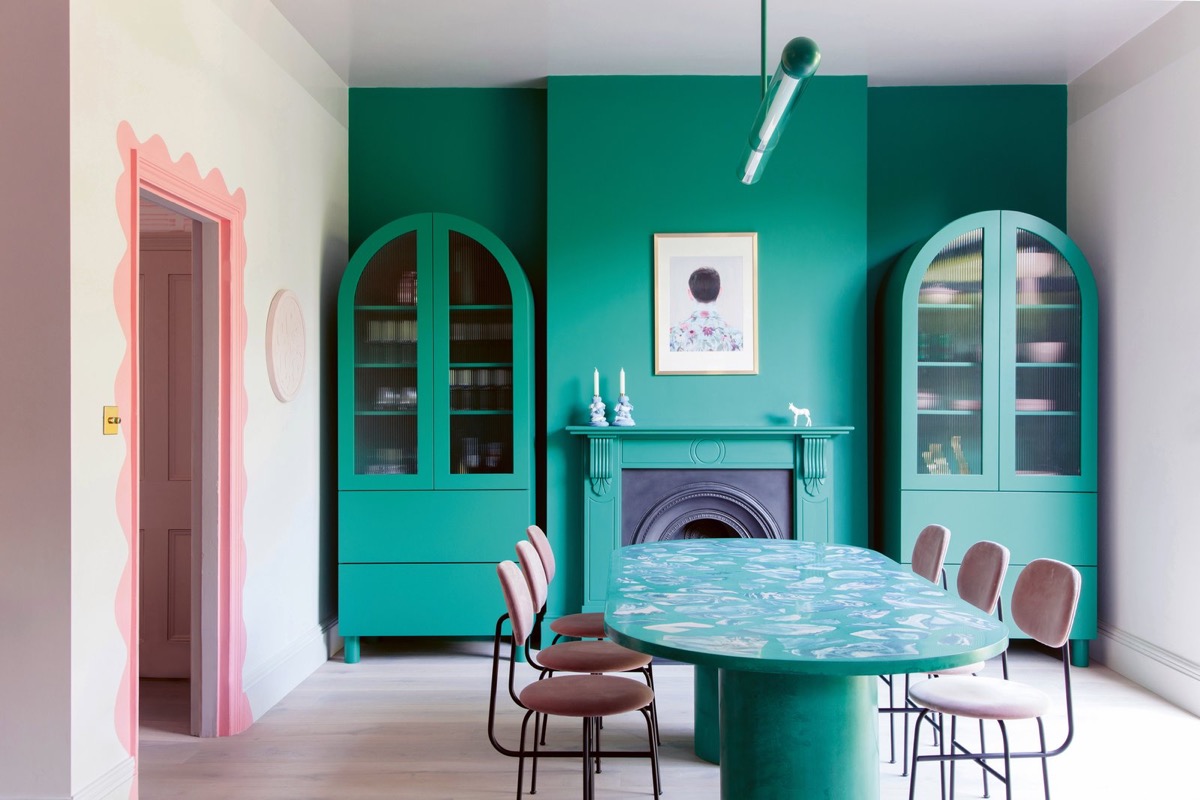
When it comes to updating your dining room table, you may be torn between staining and painting. Both options have their pros and cons, but ultimately it comes down to personal preference and the style you want to achieve. Staining allows the natural beauty of the wood to shine through and gives a more classic and elegant look. On the other hand, painting can give a more modern and bold look, and can also cover any imperfections in the wood. Ultimately, it's up to you to decide which option suits your style and needs best.Staining vs. Painting a Dining Room Table: Which is Better?


Staining vs. Painting a Dining Room Table: Which is Better?


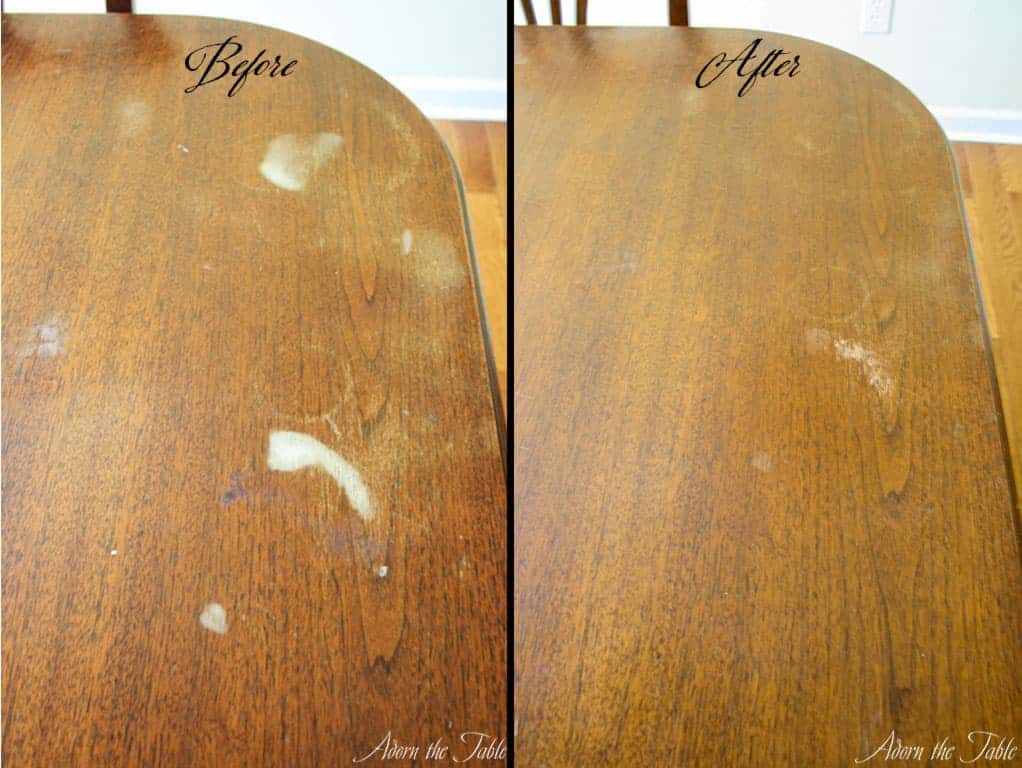
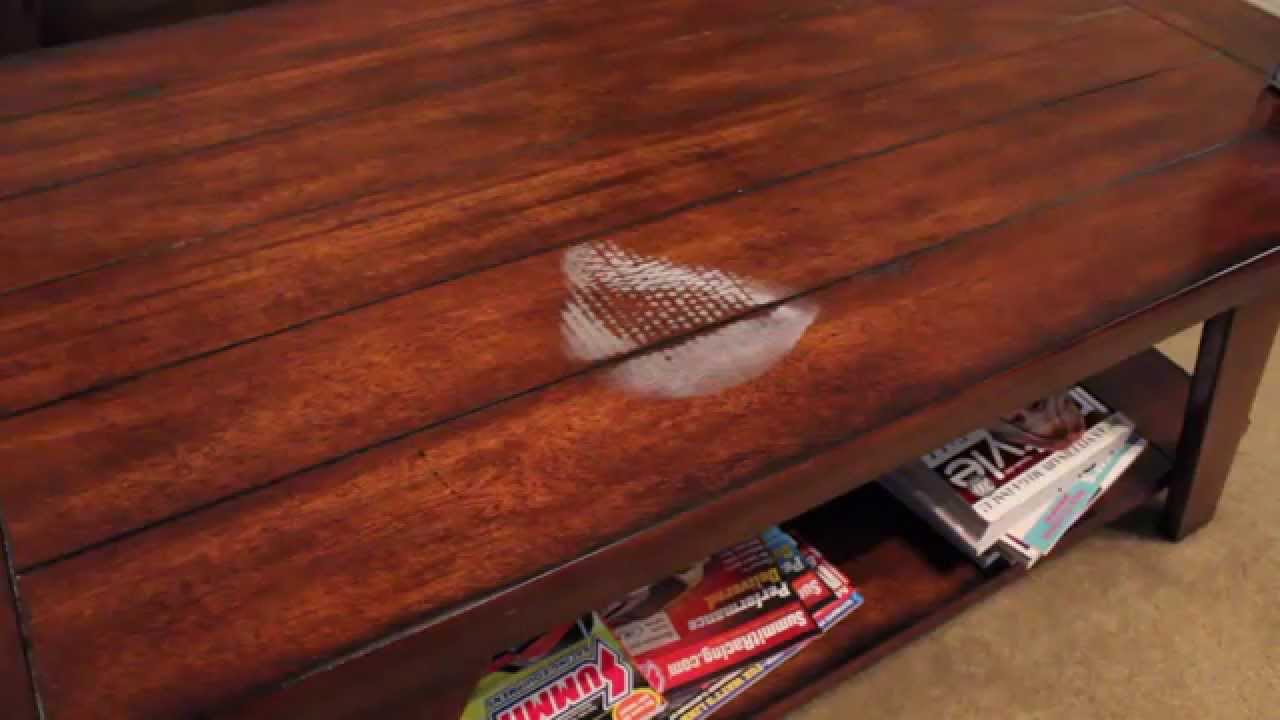
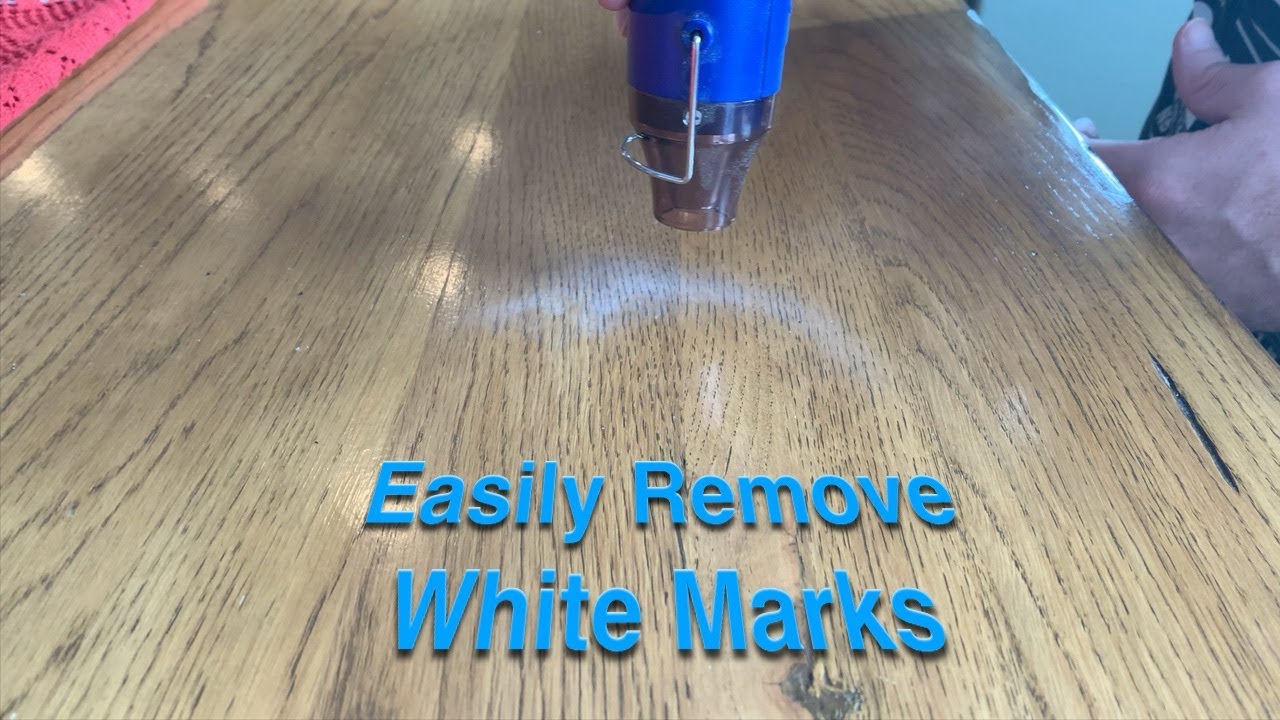
Accidents happen, and your dining room table may get stained from food, drinks, or other substances. Here's how you can remove stains from your dining room table: 1. Water stains: Mix equal parts of baking soda and toothpaste and gently rub it onto the stain. Let it sit for a few minutes, then wipe it off with a damp cloth. 2. Ink stains: Apply rubbing alcohol or nail polish remover to a clean cloth and gently blot the stain. Be careful not to rub, as it can spread the ink further. 3. Heat stains: Place a clean, dry cloth over the stain and iron over it on a low setting. The heat will help lift the stain from the wood. If these methods don't work, you can try using a wood stain remover or consulting a professional for help.How to Remove Stains from a Dining Room Table


How to Remove Stains from a Dining Room Table


Here are some additional tips and tricks to keep in mind when staining your dining room table: Work in a well-ventilated area: Stains and sealants can have strong fumes, so it's important to work in a well-ventilated area to avoid inhaling them. Protect your skin and eyes: Wear gloves and safety glasses to protect your skin and eyes from any chemicals or debris. Apply multiple coats: Depending on the color and finish you want to achieve, you may need to apply multiple coats of stain and sealant. Sand in between coats: Sanding in between coats of stain and sealant will help achieve a smoother finish and remove any imperfections. Take your time: Staining a dining room table is a time-consuming process, so be patient and don't rush through it for the best results.Staining a Dining Room Table: Tips and Tricks

Staining a Dining Room Table: Tips and Tricks


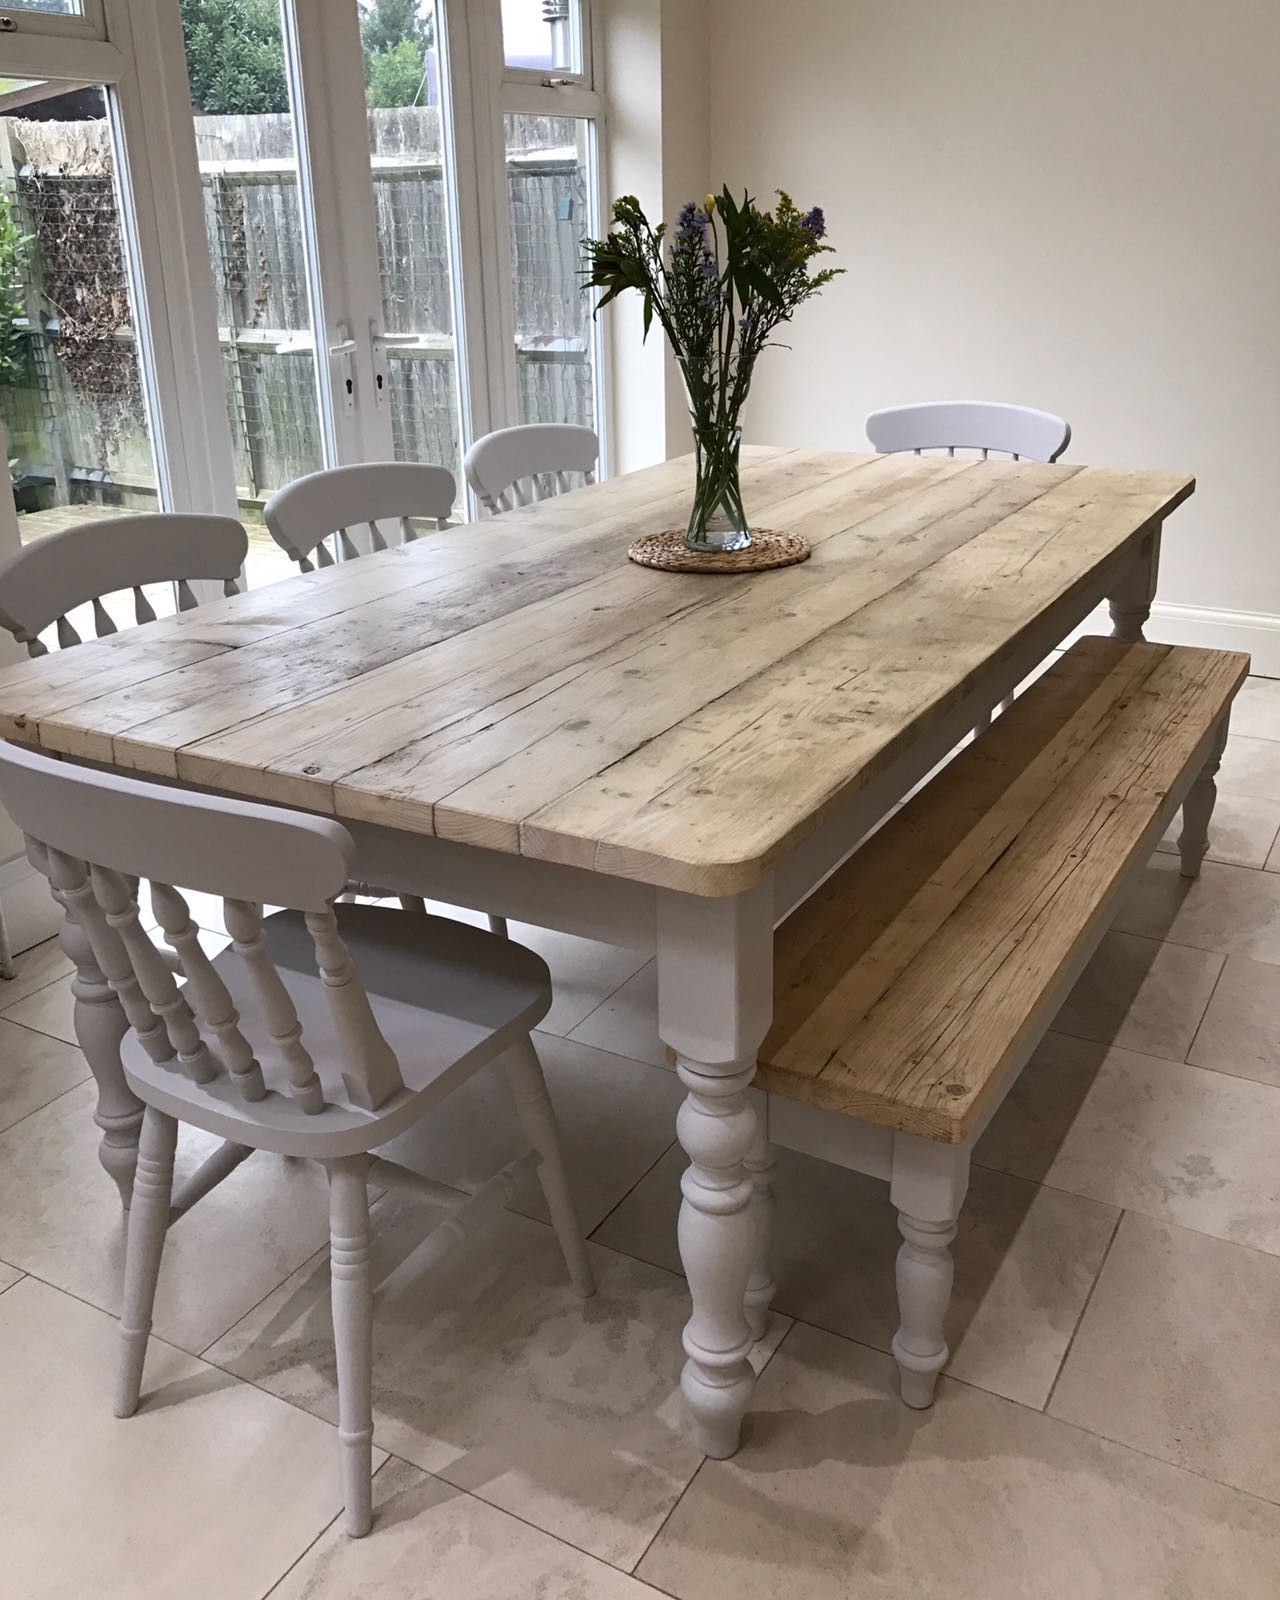
Staining your dining room table not only gives it a new and updated look but also comes with several benefits: Protection: Stain helps protect the wood from damage, such as scratches, water marks, and fading from sunlight. Customization: With a wide range of stain colors and finishes available, you can customize your dining room table to match your style and décor. Cost-effective: Refinishing a dining room table with stain is a cost-effective way to update your furniture without having to buy a new one. Preserves the natural beauty of the wood: Unlike painting, staining allows the natural grains and patterns of the wood to show through, adding character and charm to your table.The Benefits of Staining Your Dining Room Table


The Benefits of Staining Your Dining Room Table


/dining-room-table-decor-ideas-21-mindy-gayer-marigold-project-6a8c8379f8c94eb785747e3305803588.jpg)


Staining a dining room table may seem like a simple process, but there are some common mistakes that you should avoid to achieve the best results: Not preparing the surface properly: Skipping the sanding process or not wiping down the table before staining can lead to an uneven finish. Not following the directions: Each stain and sealant may have different instructions, so it's important to carefully read and follow them for the best results. Using the wrong type of stain: Different types of wood and finishes require different types of stain, so be sure to choose the right one for your dining room table. Not allowing enough drying time: Rushing through the drying process can lead to a sticky or uneven finish, so be patient and allow each coat to dry completely before moving on to the next step.Staining a Dining Room Table: Common Mistakes to Avoid

Staining a Dining Room Table: Common Mistakes to Avoid
When selecting a stain for your dining room table, there are a few factors to consider: Wood type: The type of wood your table is made of will affect how the stain will look, so it's important to test the stain on a small area first to see how it will react. Existing finish: If your table already has a finish, you'll need to remove it before staining. It's important to choose a stain that will work with the type of finish you're removing. Desired color and finish: Stains come in a variety of colors and finishes, so consider the overall look you want to achieve and choose a stain that will complement your space. By considering these factors, you can choose the right stain for your dining room table and achieve a beautiful and long-lasting finish. Now that you have all the information and tips you need, you can confidently tackle staining your dining room table and give it a new lease on life. Remember to take your time, follow the steps carefully, and have fun transforming your table into a stunning centerpiece for your dining room.How to Choose the Right Stain for Your Dining Room Table


How to Choose the Right Stain for Your Dining Room Table


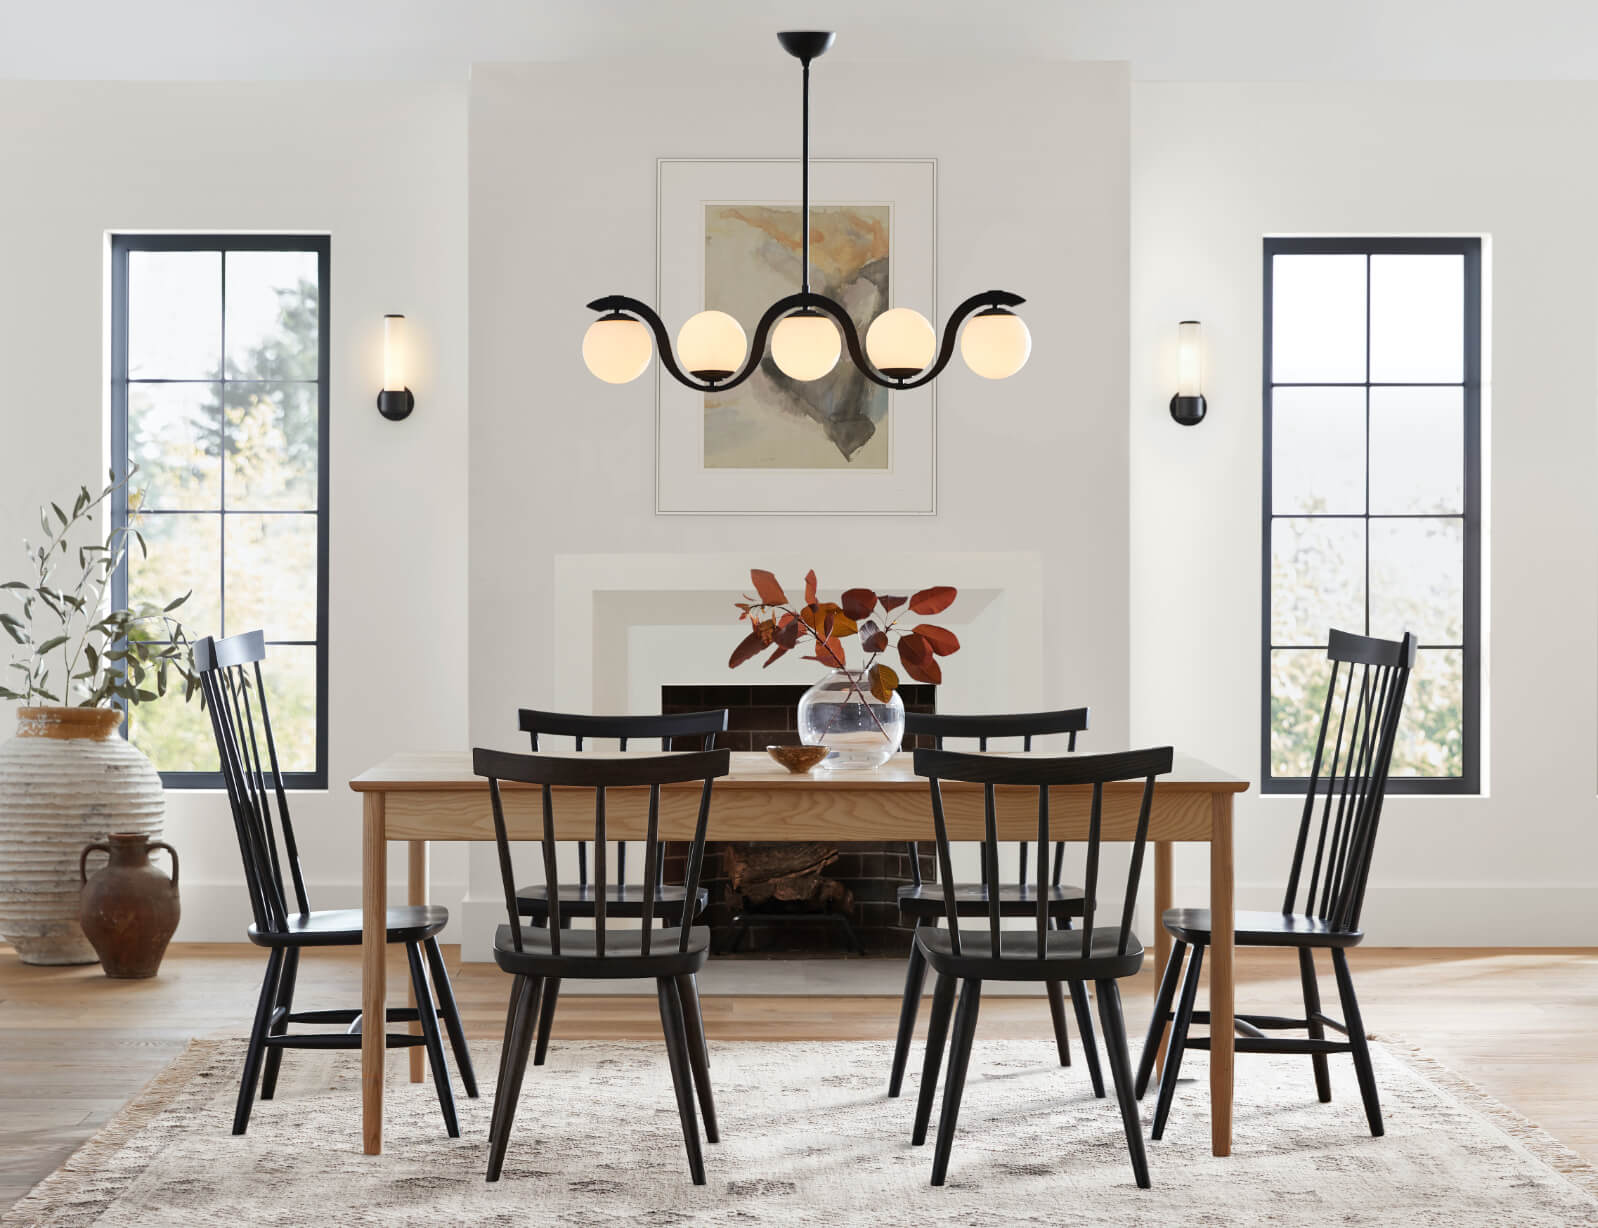


How to Give Your Dining Room Table a Fresh Look with Staining
Why Stain Your Dining Room Table?
 Staining your dining room table is a great way to give it a fresh, new look. Over time, wooden tables can become worn and dull, making your dining room look outdated and tired. By staining your table, you can bring new life to it and transform the entire room. Additionally, staining can also help protect your table from everyday wear and tear, extending its lifespan and saving you money in the long run.
Choosing the Right Stain
 When it comes to staining your dining room table, there are a variety of stain options available. The most common types of stains are oil-based, water-based, and gel stains. Oil-based stains are the most durable and provide a rich, deep color, but they also take longer to dry. Water-based stains dry quickly and are environmentally friendly, but they don't penetrate the wood as deeply as oil-based stains. Gel stains are thicker in consistency, making them easier to apply and control, but they don't have as many color options as the other types of stains.
When choosing a stain, consider the color and finish you want, as well as the type of wood your table is made of.
This will help you narrow down your options and find the perfect stain for your dining room table.
When it comes to staining your dining room table, there are a variety of stain options available. The most common types of stains are oil-based, water-based, and gel stains. Oil-based stains are the most durable and provide a rich, deep color, but they also take longer to dry. Water-based stains dry quickly and are environmentally friendly, but they don't penetrate the wood as deeply as oil-based stains. Gel stains are thicker in consistency, making them easier to apply and control, but they don't have as many color options as the other types of stains.
When choosing a stain, consider the color and finish you want, as well as the type of wood your table is made of.
This will help you narrow down your options and find the perfect stain for your dining room table.
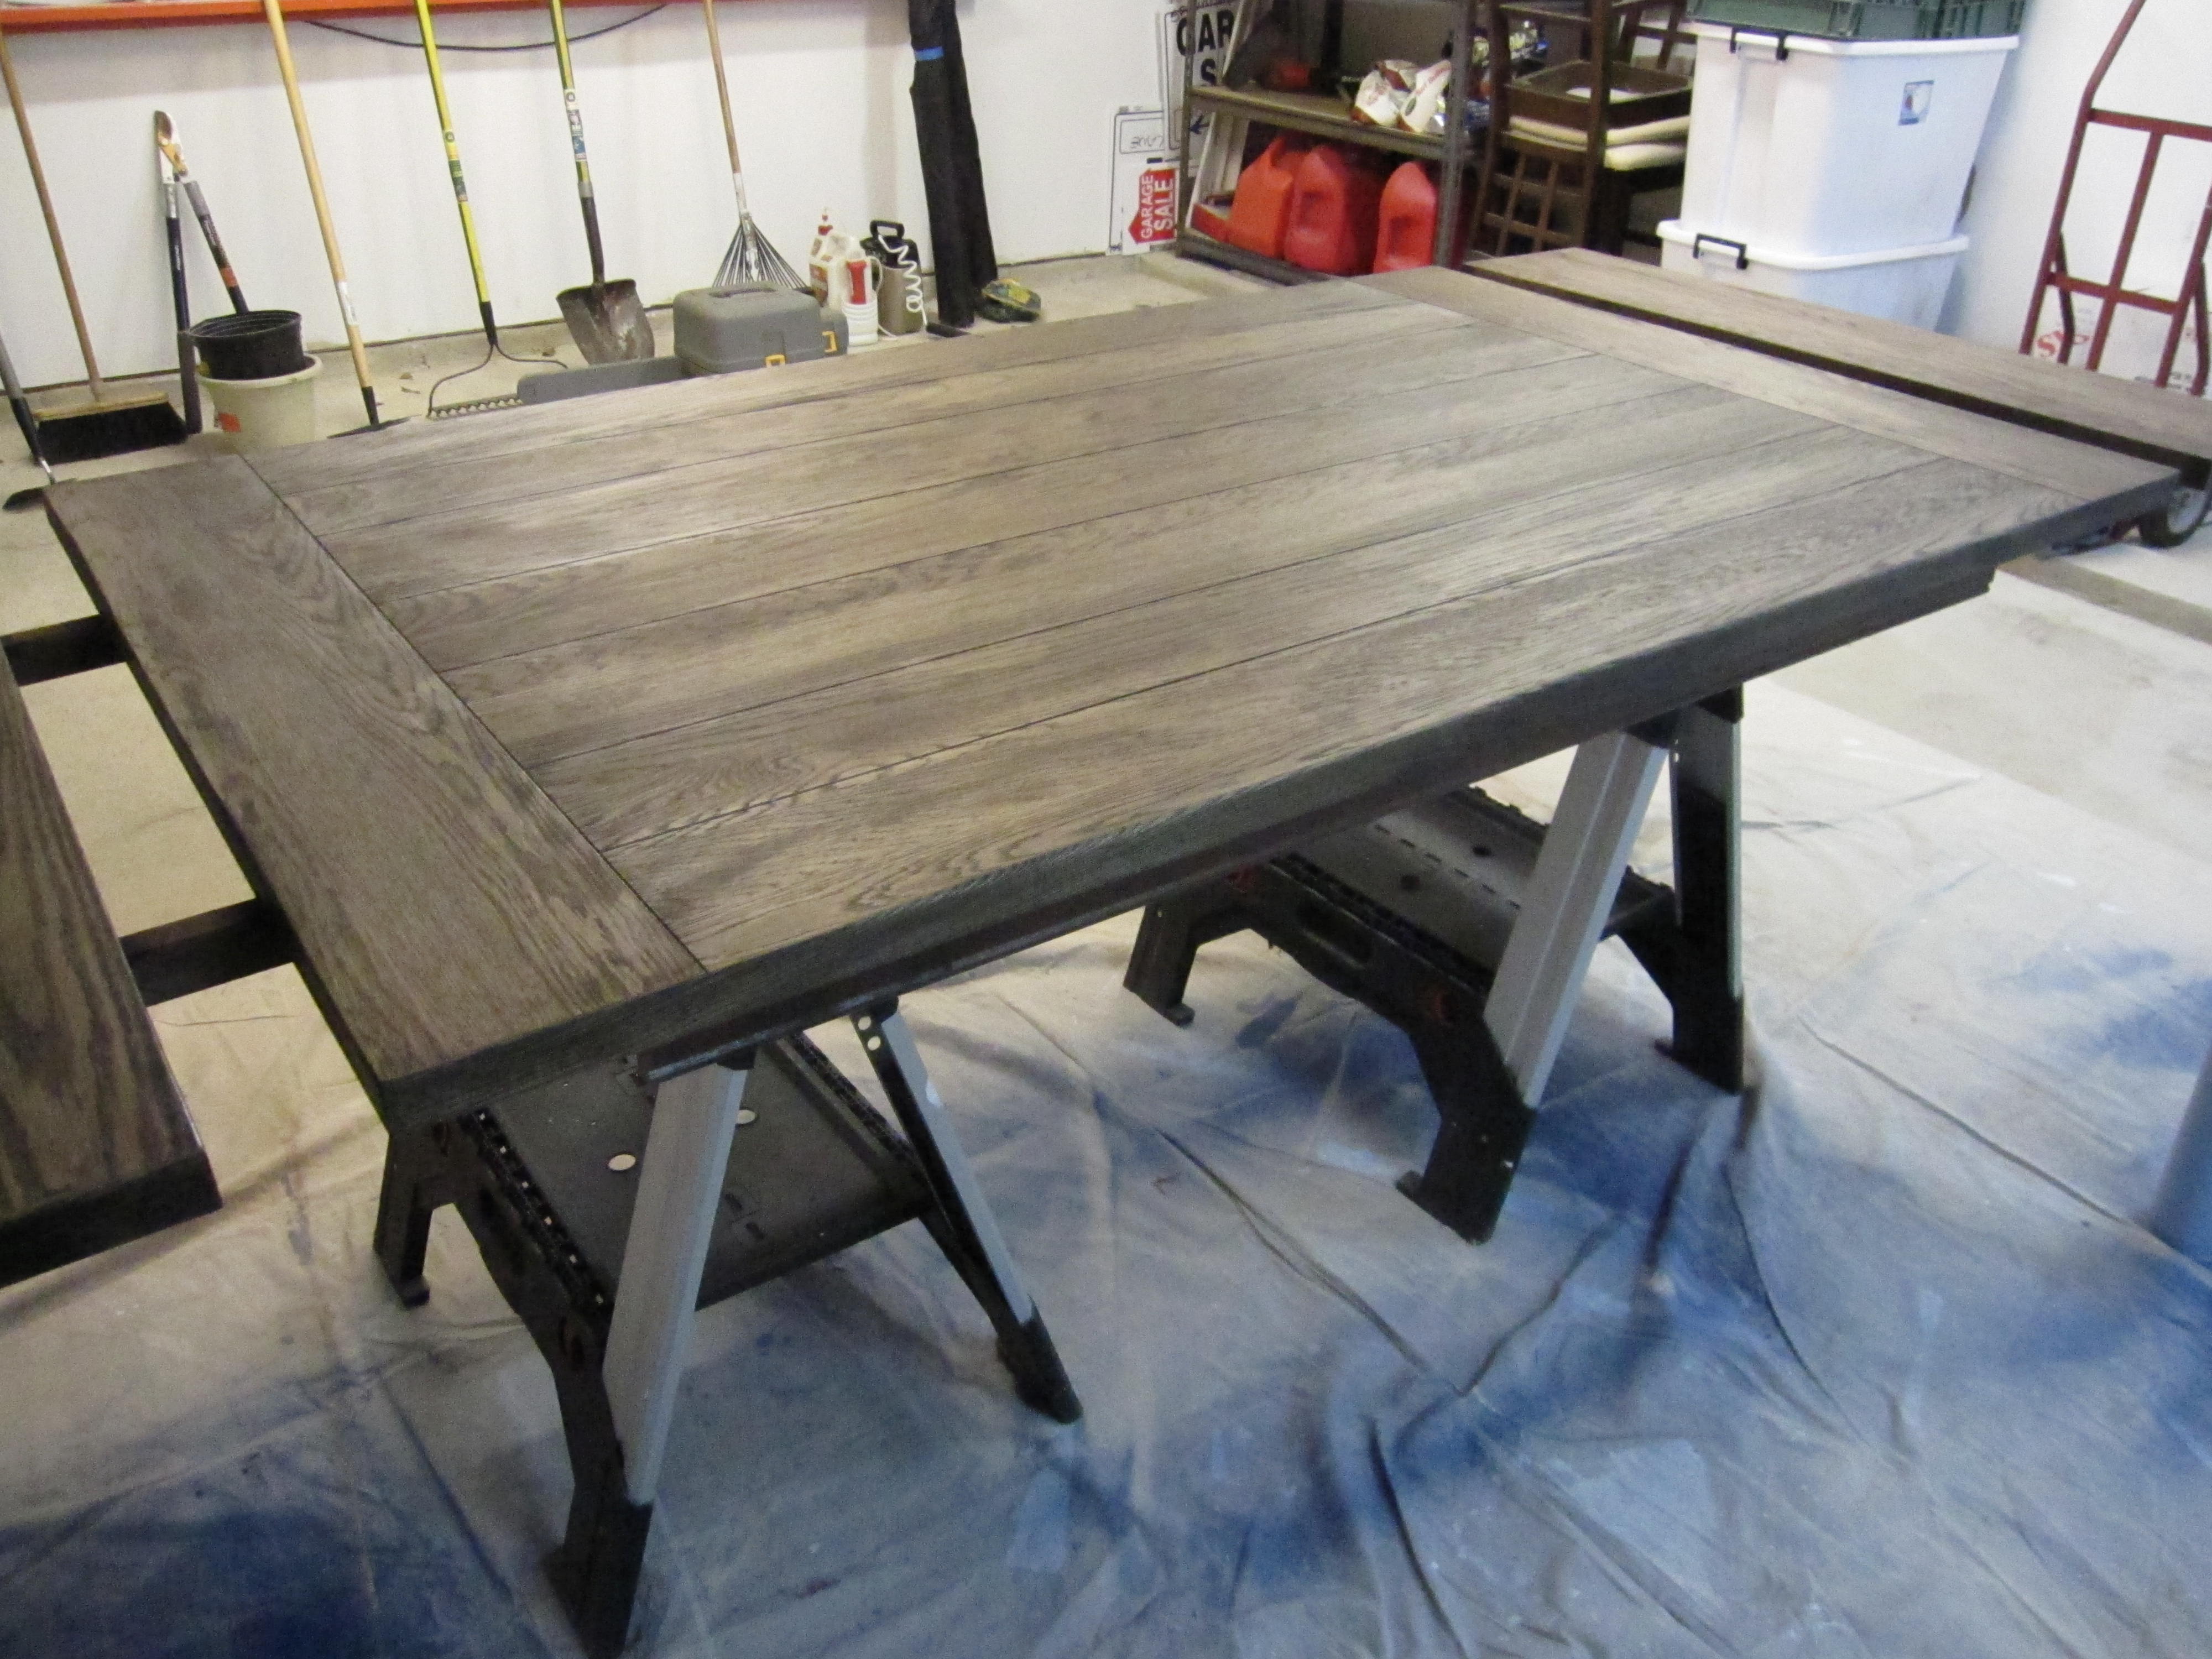
Preparing Your Table for Staining
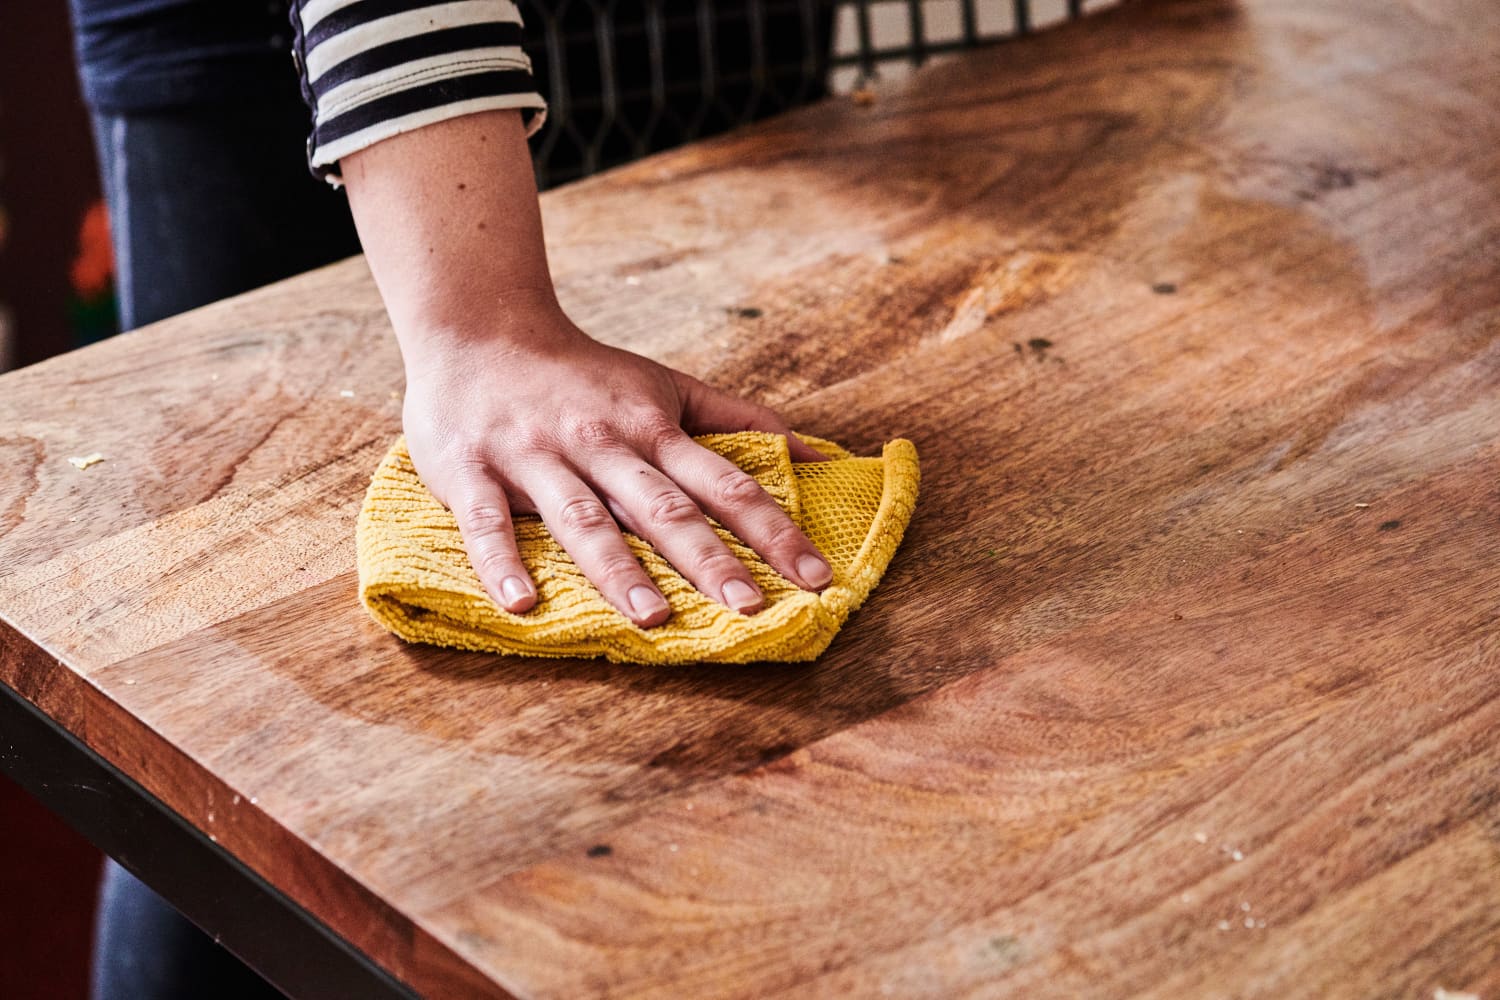
 Before you begin staining, make sure to properly prepare your table. This includes sanding down the surface to remove any existing finish or imperfections, and wiping it down with a damp cloth to remove any dust. If there are any scratches or dings on the table, use wood filler to fill them in and sand them down for a smooth surface.
It is also important to protect the surrounding area by covering the floor and any nearby furniture, as well as wearing protective gear such as gloves and a mask.
This will prevent any accidental staining and keep you safe from harmful fumes.
Before you begin staining, make sure to properly prepare your table. This includes sanding down the surface to remove any existing finish or imperfections, and wiping it down with a damp cloth to remove any dust. If there are any scratches or dings on the table, use wood filler to fill them in and sand them down for a smooth surface.
It is also important to protect the surrounding area by covering the floor and any nearby furniture, as well as wearing protective gear such as gloves and a mask.
This will prevent any accidental staining and keep you safe from harmful fumes.
Applying the Stain
 When it comes to applying the stain, there are a few different methods you can use. You can use a brush, cloth, or sponge, depending on the type of stain and the desired effect.
Whichever method you choose, make sure to apply the stain in the direction of the wood grain for a smooth and even finish.
You may need to apply multiple coats to achieve the desired color, so be patient and allow each coat to dry completely before applying the next.
When it comes to applying the stain, there are a few different methods you can use. You can use a brush, cloth, or sponge, depending on the type of stain and the desired effect.
Whichever method you choose, make sure to apply the stain in the direction of the wood grain for a smooth and even finish.
You may need to apply multiple coats to achieve the desired color, so be patient and allow each coat to dry completely before applying the next.
Finishing Touches
 Once the stain has fully dried, you can add a protective top coat to your table. This will help seal in the stain and protect the wood from damage. There are a variety of top coat options available, such as polyurethane or wax.
Choose a top coat that is compatible with the type of stain you used for the best results.
Apply the top coat in thin, even layers and allow it to dry completely before using your newly stained dining room table.
In conclusion, staining your dining room table is a simple and cost-effective way to refresh your home's interior design. By choosing the right stain, properly preparing your table, and applying the stain correctly, you can achieve a beautiful and long-lasting finish that will enhance the overall look of your dining room. Plus, with the added protection from wear and tear, your stained table will continue to impress for years to come. So go ahead and give your dining room table a fresh look with a new stain.
Once the stain has fully dried, you can add a protective top coat to your table. This will help seal in the stain and protect the wood from damage. There are a variety of top coat options available, such as polyurethane or wax.
Choose a top coat that is compatible with the type of stain you used for the best results.
Apply the top coat in thin, even layers and allow it to dry completely before using your newly stained dining room table.
In conclusion, staining your dining room table is a simple and cost-effective way to refresh your home's interior design. By choosing the right stain, properly preparing your table, and applying the stain correctly, you can achieve a beautiful and long-lasting finish that will enhance the overall look of your dining room. Plus, with the added protection from wear and tear, your stained table will continue to impress for years to come. So go ahead and give your dining room table a fresh look with a new stain.