If your kitchen sink sprayer is leaking, one of the most common solutions is to replace the sprayer head. This can be done easily and quickly, without the need for any special tools. Simply unscrew the old sprayer head and screw on the new one. Make sure to use a high-quality replacement head to ensure a long-lasting fix for your leaking sprayer. leaking kitchen sink sprayer, replace sprayer head, easy fix, high-quality replacement1. Kitchen Sink Sprayer Head Replacement


1. Kitchen Sink Sprayer Head Replacement


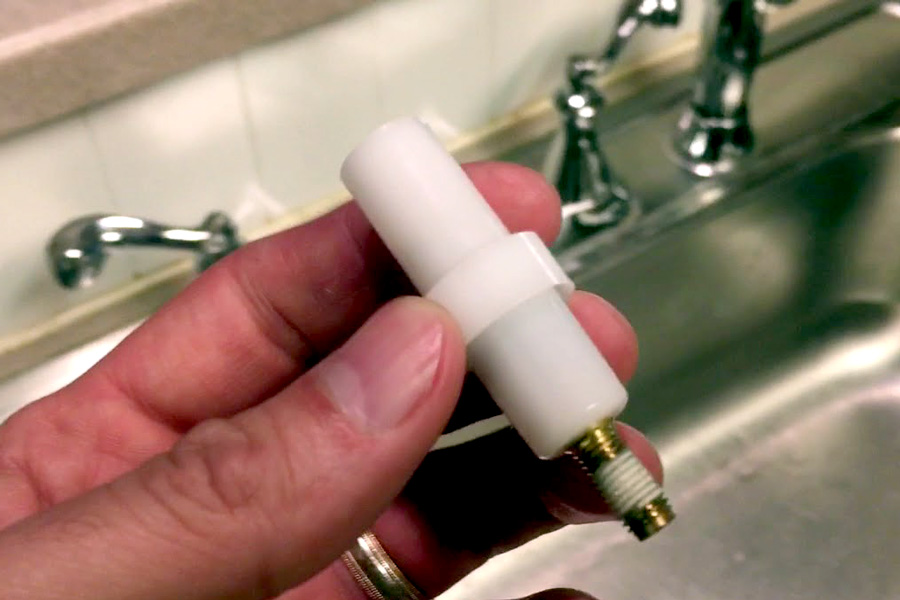
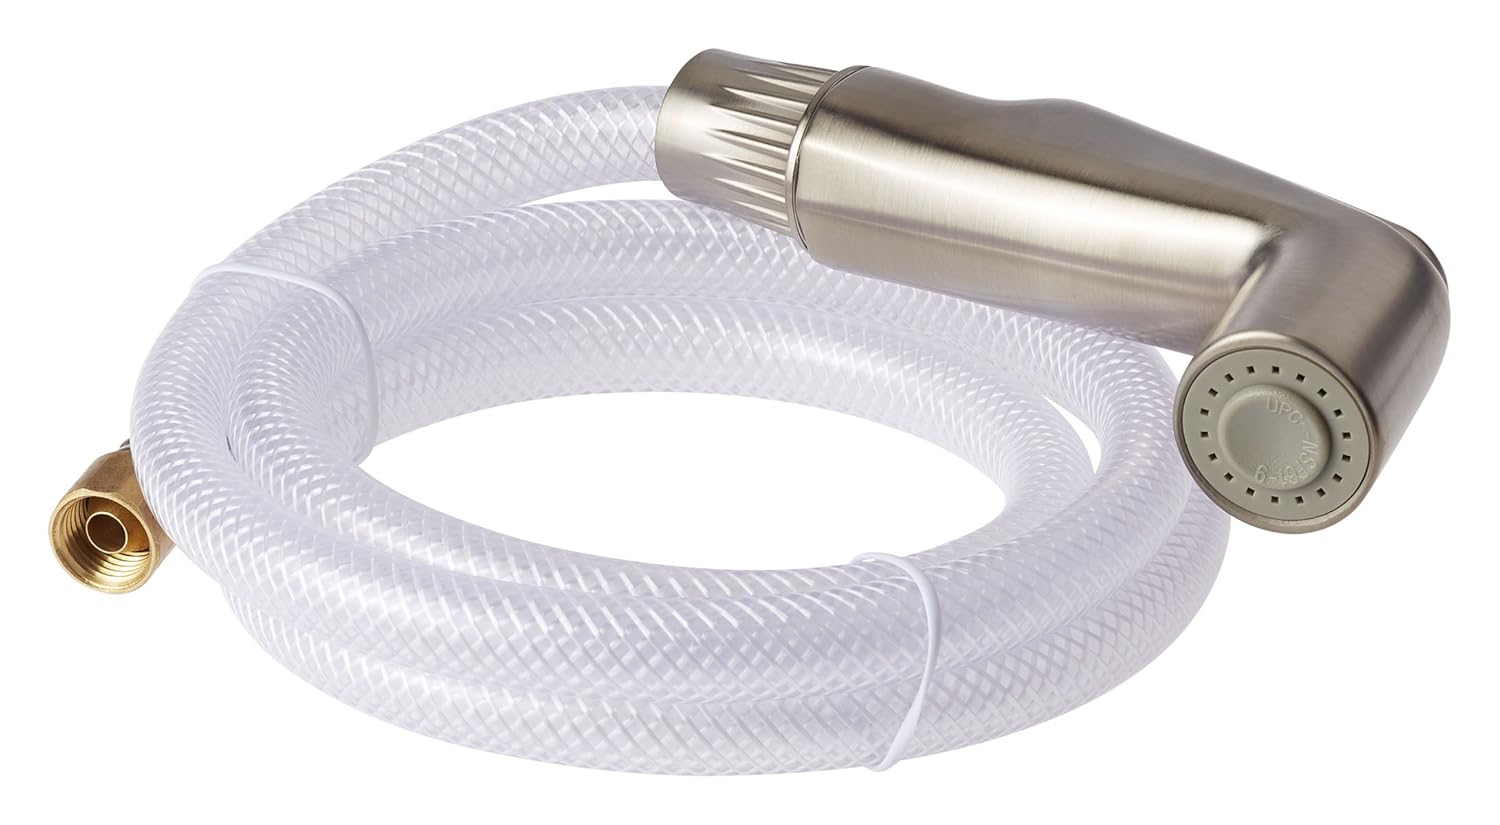
Another common cause of a leaking kitchen sink sprayer is a damaged or worn out hose. This can happen over time due to regular use or from wear and tear. To replace the hose, you will need to disconnect it from both the sprayer head and the water supply under the sink. Then, simply attach the new hose and reattach the sprayer head to complete the fix. damaged hose, regular use, wear and tear, disconnect, reattach2. Kitchen Sink Sprayer Hose Replacement

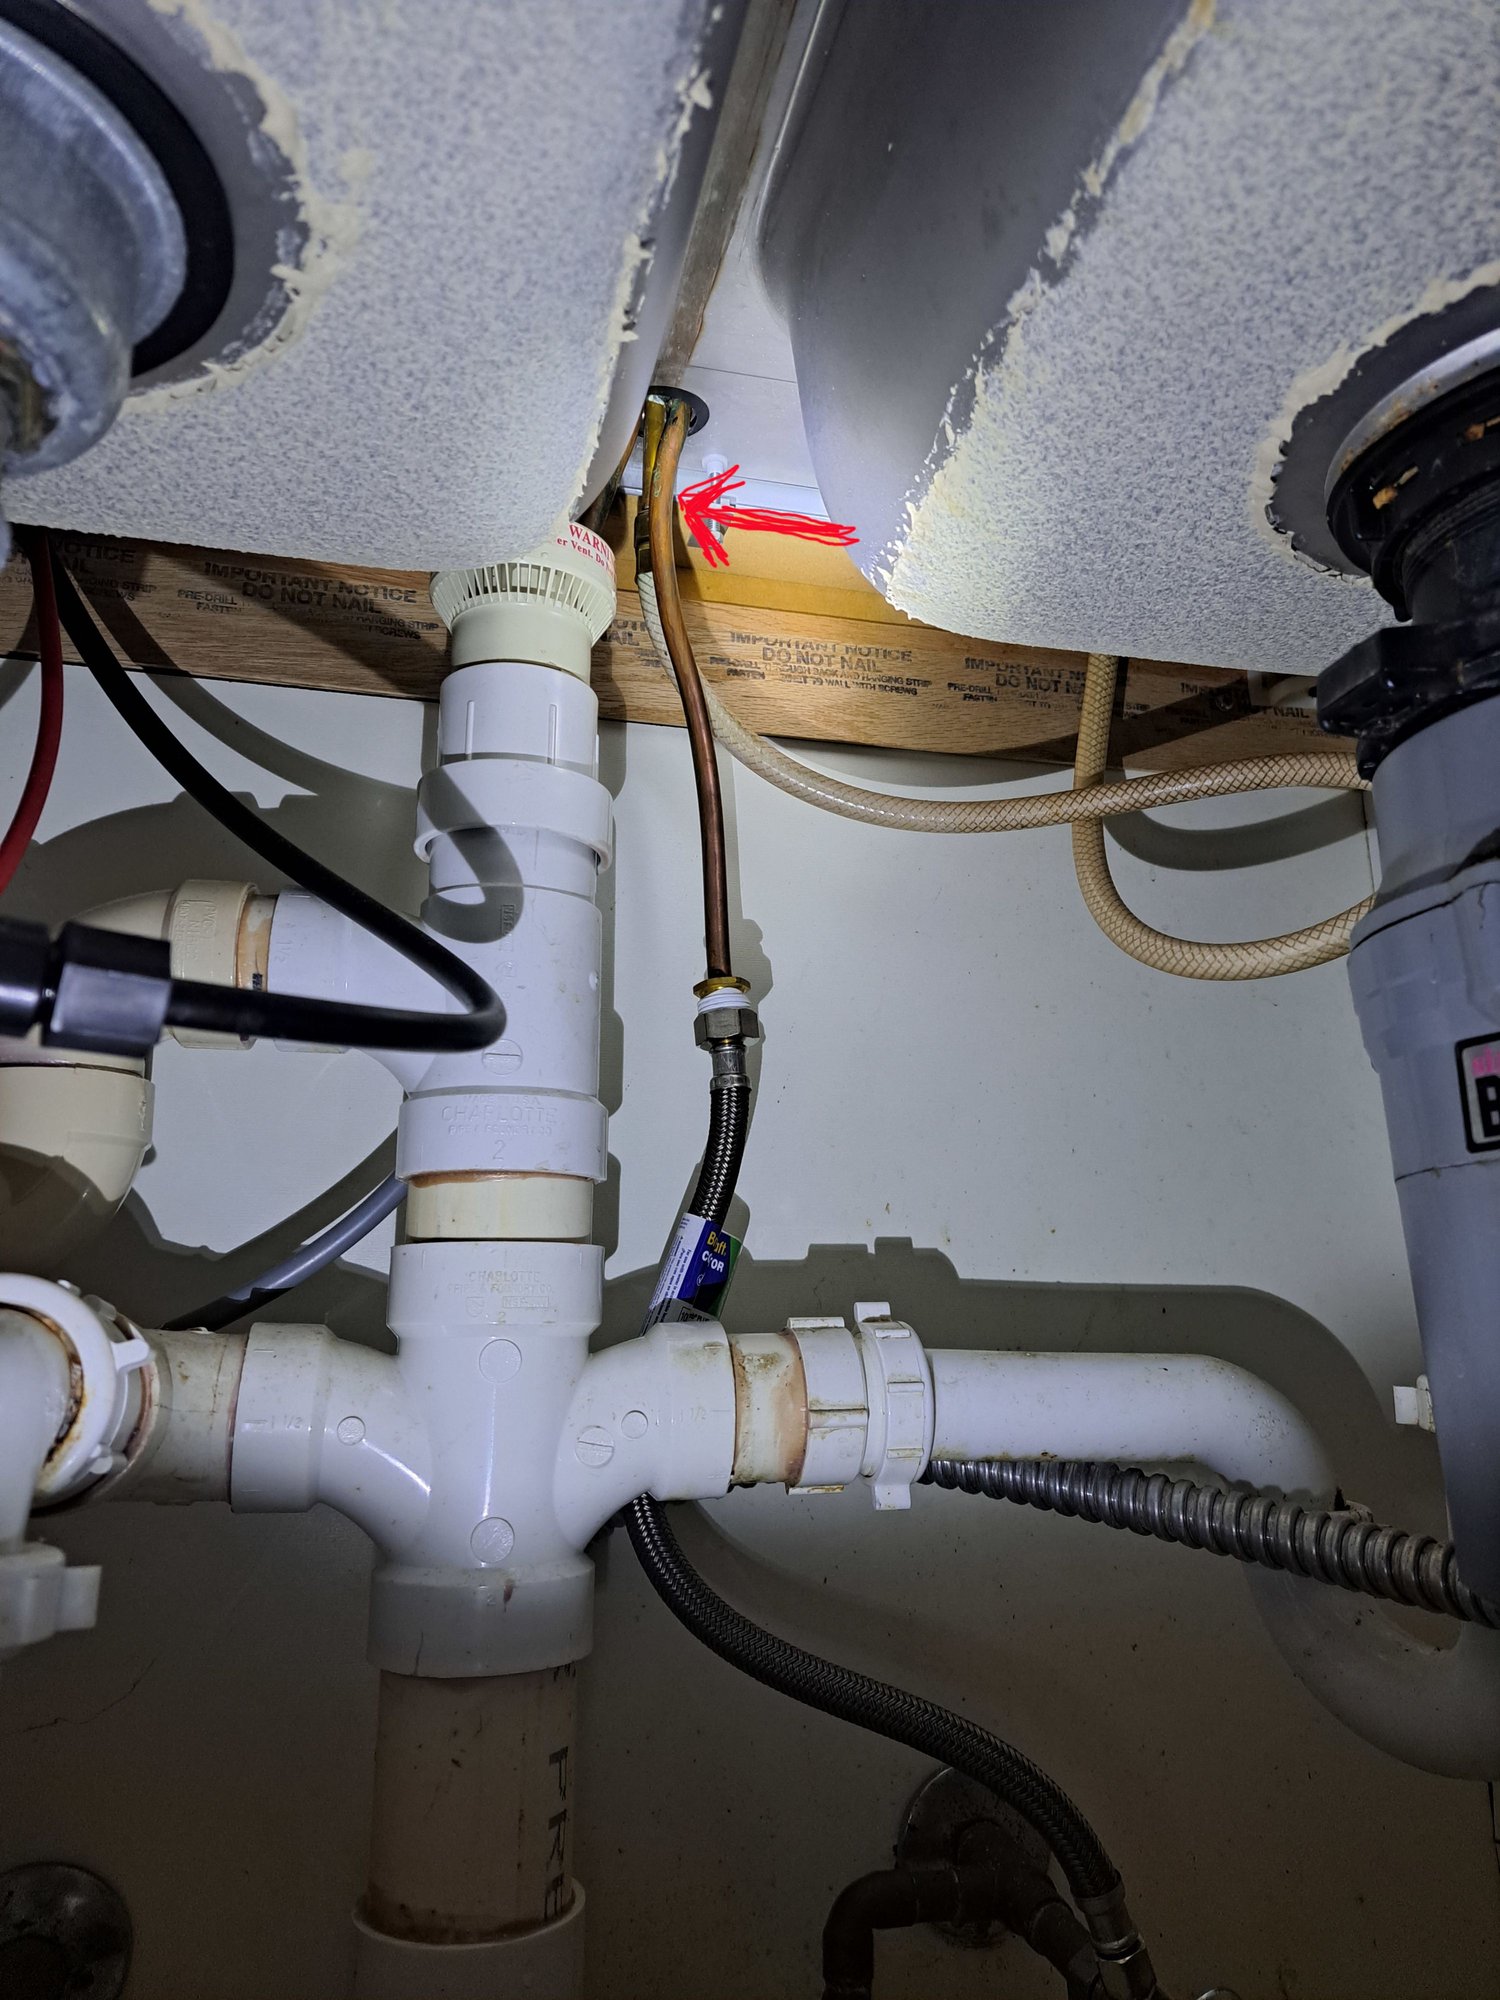

2. Kitchen Sink Sprayer Hose Replacement


:max_bytes(150000):strip_icc()/installing-a-kitchen-sink-sprayer-2718817-03-514088ddb922466eb3d4cd73f3aa85f4.jpg)


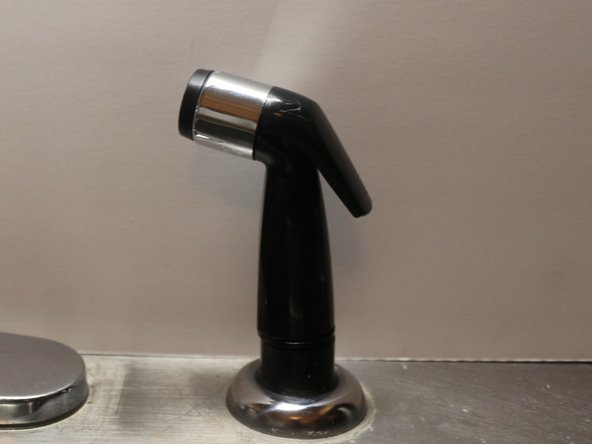
Fixing a leaky kitchen sink sprayer may seem daunting, but it can be a simple and affordable task. One method is to replace the O-ring inside the sprayer head. This small rubber ring can become worn out over time and cause leaks. Simply remove the old O-ring and replace it with a new one, making sure to use the correct size for your specific sprayer model. replace O-ring, affordable, worn out, leaks, correct size3. How to Fix a Leaky Kitchen Sink Sprayer


3. How to Fix a Leaky Kitchen Sink Sprayer
/25089301983_c5145fe85d_o-58418ef15f9b5851e5f392b5.jpg)


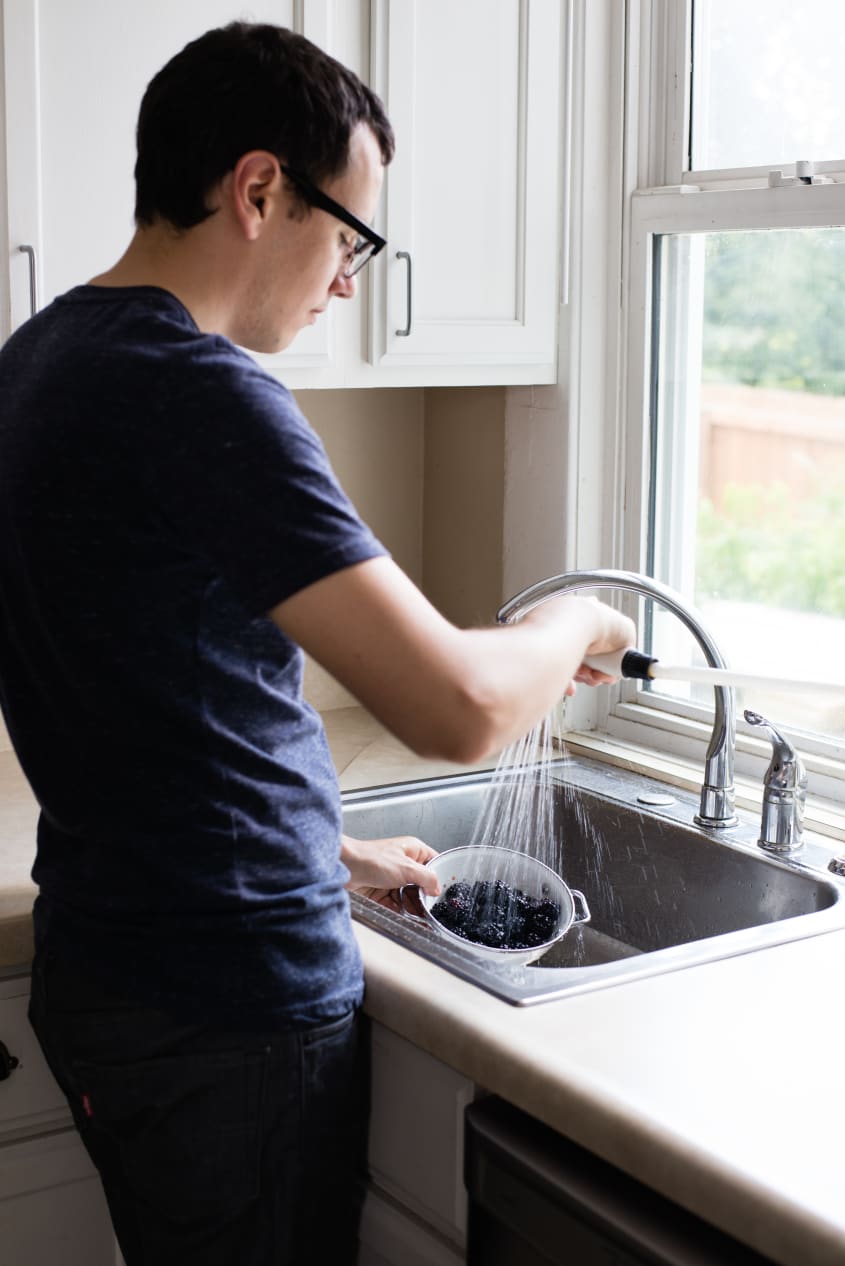
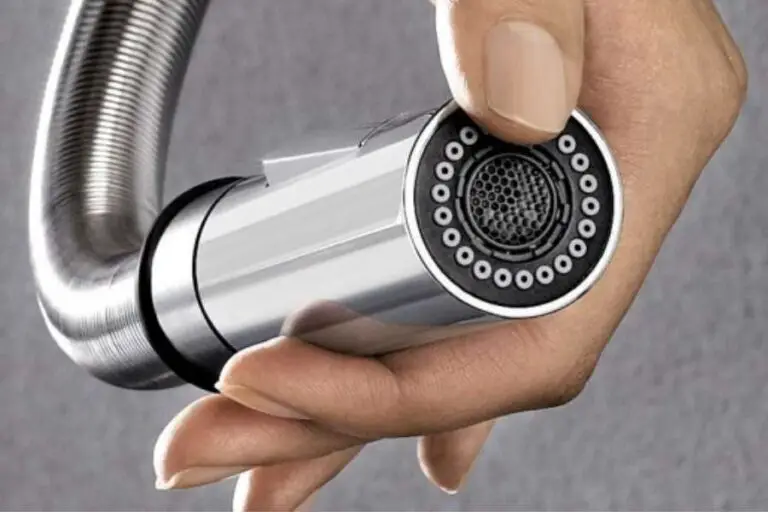
If your kitchen sink sprayer is leaking, there are a few different repairs you can try before resorting to a full replacement. One option is to tighten any loose connections, such as the hose or sprayer head. Another is to clean the aerator, which can become clogged and cause water to spray in different directions. These simple repairs may be all you need to fix your leaking sprayer. loose connections, clean aerator, clogged, water spray, simple repairs4. Kitchen Sink Sprayer Repair


4. Kitchen Sink Sprayer Repair


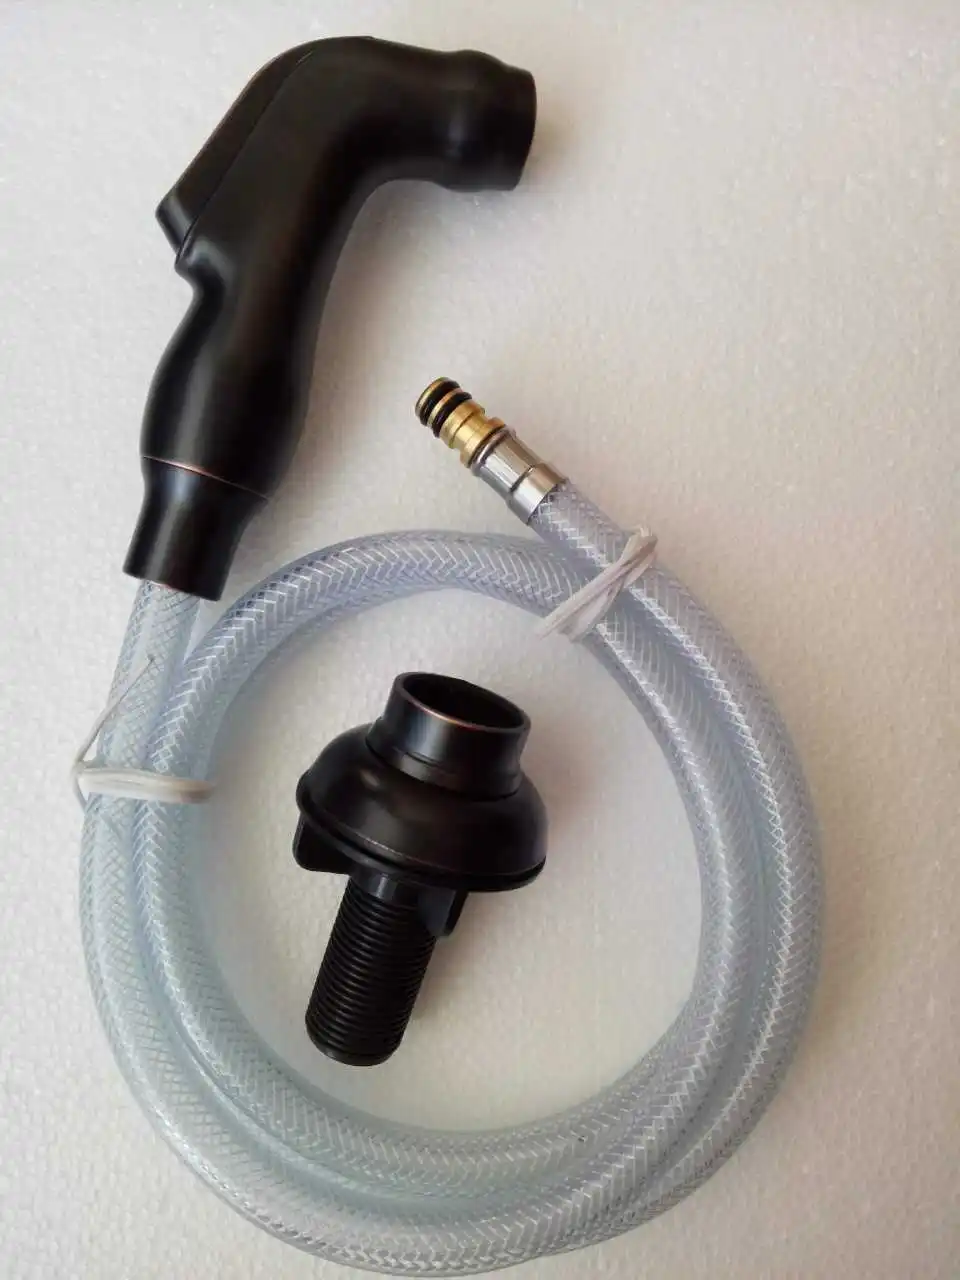
If your kitchen sink sprayer is beyond repair, you may need to replace it entirely. The first step is to turn off the water supply and disconnect the old sprayer from the hose. Then, attach the new sprayer to the hose and reattach the hose to the water supply. Finally, turn the water back on and test the new sprayer for any leaks. This process may be more involved, but it can provide a long-term solution for your leaking sprayer. replace sprayer, turn off water supply, disconnect, reattach, test for leaks5. How to Replace a Kitchen Sink Sprayer


5. How to Replace a Kitchen Sink Sprayer


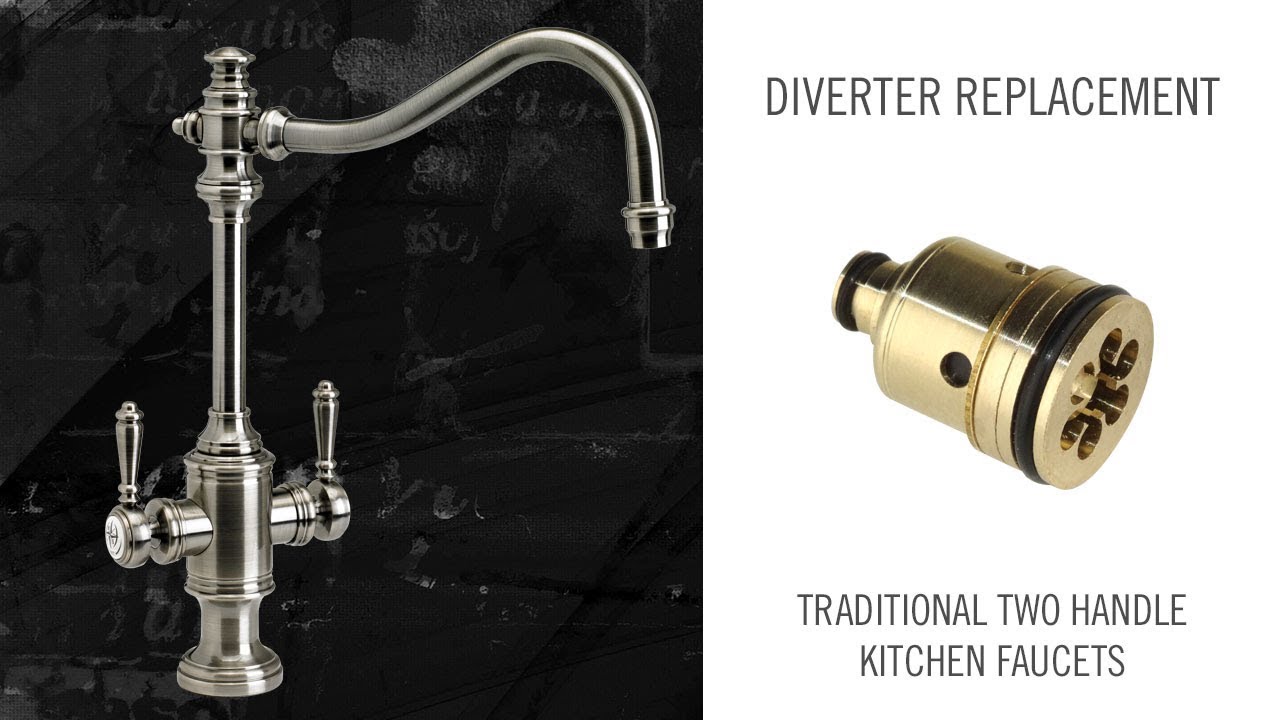
The sprayer diverter is the mechanism that allows you to switch between using the sprayer and the regular faucet. If this becomes worn out or damaged, it can cause a leak in your sprayer. To replace the diverter, you will need to access it under the sink. Once you have removed the old diverter, simply install the new one and reattach the water supply to complete the repair. sprayer diverter, switch between sprayer and faucet, worn out, damaged, access, reattach6. Kitchen Sink Sprayer Diverter Replacement


6. Kitchen Sink Sprayer Diverter Replacement


:max_bytes(150000):strip_icc()/installing-a-kitchen-sink-sprayer-2718817-hero-2b7047468d594da6be2494ba0eebb480.jpg?strip=all)


Fixing a leaking kitchen sink sprayer may seem like a daunting task, but it can be easier than you think. One common issue is a faulty spray head, which can be replaced as mentioned earlier. Another solution is to check the water pressure, as low pressure can cause water to back up and leak from the sprayer. Adjusting the water pressure can often fix this issue and prevent future leaks. faulty spray head, replace, check water pressure, low pressure, back up, adjust7. How to Fix a Leaking Kitchen Sink Sprayer


7. How to Fix a Leaking Kitchen Sink Sprayer


If your kitchen sink sprayer is leaking from the nozzle, it may be time for a replacement. This can happen due to buildup of mineral deposits or general wear and tear. To replace the nozzle, simply unscrew the old one and screw on the new one. Make sure to clean the area before attaching the new nozzle to ensure a secure fit and prevent future leaks. leaking from nozzle, replace, mineral deposits, wear and tear, unscrew, clean, secure fit8. Kitchen Sink Sprayer Nozzle Replacement


8. Kitchen Sink Sprayer Nozzle Replacement
:max_bytes(150000):strip_icc()/installing-a-kitchen-sink-sprayer-2718817-hero-2b7047468d594da6be2494ba0eebb480.jpg)

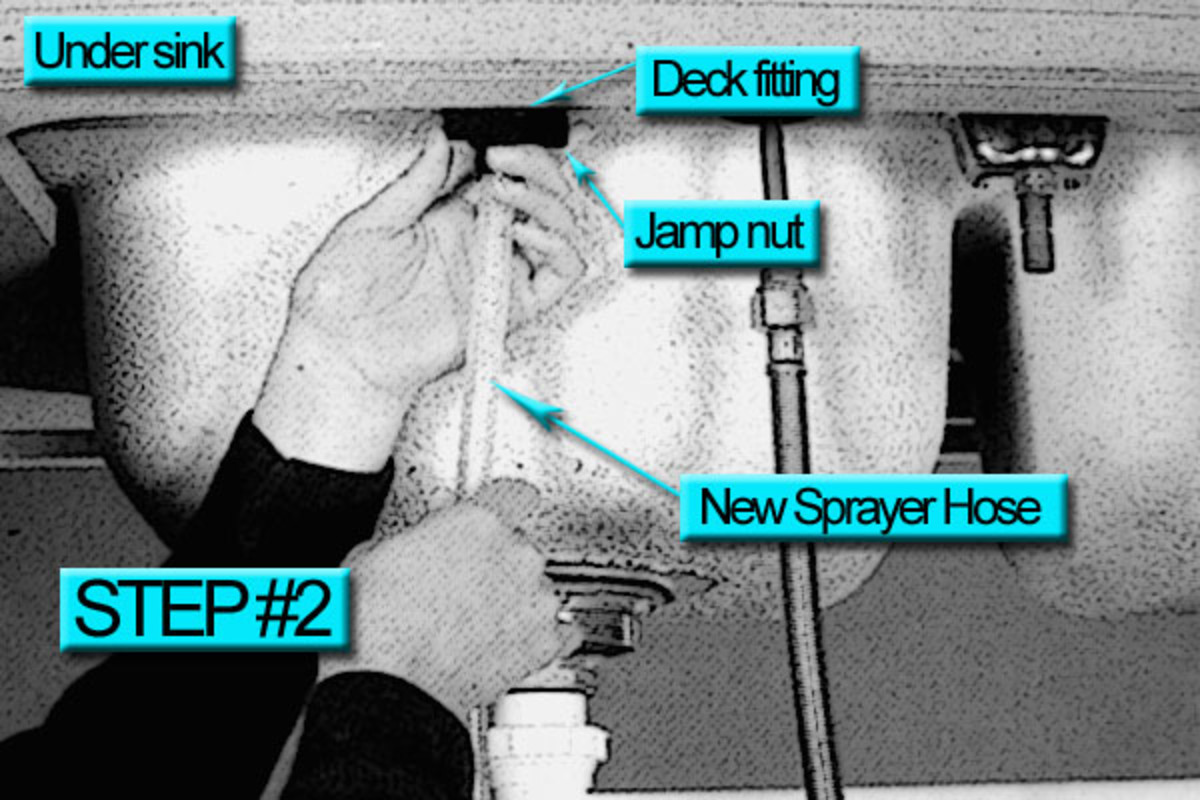
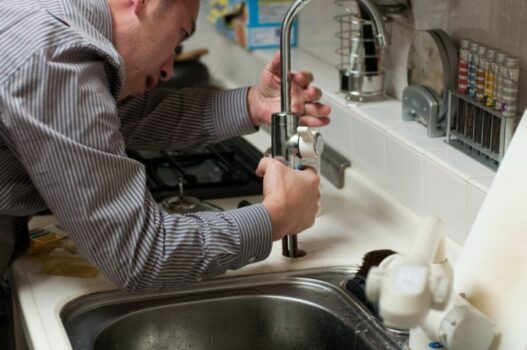
If you're installing a new kitchen sink or simply want to add a sprayer to your existing sink, it can be a simple process. First, make sure you have all the necessary parts and tools. Then, follow the manufacturer's instructions to install the sprayer and connect it to the water supply. Once installed, test for any leaks and make sure the sprayer is working properly. install, necessary parts and tools, manufacturer's instructions, connect, test for leaks, working properly9. How to Install a Kitchen Sink Sprayer

9. How to Install a Kitchen Sink Sprayer
If your kitchen sink sprayer head is damaged or leaking, it may be possible to repair it rather than replacing it. One common issue is a clogged aerator, which can be cleaned and unclogged using a toothpick or small brush. You can also try soaking the sprayer head in a mixture of water and vinegar to remove any buildup. These simple repairs can save you the cost of a new sprayer head. damaged, leaking, repair, clogged aerator, clean, unclog, toothpick, small brush, soak, water and vinegar, buildup, save cost10. Kitchen Sink Sprayer Head Repair


10. Kitchen Sink Sprayer Head Repair

The Importance of Fixing a Leaking Sprayer for Kitchen Sinks

Why a Leaking Sprayer Should Not Be Ignored
 A leaking sprayer for your kitchen sink may seem like a minor inconvenience, but it can actually lead to bigger problems if left unaddressed. Not only can it waste water and increase your water bill, but it can also cause damage to your cabinets and floors. Additionally, a leaking sprayer can be a sign of a more serious underlying issue with your plumbing system. It is important to address a leaking sprayer as soon as possible to avoid further complications and to maintain the functionality and aesthetic of your kitchen.
How to Identify a Leaking Sprayer
 A leaking sprayer can present itself in different ways. It may be a constant drip or a more subtle spray when the sprayer is turned on. You may also notice water pooling around the base of the sprayer or a decrease in water pressure. If you suspect your sprayer is leaking, it is important to confirm the source of the leak before attempting to fix it. This can be done by turning the water off and examining the sprayer for any visible cracks or loose connections.
Steps to Fix a Leaking Sprayer
 Fixing a leaking sprayer for your kitchen sink can be a simple and straightforward process. First, turn off the water supply to the sink. Then, disassemble the sprayer by disconnecting the hose and removing the sprayer head from the hose. Inspect the hose for any signs of damage or wear and tear. If the hose is the issue, it can easily be replaced with a new one. If the sprayer head is the source of the leak, it may need to be cleaned or replaced. Once any necessary repairs or replacements have been made, reassemble the sprayer and turn the water supply back on. Test the sprayer to ensure the leak has been resolved.
Fixing a leaking sprayer for your kitchen sink is not only important for maintaining the functionality of your kitchen, but it can also save you money in the long run. Don't ignore a leaking sprayer, address it promptly and effectively to avoid further damage and complications.
Keeping up with regular maintenance of your kitchen sink and plumbing system can also prevent potential leaks from occurring in the future. By taking care of small issues like a leaking sprayer, you can ensure that your kitchen remains a functional and beautiful space for years to come.
Fixing a leaking sprayer for your kitchen sink can be a simple and straightforward process. First, turn off the water supply to the sink. Then, disassemble the sprayer by disconnecting the hose and removing the sprayer head from the hose. Inspect the hose for any signs of damage or wear and tear. If the hose is the issue, it can easily be replaced with a new one. If the sprayer head is the source of the leak, it may need to be cleaned or replaced. Once any necessary repairs or replacements have been made, reassemble the sprayer and turn the water supply back on. Test the sprayer to ensure the leak has been resolved.
Fixing a leaking sprayer for your kitchen sink is not only important for maintaining the functionality of your kitchen, but it can also save you money in the long run. Don't ignore a leaking sprayer, address it promptly and effectively to avoid further damage and complications.
Keeping up with regular maintenance of your kitchen sink and plumbing system can also prevent potential leaks from occurring in the future. By taking care of small issues like a leaking sprayer, you can ensure that your kitchen remains a functional and beautiful space for years to come.