How to Repair a Split Seam on an Air Mattress
Air mattresses are a convenient and comfortable solution for sleeping arrangements, whether you're camping, hosting guests, or just need an extra bed. However, just like any other type of mattress, air mattresses are susceptible to wear and tear. One of the most common issues with air mattresses is a split seam, which can cause air to leak out and make the mattress unusable. But fear not, with the right tools and techniques, you can easily repair a split seam on your air mattress and have it back in working condition in no time.
DIY Air Mattress Seam Repair
If you're dealing with a split seam on your air mattress, your first instinct might be to throw it away and purchase a new one. However, with a little bit of time and effort, you can save yourself some money by repairing the seam yourself. The key to a successful DIY air mattress seam repair is having the right materials and following the correct steps.
Fixing a Split Seam on an Inflatable Mattress
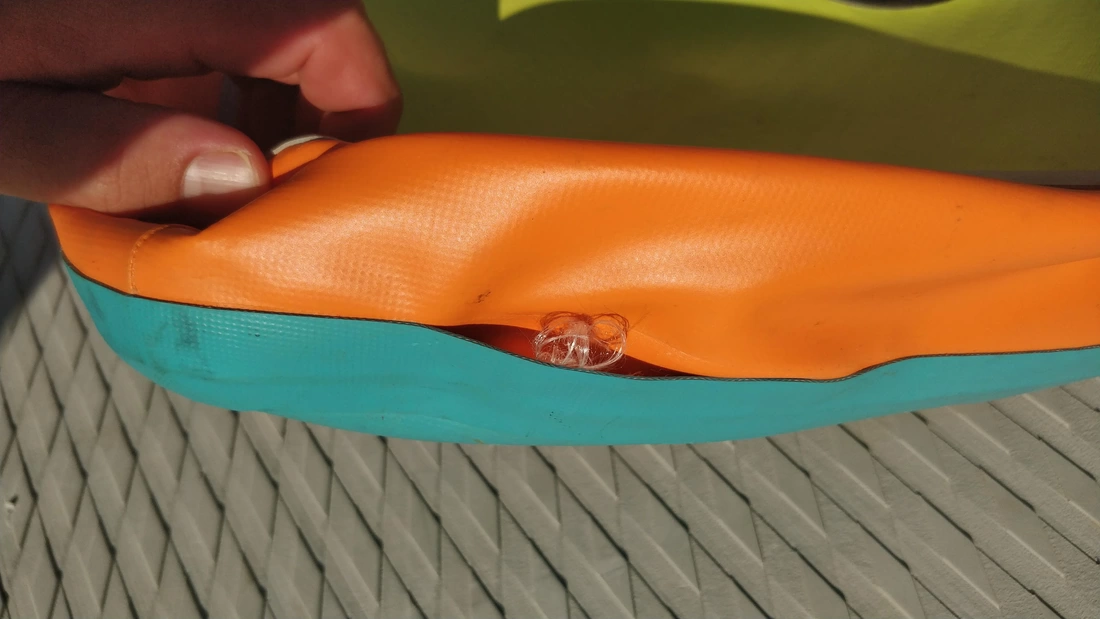
The first step in fixing a split seam on your air mattress is to identify the location of the split. This can usually be found by feeling for a bulge or hissing sound when you inflate the mattress. Once you have located the split, the next step is to deflate the mattress completely and clean the area around the split with a damp cloth. This will ensure that the repair materials adhere properly.
Quick and Easy Air Mattress Seam Repair
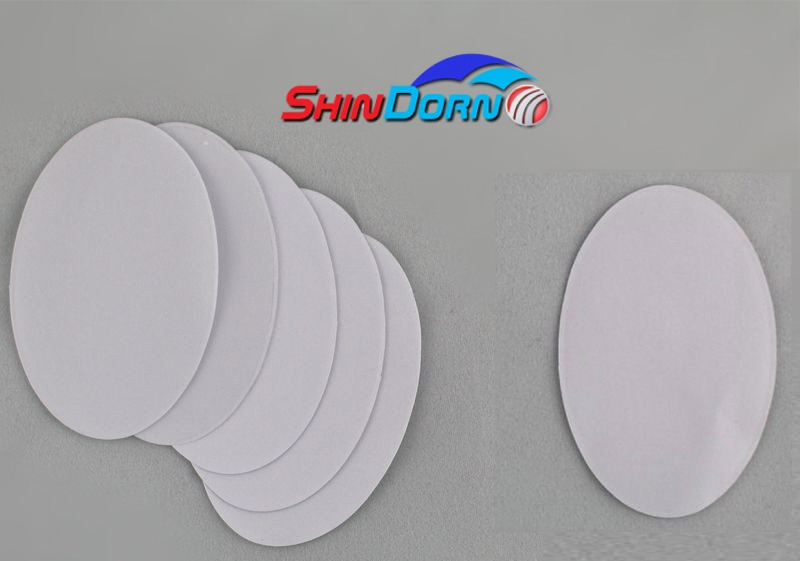
There are a few different methods you can use to repair a split seam on your air mattress, but one of the quickest and easiest is by using an adhesive patch. You can purchase these patches at most outdoor or camping stores, or even online. Simply follow the instructions on the package to apply the patch over the split, and your mattress will be ready to use again in no time.
Seam Split on Your Air Mattress? Here's What to Do
If you don't have an adhesive patch on hand, or prefer a more natural approach, you can also use duct tape to repair a split seam on your air mattress. While this may not be the most aesthetically pleasing solution, it will get the job done in a pinch. Just make sure to cut the duct tape into small strips and apply them over the split, pressing down firmly to create a strong seal.
Step-by-Step Guide to Fixing a Split Seam on an Air Mattress
If you want to make sure your air mattress seam repair is done correctly and will last, follow these step-by-step instructions:
Step 1: Deflate the mattress completely and clean the area around the split with a damp cloth.
Step 2: If using an adhesive patch, follow the instructions on the package to apply it over the split. If using duct tape, cut it into small strips and apply over the split, pressing down firmly.
Step 3: Let the repair materials dry completely, following the recommended time on the adhesive patch or duct tape package.
Step 4: Once the repair is dry, inflate the mattress and check for any leaks. If there are still leaks, repeat the process or try a different repair method.
Step 5: Once the leak is fixed, let the mattress fully inflate and then deflate it a few times to ensure the repair is secure.
Common Causes of Split Seams on Air Mattresses
While a split seam on your air mattress may seem like an unexpected and frustrating issue, there are a few common causes that can contribute to this problem. One of the main reasons for split seams is over-inflation of the mattress, which puts excessive pressure on the seams and can cause them to split over time. Another cause is general wear and tear, especially if the mattress is being used frequently or being moved around.
Tips for Preventing Split Seams on Your Air Mattress
While it's impossible to completely prevent split seams on your air mattress, there are some measures you can take to help prolong the life of your mattress and reduce the likelihood of seam splits. First, make sure to always follow the recommended inflation levels for your mattress and avoid over-inflating it. Additionally, try to avoid placing heavy objects on the mattress or using it on rough or uneven surfaces. Finally, be sure to store your air mattress in a cool, dry place when not in use to prevent damage from humidity or moisture.
Best Products for Repairing a Split Seam on an Air Mattress
As mentioned earlier, adhesive patches and duct tape are commonly used products for repairing a split seam on an air mattress. However, there are also specialized repair kits available that include stronger adhesives and patches specifically designed for air mattresses. These kits can be a good investment if you frequently use your air mattress and want a more reliable and long-lasting repair solution.
When to Replace Your Air Mattress Instead of Repairing a Split Seam
While repairing a split seam on your air mattress can save you money and extend its lifespan, there may come a time when it's better to replace the mattress instead. If your mattress has multiple seam splits, or if the material of the mattress itself is wearing thin, it may be time to invest in a new one. Additionally, if the repair methods are not successful and the mattress continues to leak, it's probably time to say goodbye and purchase a new one.
Don't let a split seam ruin your sleep or your wallet. With these tips and techniques, you can easily repair a split seam on your air mattress and continue to enjoy a good night's rest. Just remember to properly maintain and use your air mattress to prevent future issues, and consider investing in a repair kit for more reliable and long-lasting fixes.
How to Repair a Split Seam on Your Air Mattress

What Causes a Split Seam on an Air Mattress?
 An air mattress is a convenient and comfortable addition to any home. It can be used for guests, camping trips, or even as a permanent bed. However, like any other piece of furniture, an air mattress is susceptible to wear and tear. One common issue that may arise is a split seam. This occurs when the seams that hold the air in the mattress begin to separate, causing air to leak out and making the mattress unusable. There are a few common causes of a split seam on an air mattress, including over-inflation, poor maintenance, and manufacturer defects.
Step-by-Step Guide to Repairing a Split Seam
 Repairing a split seam on an air mattress may seem like a daunting task, but with the right tools and techniques, it can be a quick and simple fix. Here is a step-by-step guide to repairing a split seam on your air mattress:
Step 1:
Deflate the mattress completely. This will allow you to see the full extent of the damage and work more easily.
Step 2:
Clean the area around the split seam with a damp cloth. This will ensure that the patch adheres properly and prevents any dirt or debris from getting trapped under the patch.
Step 3:
Cut a piece of
patching material
that is slightly larger than the split seam. This could be a piece of fabric, vinyl, or a specialized patching material.
Step 4:
Apply a thin layer of
adhesive
to the patching material and the area around the split seam.
Step 5:
Carefully place the patch over the split seam, ensuring that it covers the entire damaged area.
Step 6:
Press down firmly on the patch to ensure it adheres properly to the mattress.
Step 7:
Allow the adhesive to dry completely, following the manufacturer's instructions.
Step 8:
Once the adhesive is dry, inflate the mattress and check for any leaks. If the patch is secure and there are no leaks, your mattress should be ready to use.
Preventing a Split Seam on Your Air Mattress
 While repairing a split seam on your air mattress is a simple fix, it's always better to prevent it from happening in the first place. Here are a few tips to help you avoid a split seam on your air mattress:
Tip 1:
Avoid over-inflating your air mattress. This can put unnecessary strain on the seams and cause them to split.
Tip 2:
Properly maintain your air mattress by regularly cleaning and inspecting it for any signs of wear and tear.
Tip 3:
When storing your air mattress, make sure it is completely deflated and folded properly to avoid putting strain on the seams.
By following these tips and properly repairing any split seams that may occur, you can ensure that your air mattress will last for years to come. With just a few simple steps, you can have your air mattress back in working condition and ready for your next guest or adventure.


