Sealing up under your kitchen sink may seem like a daunting task, but it is an essential step in keeping your kitchen clean and functional. Over time, the area under your sink can become a breeding ground for mold and mildew, which can lead to unpleasant odors and even damage to your cabinets and pipes. By properly sealing up this area, you can prevent these issues and keep your kitchen in top shape. In this article, we will guide you through the process of sealing up under your kitchen sink and provide helpful tips and tricks to make the task easier.How to Seal Up Under Your Kitchen Sink
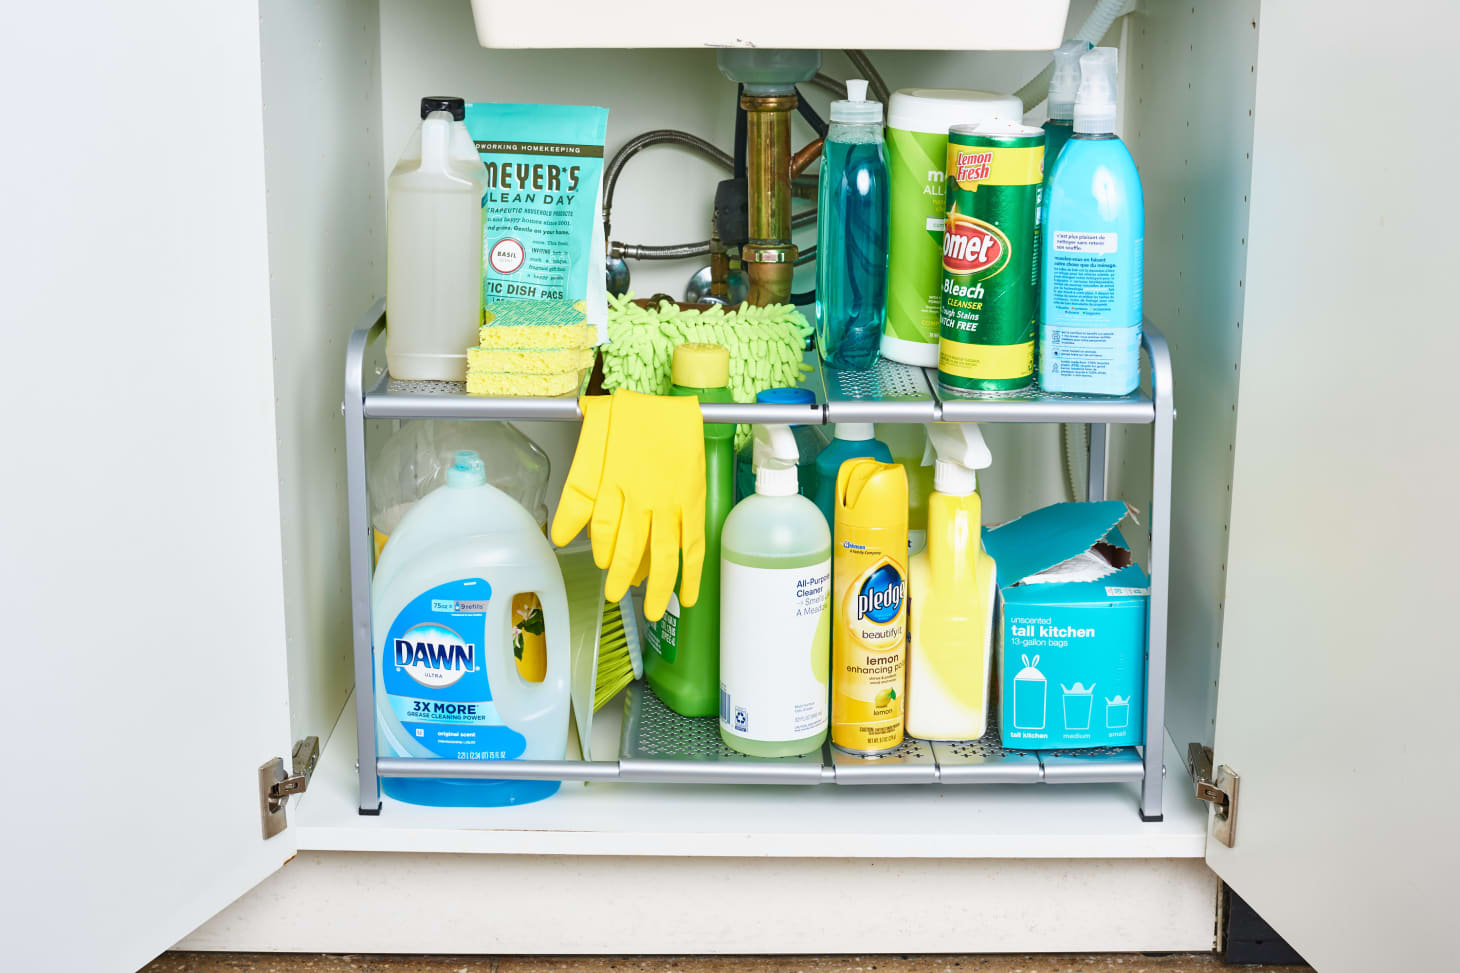
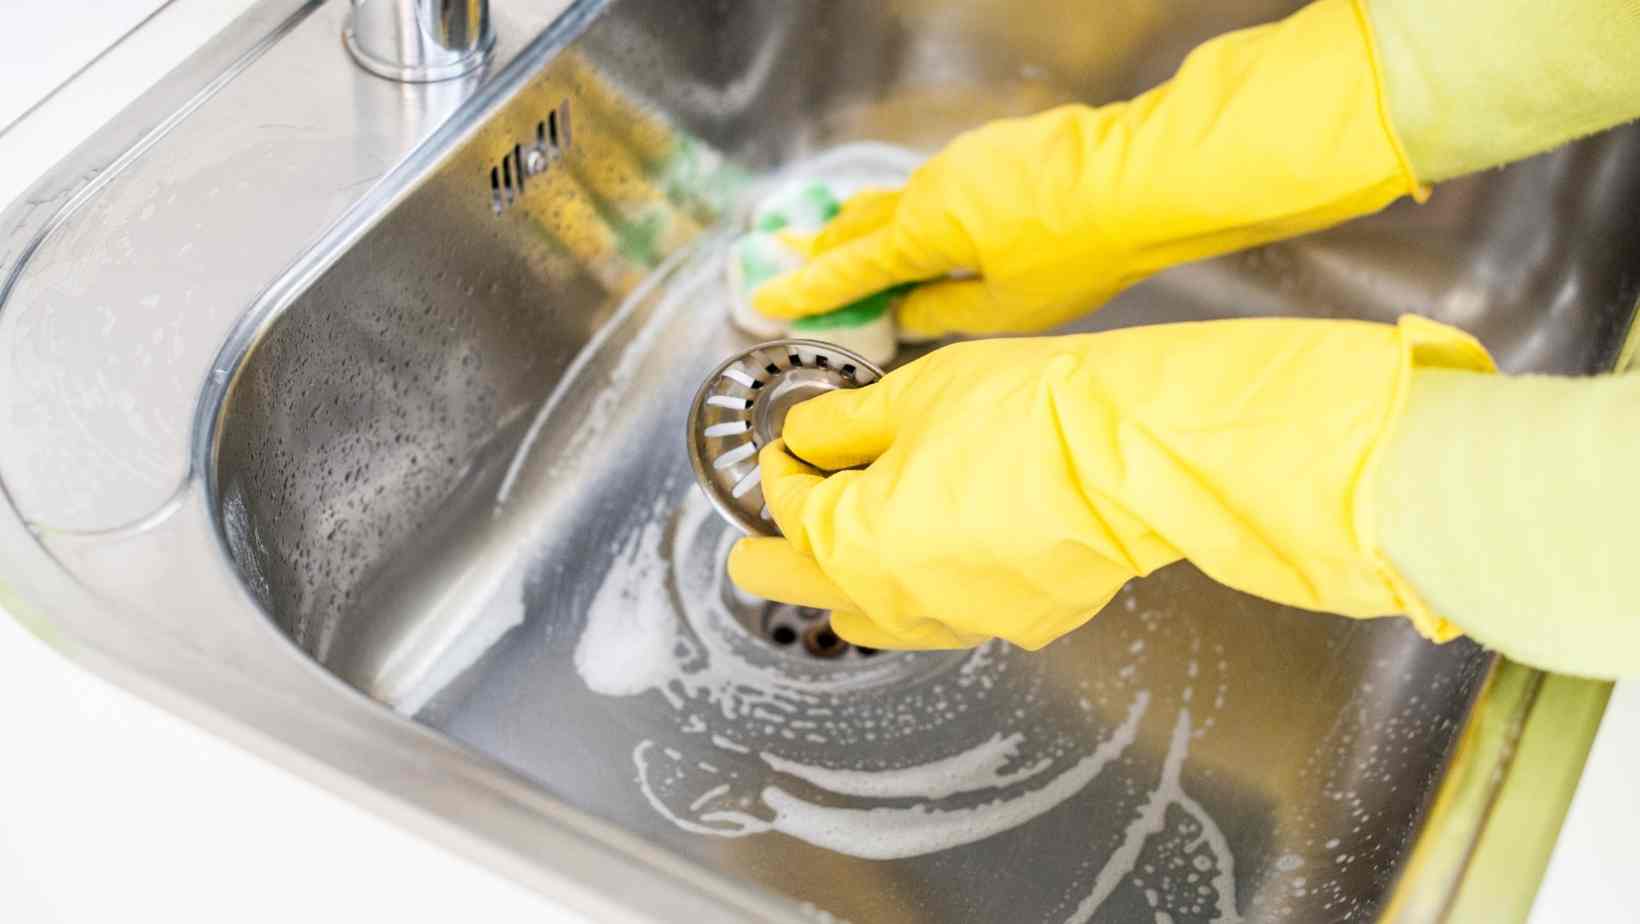
The first step in sealing up under your kitchen sink is to thoroughly clean the area. Remove any items that are stored under the sink and wipe down the interior of the cabinet with a mild cleaner. This will ensure that the sealant adheres properly and there is no dirt or debris that could cause issues in the future. Next, you will need to inspect the area for any existing gaps or cracks. These can be filled with a waterproof sealant, such as silicone caulk. Simply apply the caulk to the gaps and use a damp cloth to smooth it out. This will prevent any water from leaking out and causing damage to your cabinets or flooring.How to Seal Up Your Kitchen Sink
Now that you have prepared the area, it is time to seal it up. Follow these steps for a successful and long-lasting seal: Step 1: Measure the area under your sink and cut a piece of waterproof sealing tape to fit. Step 2: Remove the backing from the tape and carefully apply it to the edges of the cabinet, making sure to cover any gaps or cracks. Step 3: Use a putty knife to press the tape firmly into place and remove any air bubbles. Step 4: Apply a layer of waterproof sealant, such as silicone caulk, to the edges of the cabinet and any other areas that may need extra protection. Step 5: Use a damp cloth to smooth out the sealant and remove any excess.Sealing Up Under Your Kitchen Sink: A Step-by-Step Guide
Sealing up under your kitchen sink can be a DIY project, but it can also be a bit tricky. Here are some helpful tips and tricks to make the process easier: Tip 1: Use a putty knife to smooth out the sealant and remove any excess. This will give you a clean and professional-looking finish. Tip 2: If you are using silicone caulk, make sure to choose a waterproof and mold-resistant formula. This will ensure that your sealant holds up over time. Tip 3: Use a waterproof sealant tape that is specifically designed for kitchen and bathroom use. This will provide added protection against water and moisture.DIY Kitchen Sink Sealing: Tips and Tricks
While sealing up under your kitchen sink may seem like a simple task, there are some common mistakes that can be easily avoided. These include: Mistake 1: Not properly cleaning and preparing the area before sealing. This can lead to the sealant not adhering properly and causing issues in the future. Mistake 2: Using the wrong type of sealant. Make sure to choose a waterproof and mold-resistant formula that is suitable for kitchen and bathroom use. Mistake 3: Not using enough sealant. It is important to cover all edges and gaps to ensure a watertight seal.Sealing Up Under Your Kitchen Sink: Common Mistakes to Avoid
There are many products available for sealing up under your kitchen sink, but some stand out above the rest. Here are some of our top picks: 1. Flex Seal – This waterproof sealant tape is easy to apply and provides a strong and durable seal. 2. GE Silicone II Kitchen and Bath Sealant – This silicone caulk is specifically designed for use in kitchens and bathrooms, making it a reliable choice for sealing up under your sink. 3. Gorilla Clear 100% Silicone Sealant – This heavy-duty sealant is perfect for filling gaps and cracks and providing long-lasting protection against water and mold.Best Products for Sealing Up Under Your Kitchen Sink
Sealing up under your kitchen sink may seem like a small and insignificant task, but it is actually crucial for maintaining the cleanliness and functionality of your kitchen. By preventing water and moisture from leaking out, you can avoid issues such as mold growth, foul odors, and damage to your cabinets and pipes. This can save you time and money in the long run and keep your kitchen in top shape.Sealing Up Under Your Kitchen Sink: Why It's Important
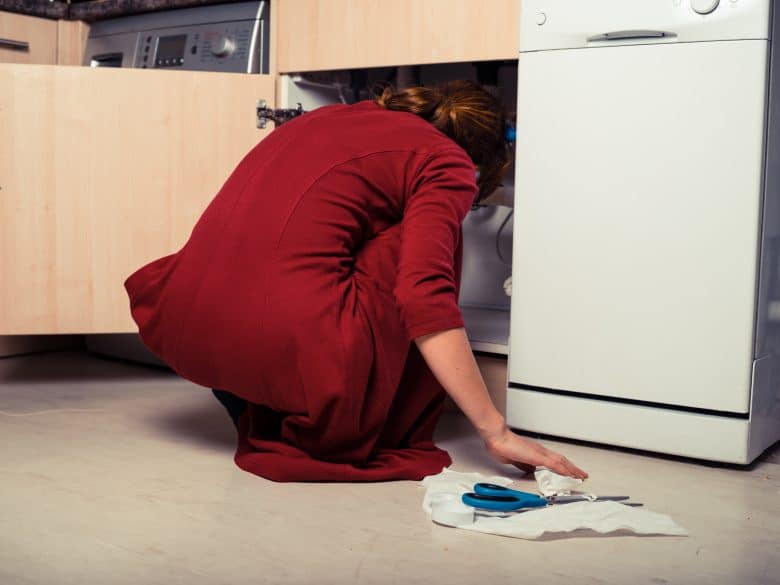
If you are unsure whether or not your kitchen sink needs sealing, there are a few signs to look out for. These include: 1. Mold or mildew growth – If you notice any mold or mildew under your sink, this is a clear indication that water is leaking out and the area needs to be sealed. 2. Musty odors – If your kitchen has a musty or unpleasant smell, this could be a sign of mold or mildew growth under your sink. 3. Water stains – If you see water stains or discoloration on the walls or floor behind your sink, this is a sign that water is escaping and the area needs to be sealed.How to Tell If Your Kitchen Sink Needs Sealing
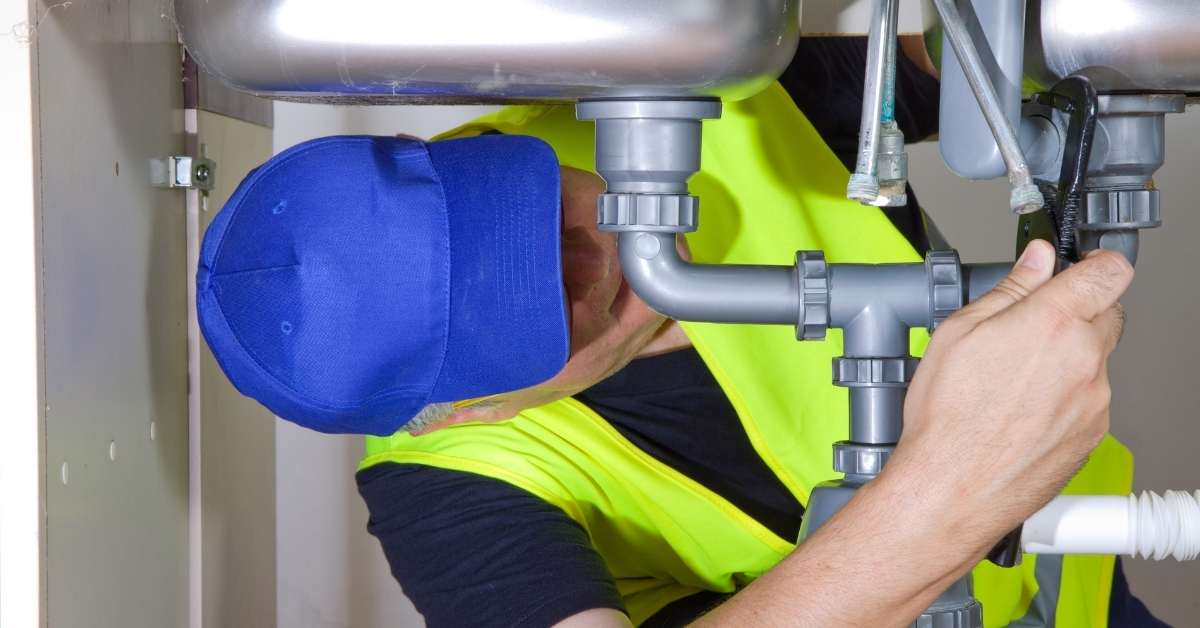
While sealing up under your kitchen sink is a task that can be done by yourself, you may be wondering if it is worth hiring a professional. The answer depends on your level of experience and the extent of the work that needs to be done. If you are confident in your DIY skills and the area only requires minor sealing, then it is likely that you can handle the task yourself. However, if you are unsure or the area requires more extensive sealing and repairs, it may be best to hire a professional to ensure the job is done correctly.Sealing Up Under Your Kitchen Sink: Professional vs. DIY
If you encounter any issues when sealing up under your kitchen sink, here are some common troubleshooting tips: Issue 1: The sealant is not sticking properly. Solution: Make sure to thoroughly clean and dry the area before applying the sealant. If the issue persists, try using a different type of sealant or consult a professional. Issue 2: The sealant is cracking or peeling. Solution: This could be a sign of poor application or using the wrong type of sealant. Make sure to follow the instructions carefully and use a waterproof and mold-resistant formula. Issue 3: Mold or mildew is still present after sealing. Solution: If you notice any mold or mildew growth after sealing, this may be a sign of a larger issue, such as a leak in your pipes. It is best to consult a professional to determine the root cause and address it before reapplying the sealant. Sealing up under your kitchen sink may not be the most glamorous task, but it is an important one for maintaining the cleanliness and functionality of your kitchen. By following our step-by-step guide and using the right products, you can successfully seal up this area and prevent any future issues. Remember to regularly inspect and maintain the seal to ensure it remains effective. With a properly sealed kitchen sink, you can enjoy a clean and functional kitchen for years to come.Troubleshooting Common Issues When Sealing Up Under Your Kitchen Sink
Why Sealing Up Under Kitchen Sink is Important for a Well-Designed House

Preventing Water Damage
 When designing a house, it's important to consider not only the aesthetics but also the functionality of the space. This includes the kitchen, which is often the heart of the home. One area of the kitchen that is often overlooked is the space under the sink. While it may seem insignificant,
sealing up under the kitchen sink
is actually an important step in protecting your home from water damage.
Protecting Against Mold and Mildew
 The kitchen sink is a prime area for moisture to accumulate, especially if there are any leaks or spills. Over time, this moisture can lead to the growth of
mold and mildew
, which not only looks unsightly but can also pose a health risk to you and your family. Sealing up under the kitchen sink can help prevent this by creating a barrier against any water that may seep in.
Improving Air Quality
Increasing the Lifespan of Your Cabinets
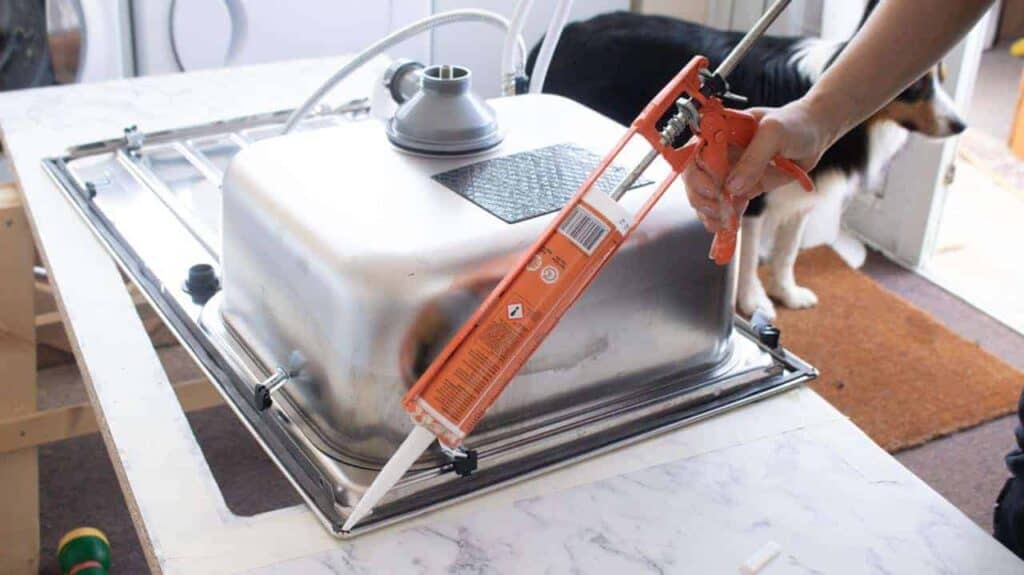 Cabinets can be a significant investment when designing a kitchen. To ensure they last as long as possible, it's important to protect them from water damage.
Sealing up under the kitchen sink
can help prevent any water from seeping into the cabinets and causing them to warp or rot. This will not only save you money in the long run, but it will also keep your kitchen looking beautiful for years to come.
Conclusion
 In conclusion,
sealing up under the kitchen sink
is an important step in creating a well-designed and functional house. It not only protects against water damage, mold, and pests, but it also helps maintain the longevity and beauty of your kitchen. So next time you're designing a house or doing some home maintenance, don't forget to pay attention to this often overlooked area. Your home and wallet will thank you in the long run.


