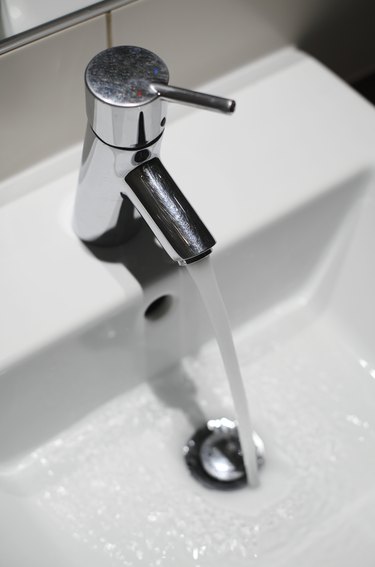
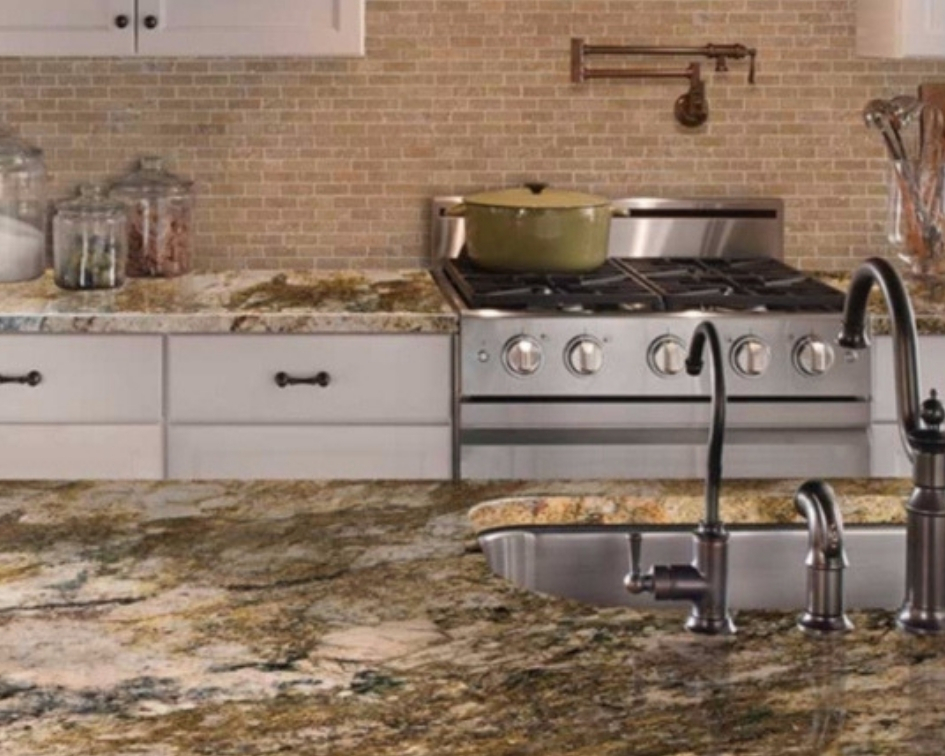
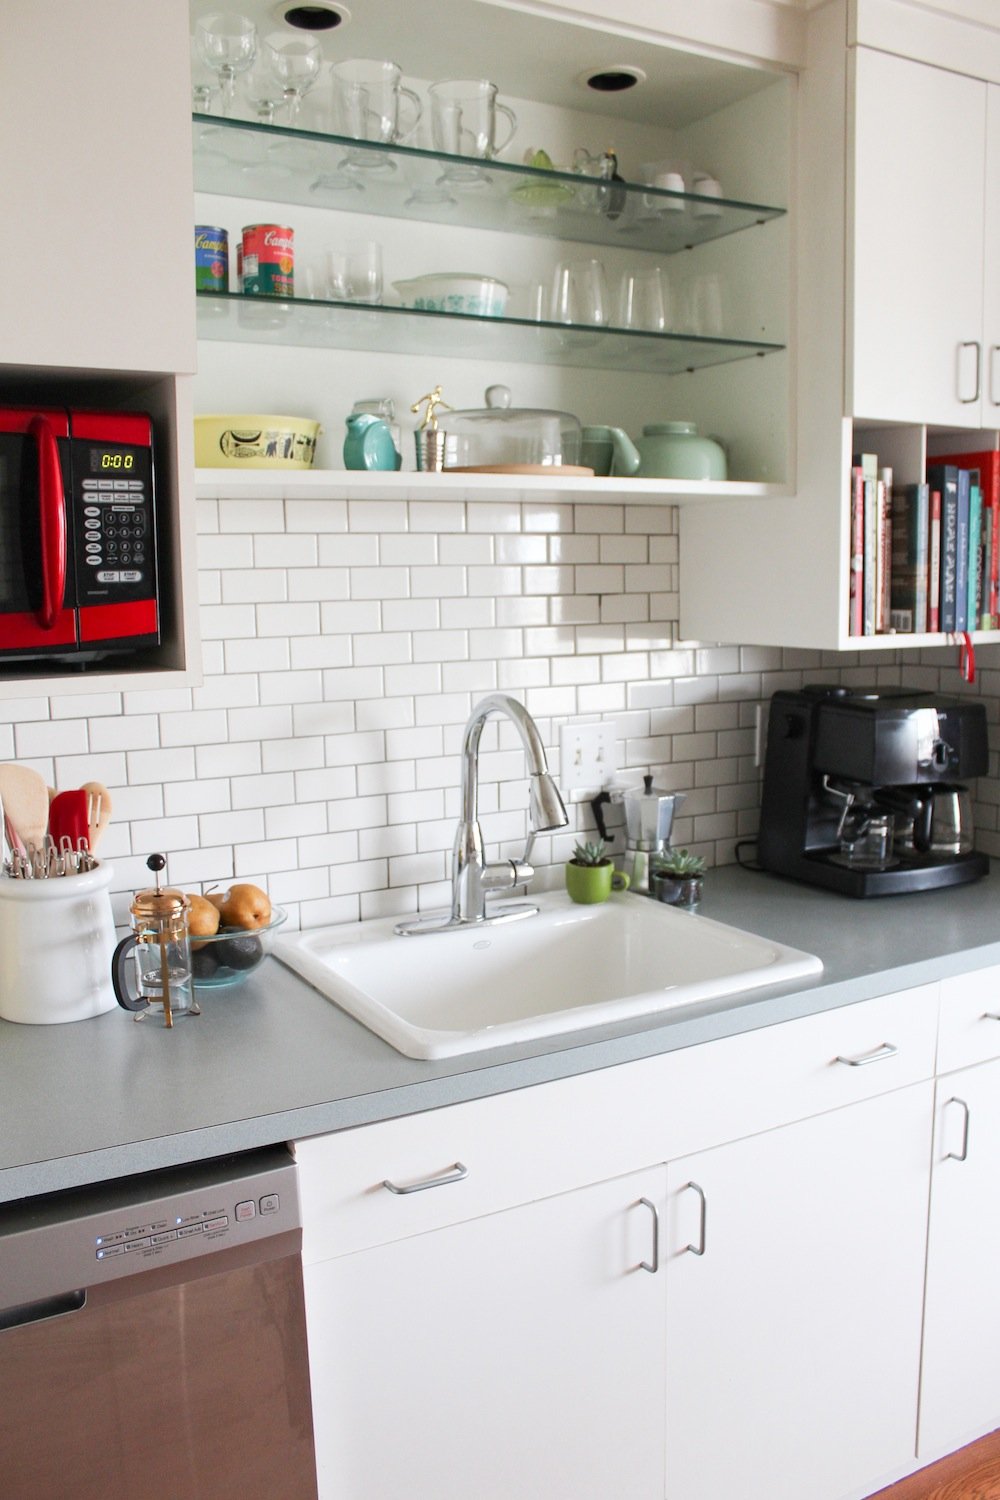
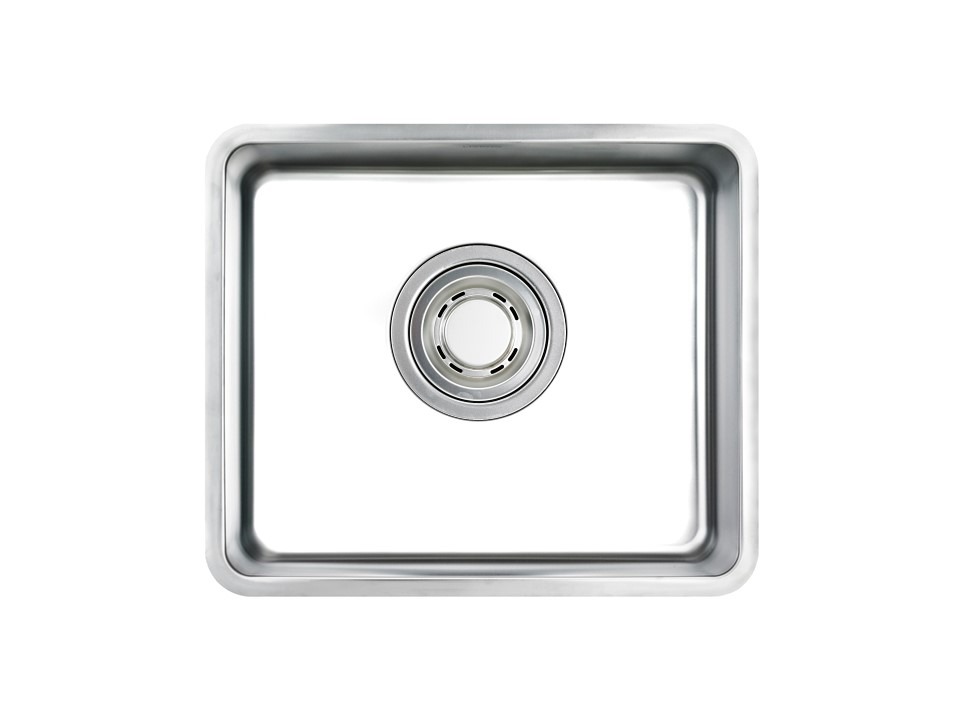
Sealing your kitchen sink with silicone is an important step in maintaining the cleanliness and functionality of your kitchen. Over time, water and food particles can seep into the cracks and crevices around your sink, causing damage and creating a breeding ground for bacteria. By sealing your sink with silicone, you can prevent this from happening and keep your kitchen looking and functioning at its best.How to Seal a Kitchen Sink with Silicone


How to Seal a Kitchen Sink with Silicone


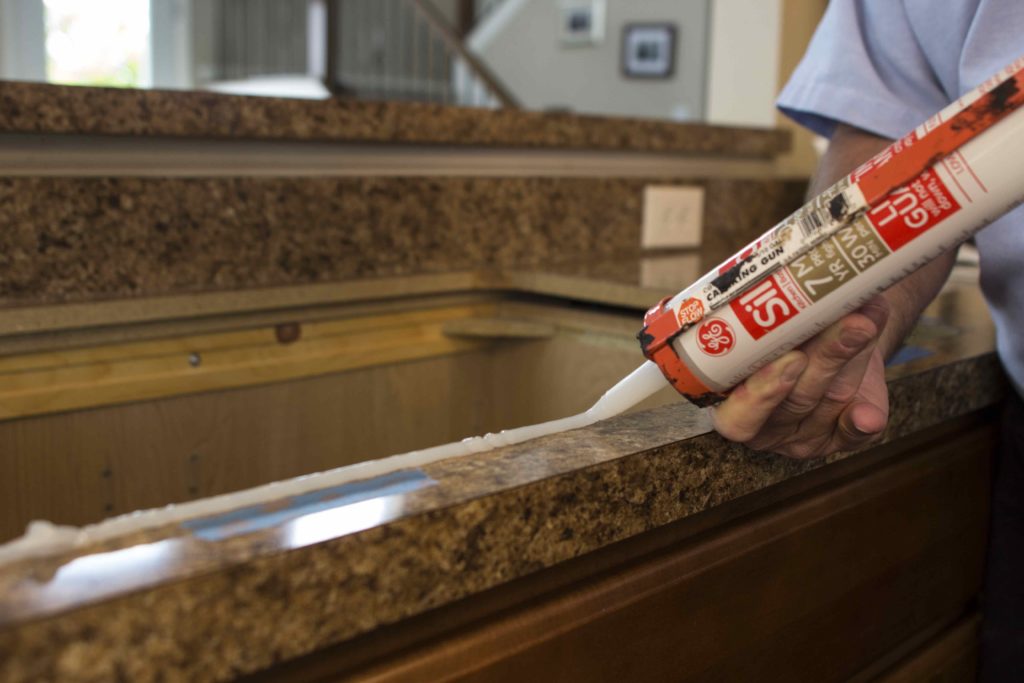
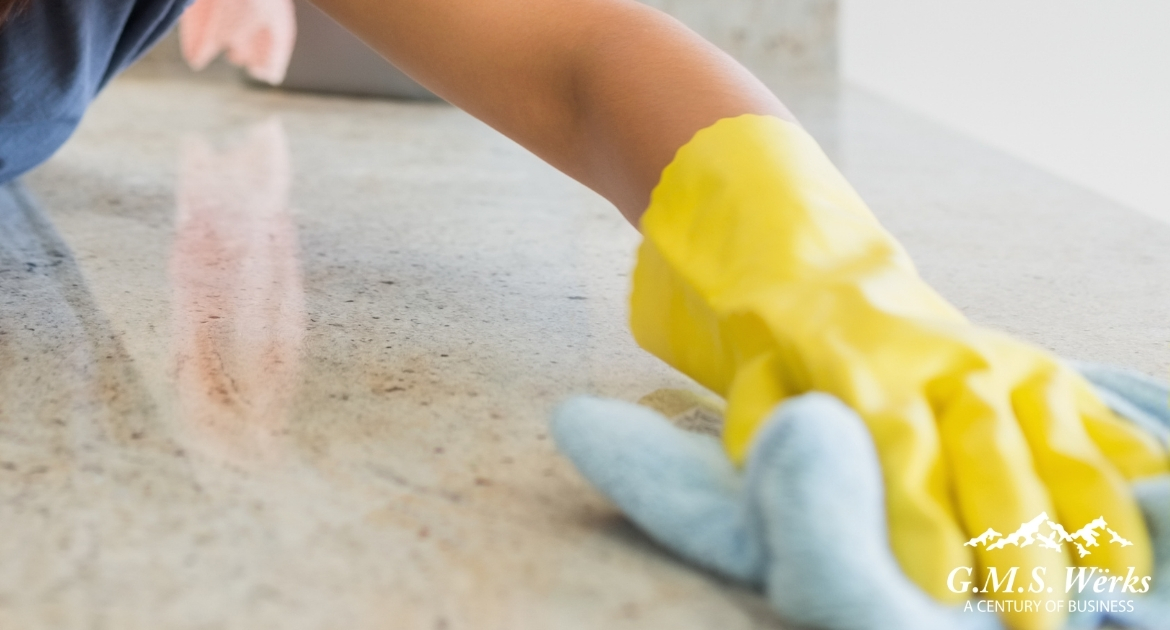
Silicone caulk is a type of sealant commonly used for sealing sinks and other surfaces in the kitchen and bathroom. It is flexible, waterproof, and resistant to mold and mildew, making it the ideal choice for sealing your kitchen sink. To seal your sink with silicone caulk, follow these simple steps: Step 1: Clean and dry the area around your sink. Use a mild cleaner and a damp cloth to remove any dirt, grime, or residue from the surface. Then, use a dry cloth to ensure that the surface is completely dry before proceeding. Step 2: Cut the tip of the silicone caulk tube at a 45-degree angle to create a small opening. This will allow for more precise application. Step 3: Apply a thin bead of silicone caulk around the edges of your sink, making sure to cover any gaps or cracks. Use a caulk gun or your finger to smooth out the caulk and create a neat finish. Step 4: Let the caulk dry for at least 24 hours before using your sink or getting it wet. This will ensure that the caulk has fully cured and is waterproof.How to Seal a Kitchen Sink with Silicone Caulk


How to Seal a Kitchen Sink with Silicone Caulk


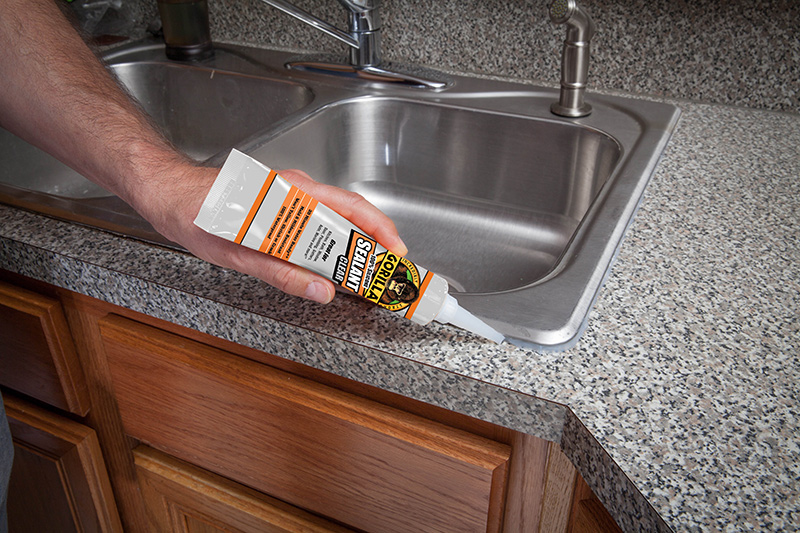
There are many different types of silicone available on the market, but not all are suitable for sealing a kitchen sink. When choosing a silicone for this purpose, look for one that is specifically designed for kitchen and bathroom use, as these are more resistant to moisture and mildew. Some popular options include GE Silicone II Kitchen and Bath Caulk, DAP 3.0 Kitchen, Bath & Plumbing High Performance Sealant, and Loctite Clear Silicone Waterproof Sealant.Best Silicone for Sealing Kitchen Sink


Best Silicone for Sealing Kitchen Sink


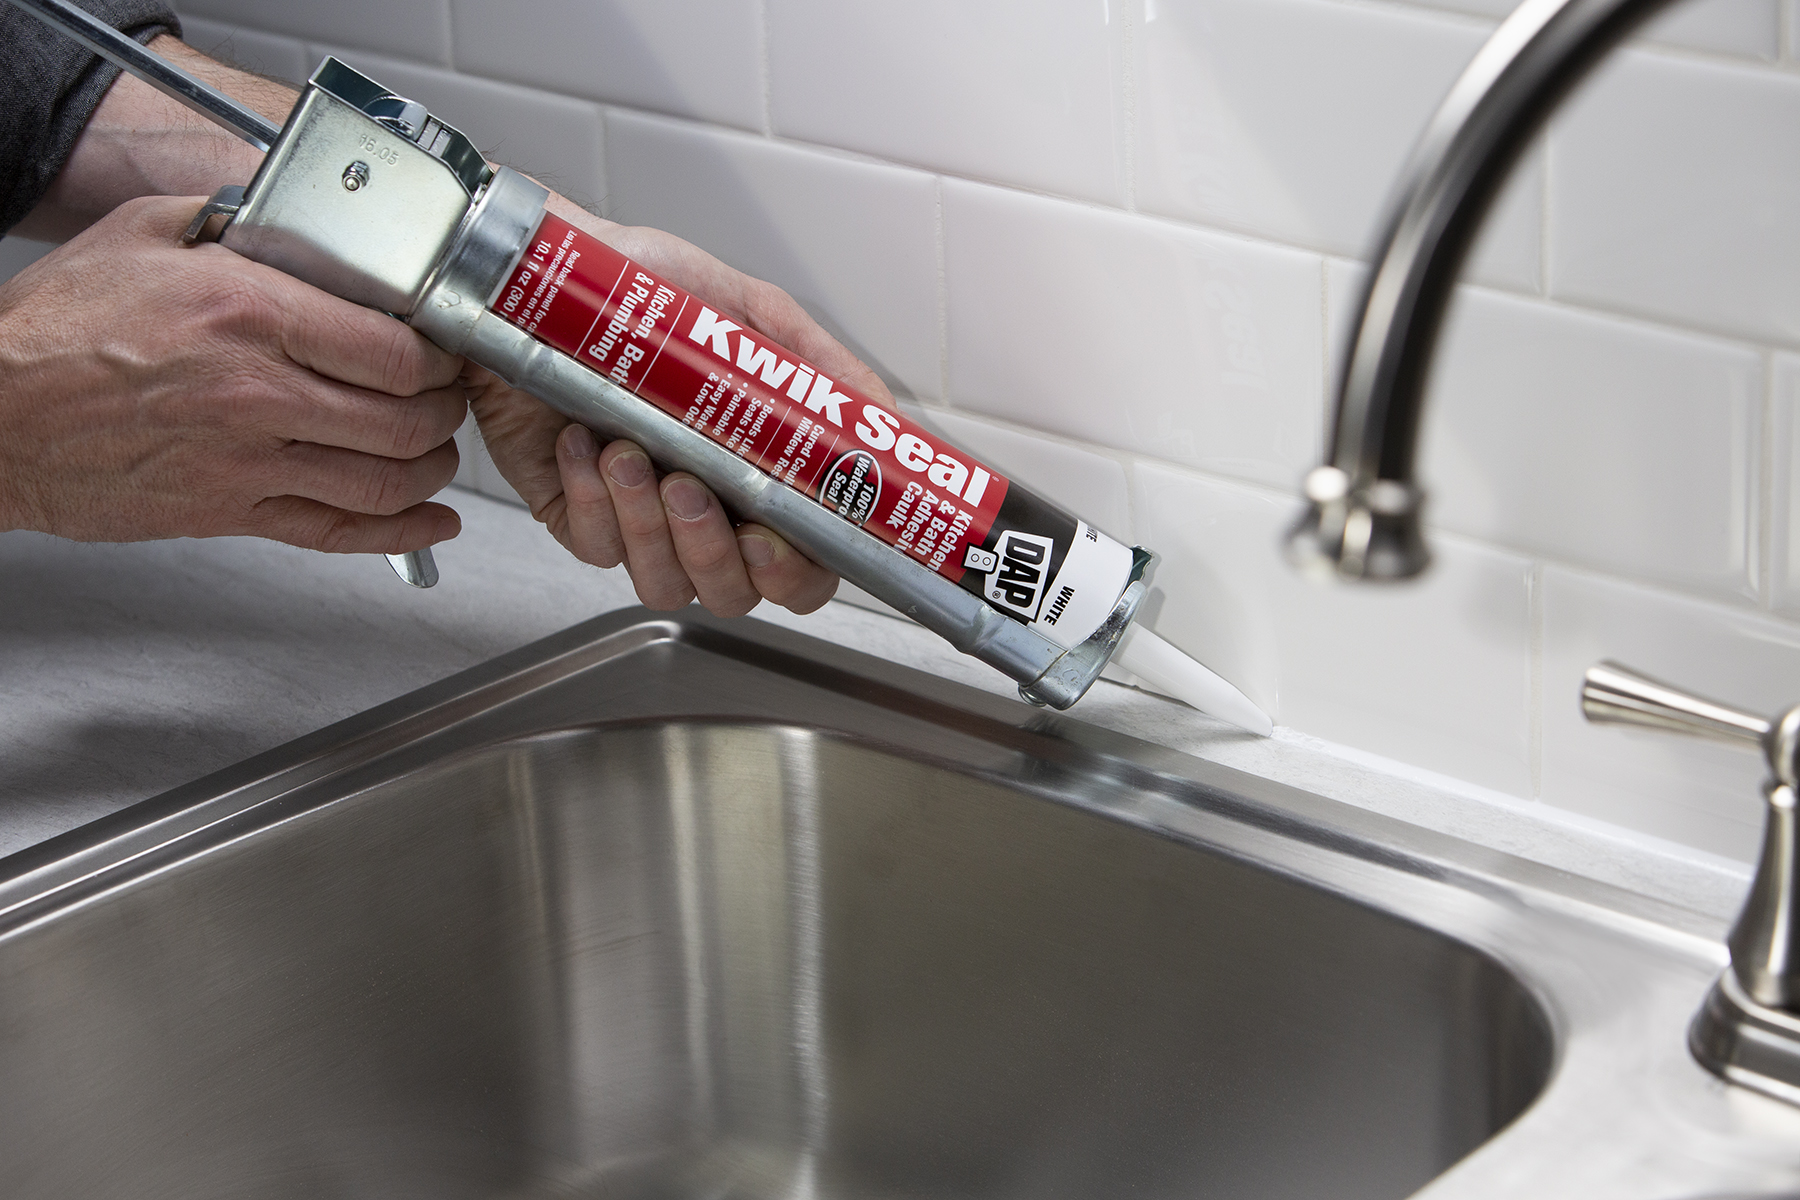
Step 1: Gather all the necessary materials, including silicone caulk, a caulk gun, a putty knife, a damp cloth, and a dry cloth. Step 2: Clean and dry the area around your sink. Step 3: Cut the tip of the silicone caulk tube at a 45-degree angle. Step 4: Apply a thin bead of silicone caulk around the edges of your sink. Step 5: Smooth out the caulk using a caulk gun or your finger. Step 6: Let the caulk dry for 24 hours. Step 7: Use a putty knife to remove any excess caulk.Step-by-Step Guide for Sealing Kitchen Sink with Silicone


Step-by-Step Guide for Sealing Kitchen Sink with Silicone


Tip 1: Make sure the area around your sink is completely clean and dry before applying the silicone caulk. Tip 2: Use a caulk gun for more precise application. Tip 3: Smooth out the caulk with your finger for a neat finish. You can also dip your finger in a mixture of water and dish soap to prevent the caulk from sticking to your skin. Tip 4: Let the caulk dry for at least 24 hours before using your sink.Tips for Sealing Kitchen Sink with Silicone


Tips for Sealing Kitchen Sink with Silicone


Mistake 1: Not cleaning the area properly before applying the caulk, which can result in poor adhesion. Mistake 2: Using too much caulk, which can make a mess and take longer to dry. Mistake 3: Not smoothing out the caulk, leaving an uneven or messy finish. Mistake 4: Using the wrong type of silicone, which may not be suitable for kitchen sink sealing.Common Mistakes When Sealing Kitchen Sink with Silicone


Common Mistakes When Sealing Kitchen Sink with Silicone


It is recommended to seal your kitchen sink with silicone every 1-2 years, depending on the amount of use and wear and tear. However, if you notice any cracks or gaps in the caulk, it is important to reseal them immediately to prevent water and bacteria from seeping in.How Often Should You Seal Your Kitchen Sink with Silicone?


How Often Should You Seal Your Kitchen Sink with Silicone?


Benefit 1: Prevents water and food particles from seeping into cracks and causing damage. Benefit 2: Resistant to mold and mildew, keeping your sink clean and hygienic. Benefit 3: Improves the appearance of your sink by creating a neat and seamless finish. Benefit 4: Helps to extend the lifespan of your sink by protecting it from water damage.Benefits of Sealing Kitchen Sink with Silicone


Benefits of Sealing Kitchen Sink with Silicone

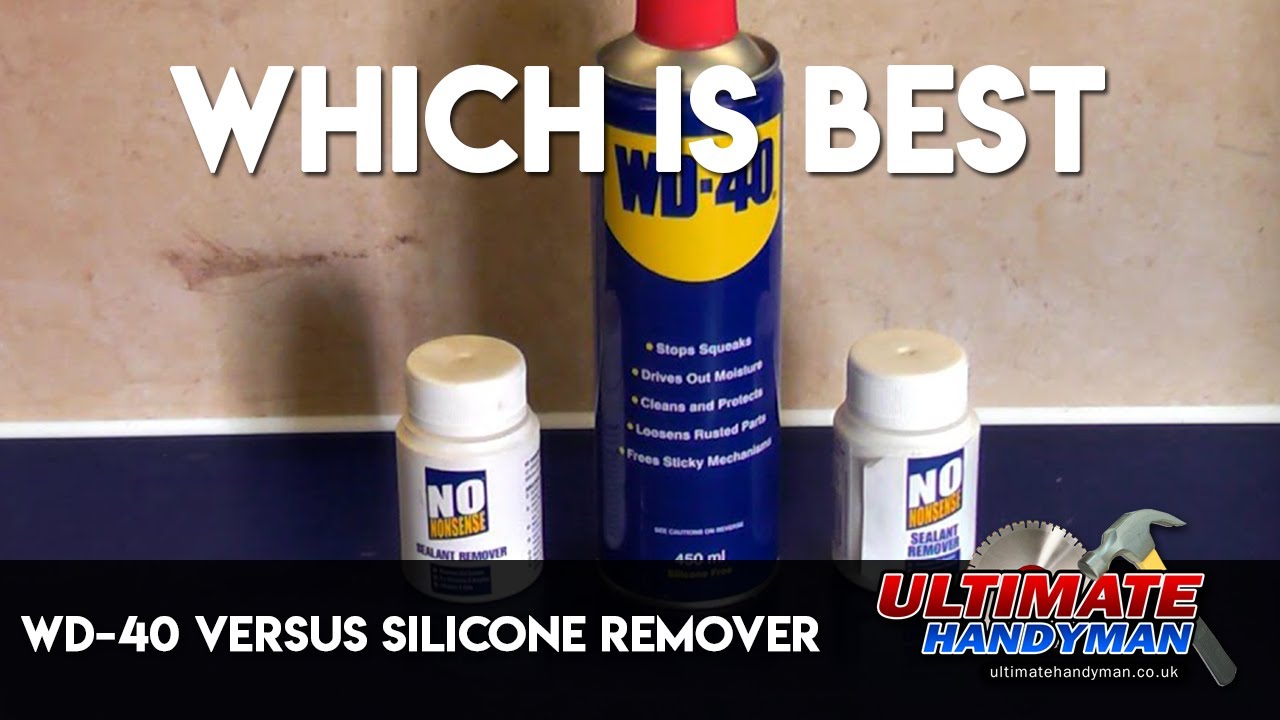
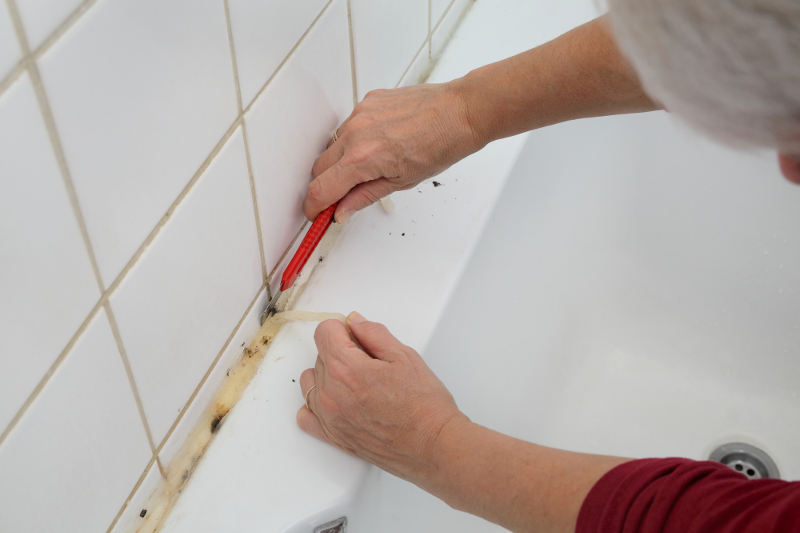
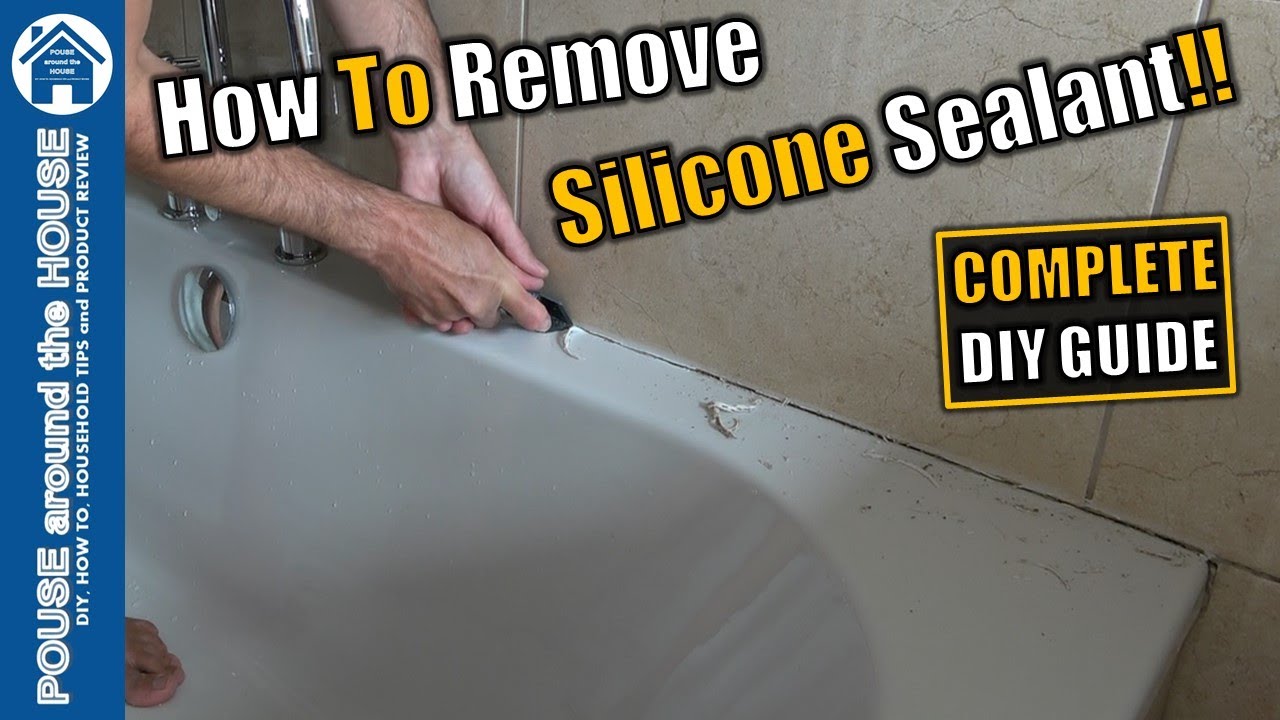
If you need to reseal your kitchen sink, you will first need to remove the old silicone. Here's how: Step 1: Use a sharp utility knife or razor blade to carefully cut away as much of the old silicone as possible. Step 2: Use a scraper or putty knife to remove any remaining silicone residue. Step 3: Clean the area with a mild cleaner and a damp cloth to remove any dirt or residue. Step 4: Let the area dry completely before applying new silicone caulk.How to Remove Old Silicone from Kitchen Sink


How to Remove Old Silicone from Kitchen Sink


If you prefer not to use silicone caulk, there are other options for sealing your kitchen sink: Method 1: Use a plumber's putty, which is a soft, pliable material that can be molded to seal gaps around your sink. Method 2: Use a foam weatherstrip tape, which is a self-adhesive tape that can be applied around the edges of your sink to create a water-resistant seal. Method 3: Use a waterproof caulk strip, which is a peel-and-stick strip that can be applied around your sink for a quick and easy seal.Alternative Methods for Sealing Kitchen Sink without Silicone


Alternative Methods for Sealing Kitchen Sink without Silicone

Why Sealing Your Kitchen Sink with Silicone is Essential for a Functional and Beautiful Kitchen

The Importance of Sealing Your Kitchen Sink
 When it comes to designing a functional and beautiful kitchen, every detail matters. From the color scheme to the layout, every decision plays a role in creating a space that is both aesthetically pleasing and practical for daily use. One important aspect that is often overlooked is sealing the kitchen sink with silicone. This simple yet crucial step can make all the difference in the overall look and functionality of your kitchen.
Protect Your Kitchen from Water Damage
 The kitchen sink is one of the most used areas in any household, and as a result, it is exposed to a lot of water. Over time, this can lead to water damage if the sink is not properly sealed. Water can seep into the areas around the sink, causing mold and mildew to grow, which not only looks unsightly but can also pose health risks. By
sealing your kitchen sink with silicone
, you create a barrier that prevents water from seeping into the surrounding areas, thus protecting your kitchen from potential damage.
The kitchen sink is one of the most used areas in any household, and as a result, it is exposed to a lot of water. Over time, this can lead to water damage if the sink is not properly sealed. Water can seep into the areas around the sink, causing mold and mildew to grow, which not only looks unsightly but can also pose health risks. By
sealing your kitchen sink with silicone
, you create a barrier that prevents water from seeping into the surrounding areas, thus protecting your kitchen from potential damage.
Prevent Costly Repairs
 In addition to protecting your kitchen from water damage, sealing your sink can also save you from costly repairs in the long run. If water damage occurs, it can lead to structural damage that may require extensive repairs. By taking the simple step of sealing your sink, you can avoid these potential expenses and keep your kitchen in pristine condition.
Ensure a Clean and Hygienic Kitchen
 A properly sealed kitchen sink not only protects your kitchen from water damage but also ensures a clean and hygienic space. Without proper sealing, water can seep into the areas around the sink and become a breeding ground for bacteria and germs. This can be a health hazard, especially if you use your sink for food preparation. By
sealing your kitchen sink with silicone
, you create a hygienic barrier that prevents water, bacteria, and germs from seeping into your kitchen.
A properly sealed kitchen sink not only protects your kitchen from water damage but also ensures a clean and hygienic space. Without proper sealing, water can seep into the areas around the sink and become a breeding ground for bacteria and germs. This can be a health hazard, especially if you use your sink for food preparation. By
sealing your kitchen sink with silicone
, you create a hygienic barrier that prevents water, bacteria, and germs from seeping into your kitchen.
Enhance the Aesthetics of Your Kitchen
 Last but definitely not least, sealing your kitchen sink with silicone can enhance the overall aesthetics of your kitchen. By creating a clean and seamless look, a properly sealed sink can add a touch of elegance to your kitchen design. With a wide variety of silicone sealant colors available, you can choose one that complements your kitchen's color scheme and adds a polished finish to your space.
In conclusion, sealing your kitchen sink with silicone is an essential step in creating a functional and beautiful kitchen. It protects your kitchen from water damage, prevents costly repairs, ensures a clean and hygienic space, and enhances the overall aesthetics of your kitchen. So the next time you are designing or renovating your kitchen, make sure to not overlook this important step.
Last but definitely not least, sealing your kitchen sink with silicone can enhance the overall aesthetics of your kitchen. By creating a clean and seamless look, a properly sealed sink can add a touch of elegance to your kitchen design. With a wide variety of silicone sealant colors available, you can choose one that complements your kitchen's color scheme and adds a polished finish to your space.
In conclusion, sealing your kitchen sink with silicone is an essential step in creating a functional and beautiful kitchen. It protects your kitchen from water damage, prevents costly repairs, ensures a clean and hygienic space, and enhances the overall aesthetics of your kitchen. So the next time you are designing or renovating your kitchen, make sure to not overlook this important step.


.jpg)


