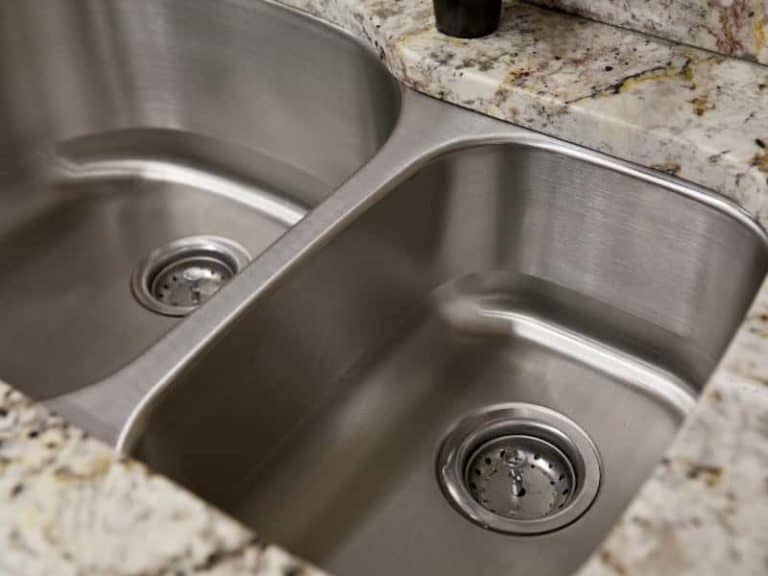
A kitchen sink strainer is an essential component of your sink, preventing food scraps and other debris from clogging your drain. Over time, however, the strainer may become loose and start leaking, causing inconvenience and potential damage to your kitchen. Fortunately, tightening a kitchen sink strainer is a simple task that can be done by anyone with basic tools and a little know-how. In this article, we will guide you through the top 10 methods to tighten your kitchen sink strainer and keep your sink functioning smoothly. How to Tighten a Kitchen Sink Strainer


How to Tighten a Kitchen Sink Strainer


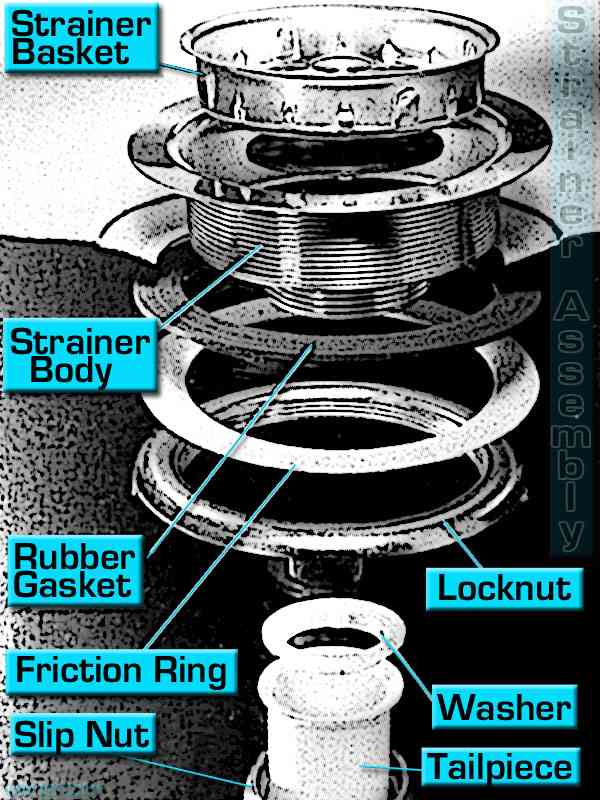
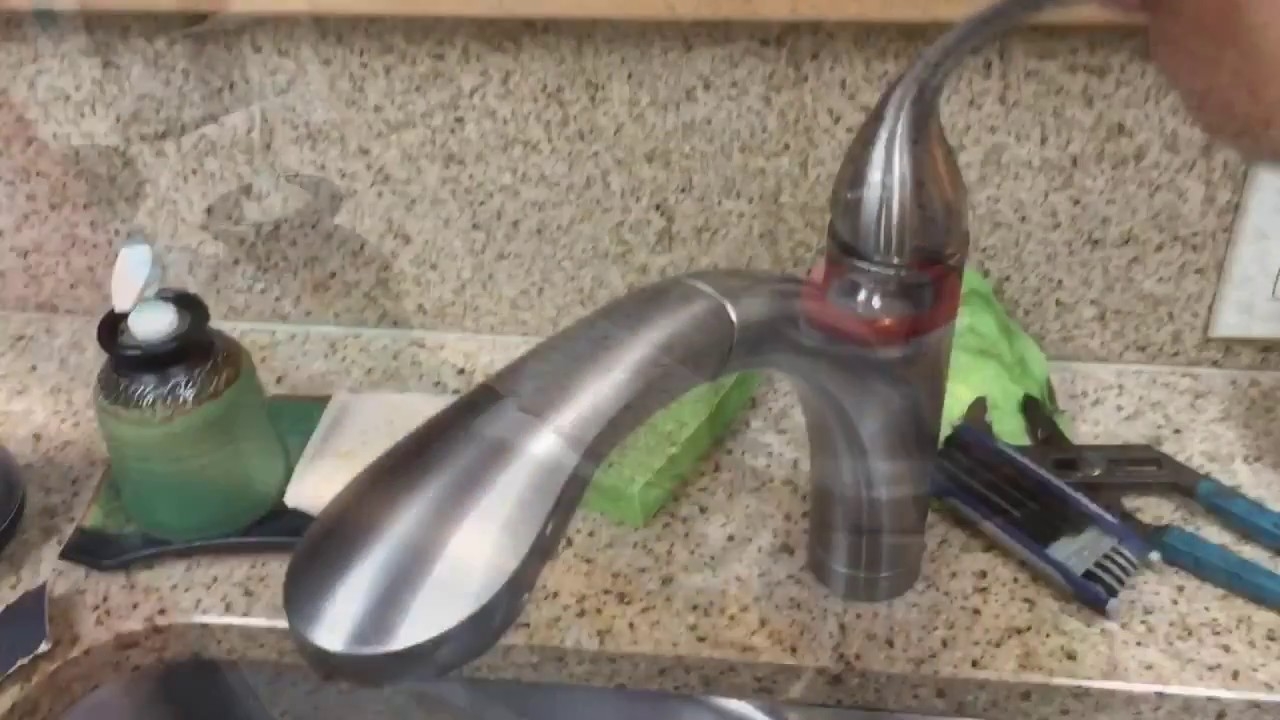
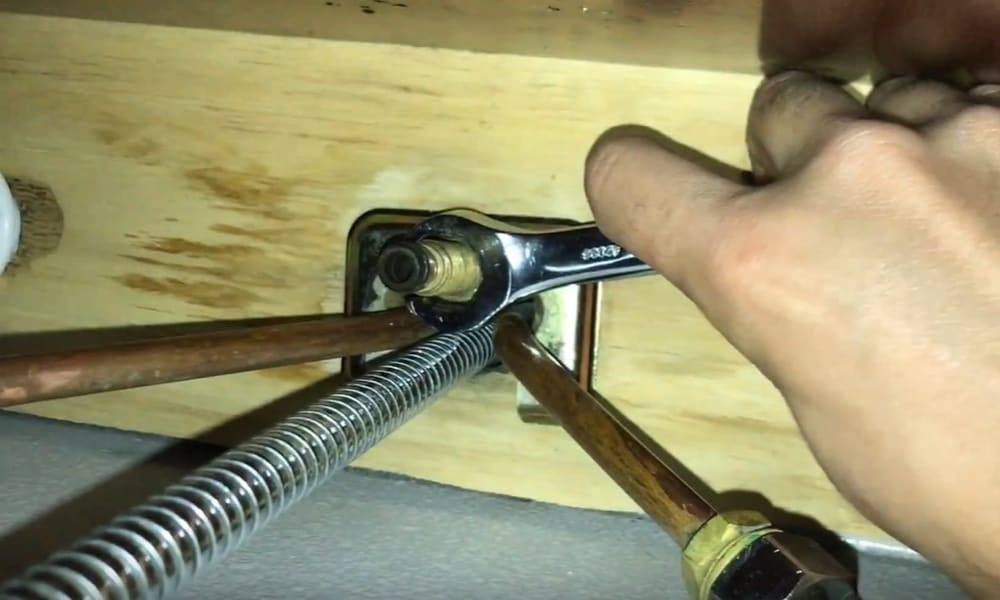
One of the most common issues with a loose kitchen sink strainer is a leak. This can be caused by a worn-out rubber gasket or a loose locknut. To fix a leaky kitchen sink strainer, start by turning off the water supply to your sink. Then, remove the locknut by turning it counterclockwise with a pair of pliers. Replace the rubber gasket and reattach the locknut, turning it clockwise to secure it in place. Turn the water supply back on and check for any leaks. How to Fix a Leaky Kitchen Sink Strainer


How to Fix a Leaky Kitchen Sink Strainer


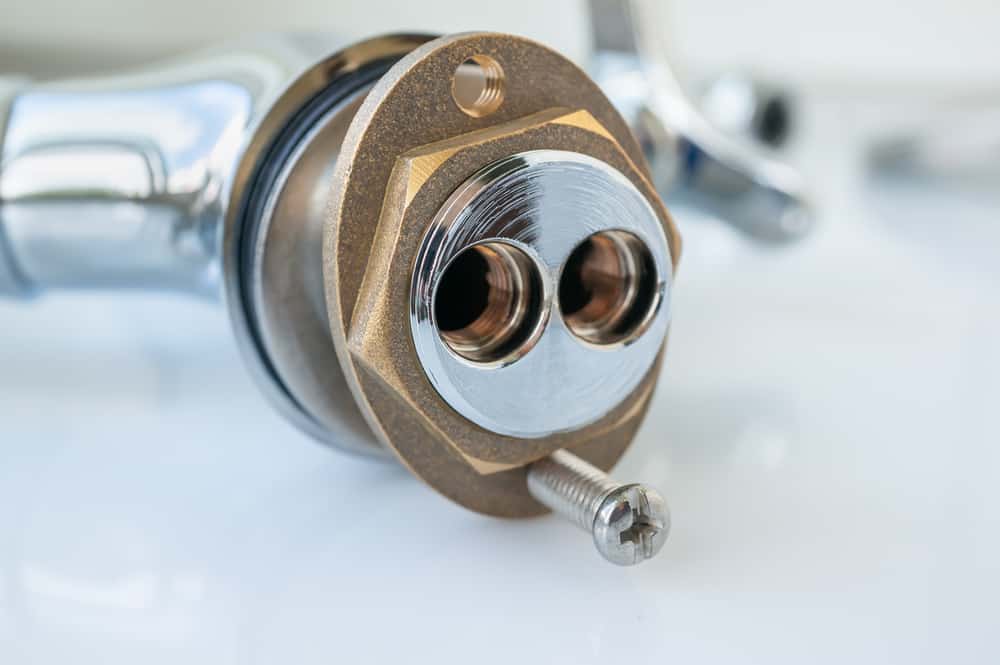
If your kitchen sink strainer is beyond repair, it may be time to replace it altogether. To do this, you will need to remove the old strainer by unscrewing the locknut and pulling it out from the sink. Next, place the new strainer into the sink and thread the locknut back on, tightening it with pliers. Finally, apply a layer of plumber's putty around the edges of the strainer to create a watertight seal. Replacing a Kitchen Sink Strainer


Replacing a Kitchen Sink Strainer


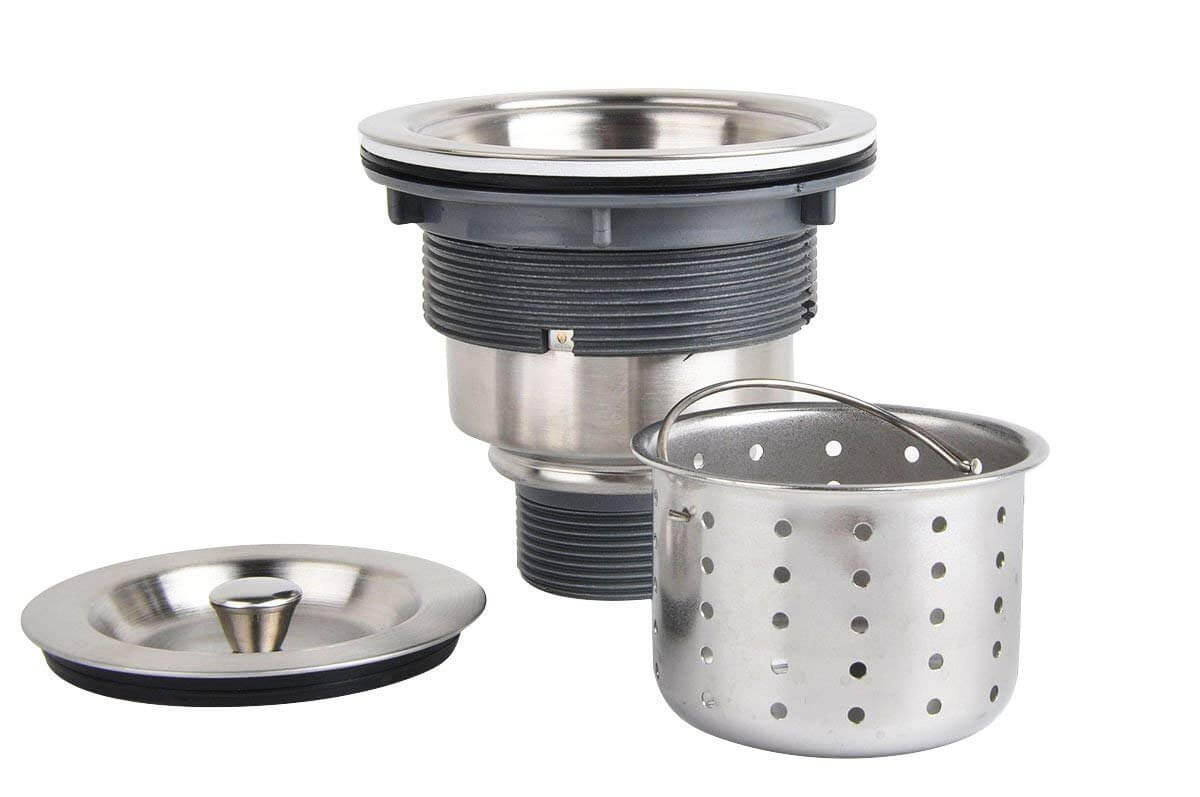
If you are installing a brand new sink, you will need to install the kitchen sink strainer as well. Start by placing the strainer into the sink and threading the locknut onto the bottom. Then, attach the rubber gasket to the strainer from underneath the sink. Use pliers to tighten the locknut and secure the strainer in place. Finish by applying plumber's putty around the edges for a tight seal. How to Install a Kitchen Sink Strainer


How to Install a Kitchen Sink Strainer


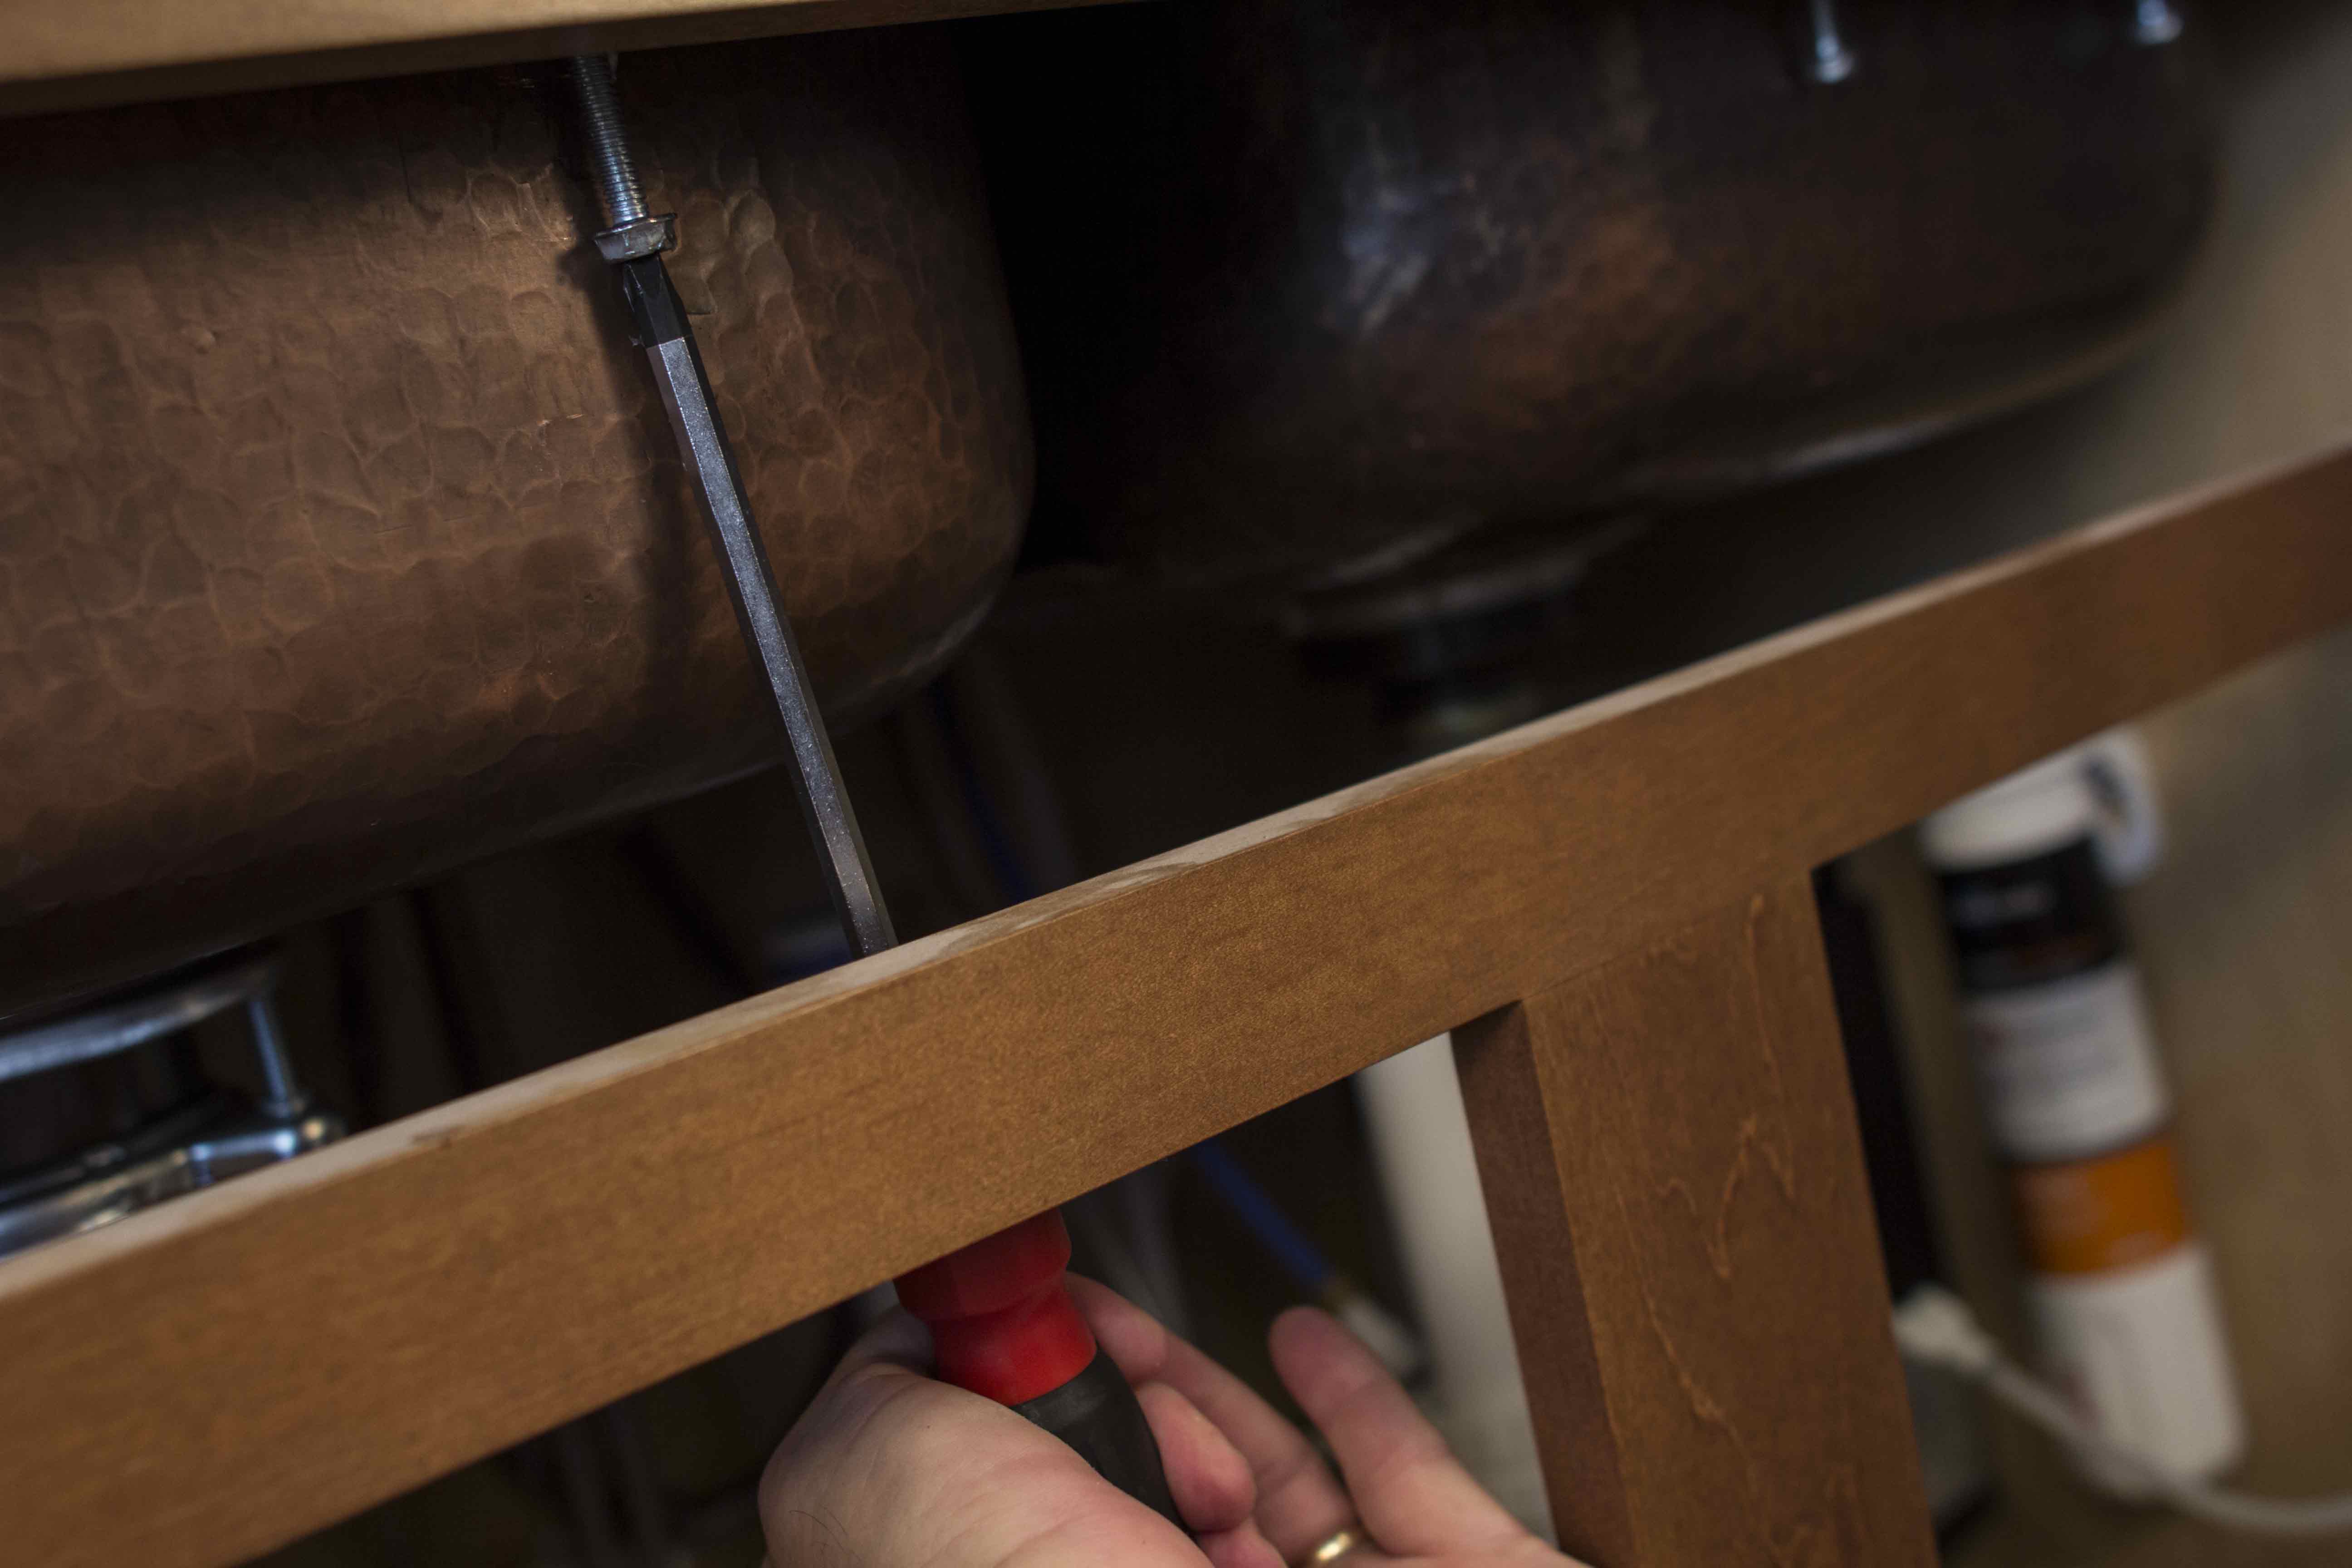
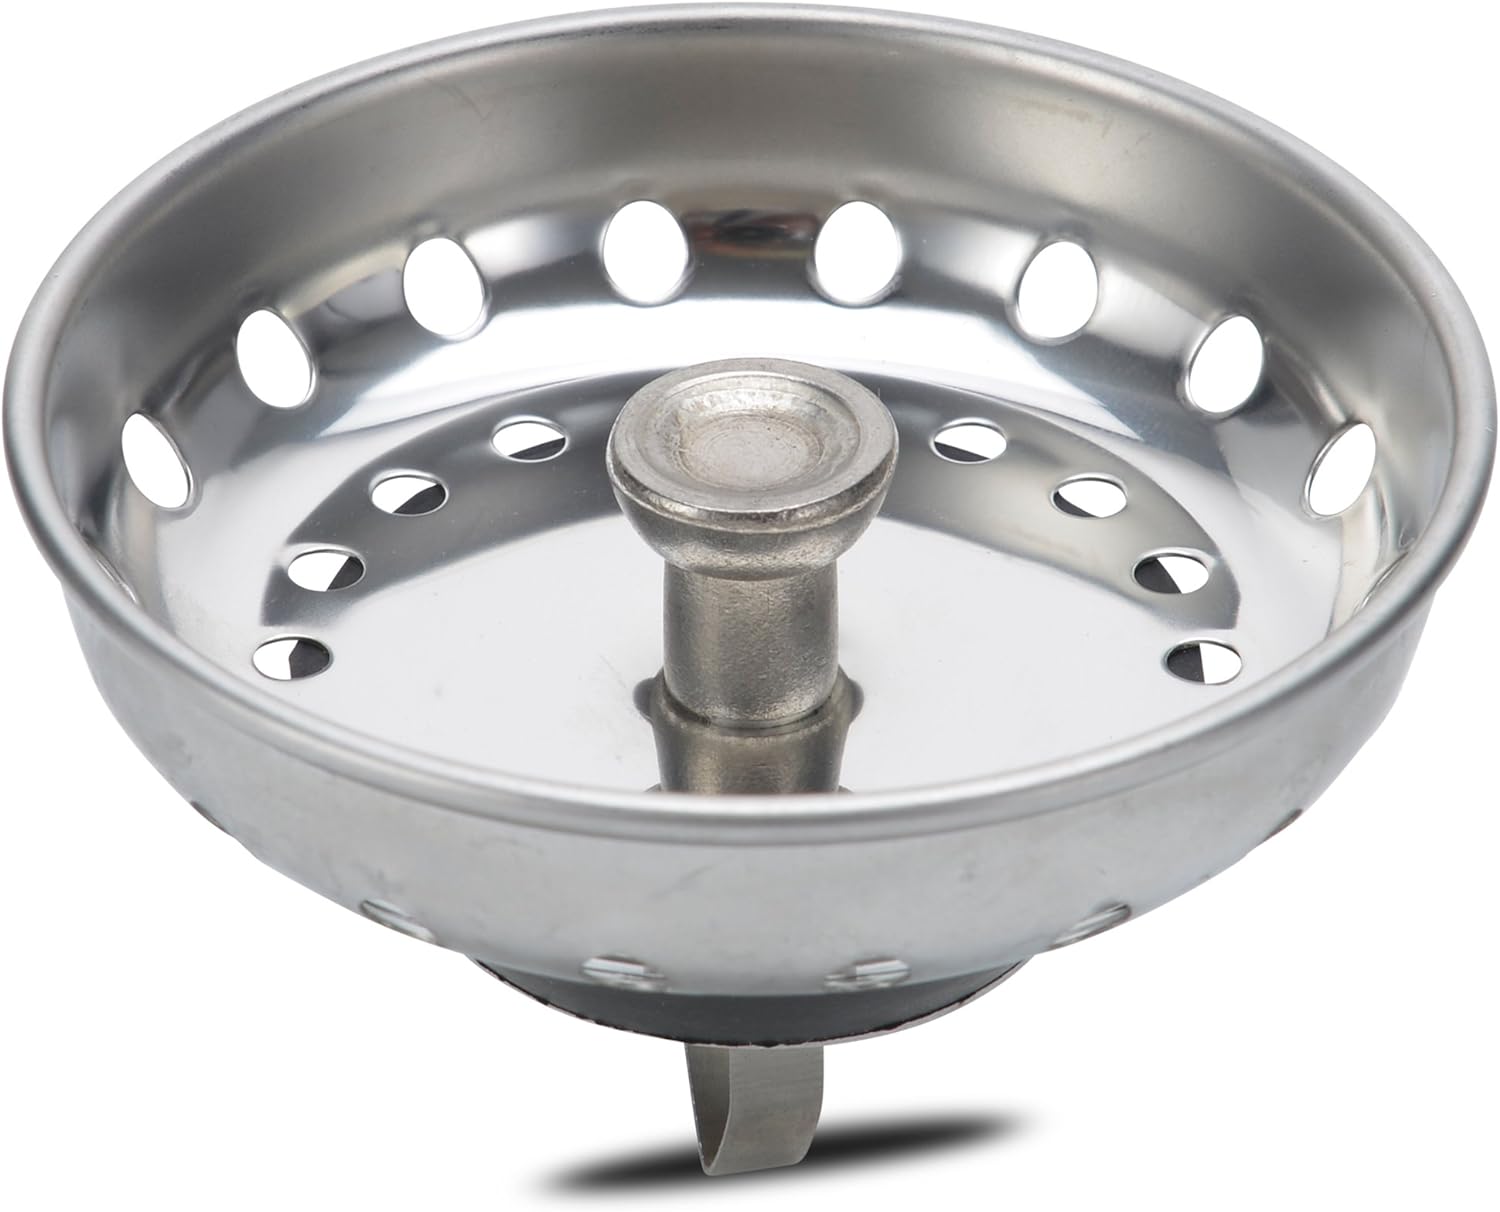
If you need to remove your kitchen sink strainer for any reason, such as cleaning or replacing it, start by turning off the water supply. Then, use a screwdriver to loosen the screws on the bottom of the strainer. Once the screws are removed, you can easily lift the strainer out of the sink. Be sure to clean the area thoroughly before reattaching the strainer with new screws. Removing a Kitchen Sink Strainer


Removing a Kitchen Sink Strainer


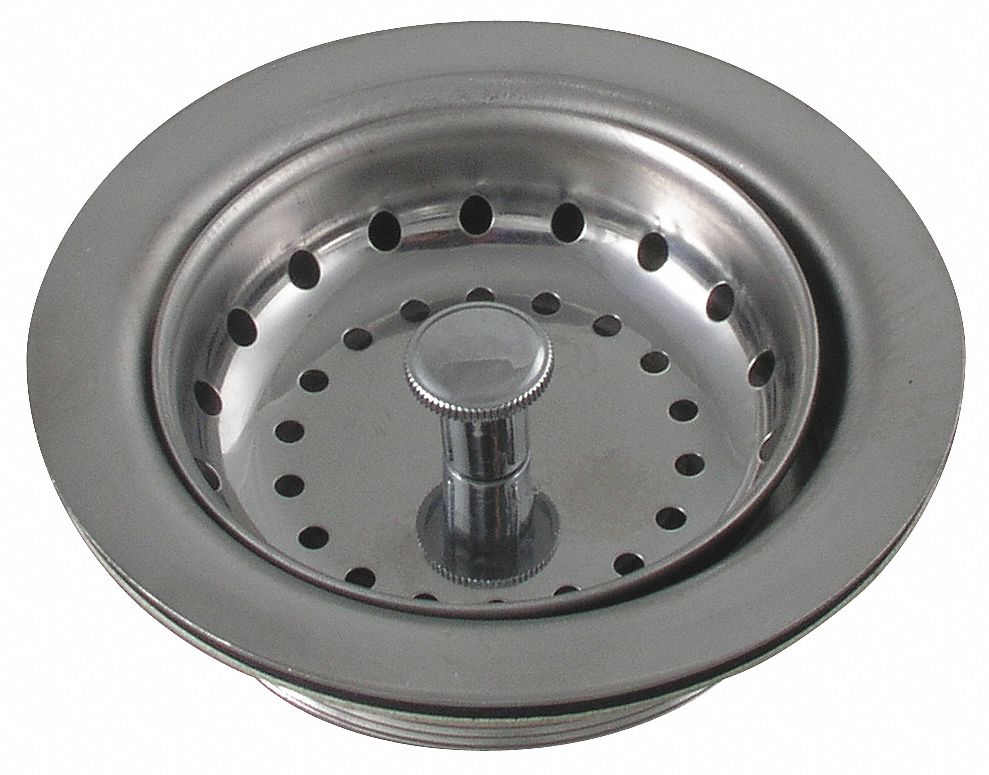
If your kitchen sink strainer is not leaking but is simply loose, you can try repairing it instead of replacing it. Start by removing the locknut and inspecting the rubber gasket for any signs of wear or damage. If the gasket is in good condition, you can simply tighten the locknut and reattach the strainer. If the gasket is damaged, replace it and reattach the strainer. How to Repair a Kitchen Sink Strainer


How to Repair a Kitchen Sink Strainer


If your kitchen sink strainer is slightly off-center or tilted, it can cause issues with draining and may need to be adjusted. To do this, loosen the locknut and rotate the strainer until it is in the desired position. Then, tighten the locknut to secure it in place. Be sure to check for any leaks before using your sink again. Adjusting a Kitchen Sink Strainer


Adjusting a Kitchen Sink Strainer


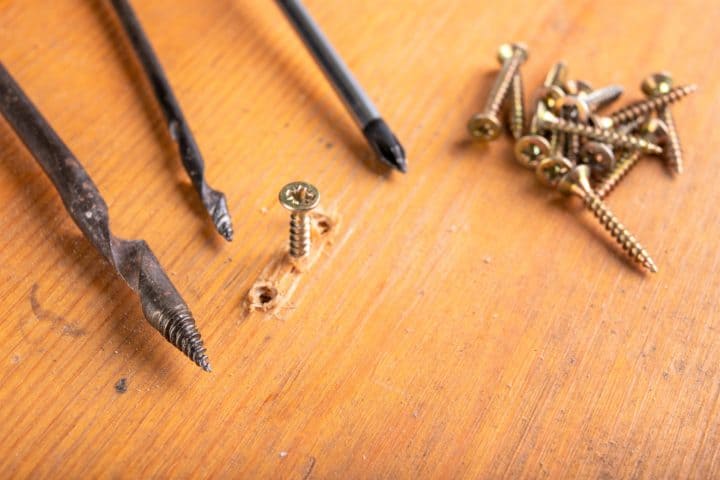
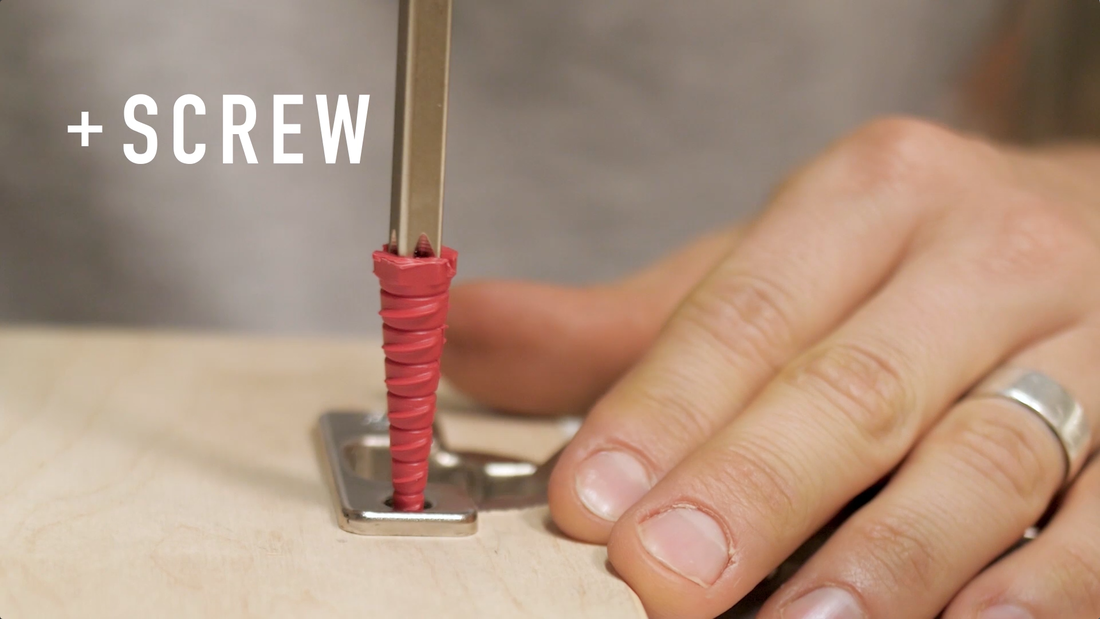
If the screw on your kitchen sink strainer has become stripped or damaged, it will need to be replaced. First, remove the old screw using pliers or a screwdriver. Then, replace it with a new screw of the same size and thread it into place. This will ensure that your strainer is securely attached to your sink. Replacing the Screw on a Kitchen Sink Strainer


Replacing the Screw on a Kitchen Sink Strainer


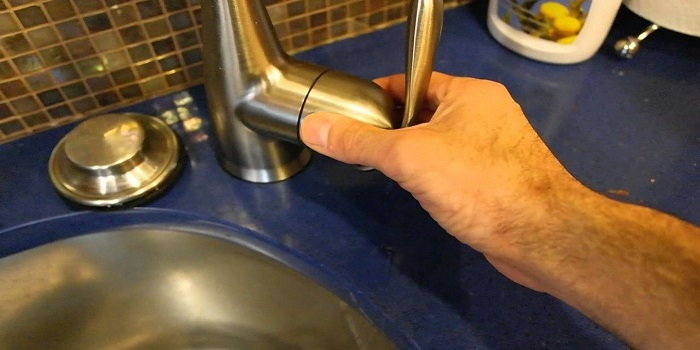
If your kitchen sink strainer is just slightly loose, you may be able to tighten it without going through the hassle of removing and replacing it. Start by using pliers to grip the locknut and turning it clockwise to tighten it. Be careful not to over-tighten, as this can cause damage to the gasket or the sink itself. Check for any leaks after tightening. How to Tighten a Loose Kitchen Sink Strainer


How to Tighten a Loose Kitchen Sink Strainer


If the screw on your kitchen sink strainer has become stripped, it may not be able to hold the strainer in place securely. To fix this, you can use a screw extractor tool to remove the old screw and replace it with a new one. Alternatively, you can try using a larger screw to get a tighter fit. Be sure to test the strength of the screw by gently pulling on the strainer to make sure it is secure. Fixing a Stripped Screw on a Kitchen Sink Strainer


Fixing a Stripped Screw on a Kitchen Sink Strainer


Why Properly Tightening Your Kitchen Sink Strainer is Important for a Well-Designed House
Maintaining a Functional and Aesthetic Kitchen
 When it comes to house design, the kitchen is often considered the heart of the home. It is where meals are prepared, memories are made, and families gather. As such, it is important to have a functional and aesthetically pleasing kitchen. One often overlooked aspect of a kitchen's functionality is the proper installation and tightening of the kitchen sink strainer. Not only does this ensure a leak-proof sink, but it also adds to the overall look and feel of the kitchen.
Preventing Leaks and Water Damage
One of the main reasons for properly tightening your kitchen sink strainer is to prevent leaks and potential water damage. Over time, the constant use of the sink can cause the strainer to loosen, resulting in water leaking out and potentially damaging the surrounding area. This can lead to costly repairs and even mold growth. By regularly checking and tightening the strainer, you can avoid these issues and maintain a well-functioning kitchen.
Enhancing the Aesthetics of Your Kitchen
Aside from its functional purpose, the kitchen sink strainer also plays a role in the overall design of your kitchen. A loose or misaligned strainer can be an eyesore and disrupt the cohesive look of your kitchen. By properly tightening the strainer, you not only ensure its functionality but also contribute to the overall aesthetic of your kitchen. This attention to detail can make a significant difference in the overall design of your house.
When it comes to house design, the kitchen is often considered the heart of the home. It is where meals are prepared, memories are made, and families gather. As such, it is important to have a functional and aesthetically pleasing kitchen. One often overlooked aspect of a kitchen's functionality is the proper installation and tightening of the kitchen sink strainer. Not only does this ensure a leak-proof sink, but it also adds to the overall look and feel of the kitchen.
Preventing Leaks and Water Damage
One of the main reasons for properly tightening your kitchen sink strainer is to prevent leaks and potential water damage. Over time, the constant use of the sink can cause the strainer to loosen, resulting in water leaking out and potentially damaging the surrounding area. This can lead to costly repairs and even mold growth. By regularly checking and tightening the strainer, you can avoid these issues and maintain a well-functioning kitchen.
Enhancing the Aesthetics of Your Kitchen
Aside from its functional purpose, the kitchen sink strainer also plays a role in the overall design of your kitchen. A loose or misaligned strainer can be an eyesore and disrupt the cohesive look of your kitchen. By properly tightening the strainer, you not only ensure its functionality but also contribute to the overall aesthetic of your kitchen. This attention to detail can make a significant difference in the overall design of your house.
The Importance of Using the Right Tools
 To properly tighten your kitchen sink strainer, you will need the right tools. This includes a screwdriver, pliers, and a plumber's putty. It is important to use the correct size and type of screwdriver to avoid damaging the screws or strainer. Pliers can also be useful for holding the strainer in place while tightening the screws. Lastly, plumber's putty is essential for creating a watertight seal between the strainer and the sink.
Conclusion
In conclusion, the proper tightening of your kitchen sink strainer is crucial for both the functionality and aesthetics of your kitchen. By regularly checking and tightening the strainer, you can prevent leaks and potential water damage, as well as enhance the overall design of your house. Remember to use the right tools and take the time to ensure a secure and leak-proof strainer for a well-designed kitchen.
To properly tighten your kitchen sink strainer, you will need the right tools. This includes a screwdriver, pliers, and a plumber's putty. It is important to use the correct size and type of screwdriver to avoid damaging the screws or strainer. Pliers can also be useful for holding the strainer in place while tightening the screws. Lastly, plumber's putty is essential for creating a watertight seal between the strainer and the sink.
Conclusion
In conclusion, the proper tightening of your kitchen sink strainer is crucial for both the functionality and aesthetics of your kitchen. By regularly checking and tightening the strainer, you can prevent leaks and potential water damage, as well as enhance the overall design of your house. Remember to use the right tools and take the time to ensure a secure and leak-proof strainer for a well-designed kitchen.