Sanding and staining a kitchen table can completely transform the look of your dining space. It's a cost-effective way to give your old, worn-out table a fresh new look. But where do you start? Here's a step-by-step guide on how to sand and stain a kitchen table. First off, gather all the necessary materials. You will need sandpaper, tack cloth, wood stain, polyurethane, paintbrush, painter's tape, drop cloth, and gloves. Make sure to choose a wood stain and polyurethane that match the color and finish you want for your table. Next, prep your workspace. Sanding and staining can get messy, so it's important to protect your floors and surrounding furniture. Lay down a drop cloth and use painter's tape to cover any areas you don't want to get stained.1. How to Sand and Stain a Kitchen Table
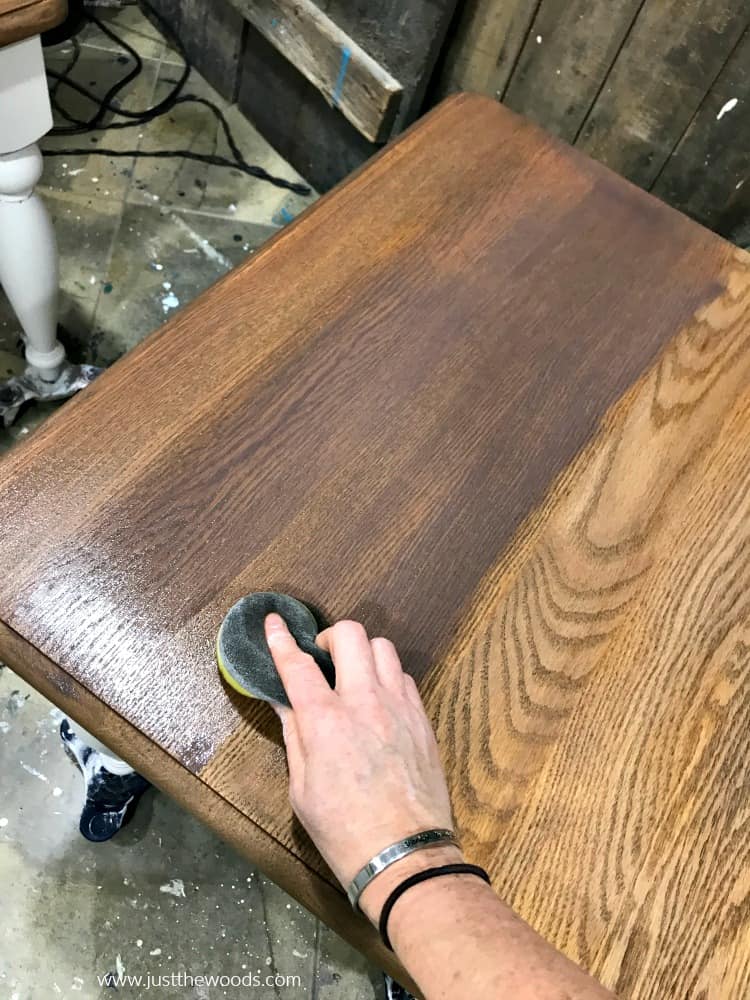
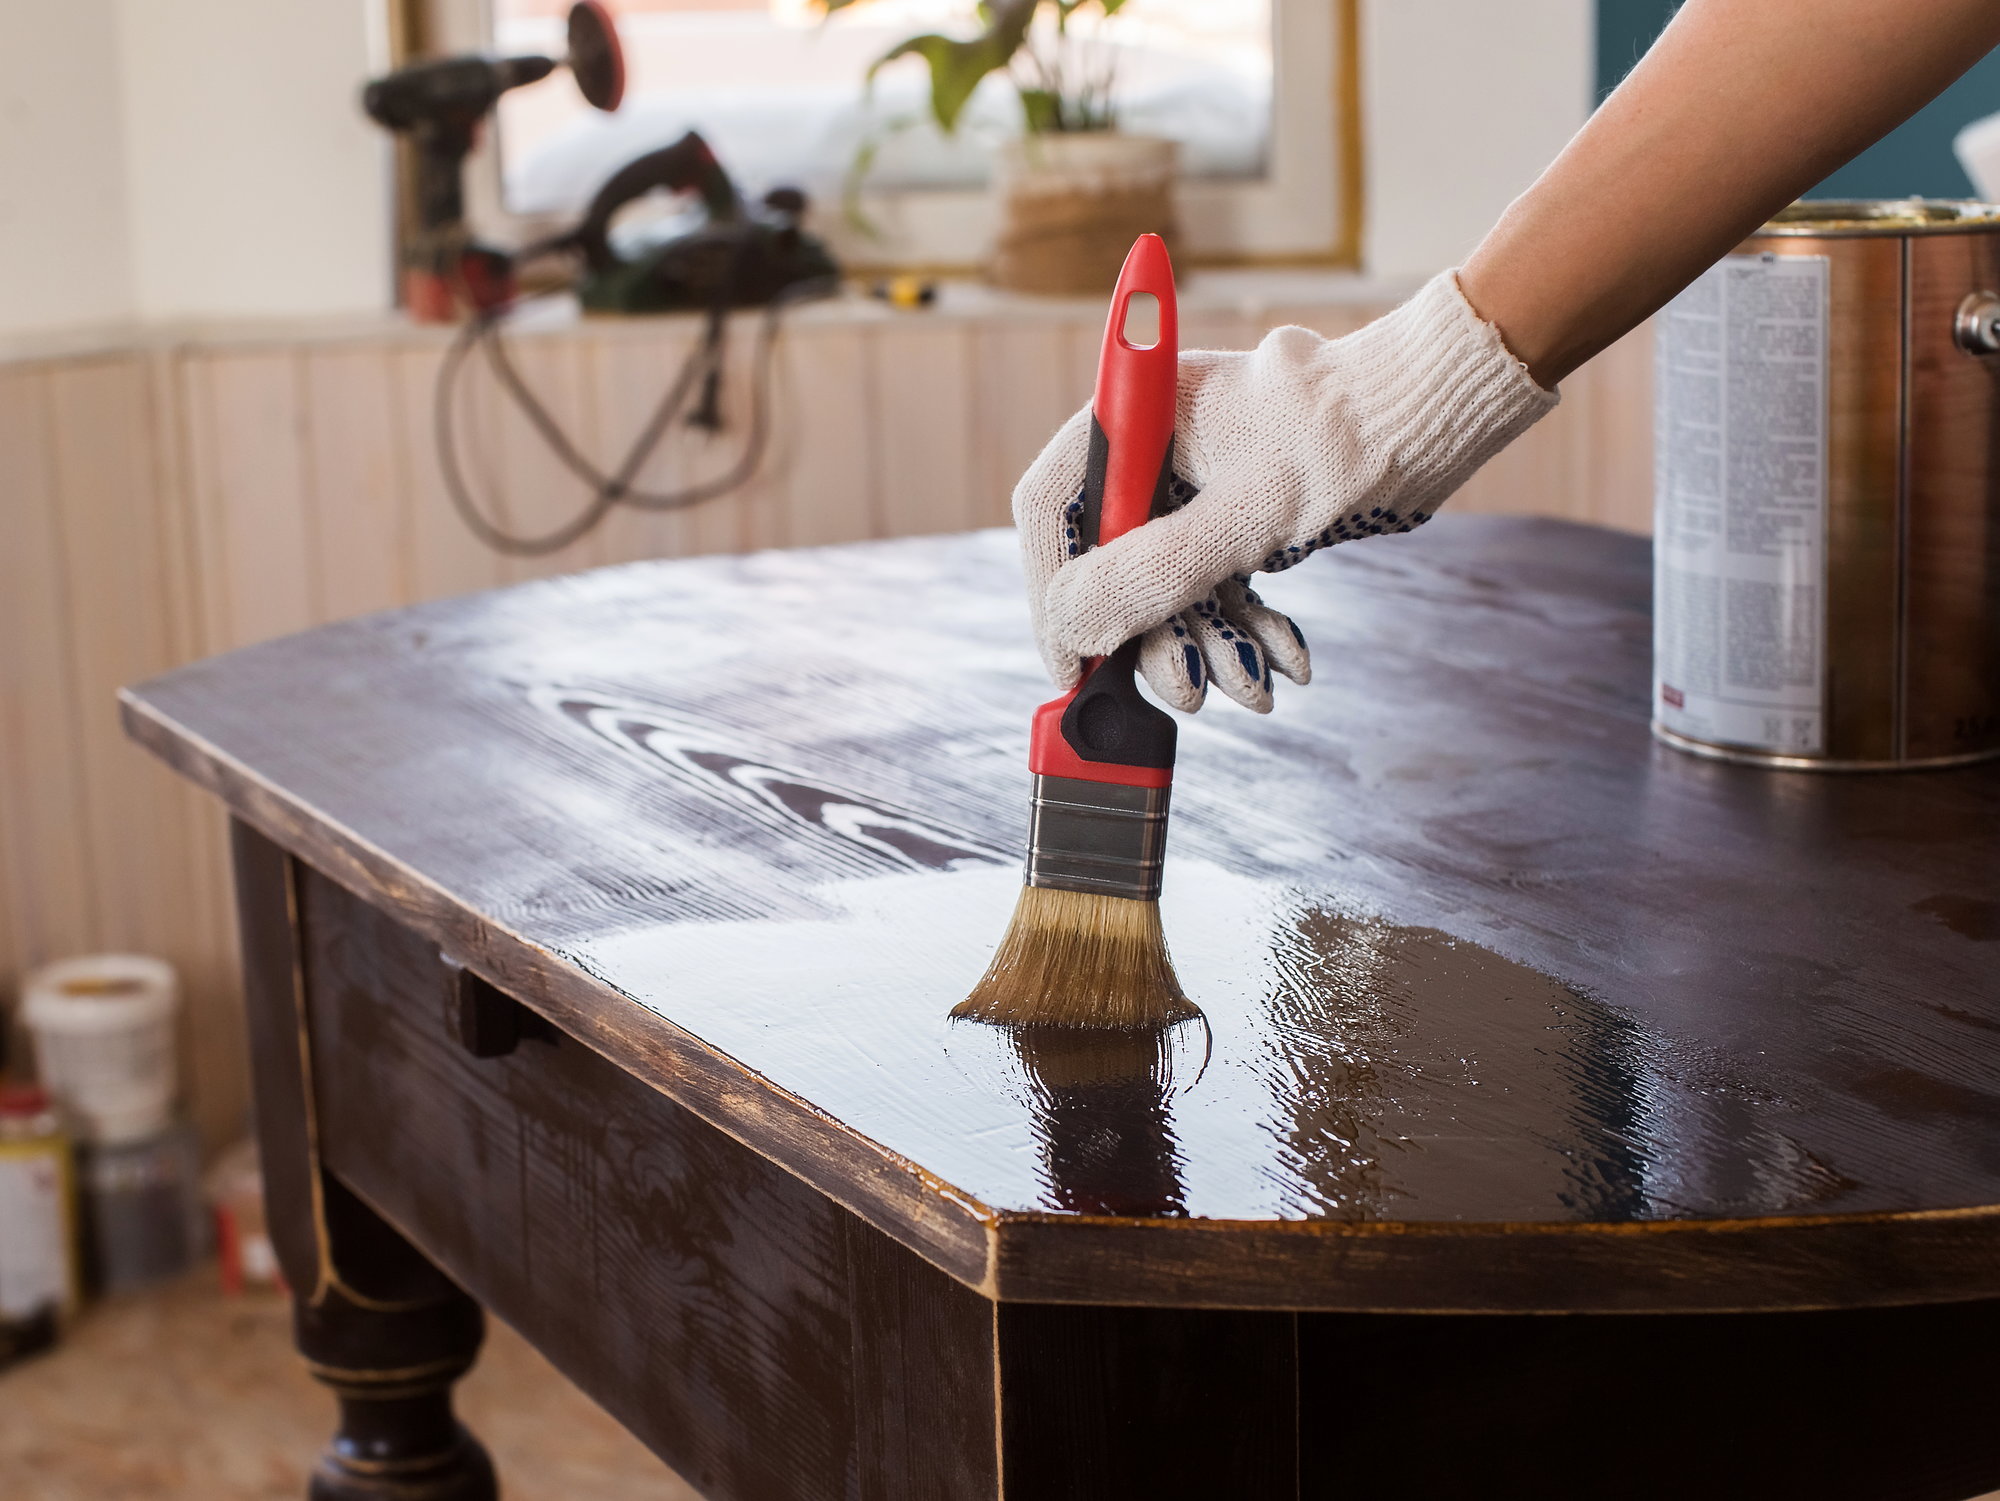
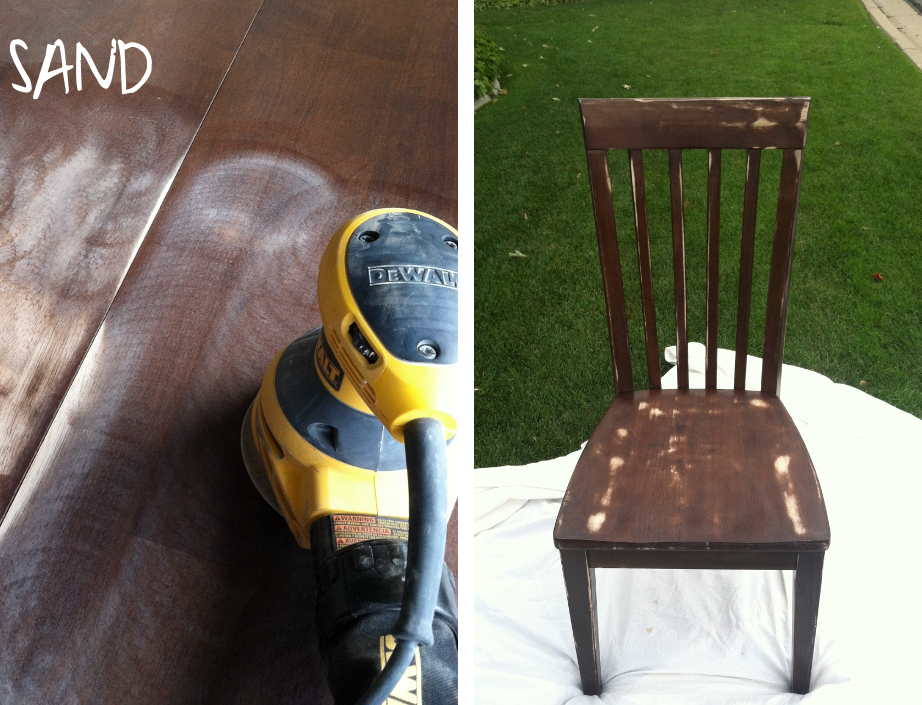
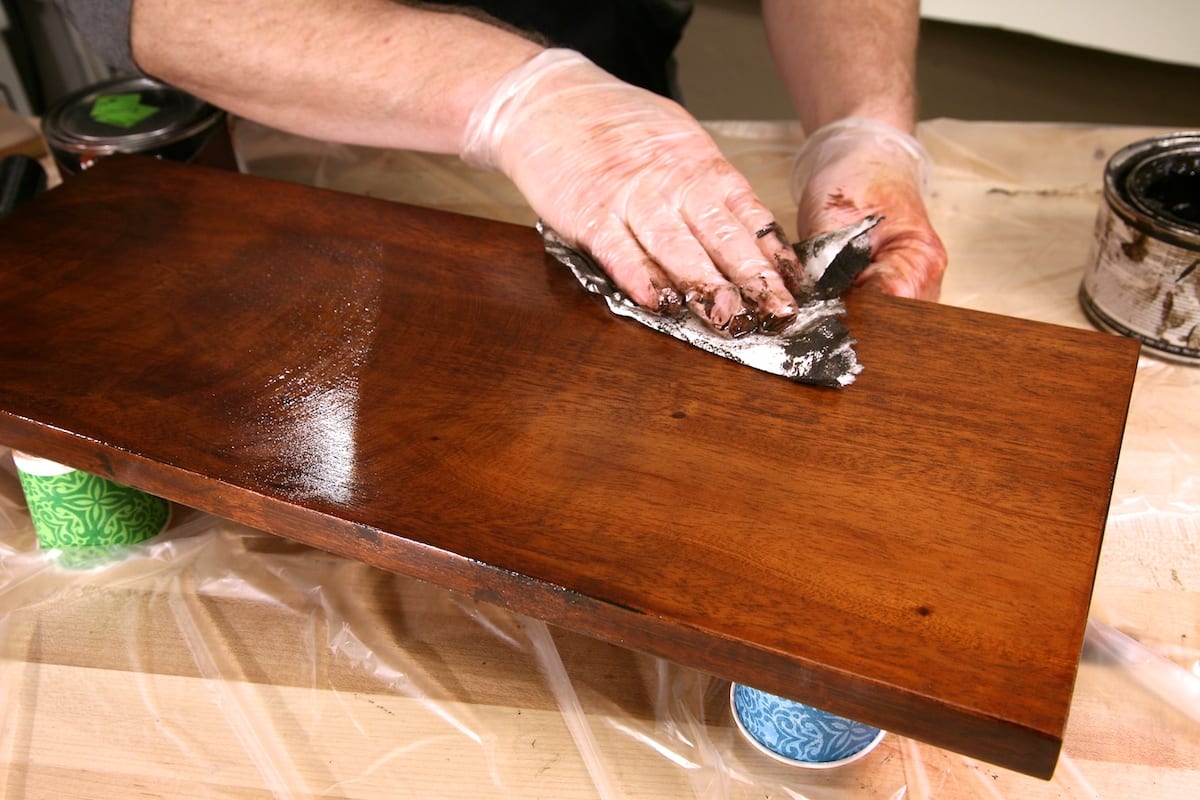
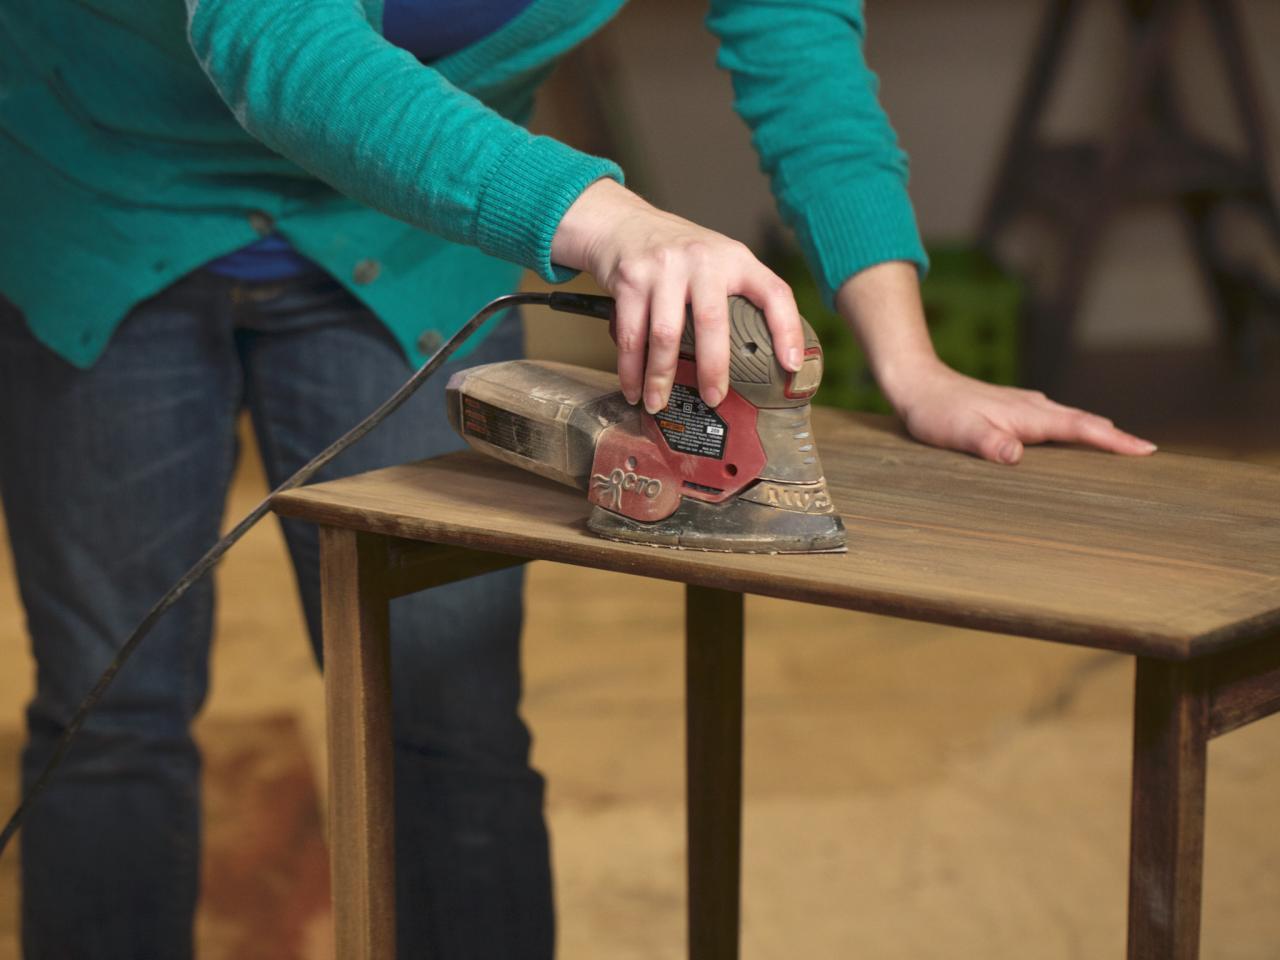
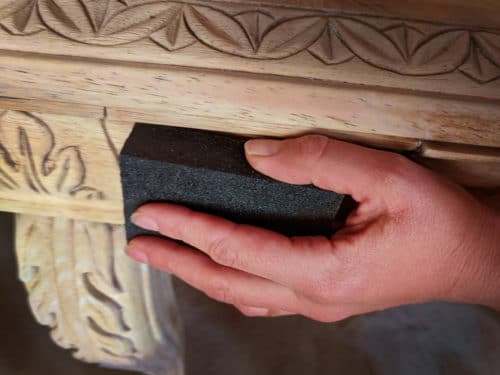
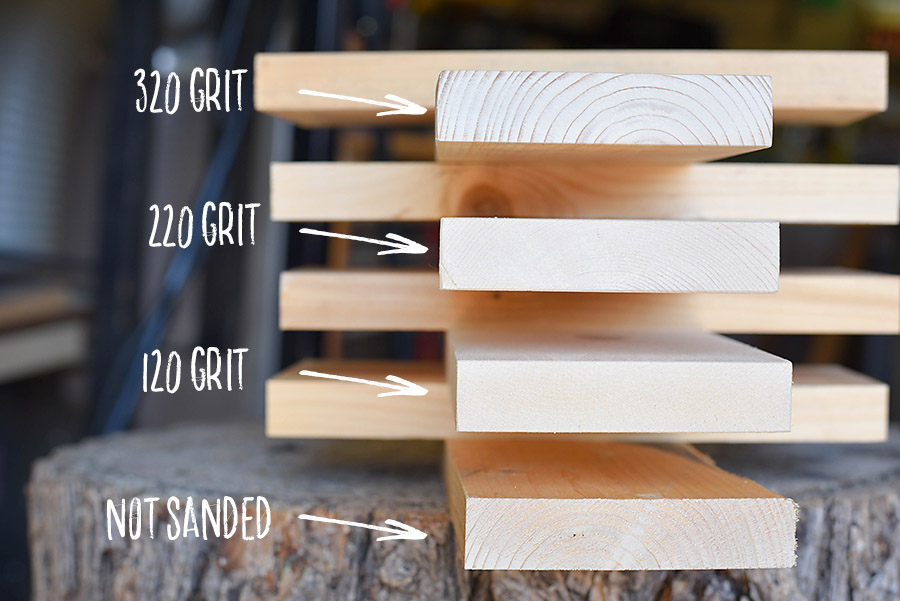
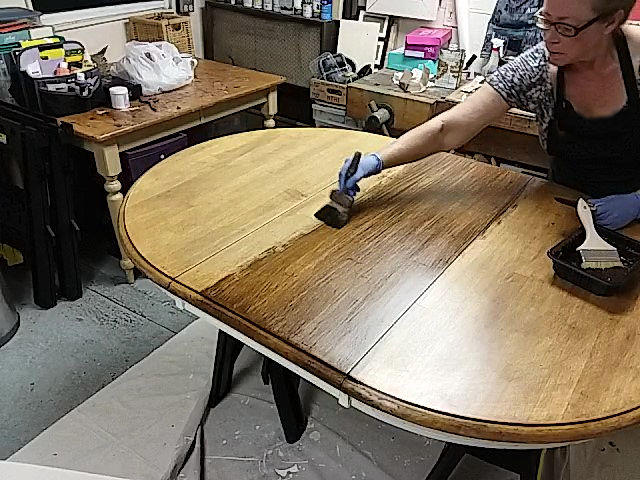
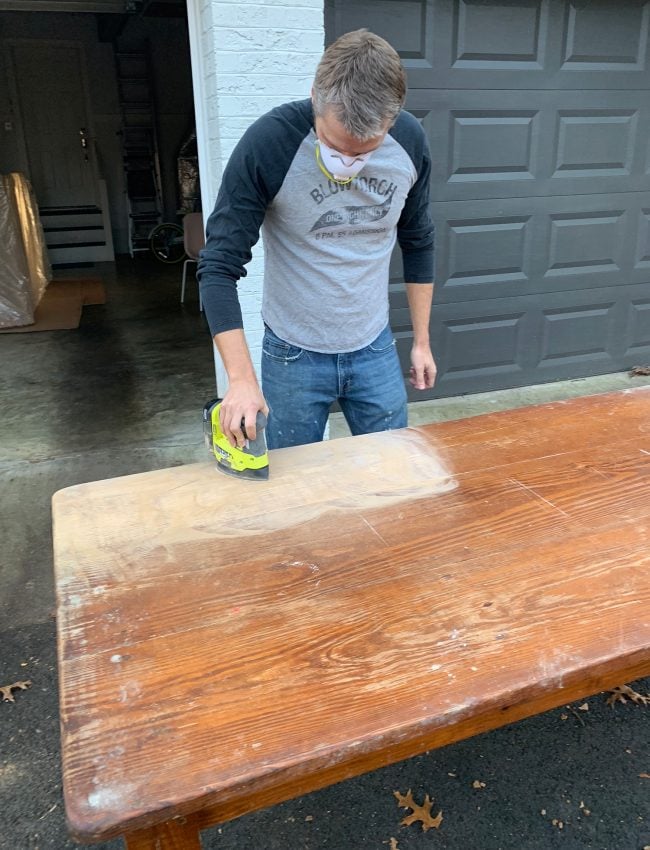
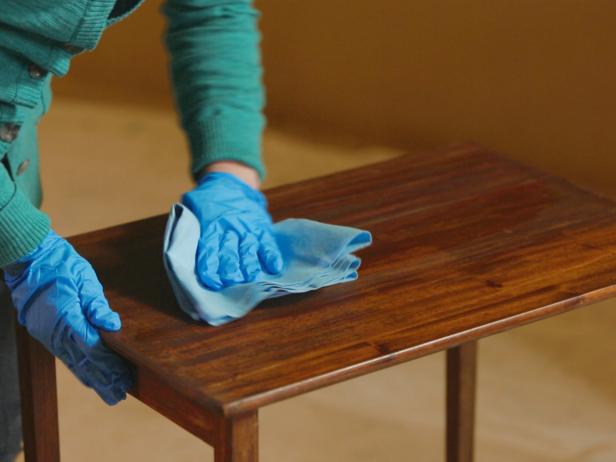
Sanding is an important step in preparing your kitchen table for staining. It helps remove any old finish, scratches, and imperfections on the surface, allowing the stain to be absorbed evenly. To start, use a coarse-grit sandpaper and sand in the direction of the wood grain. Wipe away any dust with a tack cloth before moving on to a finer-grit sandpaper. Once your table is smooth and free of imperfections, it's time to apply the stain. Use a paintbrush to evenly coat the entire surface of the table. Make sure to work in small sections and wipe away any excess stain with a clean cloth. For a darker color, you can apply multiple coats, but make sure to let each coat dry completely before adding another. After the stain has dried, it's time to add a protective layer of polyurethane. This will not only seal the stain but also give your table a nice glossy finish. Use a clean paintbrush to apply the polyurethane, following the direction of the wood grain. Apply two to three coats, allowing each coat to dry completely before adding another.2. DIY Guide for Sanding and Staining a Kitchen Table
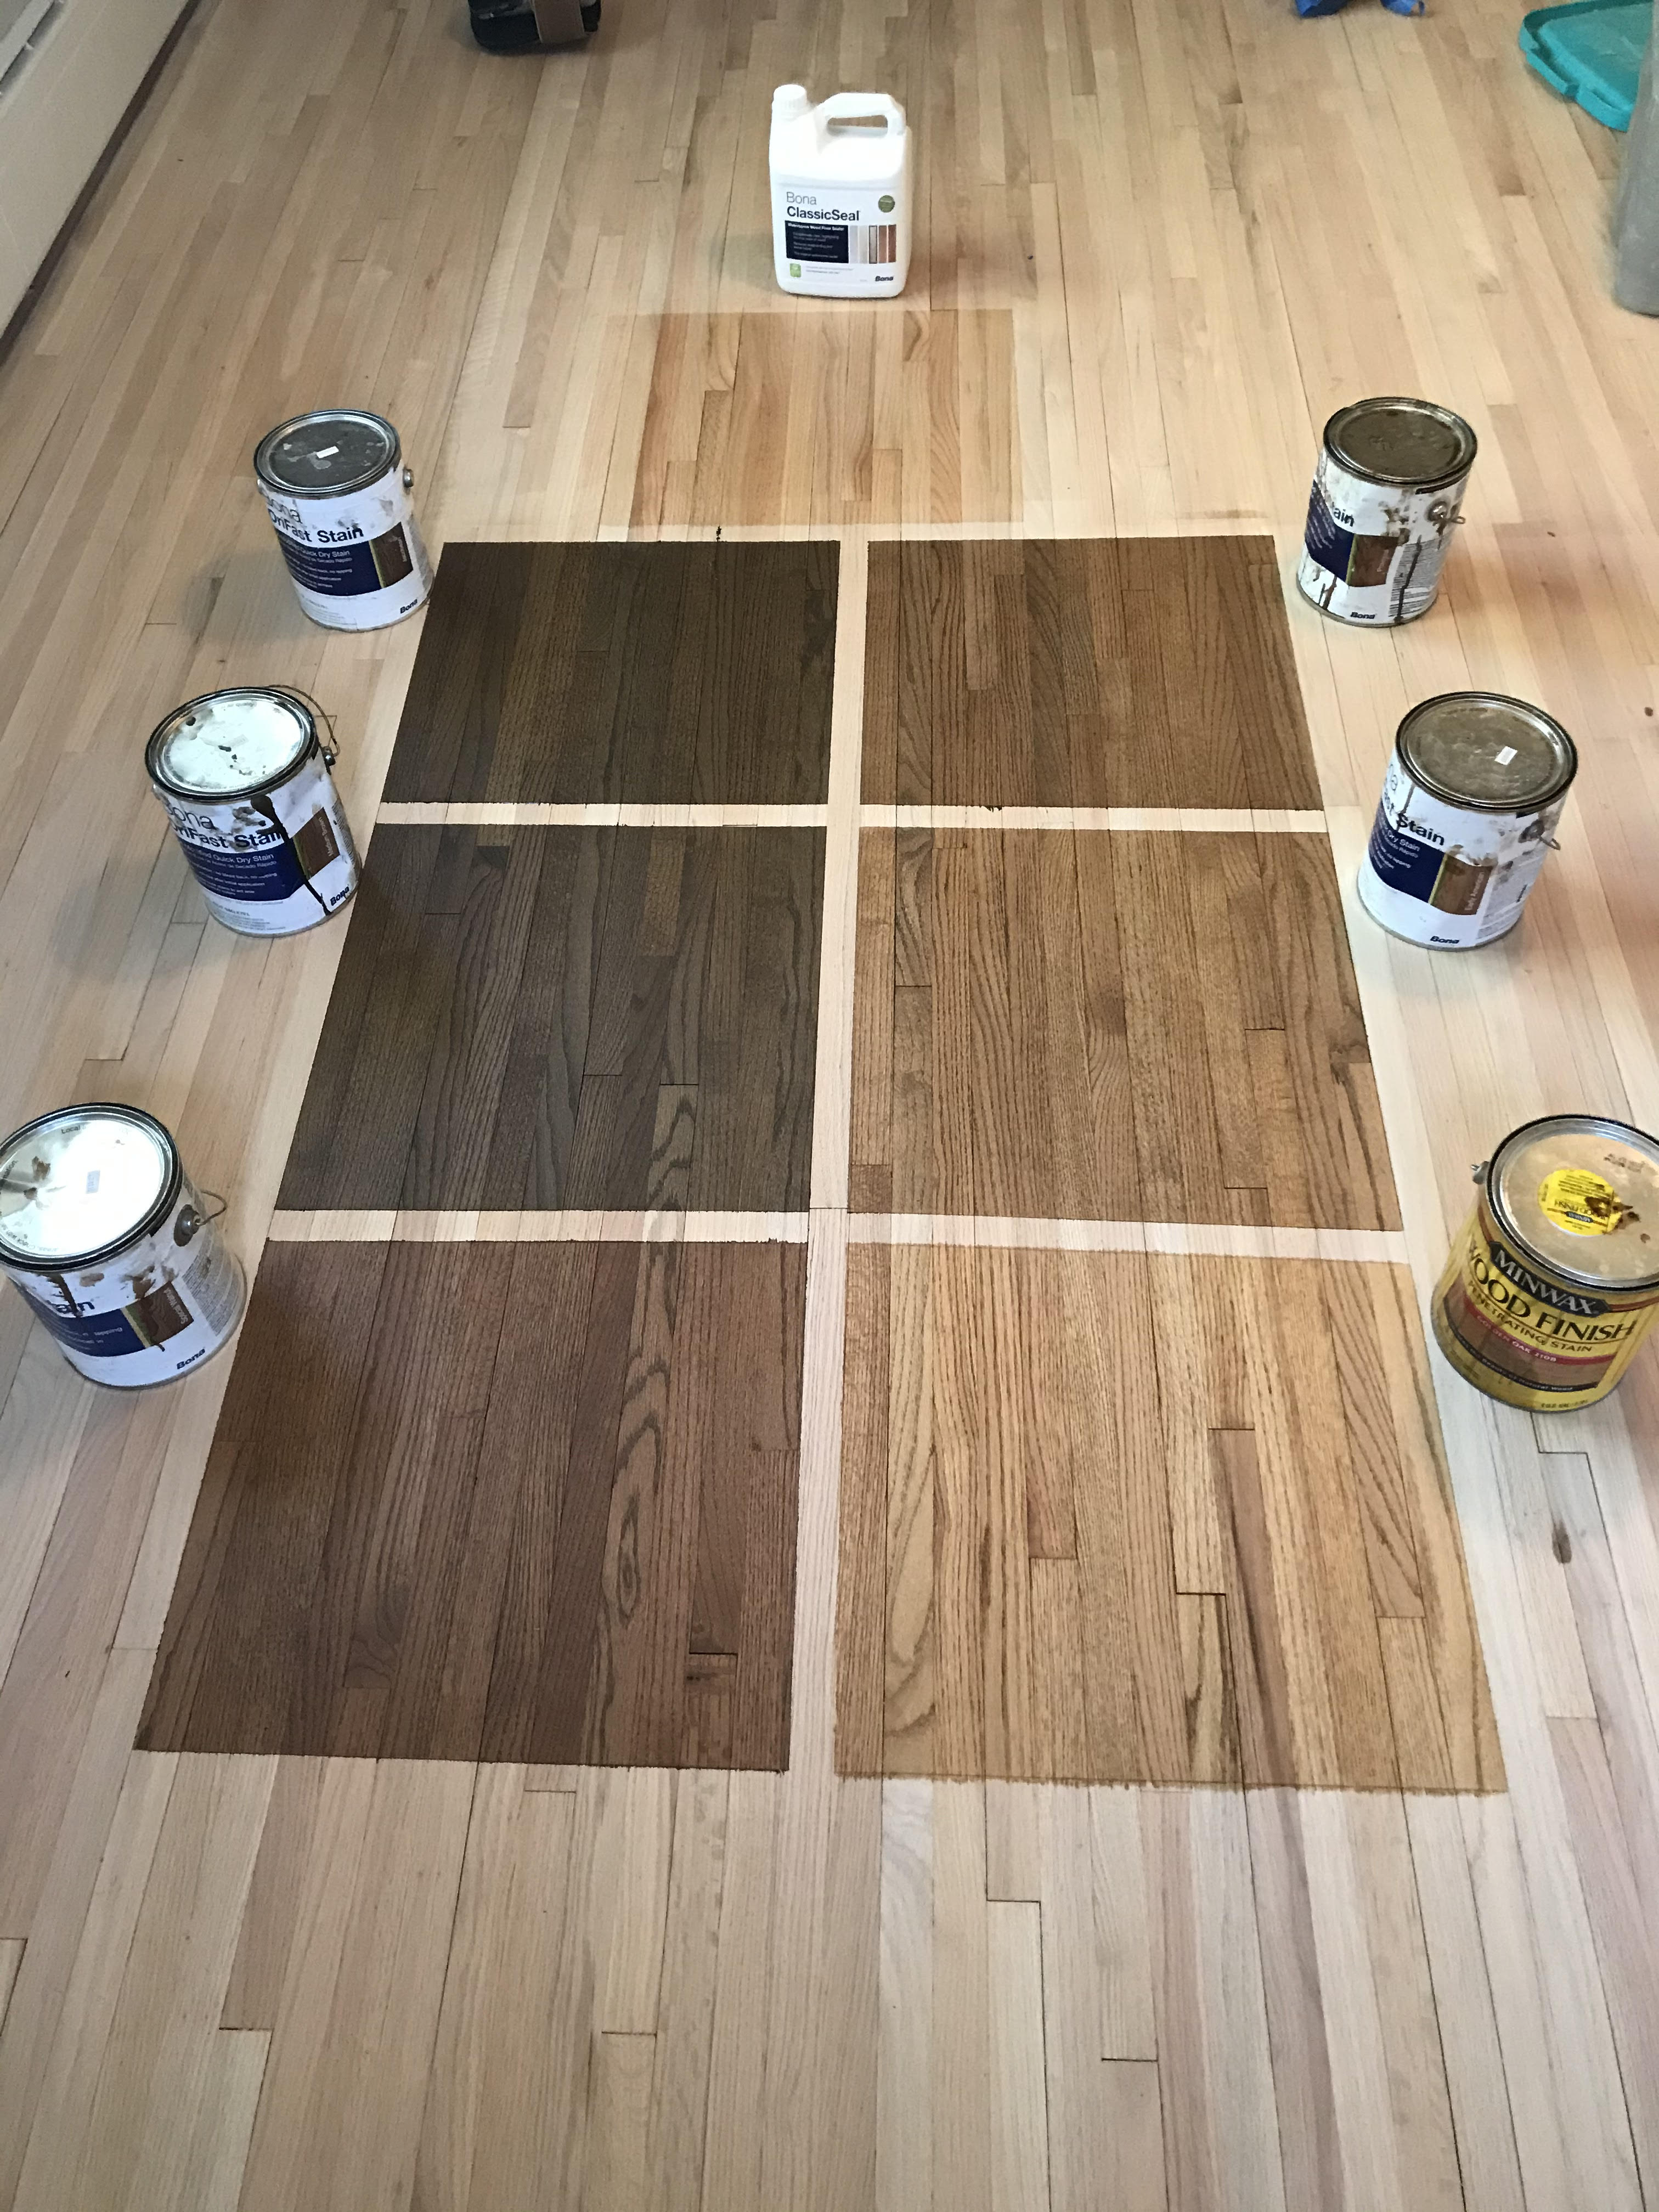
Here are some tips to keep in mind when sanding and staining your kitchen table: - Always sand in the direction of the wood grain to avoid scratches and damage to the surface. - Use a tack cloth to remove any dust before applying stain or polyurethane. - Test the stain on a small, inconspicuous area of the table to ensure it's the color and finish you want. - Use gloves to protect your hands from the stain and polyurethane.3. Tips for Sanding and Staining a Kitchen Table
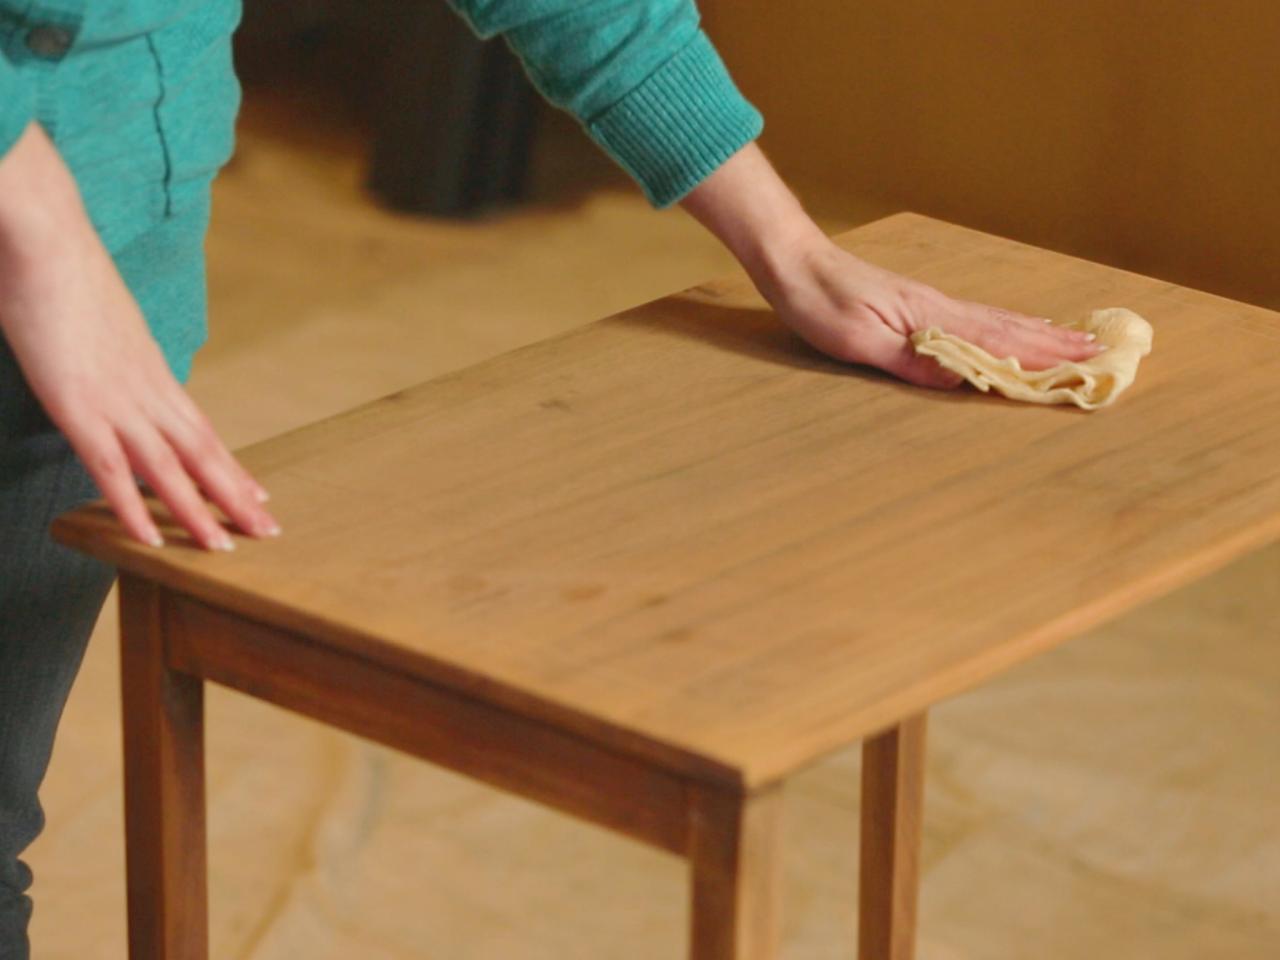
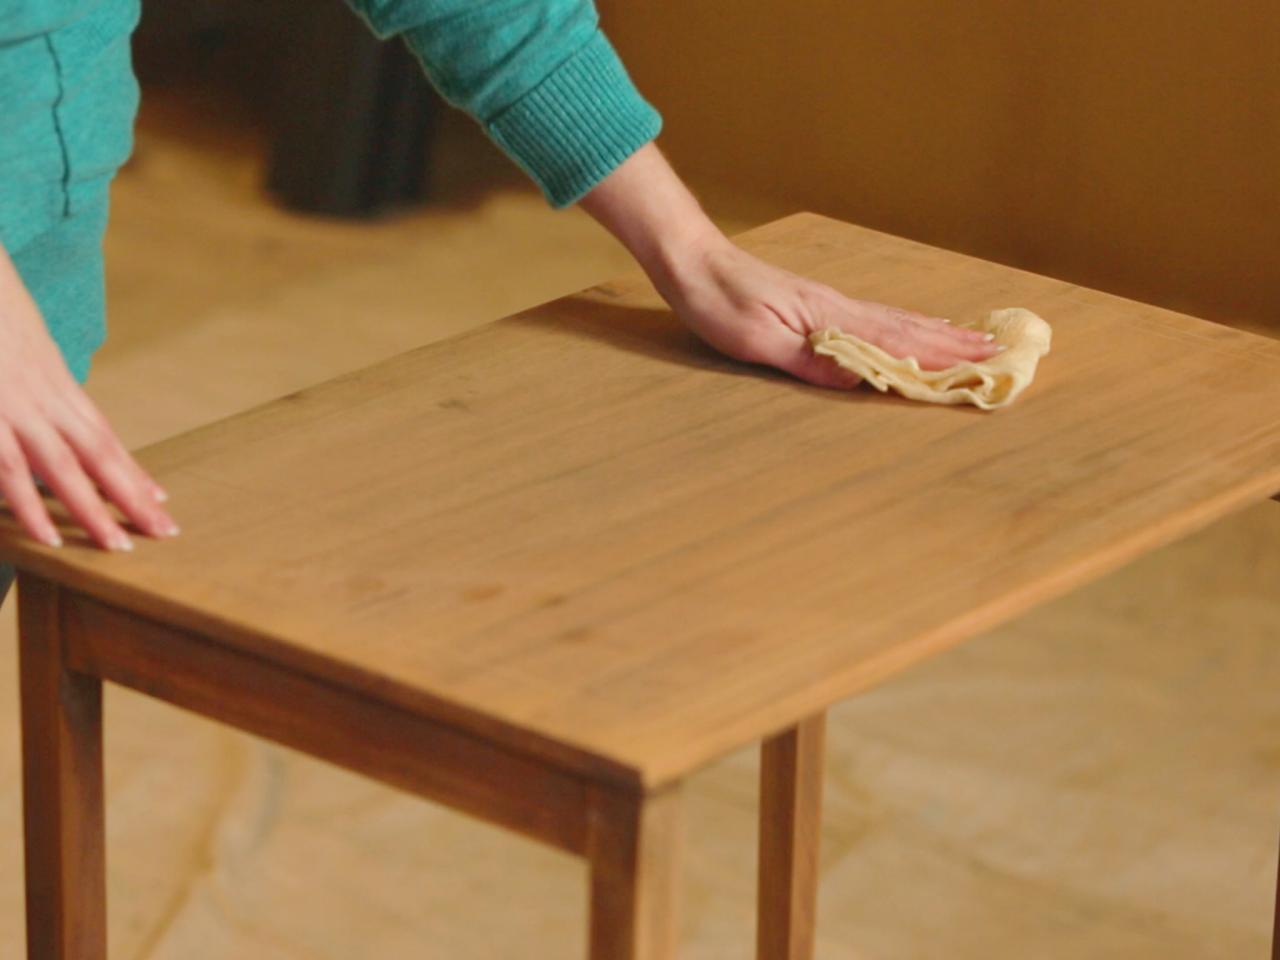
Here's a step-by-step tutorial for sanding and staining a kitchen table: Step 1: Gather all necessary materials. Step 2: Prep your workspace by laying down a drop cloth and using painter's tape to cover any areas you don't want to get stained. Step 3: Sand the table in the direction of the wood grain, starting with a coarse-grit sandpaper and working your way to a finer-grit sandpaper. Step 4: Wipe away any dust with a tack cloth. Step 5: Apply the wood stain evenly with a paintbrush, working in small sections. Wipe away any excess stain with a clean cloth. Step 6: Let the stain dry completely before adding another coat, if desired. Step 7: Apply two to three coats of polyurethane, allowing each coat to dry completely before adding another.4. Step-by-Step Tutorial for Sanding and Staining a Kitchen Table
Here are some highly recommended products for sanding and staining a kitchen table: - 3M Sandpaper Assorted Grits for sanding - Minwax Wood Finish Stain for staining - Varathane Triple Thick Polyurethane for sealing and protecting5. Best Products for Sanding and Staining a Kitchen Table
Here are some common mistakes to avoid when sanding and staining a kitchen table: - Not sanding properly or in the direction of the wood grain, resulting in an uneven finish. - Not using a tack cloth to remove dust before applying stain or polyurethane, leading to a rough and bumpy surface. - Applying too much stain, resulting in a dark and blotchy finish. - Not allowing enough drying time between coats of stain or polyurethane, leading to a sticky and tacky surface.6. Common Mistakes to Avoid When Sanding and Staining a Kitchen Table
The time it takes to sand and stain a kitchen table depends on the size of the table and the number of coats you apply. On average, it can take anywhere from 6-8 hours to complete the process.7. How Long Does it Take to Sand and Stain a Kitchen Table?
The cost of sanding and staining a kitchen table can vary depending on the size of the table and the products you use. On average, you can expect to spend around $50-$100 for materials.8. Cost Breakdown for Sanding and Staining a Kitchen Table
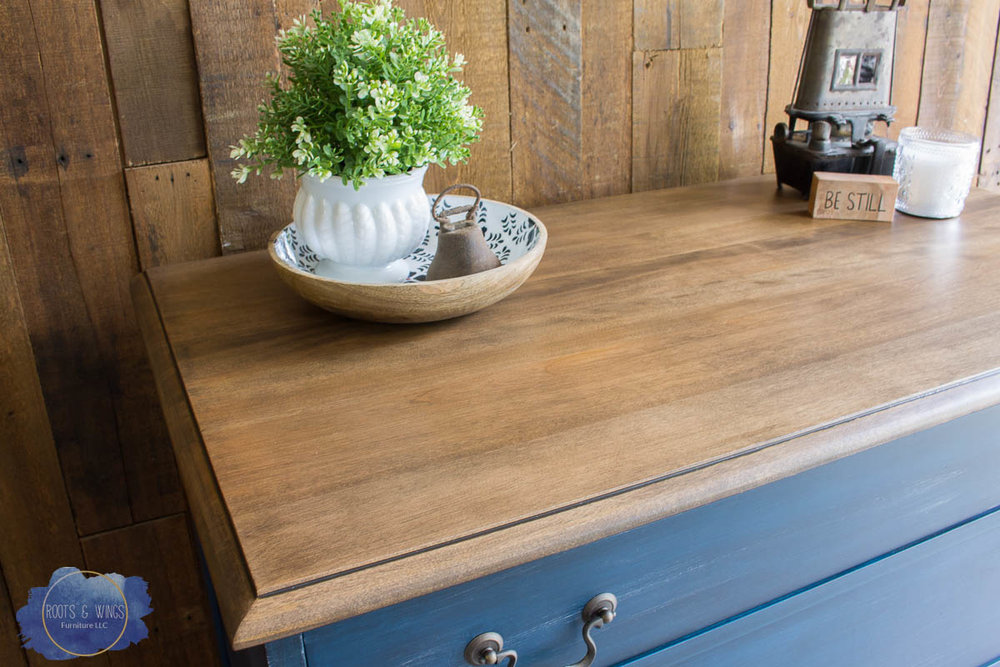
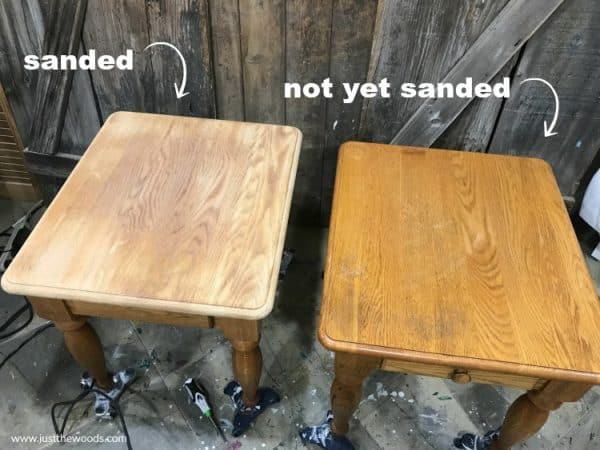
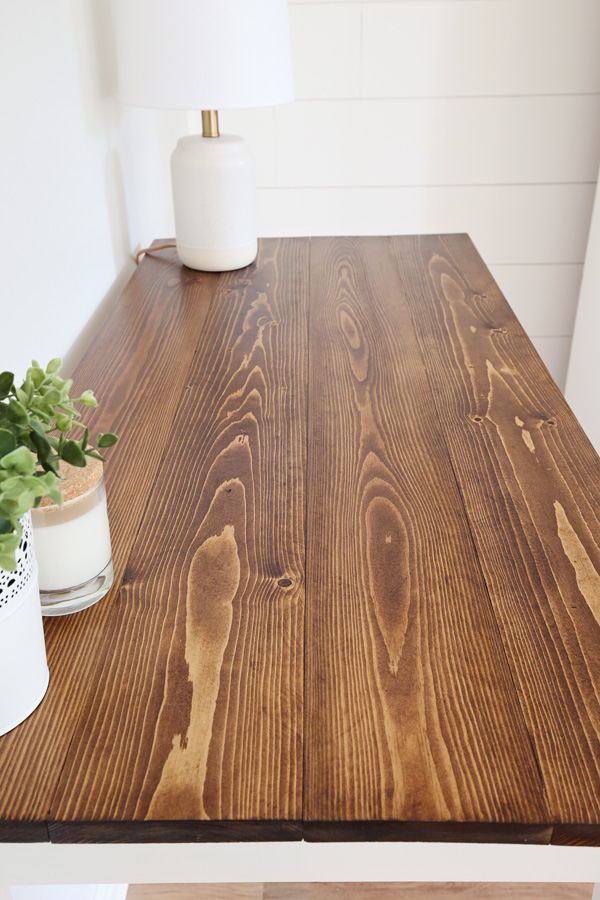
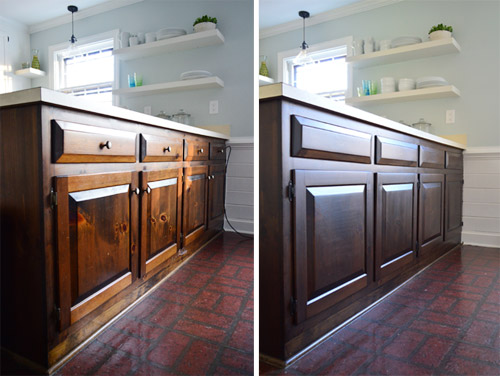
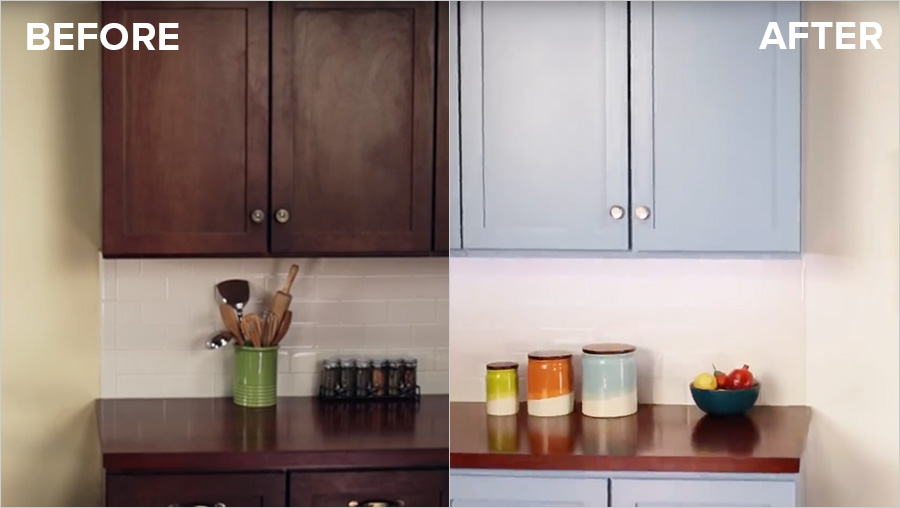
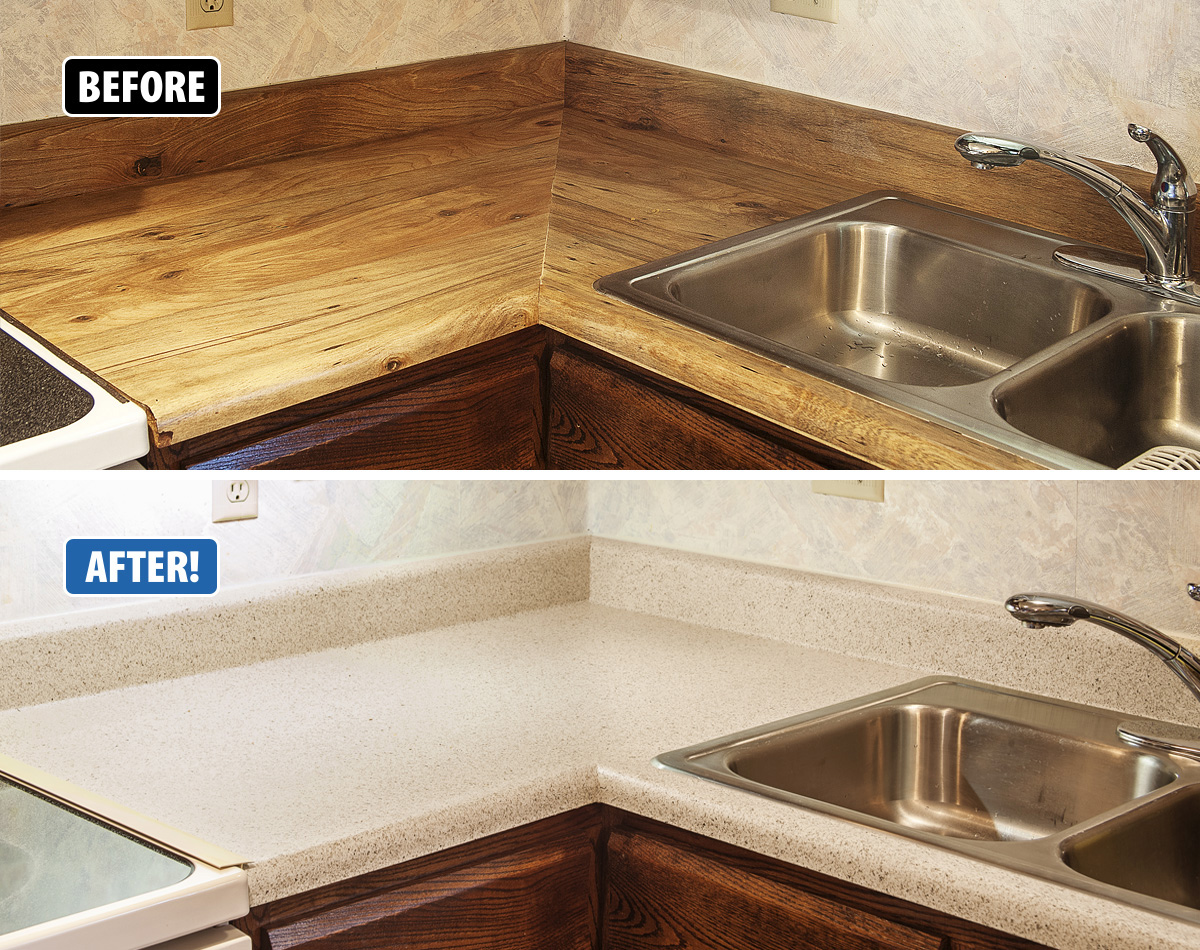
Here are some stunning before and after photos of sanding and staining a kitchen table: (Insert before and after photos)9. Before and After Photos of Sanding and Staining a Kitchen Table
Here are some pros and cons to consider when deciding between hiring a professional or DIY for sanding and staining a kitchen table: Pros of hiring a professional: - Experienced and knowledgeable in the sanding and staining process - Can provide a flawless finish - Saves you time and effort Cons of hiring a professional: - Can be costly - Limited control over the final result Pros of DIY: - Cost-effective - Full control over the process and final result - A rewarding and satisfying experience Cons of DIY: - Requires time, effort, and attention to detail - Can be messy and time-consuming With this guide and some patience, you can successfully sand and stain your kitchen table to give it a brand new look. Whether you choose to hire a professional or tackle the project yourself, the end result will surely be a beautiful and refreshed dining space for you and your loved ones to enjoy.10. Professional vs. DIY: Pros and Cons of Sanding and Staining a Kitchen Table
Sanding and Staining: Elevating Your Kitchen Table

The Importance of Sanding and Staining
 When it comes to house design, the kitchen is often considered the heart of the home. It's where meals are prepared, where memories are made, and where family and friends gather. As such, it's important to have a kitchen that is not only functional but also aesthetically pleasing. One way to achieve this is by sanding and staining your kitchen table. This simple DIY project can instantly elevate the look and feel of your kitchen, giving it a more polished and professional appearance.
The Process of Sanding and Staining
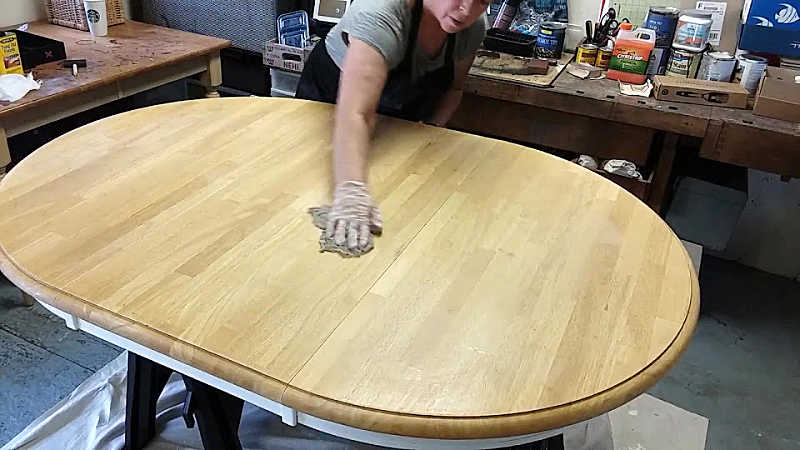 Sanding and staining a kitchen table may seem like a daunting task, but it's actually quite simple and can be done in just a few easy steps. The first step is to sand down the surface of your table using a fine-grit sandpaper. This will help remove any scratches, dings, or imperfections, leaving you with a smooth and even surface. Next, wipe down the table with a damp cloth to remove any dust or debris.
Sanding
is a crucial step in the process as it not only prepares the surface for staining but also helps the stain to adhere better, resulting in a more even and long-lasting finish. It's important to pay attention to corners and edges while sanding to ensure that they are smooth and free of any rough patches.
The Beauty of Staining
 Once your table is sanded and cleaned, it's time for the fun part - staining! This is where you can really let your creativity shine.
Staining
allows you to change the color and tone of your table, giving it a whole new look. You can choose a stain color that complements your kitchen's overall design or go for a bold and unexpected color for a statement piece.
When applying the stain, make sure to follow the manufacturer's instructions carefully.
Stains
can be applied using a brush, cloth, or sponge, depending on the desired effect. It's important to apply the stain in even strokes, going with the grain of the wood, to avoid any streaks or unevenness.
The Final Touches
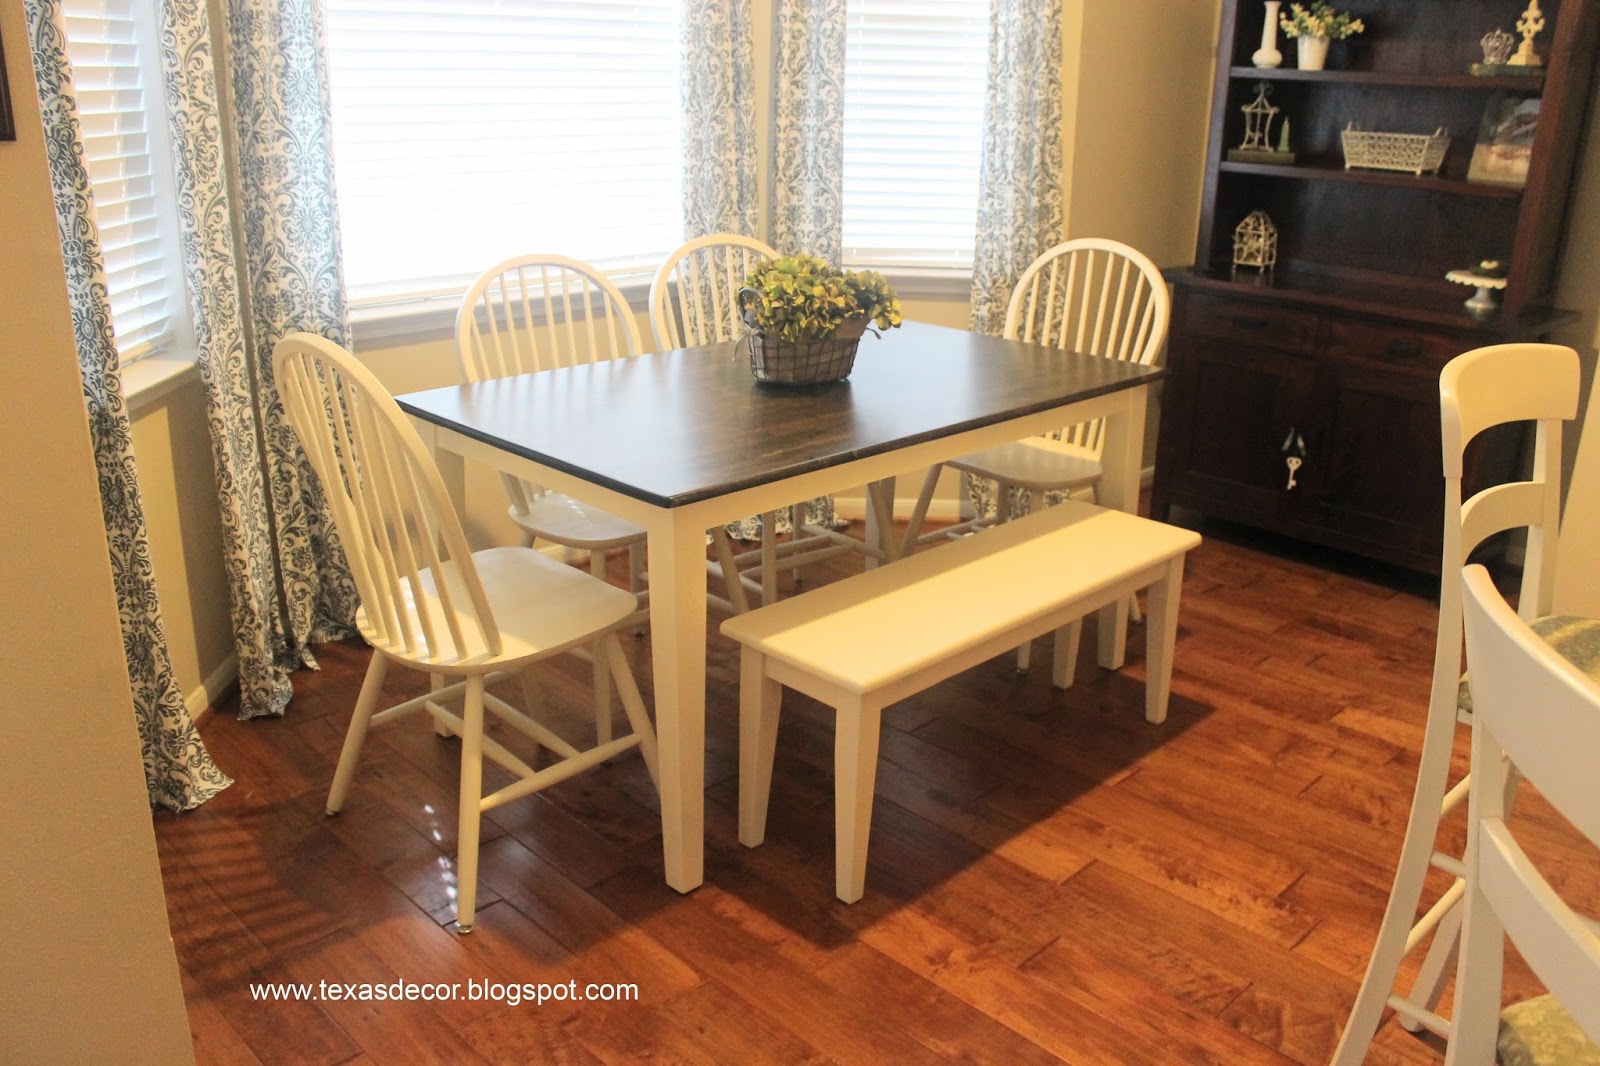 After staining, it's important to let your table dry completely before using it. This usually takes about 24 hours. Once dry, you can apply a coat of
varnish
to protect the table and give it a glossy finish. This step is optional, but it can help prolong the life of your table and make it easier to clean.
With just a few simple steps, you can transform your kitchen table into a beautiful and functional piece of furniture.
Sanding and staining
not only adds visual interest to your kitchen but also protects the surface of your table from everyday wear and tear. So why not give your kitchen table some love and see the amazing difference it can make in your home?
