How to Sand a Dining Room Table Top
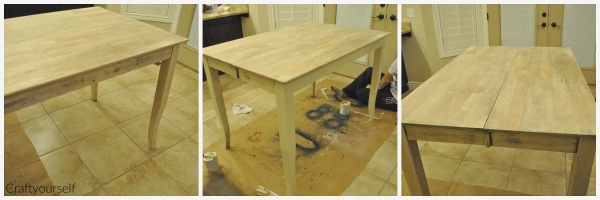
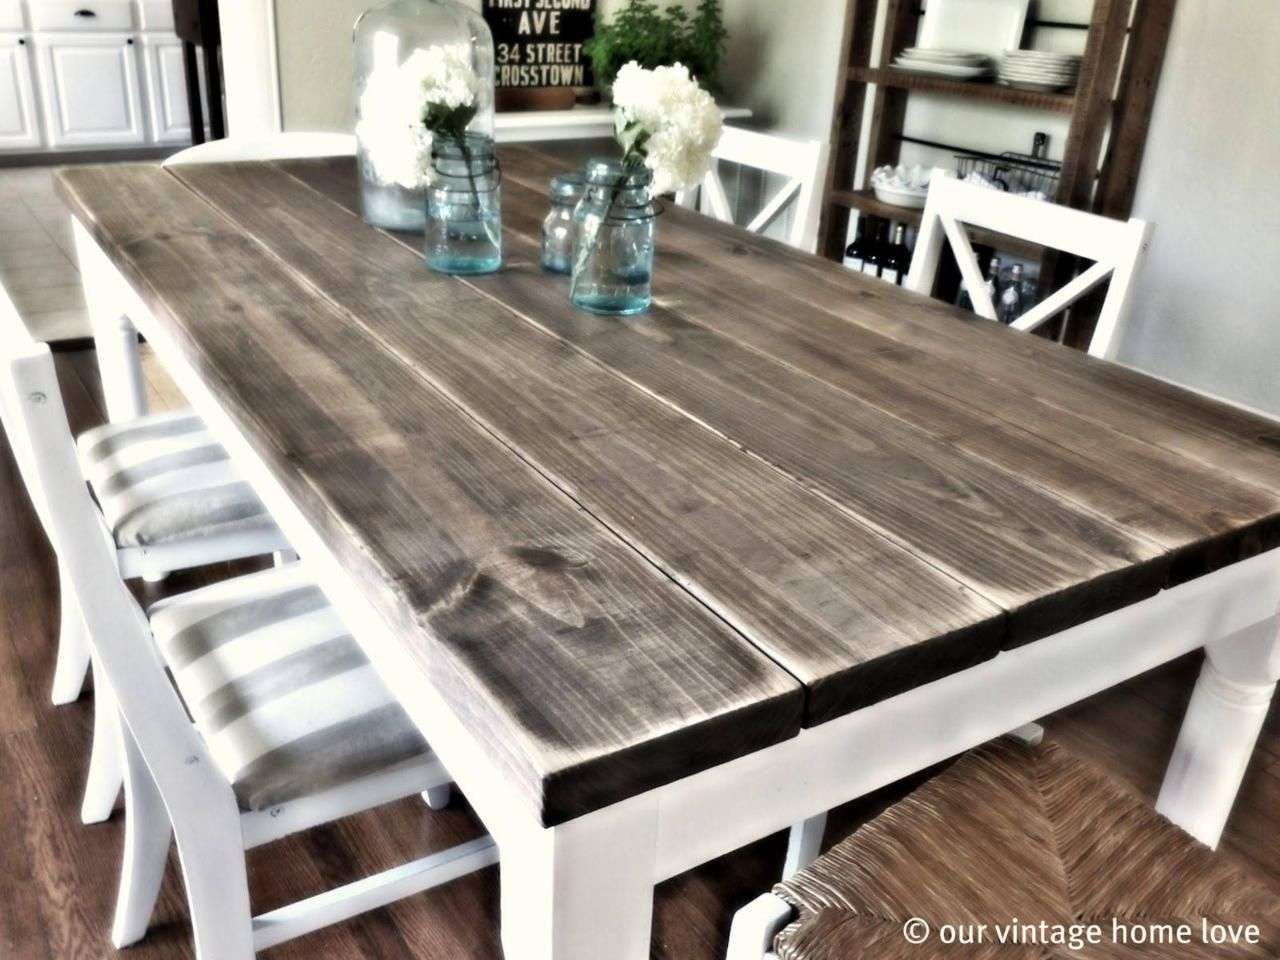
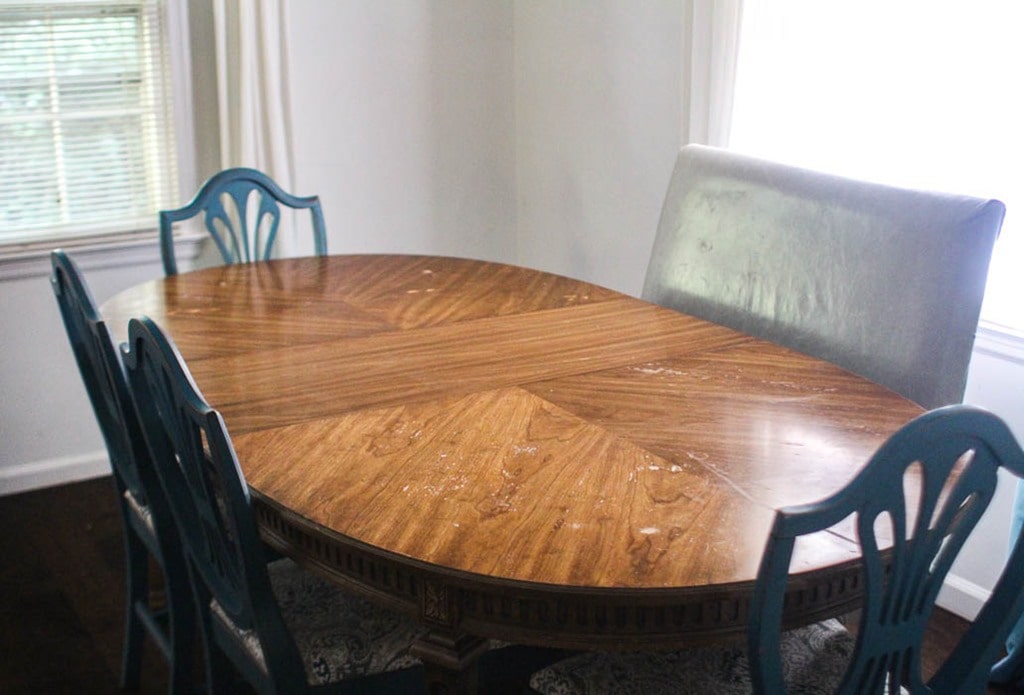
Sanding a dining room table top is an important step in refinishing your furniture. Whether you want to restore the table to its original glory or give it a fresh new look, sanding is a crucial part of the process. Here are some steps to follow for sanding your dining room table top.


How to Sand a Dining Room Table Top


Tips for Sanding a Dining Room Table Top
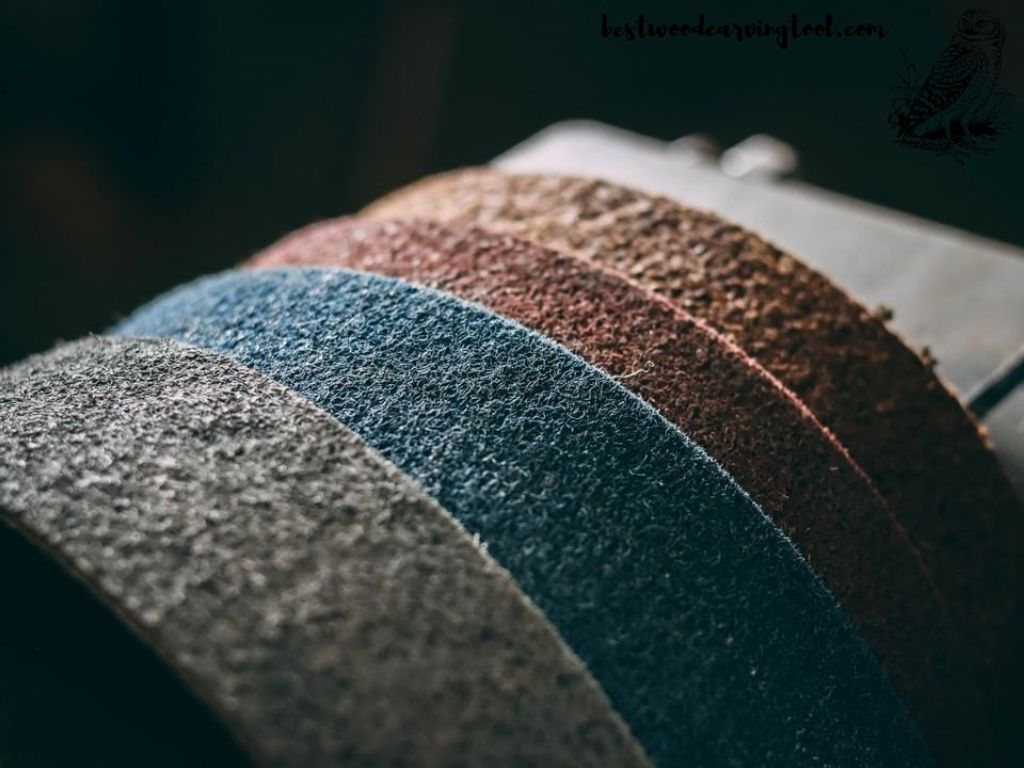
Before you begin sanding, there are a few things to keep in mind to ensure the best results. First, make sure to use the right sandpaper for the job. A medium grit sandpaper (around #100) is ideal for removing old finish and smoothing out imperfections. Next, make sure to sand in the direction of the wood grain to avoid scratches and create a smooth surface. Lastly, don't press too hard while sanding as it can create uneven surfaces and damage the wood.


Tips for Sanding a Dining Room Table Top


Best Sandpaper for Dining Room Table Top
Choosing the right sandpaper is essential for achieving the desired finish on your dining room table top. If you are dealing with a heavily damaged or old table, start with a coarse grit sandpaper (around #60) and gradually move to a finer grit (around #150) for a smoother finish. For already smooth surfaces, a medium grit sandpaper (around #100) is sufficient. Don't forget to also use a finer grit sandpaper (around #220) for the final sanding before staining or painting.

Best Sandpaper for Dining Room Table Top


DIY Dining Room Table Top Sanding
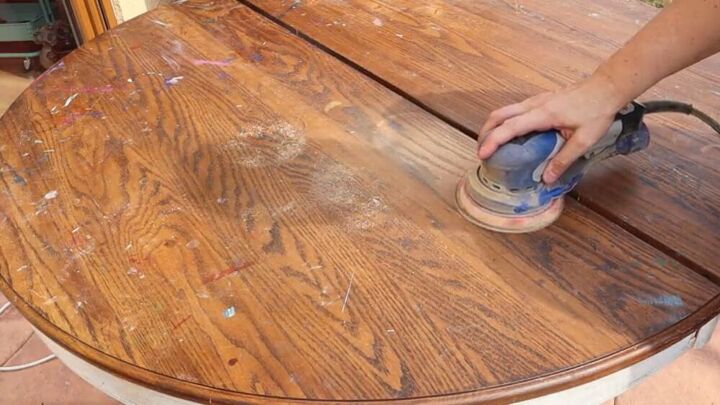
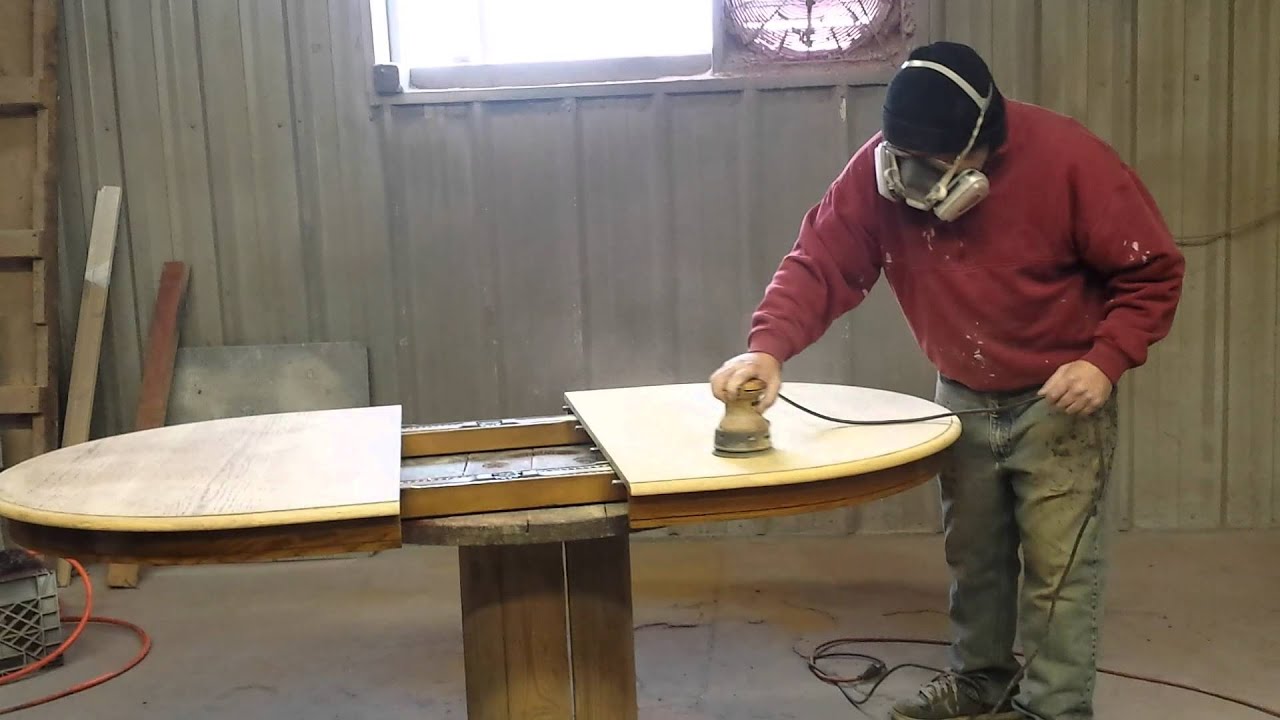
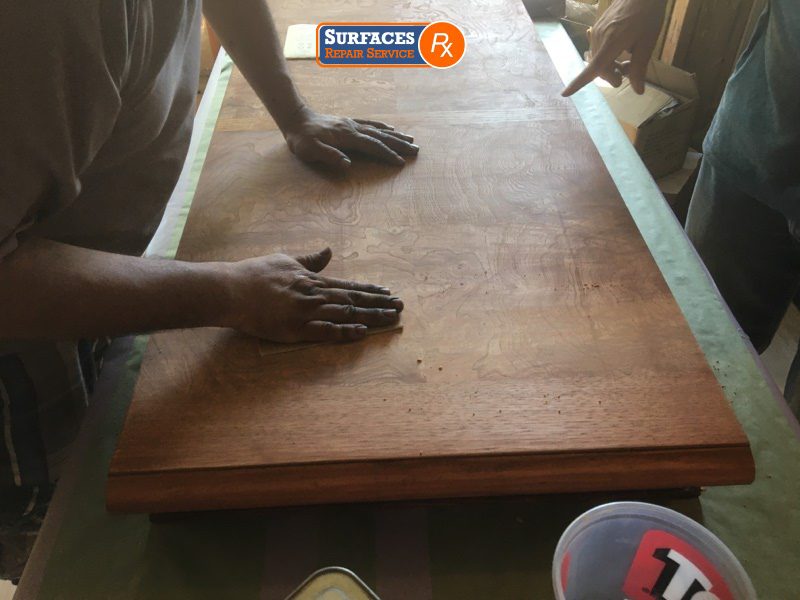
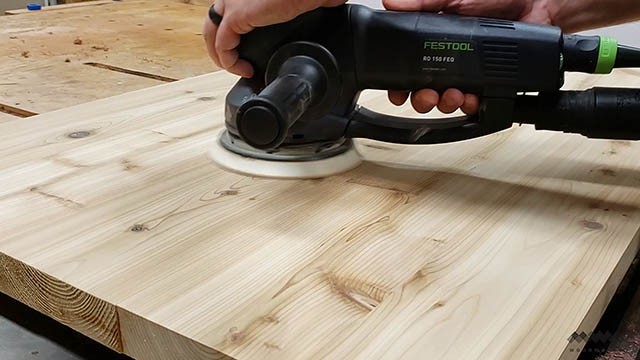
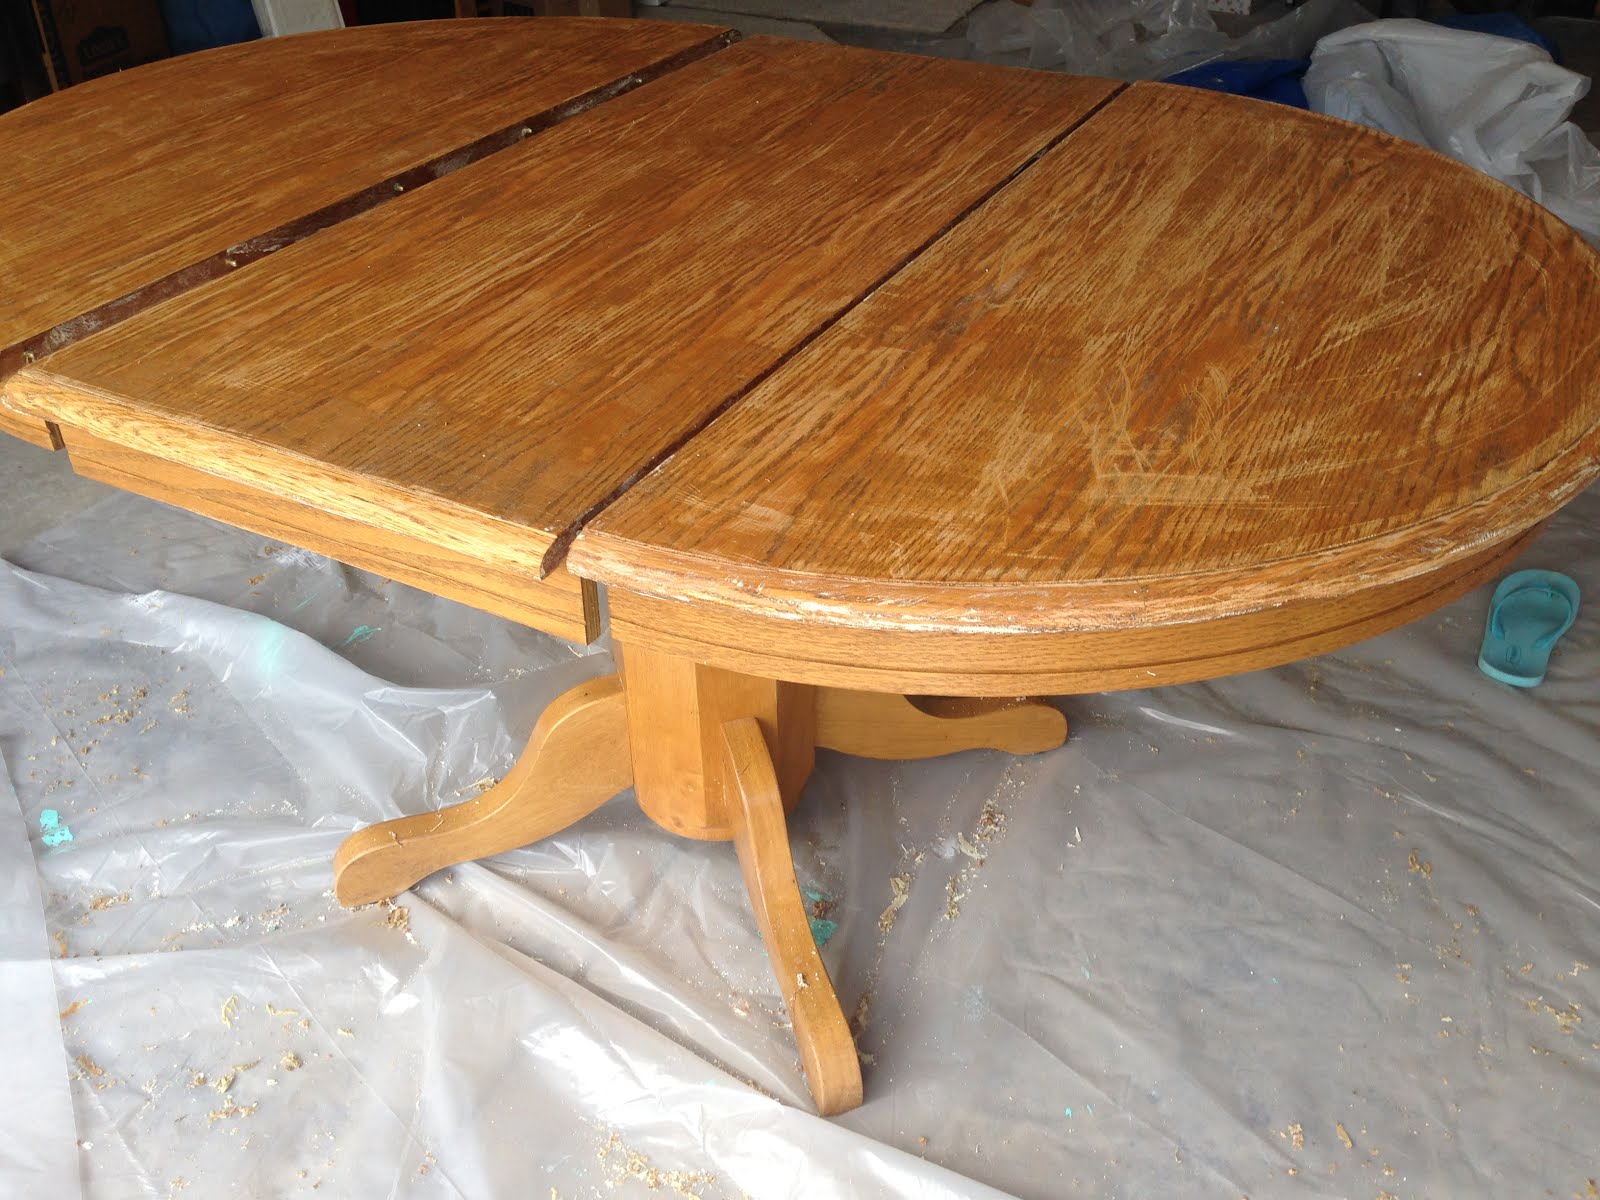
Sanding a dining room table top can be done by hand or with a power sander. If you choose to sand by hand, use a sanding block or wrap the sandpaper around a block of wood for a more even sanding. For larger surfaces, a power sander can save time and effort. However, be careful not to apply too much pressure and move the sander in a circular motion for an even finish.


DIY Dining Room Table Top Sanding


Sanding Techniques for Dining Room Table Top
There are different techniques for sanding a dining room table top depending on the type of wood and the condition of the table. For a smooth and even finish, start by sanding with the grain using a coarse grit sandpaper and gradually move to a finer grit. You can also use a sanding sponge or a sanding block for hard-to-reach corners and edges. Always remember to sand lightly and evenly to avoid creating uneven surfaces.


Sanding Techniques for Dining Room Table Top


Refinishing a Dining Room Table Top
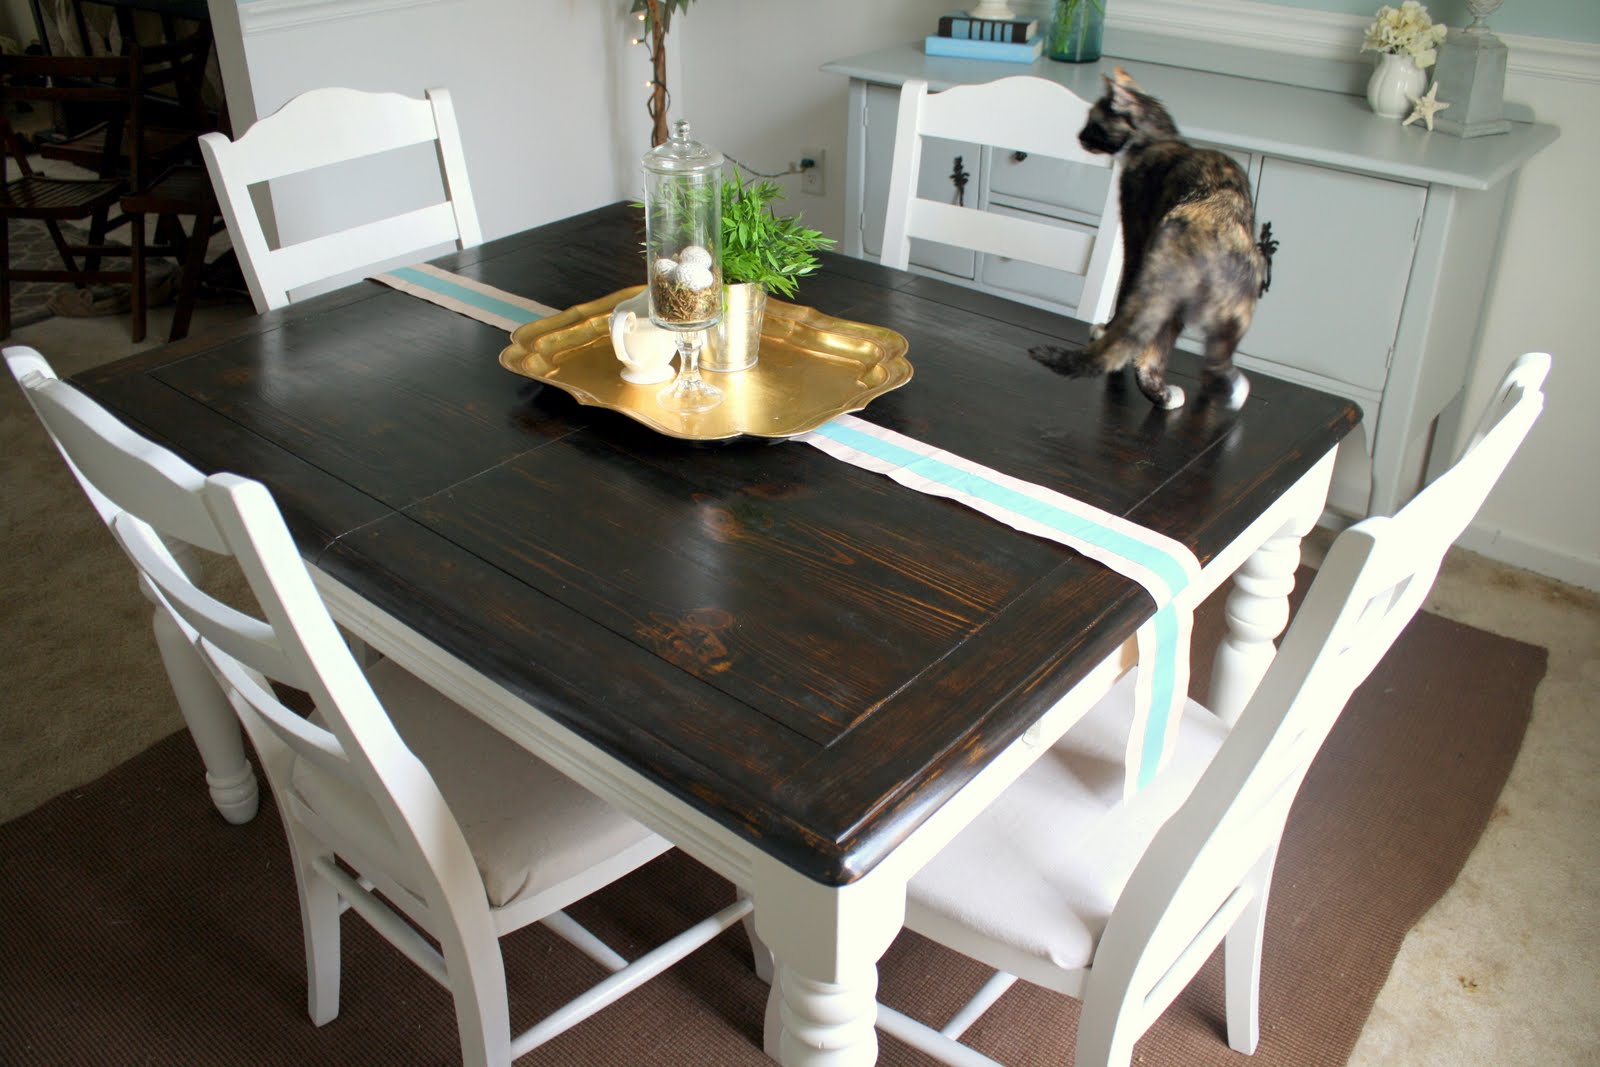
Sanding is an essential step in refinishing a dining room table top. After sanding, make sure to clean the surface thoroughly to remove any dust and debris. You can also use a wood conditioner to prepare the surface for staining or painting. If you are staining the table, make sure to apply multiple coats for a more vibrant color and finish. For painting, sanding is crucial for creating a smooth and even surface for the paint to adhere to.


Refinishing a Dining Room Table Top


Sanding and Staining a Dining Room Table Top
Sanding and staining go hand in hand when it comes to refinishing a dining room table top. After sanding, make sure to wipe the surface with a clean cloth to remove any excess dust. Then, apply the stain using a clean cloth or a brush, making sure to follow the direction of the wood grain. You can also use a wood conditioner before staining to achieve a more even finish. Multiple coats of stain may be necessary for a richer color.


Sanding and Staining a Dining Room Table Top


Tools for Sanding a Dining Room Table Top
Aside from sandpaper and a sanding block, there are other tools that can make the sanding process easier and more efficient. A power sander, as mentioned before, can save time and effort. A sanding sponge or a sanding block can also help with hard-to-reach areas and corners. You can also use a tack cloth to remove any dust and debris before staining or painting.


Tools for Sanding a Dining Room Table Top

How to Prep a Dining Room Table Top for Sanding
Before sanding your dining room table top, it's important to prepare the surface to ensure the best results. Start by removing any hardware such as knobs or handles. Then, clean the surface with a mild soap and water solution and let it dry completely. If there are any deep scratches or imperfections, fill them in with wood filler and let it dry before sanding. Lastly, cover the surrounding area with a drop cloth to protect it from dust and debris.

How to Prep a Dining Room Table Top for Sanding


Common Mistakes When Sanding a Dining Room Table Top
While sanding a dining room table top may seem like a simple task, there are some common mistakes that can affect the final result. One mistake is using the wrong grit sandpaper, which can either be too rough or too fine for the job. Another mistake is applying too much pressure while sanding, which can create uneven surfaces. Lastly, not cleaning the surface properly before sanding can result in a poor finish. Avoid these mistakes for a flawless dining room table top.


Common Mistakes When Sanding a Dining Room Table Top


Sanding A Dining Room Table Top: The Key to a Stunning Dining Room Design

Why Sanding is Essential in Designing Your Dining Room
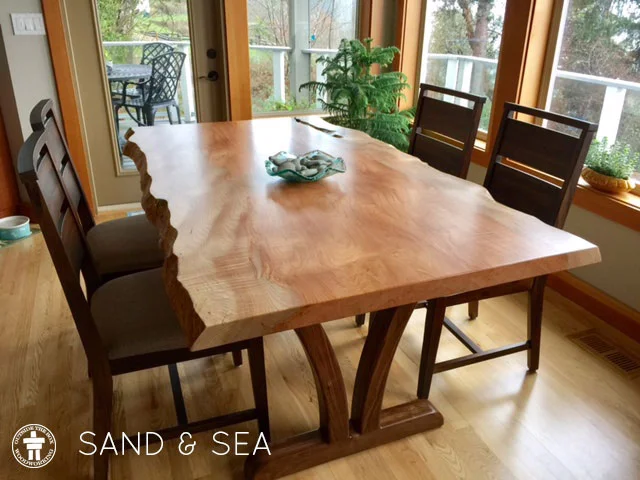
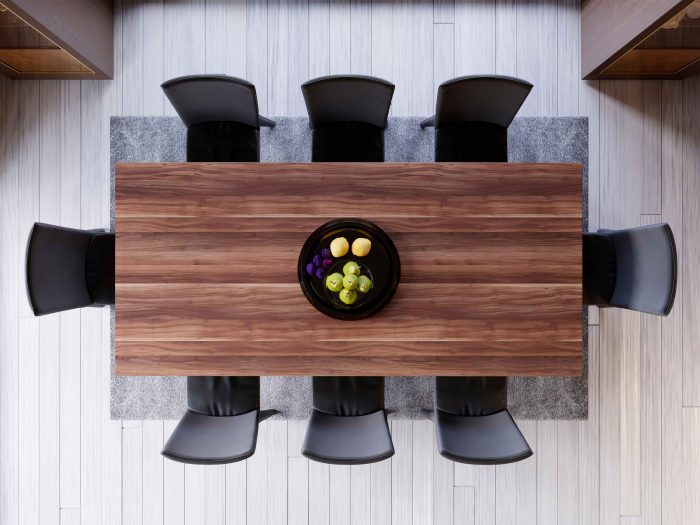
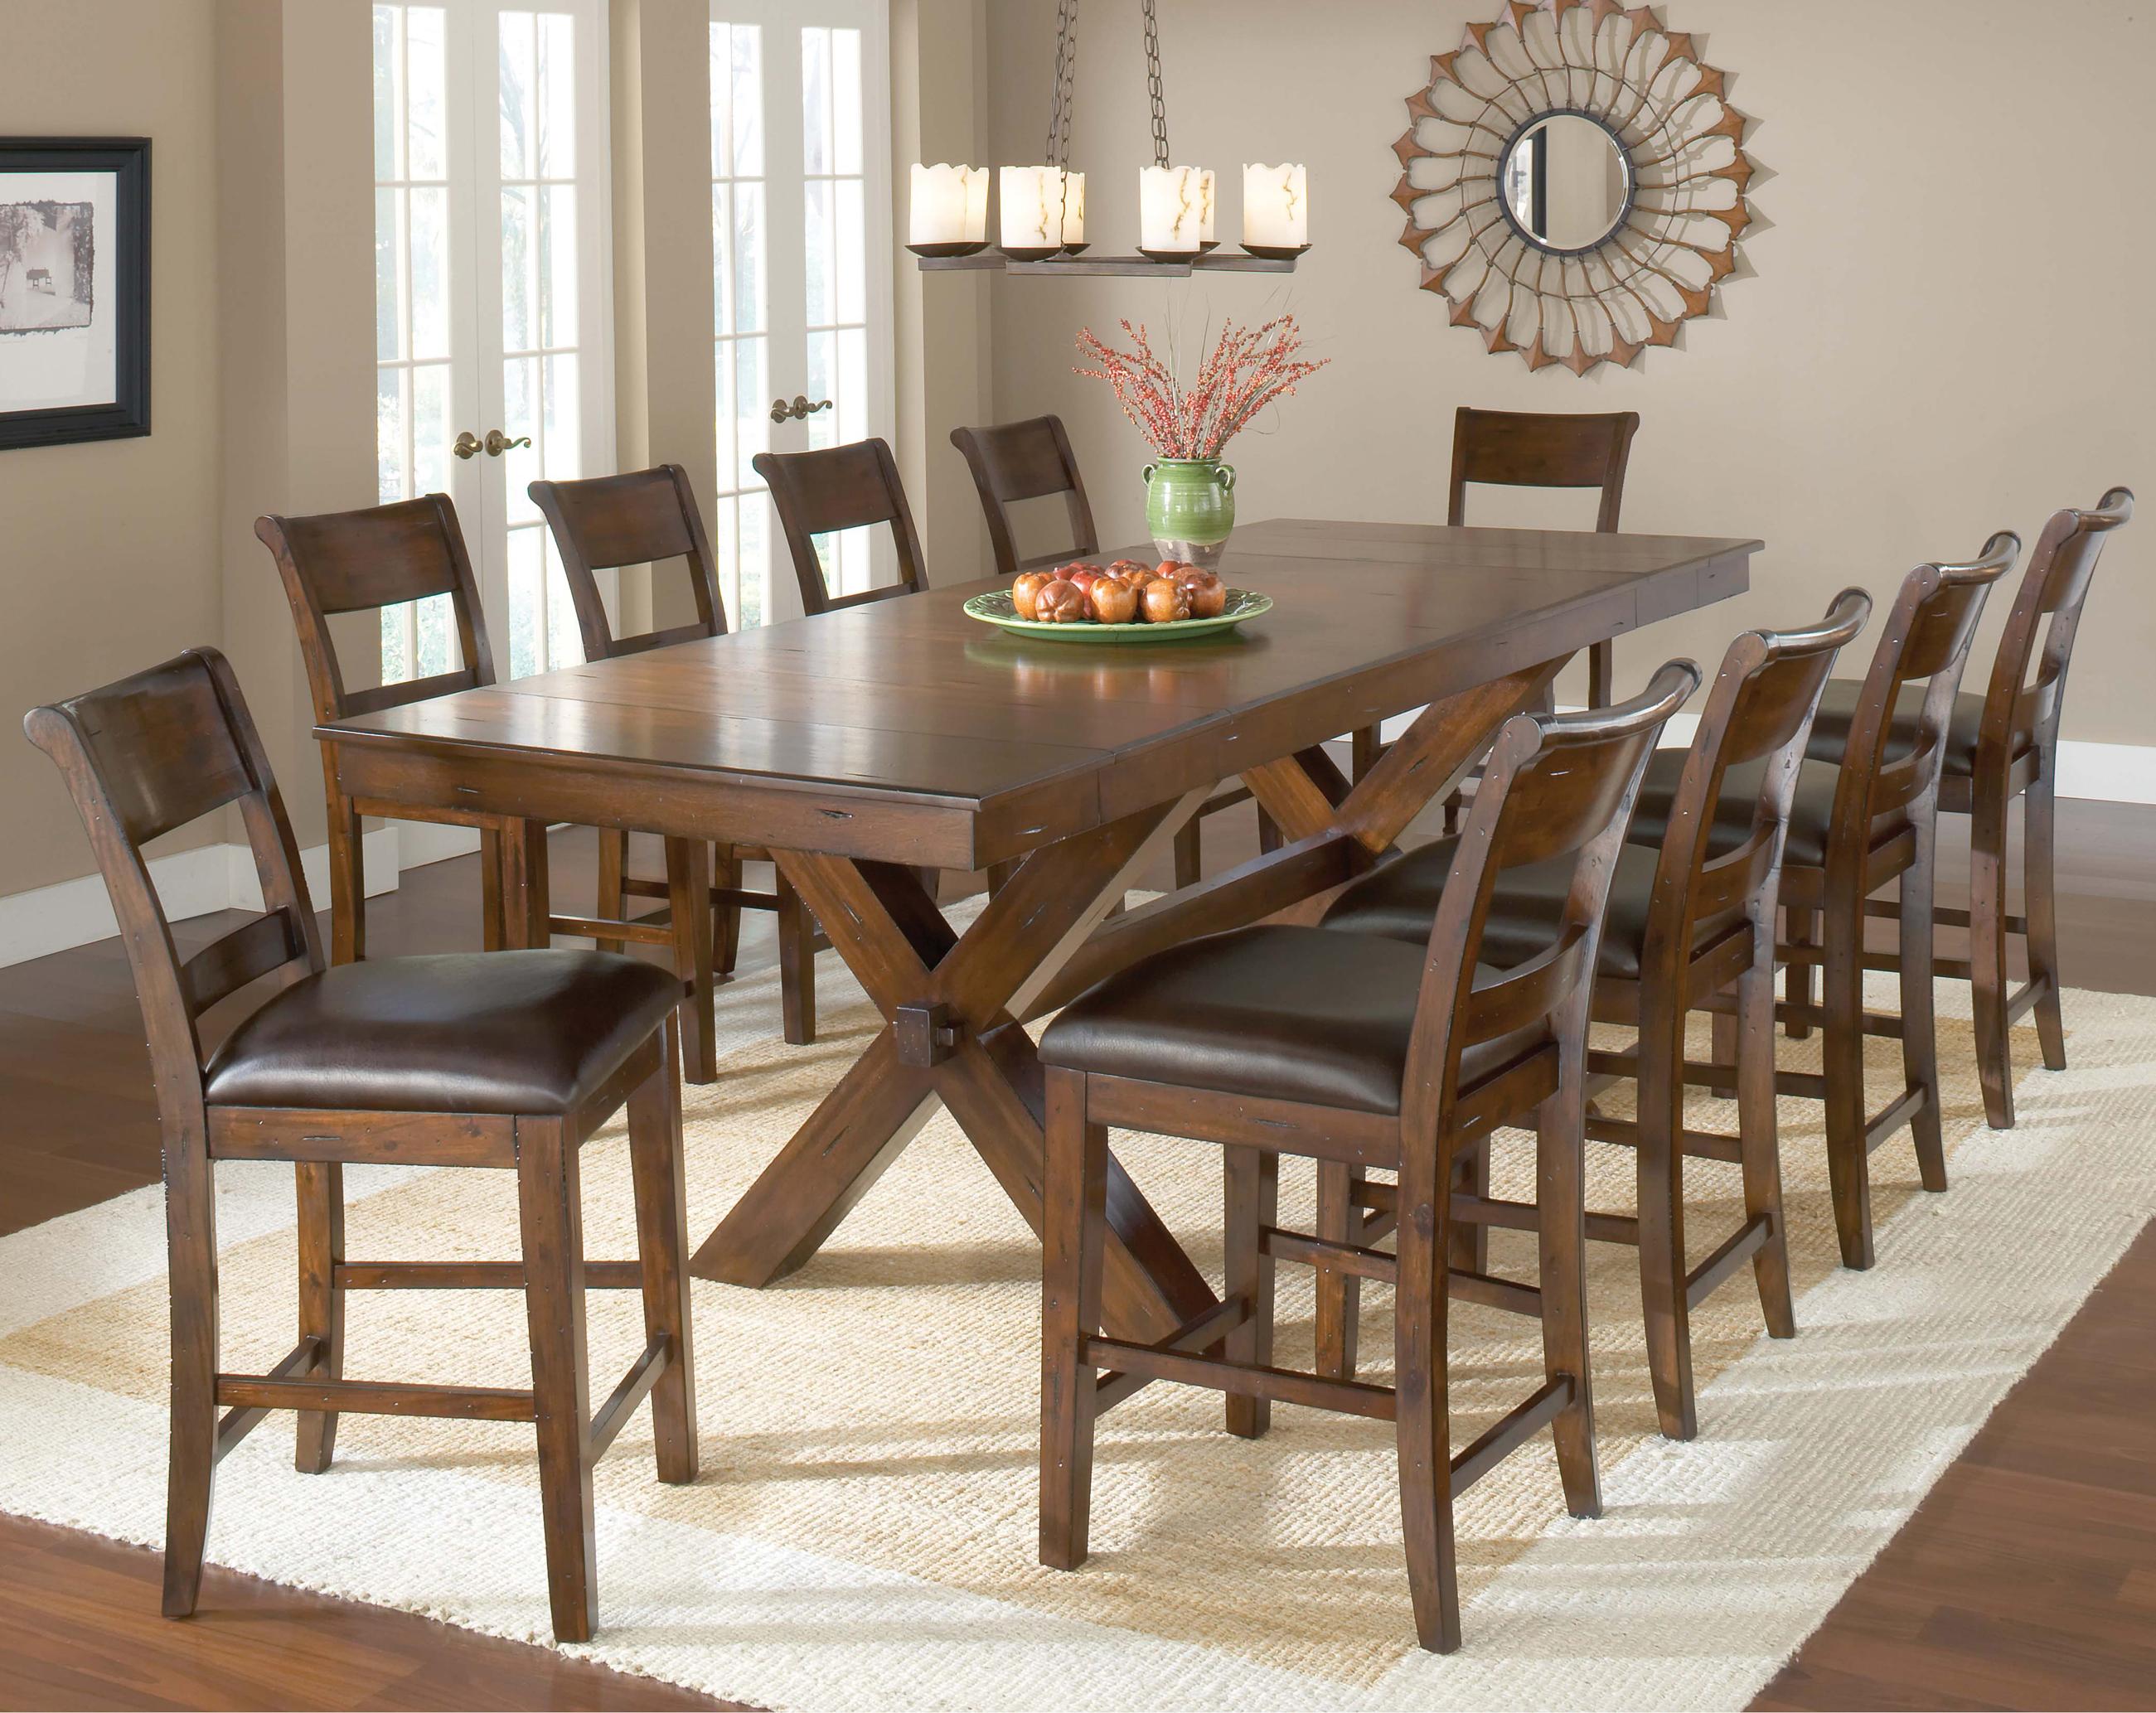
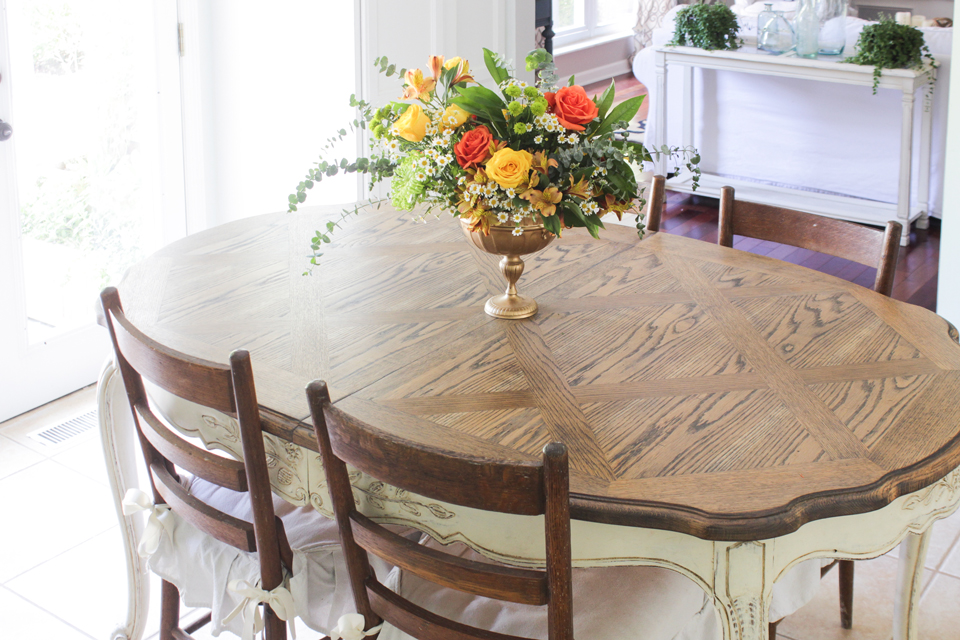
 When it comes to designing a dining room, the table is often the focal point. It is where family and friends gather to share meals and create memories. Therefore, it is important to ensure that your dining table is not only aesthetically pleasing but also functional and durable. This is where sanding comes in – a crucial step in achieving a stunning dining room design.
Sanding
is the process of smoothing out a surface by using abrasives such as sandpaper. It helps to remove imperfections, scratches, and old finishes, revealing the true beauty of the wood underneath. Sanding also creates a smooth and even surface, making it easier to apply a new finish or paint. By sanding your dining room table top, you can transform an old and worn-out piece into a stunning centerpiece.
When it comes to designing a dining room, the table is often the focal point. It is where family and friends gather to share meals and create memories. Therefore, it is important to ensure that your dining table is not only aesthetically pleasing but also functional and durable. This is where sanding comes in – a crucial step in achieving a stunning dining room design.
Sanding
is the process of smoothing out a surface by using abrasives such as sandpaper. It helps to remove imperfections, scratches, and old finishes, revealing the true beauty of the wood underneath. Sanding also creates a smooth and even surface, making it easier to apply a new finish or paint. By sanding your dining room table top, you can transform an old and worn-out piece into a stunning centerpiece.
The Benefits of Sanding Your Dining Room Table Top
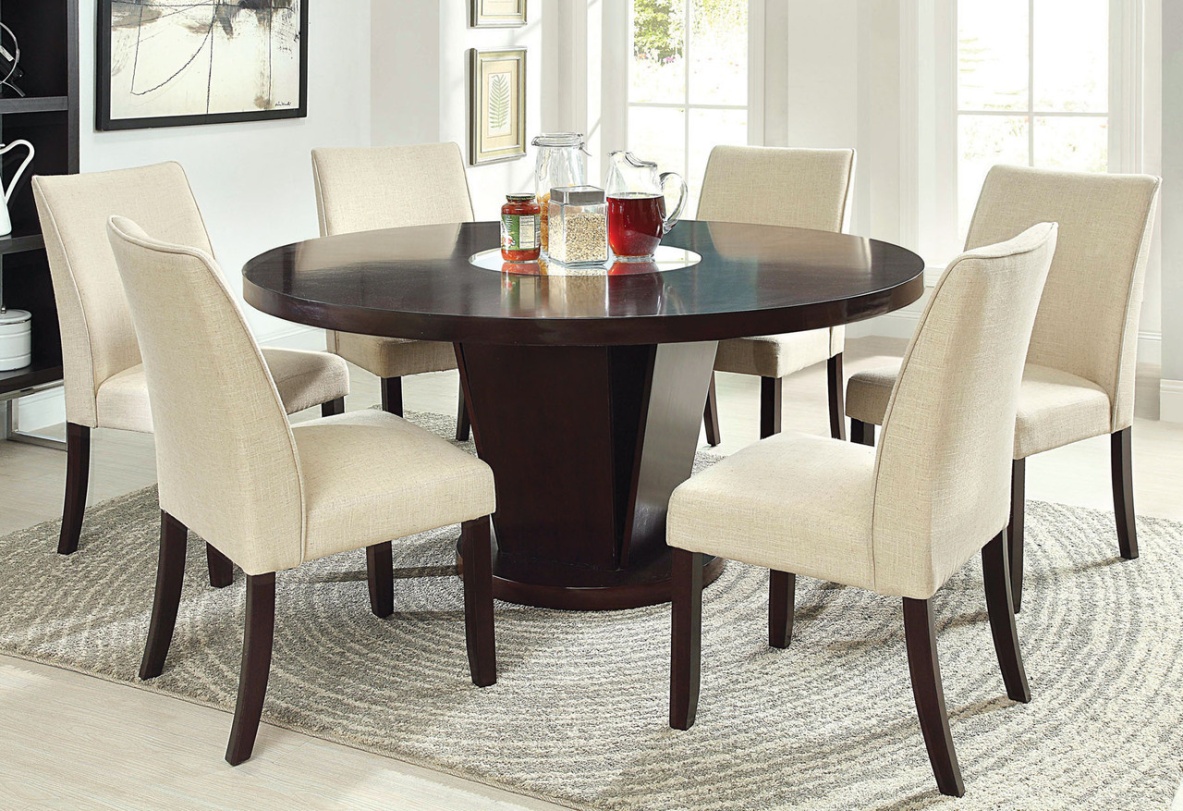
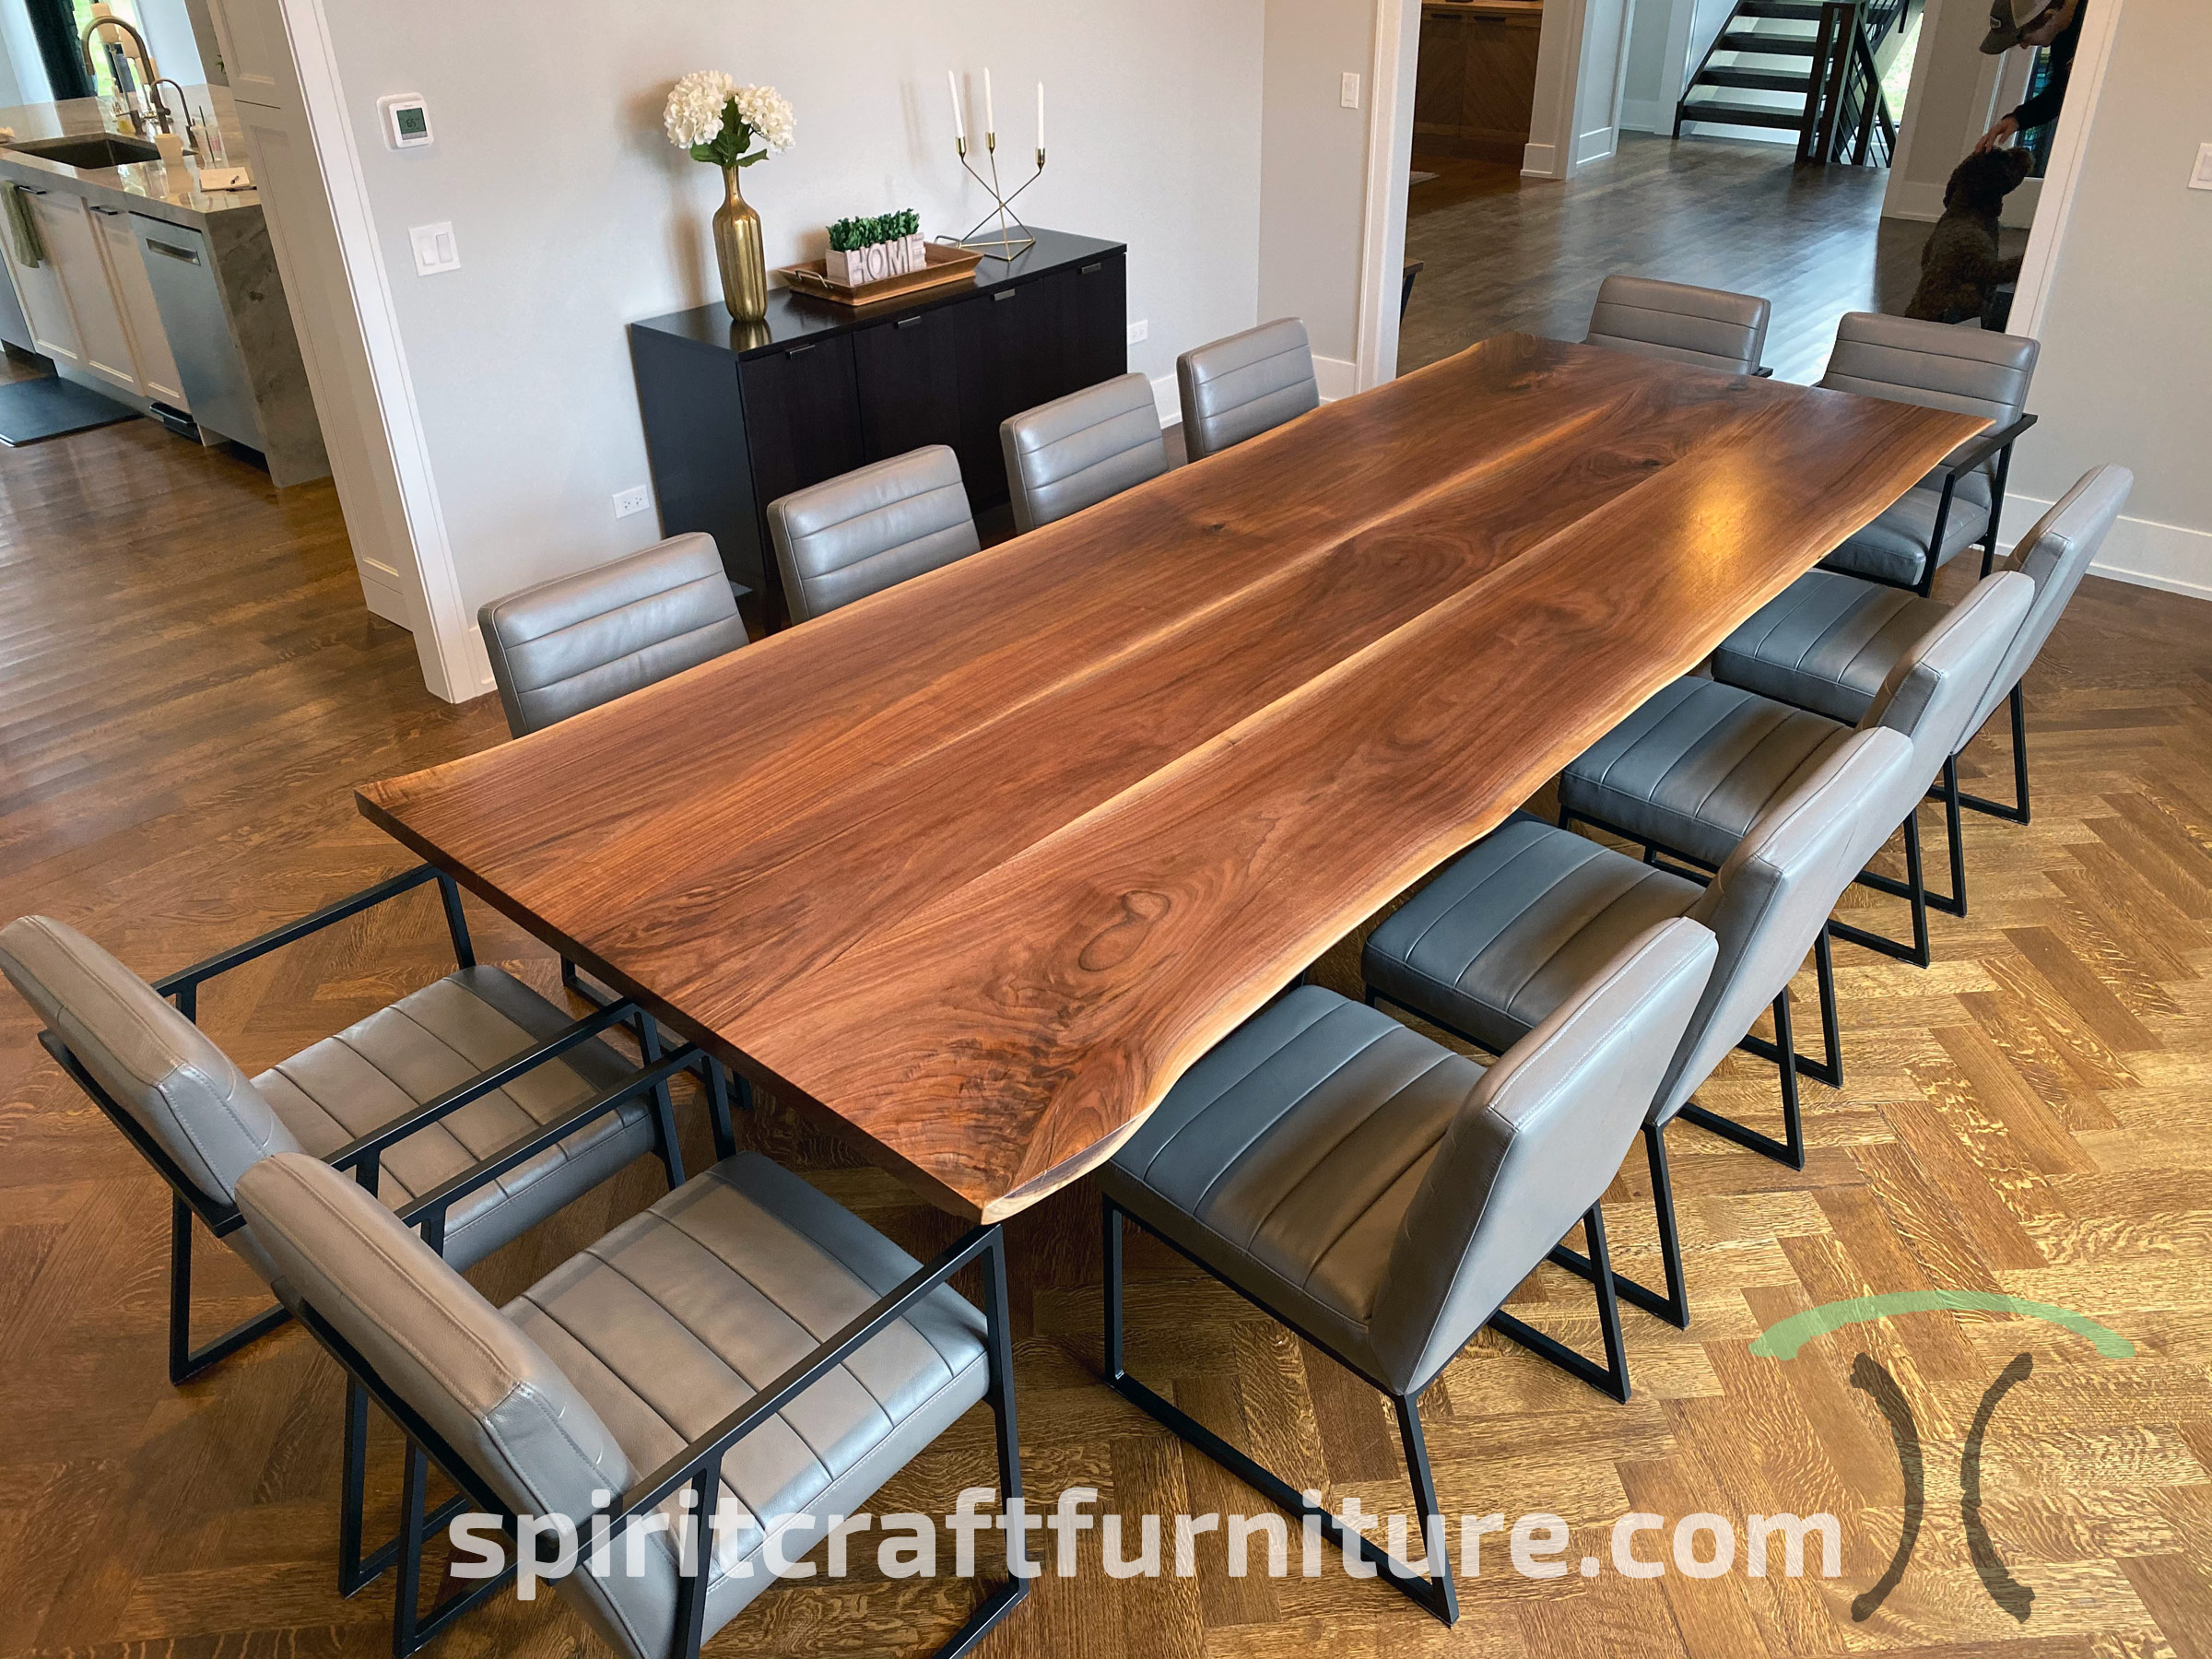
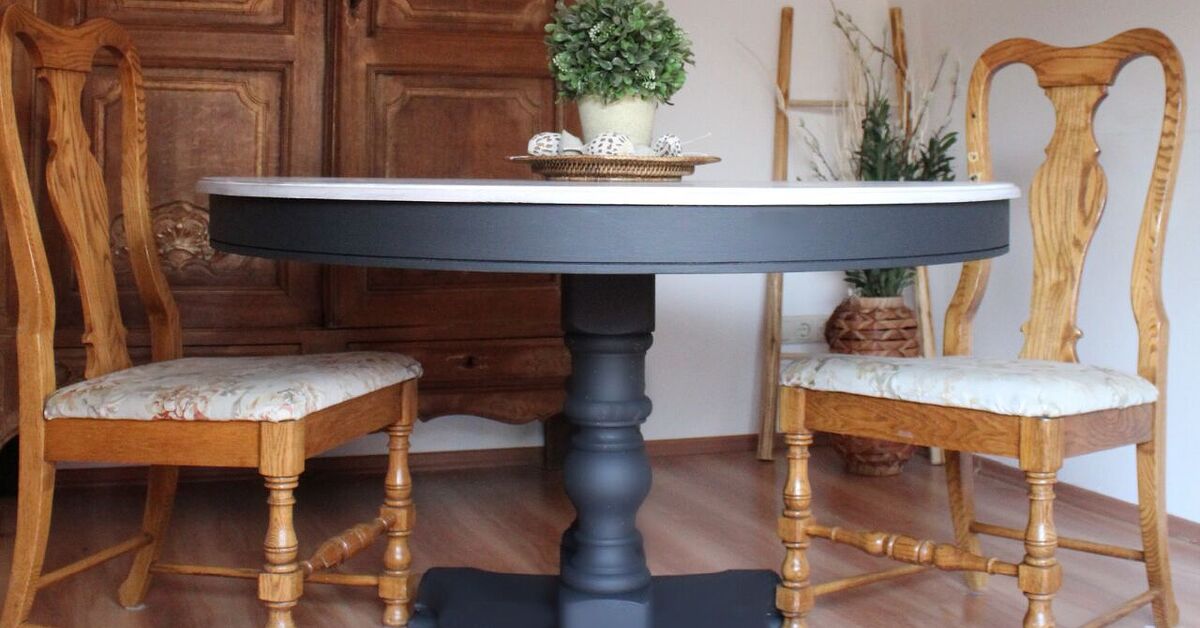
 Sanding your dining room table top has numerous benefits, both in terms of design and functionality. First and foremost, sanding allows you to customize the appearance of your table. You can choose to keep the natural wood grain or opt for a different finish, such as a stain or paint. This gives you the flexibility to match your table to your existing décor or create a statement piece that stands out.
In addition, sanding also helps to improve the durability of your dining table. Over time, wooden surfaces can become scratched, dented, or discolored. Sanding not only removes these imperfections but also strengthens the wood, making it less susceptible to wear and tear. This ensures that your dining table will last for years to come, even with frequent use.
Sanding your dining room table top has numerous benefits, both in terms of design and functionality. First and foremost, sanding allows you to customize the appearance of your table. You can choose to keep the natural wood grain or opt for a different finish, such as a stain or paint. This gives you the flexibility to match your table to your existing décor or create a statement piece that stands out.
In addition, sanding also helps to improve the durability of your dining table. Over time, wooden surfaces can become scratched, dented, or discolored. Sanding not only removes these imperfections but also strengthens the wood, making it less susceptible to wear and tear. This ensures that your dining table will last for years to come, even with frequent use.
The Proper Way to Sand a Dining Room Table Top
 To achieve the best results, it is important to
sand
your dining room table top correctly. Start by removing any existing finish or paint using a coarse sandpaper. Then, gradually move on to finer grit sandpaper to smooth out the surface. Be sure to sand in the direction of the wood grain to avoid creating scratches.
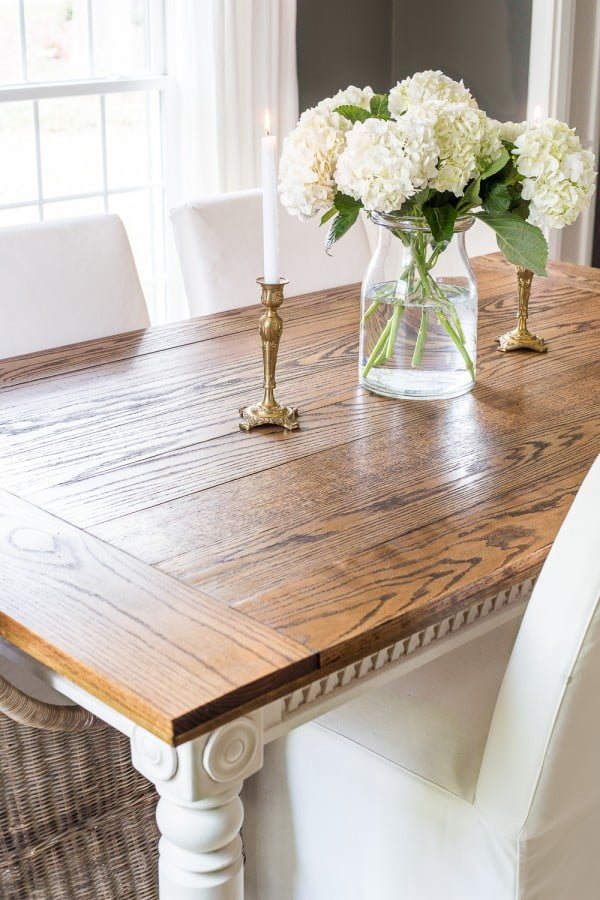
Once you have achieved a smooth and even surface, wipe down the table with a damp cloth to remove any dust or debris. You can then choose to stain or paint your table, or leave it in its natural state. Finally, finish off with a protective coat of polyurethane to seal the wood and give it a glossy finish.
In conclusion, sanding is an essential step in designing a stunning dining room. It not only enhances the appearance of your table but also improves its durability. By following the proper sanding techniques, you can transform your dining room table into a beautiful and functional piece of furniture that will be the envy of all your guests.
To achieve the best results, it is important to
sand
your dining room table top correctly. Start by removing any existing finish or paint using a coarse sandpaper. Then, gradually move on to finer grit sandpaper to smooth out the surface. Be sure to sand in the direction of the wood grain to avoid creating scratches.
Once you have achieved a smooth and even surface, wipe down the table with a damp cloth to remove any dust or debris. You can then choose to stain or paint your table, or leave it in its natural state. Finally, finish off with a protective coat of polyurethane to seal the wood and give it a glossy finish.
In conclusion, sanding is an essential step in designing a stunning dining room. It not only enhances the appearance of your table but also improves its durability. By following the proper sanding techniques, you can transform your dining room table into a beautiful and functional piece of furniture that will be the envy of all your guests.