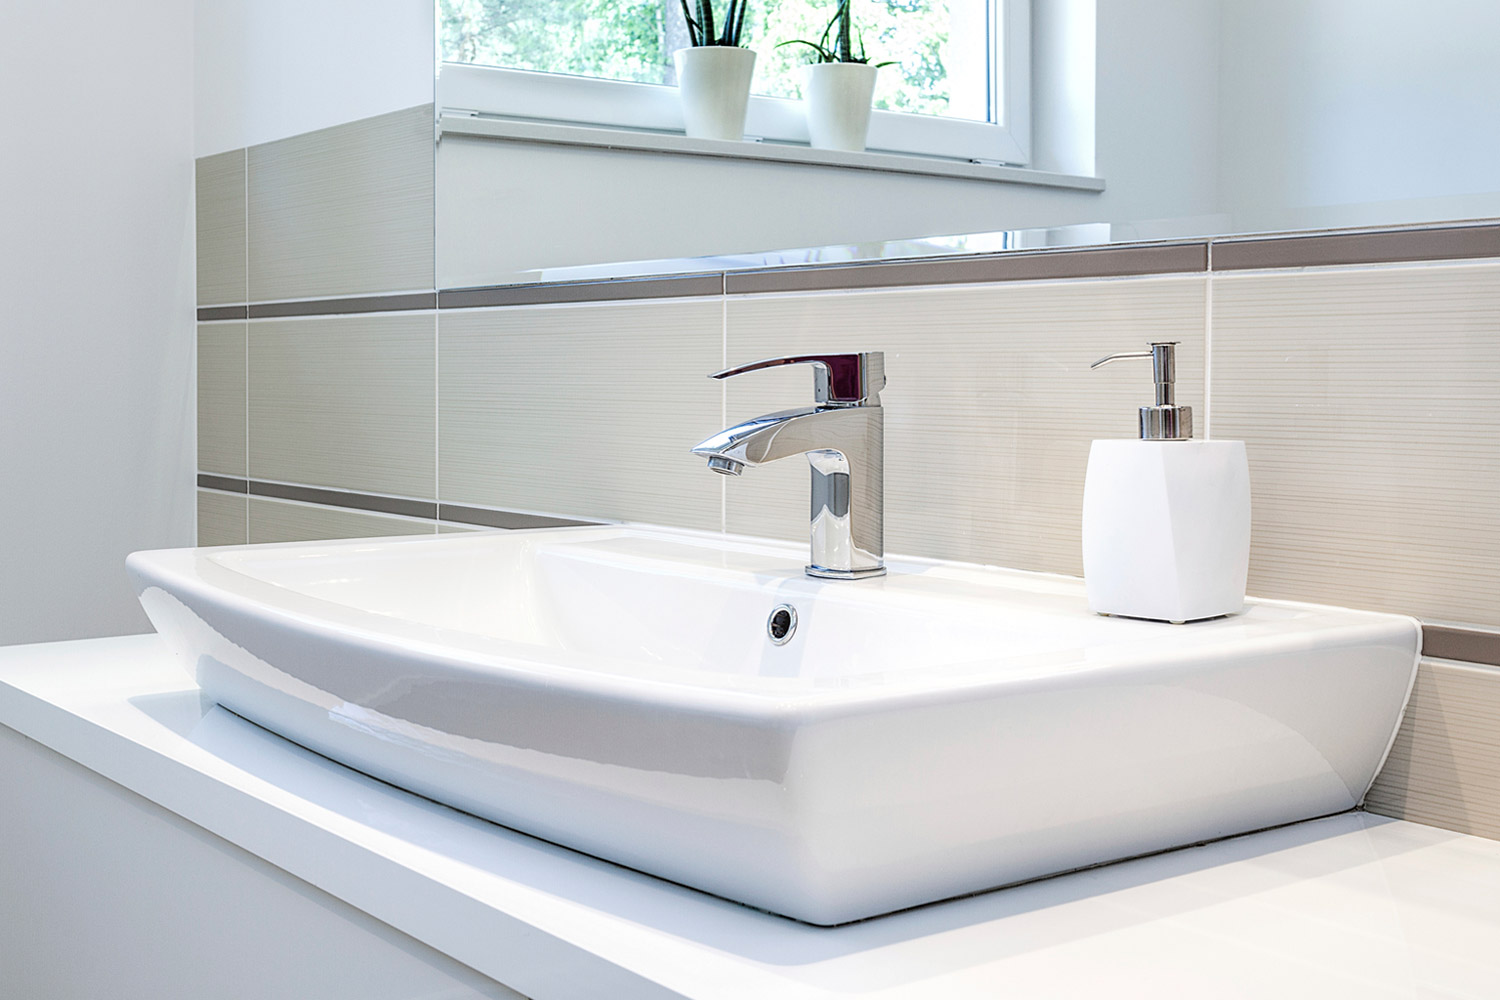
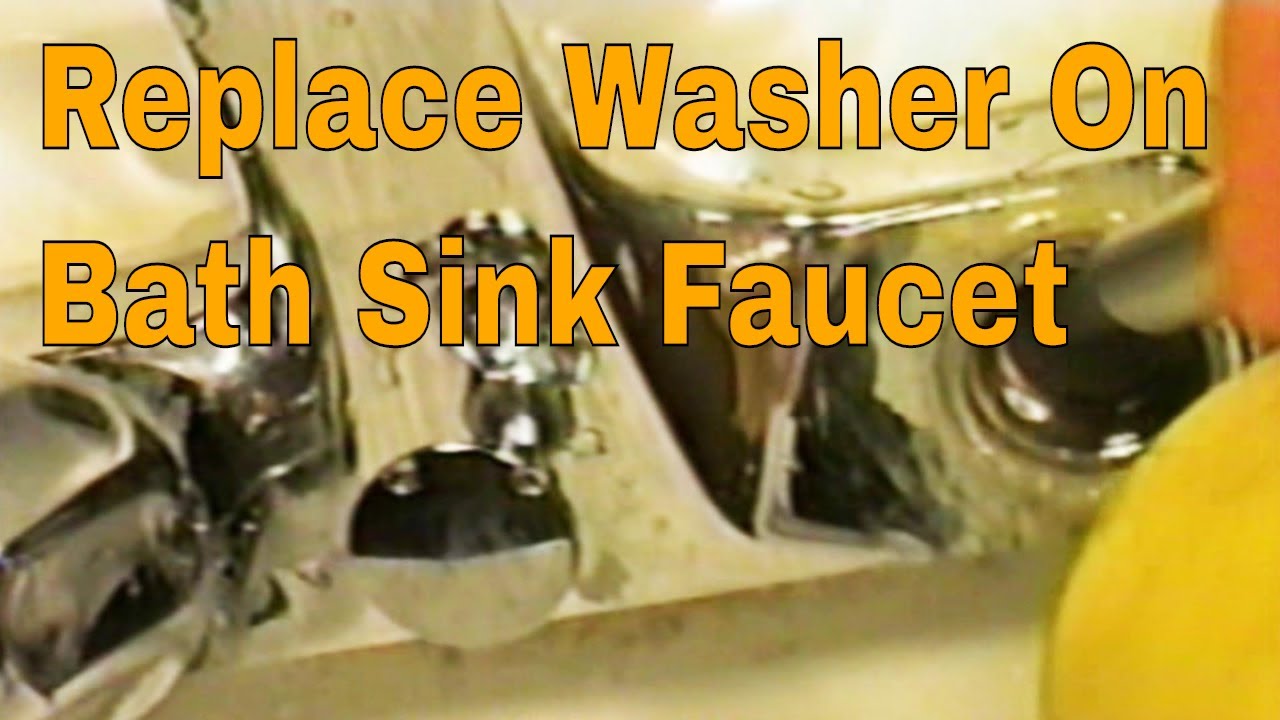
Is your bathroom sink leaking? The culprit may be a worn-out washer. Don't worry, replacing a washer in a bathroom sink is a simple and budget-friendly DIY project that anyone can do. In this article, we'll guide you through the process step-by-step and provide helpful tips along the way. How to Replace a Washer in a Bathroom Sink


How to Replace a Washer in a Bathroom Sink


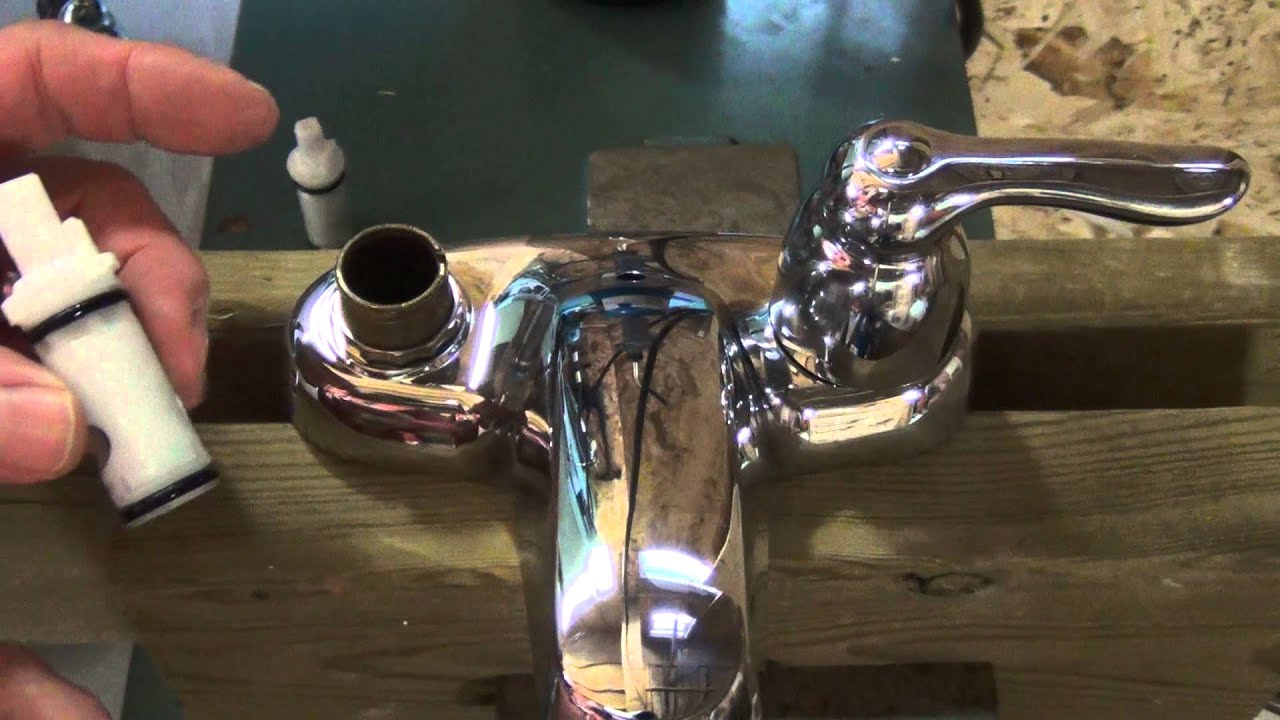

The first step in replacing a washer in a bathroom sink is to turn off the water supply. This can usually be done by turning the shut-off valves under the sink in a clockwise direction. If your sink doesn't have shut-off valves, you'll need to turn off the main water supply to your house. Next, remove the faucet handle by unscrewing the screw located on the top or back of the handle. Once the handle is removed, you'll see the stem and a packing nut. Use a wrench to loosen and remove the packing nut. Now you can remove the stem, which houses the washer. Inspect the washer for any signs of wear and tear, such as cracks or flattening. If the washer is damaged, it's time to replace it. Take the old washer to your local hardware store to ensure you get the correct size and type of replacement. In general, most bathroom sink washers are either flat or beveled. Be sure to also check the size, as they can vary depending on the manufacturer. Once you have the new washer, place it on the end of the stem where the old washer was. Then, reassemble the faucet handle and turn the water supply back on. Test the faucet to make sure the leak is fixed. Replacing a Washer in a Bathroom Sink: Step-by-Step Guide


Replacing a Washer in a Bathroom Sink: Step-by-Step Guide


Replacing a washer in a bathroom sink is a perfect DIY project for those with little experience. It's relatively easy, doesn't require many tools, and can save you money on hiring a plumber. Plus, with our step-by-step guide, you'll have your bathroom sink fixed in no time! DIY: Replacing a Washer in a Bathroom Sink


DIY: Replacing a Washer in a Bathroom Sink


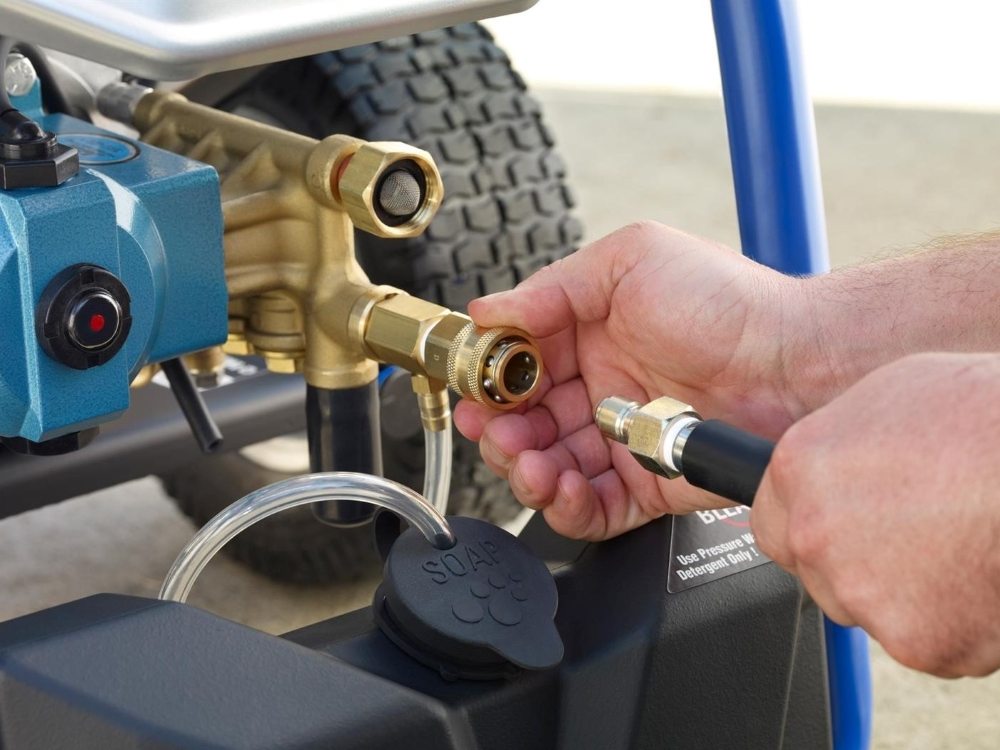
While replacing a washer in a bathroom sink doesn't require many tools, there are a few essentials you'll need to have on hand. These include an adjustable wrench, screwdriver, and replacement washers. You may also need pliers if the packing nut is difficult to remove. It's always a good idea to have a bucket or towel handy to catch any water that may drip during the process. And if you're not confident in your plumbing skills, it's helpful to have a friend or family member assist you. Essential Tools for Replacing a Washer in a Bathroom Sink


Essential Tools for Replacing a Washer in a Bathroom Sink

/modern-laundry-room-with-washer-and-dryer--607041485-5af90c0beb97de003df26d14.jpg)

While replacing a washer in a bathroom sink is a straightforward task, there are a few common issues that may arise. One of the most common is a stuck or corroded packing nut. If this happens, try using WD-40 or a similar lubricant to loosen it. If that doesn't work, you may need to replace the entire faucet. Another issue is choosing the wrong size or type of washer. Be sure to bring the old washer with you when purchasing a replacement to ensure you get the correct one. If the new washer doesn't fit, you may need to consult a plumbing professional. Troubleshooting Common Issues When Replacing a Washer in a Bathroom Sink


Troubleshooting Common Issues When Replacing a Washer in a Bathroom Sink


When choosing a replacement washer for your bathroom sink, there are a few things to keep in mind. Firstly, be sure to get the correct size and type, as mentioned before. Additionally, consider the material of the washer. Rubber washers are the most common and budget-friendly option, but nylon and plastic washers are also available and may last longer. It's also important to consider the thickness of the washer. A thicker washer may last longer, but it may also cause your faucet to leak. Consult with a plumbing professional if you're unsure which type of washer is best for your sink. Tips for Choosing the Right Washer for Your Bathroom Sink


Tips for Choosing the Right Washer for Your Bathroom Sink


Replacing washers in bathroom sinks may seem like a small and insignificant task, but it's actually an essential part of maintaining your plumbing. Over time, washers can wear down and cause leaks, which can lead to water damage and costly repairs. By regularly replacing washers, you can prevent these issues and save yourself time and money in the long run. The Importance of Regularly Replacing Washers in Bathroom Sinks


The Importance of Regularly Replacing Washers in Bathroom Sinks


As mentioned before, replacing washers in bathroom sinks yourself can save you money on hiring a plumber. But it can also save you money in other ways. By regularly checking and replacing washers, you can prevent leaks and water damage, which can be costly to repair. Plus, with our DIY guide, you won't have to spend money on expensive plumbing services. How to Save Money by Replacing Washers in Bathroom Sinks Yourself


How to Save Money by Replacing Washers in Bathroom Sinks Yourself


While replacing a washer in a bathroom sink is a simple task, there are a few mistakes that can easily be made. One of the most common is not turning off the water supply before attempting to replace the washer. This can result in a flooded bathroom and potential water damage. Another mistake is not having the correct tools or replacement washer. Be sure to have all the necessary tools and the old washer with you before starting the project. And if you're unsure about anything, it's always best to consult a plumbing professional. Common Mistakes to Avoid When Replacing a Washer in a Bathroom Sink


Common Mistakes to Avoid When Replacing a Washer in a Bathroom Sink


So, is it better to hire a professional or do it yourself when it comes to replacing a washer in a bathroom sink? While hiring a professional can save you time and effort, it can also be expensive. If you have basic DIY skills and follow our step-by-step guide, you can easily replace a washer in a bathroom sink yourself and save money in the process. Now that you know how to replace a washer in a bathroom sink, you can tackle this simple DIY project with confidence. Remember to regularly check and replace washers to prevent leaks and costly repairs. And always have the necessary tools and replacement washers on hand. Happy fixing! Replacing a Washer in a Bathroom Sink: Professional vs. DIY


Replacing a Washer in a Bathroom Sink: Professional vs. DIY


:max_bytes(150000):strip_icc()/8_IMG_3767-56a4a2753df78cf772835b72.JPG)
How to Replace a Washer in Your Bathroom Sink: A Step-by-Step Guide

Why is it Important to Replace a Washer in Your Bathroom Sink?
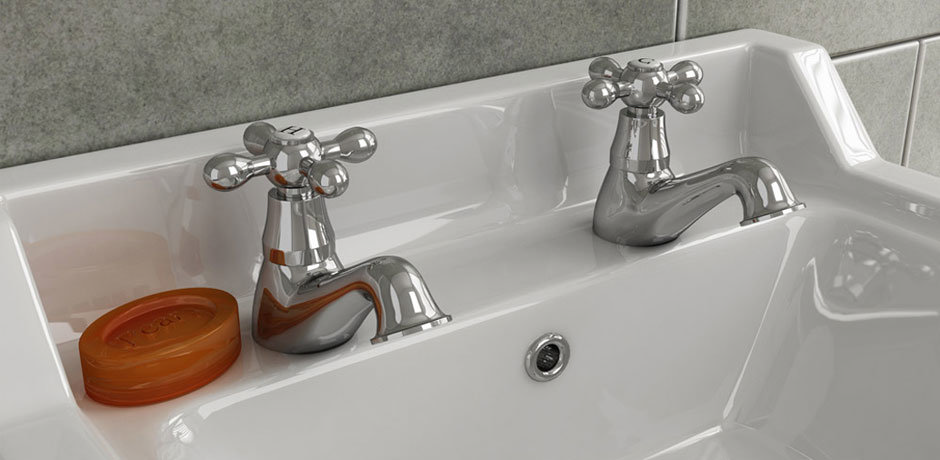
 Replacing a washer in your bathroom sink may seem like a small and insignificant task, but it is actually an important part of maintaining the functionality and appearance of your sink. The washer, also known as a gasket, is a small rubber or plastic disc that creates a watertight seal between the faucet and the sink. Over time, this seal can wear down and cause leaks, which can lead to water damage and higher water bills. By replacing the washer in your bathroom sink, you can prevent these issues and keep your sink working properly.
What You Will Need:
 - New washer
- Adjustable wrench
- Screwdriver
- Pliers
- Clean rag or towel
- Penetrating oil (if needed)
- New washer
- Adjustable wrench
- Screwdriver
- Pliers
- Clean rag or towel
- Penetrating oil (if needed)
Step 1: Turn Off the Water Supply
 Before you begin, make sure to turn off the water supply to your bathroom sink. This can usually be done by turning off the shut-off valves under the sink. If your sink does not have shut-off valves, you will need to turn off the main water supply to your home.
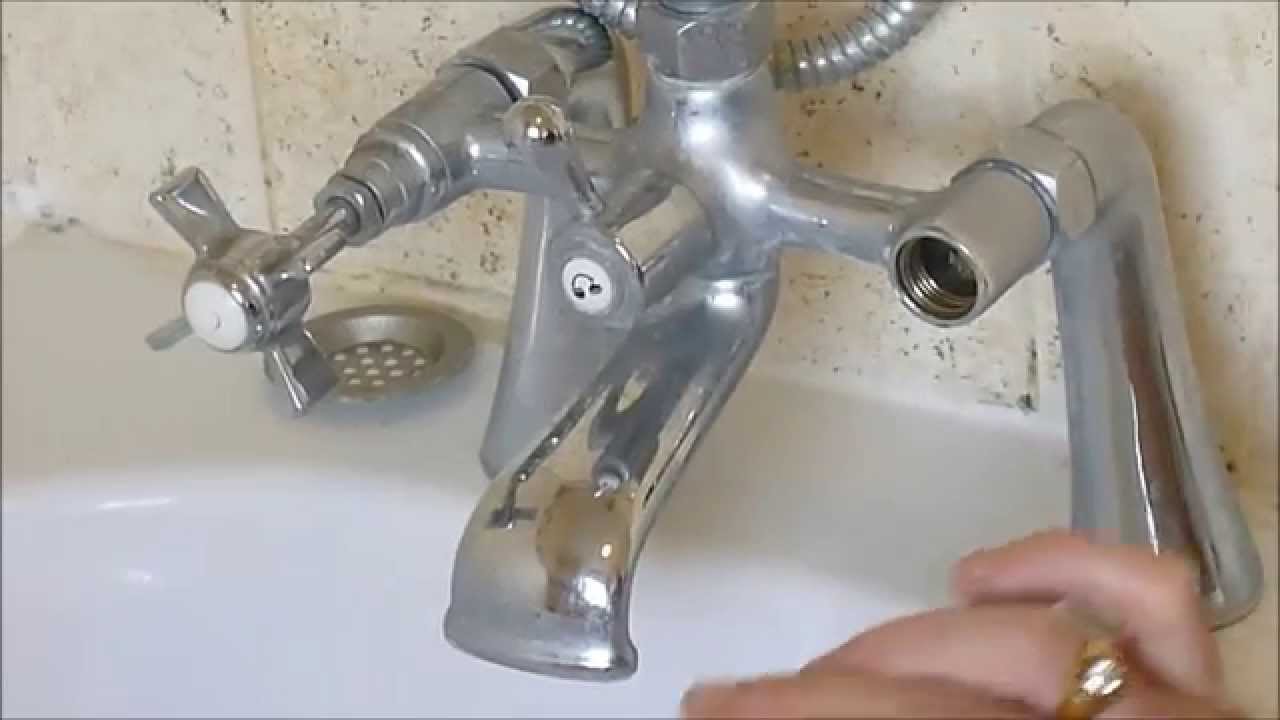
Step 2: Remove the Faucet Handle
 Using a screwdriver, carefully remove the screw that holds the faucet handle in place. Once the screw is removed, gently pull the handle off of the faucet. If the handle is stuck, you may need to use penetrating oil to loosen it.
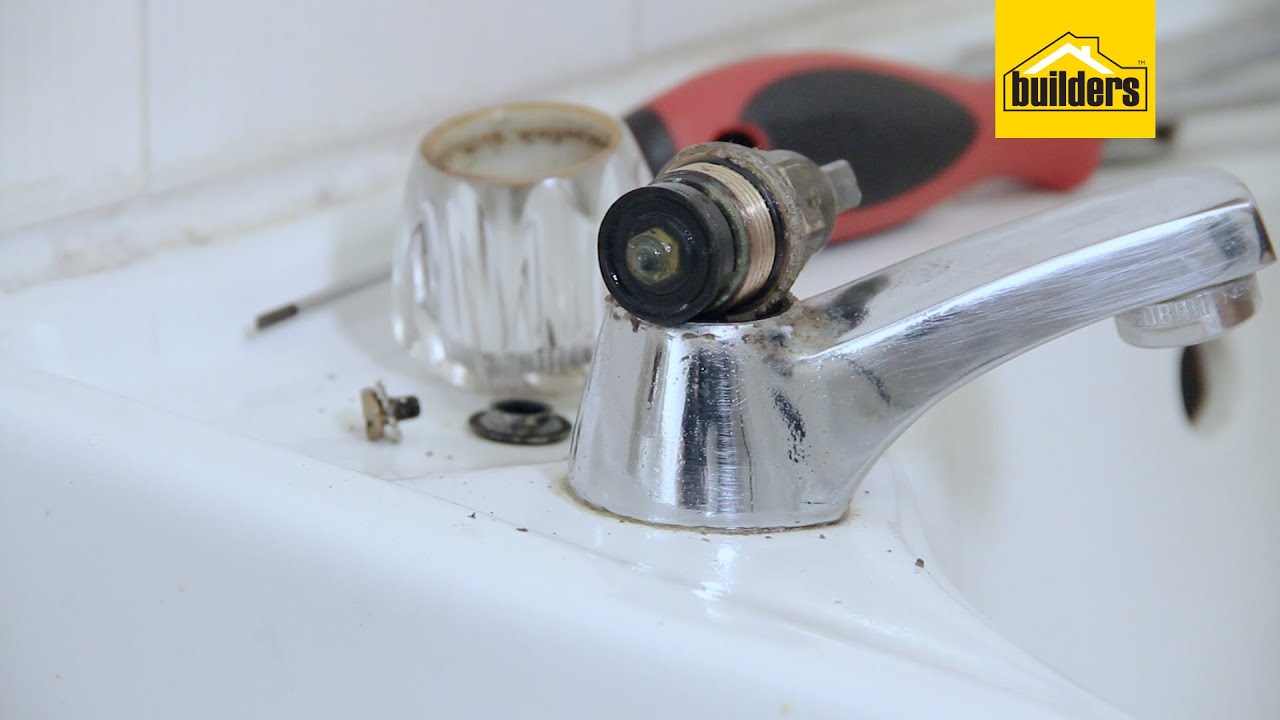
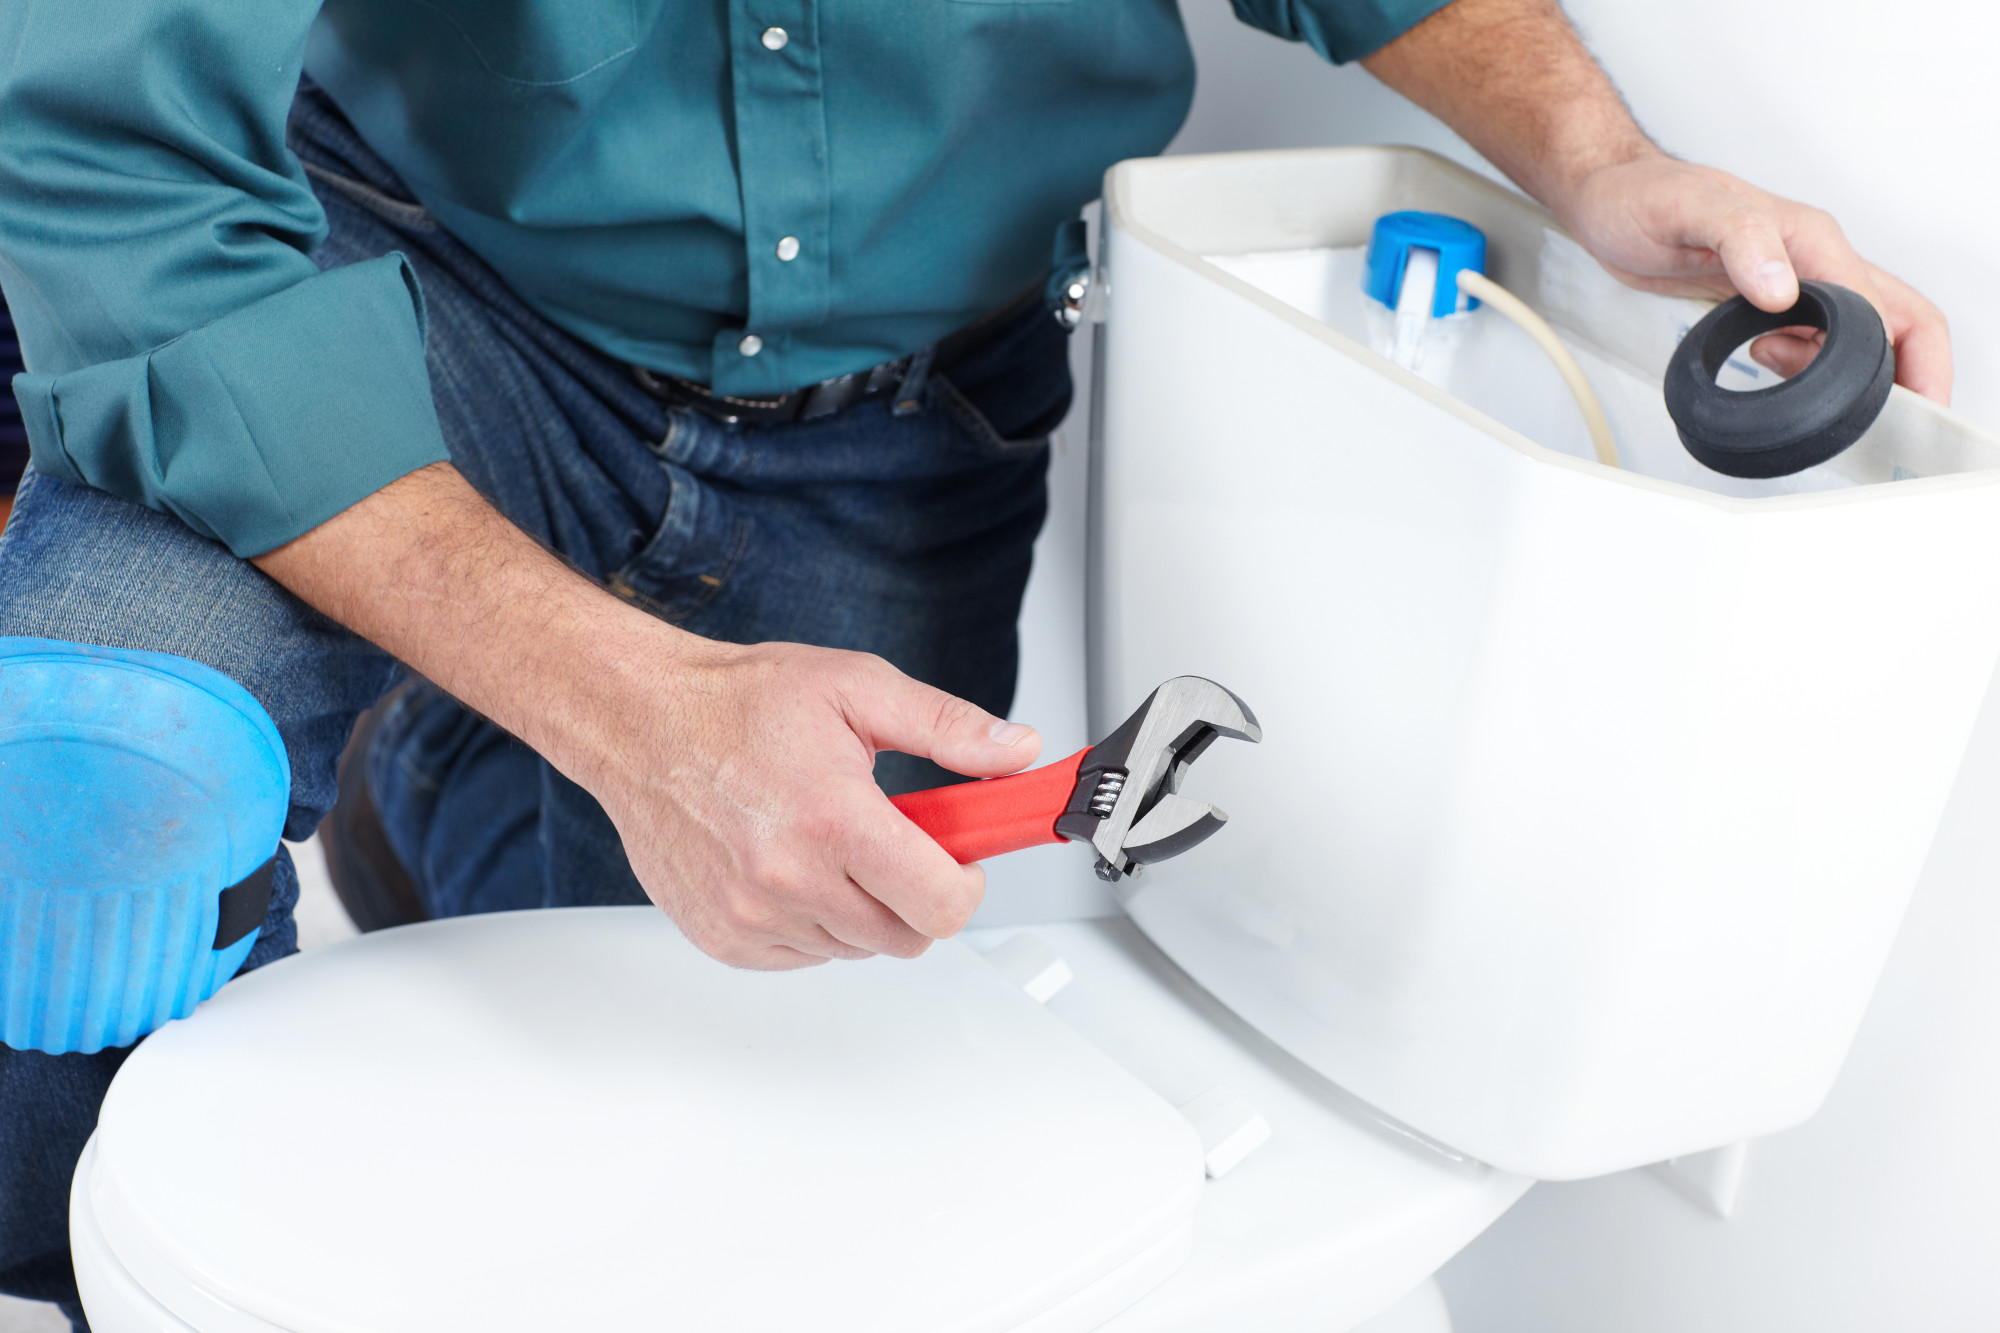
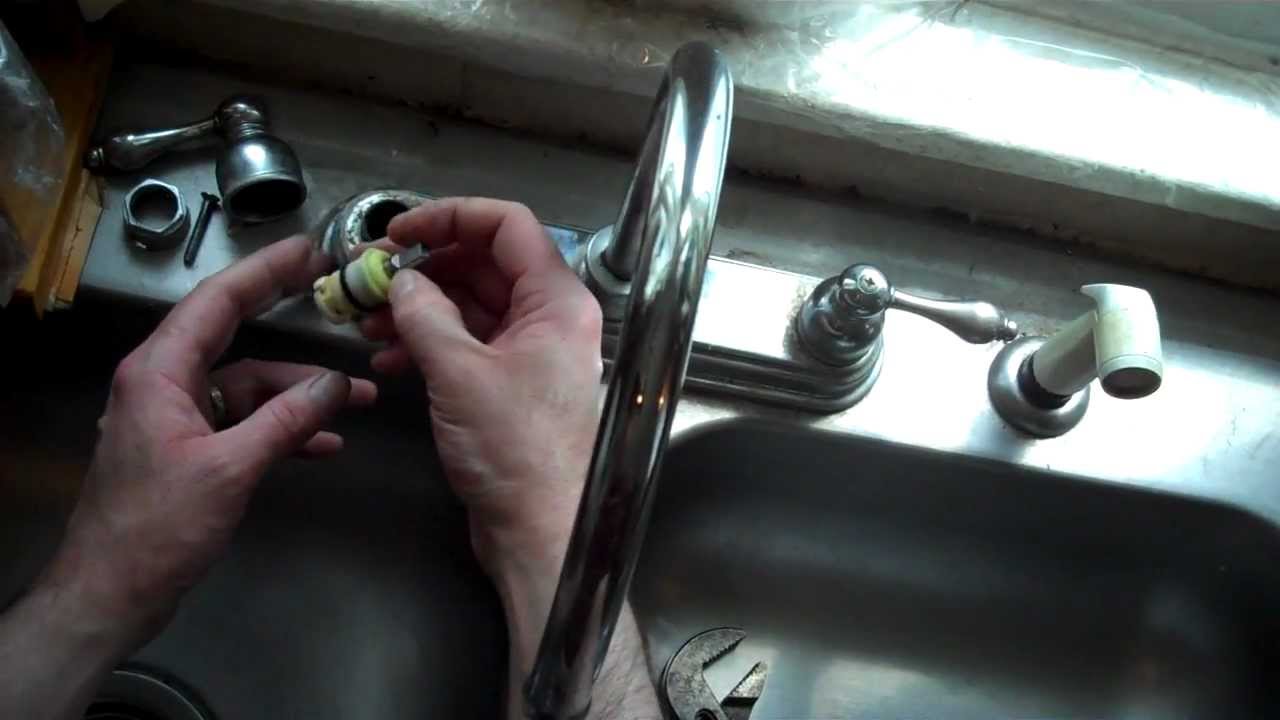
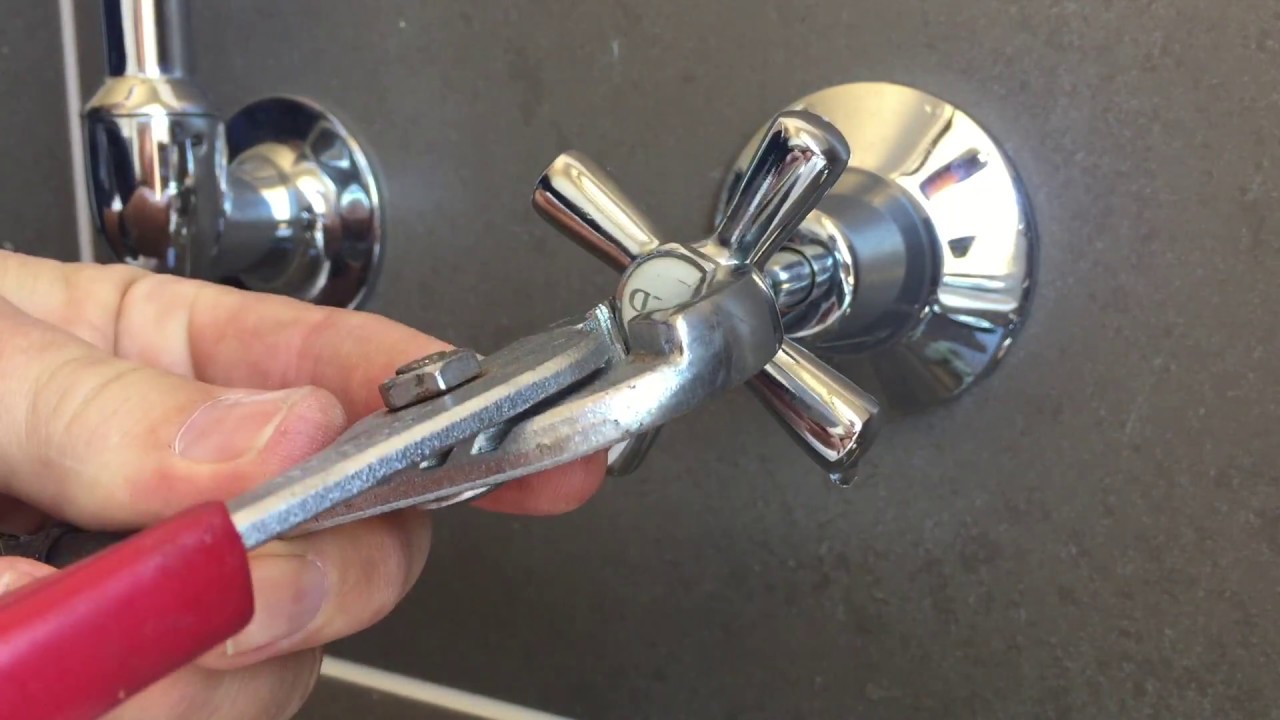
Step 3: Remove the Nut and Washer
 Using an adjustable wrench or pliers, remove the nut that holds the washer in place. Once the nut is removed, you can take out the old washer and clean any debris or buildup from the area.
Step 4: Install the New Washer
 Place the new washer in the same position as the old one and secure it with the nut. Make sure the washer is properly aligned to create a tight seal.
Step 5: Reassemble the Faucet
 Carefully put the faucet handle back in place and secure it with the screw. Turn the water supply back on and test the faucet to make sure there are no leaks. If there are still leaks, you may need to tighten the nut a bit more.
In Conclusion
 By following these simple steps, you can easily replace a washer in your bathroom sink and maintain the functionality and appearance of your sink. This small DIY project can save you from potential water damage and costly repairs in the future. Remember to regularly check and replace your washers to keep your bathroom sink in top condition.