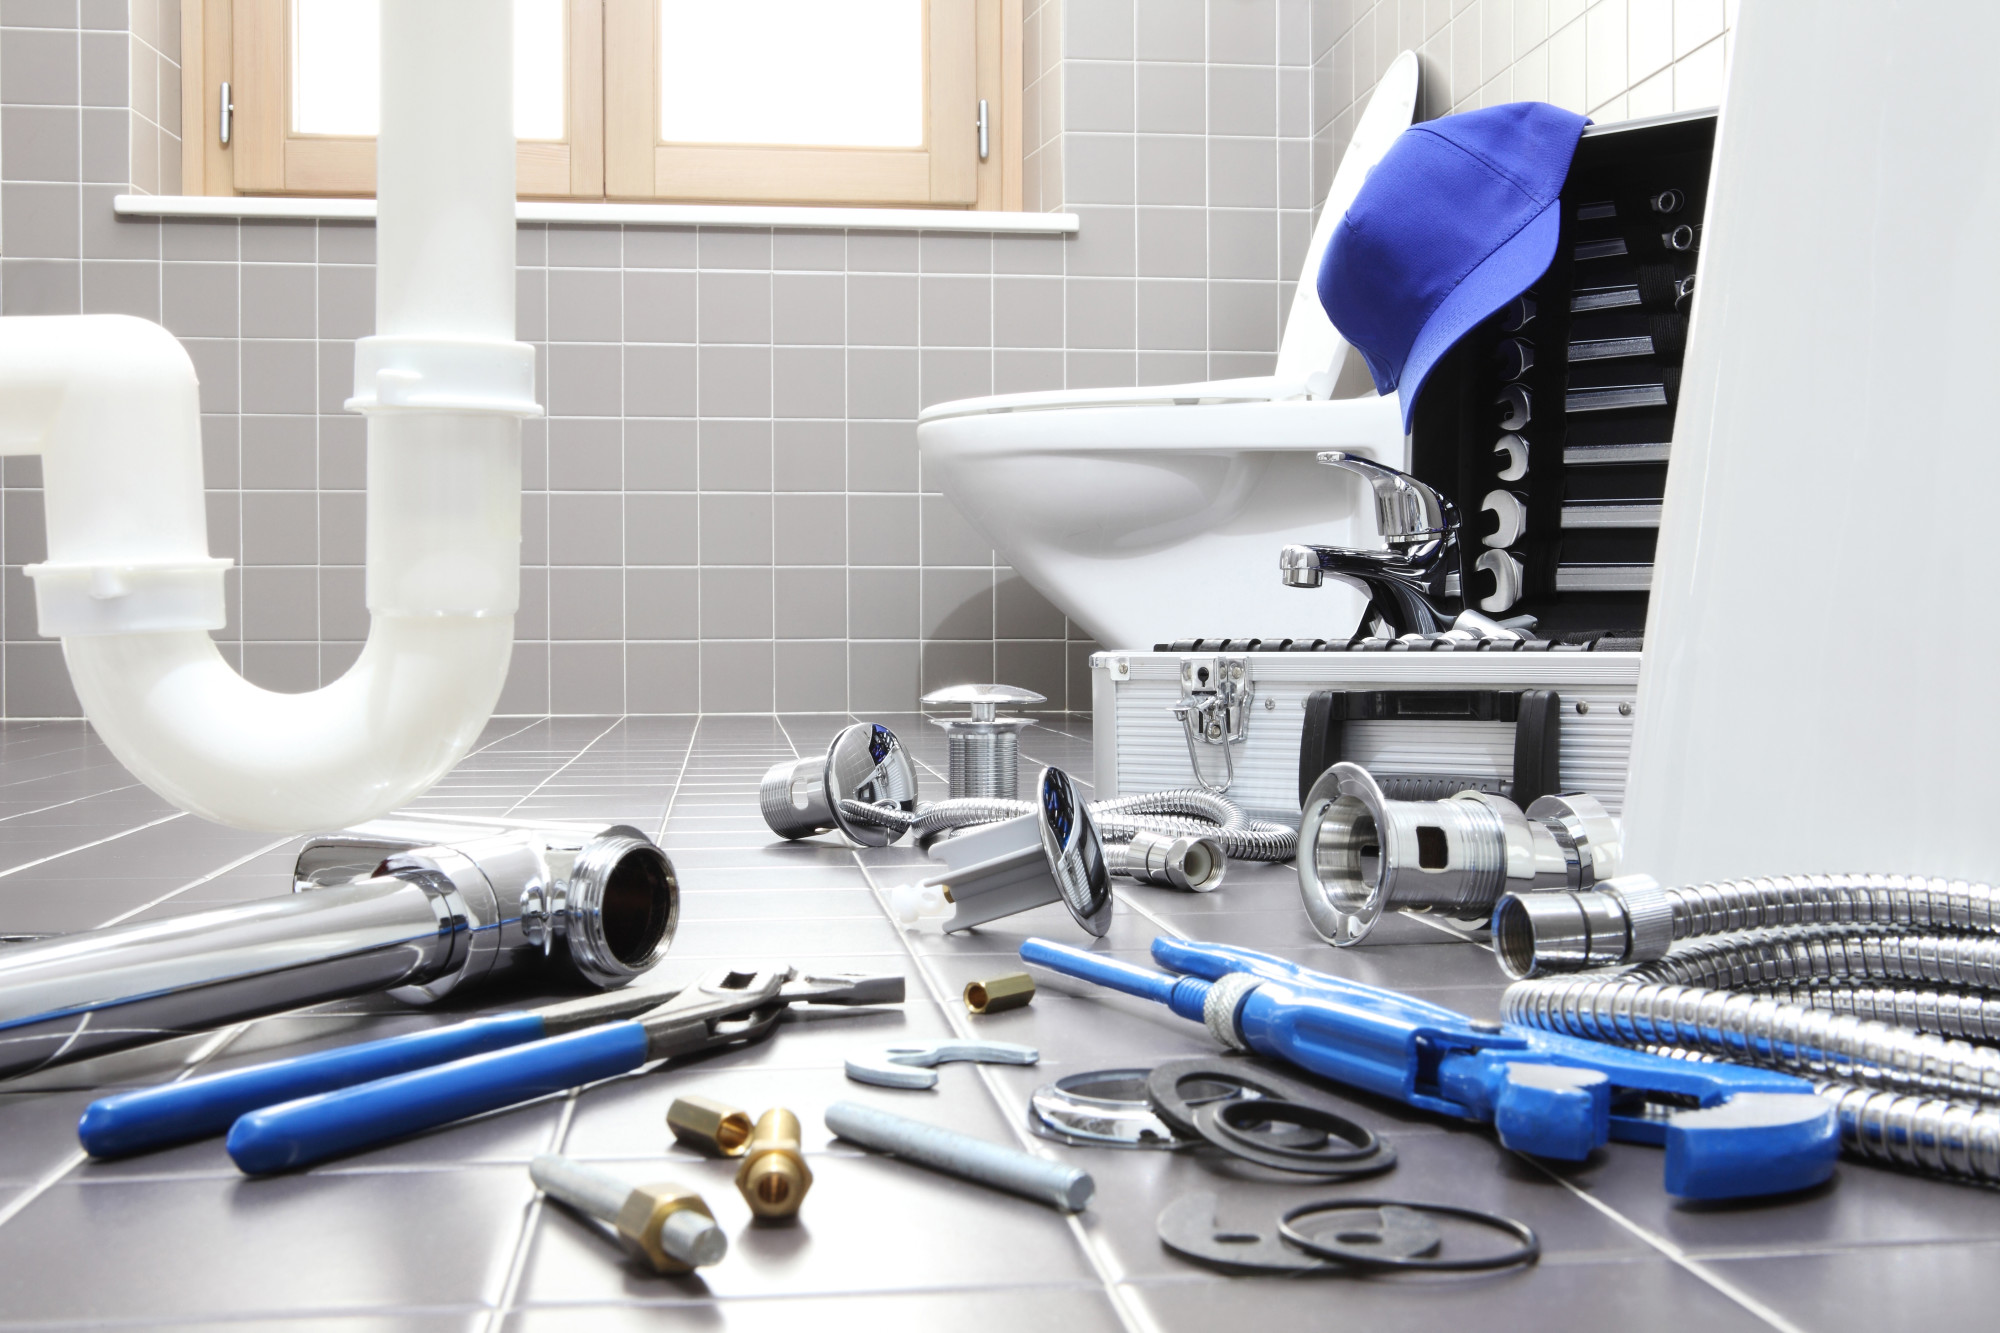
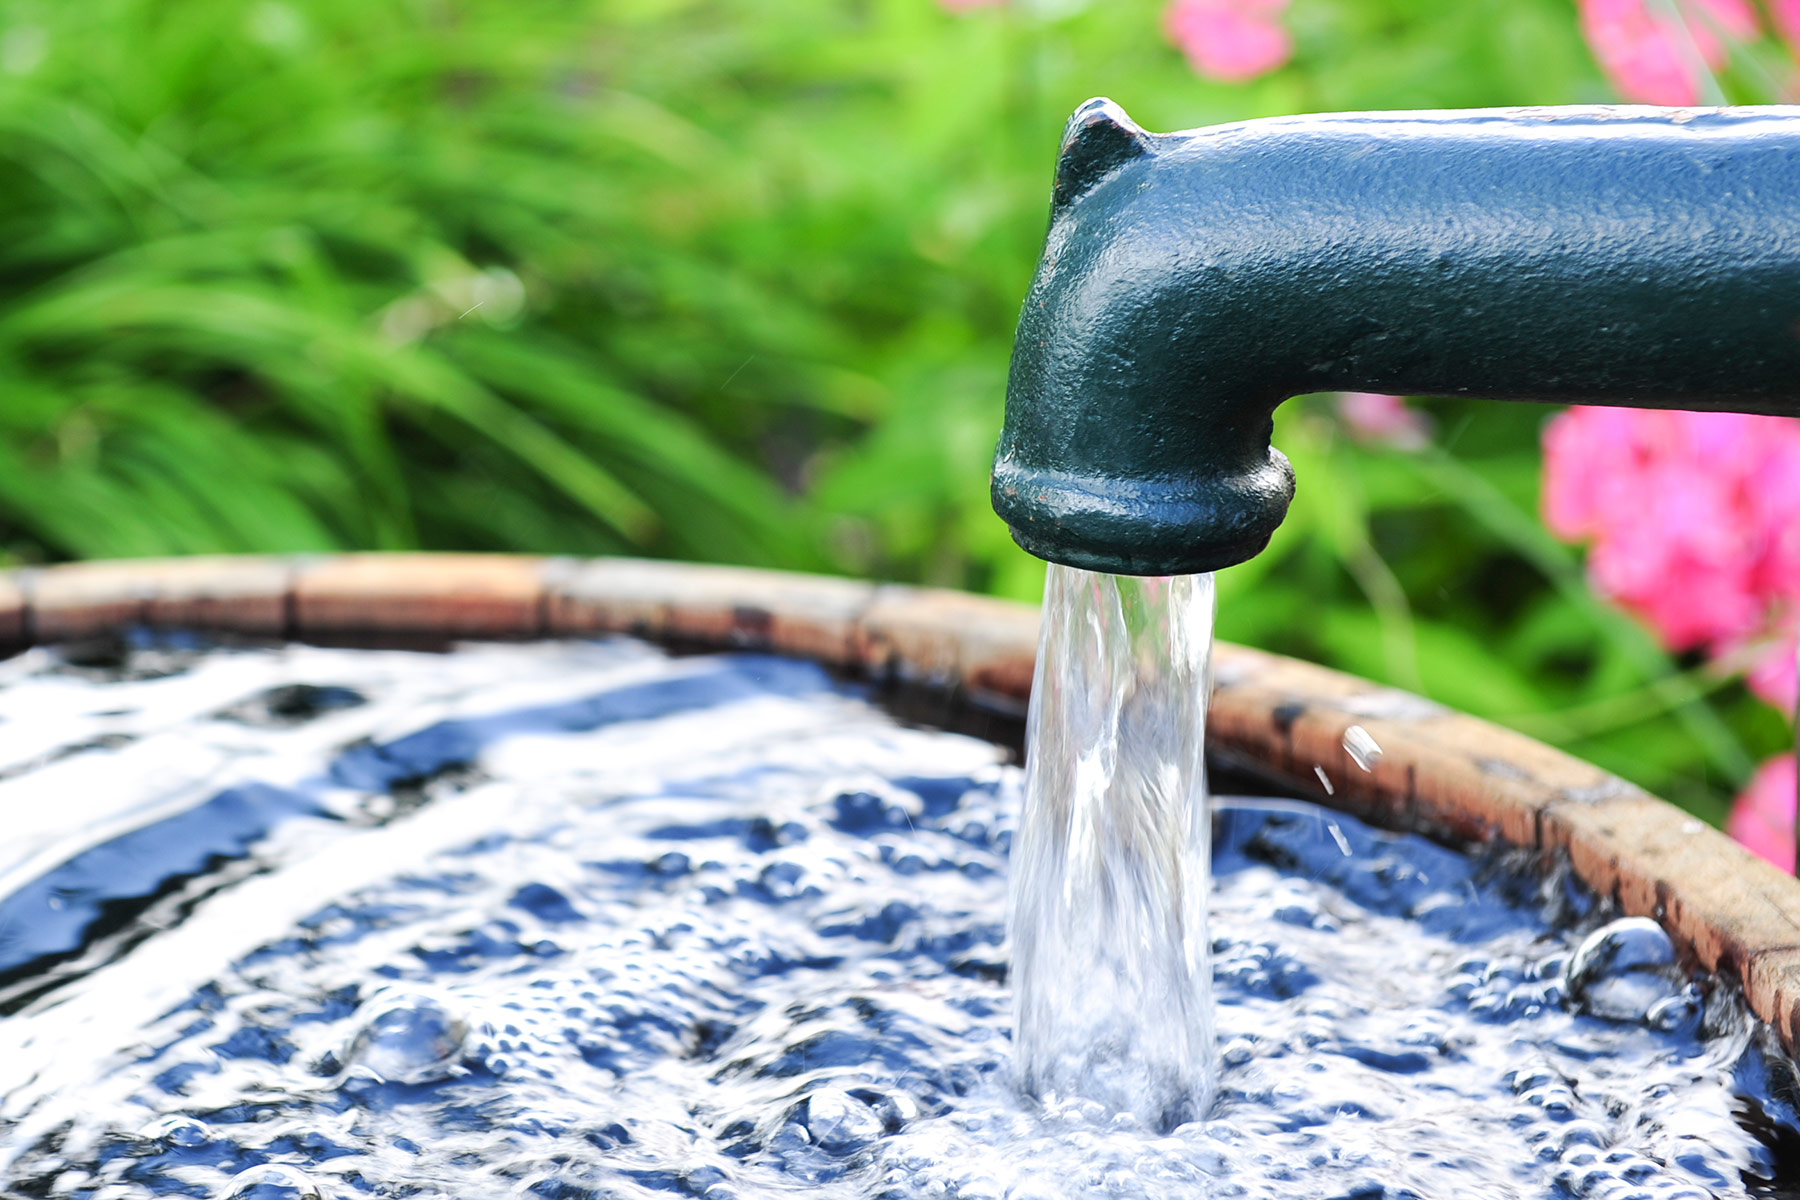
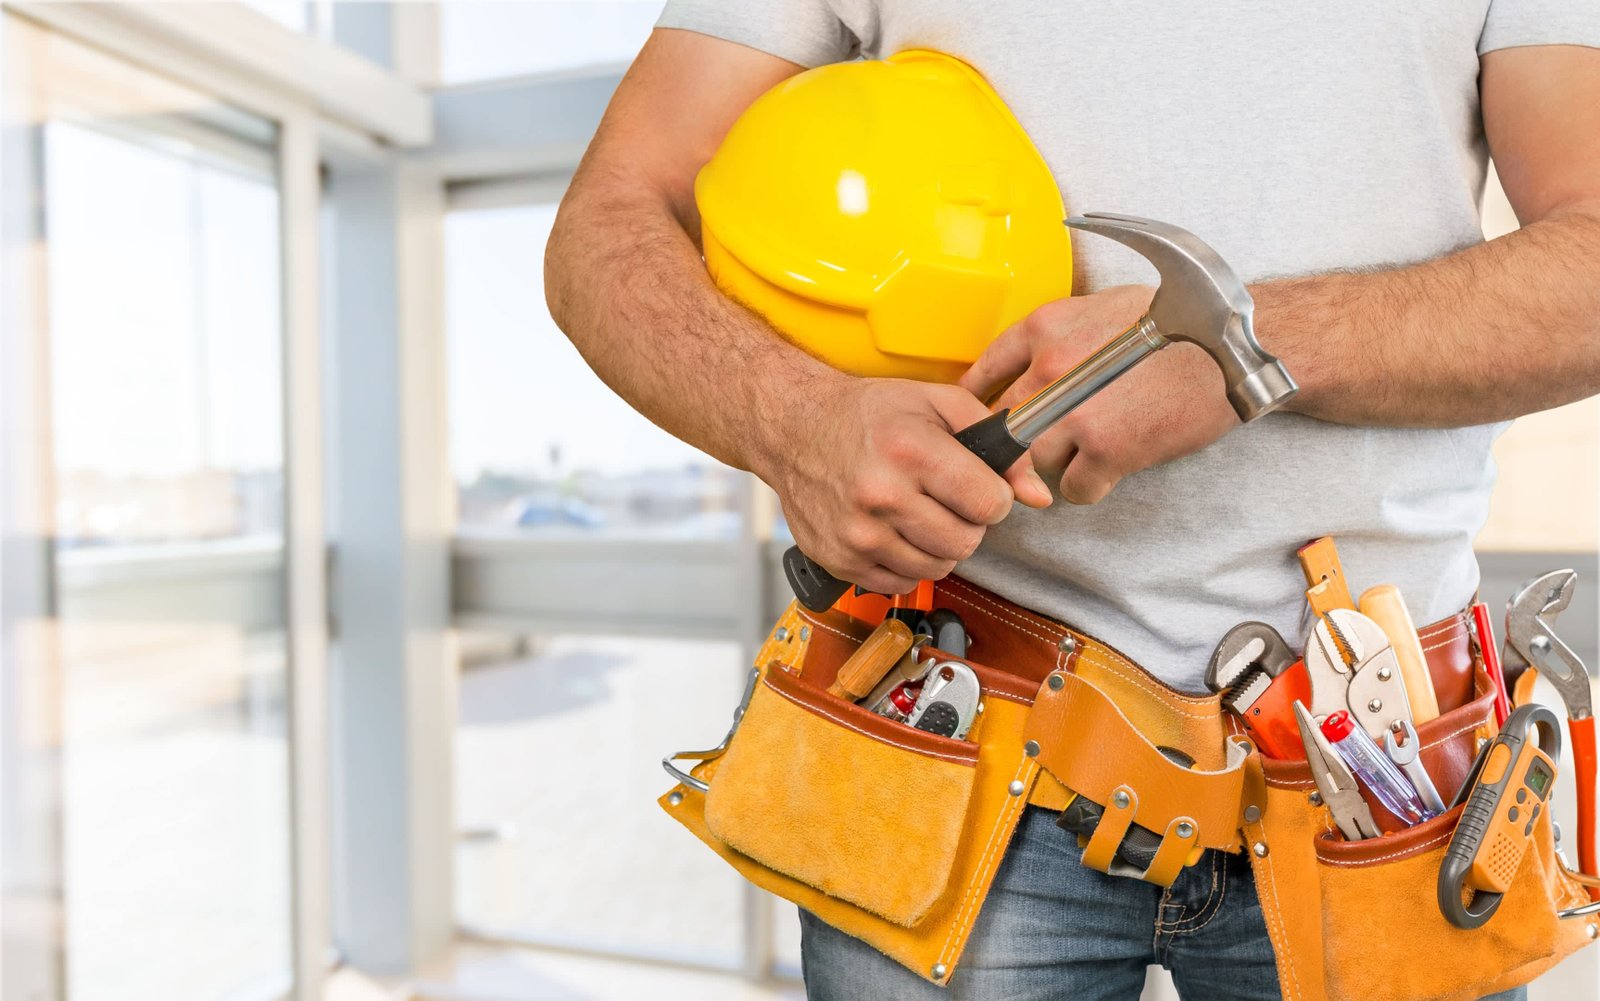
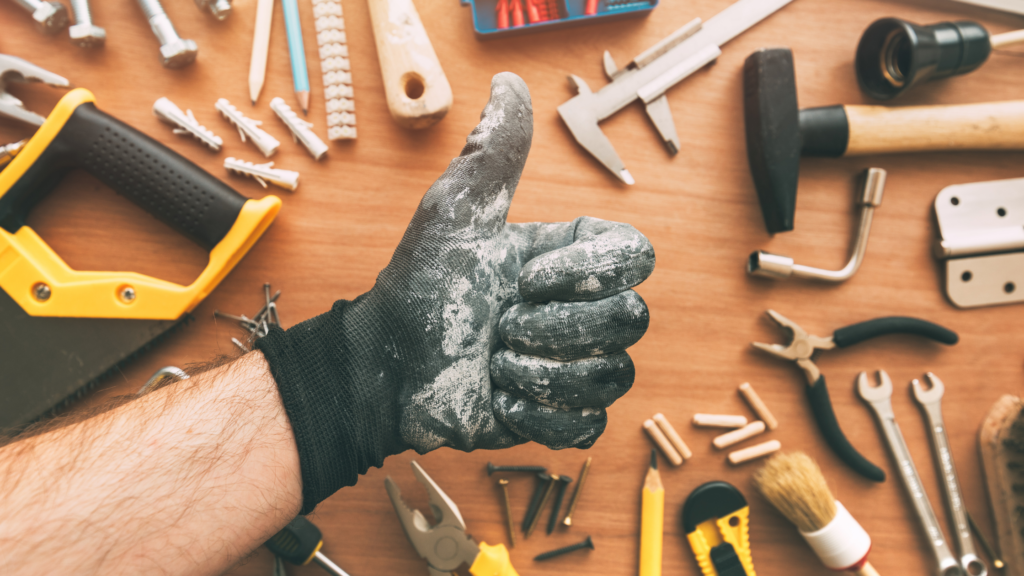
If you're a homeowner, you know that plumbing issues can arise at any time. One of the most common problems that people face is a leaky faucet or a burst pipe. In these situations, the first thing you need to do is shut off the water supply. This is where shut off valves come in. These small yet crucial devices control the flow of water to your bathroom sink and can save you from a major headache. However, over time, these valves can wear out and need to be replaced. In this article, we'll discuss the top 10 steps for replacing shut off valves under your bathroom sink.1. Understanding the Importance of Shut Off Valves


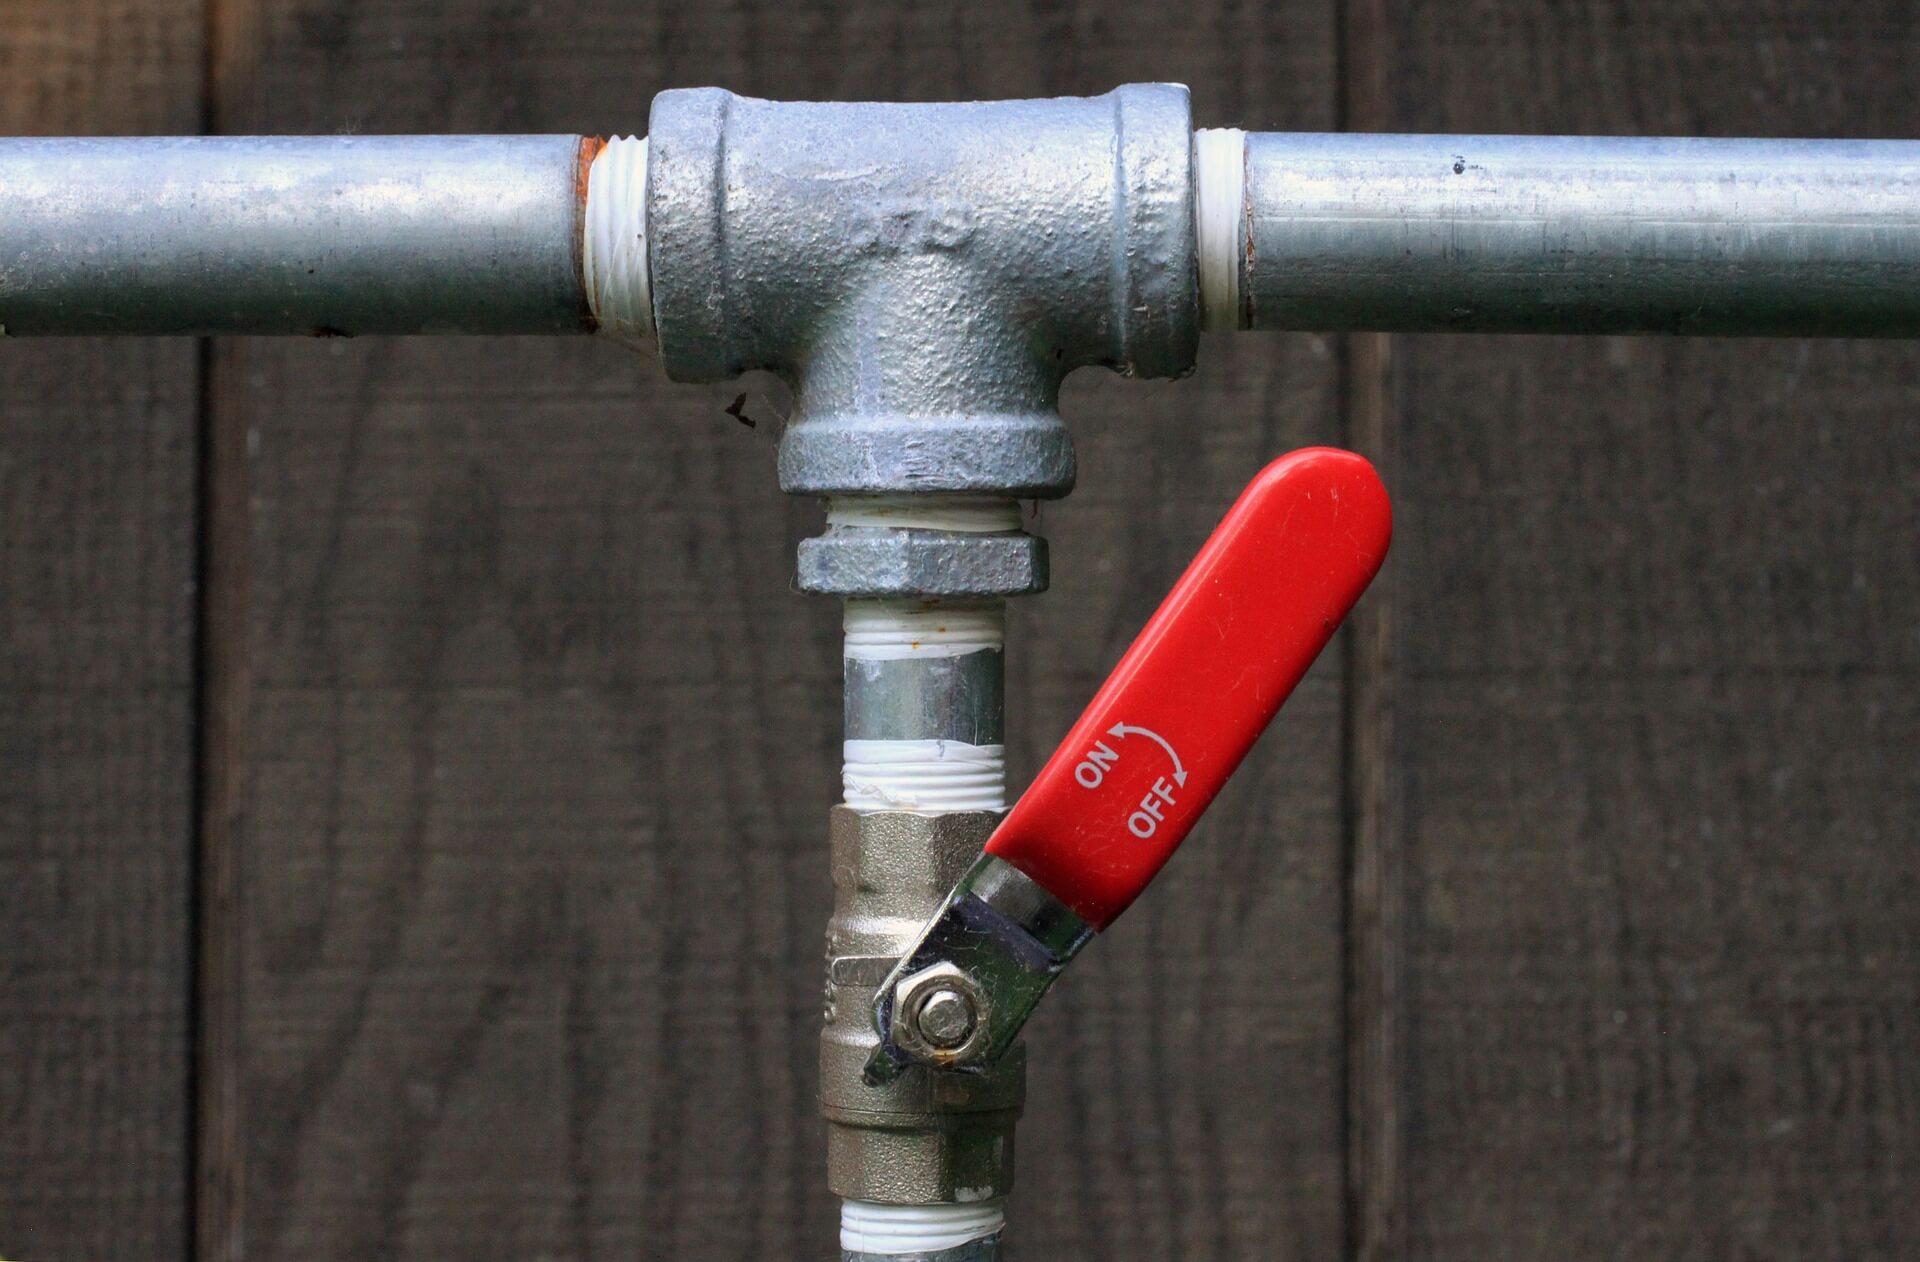
shut off valves
:max_bytes(150000):strip_icc()/GettyImages-106572292-3658474337224eda8721faead4f91390.jpg)

:max_bytes(150000):strip_icc()/GettyImages-1057621140-78ab2e946841421d9a7efeebe02935d2.jpg)

Before you run to the hardware store to buy replacement valves, take the time to assess the situation. Turn off the water supply to your bathroom sink and carefully inspect the shut off valves. Look for any visible signs of damage such as cracks, rust, or leaks. If the valves are old and worn out, it's best to replace them rather than trying to fix them.2. Assessing the Situation


bathroom sink


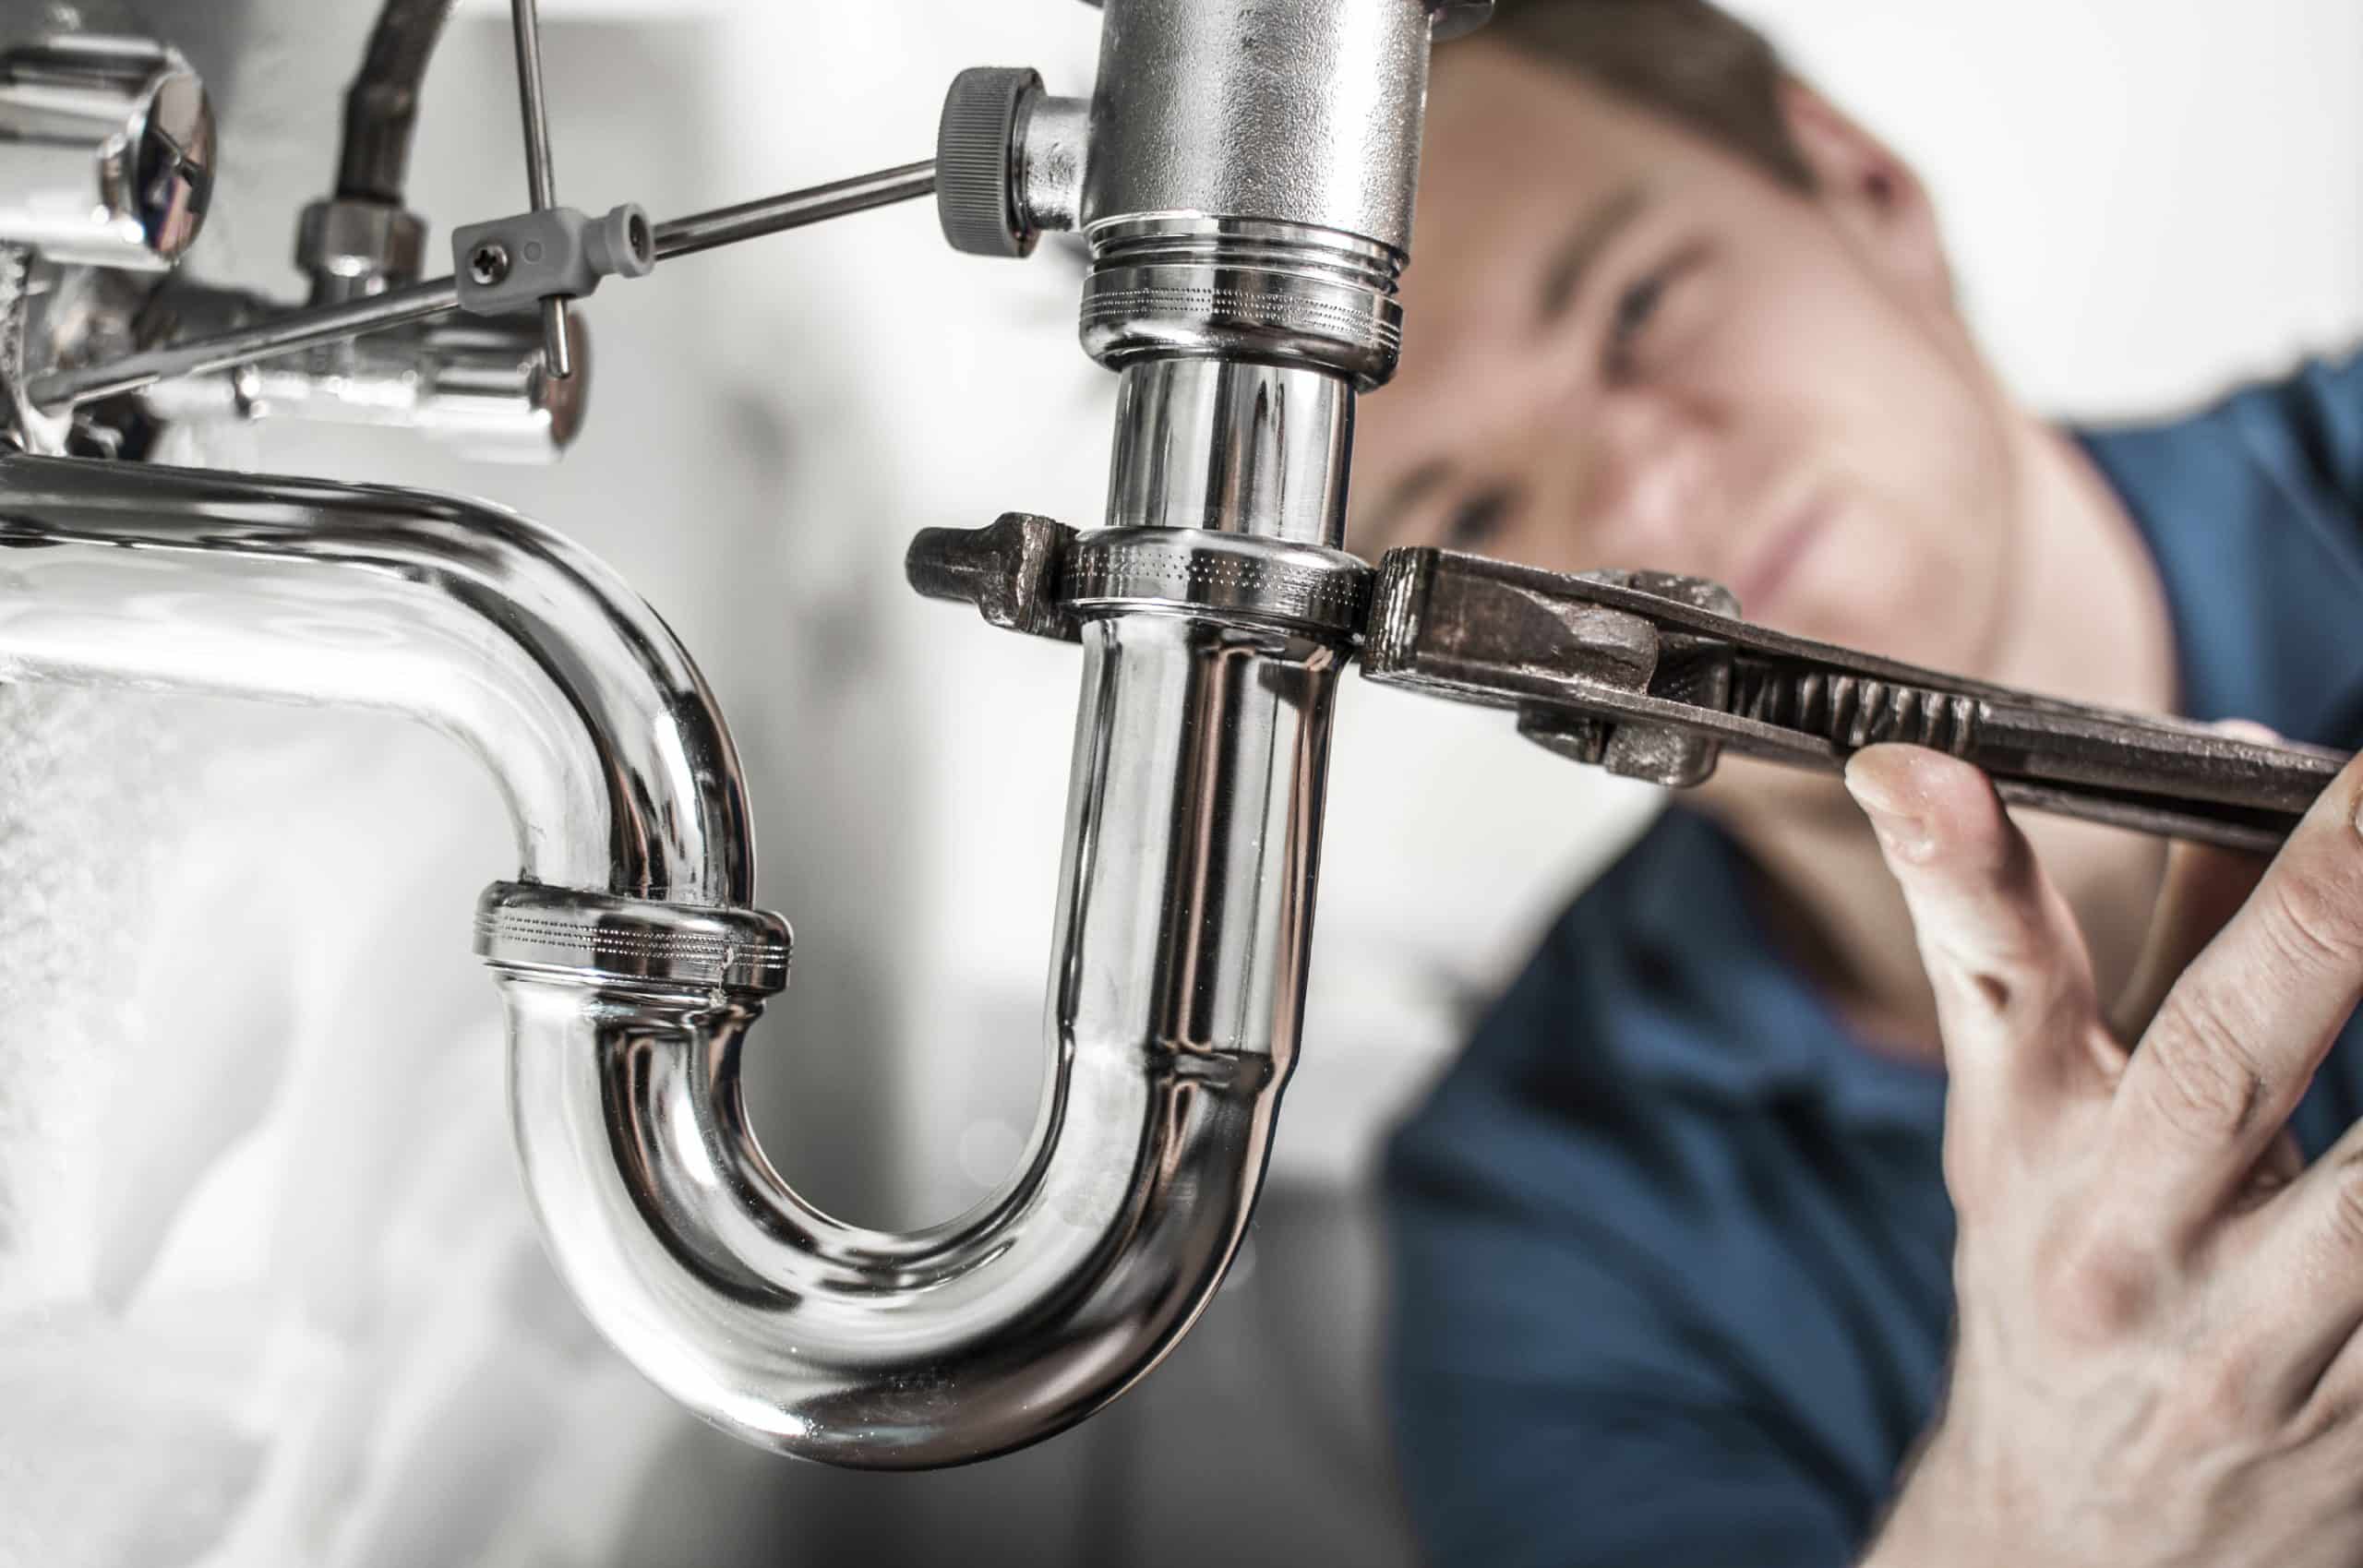
To replace the shut off valves, you'll need a few essential tools such as an adjustable wrench, pliers, Teflon tape, and a bucket. Make sure you have these tools handy before you start the process.3. Gathering the Necessary Tools


replacing


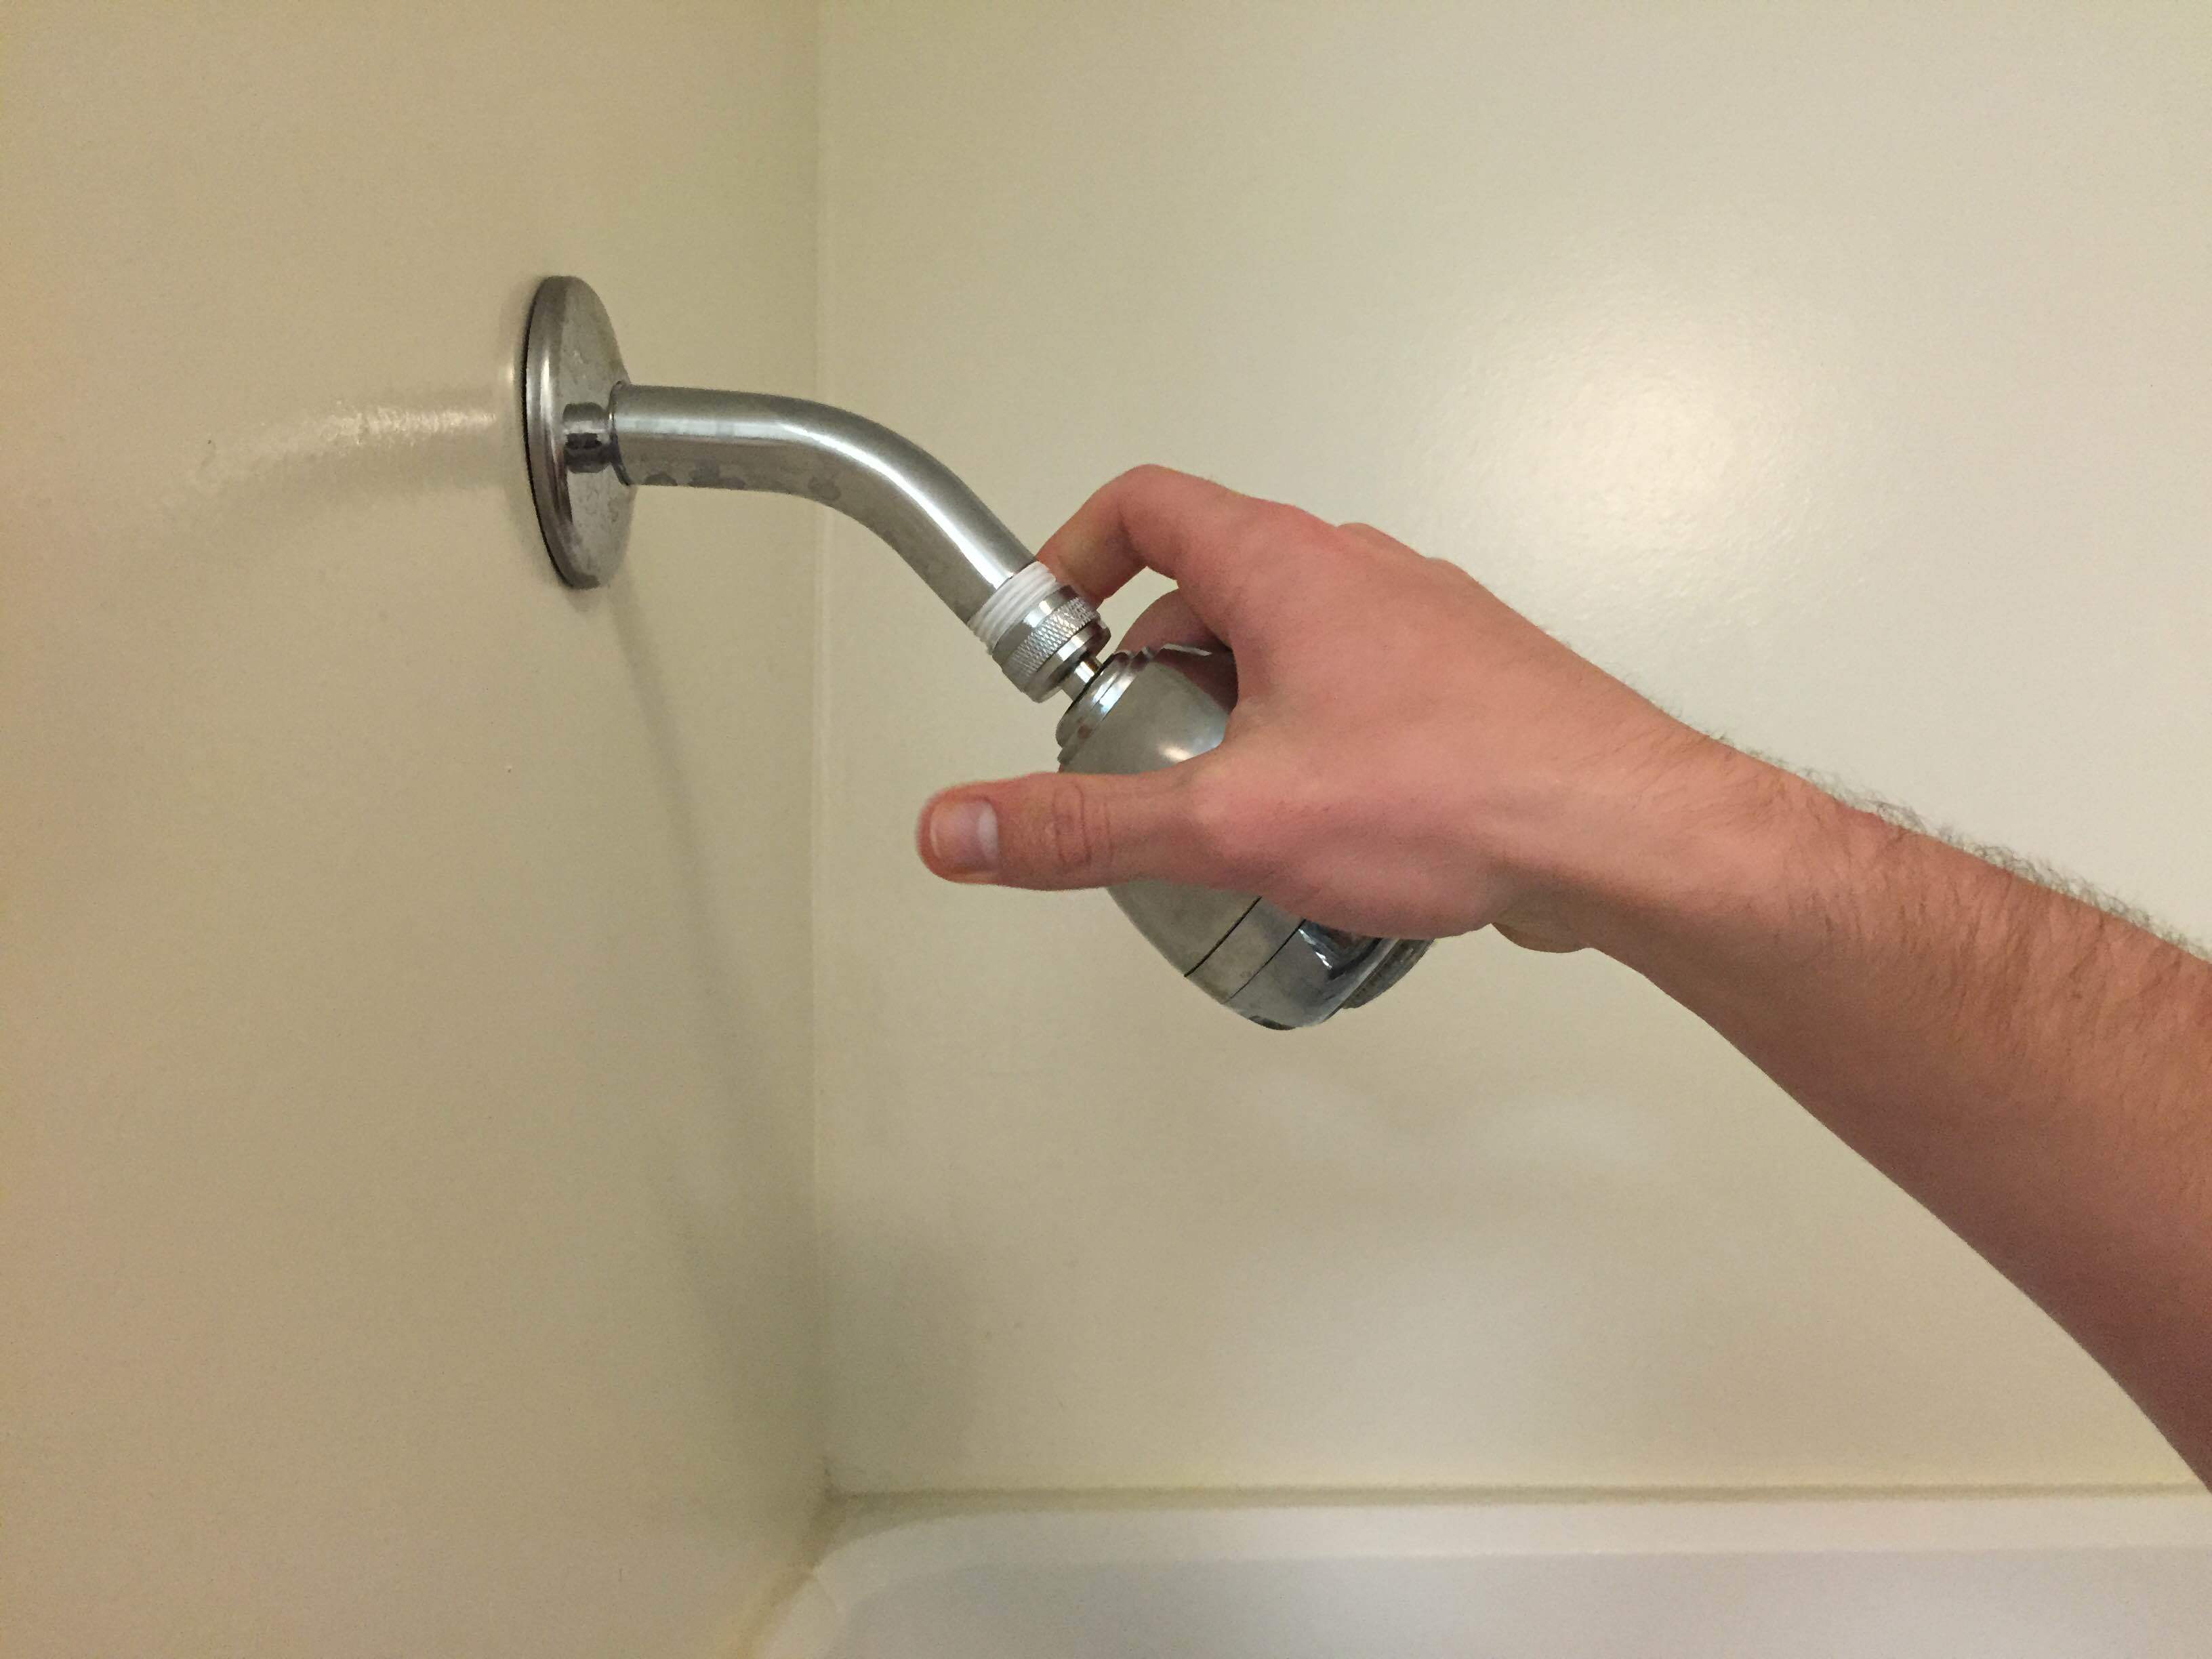

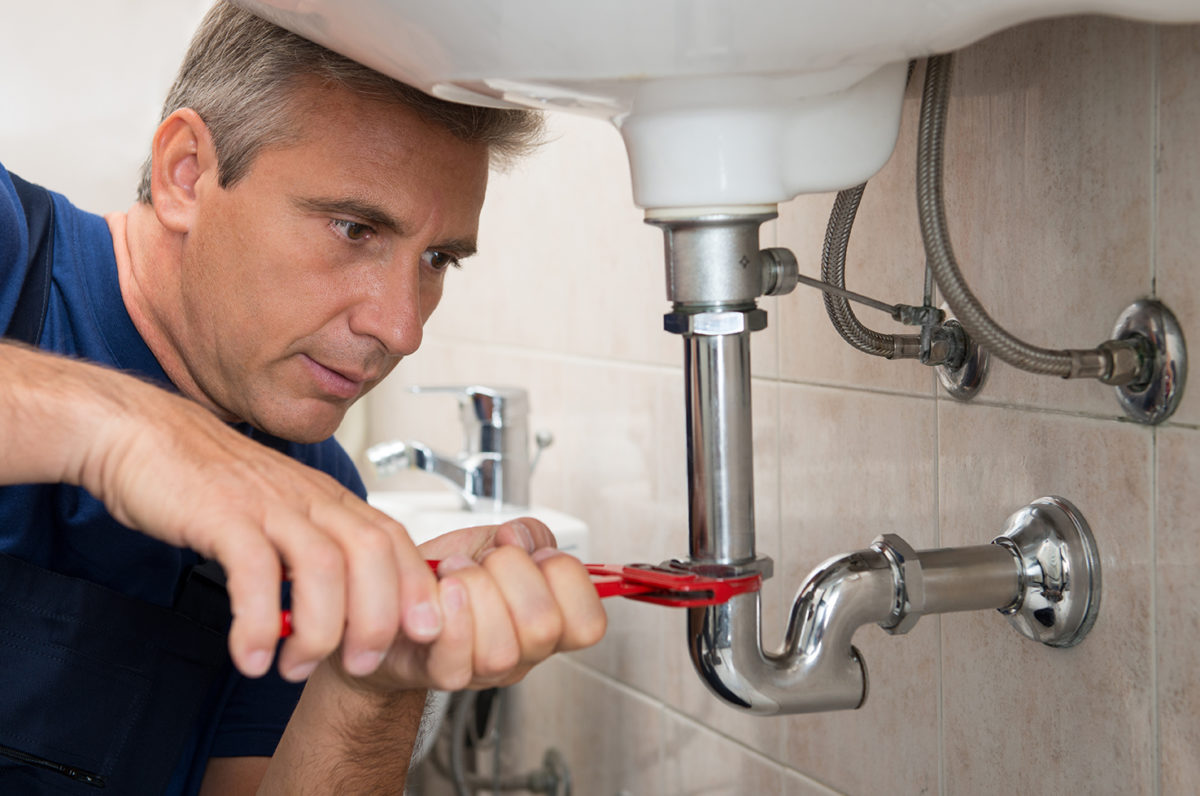
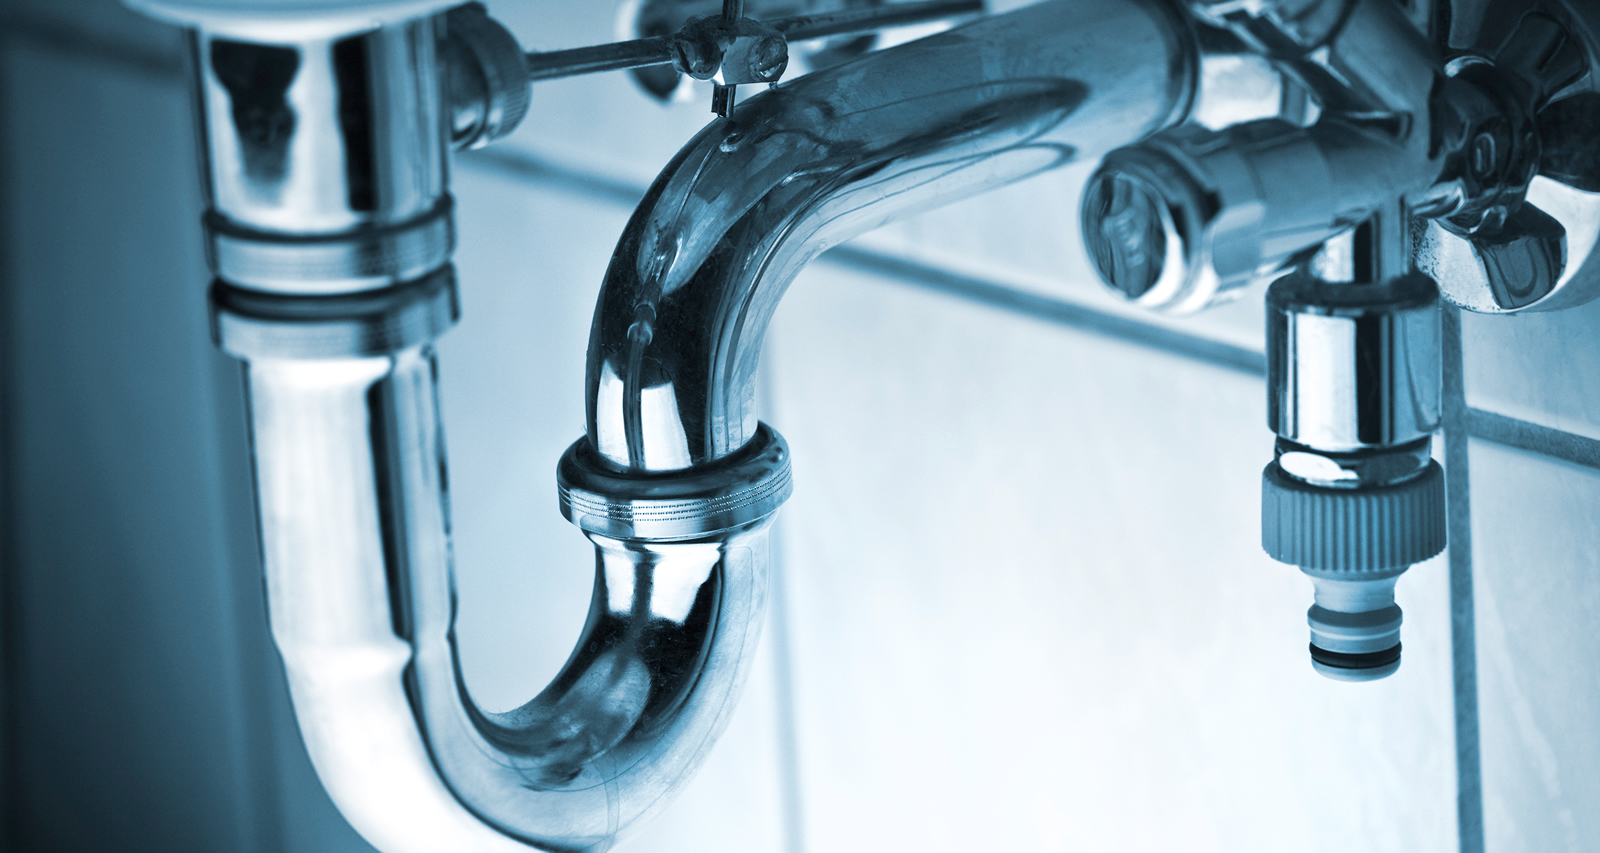
Before you begin any plumbing work, it's crucial to turn off the water supply. Locate the main water shut off valve for your home and turn it off. If you can't find it, you can also turn off the water supply directly to your bathroom sink by closing the valve under the sink.4. Turning Off the Water Supply


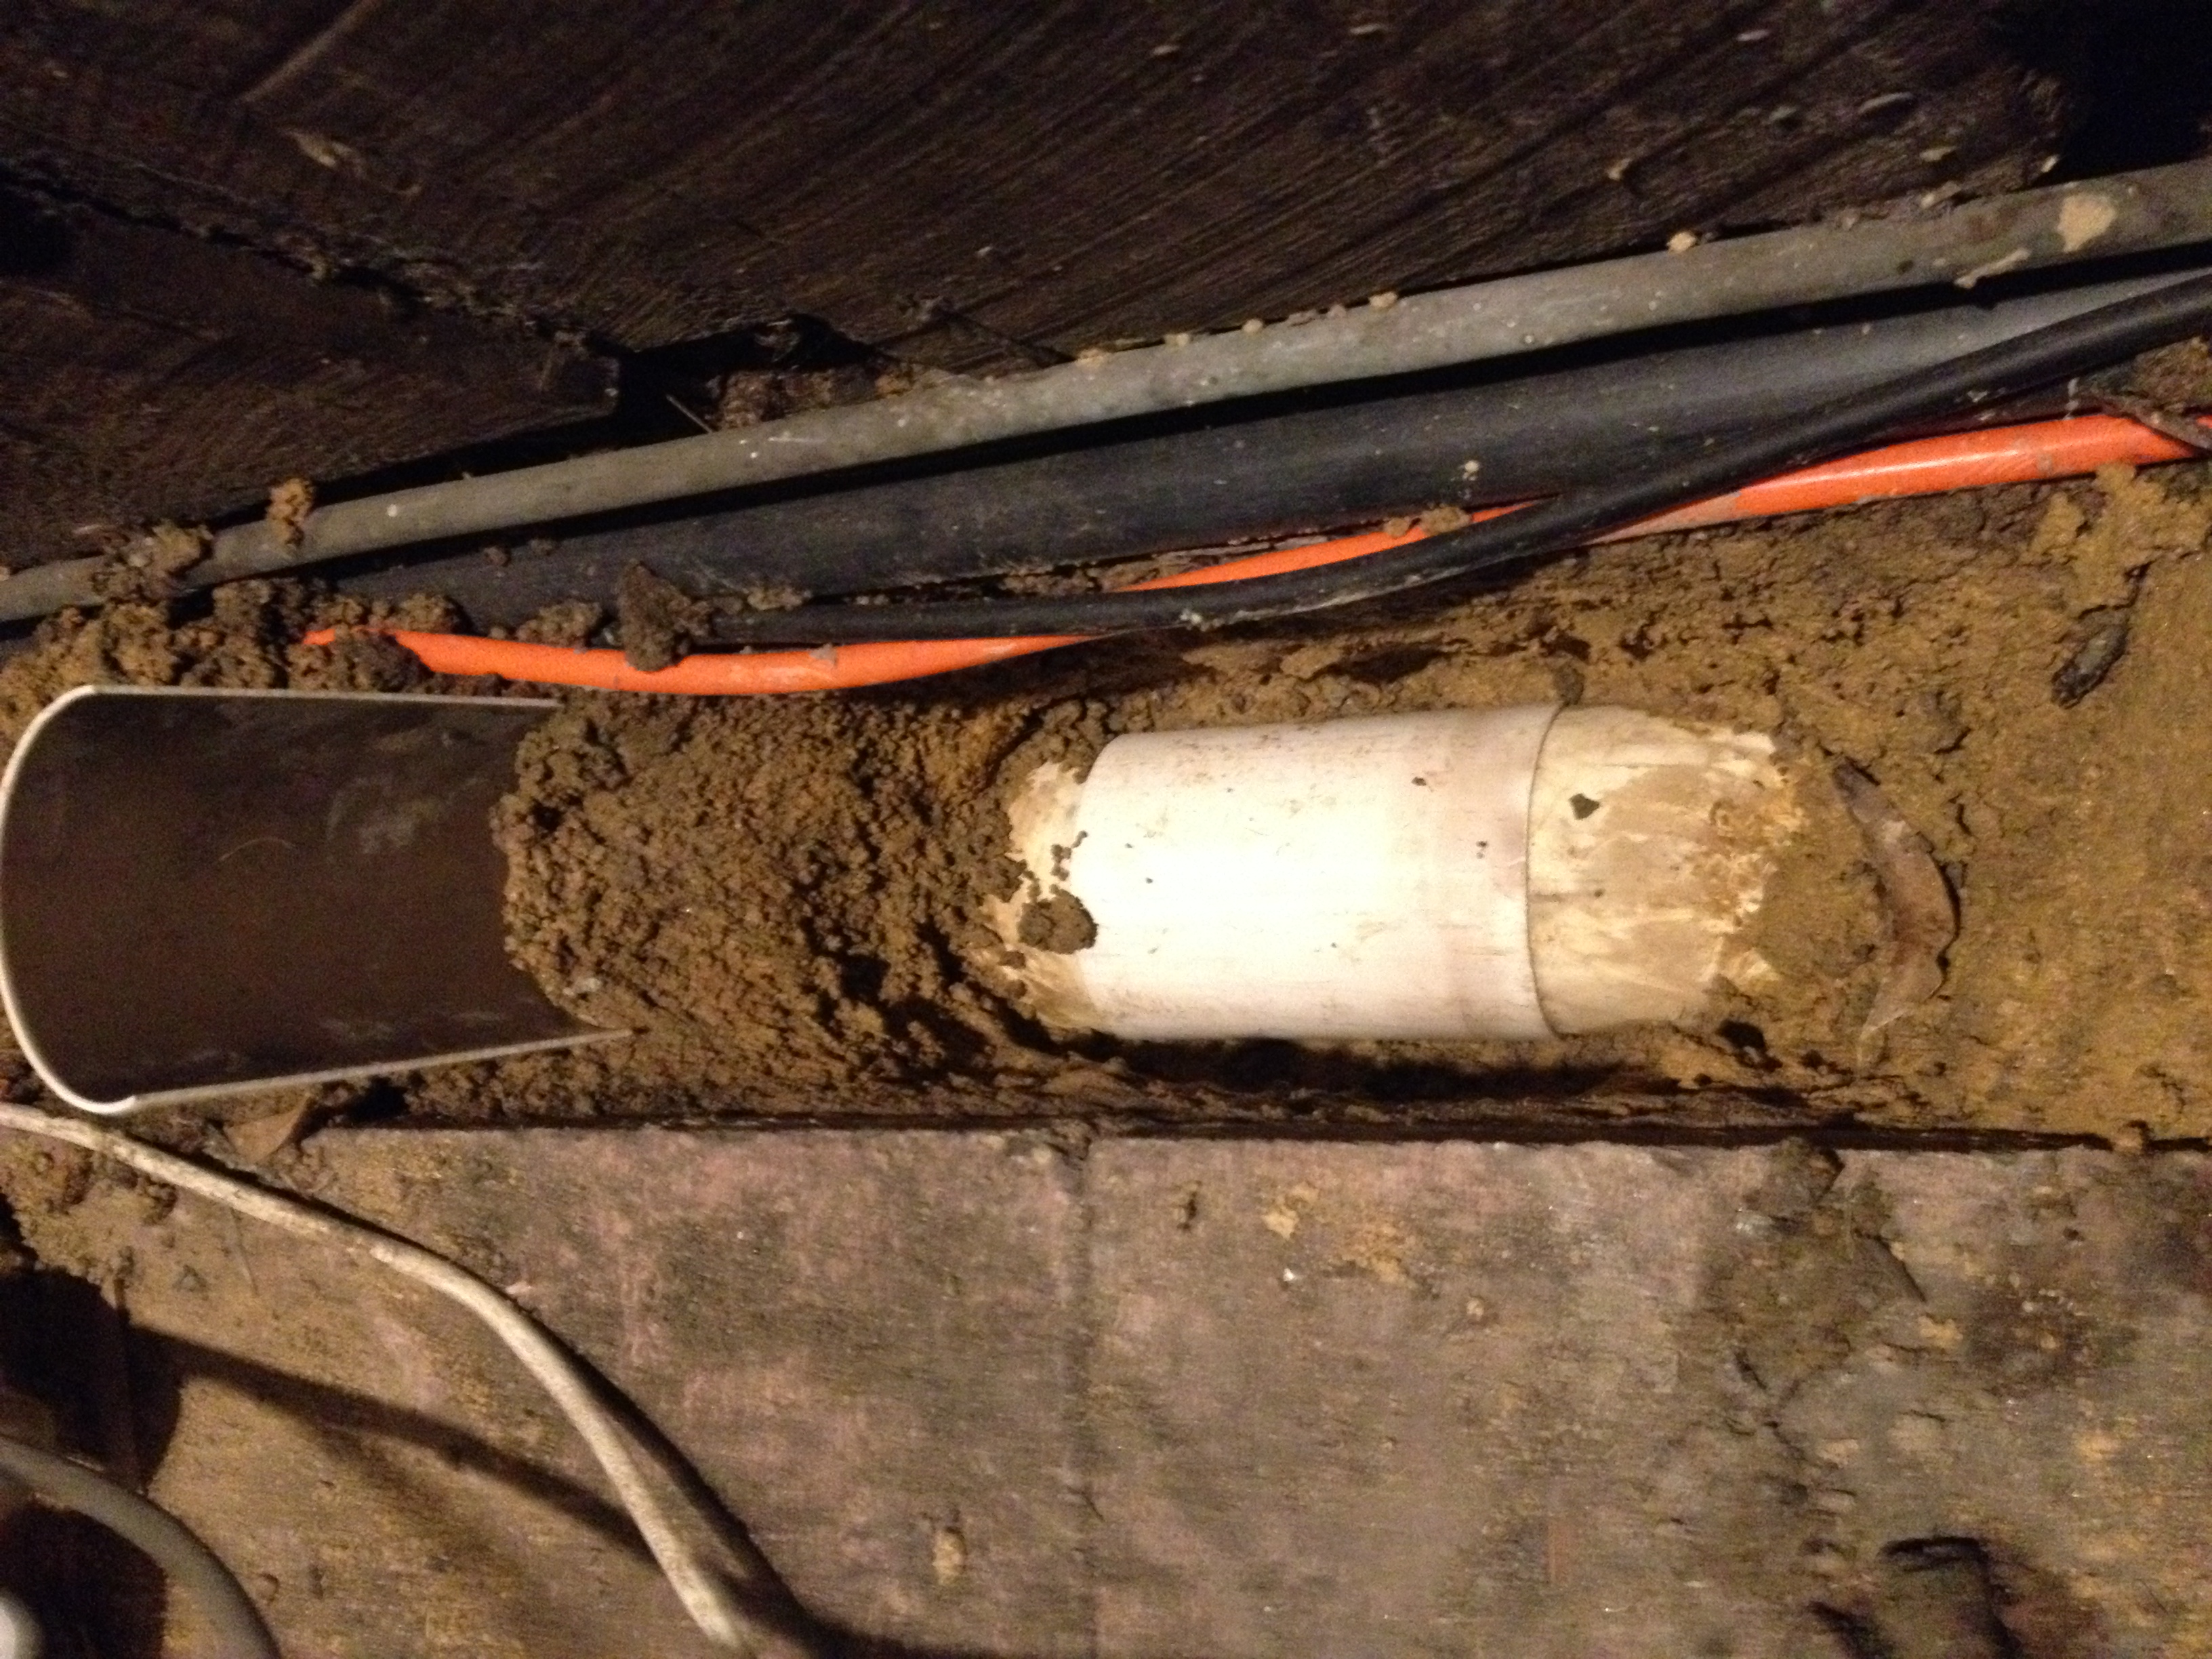
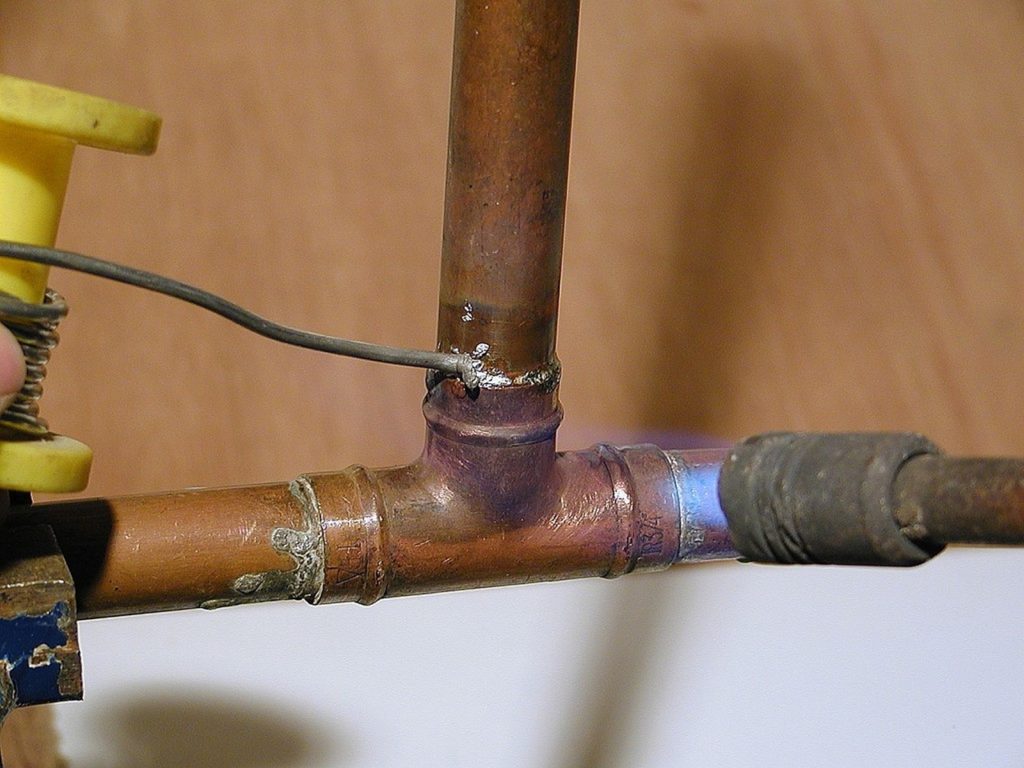
plumbing
/Plastic-Plumbing-Pipe-183508152-58a47c925f9b58819c9c8ac6.jpg)
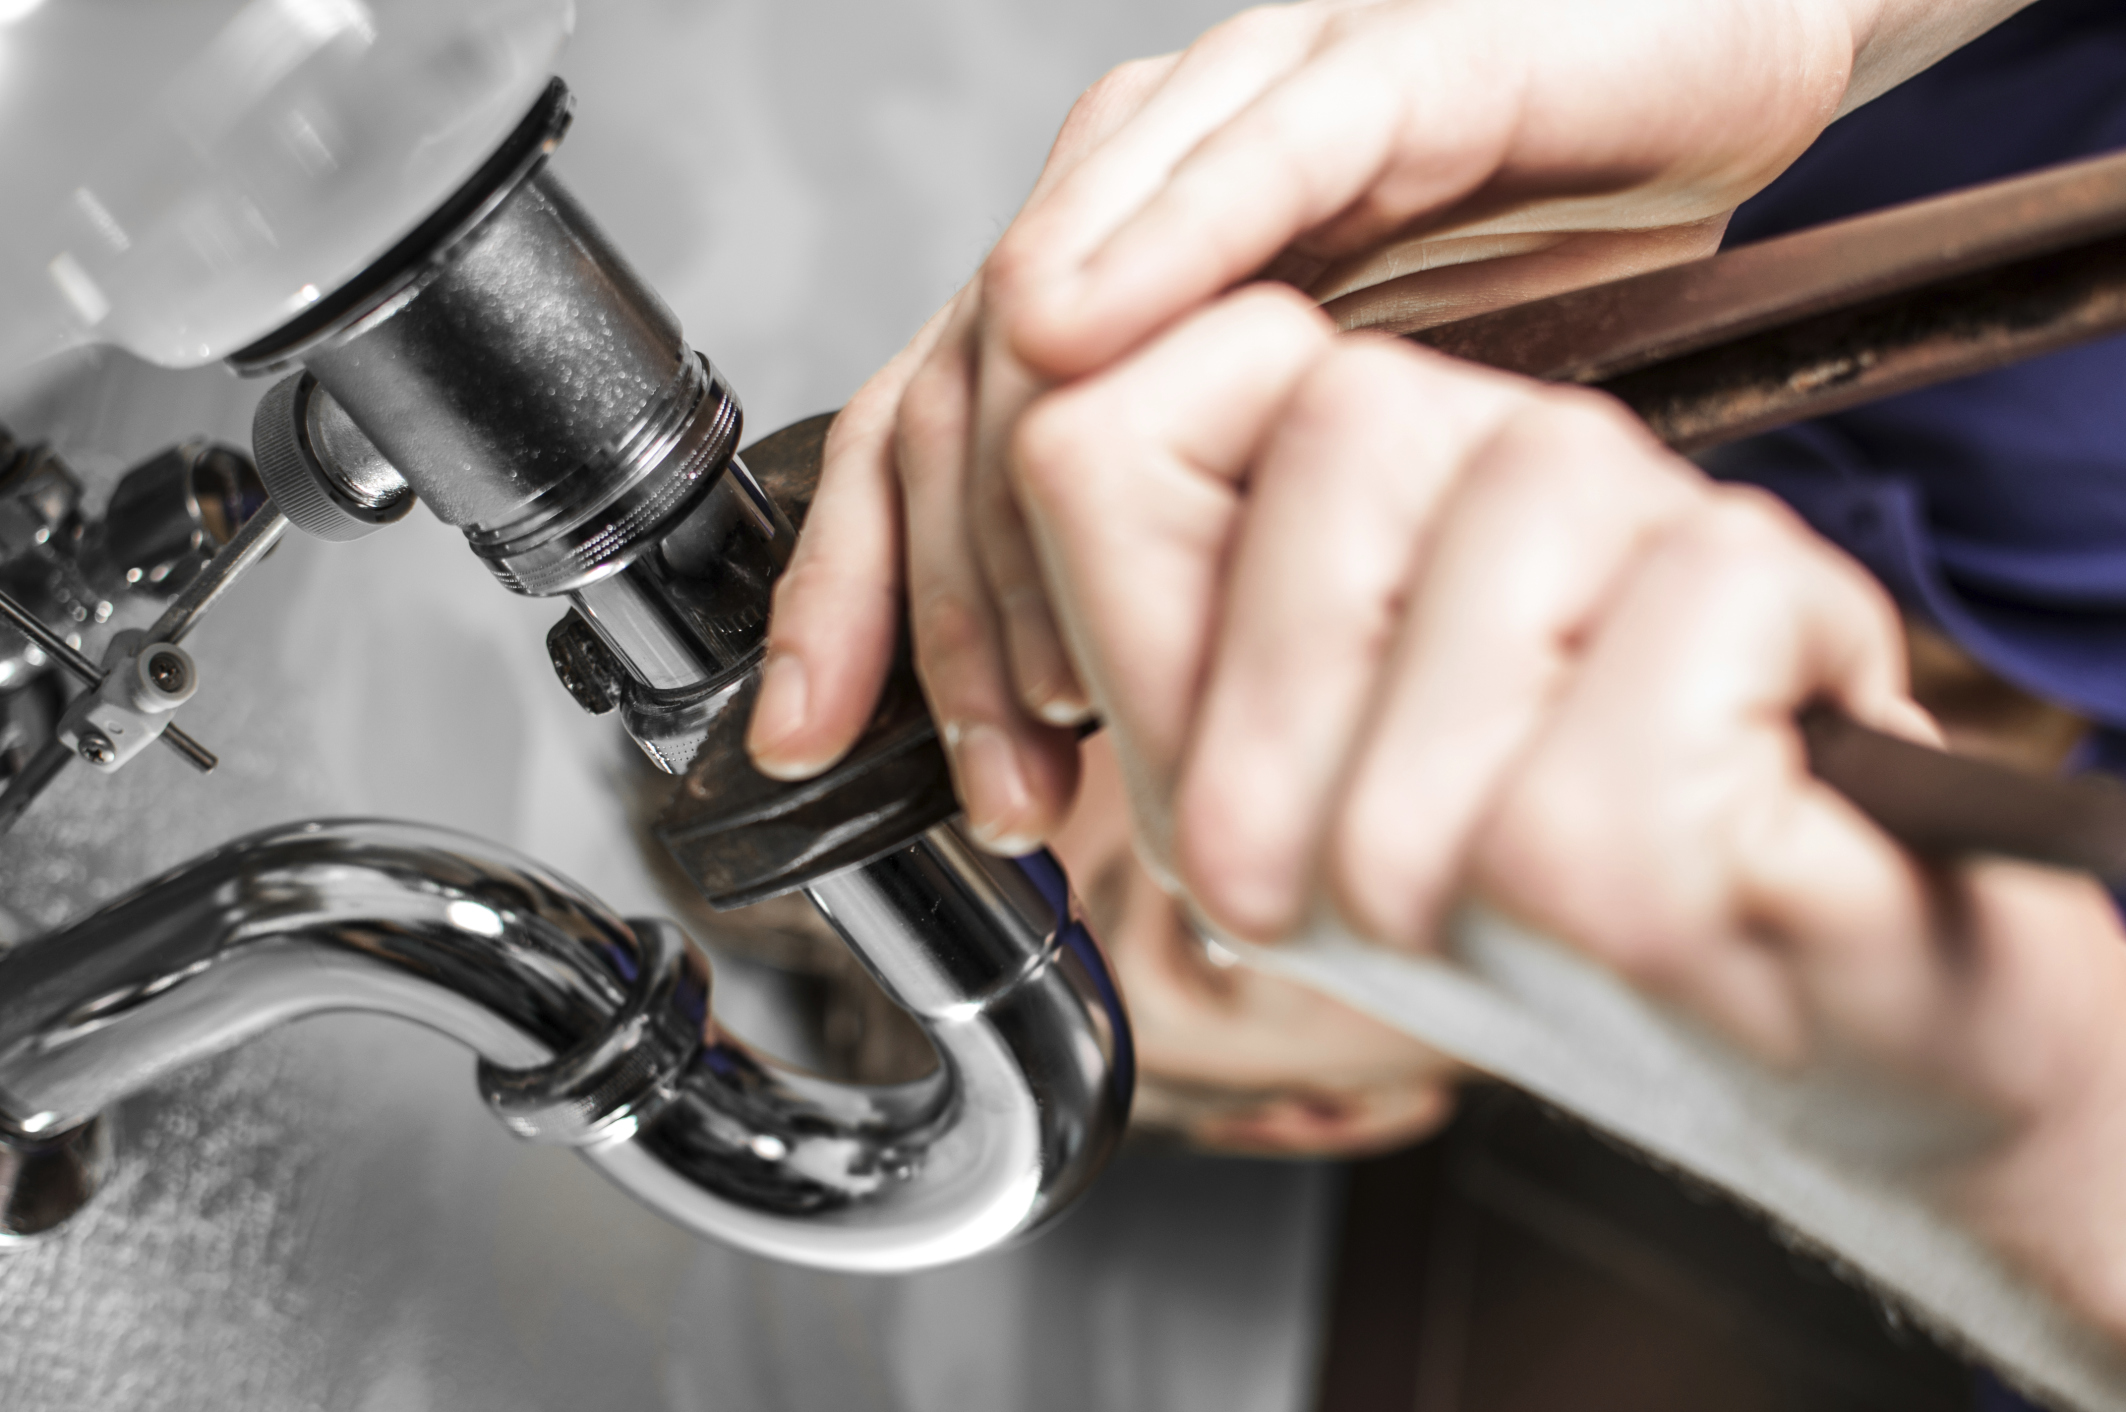
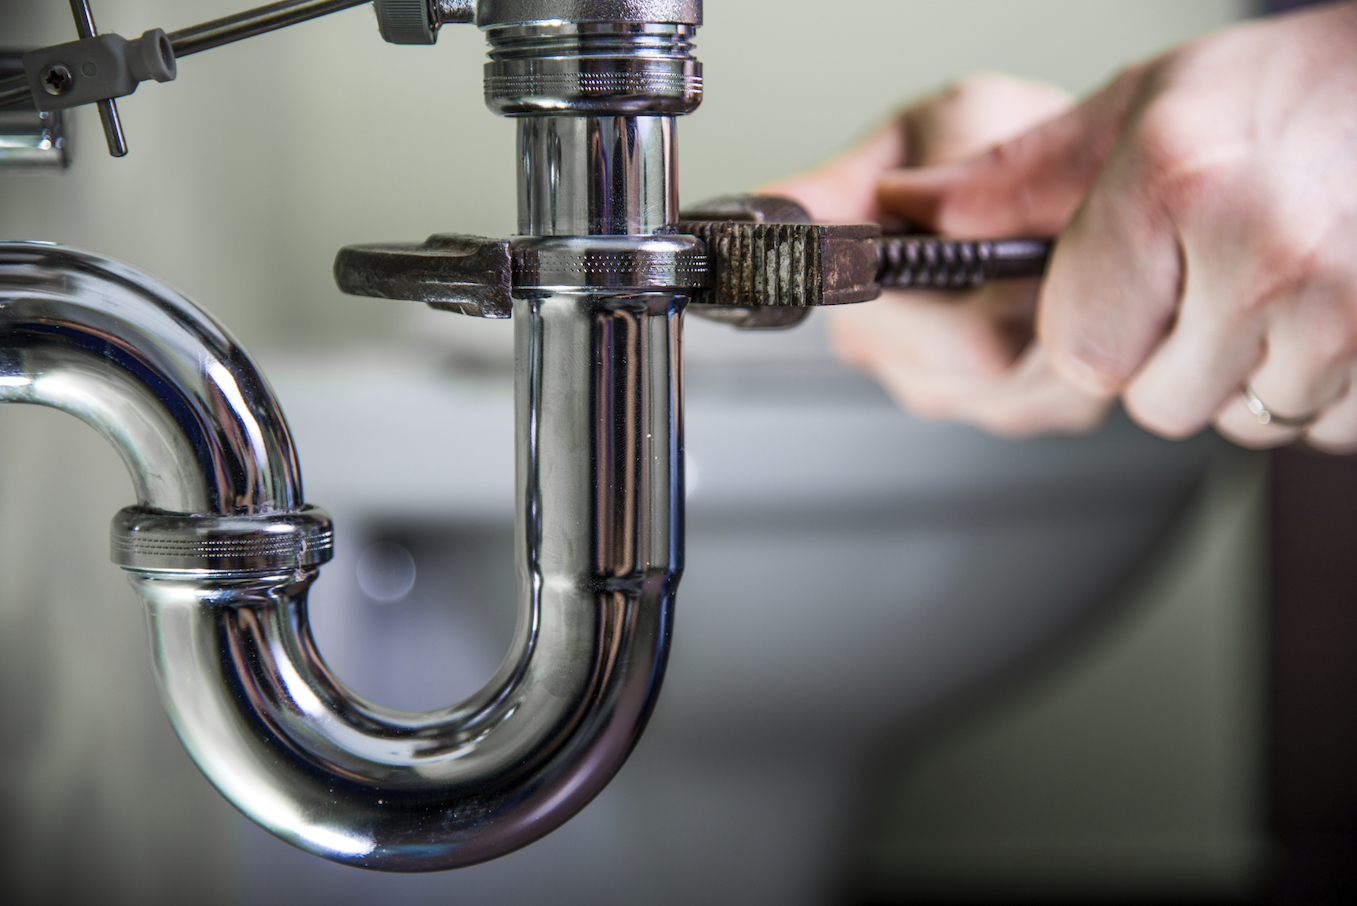
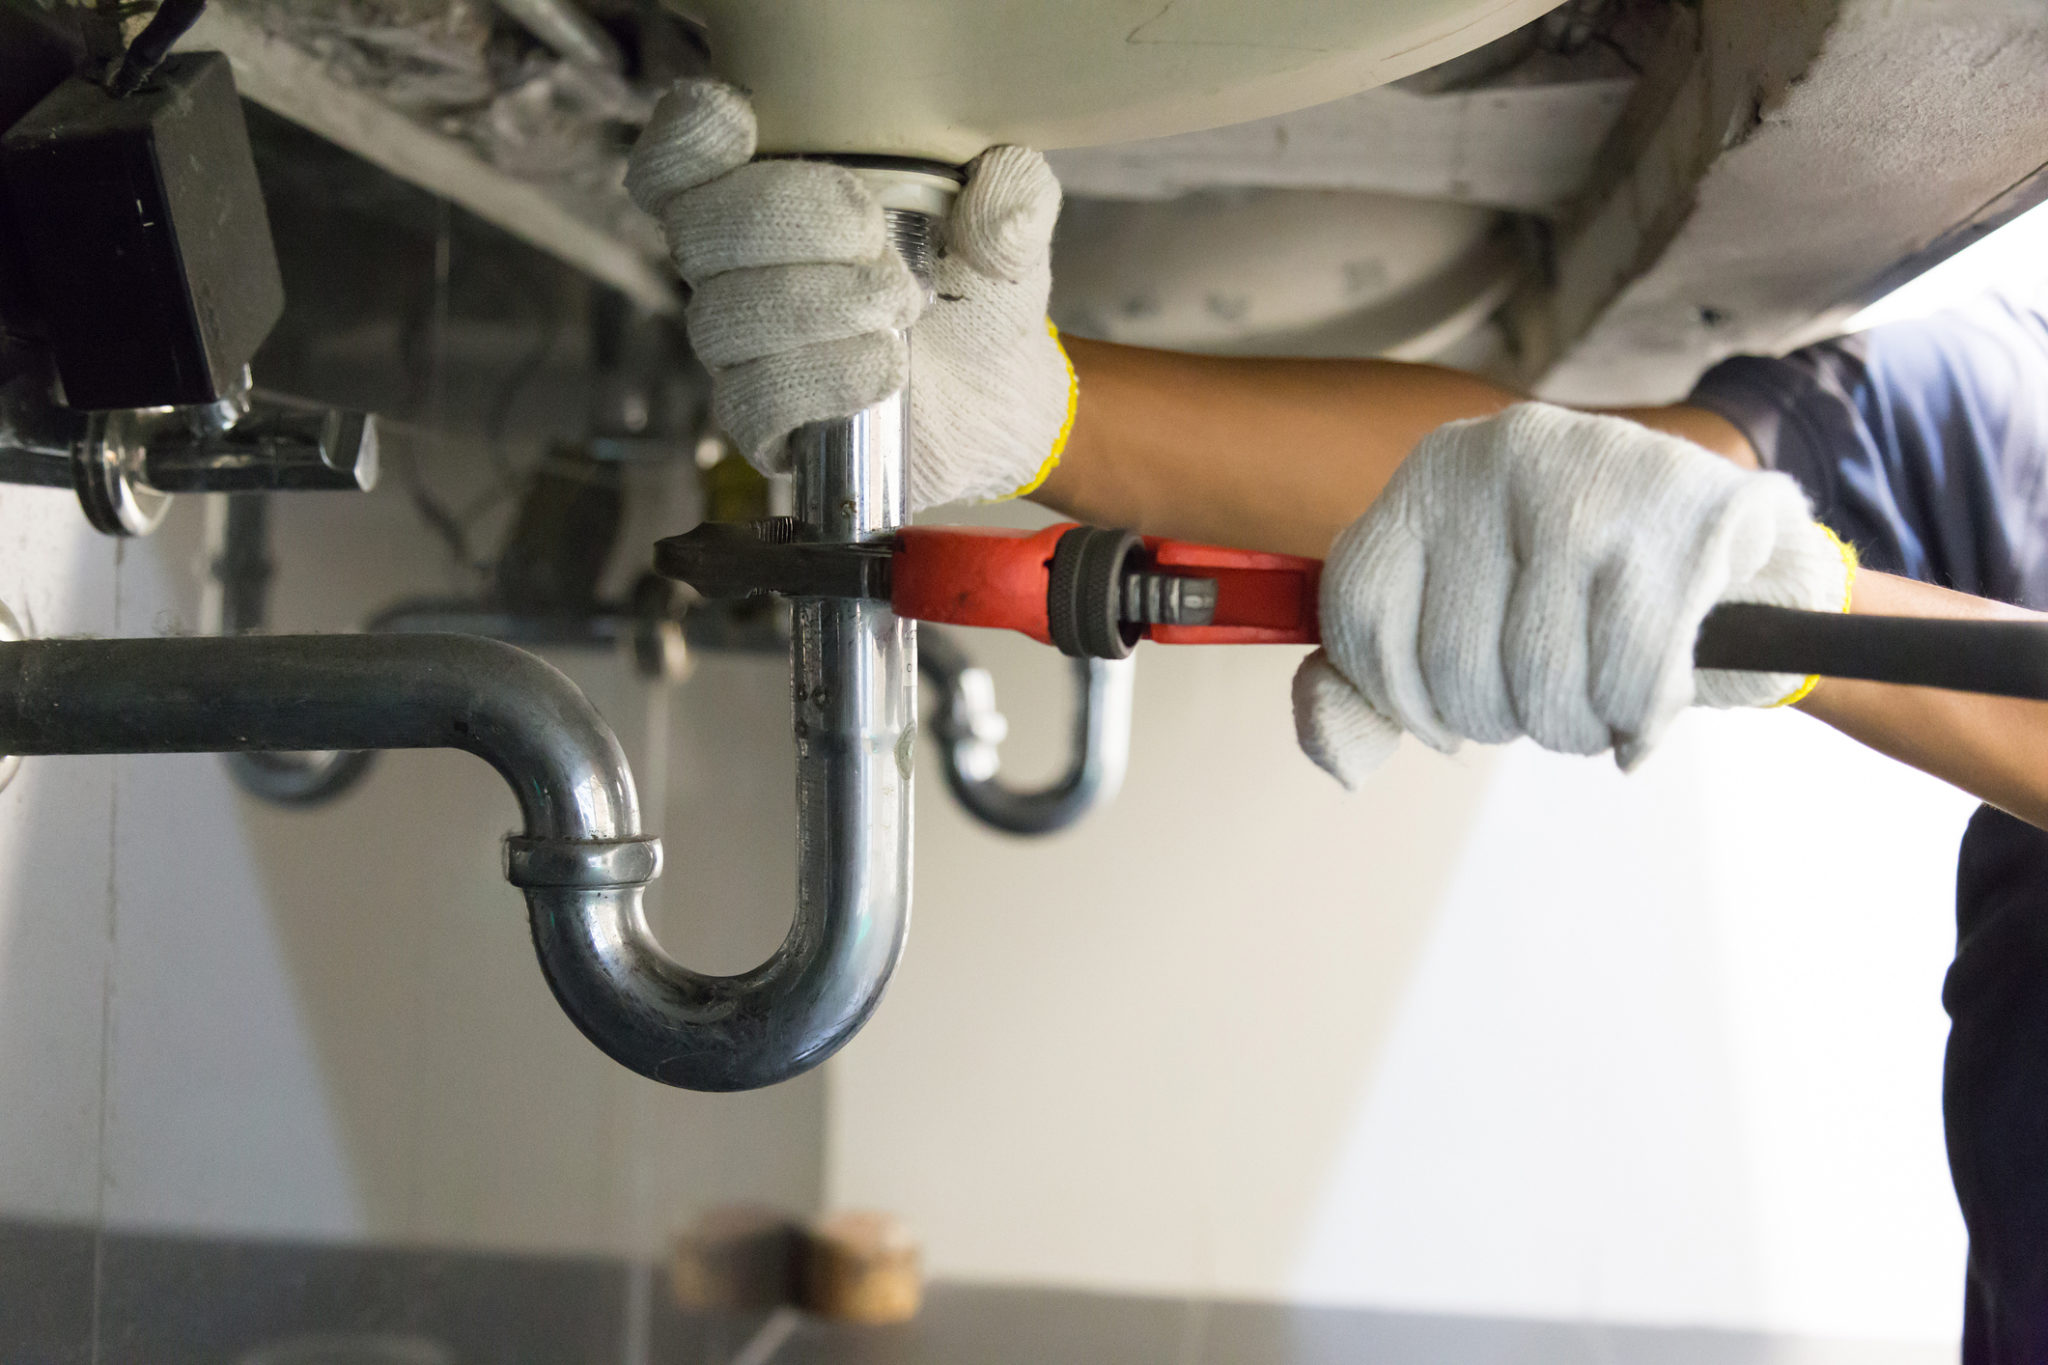
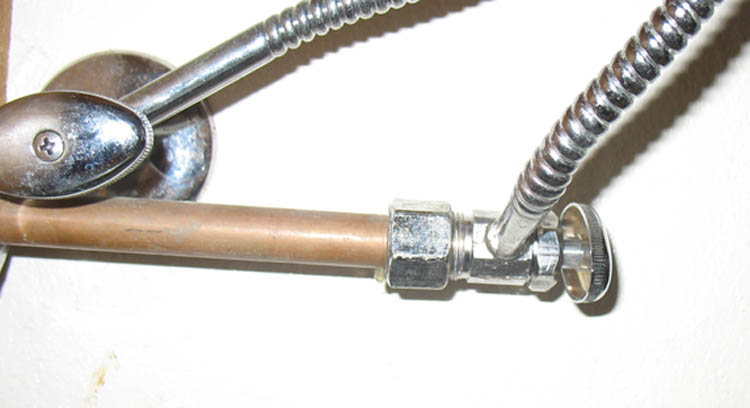
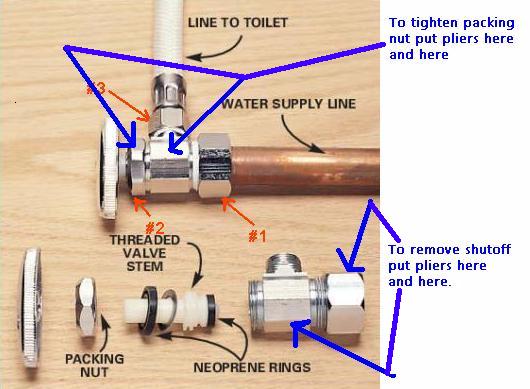
Once the water supply is turned off, you can start removing the old shut off valves. Use an adjustable wrench to loosen the nuts holding the valves in place. Then, use pliers to remove the compression fittings that connect the valve to the water supply pipe. Once the old valves are removed, clean the area with a rag.5. Removing the Old Valves

DIY


/Goldfish-Goldfish-At-The-Fire-Hydrant-13-5b5f5e8d46e0fb0050b82eea.jpg)
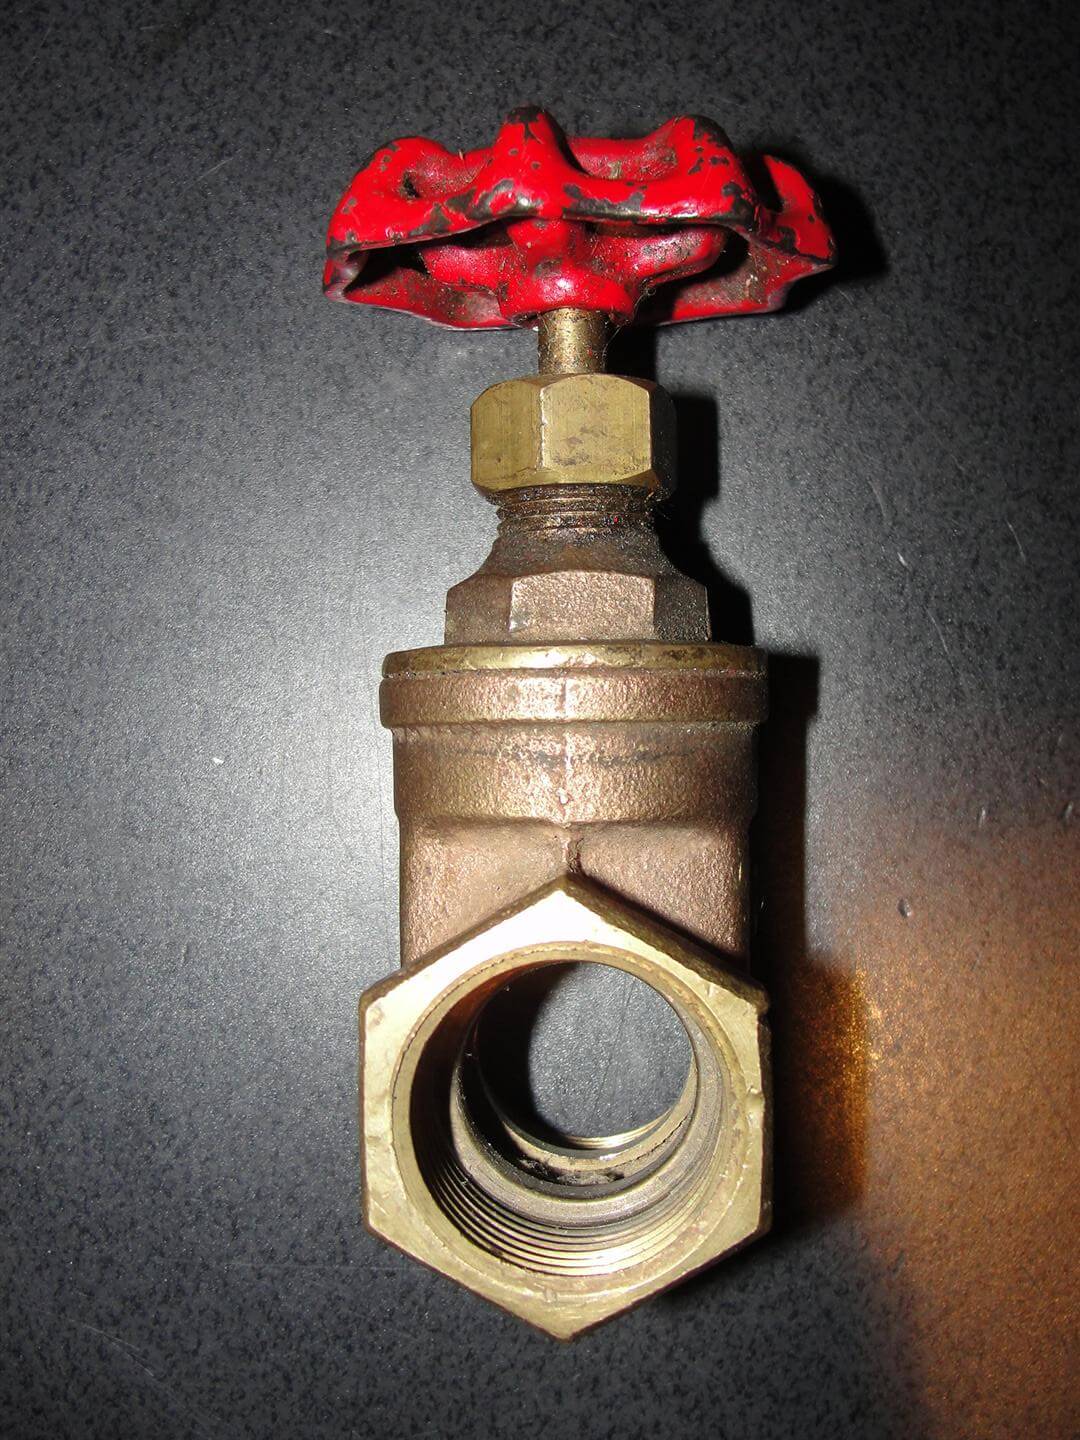
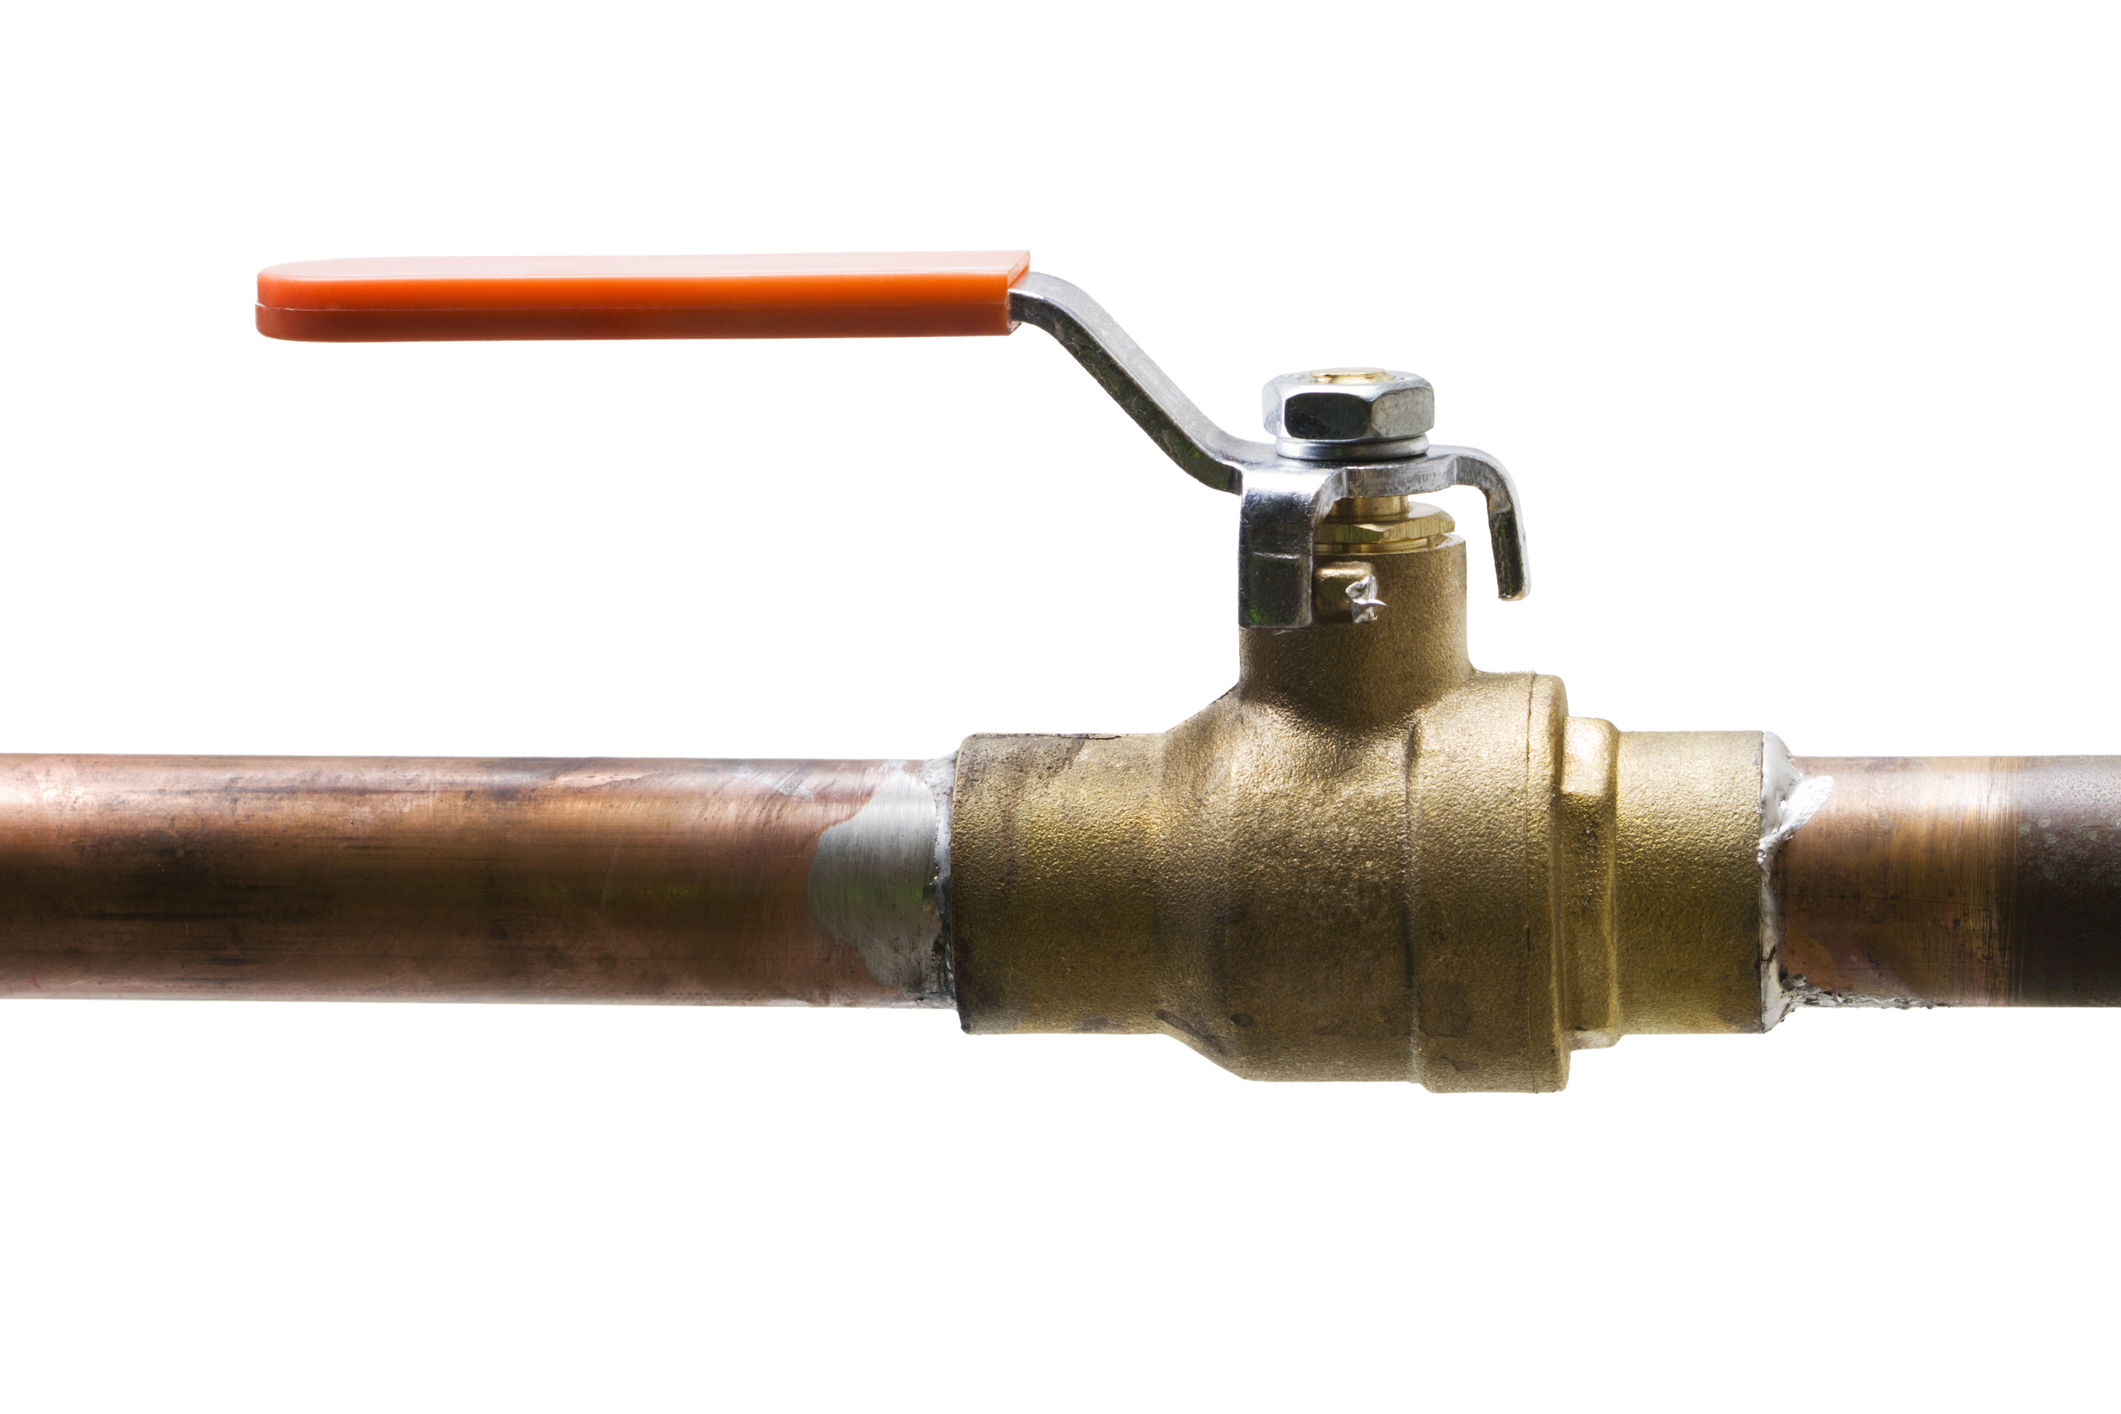
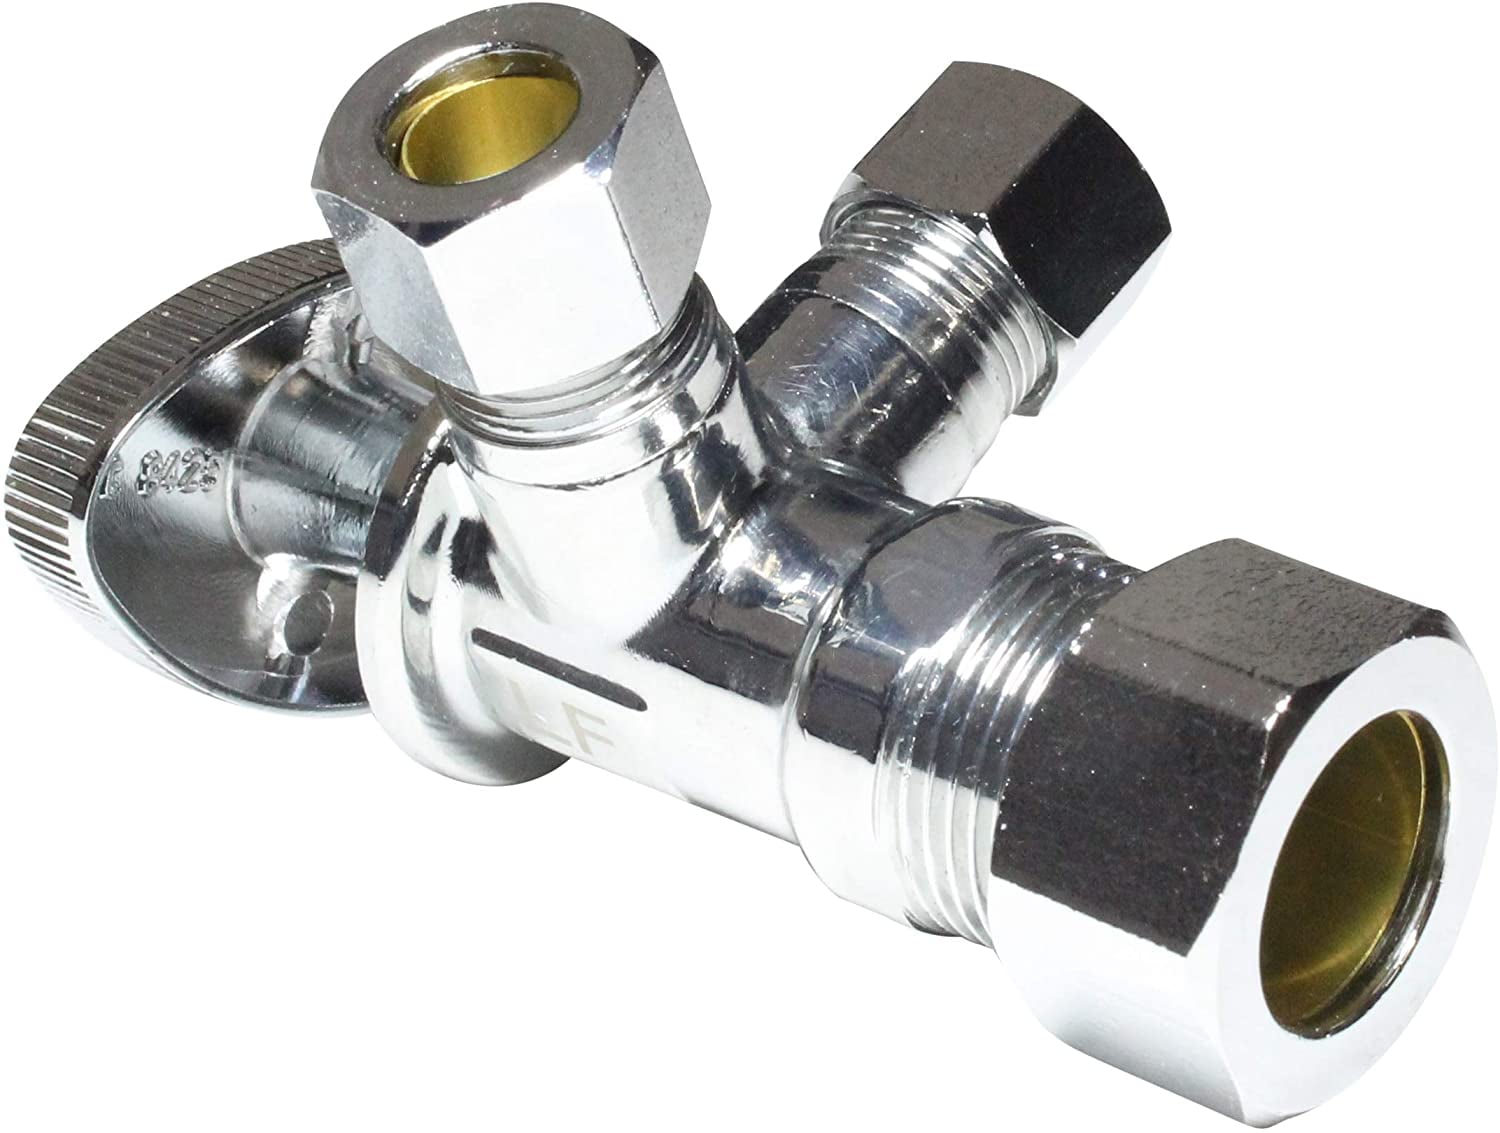
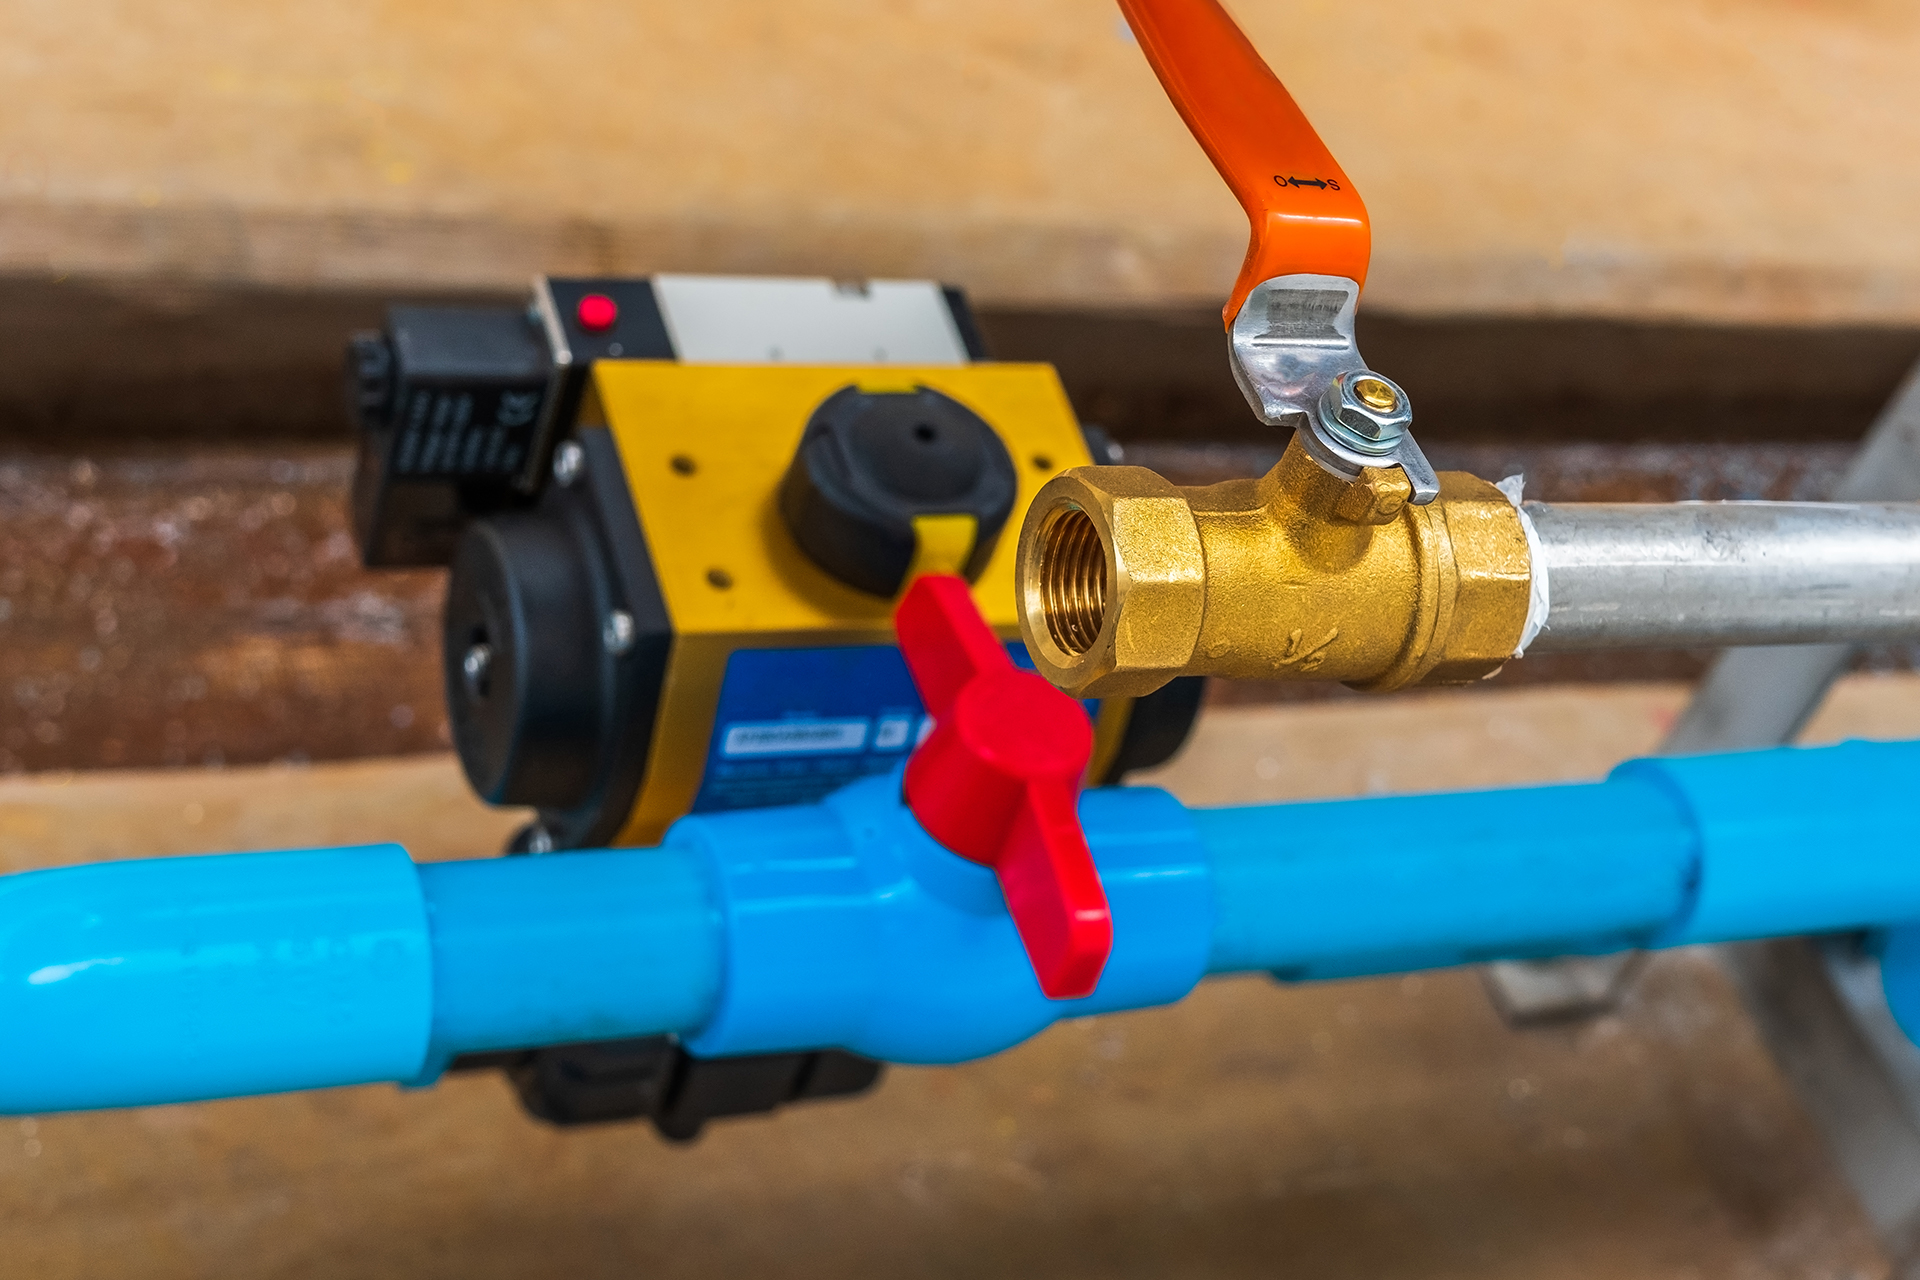
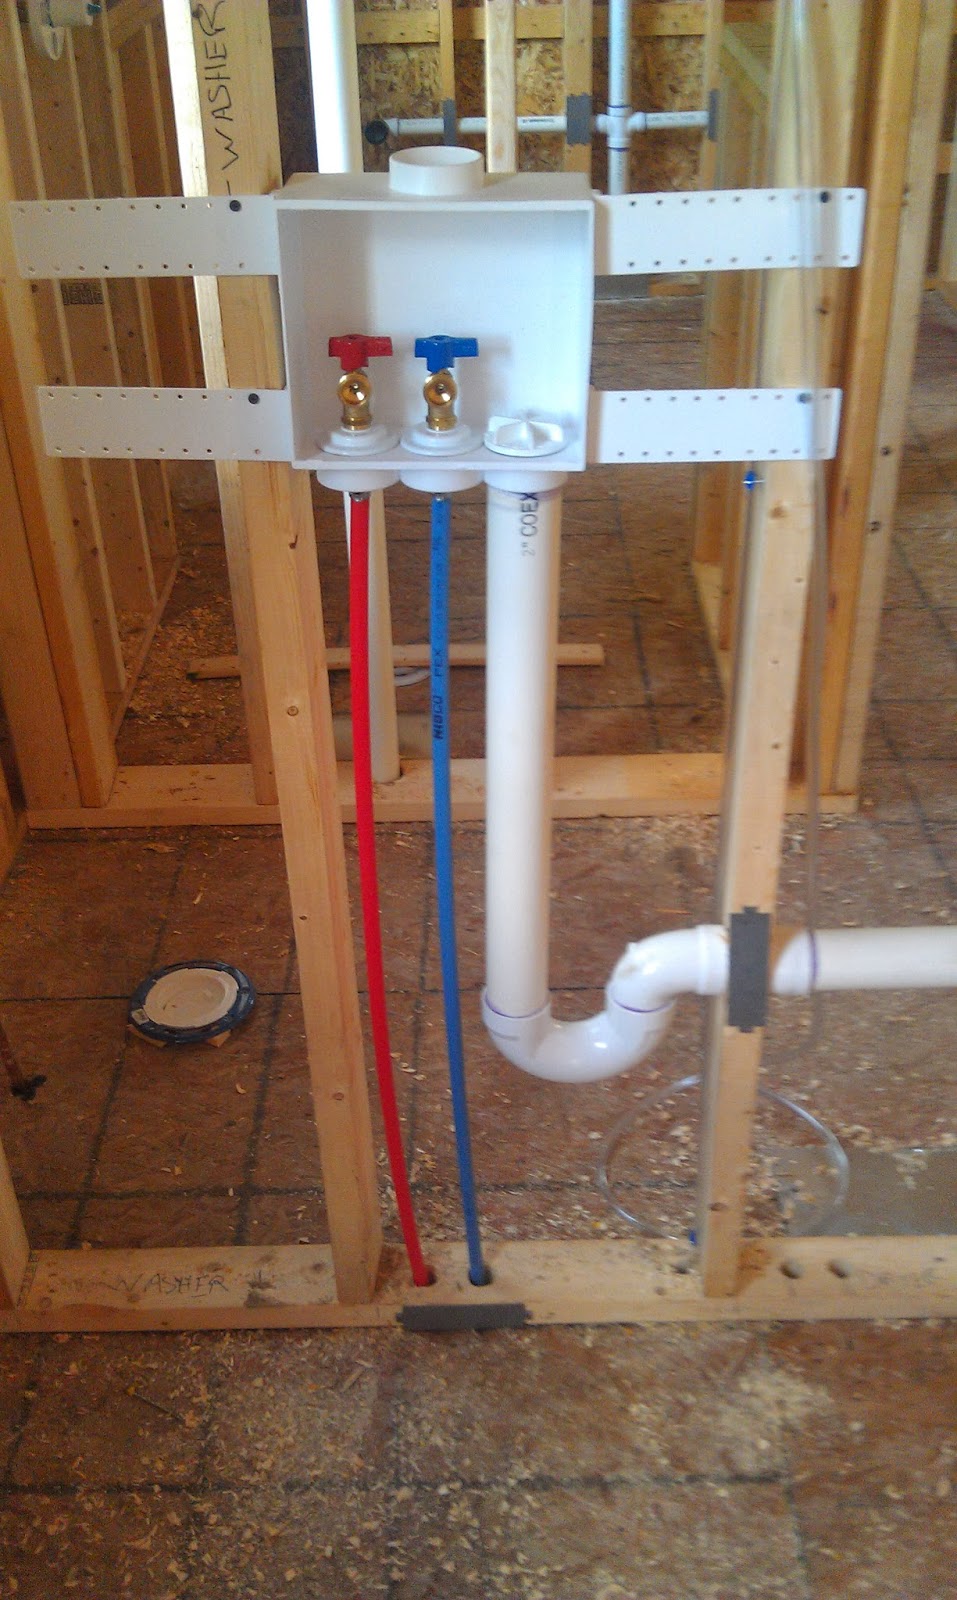
When selecting new shut off valves, make sure to choose the correct size and type for your bathroom sink. Gate valves, which have a round handle, are best suited for sinks, while ball valves, which have a lever handle, are better for toilets. Also, consider the material of the valves – brass and chrome are durable and long-lasting options.6. Choosing the Right Replacement Valves


home improvement


Before installing the new valves, it's essential to prepare them. Wrap Teflon tape around the threads of the valves to ensure a tight seal. This will prevent any leaks in the future.7. Preparing the New Valves


water supply

.jpg)


With the new valves prepared, you can now install them. Place the new valves on the water supply pipe and secure them with the compression fittings. Use pliers to tighten the fittings, but be careful not to overtighten them, as this can damage the valves.8. Installing the New Valves
valve replacement


Once the new valves are installed, you can turn the water supply back on and test them. Check for any leaks and make sure the valves are functioning correctly by turning them on and off a few times. If everything looks good, you can move on to the final step.9. Testing the Valves
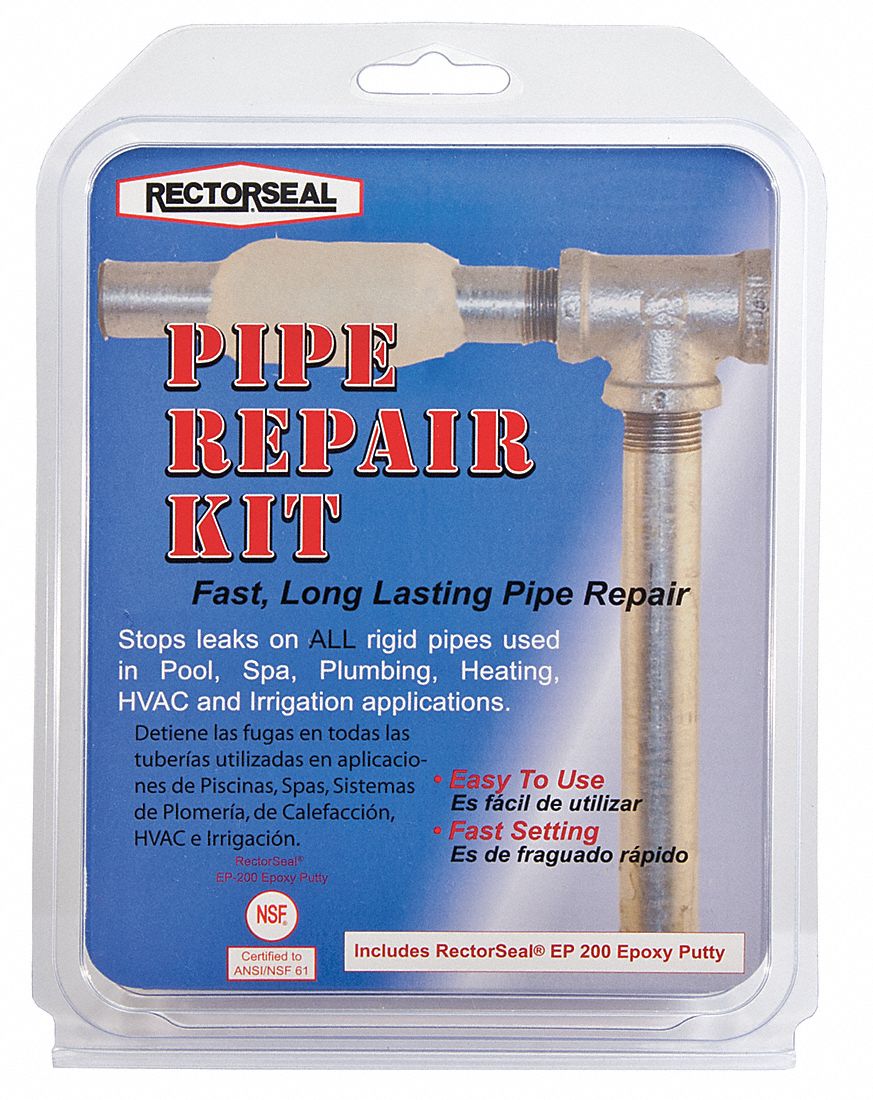


pipe repair


With the new shut off valves successfully installed, it's time to clean up. Make sure to dispose of the old valves and any other debris properly. Then, turn the water supply back on and double-check that the valves are not leaking. Congratulations, you have successfully replaced the shut off valves under your bathroom sink!10. Cleaning Up

handyman


Why Replacing Shut Off Valves Under Bathroom Sink is Important for Your House Design

The Functionality of Shut Off Valves in Your Bathroom
 When it comes to bathroom design, it is important to pay attention to even the smallest details, such as the shut off valves under your sink. These valves may seem insignificant, but they play a crucial role in the functionality of your bathroom. Shut off valves control the water flow to your sink, allowing you to easily turn off the water in case of emergencies or when you need to make repairs. They also help prevent water damage and wastage, making them an essential component in your house design.
The Importance of Regularly Replacing Shut Off Valves
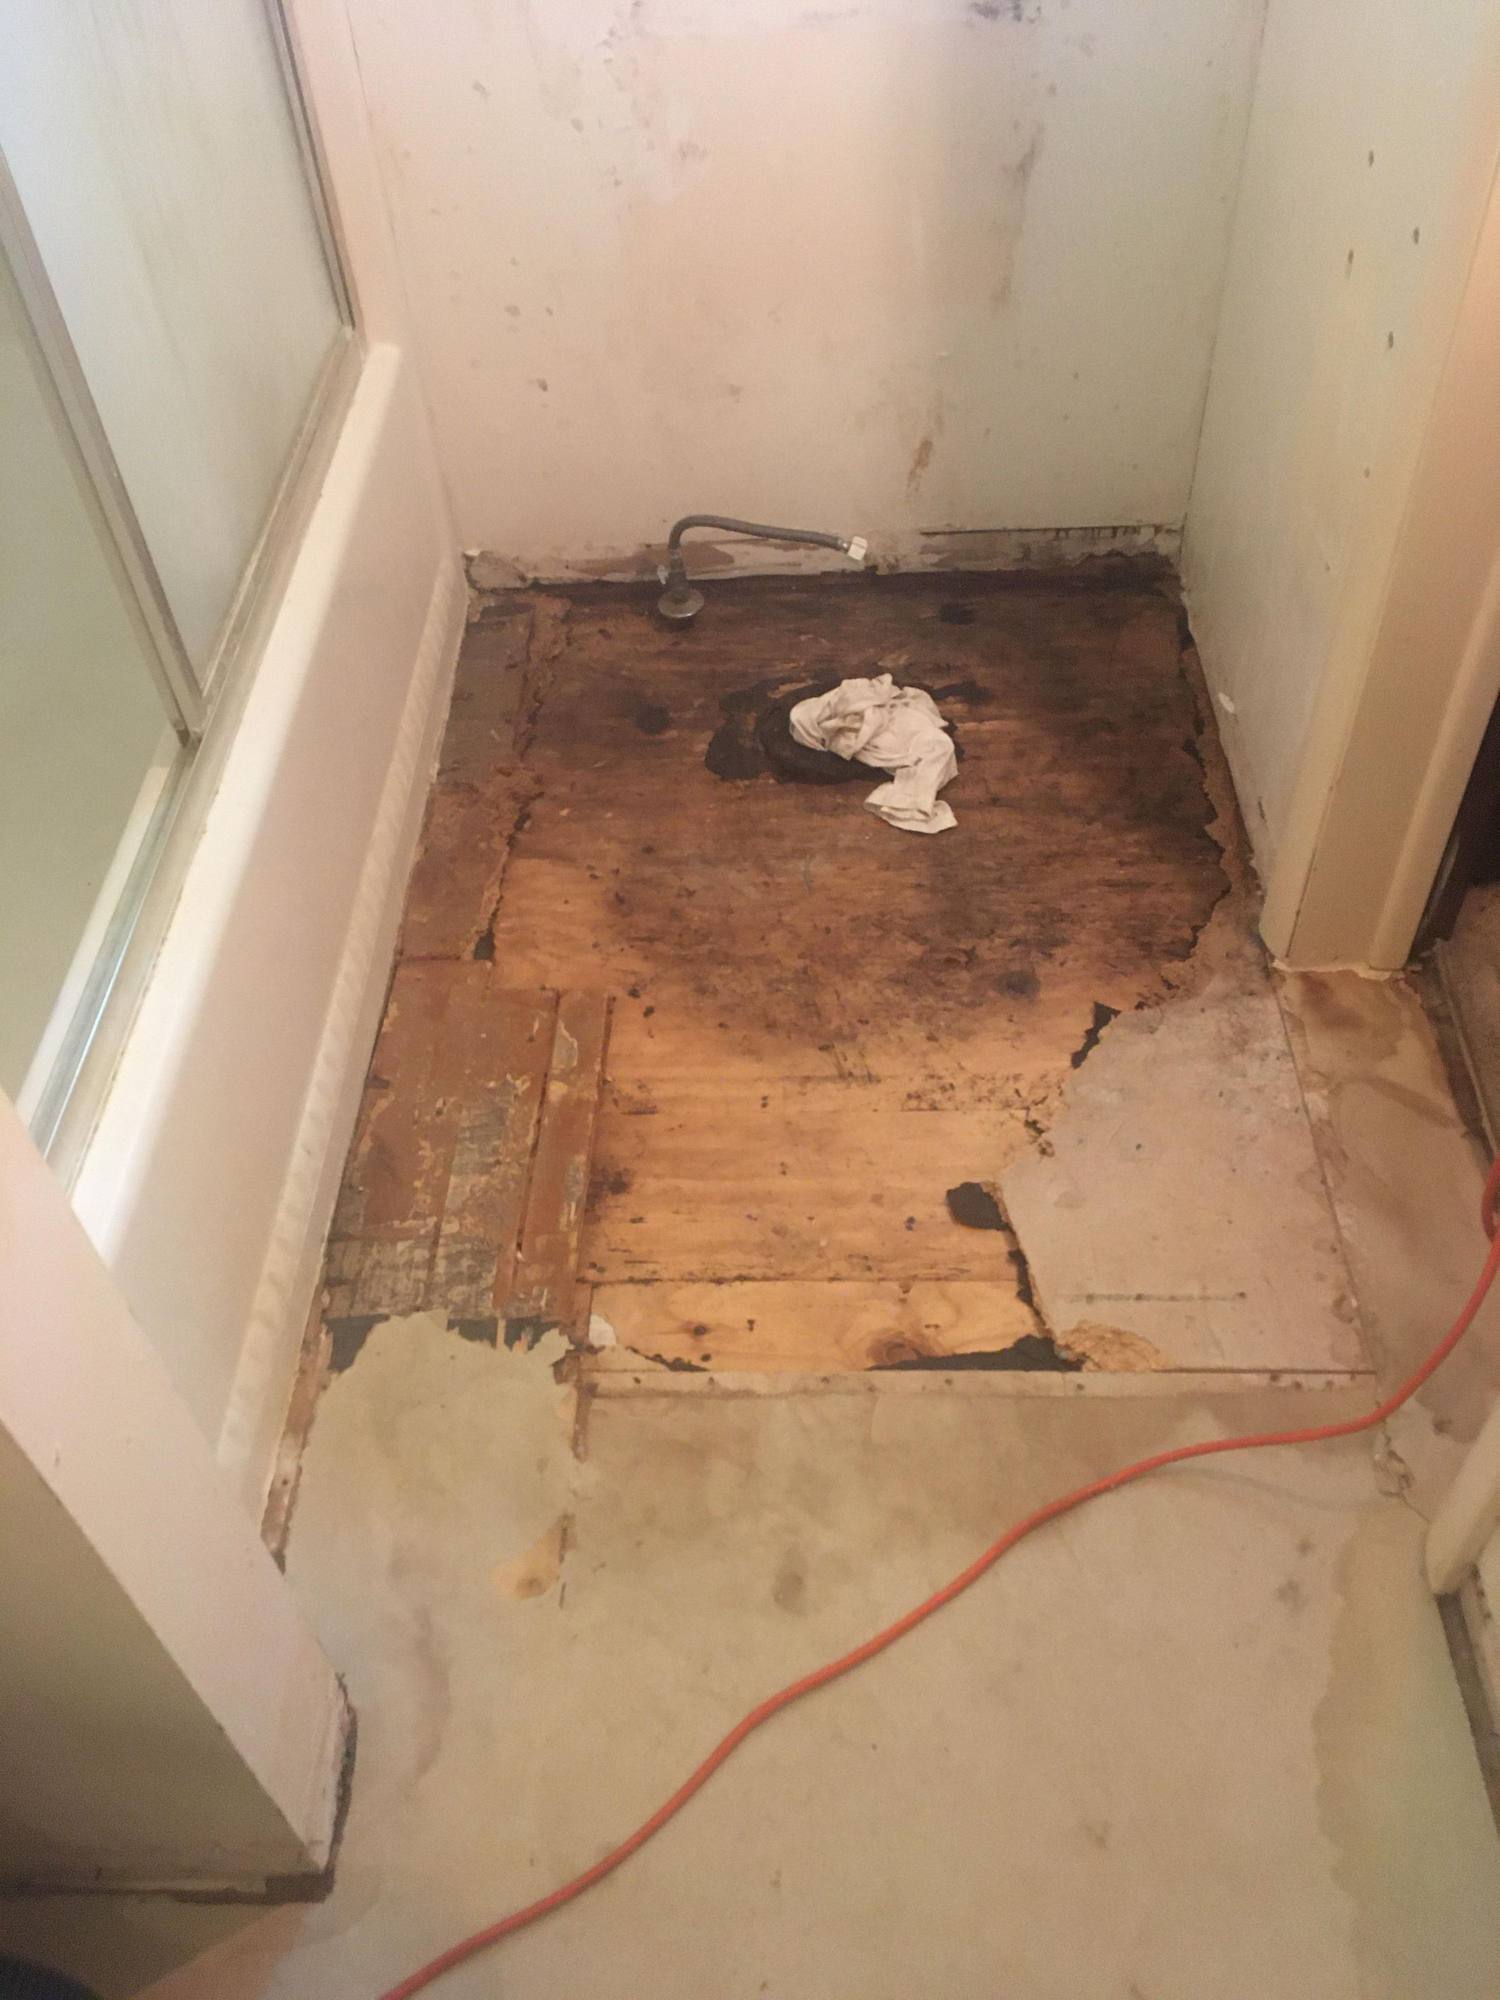
 Over time, shut off valves can become worn out or corroded, affecting their ability to function properly. This can lead to leaks, which can cause significant damage to your bathroom and even your entire house. This is why it is important to regularly replace them, especially if you live in an older house where the valves may be more prone to wear and tear. Not only will this ensure the proper functioning of your bathroom, but it can also save you from costly repairs in the long run.
Choosing the Right Shut Off Valve for Your Bathroom
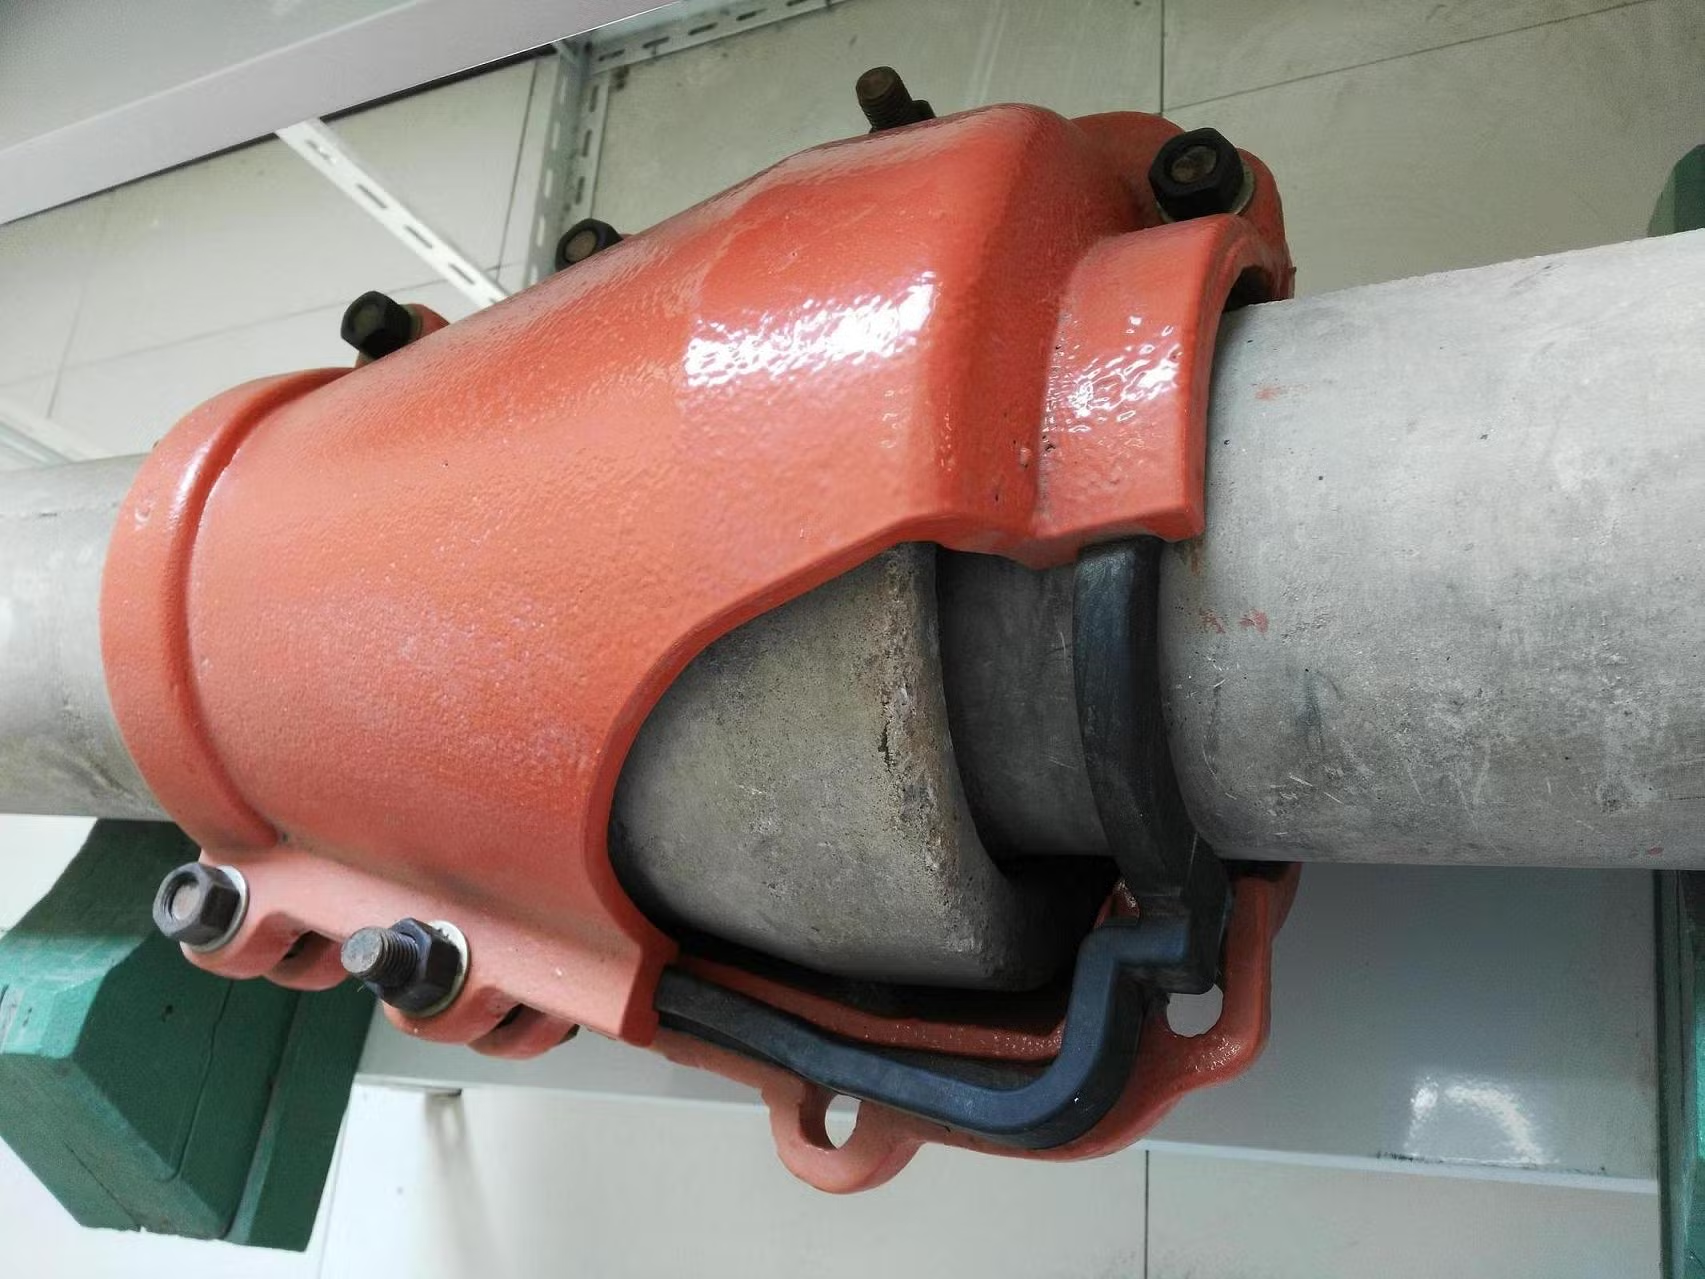
 When it comes to replacing shut off valves in your bathroom, it is important to choose the right type of valve for your specific needs. There are different types of shut off valves available, including compression valves, ball valves, and gate valves. Each type has its own advantages and may be more suitable for different plumbing systems. It is best to consult a professional plumber to help you determine the best type of shut off valve for your bathroom.
Ensuring Proper Installation of Shut Off Valves
 Replacing shut off valves may seem like a simple task, but it is important to ensure they are installed correctly to avoid future issues. Improper installation can lead to leaks, which defeats the purpose of replacing the valves in the first place. It is best to hire a professional plumber to handle the installation, as they have the expertise and experience to do the job correctly. This will give you peace of mind knowing that your shut off valves are properly installed and functioning as they should.
Conclusion
 In conclusion, replacing shut off valves under your bathroom sink is an important aspect of house design. These valves not only play a crucial role in the functionality of your bathroom, but they also help prevent water damage and wastage. Regularly replacing them and ensuring proper installation can save you from potential issues and costly repairs in the future. So, don't overlook the importance of shut off valves in your bathroom and make sure they are in good working condition for a well-designed and functional bathroom.