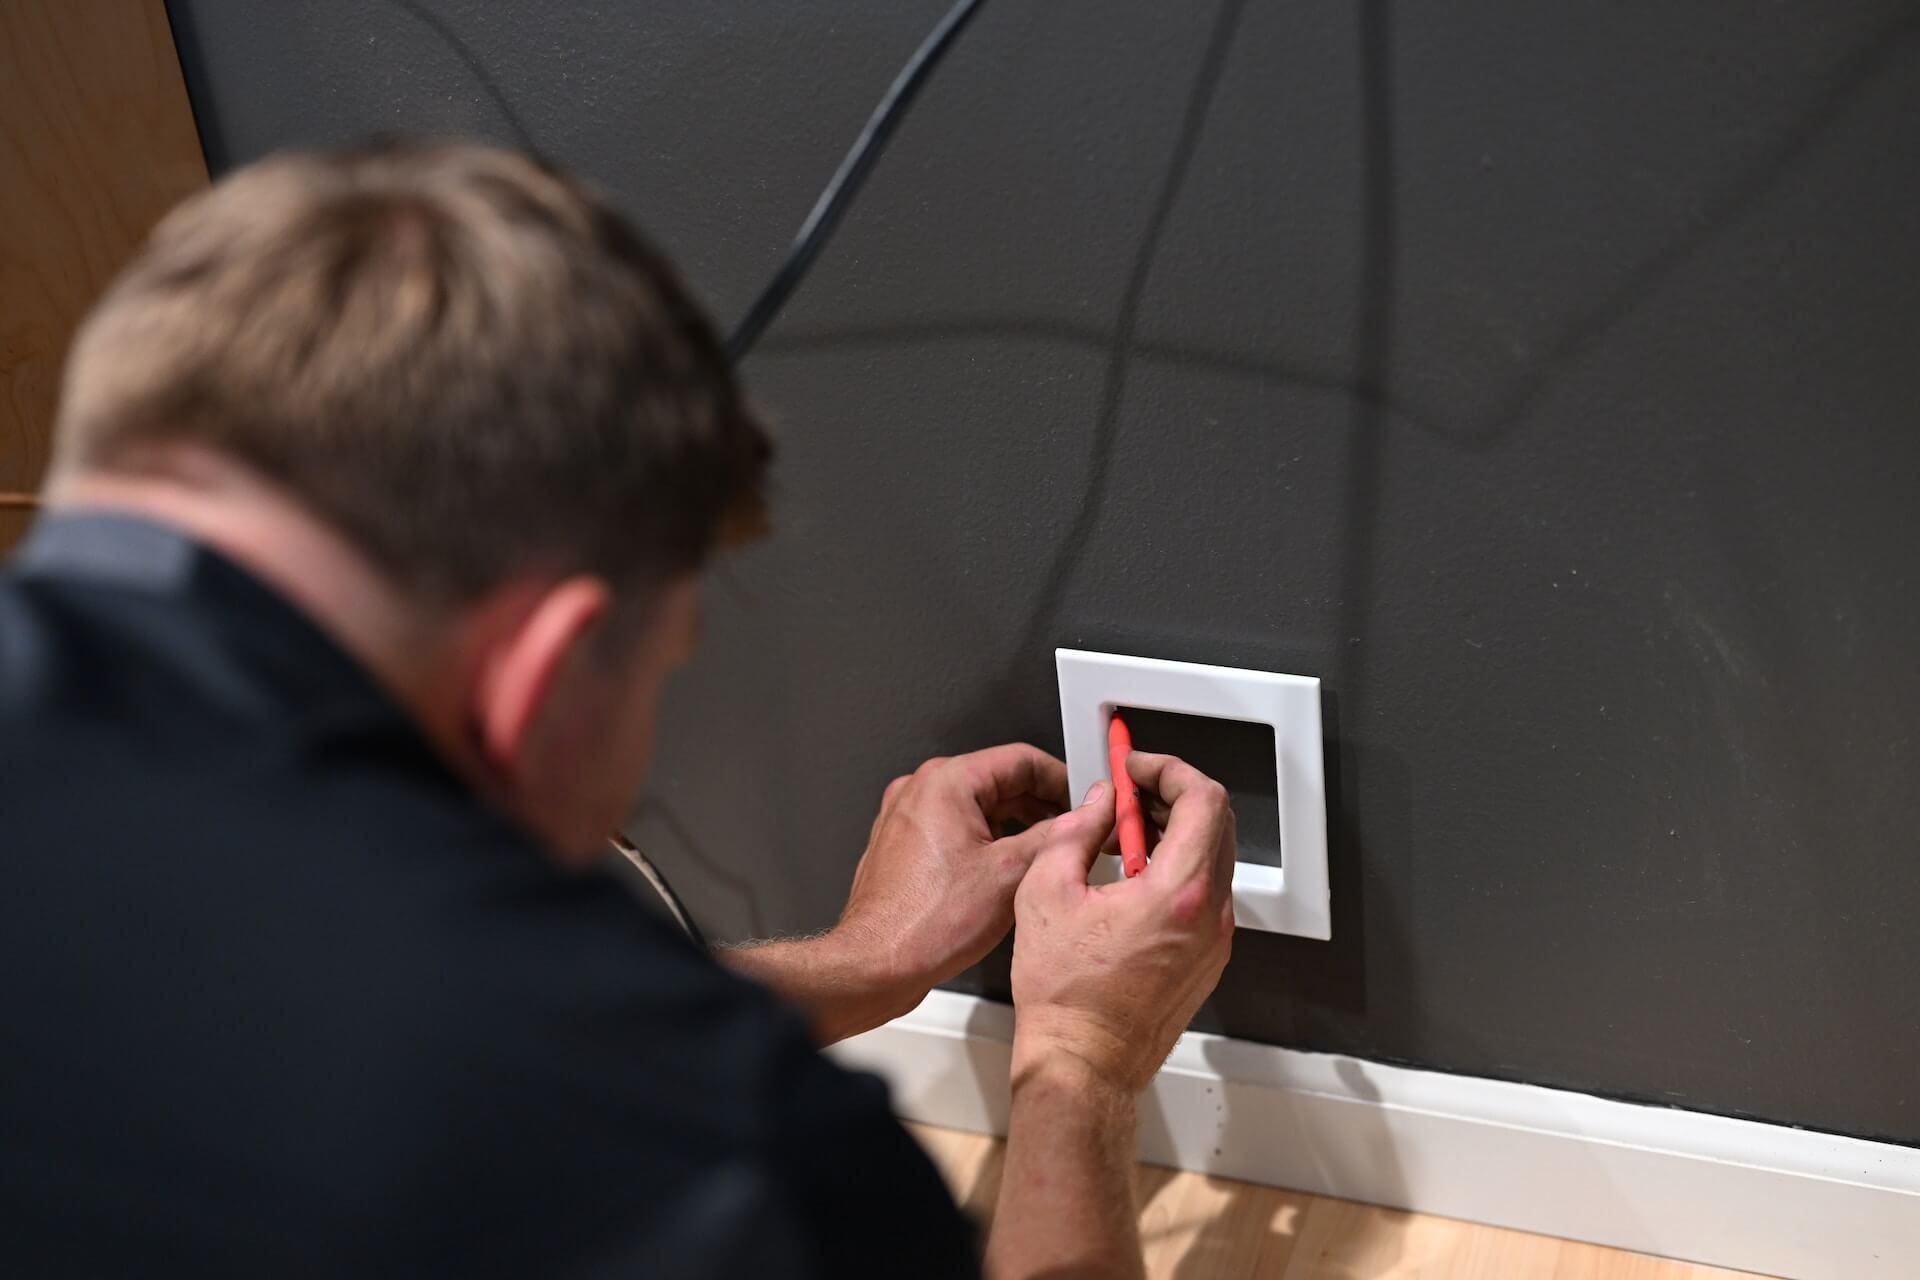
How to Replace a Light Fixture Above an Island in the Kitchen
The light fixture above your kitchen island is more than just a source of illumination. It adds style and character to your kitchen, making it a focal point of the room. However, over time, you may notice that the light fixture has become outdated or is no longer functioning properly. In such cases, it may be time to replace it with a new one. Here's a step-by-step guide on how to replace a light fixture above an island in the kitchen.
Replacing a Kitchen Island Light Fixture: A Step-by-Step Guide
Before you start the replacement process, make sure to turn off the power to the kitchen island. This can be done by switching off the circuit breaker or removing the fuse. Once the power is off, follow these steps:
Step 1: Remove the old fixture - Start by removing the old fixture from the ceiling. This may involve unscrewing screws or removing the fixture cover. Carefully detach the wires connecting the fixture to the ceiling and set the old fixture aside.
Step 2: Prepare the new fixture - If you have purchased a new fixture, make sure to read the installation instructions before starting. You may need to assemble some parts of the fixture before installation.
Step 3: Connect the wires - Take the new fixture and connect the wires according to the instructions. Usually, black wires are connected to black wires and white wires to white wires. Make sure the connections are secure.
Step 4: Install the new fixture - Carefully attach the new fixture to the ceiling, making sure it is straight and secure. Use screws to hold it in place if necessary.
Step 5: Turn the power back on - Once the fixture is securely installed, turn the power back on and test the light to ensure it is working properly.
DIY Kitchen Island Lighting Upgrade
If you're looking to upgrade your kitchen island lighting on a budget, a DIY project may be the way to go. There are plenty of creative and cost-effective ways to revamp your kitchen island lighting, such as:
Painting the existing fixture - A fresh coat of paint can completely transform the look of your old light fixture. Choose a color that complements your kitchen's color scheme and gives it a new lease on life.
Replacing the shades - If your fixture has shades, consider replacing them with new ones. This can instantly give your kitchen a new look without having to replace the entire fixture.
Adding decorative elements - You can also add decorative elements such as beads, crystals, or fabric to your fixture for a unique and personalized touch.
Replacing a Kitchen Island Light: Tips and Tricks
Replacing a kitchen island light may seem like a daunting task, but with these tips and tricks, the process can be easier and more efficient:
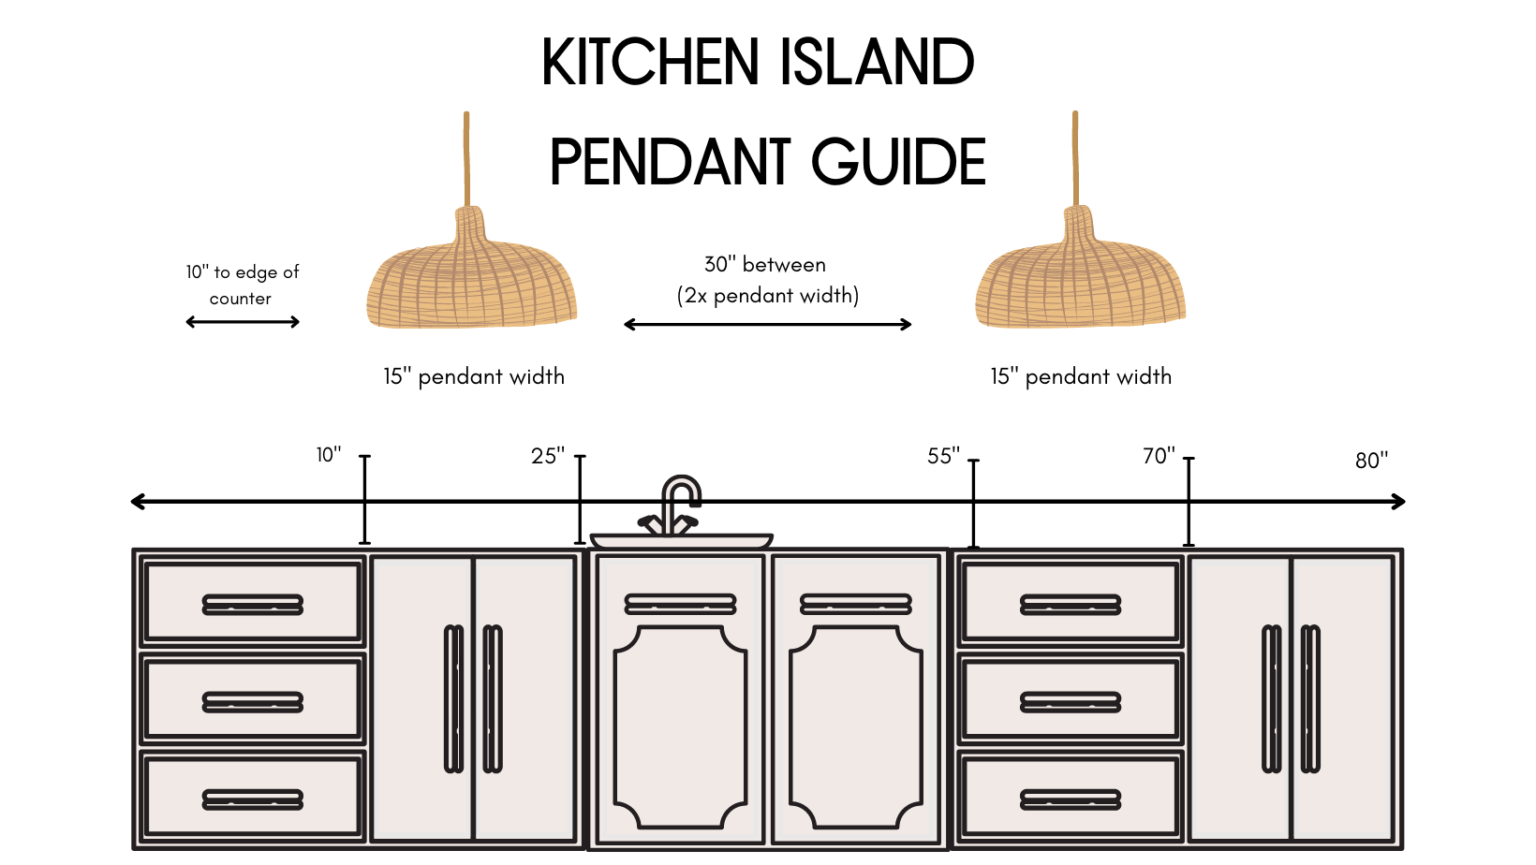
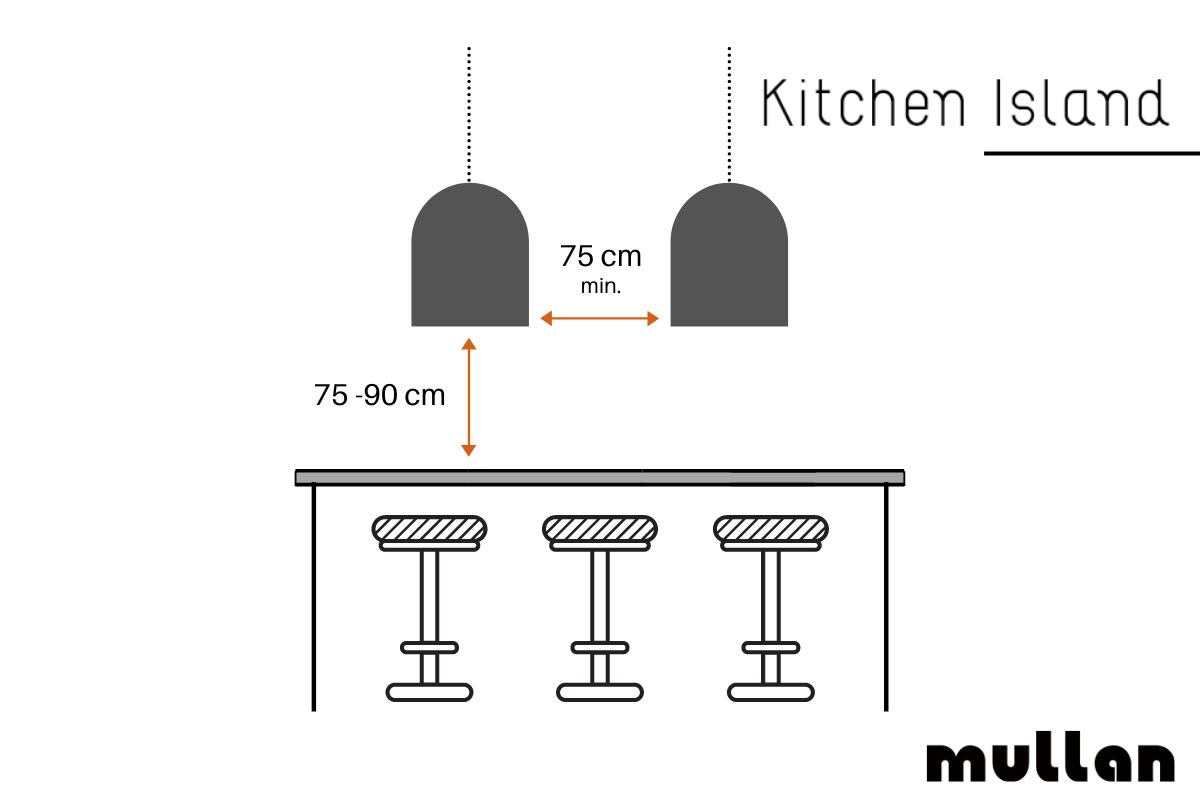
Take measurements beforehand - Before purchasing a new light fixture, make sure to measure the space above your kitchen island. This will help you choose the right size and avoid any potential installation issues.
Have a helper - It's always helpful to have an extra pair of hands when replacing a light fixture. Not only can they assist in holding the fixture, but they can also help with the wiring and installation process.
Consider the height - The height at which you hang your kitchen island light can greatly impact the overall look and functionality. Make sure to take into account the height of your kitchen island and the height of your family members when deciding on the placement of the light fixture.
How to Install a Pendant Light Above a Kitchen Island
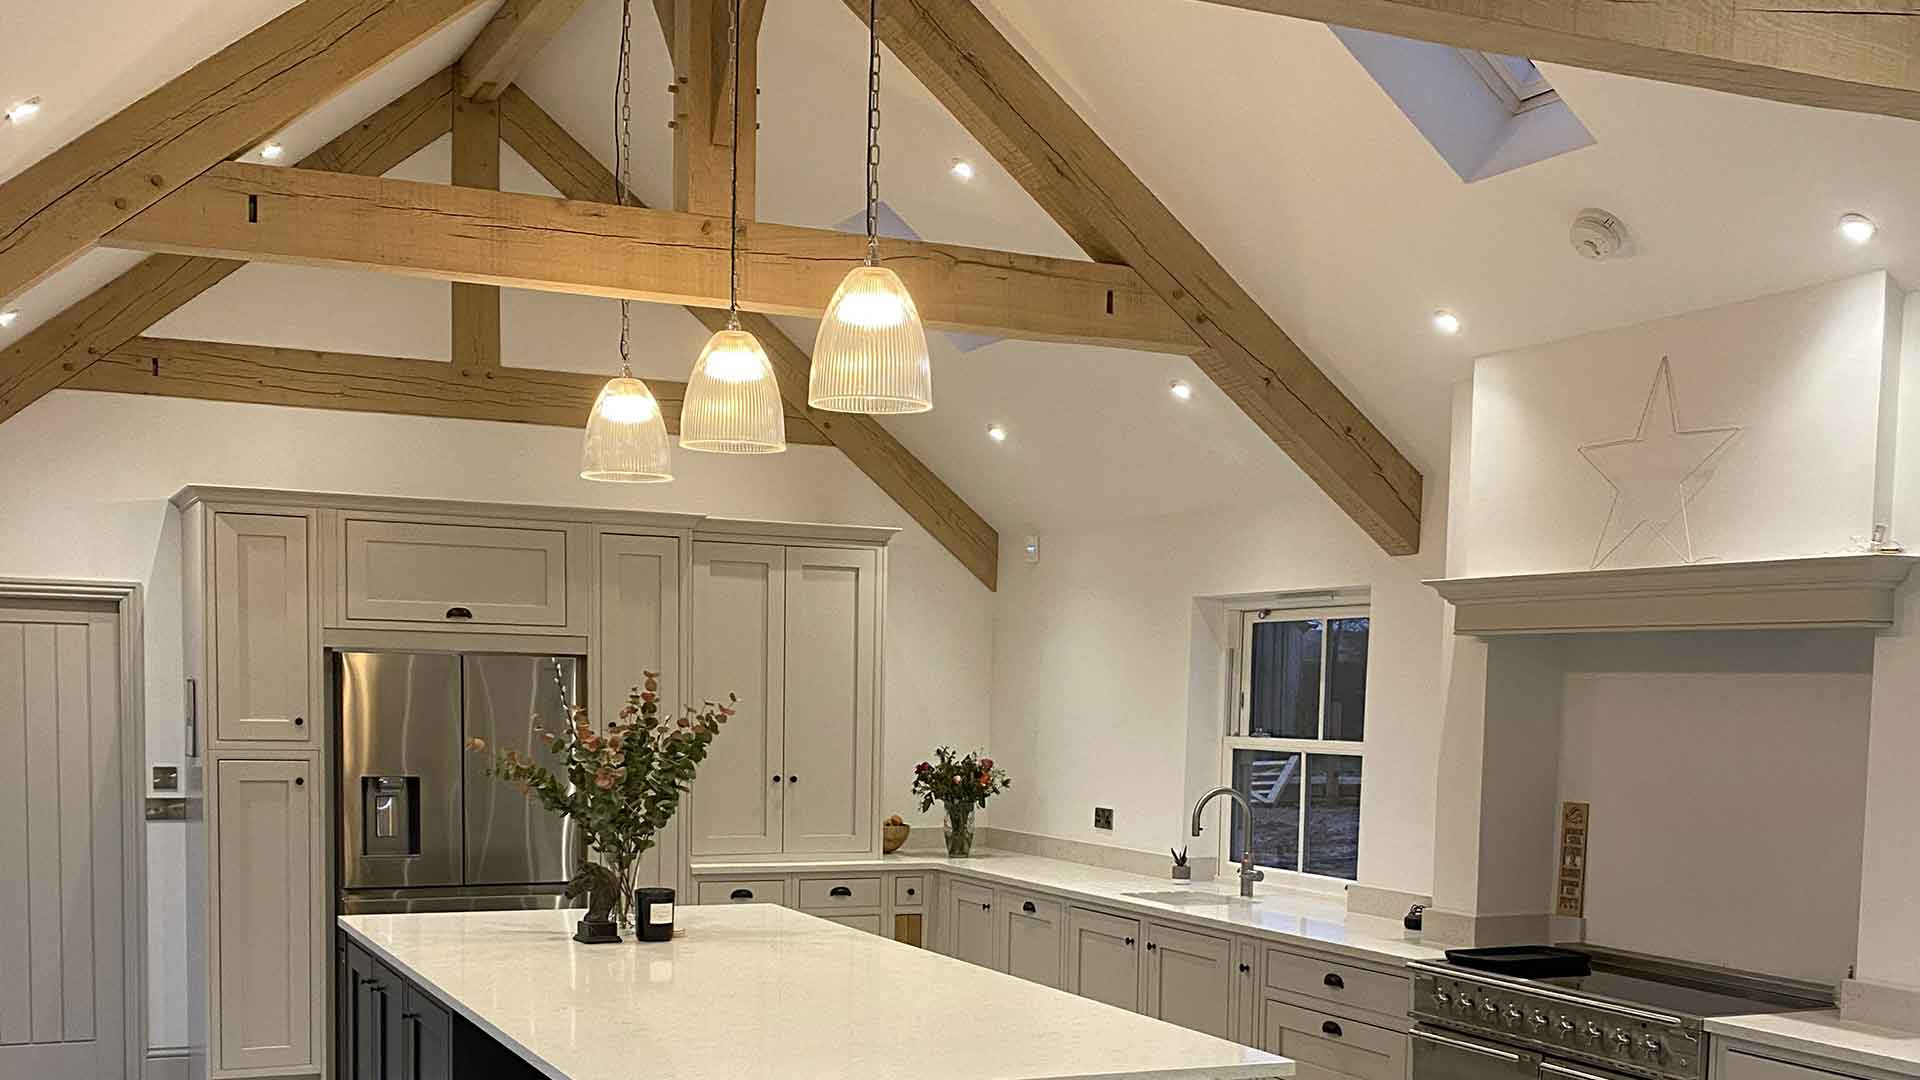
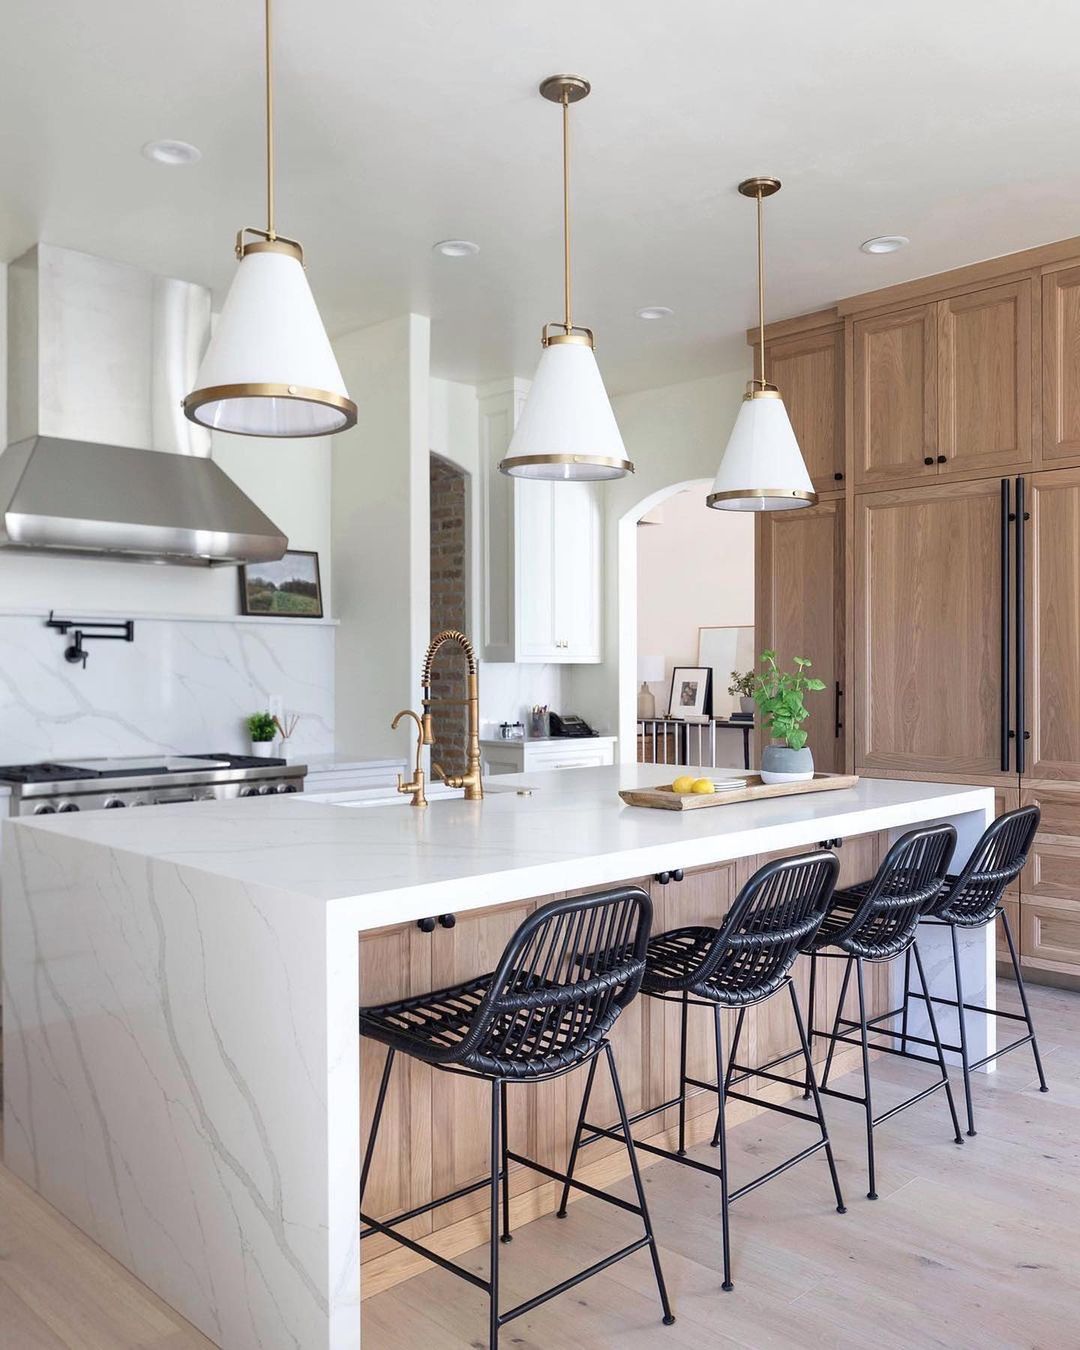
Pendant lights are a popular choice for kitchen island lighting as they provide focused task lighting and add a touch of elegance to the space. Here's how you can install a pendant light above your kitchen island:
Step 1: Gather your materials - You will need a pendant light kit, a screwdriver, wire strippers, and a ladder to reach the ceiling.
Step 2: Turn off the power - As with any electrical installation, make sure to turn off the power to the kitchen island before starting.
Step 3: Install the mounting bracket - Follow the instructions provided with your pendant light kit to install the mounting bracket on the ceiling. This will hold the light fixture in place.
Step 4: Connect the wires - Carefully connect the wires from the pendant light to the wires in the ceiling, making sure the connections are secure.
Step 5: Hang the light fixture - Once the connections are made, hang the pendant light from the mounting bracket and adjust the height as desired.
Step 6: Turn the power back on - Finally, turn the power back on and test the light to ensure it is working properly.
Replacing a Kitchen Island Light: Common Mistakes to Avoid
While replacing a kitchen island light can be a DIY project, there are some common mistakes that homeowners should avoid:
Messing up the wiring - One of the biggest mistakes when installing a light fixture is not connecting the wires properly. This can result in a faulty light or, worse, an electrical hazard. Make sure to follow the instructions and double-check your connections.
Not turning off the power - Working with electricity can be dangerous, so always make sure to turn off the power to the kitchen island before starting any installation or replacement process.
Choosing the wrong size or style - It's important to choose a light fixture that fits the size and style of your kitchen island. A fixture that is too small or too large can throw off the balance of the space.
Choosing the Right Light Fixture for Your Kitchen Island
With countless options available, choosing the right light fixture for your kitchen island can be overwhelming. Here are some factors to consider when making your decision:
Size and style - As mentioned before, make sure to choose a light fixture that is the right size and style for your kitchen island. This will ensure it complements the space and adds to its aesthetic appeal.
Lighting needs - Consider the type of lighting you need for your kitchen island. Do you want bright, focused task lighting or softer ambient lighting? This will help you determine the type and number of lights to install.
Budget - Light fixtures can range from affordable to extravagant. Set a budget and stick to it when choosing a fixture for your kitchen island.
Replacing a Kitchen Island Light: Tools and Materials You'll Need
Here are the tools and materials you will need to successfully replace a light fixture above your kitchen island:
Screwdriver - This will be used to remove the old fixture and install the new one.
Wire strippers - These will be used to strip the insulation off the wires to make the necessary connections.
Ladder - You will need a ladder to reach the ceiling and install the light fixture.
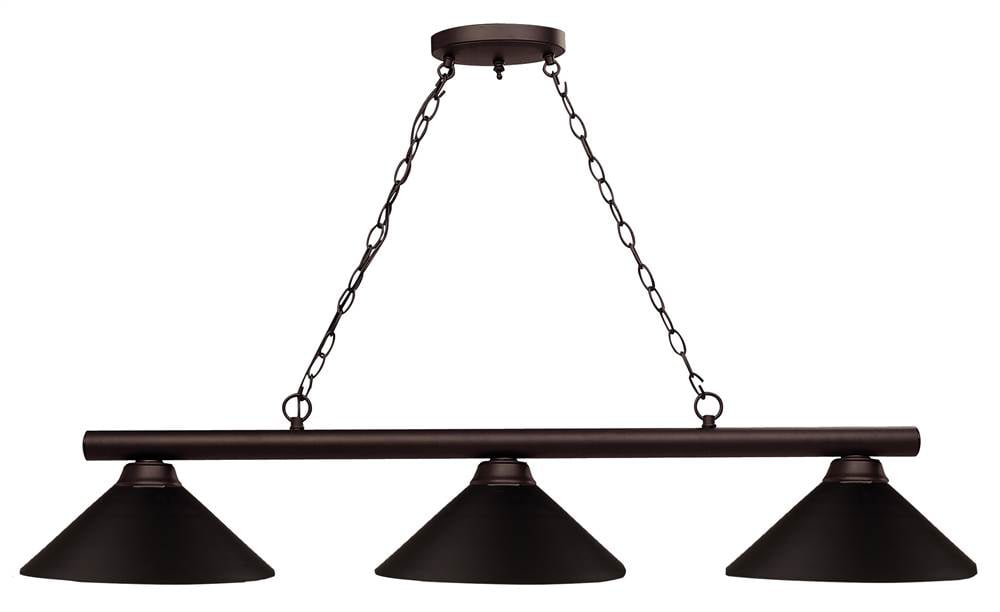
New light fixture - Make sure to purchase a new light fixture that fits the size and style of your kitchen island.
How to Remove an Old Light Fixture Above a Kitchen Island
If you're looking to remove an old light fixture without replacing it, here's how to do it:
Step 1: Turn off the power - As always, make sure the power is off before starting any work on your light fixture.
Step 2: Remove the cover - Unscrew any screws or gently remove the cover of the light fixture.
Step 3: Disconnect the wires - Carefully disconnect the wires connecting the fixture to the ceiling.
Step 4: Unscrew the fixture - Use a screwdriver to remove any screws holding the fixture in place and gently remove it from the ceiling.
Replacing a Kitchen Island Light: Hiring a Professional vs. DIY
While replacing a kitchen island light can be a DIY project, it may be best to hire a professional in certain situations. Here's when you should consider hiring a professional:
Electrical experience - If you have little to no experience working with electrical wiring, it may be safer to hire a professional to install your light fixture.
Complexity of the fixture - Some light fixtures may be more complicated to install, especially if they involve multiple lights or unique wiring. In such cases, it may be best to leave it to a professional.
Time constraints - If you're short on time or simply don't have the patience for a DIY project, hiring a professional can save you time and effort.
Replacing a light fixture above a kitchen island is a simple yet effective way to upgrade your kitchen's style and functionality. With the right tools and knowledge, you can easily replace the old fixture and enjoy a new and improved lighting experience in your kitchen.
Why Replacing the Light Above Your Kitchen Island is the Perfect Upgrade for Your Home

Transform the Look and Feel of Your Kitchen
 When it comes to home design, the kitchen is often considered the heart of the home. It's where meals are cooked, memories are made, and families gather. The kitchen island is a central feature in many modern kitchens, providing extra counter space, storage, and a place for loved ones to gather. But have you ever considered how the lighting above your kitchen island can impact the overall look and feel of your kitchen?
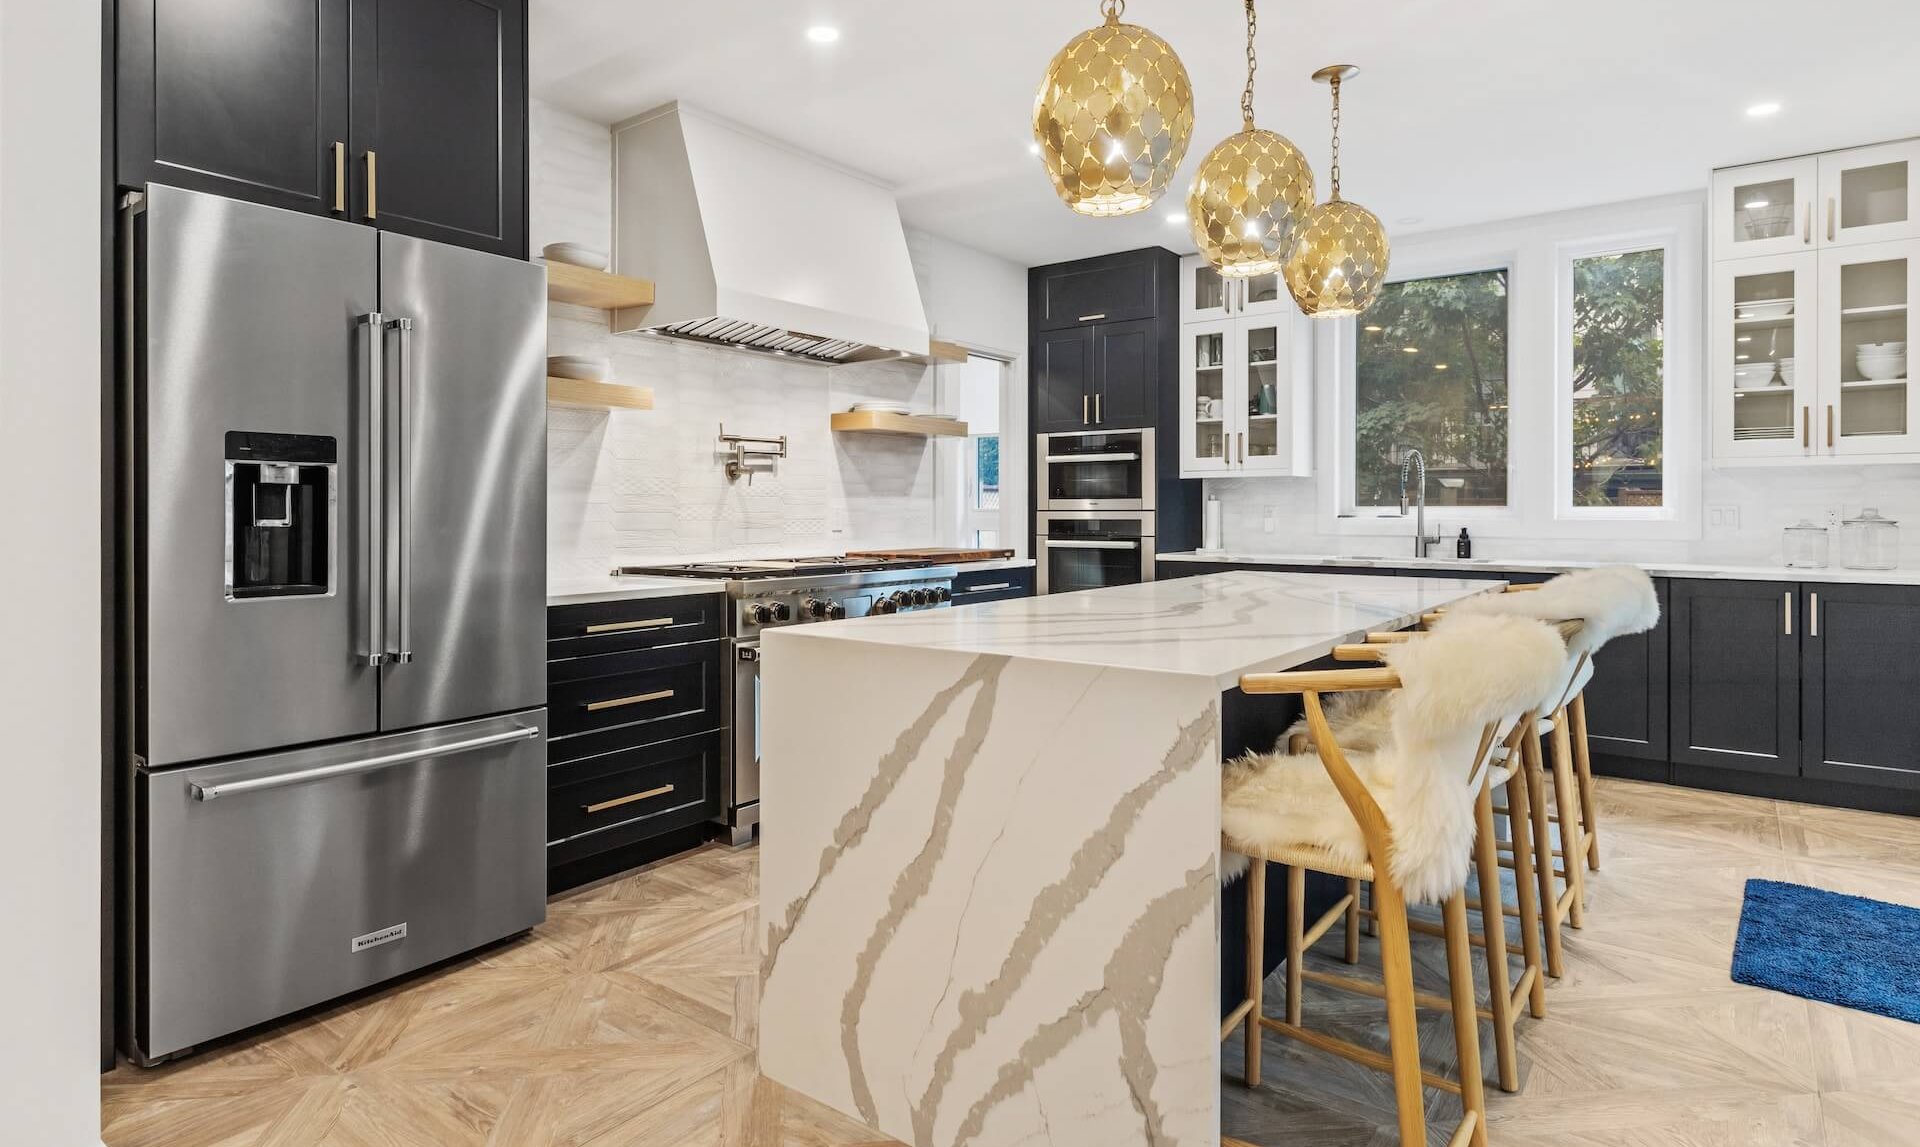
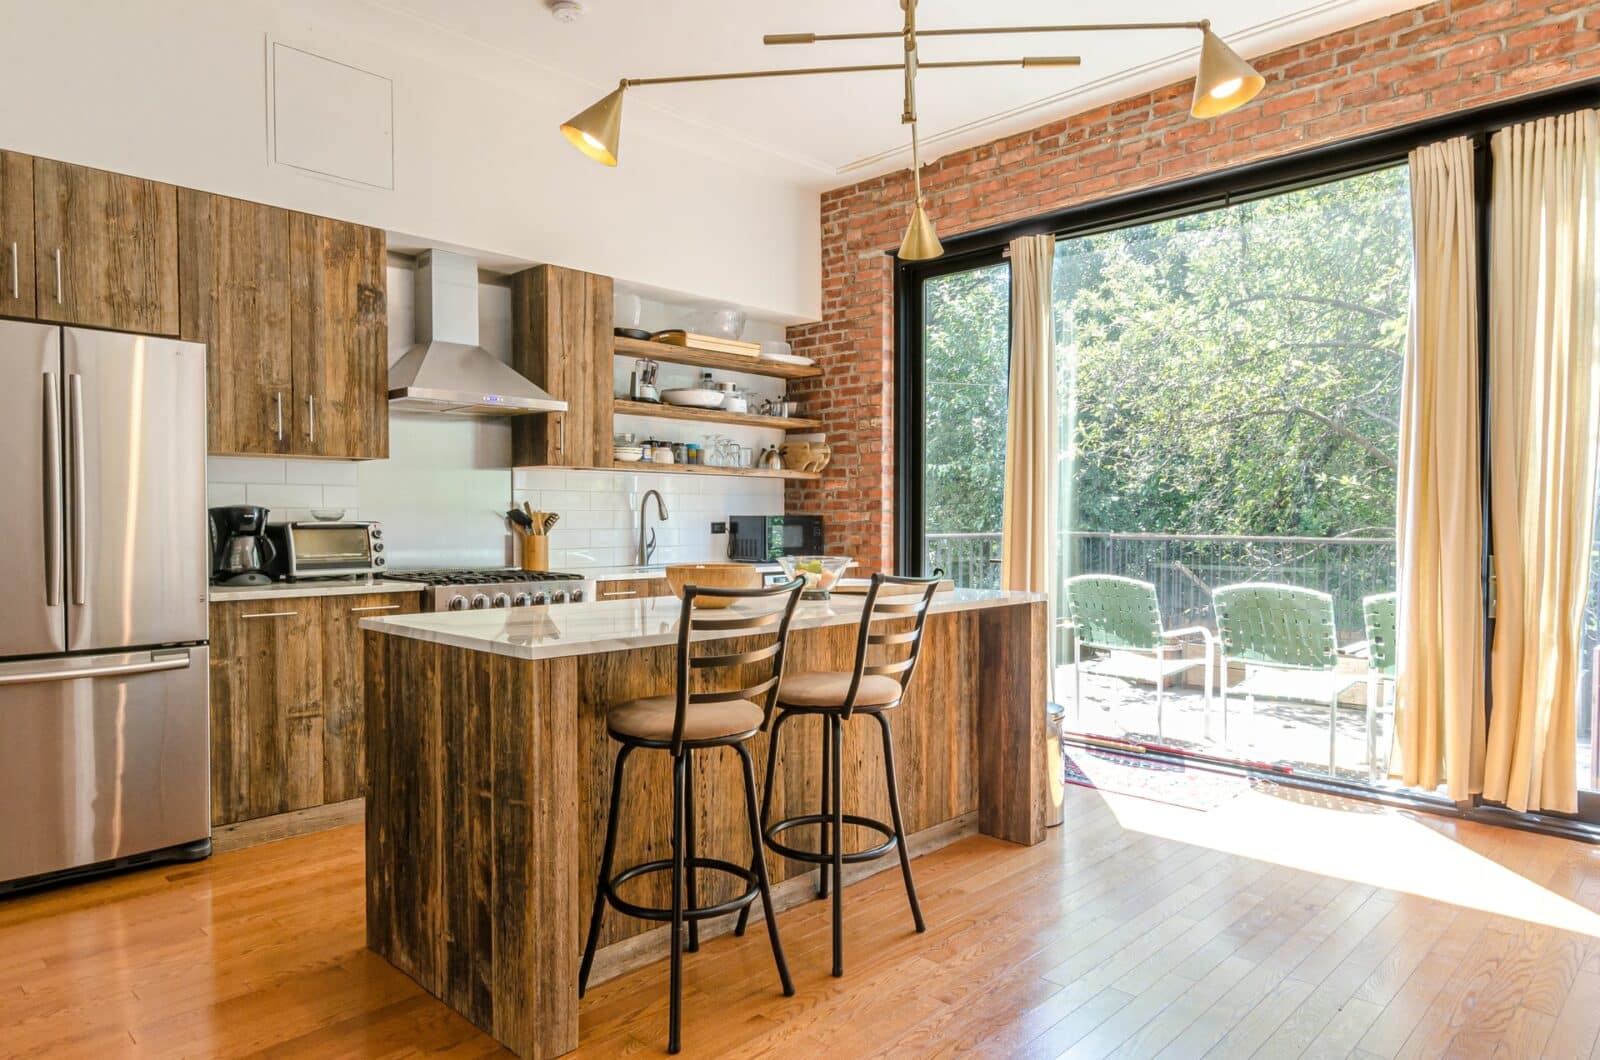
Replacing the light above your kitchen island can completely transform the space, giving it a fresh and updated look.
Add Functionality and Practicality
 One of the main reasons for replacing the light above your kitchen island is to improve its functionality and practicality. Many older kitchen designs have outdated lighting fixtures that may not provide enough light for tasks such as cooking, chopping, and reading recipes.
By choosing a new light fixture that is specifically designed for the kitchen, you can brighten up your workspace and make meal prep and cooking easier and more enjoyable.
Enhance Your Décor
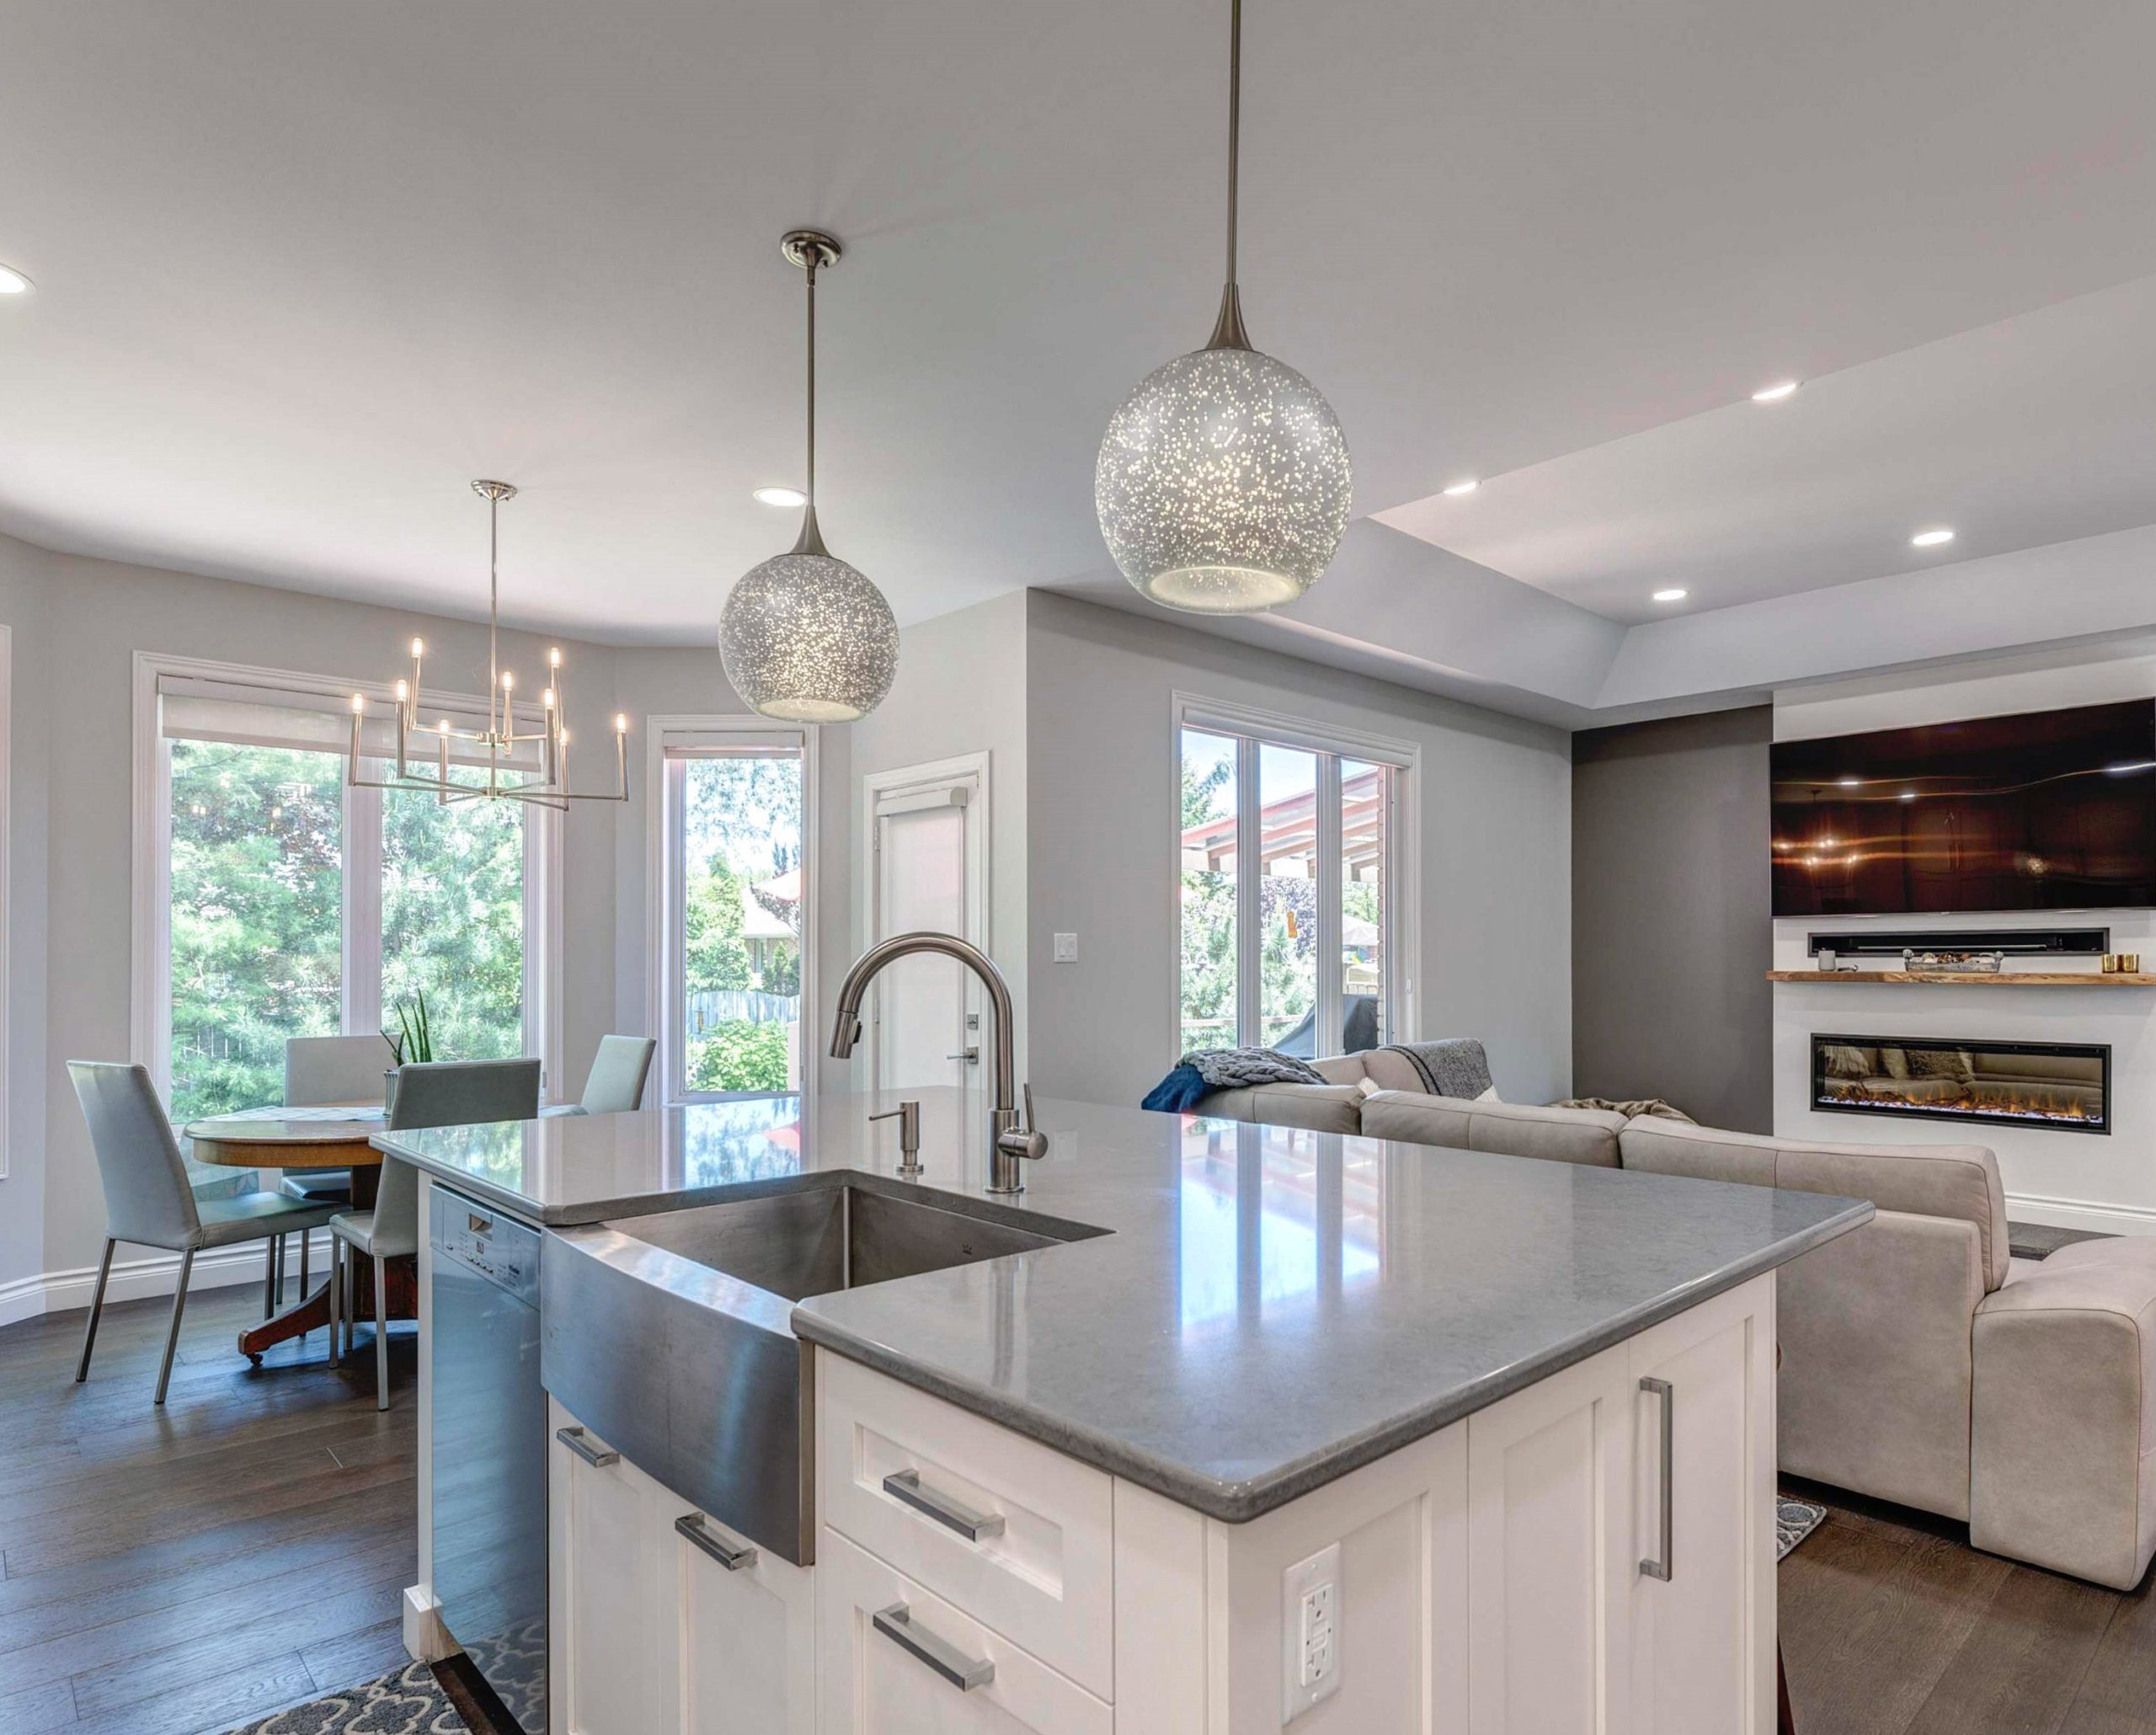 The right lighting can make a huge difference in the overall aesthetic of your kitchen.
Choosing a new light fixture that complements your kitchen's décor can enhance its beauty and tie the room together.
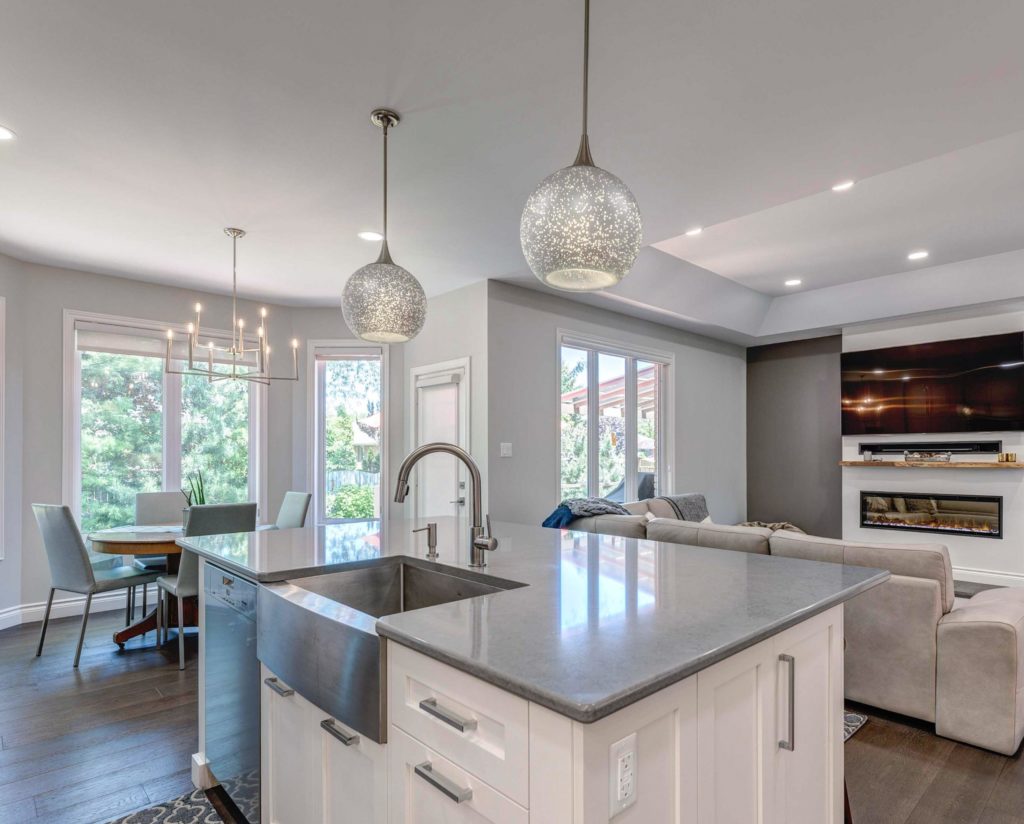
There are so many different styles and designs to choose from, whether you prefer a modern, industrial look or a more traditional, rustic feel. By replacing the light above your kitchen island, you can take your kitchen's design to the next level.
Save Energy and Money
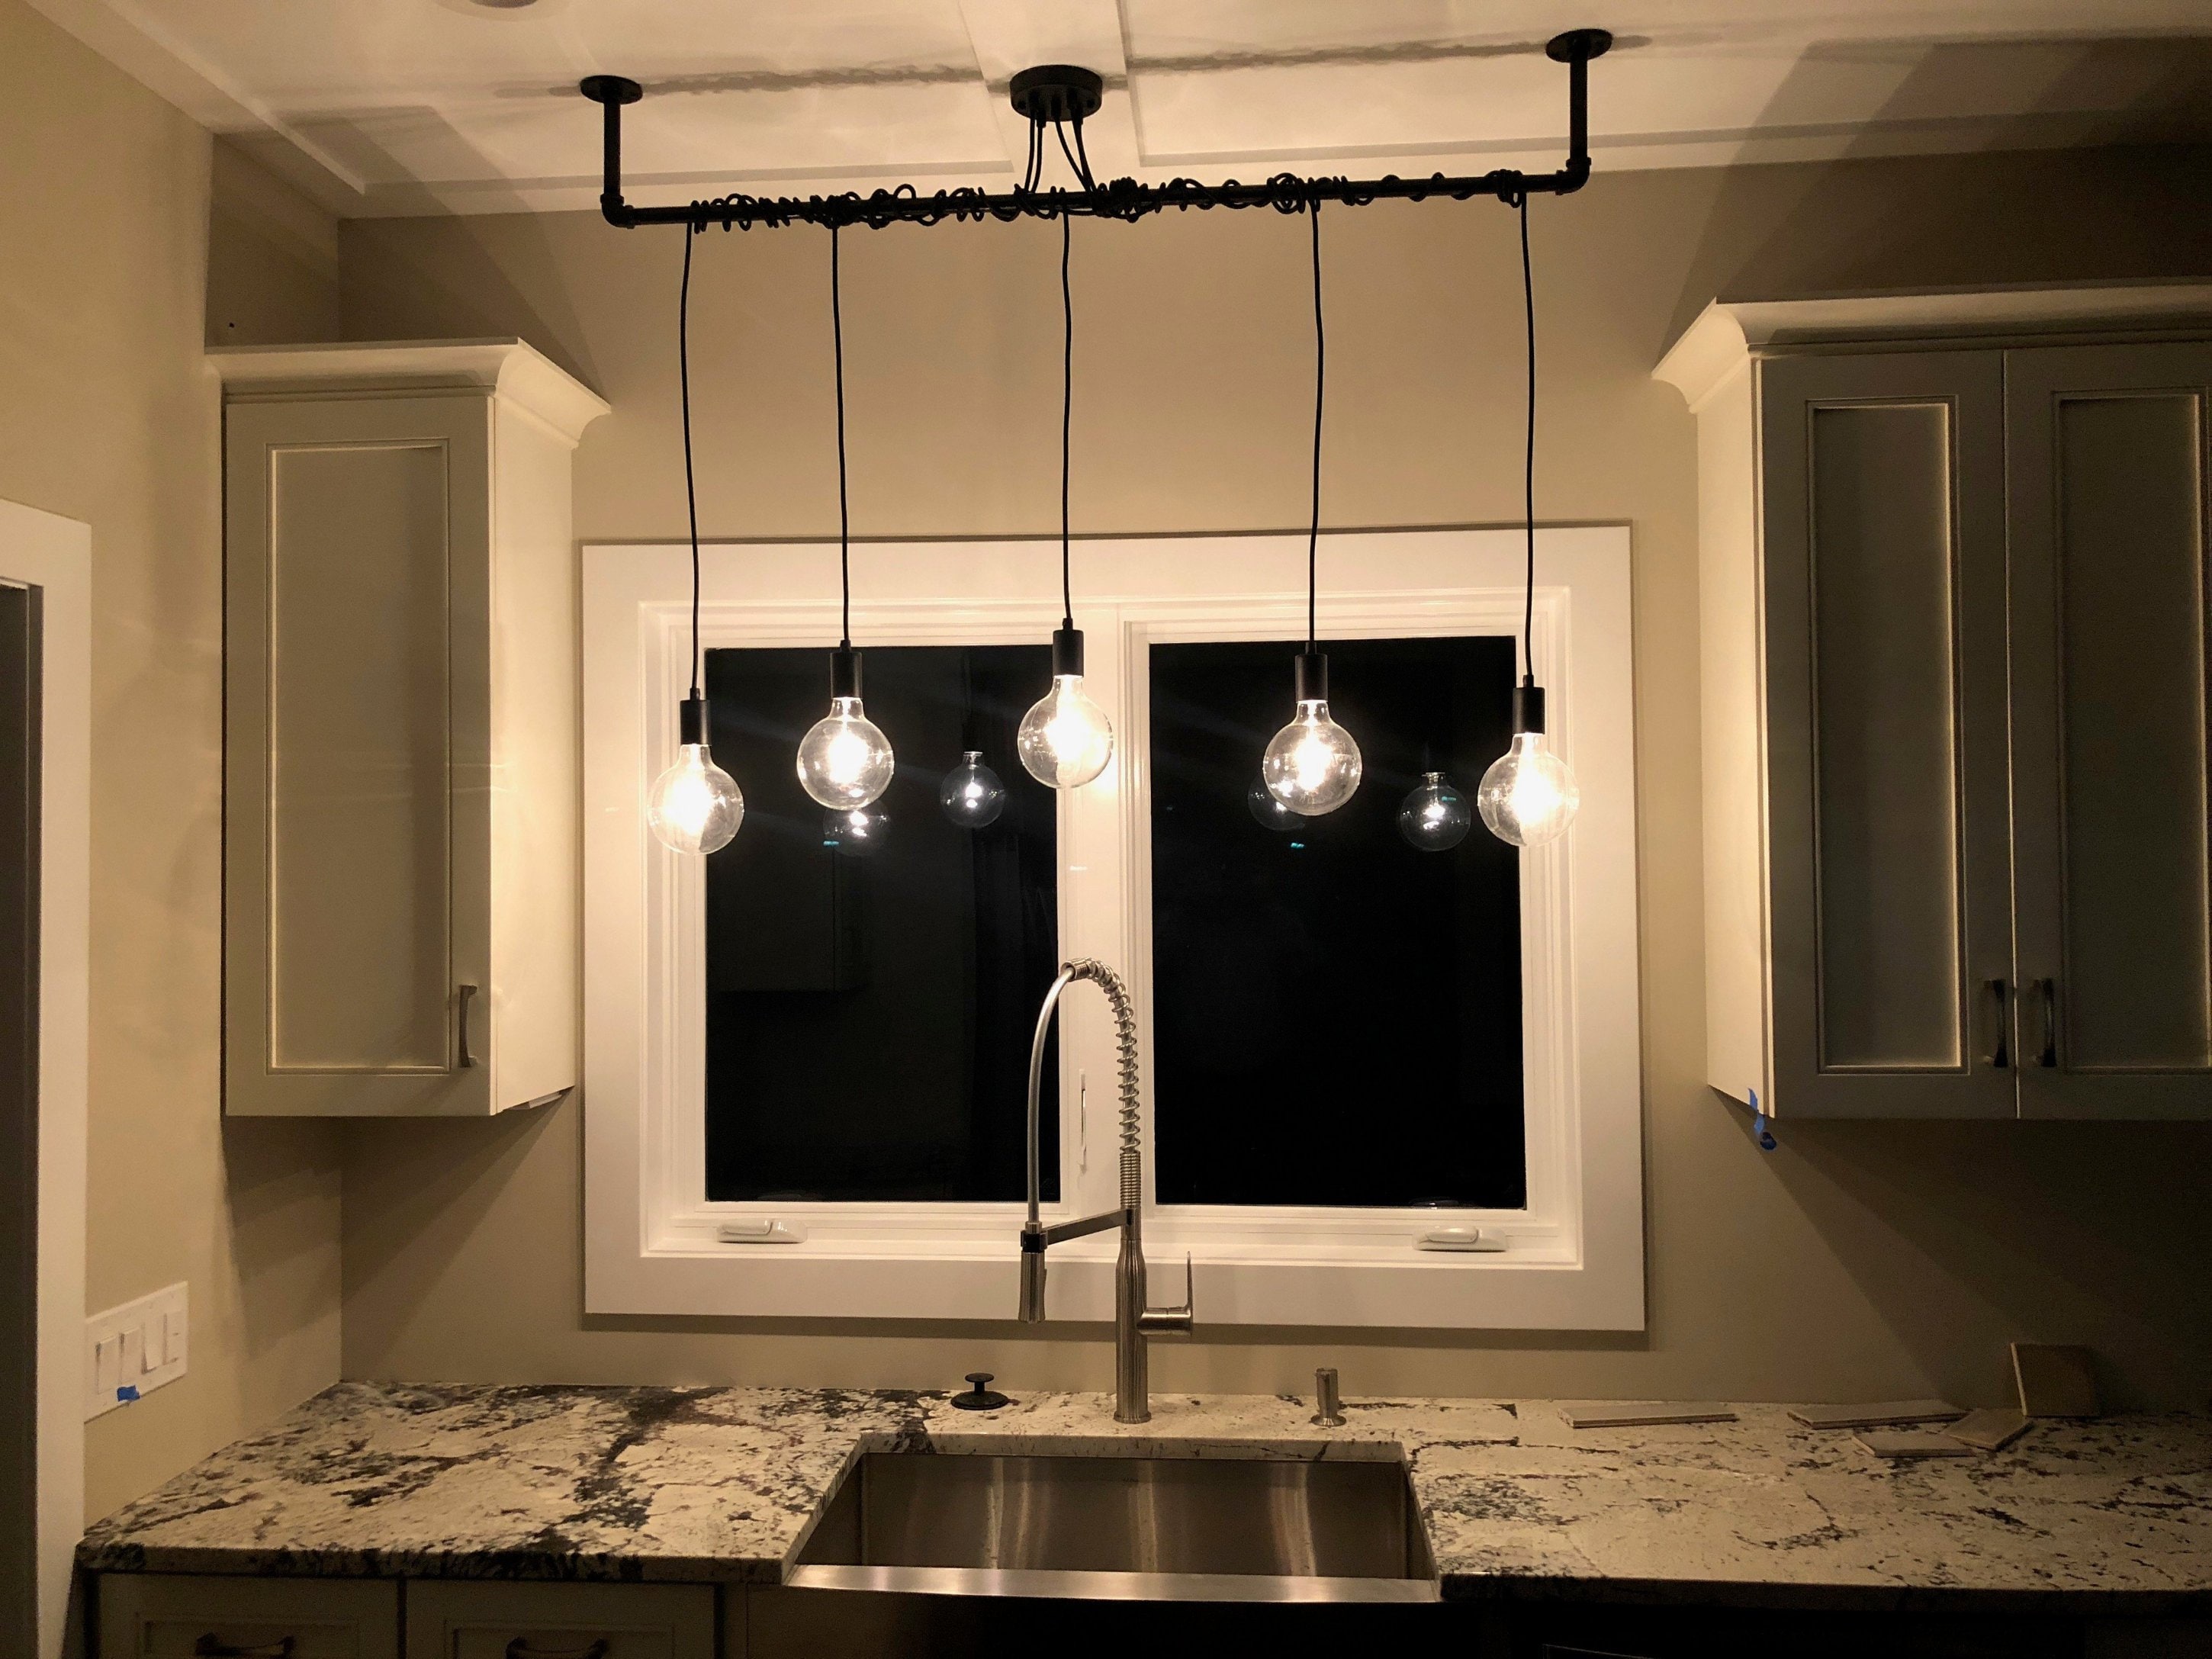 Not only can replacing the light above your kitchen island improve the look and functionality of your kitchen, but it can also save you money in the long run.
By choosing energy-efficient lighting options, you can reduce your energy consumption and lower your electricity bill.
LED lights, for example, use significantly less energy than traditional incandescent bulbs and can last up to 25 times longer. This not only benefits your wallet but also the environment.
Conclusion
 Upgrading the lighting above your kitchen island may seem like a small change, but it can make a big impact on your home's design. From transforming the look and feel of your kitchen to adding functionality and saving energy, there are many benefits to replacing the light above your kitchen island. So why not consider this simple upgrade and give your kitchen a fresh and modern look?


:max_bytes(150000):strip_icc()/how-to-replace-ceiling-light-fixture-1824657-03-d0831082affb46be9ab0fb2652da8092.jpg)

:max_bytes(150000):strip_icc()/open-concept-kitchen-island-with-marble-counter-167118546-cf4e23587764432c80f1cc3c0b226229.jpg)


