If you've noticed that your kitchen wall vent is not functioning properly or is in need of an update, it may be time to consider replacing it. This may seem like a daunting task, but with the right tools and knowledge, it can be a relatively simple DIY project. In this article, we'll guide you through the steps of replacing a kitchen wall vent, so you can have a functional and efficient ventilation system in your kitchen.How to Replace a Kitchen Wall Vent


How to Replace a Kitchen Wall Vent


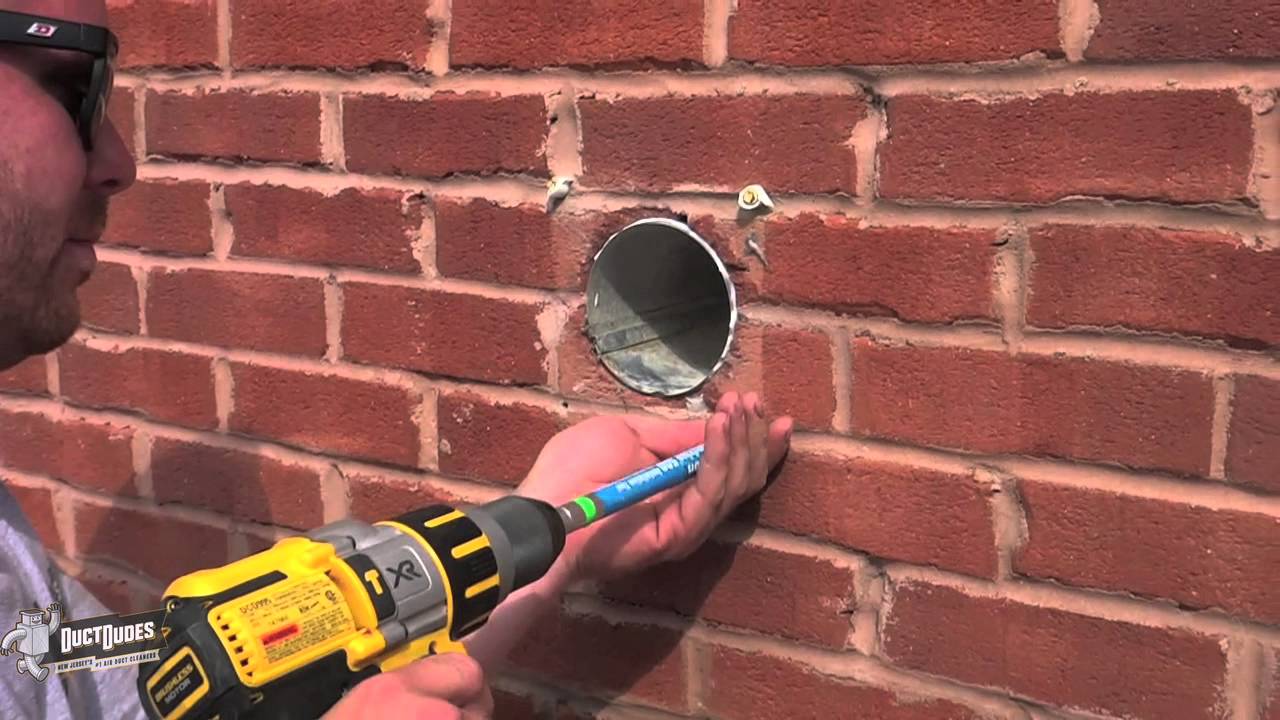

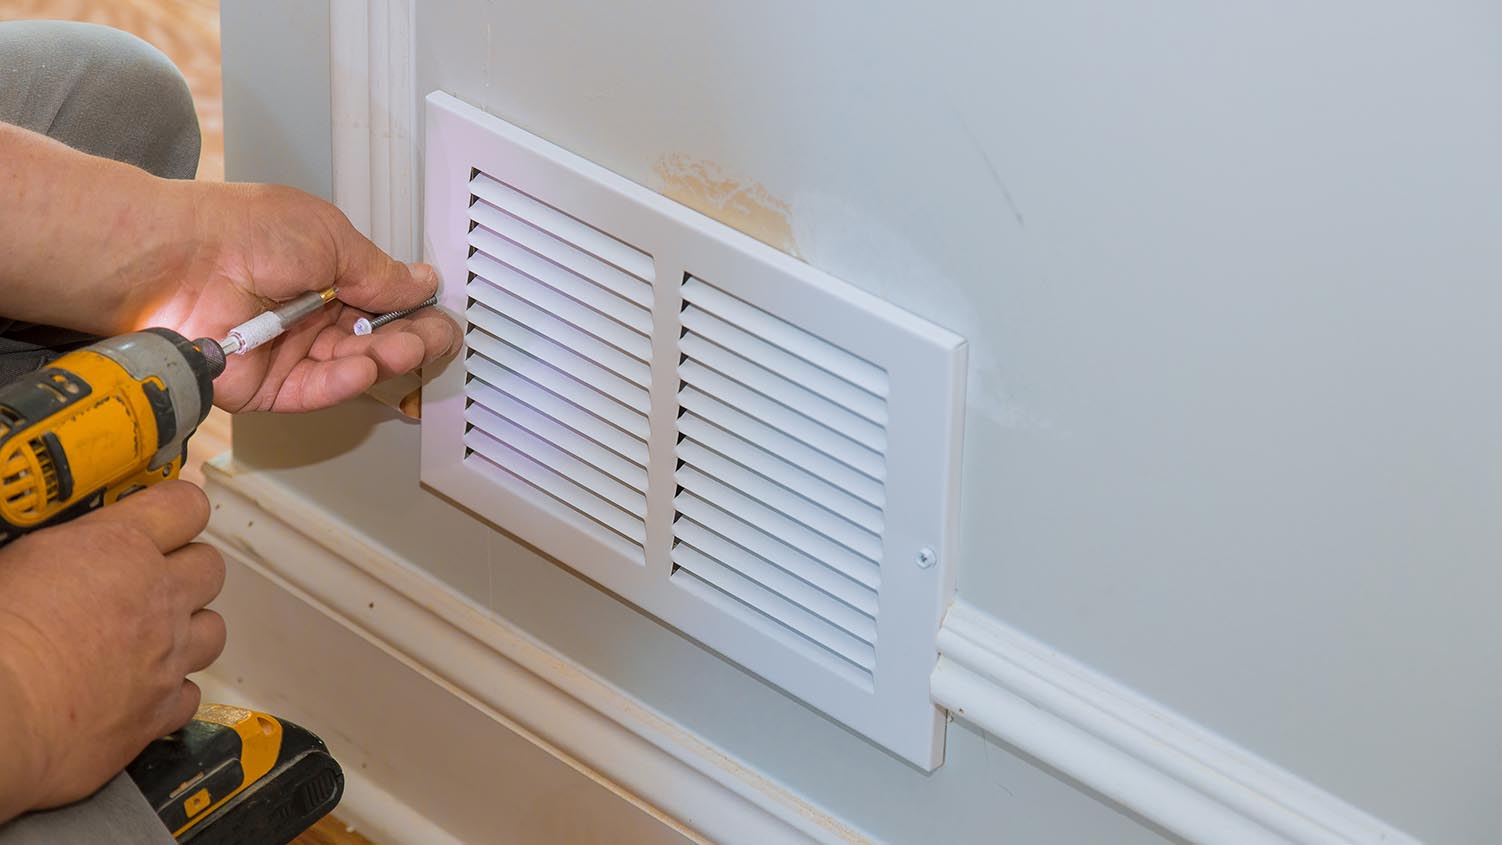
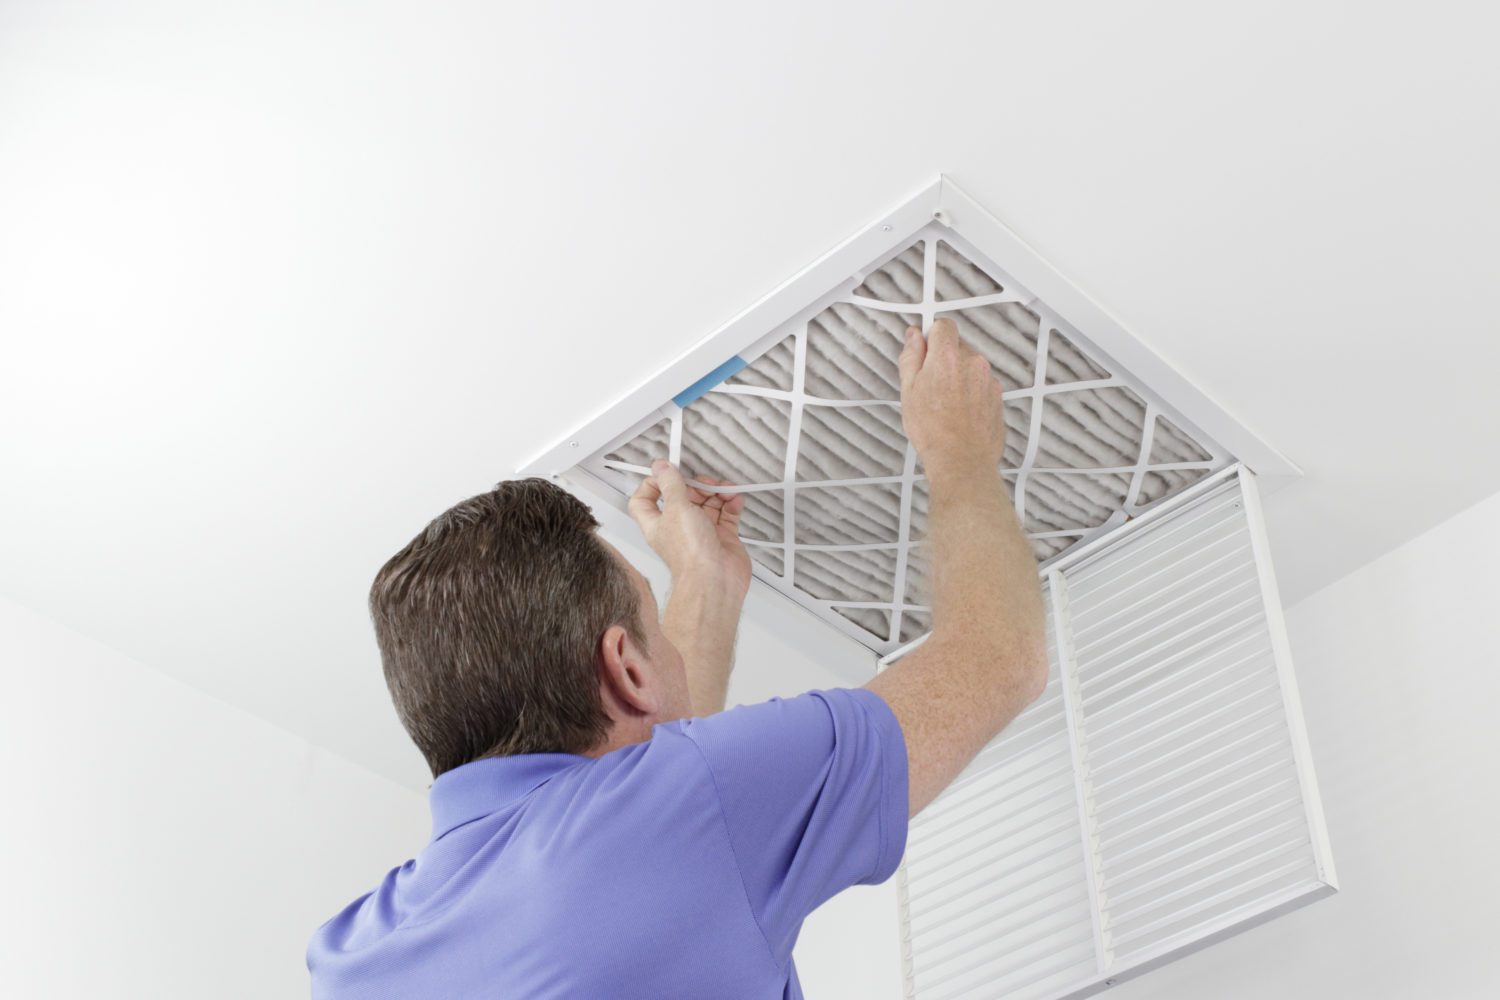
The first step in replacing a kitchen wall vent is to gather all the necessary tools and materials. This may include a screwdriver, drill, measuring tape, new vent cover, and duct tape. Once you have everything you need, it's time to start the process. Step 1: Turn off the power to your kitchen's ventilation system. You can do this by flipping the switch on the circuit breaker or unplugging the unit. Step 2: Remove the old vent cover by unscrewing it from the wall. Be sure to keep the screws in a safe place for later use. Step 3: Measure the dimensions of the old vent cover and use these measurements to cut the new vent cover to the correct size. This will ensure a proper fit. Step 4: Install the new vent cover by screwing it into place. Use duct tape to seal any gaps between the cover and the wall to prevent air leaks. Step 5: Turn the power back on and test the ventilation system to ensure it is working properly.Replacing a Kitchen Wall Vent: A Step-by-Step Guide


Replacing a Kitchen Wall Vent: A Step-by-Step Guide


Replacing a kitchen wall vent can be a DIY project, but it's important to follow some tips and tricks to ensure a successful outcome. Here are a few to keep in mind: Tip 1: Before starting the project, it's important to make sure the new vent cover is the correct size for your existing ductwork. If it's not, you may need to make adjustments or purchase a different vent cover. Tip 2: When installing the new vent cover, be sure to use screws that are appropriate for the type of wall you have. If you have drywall, use drywall screws, and if you have tile, use masonry screws. Tip 3: Use a level to ensure the new vent cover is installed straight and evenly. This will prevent any air leaks and ensure proper functionality.DIY Kitchen Wall Vent Replacement: Tips and Tricks


DIY Kitchen Wall Vent Replacement: Tips and Tricks


While replacing a kitchen wall vent may seem like a simple task, there are some common mistakes that can be made. These mistakes can lead to a malfunctioning ventilation system or even cause damage to your kitchen. Here are a few to avoid: Mistake 1: Not turning off the power before starting the project. This can lead to electrical shock or damage to the ventilation system. Mistake 2: Using the wrong size or type of screws for installation. This can result in an improperly secured vent cover that may cause air leaks or fall off the wall. Mistake 3: Not using duct tape to seal any gaps between the vent cover and the wall. This can lead to air leaks, reducing the efficiency of the ventilation system.Replacing a Kitchen Wall Vent: Common Mistakes to Avoid


Replacing a Kitchen Wall Vent: Common Mistakes to Avoid


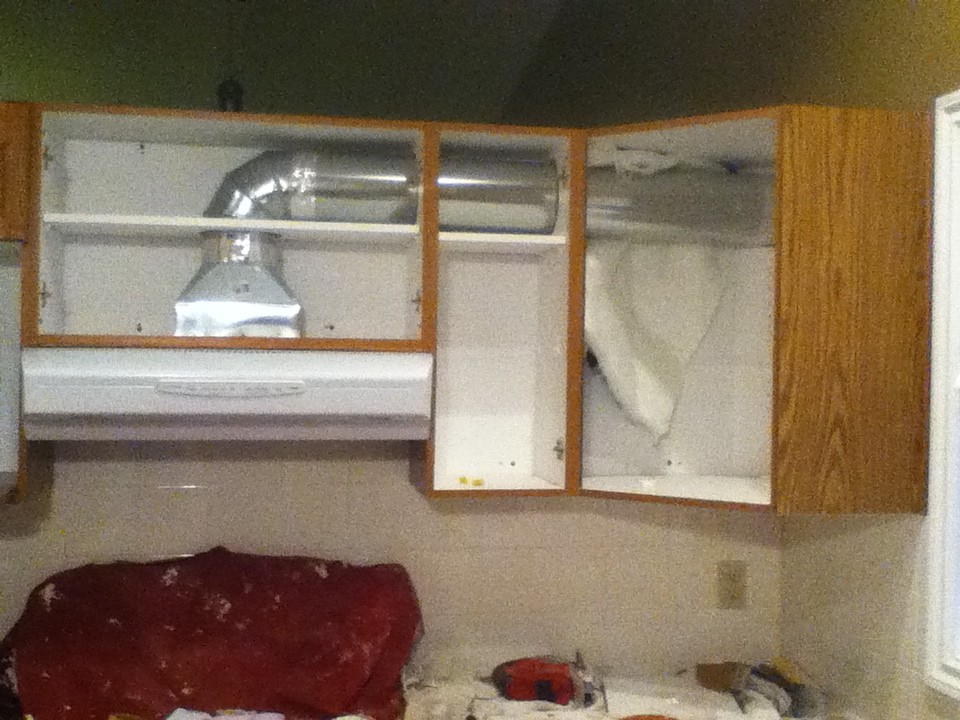
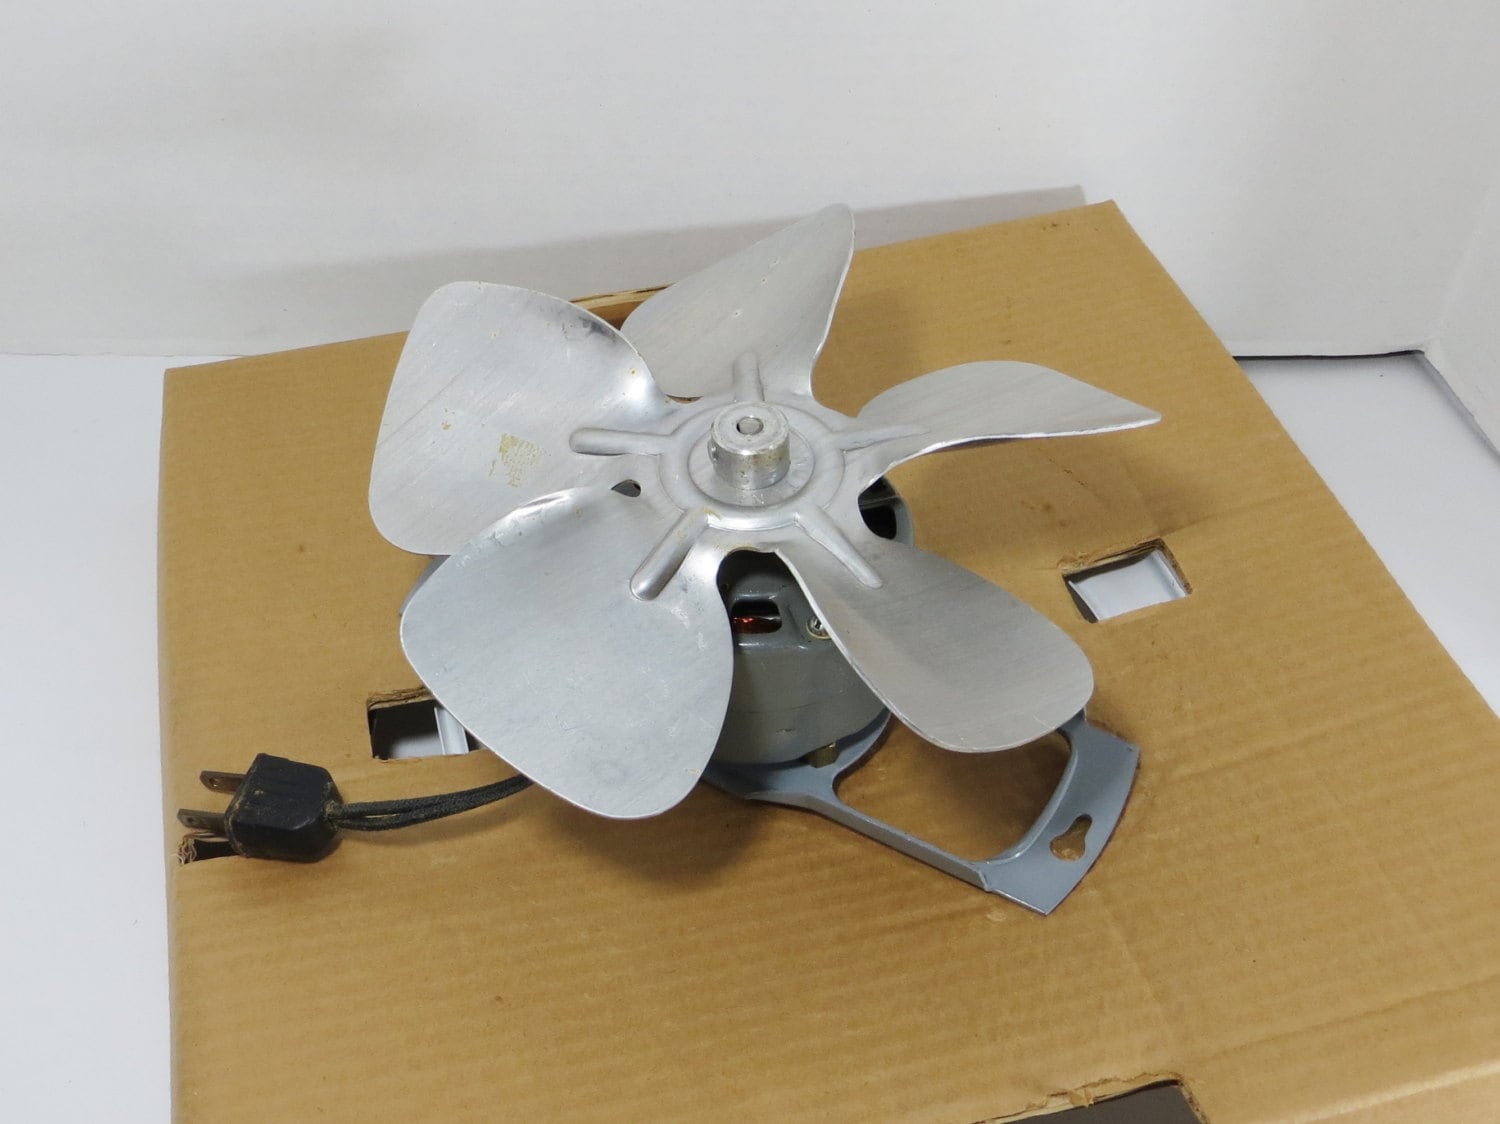
As mentioned earlier, there are a few tools and materials you will need to replace a kitchen wall vent. Here's a quick list to help you gather everything you need: Tools: Screwdriver, drill, measuring tape, level Materials: New vent cover, screws, duct tapeTools and Materials Needed for Replacing a Kitchen Wall Vent


Tools and Materials Needed for Replacing a Kitchen Wall Vent


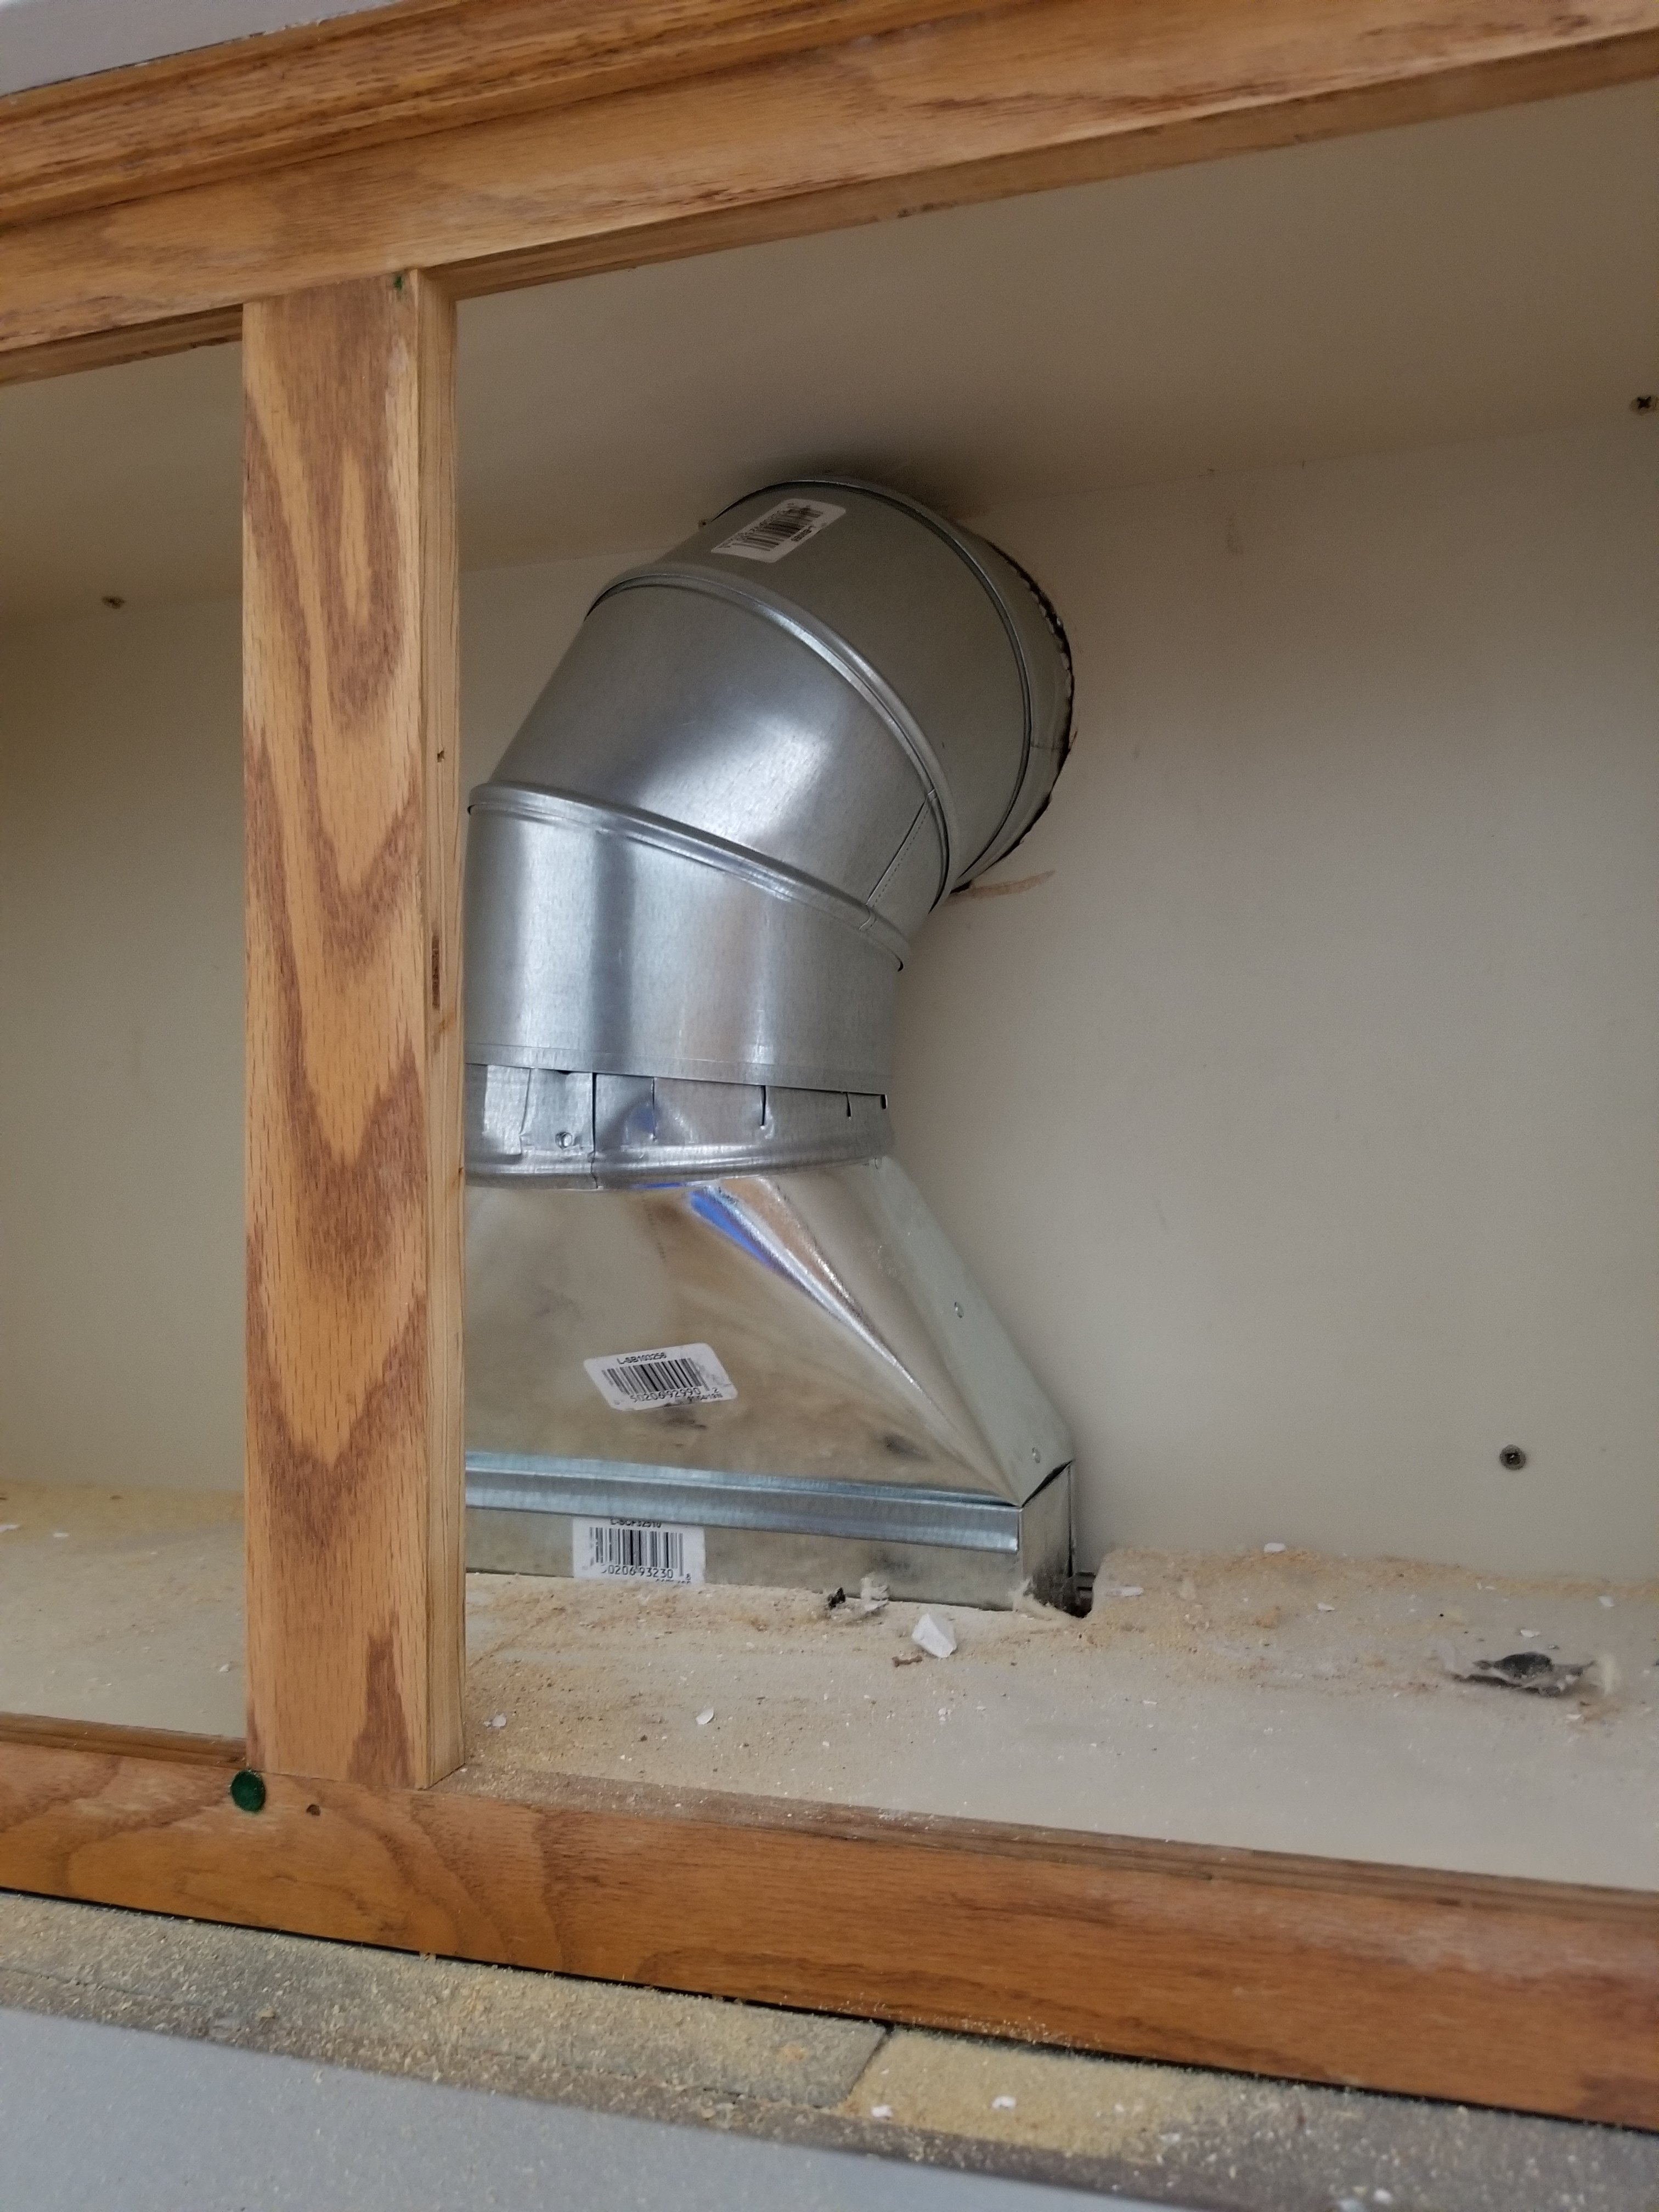
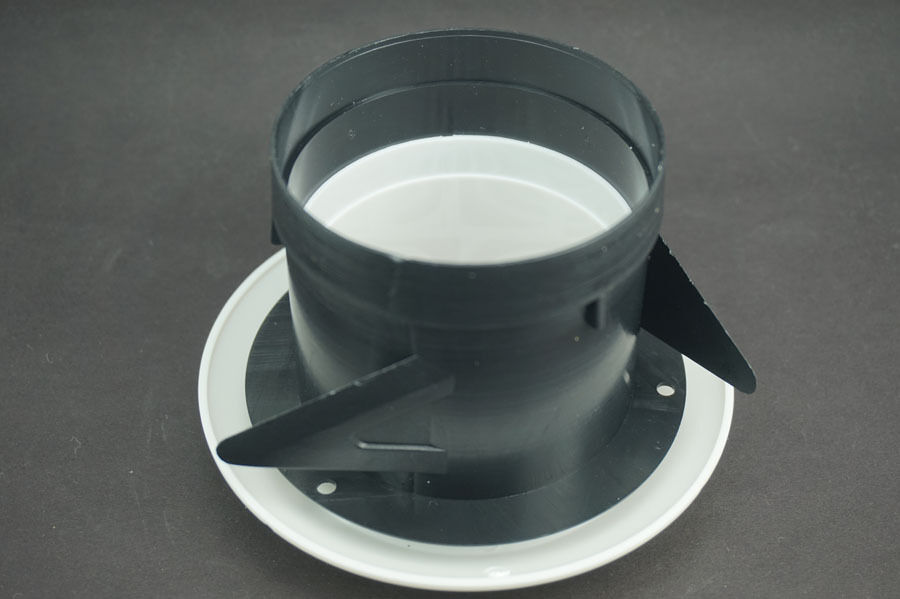
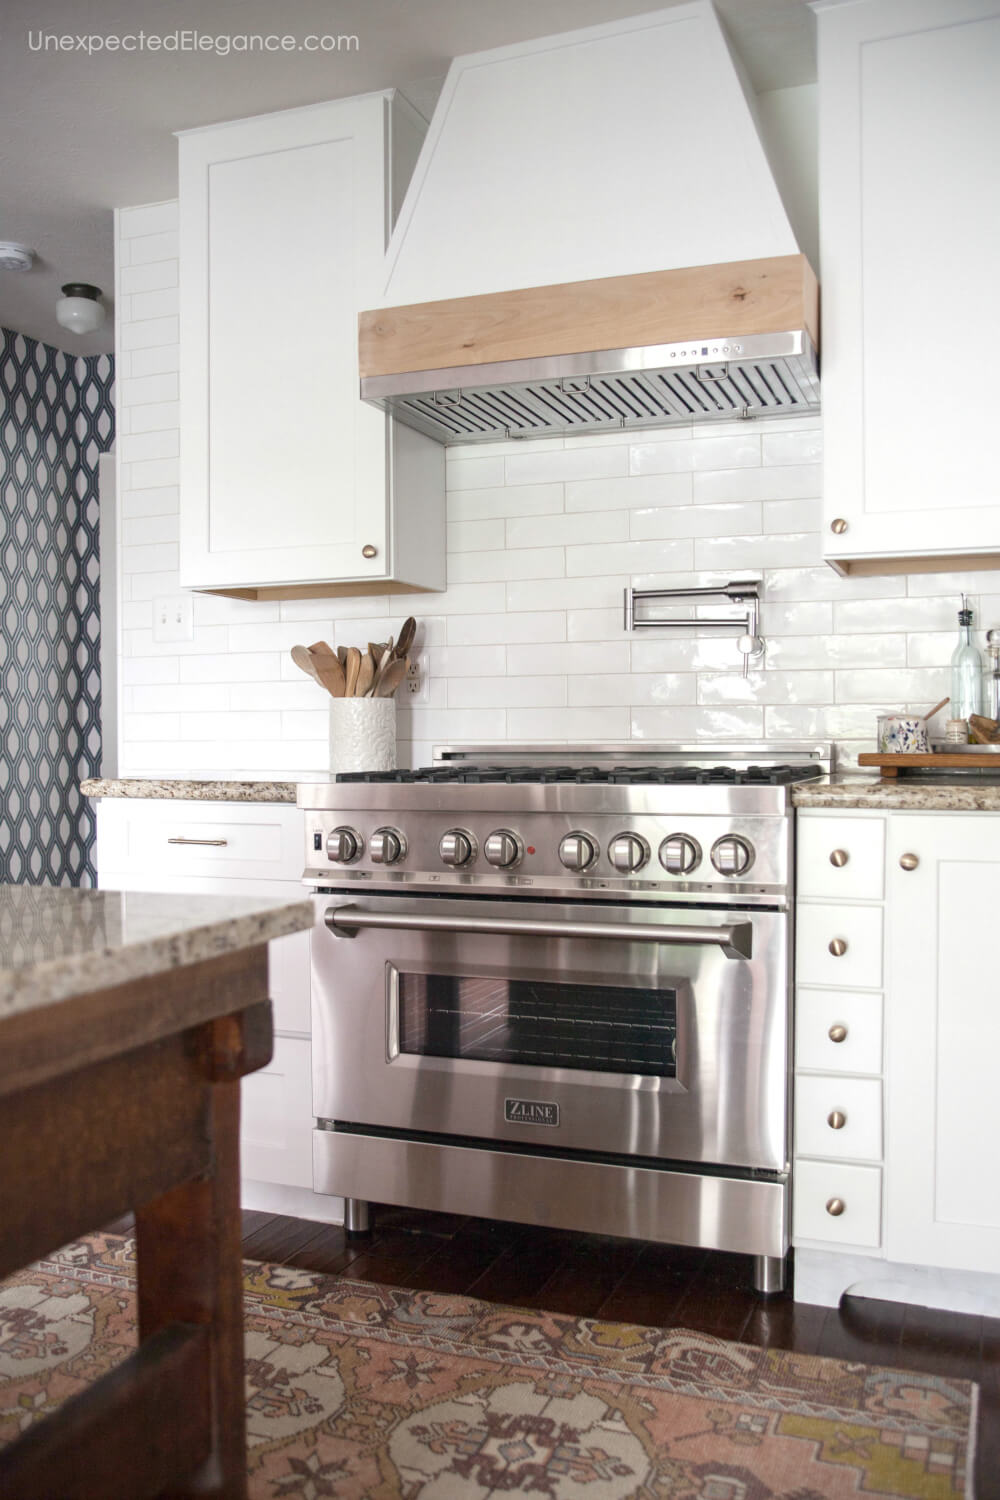
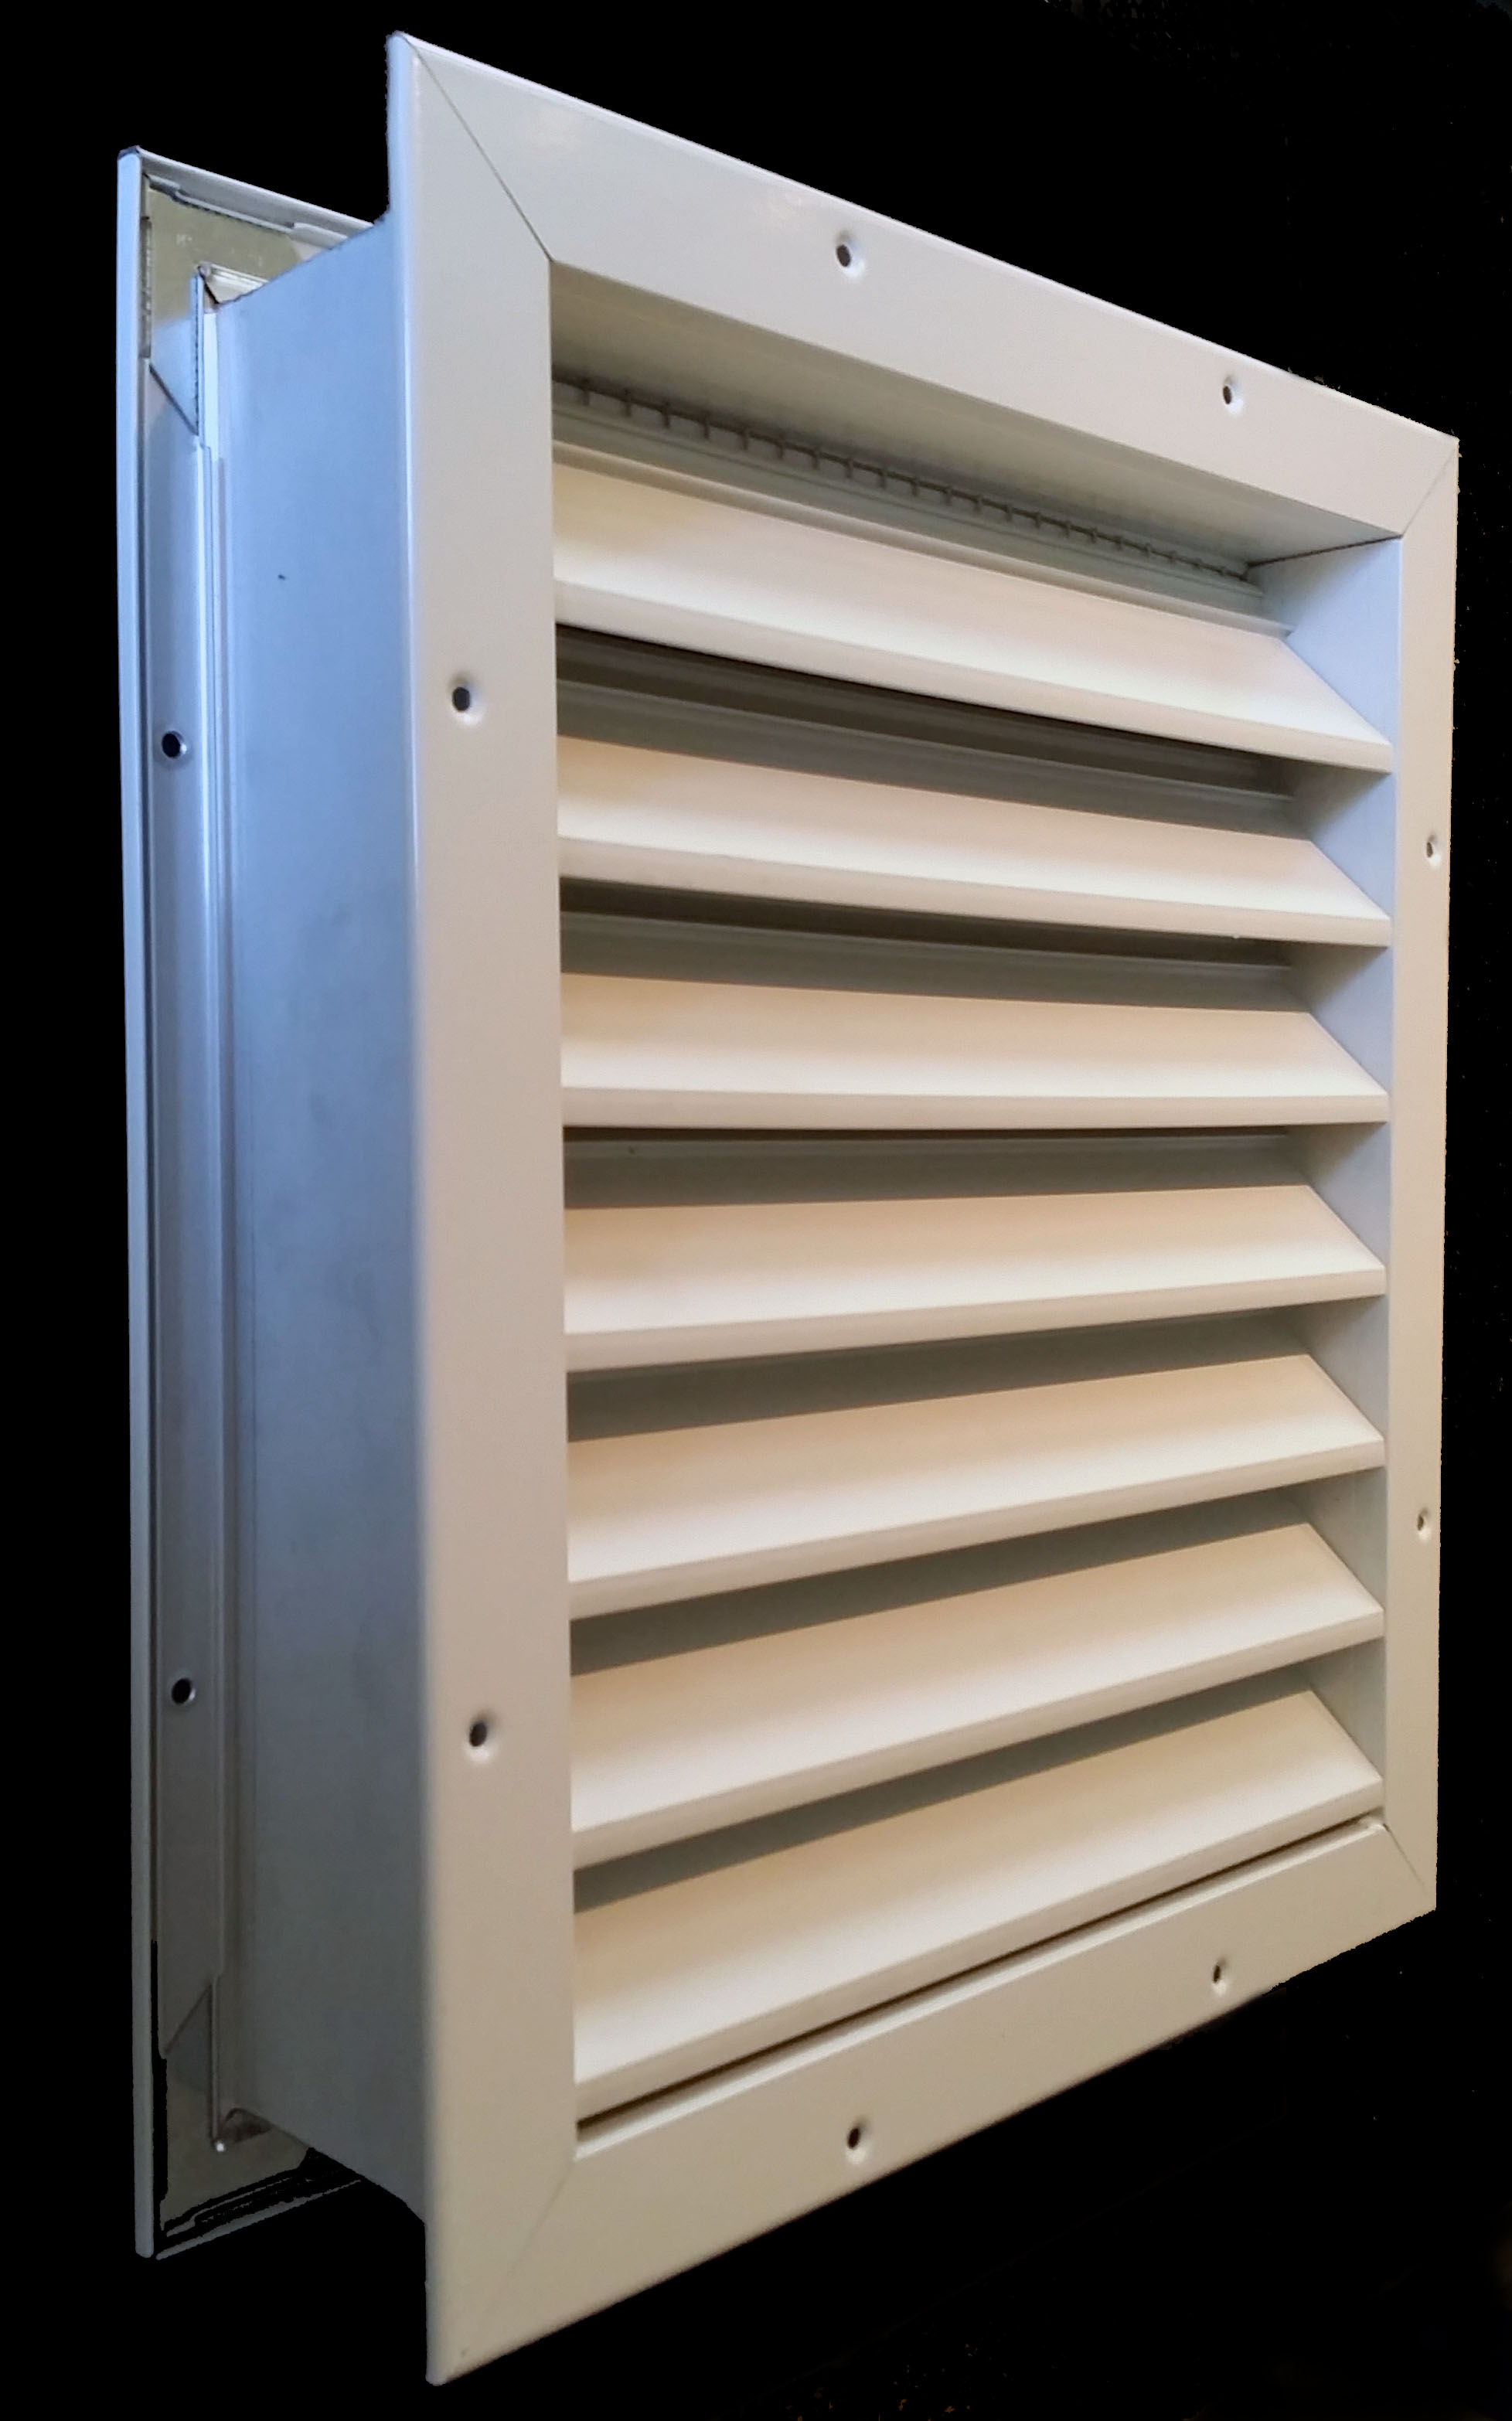
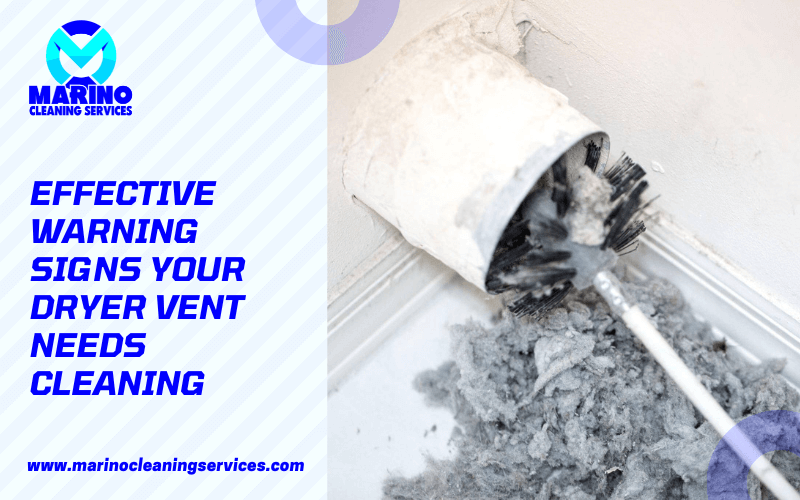
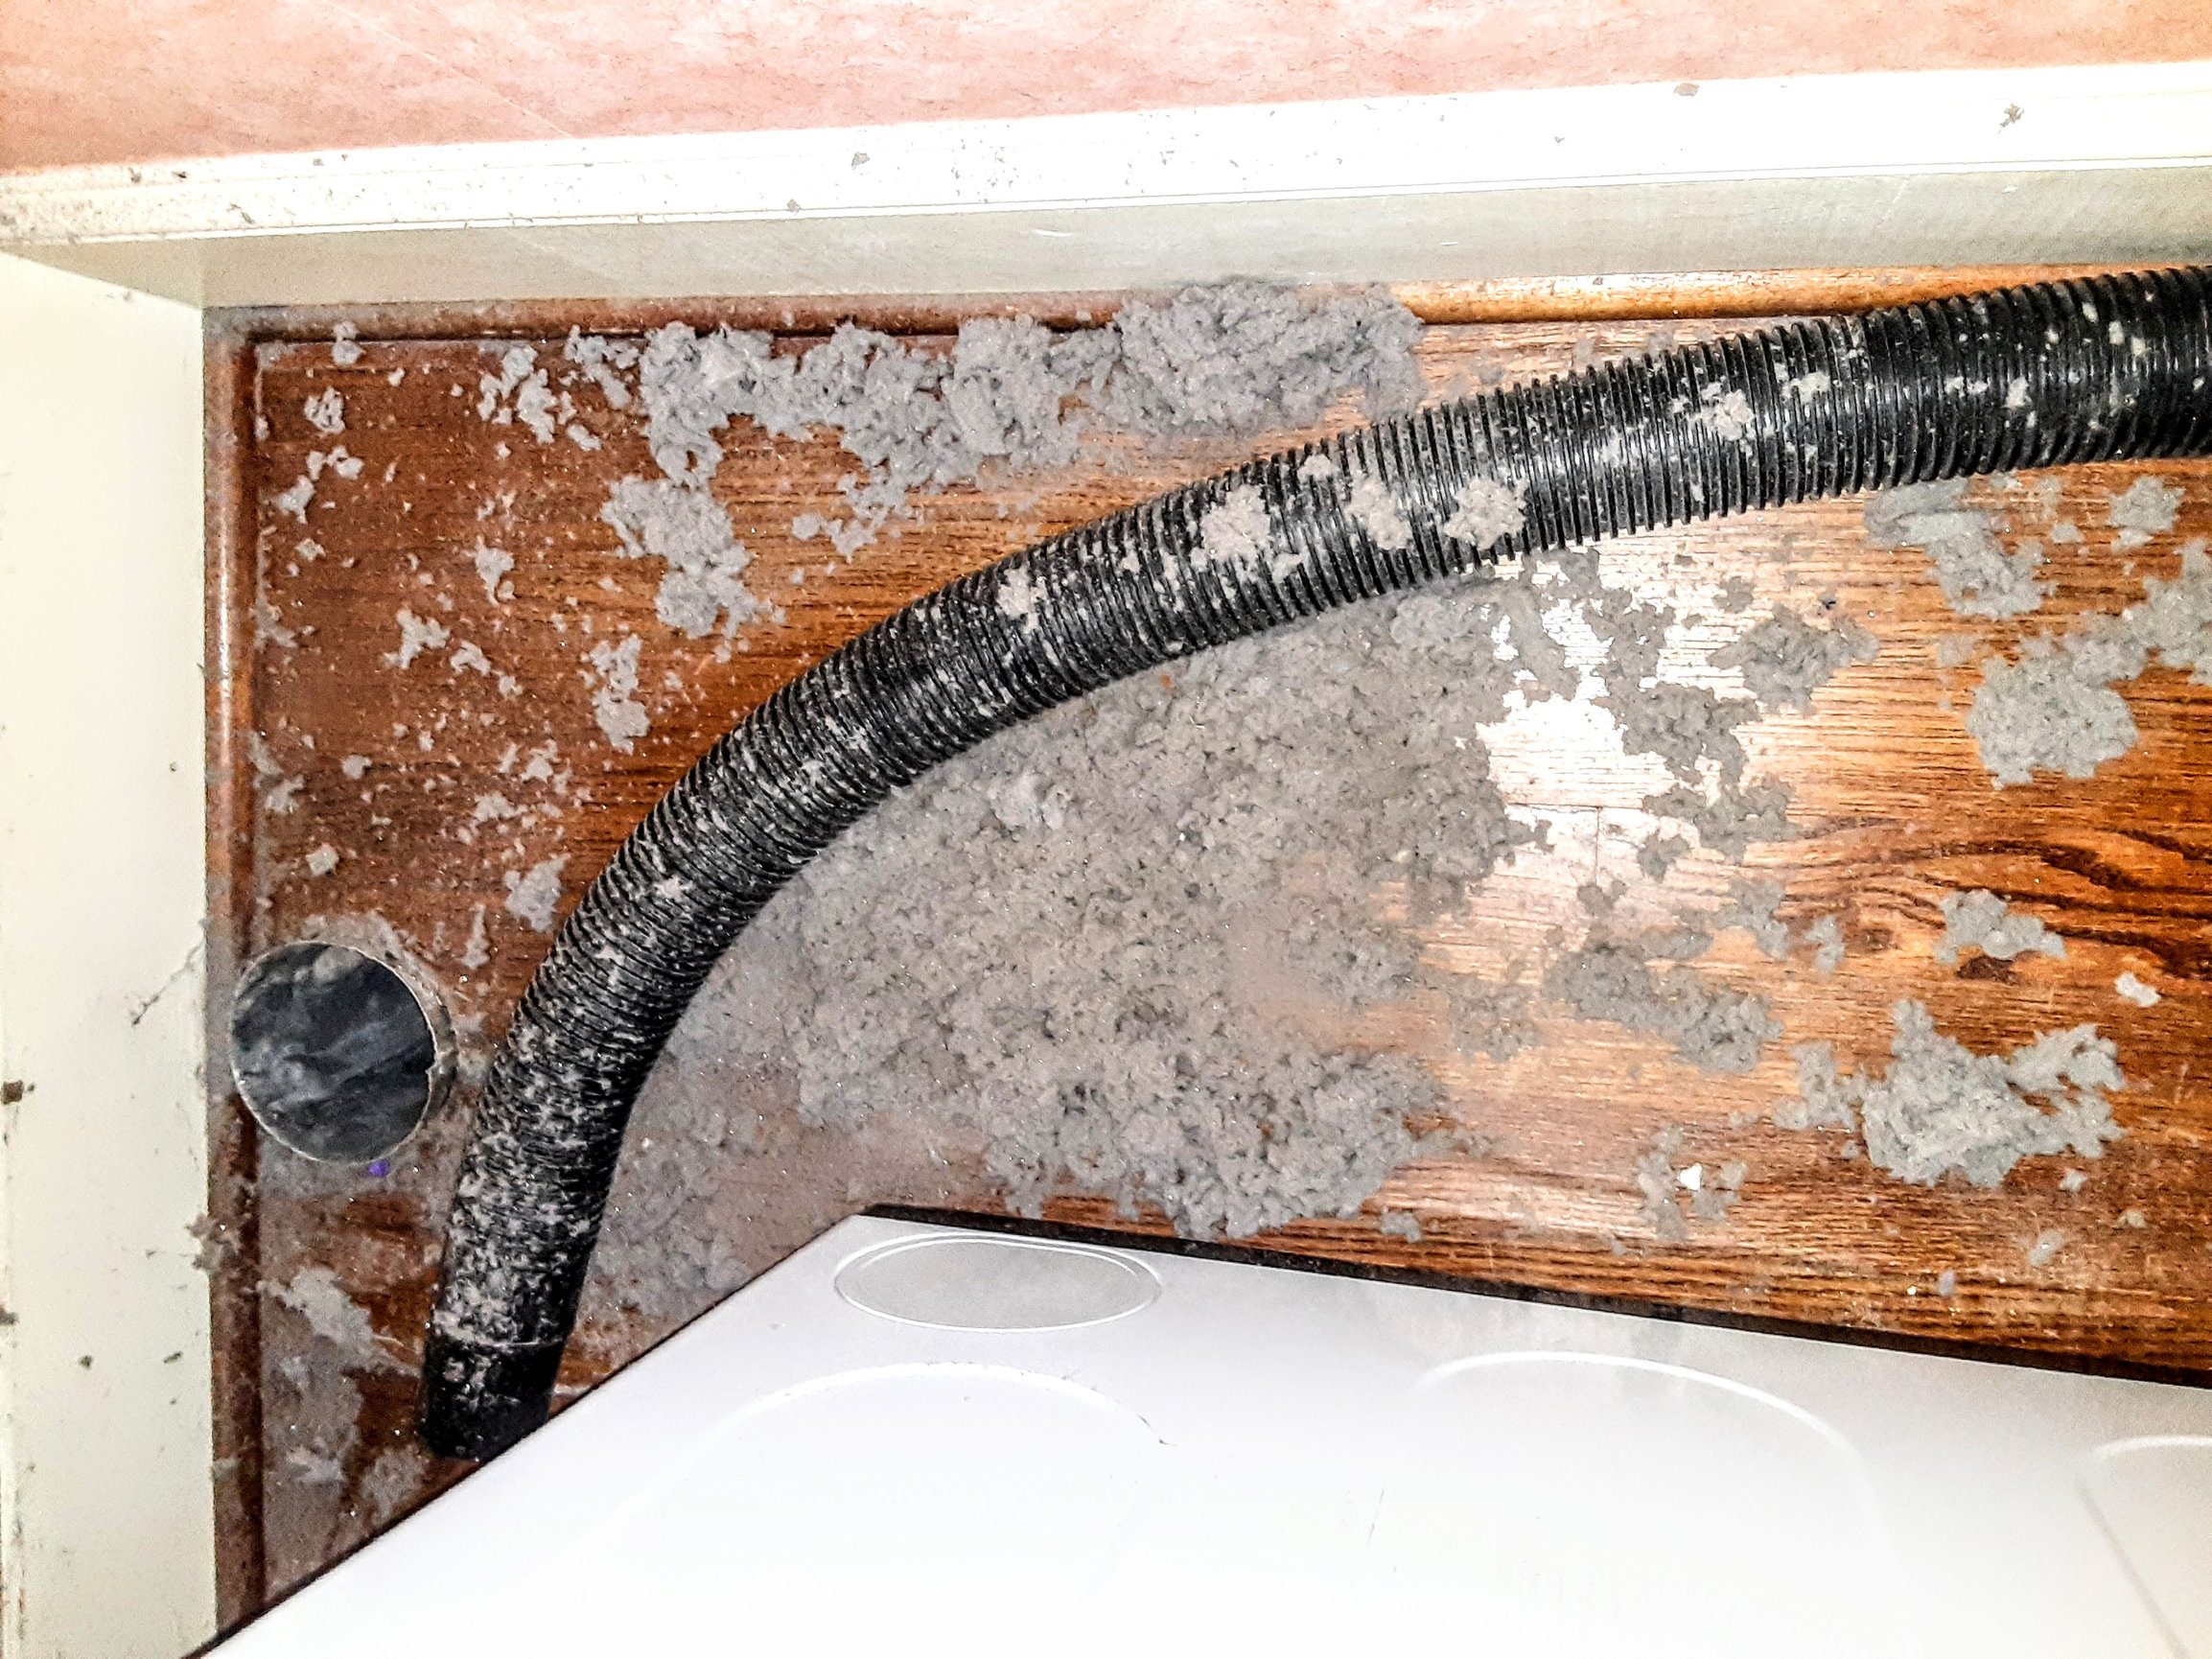
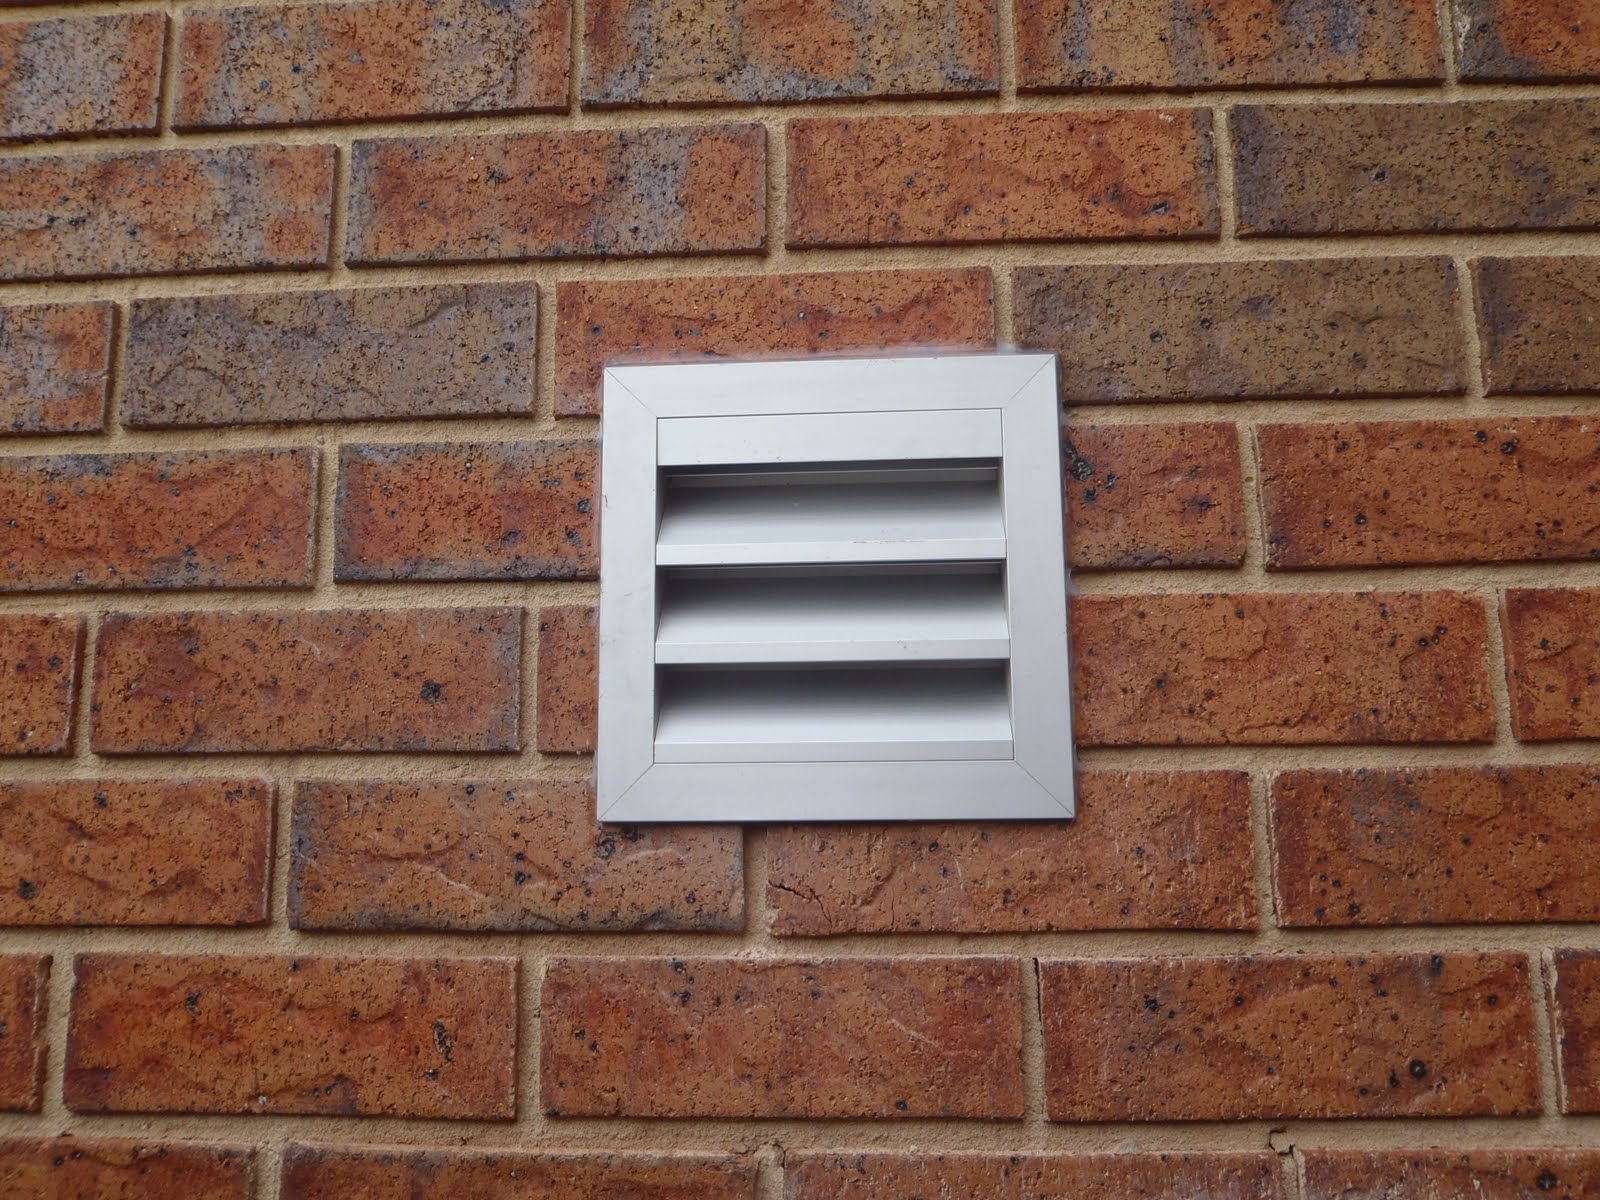
Knowing when it's time to replace your kitchen wall vent can save you from potential problems or damage in the future. Here are some signs to look out for: Sign 1: Excessive noise coming from the ventilation system. This may indicate a malfunction or damage that needs to be addressed. Sign 2: Inconsistent air flow. If you notice that the air flow from your vent is weak or inconsistent, it may be a sign that the vent needs to be replaced. Sign 3: Visible damage to the vent cover or ductwork. If you notice any cracks, dents, or holes in the vent cover or ductwork, it's time to replace it.When to Replace a Kitchen Wall Vent: Signs to Look Out For

-1920w.jpg)
When to Replace a Kitchen Wall Vent: Signs to Look Out For
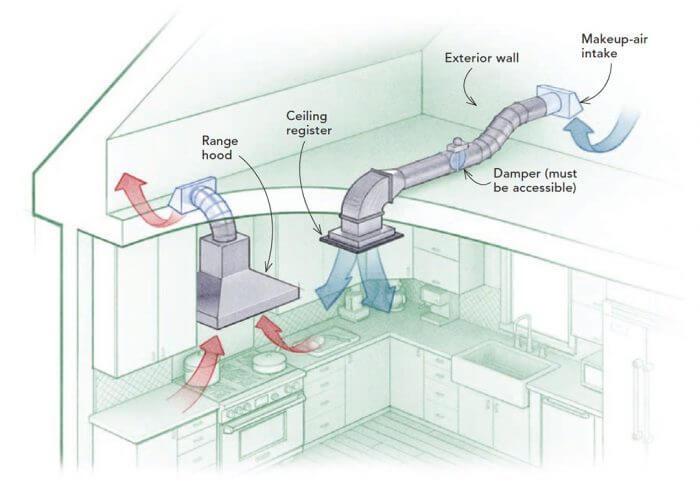


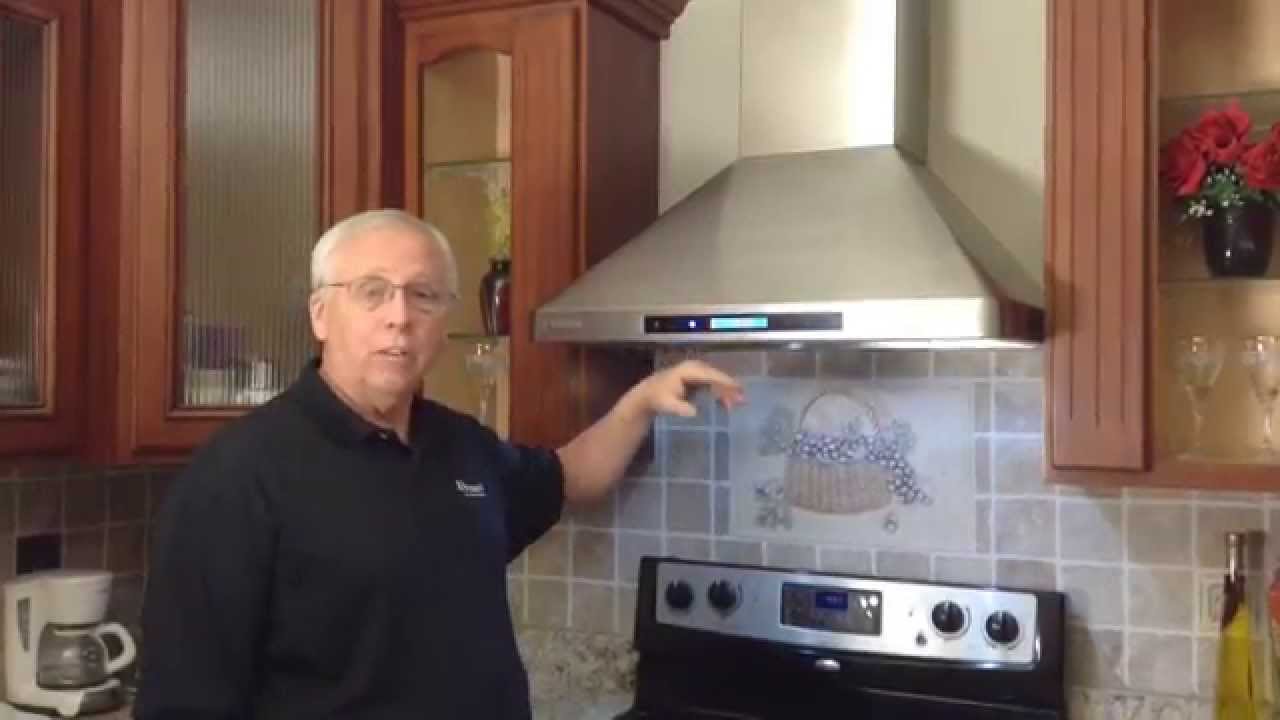
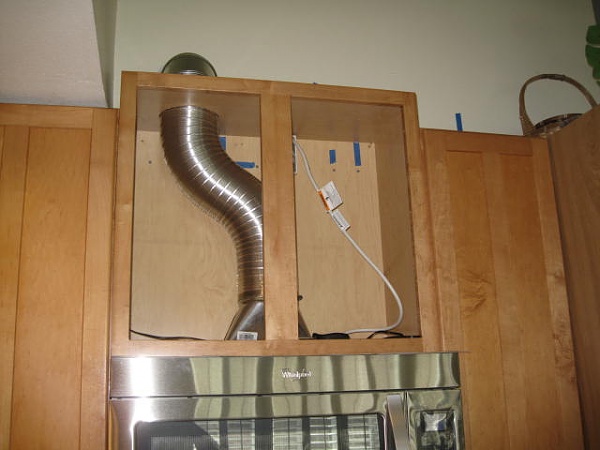
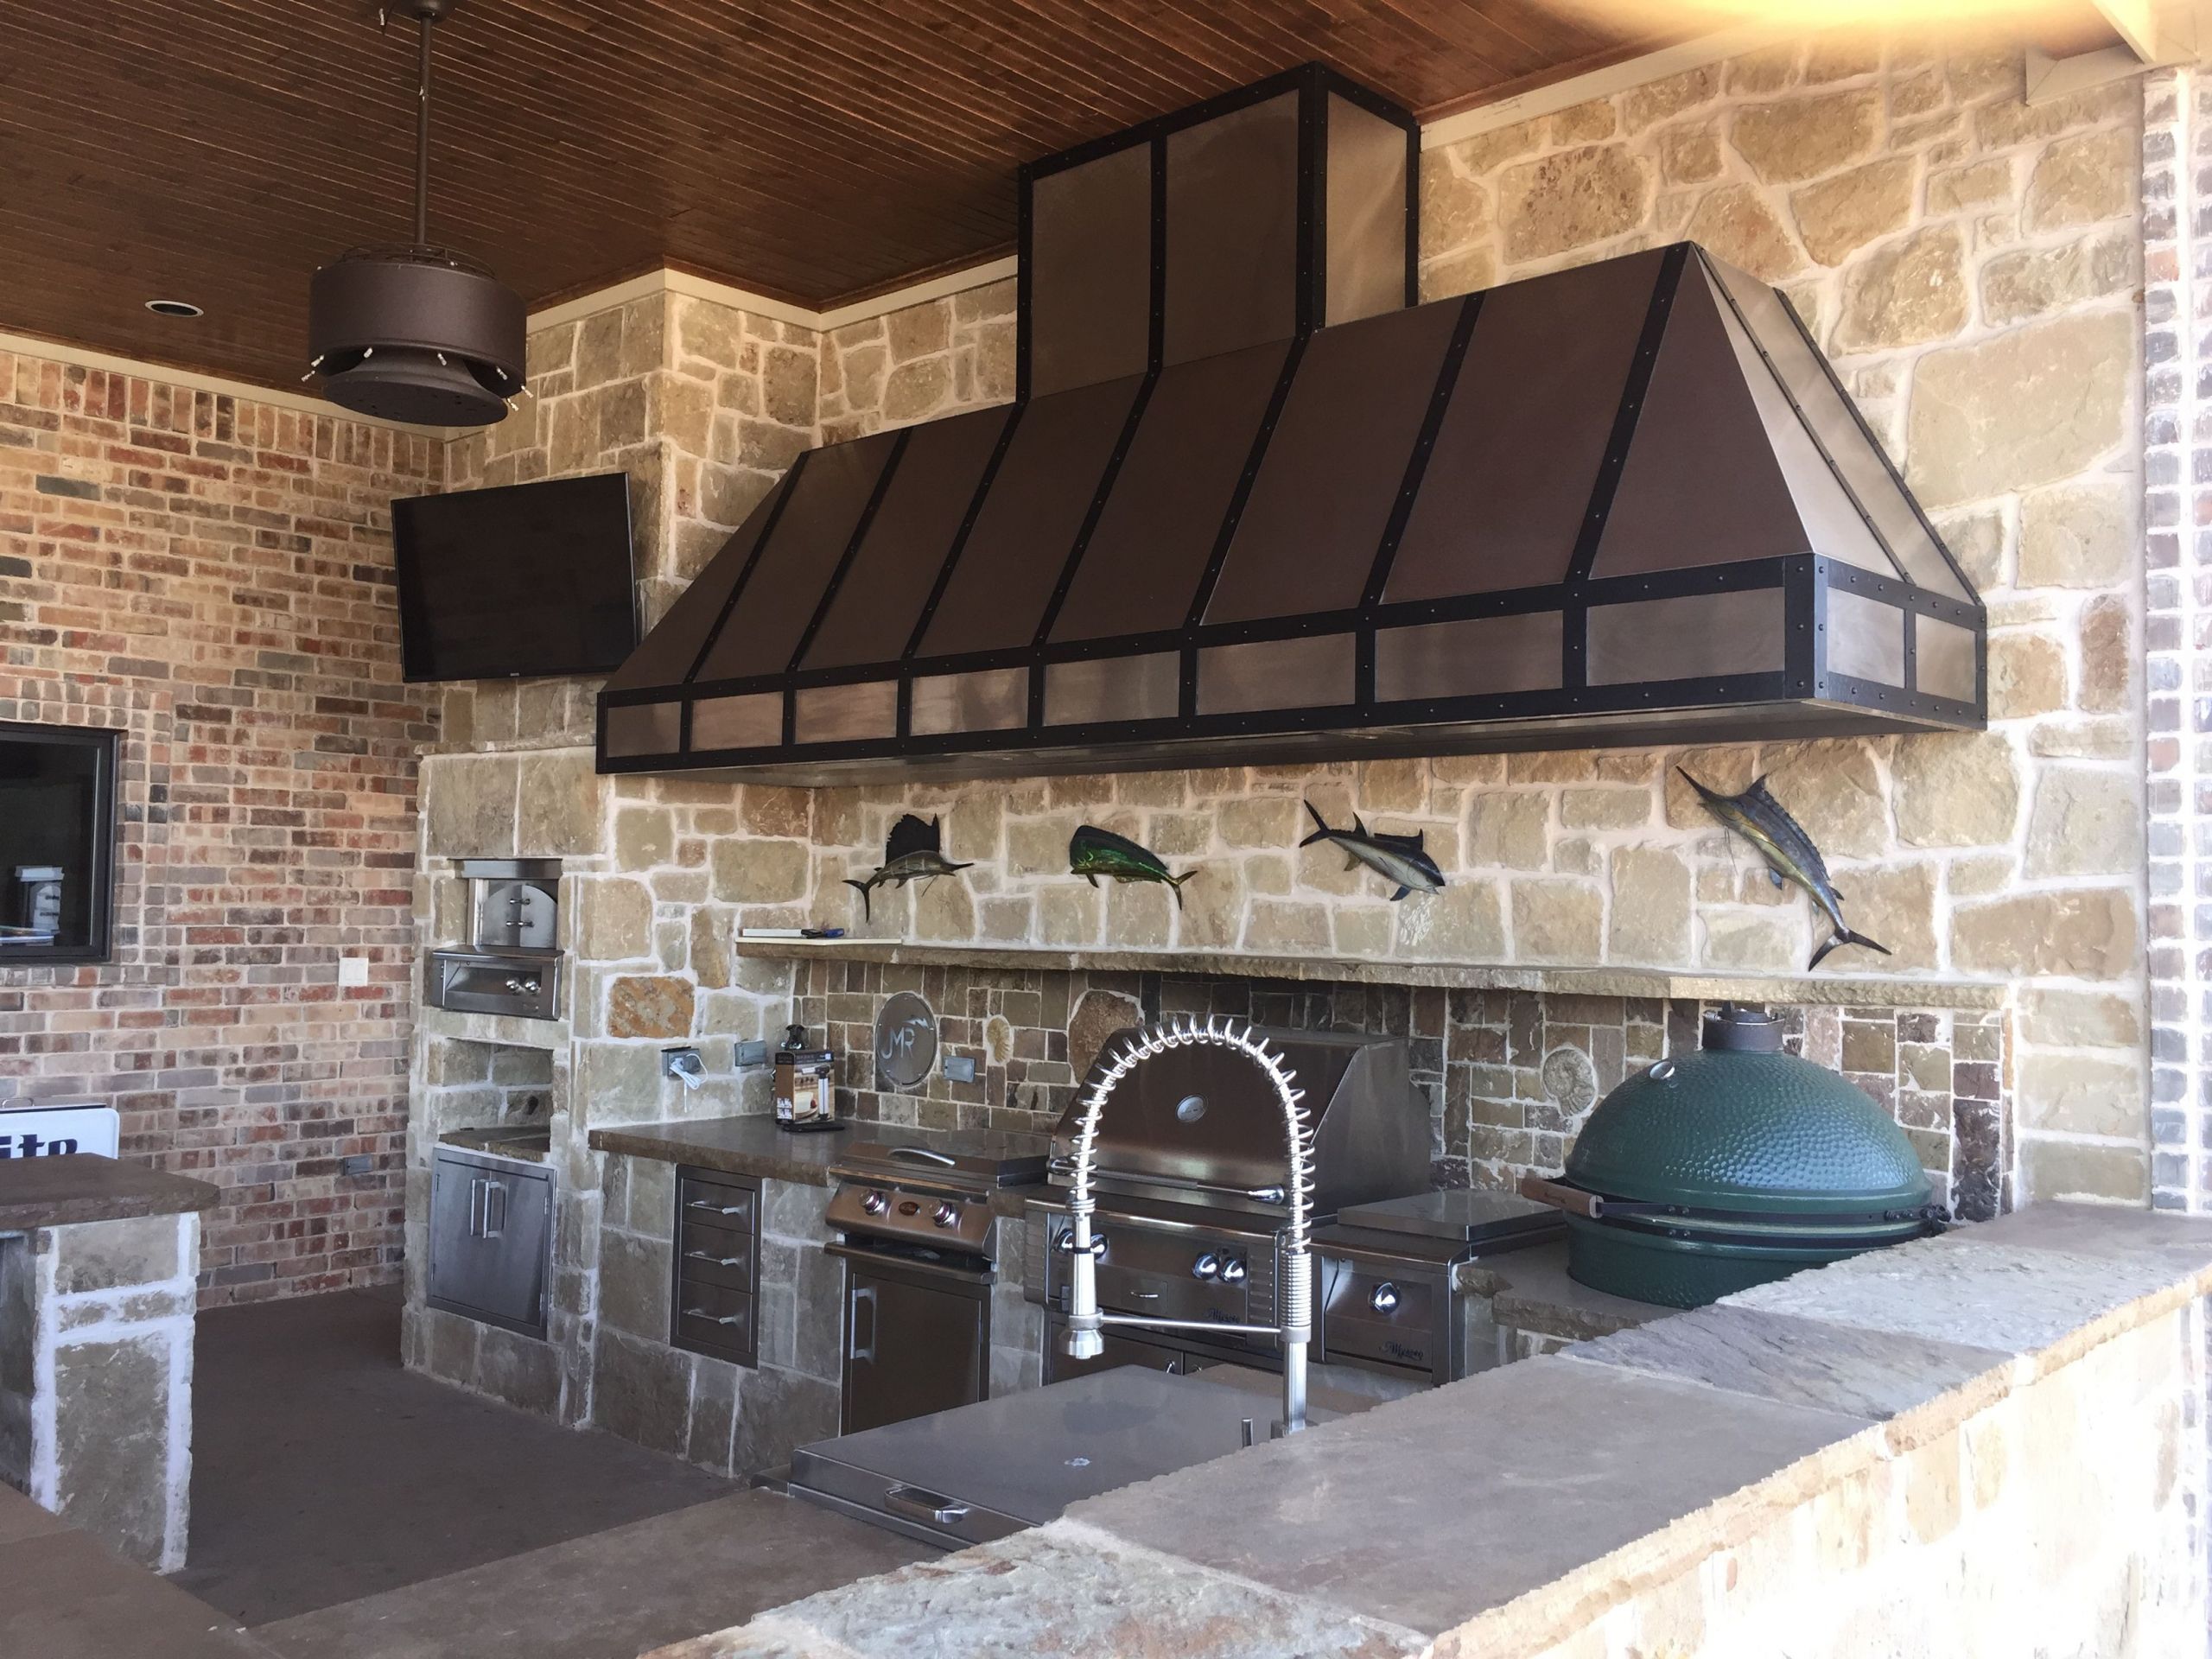
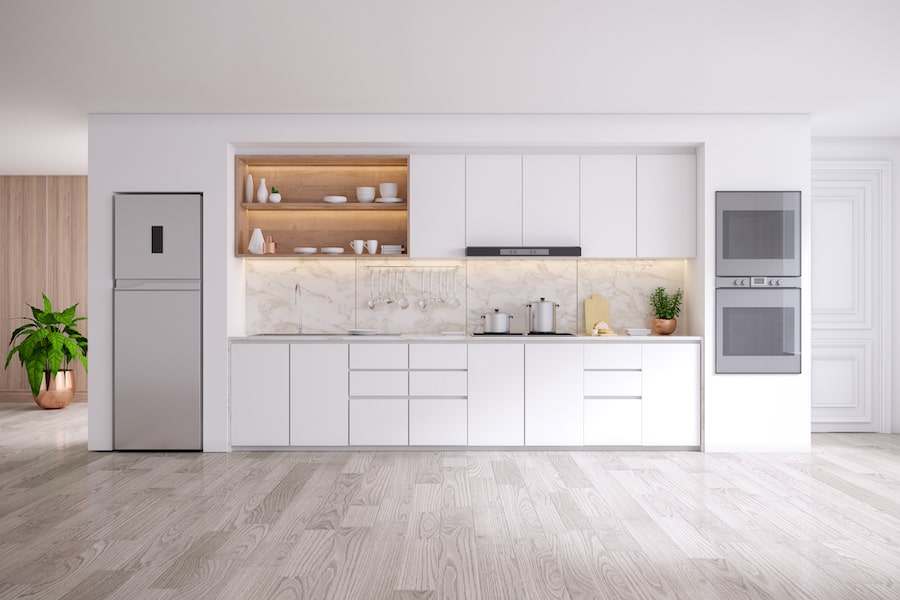
When it comes to choosing the right kitchen wall vent, there are a few factors to consider. These include the size of your kitchen, the type of ventilation system you have, and the overall aesthetic of your kitchen. Here are some tips to help you choose the perfect vent for your home: Tip 1: Measure the dimensions of your existing vent cover to ensure you purchase the correct size. Tip 2: Consider the type of ventilation system you have. If you have a ducted system, you will need a vent cover with a duct. If you have a ductless system, you will need a vent cover with a fan built-in. Tip 3: Choose a vent cover that matches the style and design of your kitchen. This will ensure a cohesive look and enhance the overall aesthetic of your space.How to Choose the Right Kitchen Wall Vent for Your Home
/cdn.vox-cdn.com/uploads/chorus_asset/file/19519613/04_vent_hoodBa.jpg)


How to Choose the Right Kitchen Wall Vent for Your Home


Deciding whether to hire a professional or tackle the project yourself is a personal choice. While hiring a professional may save you time and effort, it can also be more expensive. Here are some factors to consider when making your decision: Cost: If you have the tools and materials needed, replacing a kitchen wall vent yourself can save you money. However, if you need to purchase tools or are not confident in your abilities, hiring a professional may be a better option. Time: Replacing a kitchen wall vent can be a time-consuming task, especially if you're doing it for the first time. If you have a busy schedule, hiring a professional may be a better choice. Experience: If you have experience with DIY projects and feel confident in your abilities, replacing a kitchen wall vent should be a manageable task. However, if you're not comfortable with DIY projects, hiring a professional may be a safer option.Replacing a Kitchen Wall Vent: Professional vs. DIY


Replacing a Kitchen Wall Vent: Professional vs. DIY


The cost of replacing a kitchen wall vent can vary depending on the size, type, and complexity of the project. Here's a breakdown of the potential costs involved: Materials: Depending on the type of vent cover you choose, materials can cost anywhere from $20 to $100. Tools: If you don't already have the necessary tools, you may need to purchase them. This can range from $50 to $100. Professional Installation: If you choose to hire a professional, installation costs can range from $100 to $300, depending on the complexity of the project.Cost of Replacing a Kitchen Wall Vent: A Breakdown


Cost of Replacing a Kitchen Wall Vent: A Breakdown


While kitchen wall vents can last for several years, it's important to keep an eye on their condition and replace them when necessary. As a general rule of thumb, it's recommended to replace your kitchen wall vent every 5-10 years. However, if you notice any signs of damage or malfunction, it's best to replace it as soon as possible. Replacing a kitchen wall vent may seem like a daunting task, but with the right tools and knowledge, it can be a manageable DIY project. By following our step-by-step guide and tips, you can have a functional and efficient kitchen ventilation system in no time. Remember to always prioritize safety and consult a professional if you're unsure about any aspect of the project. Happy vent replacing!How Often Should You Replace Your Kitchen Wall Vent?


How Often Should You Replace Your Kitchen Wall Vent?


Why Replacing Your Kitchen Wall Vent is Important for a Well-Designed Home
 Replacing your kitchen wall vent may not be the most exciting home improvement project, but it is an important one. The kitchen vent is responsible for removing smoke, steam, and cooking odors from your home, keeping your kitchen smelling fresh and your indoor air quality healthy. Over time, these vents can become clogged with grease and debris, reducing their effectiveness and potentially causing damage to your kitchen. In this article, we will discuss the importance of replacing your kitchen wall vent and how it can improve the overall design and functionality of your home.
The Benefits of a Properly Functioning Kitchen Vent
 A properly functioning kitchen vent not only removes unpleasant smells and improves indoor air quality, but it also plays a crucial role in keeping your kitchen clean and safe. Grease and smoke can build up on your walls, cabinets, and appliances, causing discoloration and potentially creating a fire hazard. By properly venting these elements out of your home, you can prevent damage and ensure a safer environment for cooking.
Improving the Aesthetic of Your Kitchen
 Replacing your old, outdated kitchen vent with a new, modern one can also greatly improve the aesthetic of your kitchen. With a variety of styles and finishes available, you can choose a vent that complements your kitchen's design and adds a touch of elegance to the space. This small change can make a big impact on the overall look and feel of your kitchen, creating a more cohesive and visually appealing space.
Increasing Energy Efficiency
 If your kitchen vent is not functioning properly, it could be wasting energy and costing you more money on your utility bills. A clogged or damaged vent may not be able to efficiently remove air, causing your kitchen to become stuffy and leading to higher cooling costs. By replacing and properly maintaining your kitchen vent, you can improve energy efficiency, saving money in the long run.
Ensuring Proper Ventilation
 Proper ventilation in the kitchen is crucial for the health and safety of your home. Without a functioning vent, excess moisture and steam can lead to mold growth and potential structural damage. It is also important to have proper ventilation when using gas appliances, as they produce carbon monoxide, which needs to be vented outside. By replacing your kitchen vent, you can ensure that your home has adequate ventilation, keeping your family safe and healthy.
In conclusion, replacing your kitchen wall vent may seem like a small and insignificant task, but it plays a vital role in the design and functionality of your home. From improving indoor air quality to increasing energy efficiency and ensuring proper ventilation, a new kitchen vent can have a significant impact on your overall living space. So don't overlook this important aspect of your kitchen and consider replacing your vent for a fresher, safer, and more visually appealing home.
Proper ventilation in the kitchen is crucial for the health and safety of your home. Without a functioning vent, excess moisture and steam can lead to mold growth and potential structural damage. It is also important to have proper ventilation when using gas appliances, as they produce carbon monoxide, which needs to be vented outside. By replacing your kitchen vent, you can ensure that your home has adequate ventilation, keeping your family safe and healthy.
In conclusion, replacing your kitchen wall vent may seem like a small and insignificant task, but it plays a vital role in the design and functionality of your home. From improving indoor air quality to increasing energy efficiency and ensuring proper ventilation, a new kitchen vent can have a significant impact on your overall living space. So don't overlook this important aspect of your kitchen and consider replacing your vent for a fresher, safer, and more visually appealing home.


:max_bytes(150000):strip_icc()/galley-kitchen-ideas-1822133-hero-3bda4fce74e544b8a251308e9079bf9b.jpg)
:max_bytes(150000):strip_icc()/Chuck-Schmidt-Getty-Images-56a5ae785f9b58b7d0ddfaf8.jpg)
