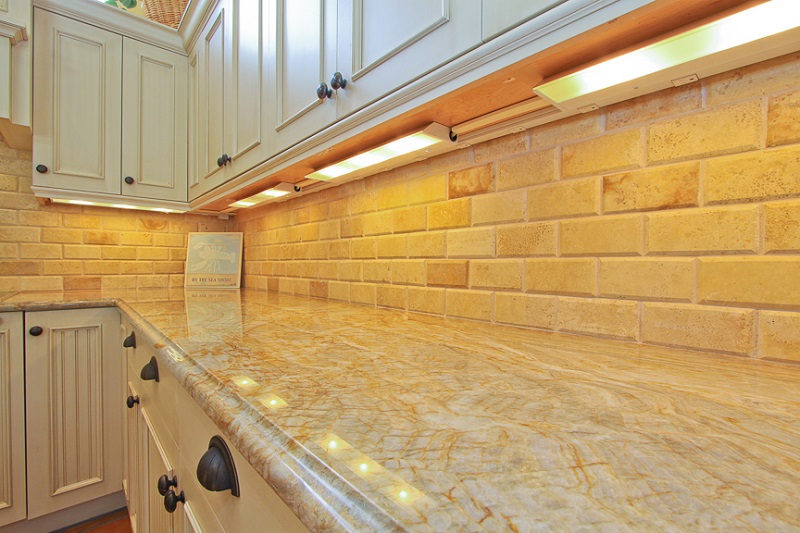
1. How to Replace a Fluorescent Light Fixture Under a Kitchen Cabinet
Are you tired of the harsh, flickering light of your kitchen's fluorescent fixture? Or maybe it's starting to make strange noises and you're worried it might give out soon. Whatever the reason, replacing the fluorescent light fixture under your kitchen cabinet is a simple and affordable DIY project that can instantly update the look and feel of your kitchen.
Before you get started, make sure to turn off the power to your light fixture at the circuit breaker. It's also a good idea to have a partner to help you with this project, as some steps may require an extra set of hands.
Here's a step-by-step guide on how to replace a fluorescent light fixture under your kitchen cabinet:
2. DIY: Replacing a Fluorescent Light Fixture Under a Kitchen Cabinet
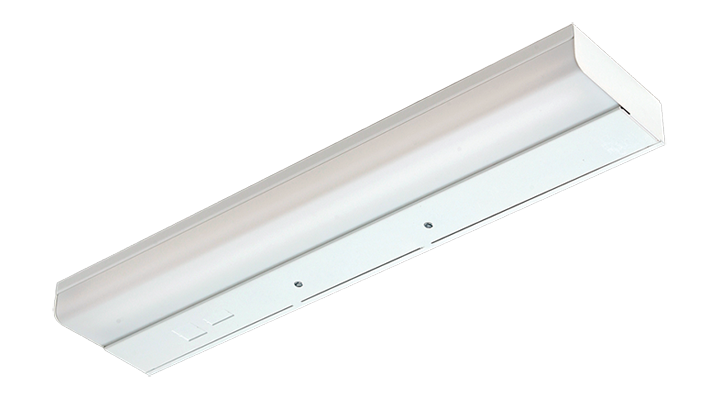
Replacing a fluorescent light fixture may sound like a daunting task, but with the right tools and instructions, it can be a simple DIY project. The first step is to gather your tools, which may include a screwdriver, wire stripper, wire nuts, and a new fluorescent light fixture that fits the dimensions of your current one.
Once you have your tools and replacement fixture, you can follow the steps outlined below to successfully replace your old fluorescent light:
3. Step-by-Step Guide for Replacing a Fluorescent Light Fixture Under a Kitchen Cabinet
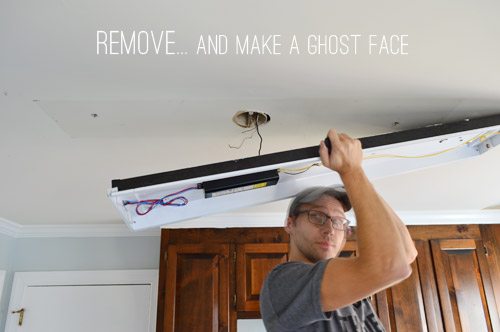
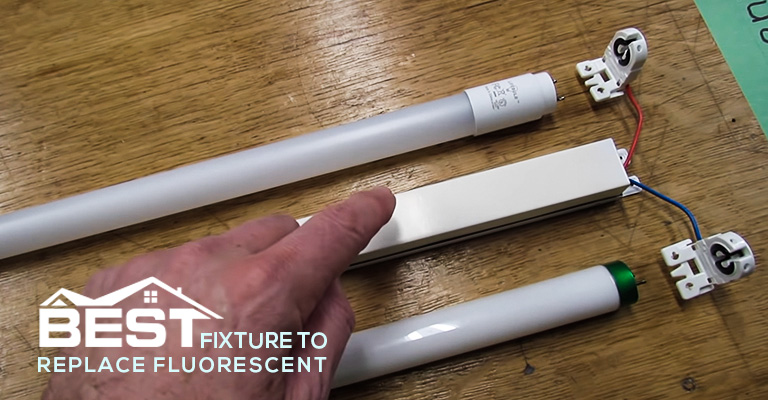
The first step is to remove the cover of your old fluorescent light fixture. This can usually be done by gently pulling down on the sides of the cover or by unscrewing it from the base. Once the cover is removed, you will see the fluorescent tubes.
Next, turn the tubes counterclockwise to release them from the fixture. Be careful not to break them as you remove them. Once the tubes are removed, you can unscrew the fixture from the cabinet.
Now, it's time to disconnect the wiring. Use a wire stripper to strip the ends of the wire, then separate the wires from the fixture. Take note of which wire is black and which is white, as this will be important when connecting the new fixture.
Take your new fixture and attach the wires using wire nuts. Connect the black wire to the black wire and the white wire to the white wire. Make sure the connections are secure.
Once the wires are connected, you can attach the new fixture to the cabinet using screws. Then, you can insert the new fluorescent tubes by pushing them into the fixture and turning them clockwise to lock them in place.
Finally, replace the cover of the fixture and turn the power back on at the circuit breaker. Your new fluorescent light should now be installed and ready to use.
4. Tips for Replacing a Fluorescent Light Fixture Under a Kitchen Cabinet
Here are some additional tips to keep in mind when replacing a fluorescent light fixture under your kitchen cabinet:
- Make sure to measure the dimensions of your current fixture before purchasing a replacement to ensure it will fit properly.
- Consider upgrading to LED lights, which are more energy-efficient and have a longer lifespan than fluorescent lights.
- If your new fixture doesn't come with a cover, consider purchasing a diffuser to soften the light and reduce glare.
- If you're unsure about connecting the wiring, it's always best to consult a professional to avoid any electrical hazards.
5. What You Need to Know Before Replacing a Fluorescent Light Fixture Under a Kitchen Cabinet
Before you start this project, it's important to know that not all fluorescent light fixtures are the same. Some may have different wiring or mounting methods, so it's best to consult the manufacturer's instructions or a professional if you're unsure.
It's also important to take safety precautions when working with electricity. Make sure to turn off the power at the circuit breaker and use caution when handling the wiring and fluorescent tubes.
6. Common Mistakes to Avoid When Replacing a Fluorescent Light Fixture Under a Kitchen Cabinet
Replacing a fluorescent light fixture under your kitchen cabinet may seem like a simple task, but there are some common mistakes that can easily be avoided:
- Not turning off the power at the circuit breaker before starting the project.
- Installing a fixture that is the wrong size or type for your existing wiring and mounting method.
- Not properly connecting the wiring, which can lead to electrical hazards.
- Breaking the fluorescent tubes while removing or installing them.
By being mindful of these potential mistakes, you can ensure a smooth and successful replacement of your fluorescent light fixture.
7. How to Choose the Right Replacement Fluorescent Light Fixture for Under Kitchen Cabinets
There are a few factors to consider when choosing a replacement fluorescent light fixture for under your kitchen cabinets:
- Size: Make sure to measure the dimensions of your current fixture to ensure the replacement will fit properly.
- Type: There are different types of fluorescent lights, such as T5, T8, and T12. Make sure to choose the right type for your existing fixture.
- Mounting method: Some fixtures may be surface-mounted, while others may be recessed. Make sure to choose a replacement that matches your current mounting method.
- Energy efficiency: Consider upgrading to LED lights, which are more energy-efficient and have a longer lifespan.
8. Safety Precautions to Take When Replacing a Fluorescent Light Fixture Under a Kitchen Cabinet
As mentioned before, it's important to take safety precautions when working with electricity. Here are some specific precautions to keep in mind when replacing a fluorescent light fixture under your kitchen cabinet:
- Turn off the power at the circuit breaker before starting the project.
- Use caution when handling the wiring and fluorescent tubes.
- Wear protective gear, such as gloves and safety glasses, to avoid any injuries.
- If you're unsure about any step of the project, it's best to consult a professional.
9. Cost Comparison: Replacing a Fluorescent Light Fixture Under a Kitchen Cabinet vs. Hiring a Professional
If you're on a budget, replacing a fluorescent light fixture under your kitchen cabinet can be an affordable DIY project. However, if you're not comfortable working with electricity or you have a more complex fixture, it may be best to hire a professional.
The cost of hiring a professional can vary depending on the complexity of the project and your location. On average, the cost can range from $100 to $300, which may include the cost of the new fixture.
10. Alternative Lighting Options for Under Kitchen Cabinet Spaces
If you're tired of the harsh and outdated look of fluorescent lights under your kitchen cabinets, there are alternative lighting options you can consider:
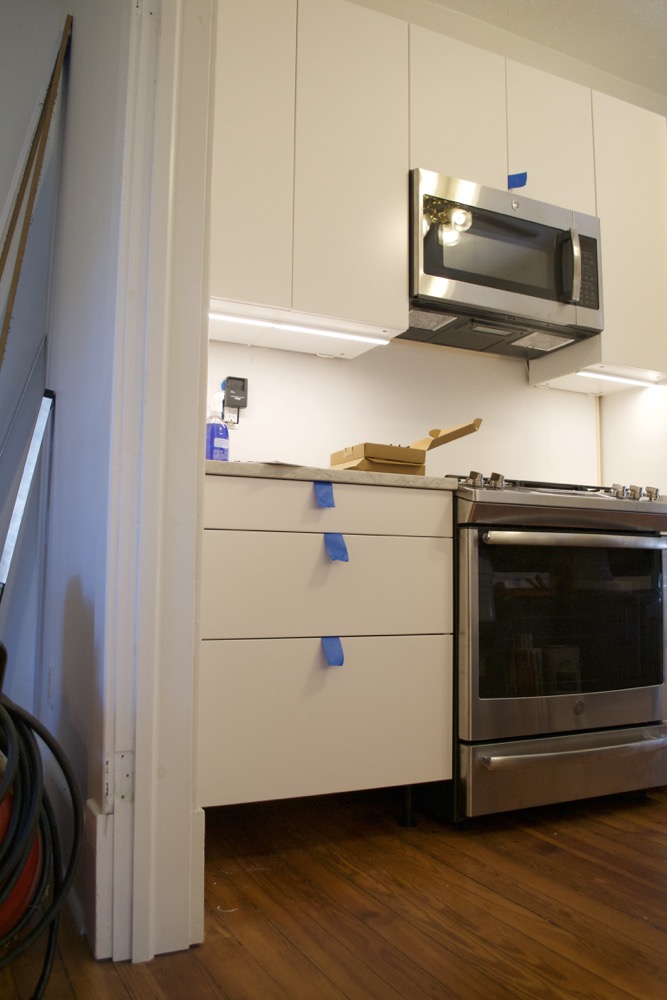
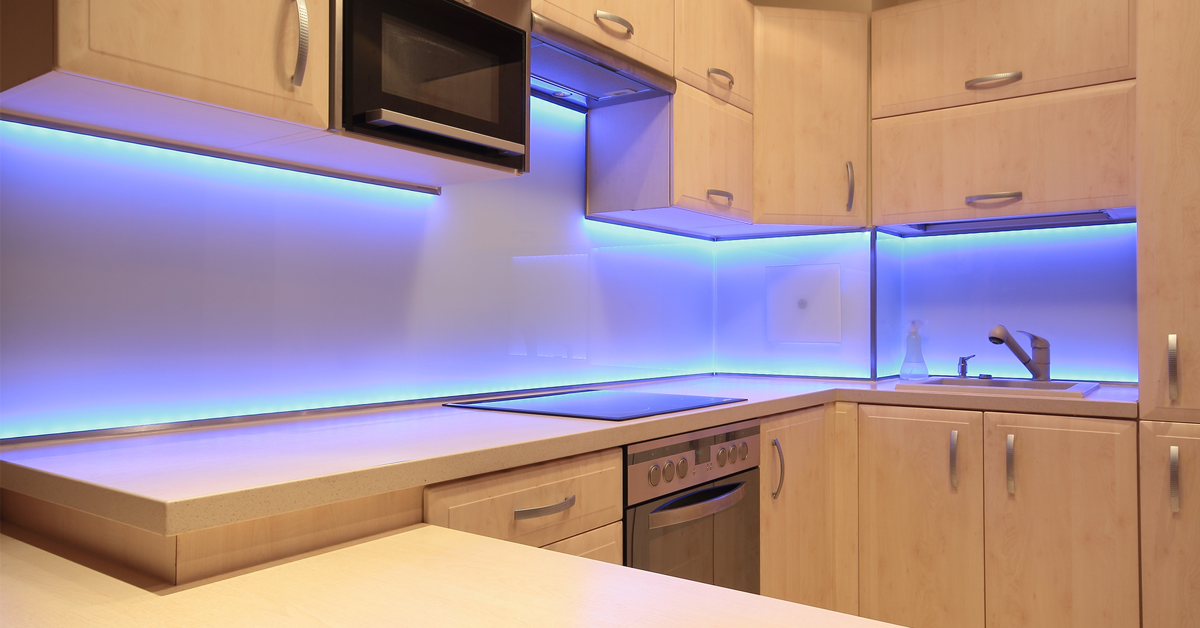
- LED strip lights: These can be easily installed under cabinets and provide a more modern and energy-efficient lighting option.
- Puck lights: These small, round lights can be installed under cabinets and provide a focused light source.
- Rope lights: These can also be installed under cabinets and provide a soft and subtle lighting option.
Whichever option you choose, make sure to consider the size, type, and cost to find the best fit for your kitchen.
In conclusion, replacing a fluorescent light fixture under your kitchen cabinet is a simple and affordable DIY project that can instantly update the look and feel of your kitchen. By following these tips and safety precautions, you can successfully complete the project and enjoy a brighter and more modern kitchen space.
The Benefits of Replacing Fluorescent Light Fixtures Under the Kitchen Cabinet

Illuminate Your Kitchen with a Modern Touch
 Replacing fluorescent light fixtures under the kitchen cabinet can have a significant impact on the overall design and functionality of your kitchen. Not only will it provide better lighting for cooking and food preparation, but it will also add a modern touch to your space. With fluorescent lighting becoming outdated, upgrading to newer and more energy-efficient options is a wise decision.
Enhance Task Lighting
 Fluorescent light fixtures
are often dull and produce a harsh, artificial light that can strain the eyes. Upgrading to LED or halogen lights can provide a brighter and more natural light, making it easier to see while cooking. This will enhance the
task lighting
in your kitchen, making it easier to chop, mix, and read recipes without any glare or shadows.
Save Energy and Money
 Replacing fluorescent light fixtures with more energy-efficient options can also help you save on your energy bill. LED lights use significantly less energy than fluorescent lights, and they have a longer lifespan. This means you will not only save money on your energy bill, but you will also save on the cost of replacing bulbs frequently.
Customize Your Lighting
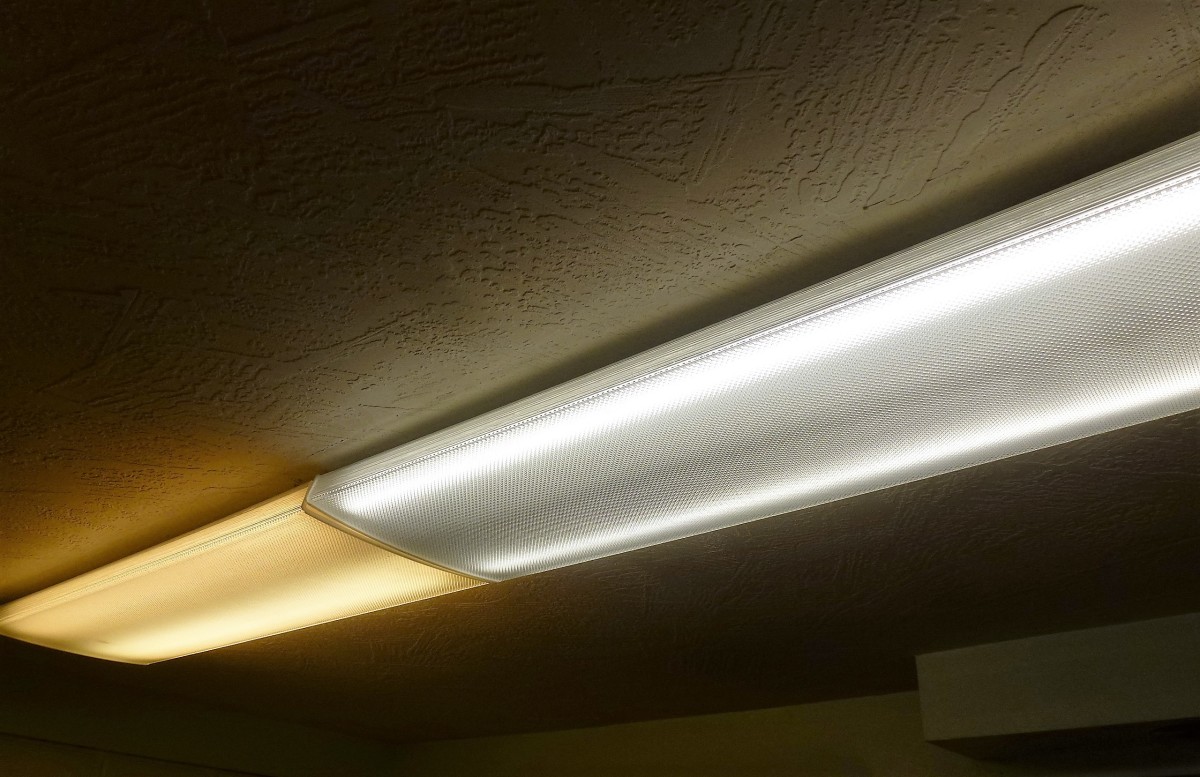 With fluorescent light fixtures, you are limited to the standard tube or strip lighting. However, with newer options, you can customize your lighting to fit your personal style and needs. LED lights come in a variety of colors and can be dimmed to create a cozy and inviting atmosphere in your kitchen.
Update the Look of Your Kitchen
 By replacing your old fluorescent light fixtures, you can give your kitchen a much-needed update. The sleek and modern design of newer lighting options can add a touch of elegance to your space. Plus, with the variety of styles and finishes available, you can choose a lighting fixture that complements your kitchen's design and color scheme.
In conclusion, replacing fluorescent light fixtures under the kitchen cabinet is a simple and cost-effective way to improve the overall design and functionality of your kitchen. Not only will it provide better lighting for cooking and food preparation, but it will also add a modern touch to your space. So, say goodbye to outdated fluorescent lighting and hello to a more efficient and stylish kitchen.


