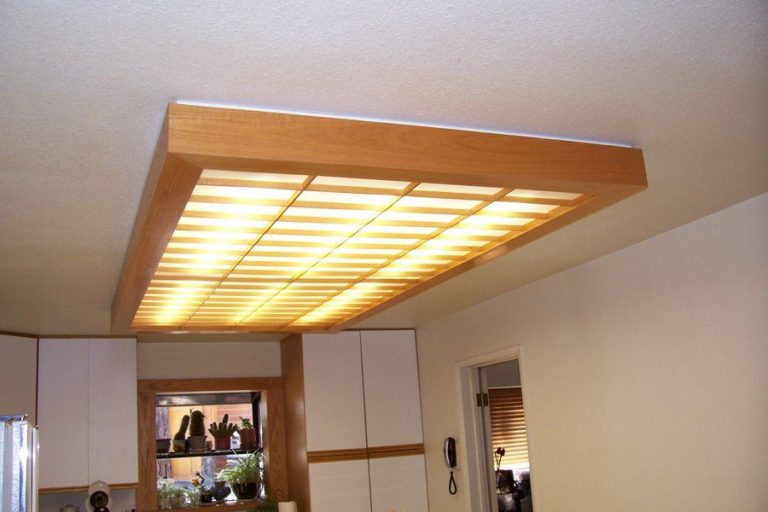
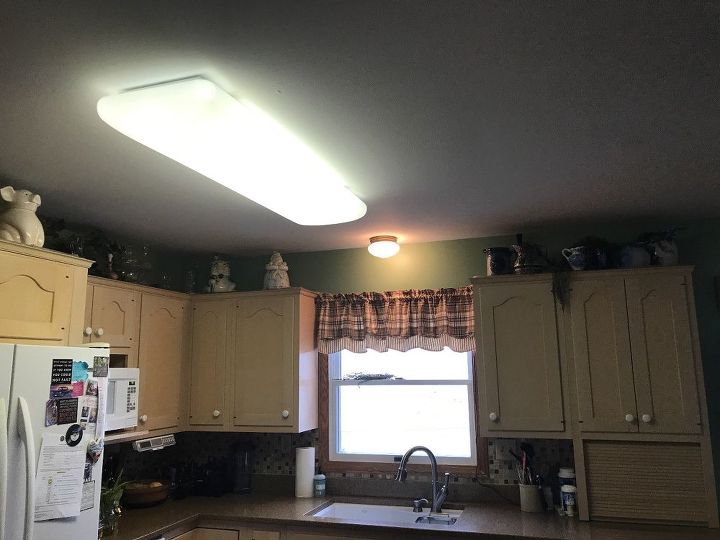
If you have a kitchen ceiling light that uses a fluorescent light bulb, chances are you will eventually need to replace it. While fluorescent bulbs are known for their energy efficiency and long lifespan, they do eventually burn out and need to be replaced. If you're not sure how to go about replacing a fluorescent light bulb in your kitchen ceiling light, don't worry. In this guide, we'll walk you through the steps to make the process quick and easy. How to Replace a Fluorescent Light Bulb in a Kitchen Ceiling Light


How to Replace a Fluorescent Light Bulb in a Kitchen Ceiling Light


Before you begin, make sure you have all the necessary supplies. You will need a replacement fluorescent light bulb, a ladder or step stool, and a pair of gloves to protect your hands. It's also a good idea to have a screwdriver on hand in case you need to remove any screws to access the bulb.Step 1: Gather Your Supplies


How to Replace a Fluorescent Light Bulb in a Kitchen Ceiling Fixture

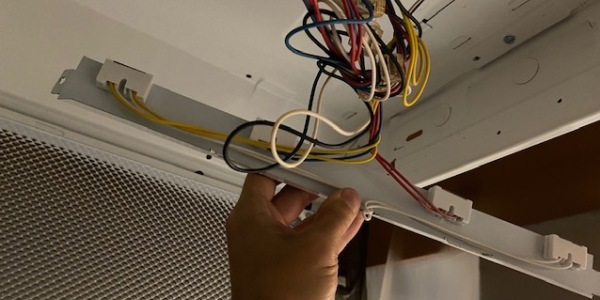
Before you start working on replacing the bulb, make sure to turn off the power to the light fixture. This can be done by flipping the switch on the wall or turning off the circuit breaker. It's important to ensure that there is no power running to the fixture to avoid any accidents.Step 2: Turn Off the Power


Step-by-Step Guide to Replacing a Fluorescent Light Bulb in a Kitchen Ceiling Light

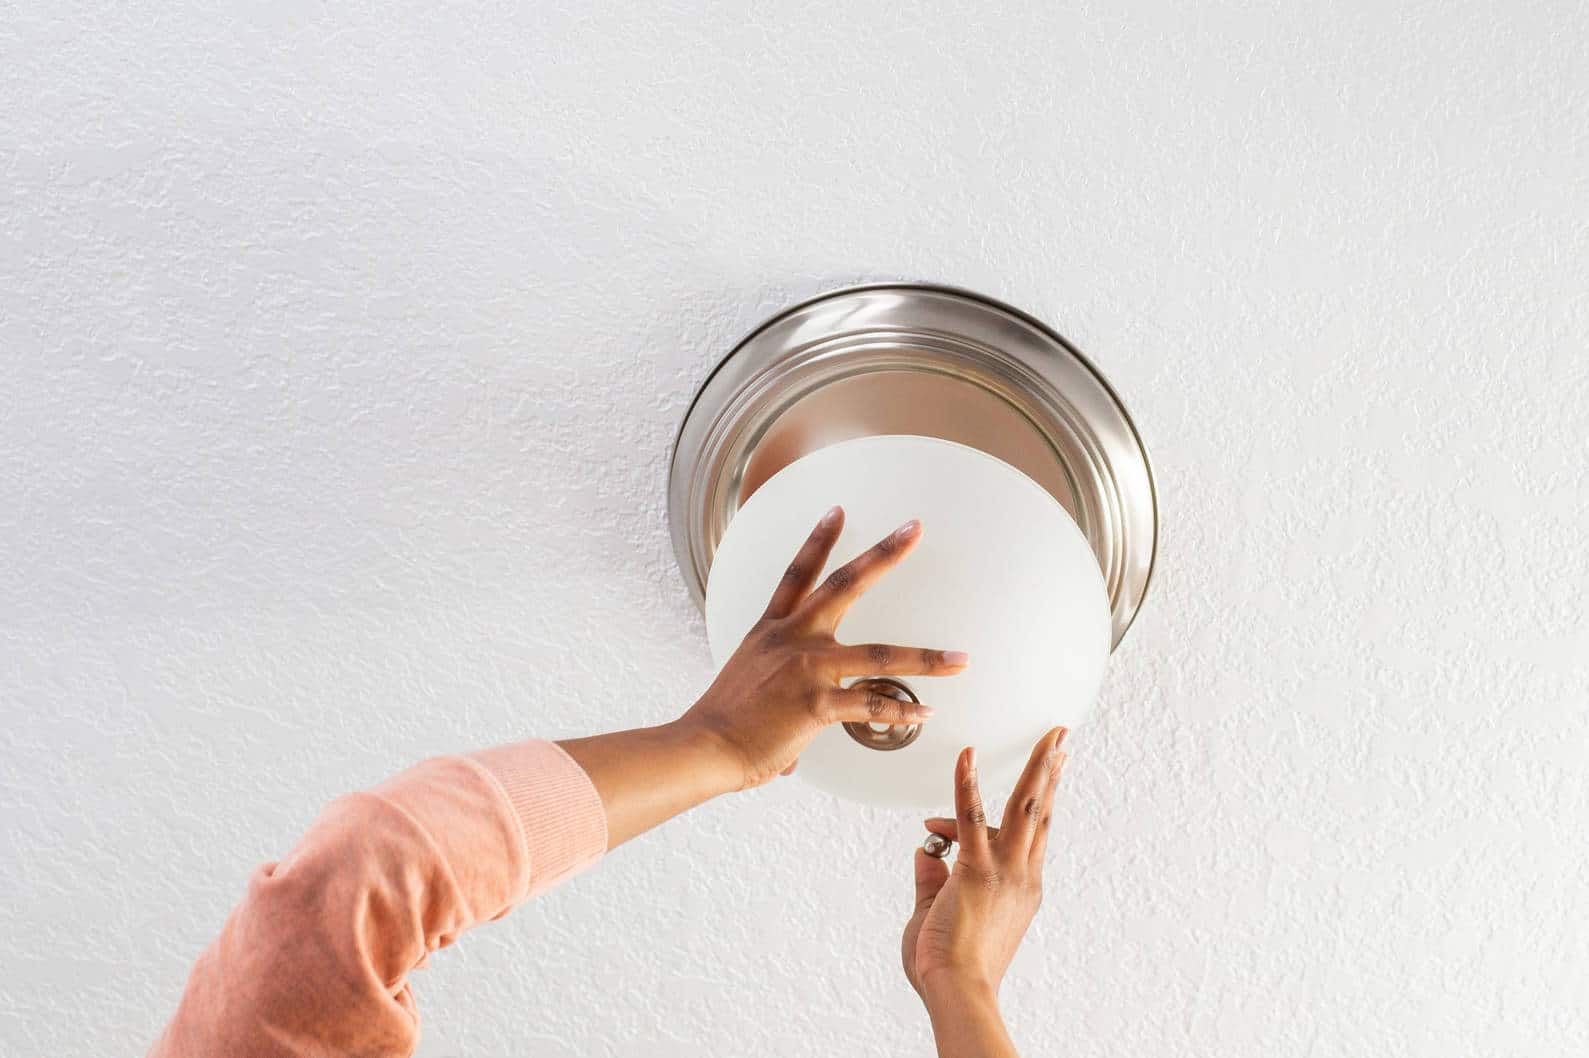


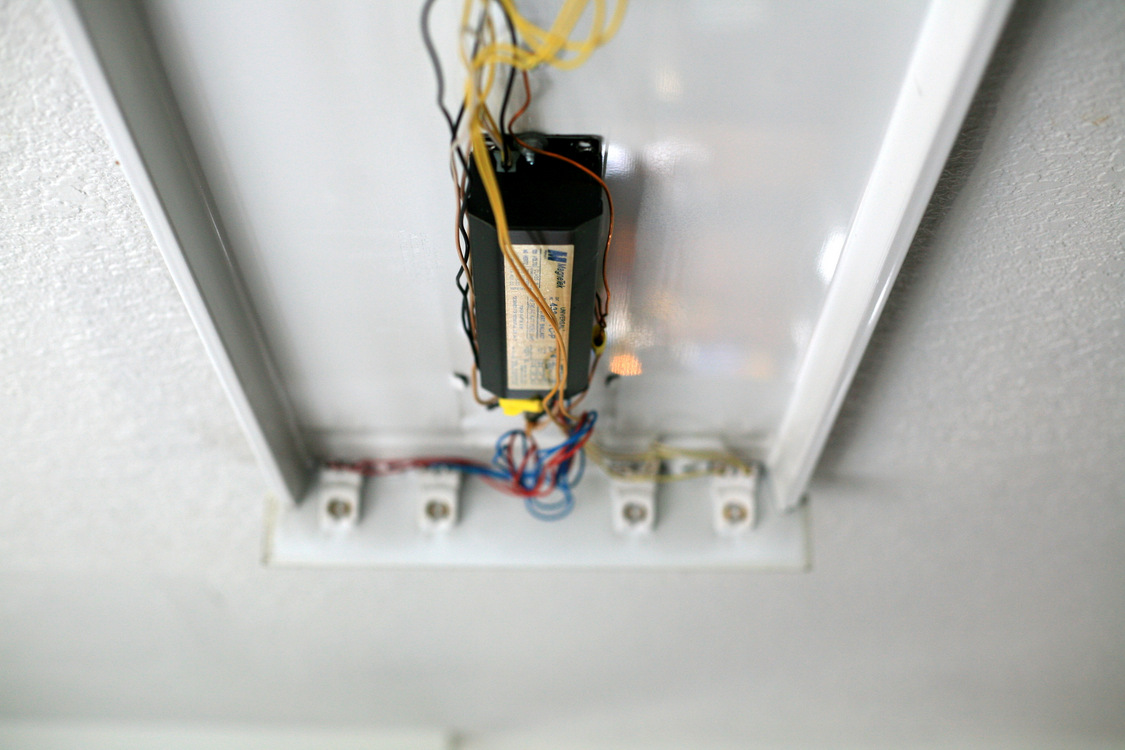
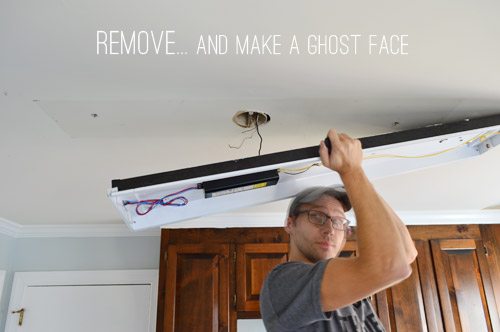
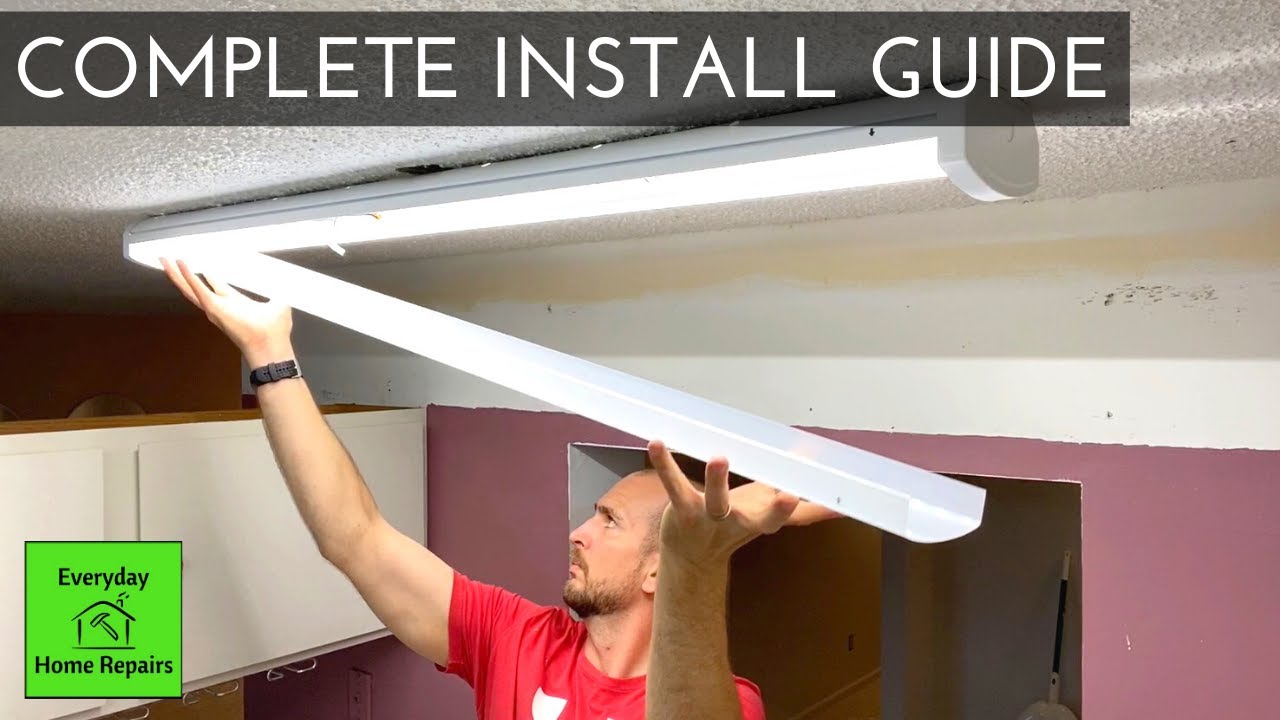
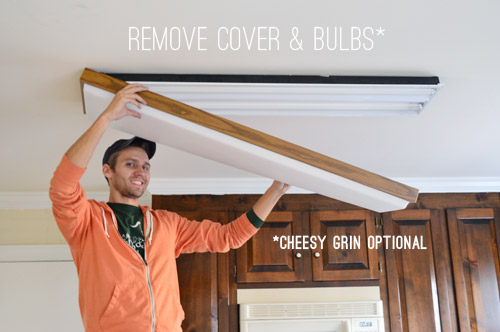
Next, you will need to remove the cover of the light fixture to access the fluorescent bulb. Depending on the type of fixture you have, this may involve unscrewing the cover or simply sliding it off. Be sure to set the cover aside in a safe place.Step 3: Remove the Cover


Replacing a Fluorescent Light Bulb in a Kitchen Ceiling Light: Tips and Tricks


Once the cover is removed, you can now access the old fluorescent bulb. Use caution when removing the bulb as it may be hot or fragile. If the bulb is screwed in, you can simply twist it counterclockwise to remove it. If it is held in place by clips, gently press on the clips and pull the bulb out.Step 4: Remove the Old Bulb

DIY: Replacing a Fluorescent Light Bulb in a Kitchen Ceiling Light

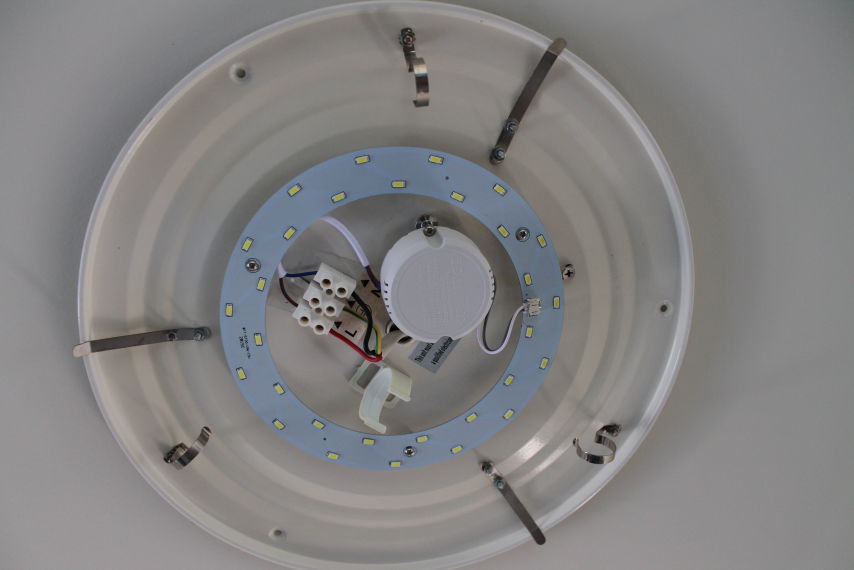


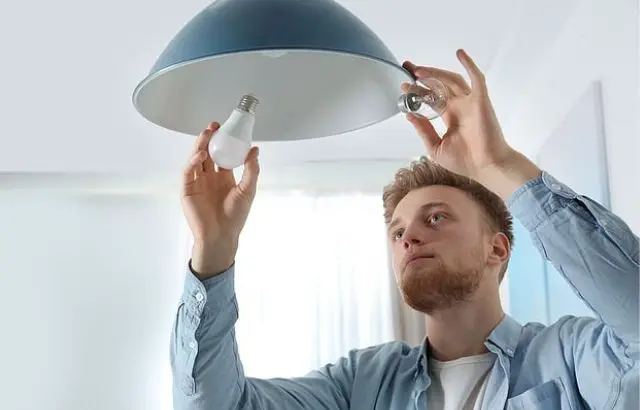
Now it's time to install the new fluorescent bulb. Make sure to line up the pins on the bulb with the slots in the fixture and gently push the bulb in until it clicks into place. If the bulb is screwed in, twist it clockwise to secure it. Be careful not to overtighten as this can damage the bulb.Step 5: Install the New Bulb


Replacing a Fluorescent Light Bulb in a Kitchen Ceiling Light: Common Mistakes to Avoid
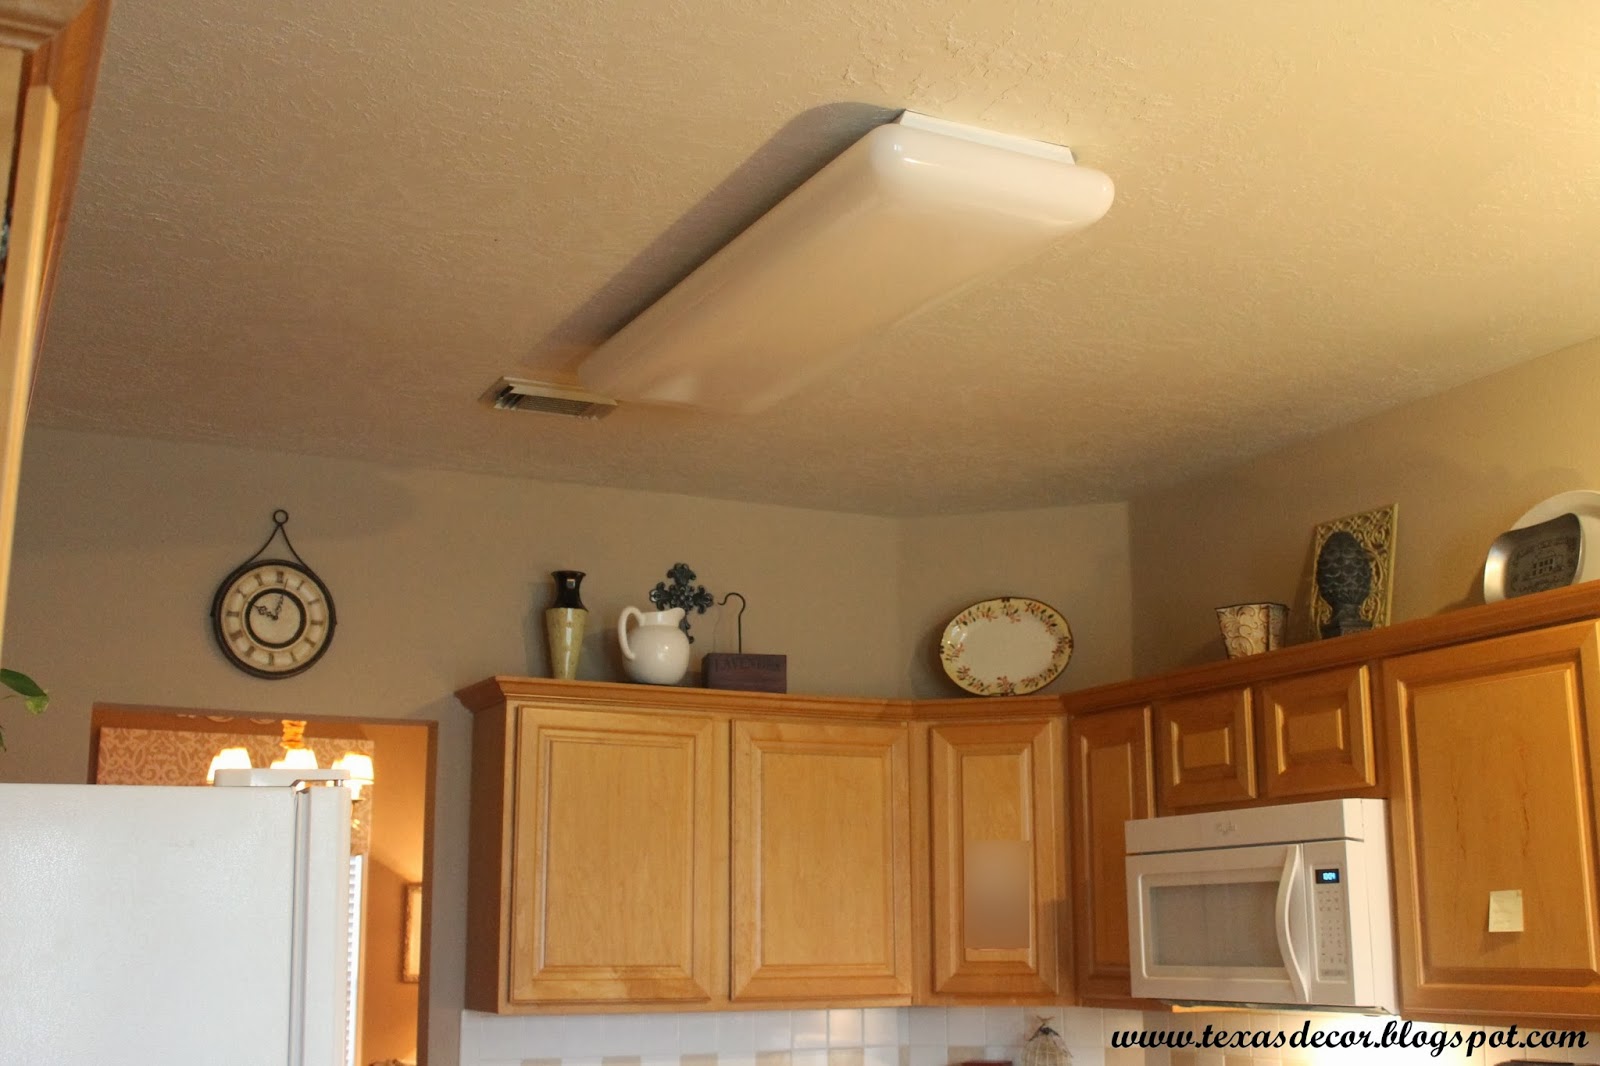
With the new bulb installed, you can now replace the cover of the light fixture. Make sure it is securely in place before moving on to the next step.Step 6: Replace the Cover


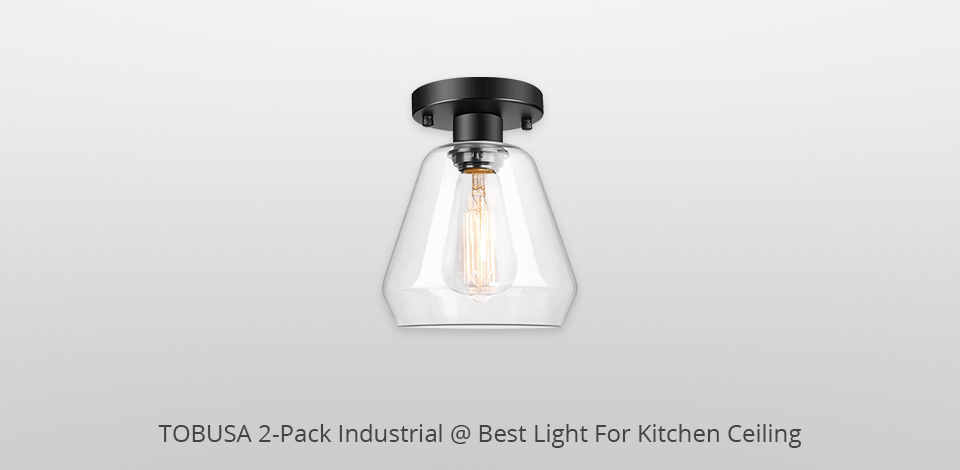
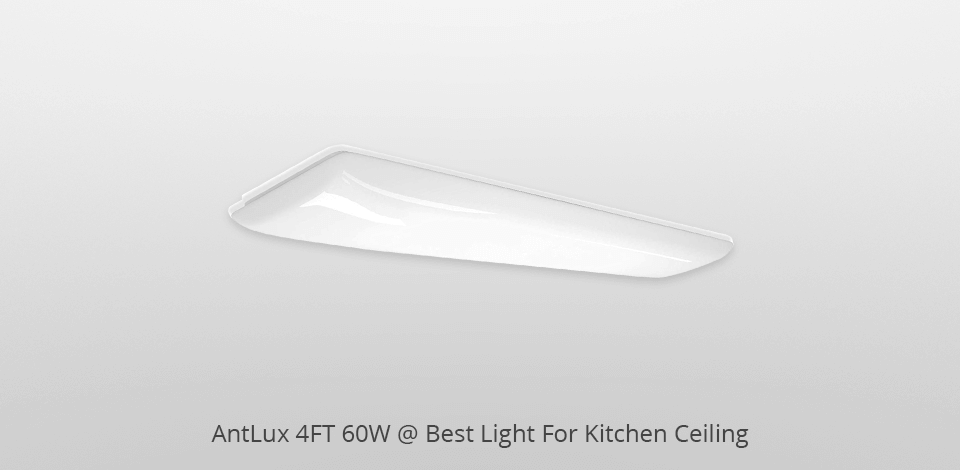
How to Choose the Right Replacement Bulb for Your Kitchen Ceiling Light
:max_bytes(150000):strip_icc()/convert-ceiling-light-to-recessed-light-p2-1821561-09-d6f90af585b2482c91a3e18464d76070.jpg)


Once everything is in place, you can turn the power back on to the light fixture. Flip the switch or turn the circuit breaker back on and test the light to make sure it is working properly.Step 7: Turn the Power Back On

Replacing a Fluorescent Light Bulb in a Kitchen Ceiling Light: Safety Precautions to Take

Replacing a light bulb may seem like a simple task, but there are a few tips and tricks that can make the process even easier. Here are some things to keep in mind:Tips and Tricks for Replacing Fluorescent Light Bulbs in Kitchen Ceiling Lights


Quick and Easy Steps for Replacing a Fluorescent Light Bulb in a Kitchen Ceiling Light
While replacing a fluorescent light bulb may seem like a simple task, it's important to take some safety precautions to avoid any accidents. Here are some things to keep in mind:Safety Precautions to Take When Replacing Fluorescent Light Bulbs

Replacing a Fluorescent Light Bulb in a Kitchen Ceiling Light: Troubleshooting Common Issues
Why You Should Consider Replacing Your Fluorescent Bulb in Your Kitchen Ceiling Light
Improve Lighting and Save Energy
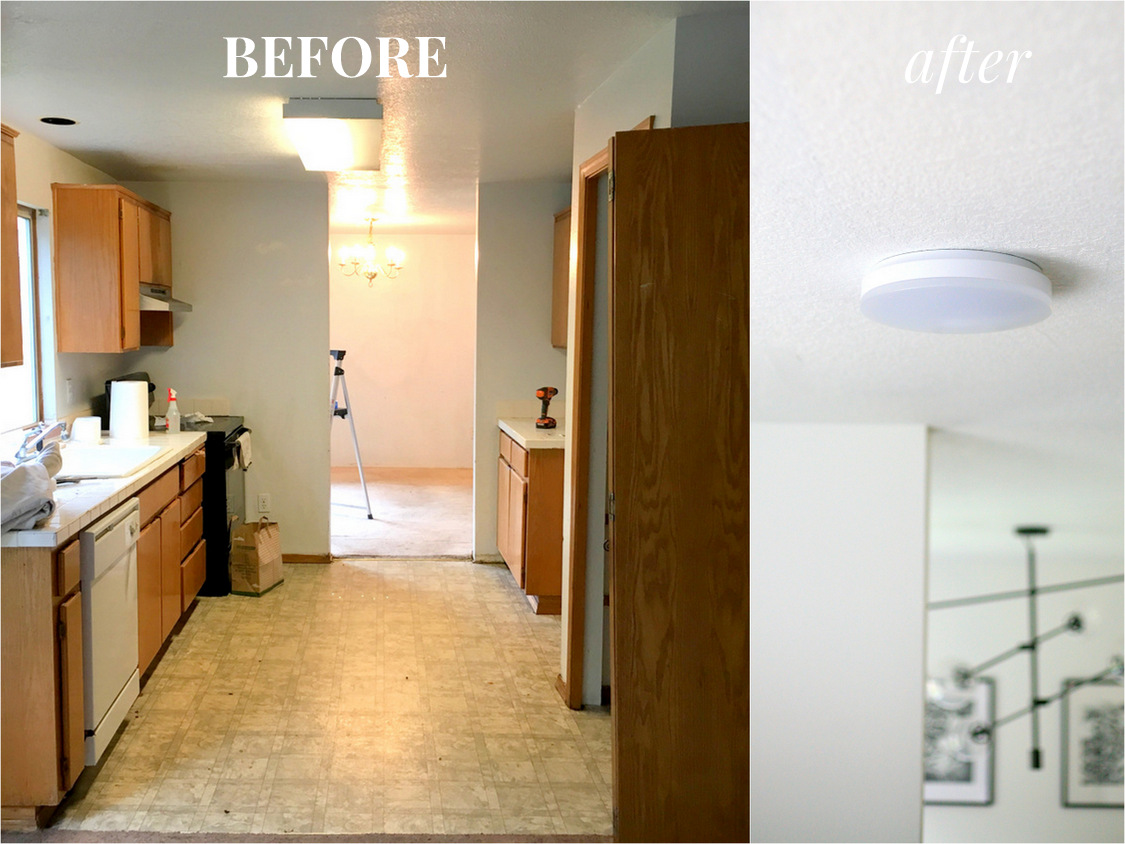
 If you're looking to upgrade your kitchen lighting, one of the first things you should consider is replacing your old fluorescent bulbs in your ceiling lights. These outdated bulbs not only produce harsh and unflattering light, but they also consume a significant amount of energy. By switching to more modern and energy-efficient bulbs, you can improve the overall lighting in your kitchen and save on your electricity bill.
Get Rid of Flickering and Buzzing
 One of the most common problems with fluorescent bulbs is flickering and buzzing. Not only is this annoying, but it can also be a sign that your bulb is reaching the end of its lifespan. The constant flickering and buzzing can be distracting and may even cause headaches or eye strain. By replacing your fluorescent bulb with a newer and higher quality option, you can eliminate this annoyance and have a more enjoyable cooking experience in your kitchen.
Upgrade to LED or CFL Bulbs
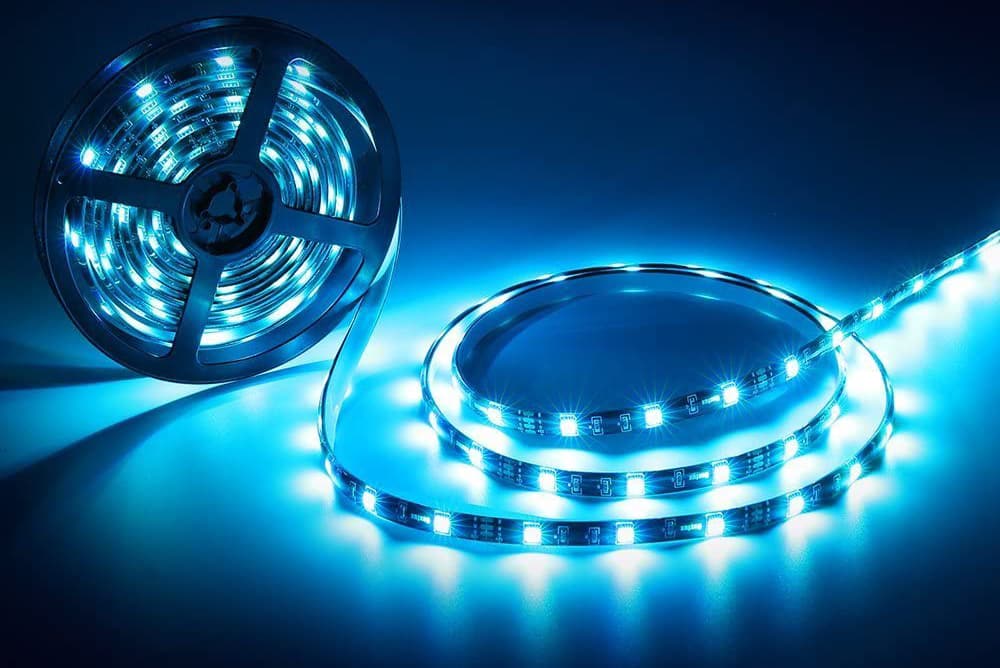
 When it comes to replacing your fluorescent bulbs, you have a few options to choose from. LED and CFL bulbs are both great alternatives that offer many benefits. LED bulbs are known for their energy efficiency, long lifespan, and bright light. They are also more environmentally friendly as they do not contain harmful chemicals like mercury. CFL bulbs, on the other hand, are more affordable and still provide energy savings and a longer lifespan compared to fluorescent bulbs.
Consider the Color Temperature
 When selecting your new bulbs, it's essential to consider the color temperature. Fluorescent bulbs typically produce a cool white light, which can give your kitchen a harsh and clinical feel. By choosing a warmer color temperature, such as soft white or warm white, you can create a more inviting and comfortable atmosphere in your kitchen. This can make a significant difference in the overall look and feel of your kitchen space.
Make the Switch Today
 Replacing your fluorescent bulb in your kitchen ceiling light may seem like a small upgrade, but it can have a significant impact on your overall kitchen design and energy efficiency. By upgrading to newer and more advanced bulbs, you can improve the quality of light in your kitchen and create a more enjoyable and functional space. So, why wait? Make the switch today and see the difference for yourself.