Replacing caulk around a kitchen sink may seem like a daunting task, but it is an essential part of maintaining a clean and functional kitchen. Over time, caulk can become cracked, discolored, or moldy, compromising the seal around your sink and allowing water to seep in. This can lead to costly water damage and a less-than-ideal cooking and cleaning experience. In this article, we will guide you through the process of replacing caulk around your kitchen sink, ensuring a professional and long-lasting result.How to Replace Caulk Around a Kitchen Sink


How to Replace Caulk Around a Kitchen Sink


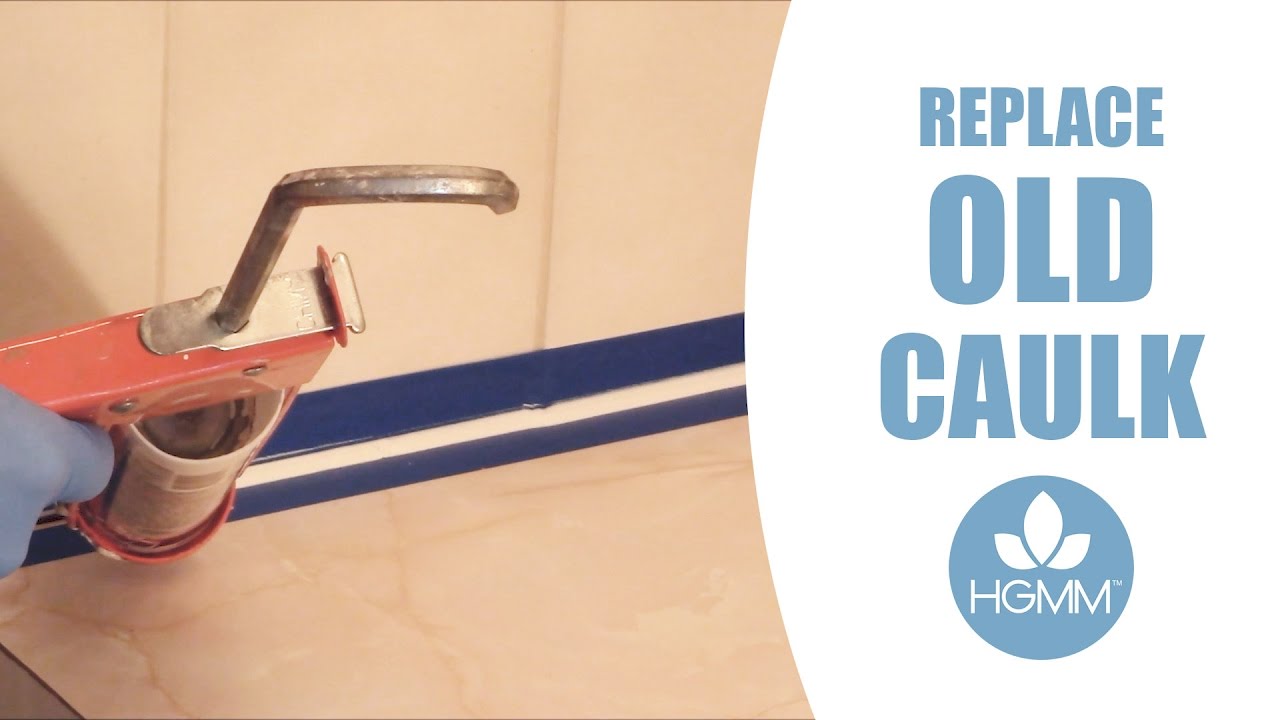

The first step in replacing caulk around a kitchen sink is to remove the old caulk. This can be done using a caulk removal tool or a utility knife. Carefully cut along the edges of the caulk, being careful not to damage the surrounding surfaces. Once the caulk is loosened, use a scraper or putty knife to remove it completely. Make sure to thoroughly clean the area with a mild cleaner and let it dry completely before proceeding.How to Remove and Replace Caulk Around a Kitchen Sink
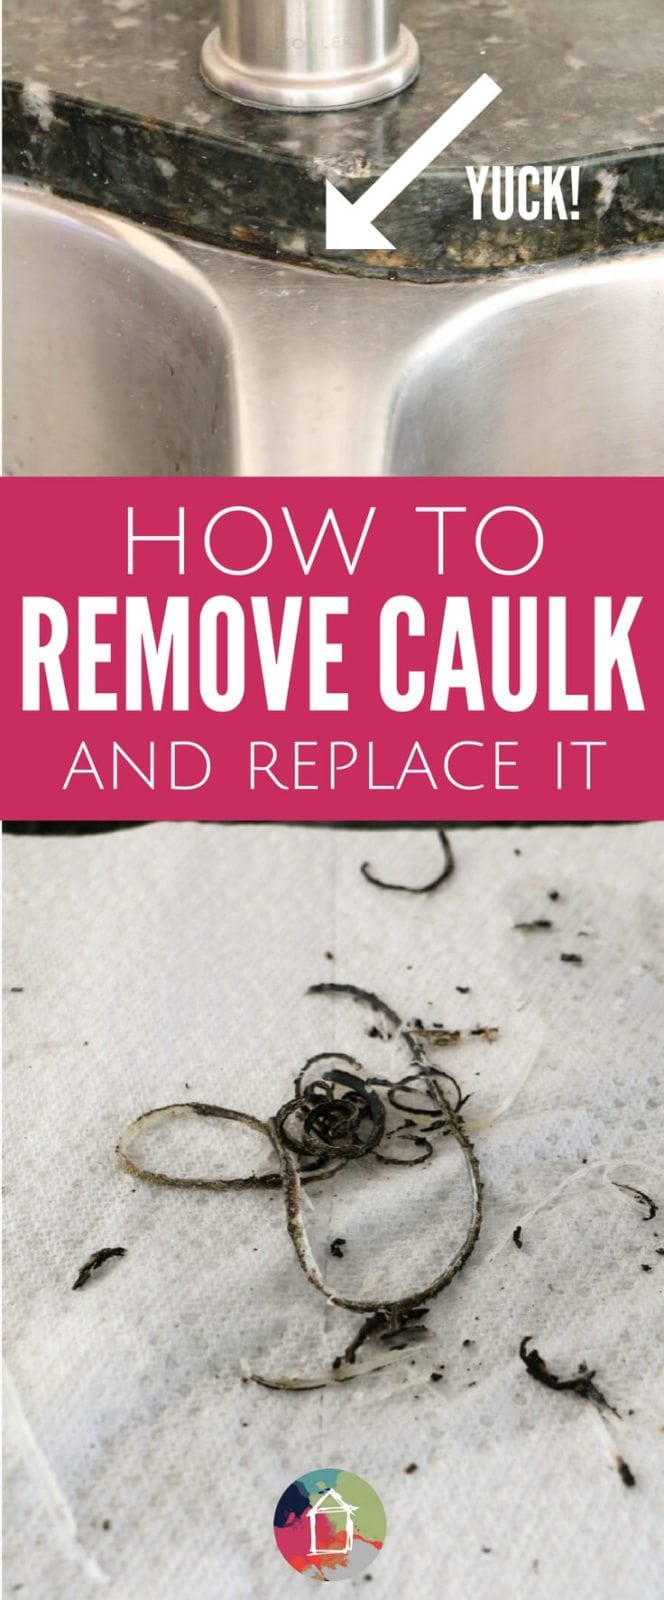


How to Remove and Replace Caulk Around a Kitchen Sink


Replacing caulk around a kitchen sink is a DIY-friendly task that can save you time and money. To get started, you will need a caulk gun, caulk remover or utility knife, scraper or putty knife, mild cleaner, and a caulk of your choice. Silicone caulk is a popular option for its flexibility and waterproof properties. Make sure to choose a caulk that is specifically designed for use in kitchens and bathrooms.DIY: How to Replace Caulk Around a Kitchen Sink


DIY: How to Replace Caulk Around a Kitchen Sink


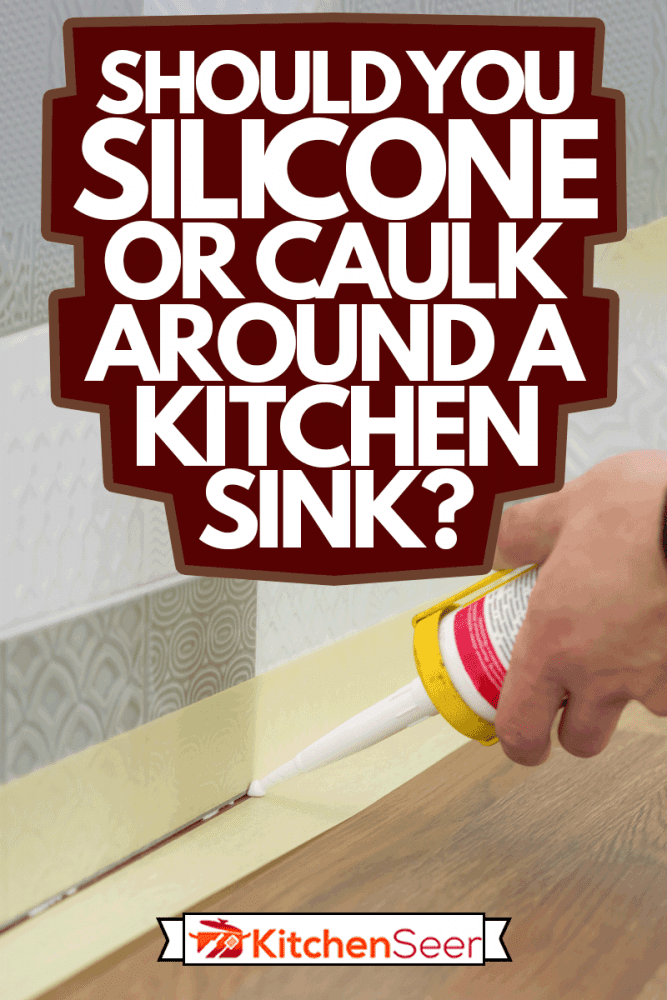
Step 1: Prepare the area by removing the old caulk as described above. Step 2: Cut the tip of the caulk tube at a 45-degree angle and load it into the caulk gun. Step 3: Apply a thin, even bead of caulk along the seam between the sink and countertop, using the caulk gun at a steady pace. Step 4: Use your finger or a caulk smoothing tool to smooth out the caulk and create a neat finish. Step 5: Wipe away any excess caulk with a damp cloth and let it dry completely according to the manufacturer's instructions.Step-by-Step Guide to Replacing Caulk Around a Kitchen Sink


Step-by-Step Guide to Replacing Caulk Around a Kitchen Sink


- Use painter's tape to create clean, straight edges before applying caulk. - Fill the sink with water before applying caulk to ensure a proper seal. - Use a hairdryer on low heat to speed up the drying process. - Choose a caulk color that matches your sink or countertop for a seamless look.Replacing Caulk Around a Kitchen Sink: Tips and Tricks


Replacing Caulk Around a Kitchen Sink: Tips and Tricks


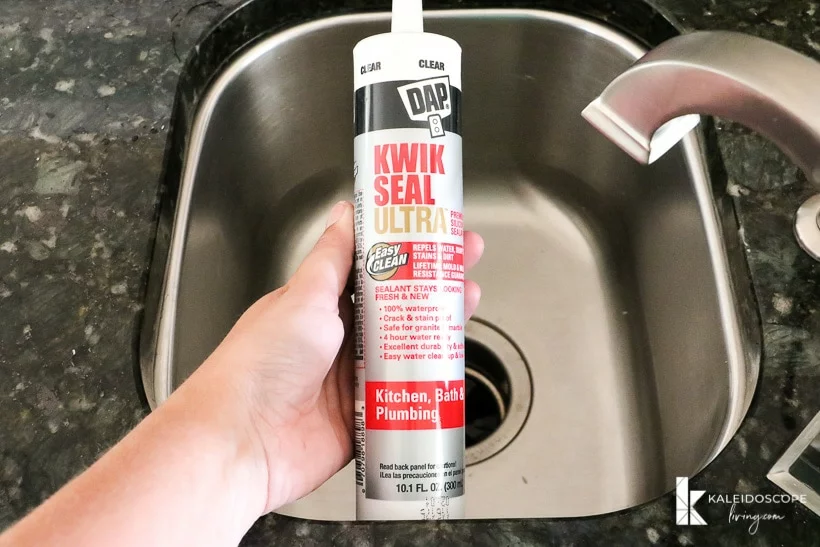
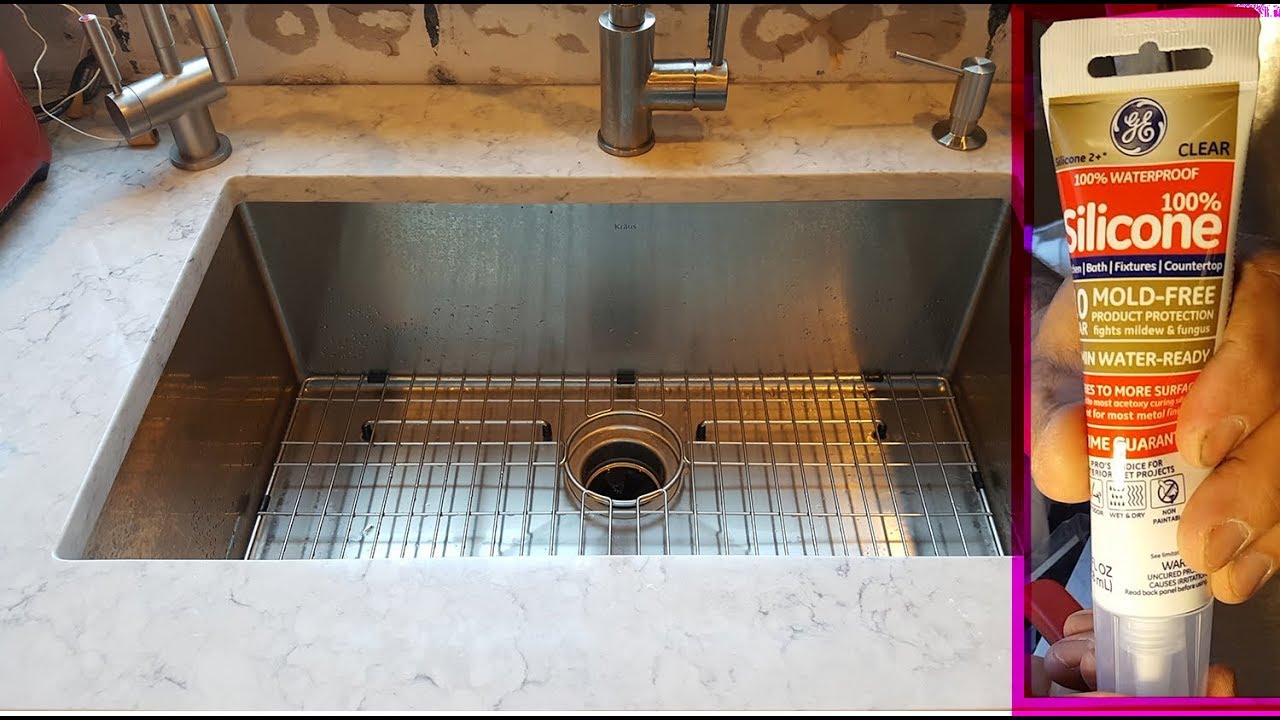
As mentioned before, silicone caulk is a popular option for replacing caulk around a kitchen sink. It is flexible, waterproof, and resistant to mold and mildew. Some top-rated silicone caulk brands include GE Silicone II, DAP Kwik Seal Plus, and Gorilla 100% Silicone Sealant.Best Caulk for Replacing Around a Kitchen Sink

Best Caulk for Replacing Around a Kitchen Sink


It is recommended to replace caulk around a kitchen sink every 5 years or sooner if there are signs of damage or wear. Additionally, if you notice water leaking or mold and mildew growth in the area, it's time to replace the caulk.When to Replace Caulk Around a Kitchen Sink

When to Replace Caulk Around a Kitchen Sink
- Caulk gun - Caulk removal tool or utility knife - Scraper or putty knife - Mild cleaner - Caulk of your choice - Painter's tape (optional)Tools and Materials Needed for Replacing Caulk Around a Kitchen Sink


Tools and Materials Needed for Replacing Caulk Around a Kitchen Sink


- Not properly removing the old caulk, resulting in an uneven application and a weak seal. - Applying too much or too little caulk, which can lead to messiness or gaps in the seal. - Using the wrong type of caulk, such as acrylic caulk, which is not suitable for use in wet areas.Common Mistakes to Avoid When Replacing Caulk Around a Kitchen Sink


Common Mistakes to Avoid When Replacing Caulk Around a Kitchen Sink


While replacing caulk around a kitchen sink can be done by a DIYer, some may prefer to hire a professional for a more polished and precise result. However, with the right tools and materials, DIYers can achieve a professional-looking finish and save money on labor costs. Replacing caulk around a kitchen sink may not be the most exciting task, but it is an essential one for maintaining a clean and functional kitchen. By following these steps and tips, you can easily replace the caulk around your kitchen sink and ensure a strong and long-lasting seal. Say goodbye to moldy and leaky caulk and hello to a beautiful and well-maintained kitchen sink. Professional vs. DIY: Replacing Caulk Around a Kitchen Sink

Professional vs. DIY: Replacing Caulk Around a Kitchen Sink


Why Replacing Caulk Around Your Kitchen Sink is Important

The Purpose of Caulk
 Before we dive into the importance of replacing caulk around your kitchen sink, let's first understand what caulk is and why it is used. Caulk is a type of waterproof sealant that is typically used to fill in gaps and cracks in different areas of the home, including around sinks. Its purpose is to prevent water from seeping through these gaps, which can cause damage and create a breeding ground for mold and mildew.
The Consequences of Old Caulk
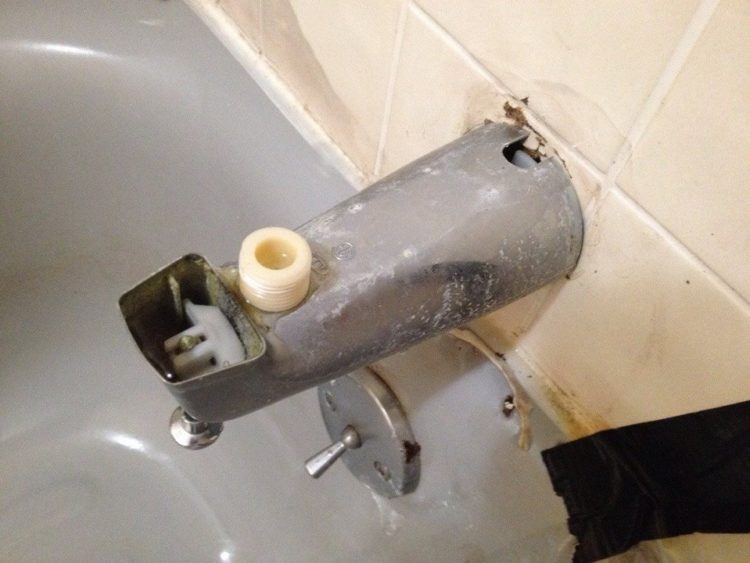
 Over time, caulk can become worn out and cracked, especially in high-moisture areas like the kitchen sink. When this happens, it is no longer effective in keeping water out, leading to potential issues. Water can start to leak through the gaps, causing damage to your countertops, cabinets, and even the floor beneath your sink. Additionally, mold and mildew can start to grow in these damp areas, which not only looks unsightly but can also pose health risks for you and your family.
The Benefits of Replacing Caulk
 Now that we understand the purpose and consequences of old caulk, let's talk about why replacing it is important. By replacing the caulk around your kitchen sink, you are ensuring that the area remains watertight and free from any potential leaks. This will not only prevent costly damage to your home but also maintain a clean and healthy environment. Replacing caulk can also improve the overall appearance of your kitchen, giving it a fresh and clean look.
How Often Should You Replace Caulk?
 The frequency of replacing caulk around your kitchen sink depends on various factors, such as the quality of the caulk and the amount of use your sink gets. As a general rule, it is recommended to check for any signs of wear and tear every six months and replace the caulk if necessary. Regular maintenance and replacement of caulk can help prevent any major issues from arising.
In conclusion
, replacing caulk around your kitchen sink is an essential part of maintaining a functional and healthy home. By understanding the purpose and consequences of old caulk, you can see the importance of regular maintenance and replacement. Remember to check for any signs of wear and tear and replace the caulk as needed to keep your kitchen sink watertight and looking its best.
The frequency of replacing caulk around your kitchen sink depends on various factors, such as the quality of the caulk and the amount of use your sink gets. As a general rule, it is recommended to check for any signs of wear and tear every six months and replace the caulk if necessary. Regular maintenance and replacement of caulk can help prevent any major issues from arising.
In conclusion
, replacing caulk around your kitchen sink is an essential part of maintaining a functional and healthy home. By understanding the purpose and consequences of old caulk, you can see the importance of regular maintenance and replacement. Remember to check for any signs of wear and tear and replace the caulk as needed to keep your kitchen sink watertight and looking its best.