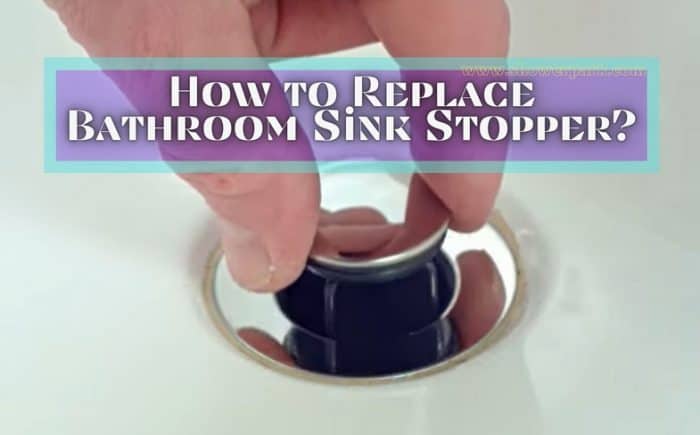
How to Replace a Bathroom Sink Plug
Is your bathroom sink plug constantly getting stuck or not draining properly? It may be time to replace it. Don't worry, with the right tools and a little know-how, you can easily replace your bathroom sink plug and have your sink working like new again.


How to Replace a Bathroom Sink Plug


Replacing a Bathroom Sink Plug: A Step-by-Step Guide
Replacing a bathroom sink plug may seem like a daunting task, but it's actually a simple process that can be completed in just a few steps.
Step 1: Gather Your Tools
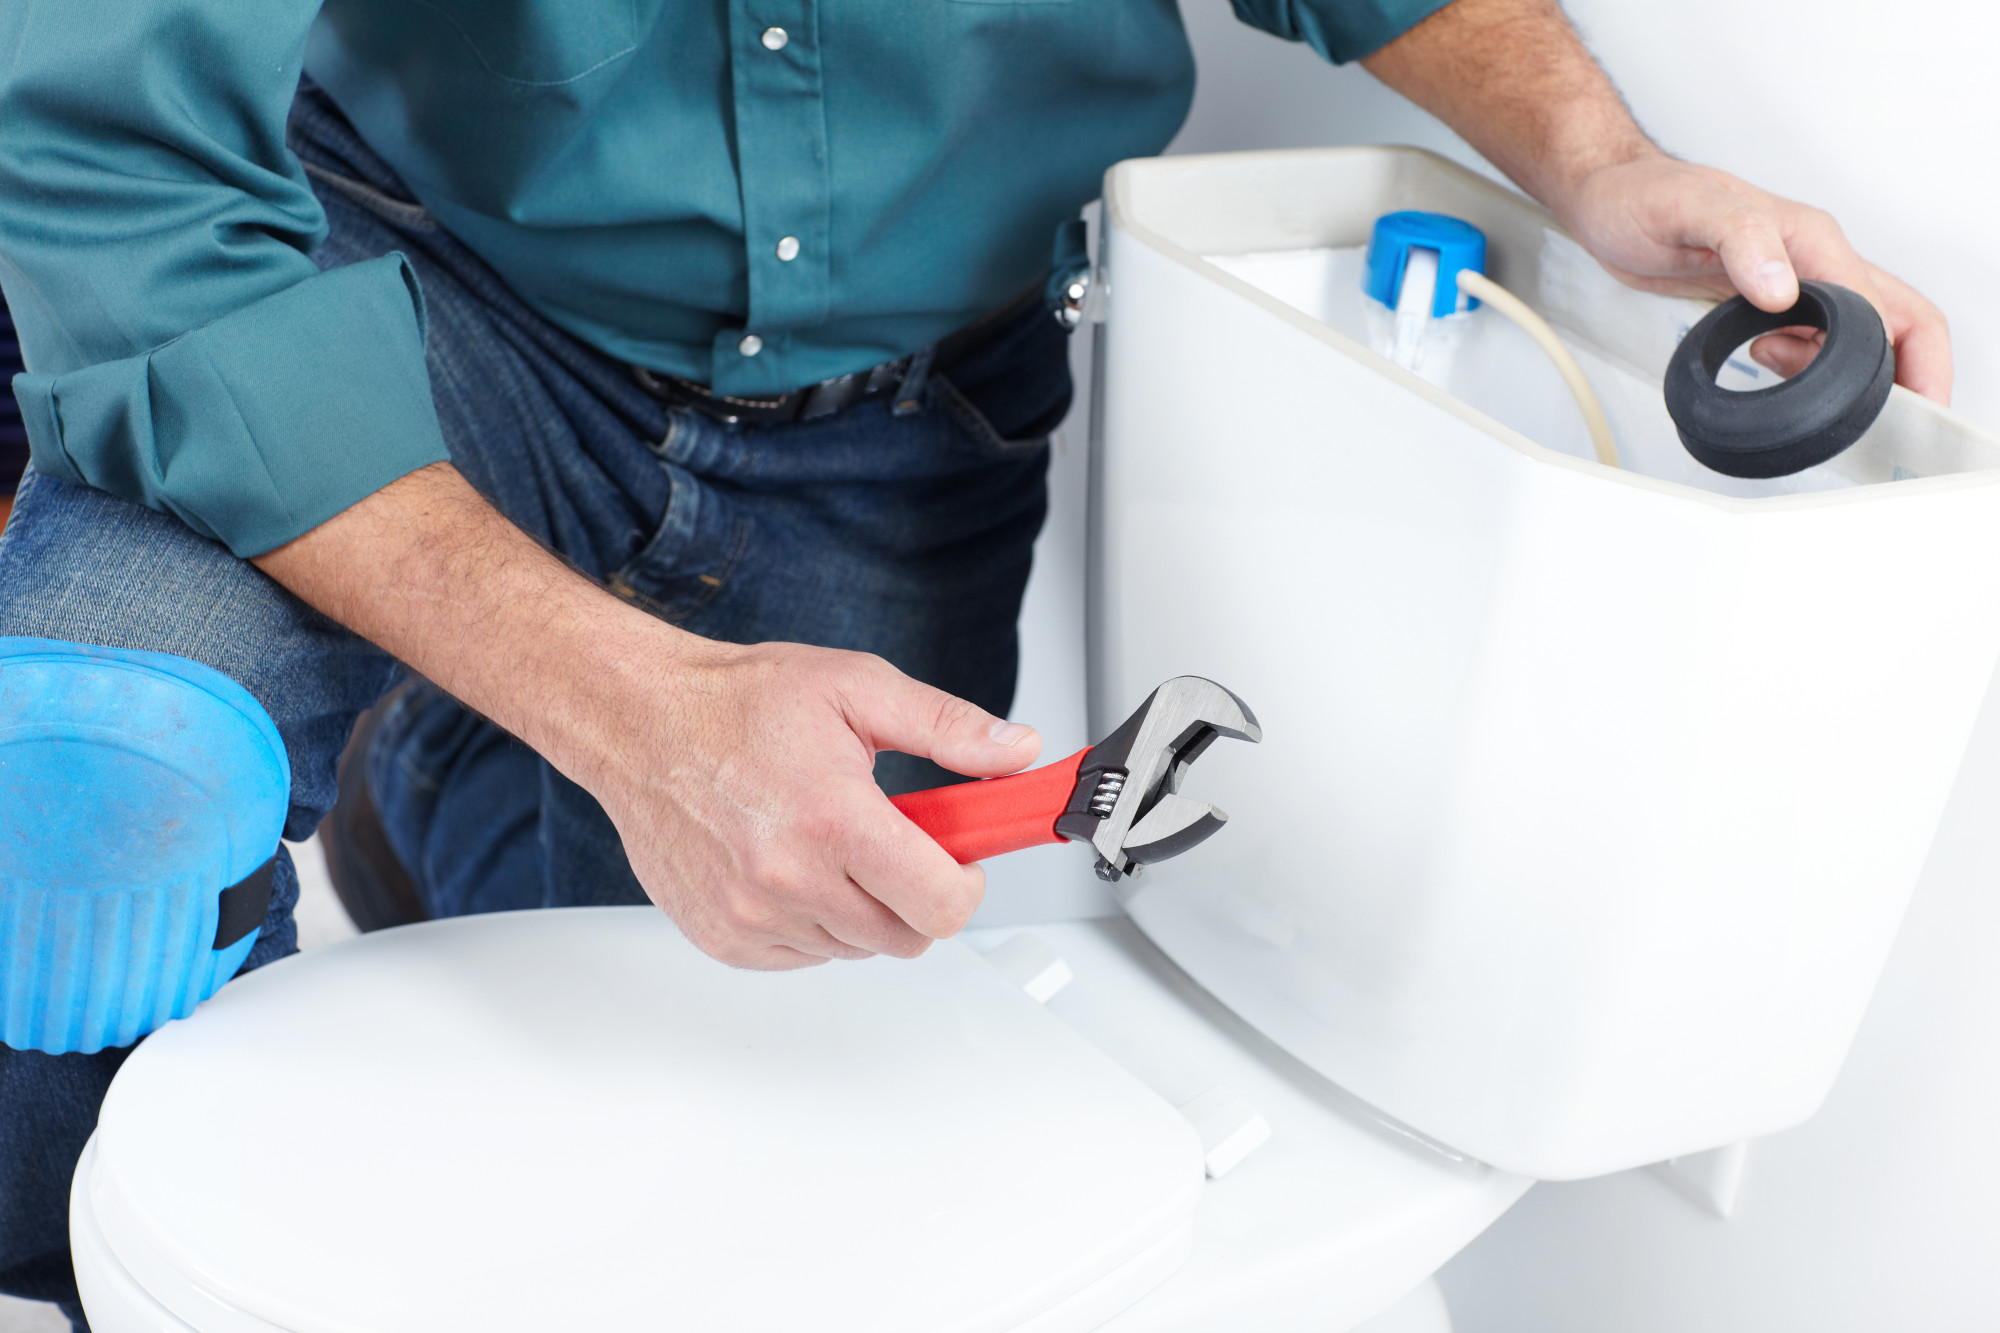
Before you begin, make sure you have all the necessary tools and materials. You will need a pair of pliers, a wrench, plumber's putty, and a new sink plug.
Step 2: Turn Off the Water Supply
Underneath your sink, there should be a shut-off valve. Turn this valve clockwise to shut off the water supply to your sink.
Step 3: Remove the Old Plug
Using your pliers, gently unscrew the old plug from the sink drain. If it is stuck, you may need to use a wrench for extra leverage.
Step 4: Clean the Sink Drain
Once the old plug is removed, clean any debris or buildup from the sink drain. This will ensure a proper seal for the new plug.
Step 5: Apply Plumber's Putty
Take a small amount of plumber's putty and roll it into a thin rope. Place the putty around the rim of the sink drain, creating a seal for the new plug.
Step 6: Install the New Plug
Place the new plug into the sink drain and screw it in place using your pliers or wrench. Make sure it is tightly secured to prevent any leaks.
Step 7: Turn the Water Supply Back On
Once the new plug is installed, turn the water supply back on by turning the shut-off valve counterclockwise.
Step 8: Test the Plug
Run some water in the sink to test the new plug. If it is draining properly, you have successfully replaced your bathroom sink plug.


Replacing a Bathroom Sink Plug: A Step-by-Step Guide


DIY: Replacing a Bathroom Sink Plug
Replacing a bathroom sink plug is a simple DIY project that can save you time and money. Hiring a professional plumber can be costly, but with just a few tools and some basic knowledge, you can easily replace your own plug.
By following the step-by-step guide above, you can successfully replace your bathroom sink plug and avoid the expense of hiring a professional.


DIY: Replacing a Bathroom Sink Plug


Quick and Easy Bathroom Sink Plug Replacement
If you're short on time or just looking for a quick fix, replacing your bathroom sink plug is an easy and quick process. With the right tools and materials, you can have your new plug installed in no time.
Make sure to follow the steps carefully and take your time to ensure a proper seal for your new plug. With a little effort, you can have your sink draining properly again in just a few minutes.

Quick and Easy Bathroom Sink Plug Replacement


:max_bytes(150000):strip_icc()/RemoveTubScreen-5b750ab7c9e77c0050e374c1.JPG)
Replacing a Bathroom Sink Plug: Tools and Materials You'll Need
Before you begin the process of replacing your bathroom sink plug, it's important to have all the necessary tools and materials ready. Here's a list of what you'll need:

Replacing a Bathroom Sink Plug: Tools and Materials You'll Need


Replacing a Bathroom Sink Plug: Common Mistakes to Avoid
While replacing a bathroom sink plug may seem like a simple task, there are some common mistakes that can be made. To ensure a successful replacement, here are some mistakes to avoid:

Replacing a Bathroom Sink Plug: Common Mistakes to Avoid


Replacing a Bathroom Sink Plug: Tips and Tricks for a Smooth Process
Here are some tips and tricks to keep in mind when replacing your bathroom sink plug:


Replacing a Bathroom Sink Plug: Tips and Tricks for a Smooth Process
Replacing a Bathroom Sink Plug: Troubleshooting Common Issues
If you encounter any issues during the replacement process, here are some common troubleshooting tips:

Replacing a Bathroom Sink Plug: Troubleshooting Common Issues
Replacing a Bathroom Sink Plug: Professional vs. DIY
While hiring a professional plumber may seem like the easier option, replacing a bathroom sink plug is a simple task that can easily be done as a DIY project. By doing it yourself, you can save time and money while learning a new skill.
However, if you encounter any issues or are unsure about the process, it may be best to consult a professional plumber for assistance.

Replacing a Bathroom Sink Plug: Professional vs. DIY
Replacing a Bathroom Sink Plug: Final Thoughts and Recommendations
Replacing a bathroom sink plug is a simple and cost-effective way to improve the functionality of your sink. With just a few tools and some basic knowledge, you can easily complete this DIY project.
Remember to take your time, follow the steps carefully, and test the new plug before finishing. By doing so, you can ensure a successful replacement process and have your sink working like new again in no time.
Replacing a Bathroom Sink Plug: Final Thoughts and Recommendations

Step-by-Step Guide for Replacing a Bathroom Sink Plug

Introduction
 Replacing a bathroom sink plug may seem like a daunting task, but with the right tools and a little bit of know-how, it can be a simple and straightforward process. A functioning sink plug is essential for maintaining a clean and functional bathroom, so it is important to address any issues as soon as possible. In this article, we will provide a step-by-step guide on how to replace a bathroom sink plug, ensuring that your bathroom stays in top condition and functions smoothly.
Step 1: Gather Your Tools
 Before starting the replacement process, it is important to gather all the necessary tools and materials. This will save you time and prevent any interruptions during the process. Some essential tools you will need include a pair of pliers, a screwdriver, and a new sink plug. It is also recommended to have a bucket or bowl on hand to catch any excess water that may spill out during the process.
Step 2: Remove the Old Plug
 The first step in replacing a bathroom sink plug is to remove the old one. Start by locating the plug under the sink and unscrewing the nut that holds it in place using pliers. Once the nut is removed, you can simply pull out the old plug from the top of the sink.
Step 3: Clean the Drain
 Before installing the new plug, it is important to clean the drain thoroughly. Use a brush and some hot water to remove any buildup or debris that may have accumulated in the drain. This will ensure that the new plug fits securely and functions properly.
Step 4: Install the New Plug
 Take the new plug and insert it into the drain opening. Make sure it is aligned properly and then screw the nut back on from underneath the sink. Use the pliers to tighten the nut securely, ensuring that the plug is firmly in place.
Step 5: Test and Adjust
 Once the new plug is installed, it is important to test it to make sure it is functioning properly. Fill the sink with some water and then pull up on the plug to close the drain. If the plug does not seal properly, you may need to adjust the nut underneath the sink. If it still does not seal, you may need to replace the entire drain assembly.
Step 6: Finishing Touches
 If the plug is functioning properly, you can now do some finishing touches to ensure it looks aesthetically pleasing. Use a cloth to remove any excess water or debris from the sink and surrounding area. You can also apply a small amount of silicone caulk around the edges of the plug to create a watertight seal and prevent any leaks.
In Conclusion
 Replacing a bathroom sink plug may seem like a daunting task, but with the right tools and a little bit of know-how, it can be a simple and straightforward process. By following these steps, you can easily replace a bathroom sink plug and keep your bathroom functioning smoothly. Remember to test the plug and make any necessary adjustments before finishing up. With a new plug in place, your bathroom will be both functional and visually appealing.