How to Replace a Fluorescent Kitchen Light
If you're tired of the dull and flickering light from your old fluorescent kitchen light, it may be time for an upgrade. Replacing a fluorescent kitchen light may seem like a daunting task, but with the right tools and a little bit of know-how, you can easily transform your kitchen with a new, modern light fixture. In this guide, we'll take you through the steps of replacing a fluorescent kitchen light, from choosing the right replacement to avoiding common mistakes. Let's get started!
Replacing a Fluorescent Kitchen Light: A Step-by-Step Guide
The first step in replacing a fluorescent kitchen light is to turn off the power to the fixture. This can usually be done by flipping the circuit breaker or turning off the light switch. Next, remove the old light fixture by unscrewing any screws or clips holding it in place. Carefully disconnect the wires and remove the fixture from the ceiling. Be sure to dispose of the old fluorescent light bulb properly.
With the old fixture removed, it's time to prepare for the installation of the new light. If your new fixture has different mounting holes, you may need to drill new ones in the ceiling. Make sure to measure and mark the new holes before drilling to ensure a secure fit.
DIY: Replacing a Fluorescent Kitchen Light Fixture
If you're feeling confident in your DIY skills, you can save some money by replacing your fluorescent kitchen light yourself. However, it's important to note that electrical work can be dangerous, so if you're not comfortable with the process, it's best to hire a professional. If you do decide to tackle the project yourself, be sure to follow all safety precautions and double check your work before turning the power back on.
Replacing a Fluorescent Kitchen Light with LED
LED lights are becoming increasingly popular as a replacement for fluorescent lights. They are more energy-efficient and have a longer lifespan, making them a cost-effective choice for your kitchen. When replacing a fluorescent kitchen light with LED, be sure to choose a fixture that is compatible with LED bulbs and follow the installation instructions carefully.
Tips for Replacing a Fluorescent Kitchen Light
Tip #1: Before purchasing a new light fixture, make sure to measure the space where the old one was to ensure a proper fit.
Tip #2: Consider the color temperature of the new light. A warm white light (around 3000K) is best for creating a cozy and inviting atmosphere in the kitchen.
Tip #3: If you're not comfortable with electrical work, don't hesitate to hire a professional. It's better to be safe than sorry.
Replacing a Fluorescent Kitchen Light: Common Mistakes to Avoid
Mistake #1: Not turning off the power before starting the replacement process. This can result in electric shock or other accidents.
Mistake #2: Not properly disposing of the old fluorescent bulb. These bulbs contain hazardous materials and should be taken to a recycling center.
Mistake #3: Rushing through the installation process. Take your time and double check all connections to ensure a safe and secure installation.
The Benefits of Replacing a Fluorescent Kitchen Light
There are several benefits to replacing a fluorescent kitchen light with a modern light fixture. First and foremost, you'll have better lighting in your kitchen, making it a more enjoyable space to cook and entertain. LED lights are also more energy-efficient, saving you money on your electricity bill. Additionally, a new light fixture can add an updated and stylish look to your kitchen, increasing its value and appeal.
How to Choose the Right Replacement for Your Fluorescent Kitchen Light
When choosing a replacement for your fluorescent kitchen light, there are a few things to keep in mind. Consider the size and style of your kitchen, as well as the color temperature and brightness of the light. It's also important to choose a fixture that is compatible with the wiring and junction box in your ceiling. If you're unsure, consult a professional for guidance.
Replacing a Fluorescent Kitchen Light: Tools and Materials You'll Need
Tools: Screwdriver, wire cutter/stripper, drill (if necessary), and a ladder or step stool.
Materials: New light fixture, new light bulbs (if necessary), wire connectors, and a voltage tester (to ensure the power is off).
Step-by-Step Video Tutorial: Replacing a Fluorescent Kitchen Light
If you're a visual learner, there are plenty of helpful video tutorials available online that will guide you through the process of replacing a fluorescent kitchen light. Be sure to follow along closely and pause the video as needed to ensure you're completing each step correctly.
Now that you have a better understanding of how to replace a fluorescent kitchen light, it's time to get started on your own kitchen upgrade. With the right tools and a little bit of patience, you'll have a bright and beautiful new light fixture in no time. Happy renovating!
Why You Should Consider Replacing Your Fluorescent Kitchen Light with LED

Energy Efficiency and Cost Savings
 One major reason to consider replacing your fluorescent kitchen light with LED is energy efficiency and cost savings. LED lights use significantly less energy than fluorescent lights, which translates to lower electricity bills. In fact, LED lights use up to 75% less energy than traditional incandescent lights. This not only saves you money, but also reduces your carbon footprint and helps the environment. Plus, LED lights have a longer lifespan than fluorescent lights, so you won't have to replace them as often.
Better Lighting Quality
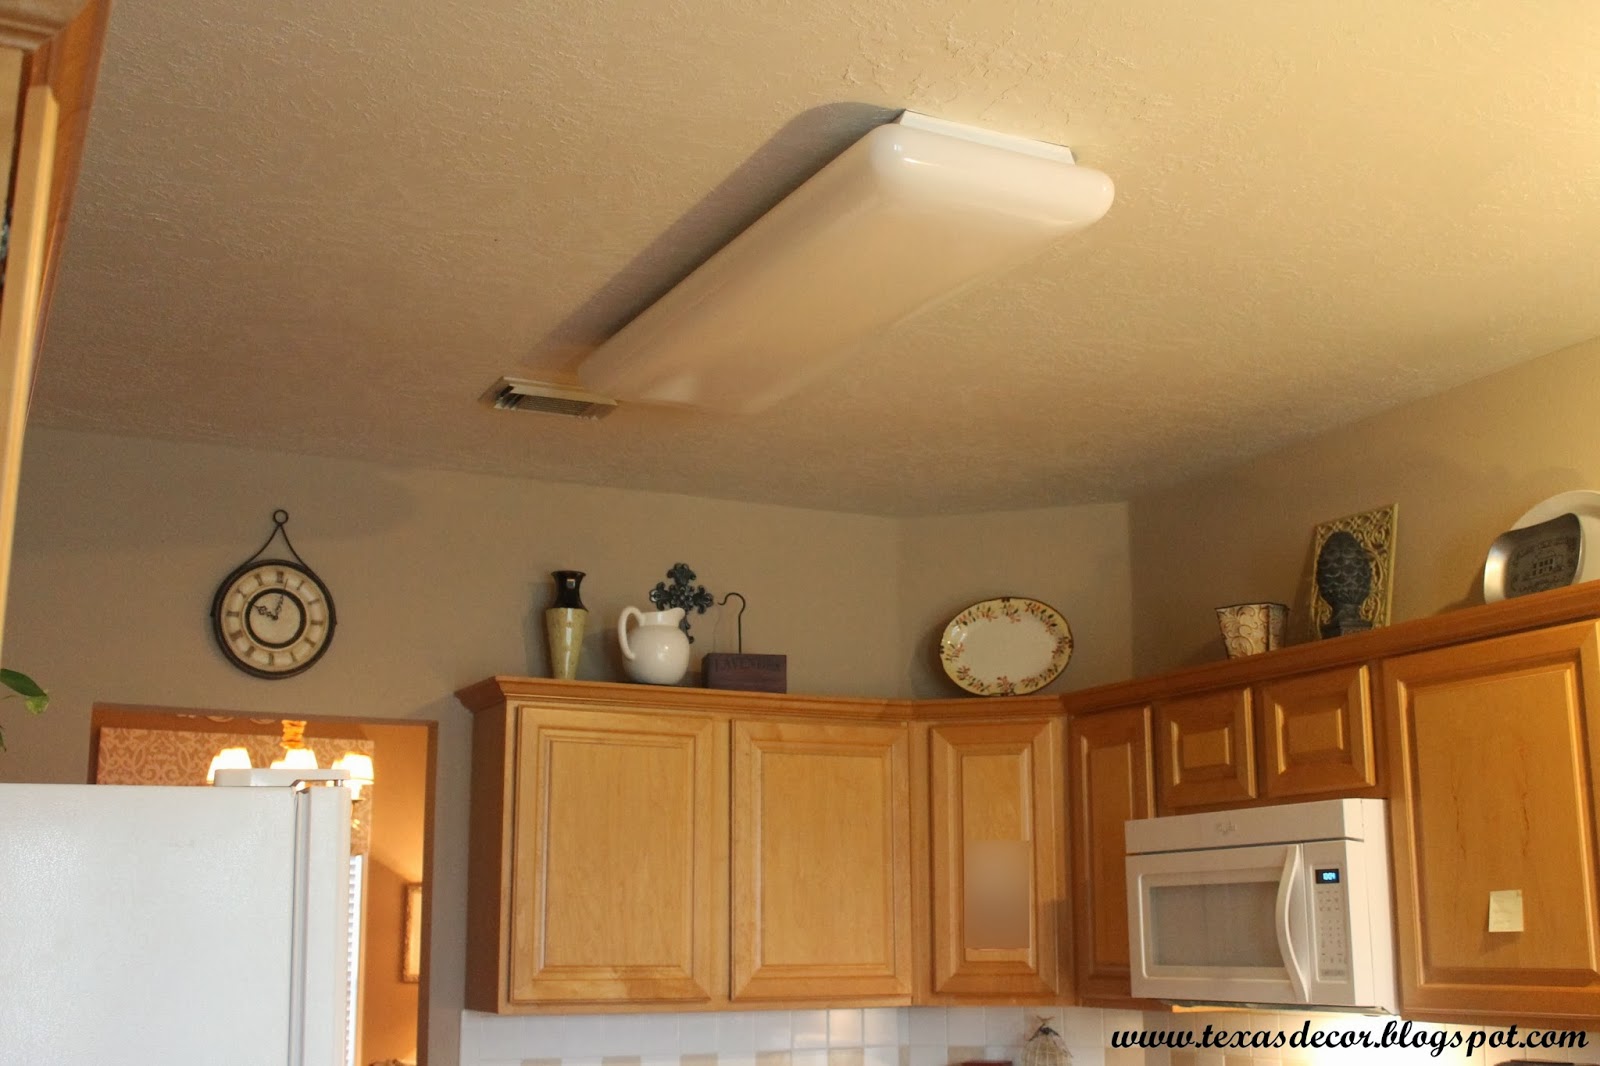 LED lights offer better lighting quality compared to fluorescent lights. They come in a variety of color temperatures, from warm to cool, allowing you to choose the perfect lighting for your kitchen. This can make a big difference in the overall look and feel of your kitchen. LED lights also have a higher color rendering index (CRI), meaning they display colors more accurately and vividly. This is especially beneficial for a room like the kitchen where you want to see the true colors of your food and ingredients.
Enhanced Design Options
 Replacing your fluorescent kitchen light with LED also opens up a whole new world of design options. LED lights come in a variety of shapes and sizes, from traditional bulbs to strip lights and even tape lights. They also offer dimming capabilities, allowing you to adjust the brightness and mood of your kitchen with ease. Additionally, LED lights are more compact than fluorescent lights, giving you more space to play with when it comes to design and layout.
Long-Term Savings
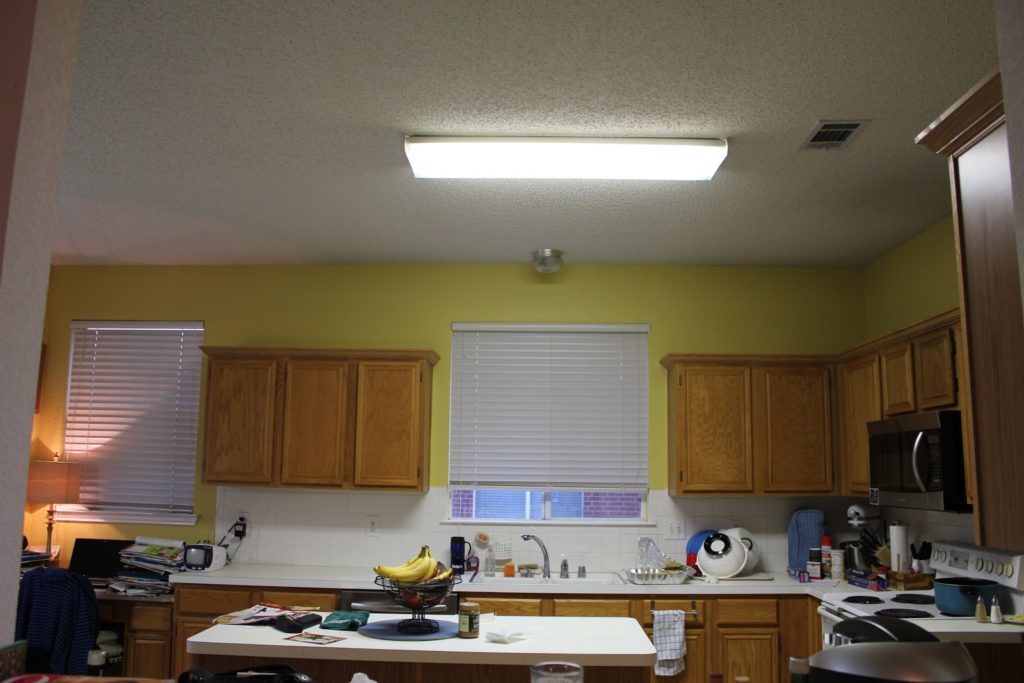 While the upfront cost of LED lights may be higher than fluorescent lights, they offer long-term savings in the form of lower energy bills and longer lifespan. This means you'll end up saving more money in the long run by making the switch. Plus, LED lights require less maintenance and replacement, saving you time and hassle. Additionally, LED lights do not contain any hazardous materials like mercury, making them safer for you and the environment.
Replacing your fluorescent kitchen light with LED is a smart and practical choice for any homeowner. Not only will you save money and energy, but you'll also enjoy enhanced lighting quality, more design options, and long-term savings. So why wait? Make the switch to LED and brighten up your kitchen in more ways than one.


