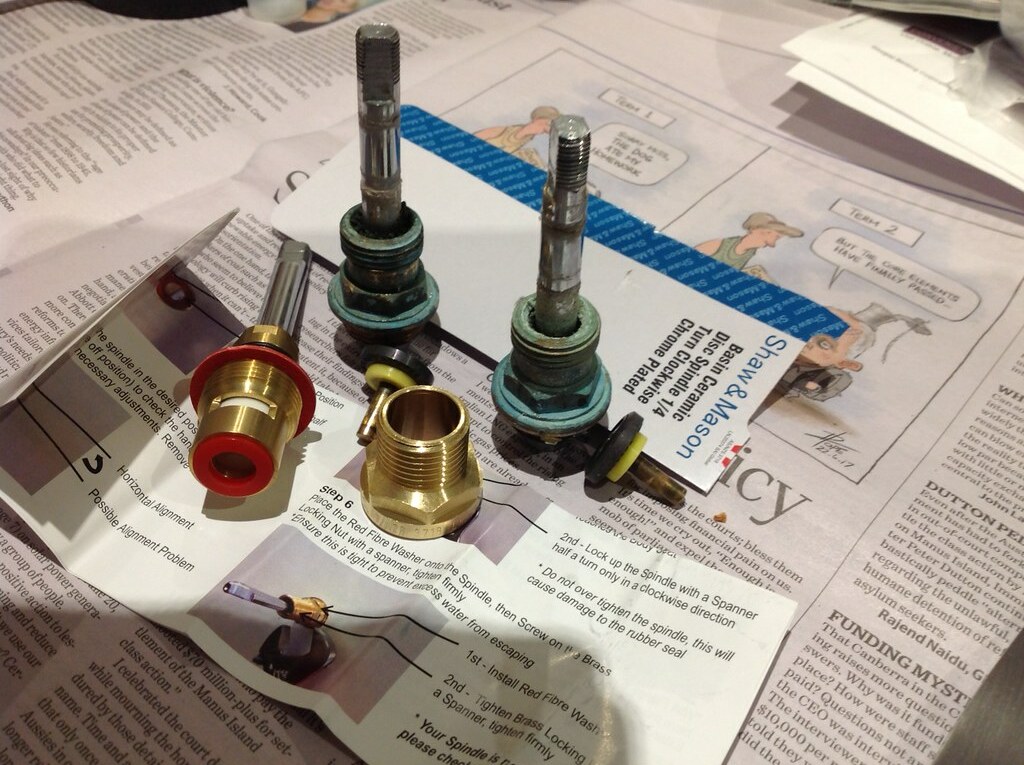
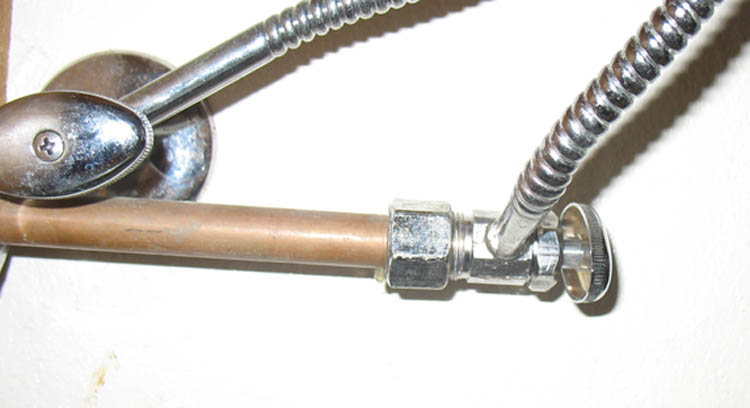
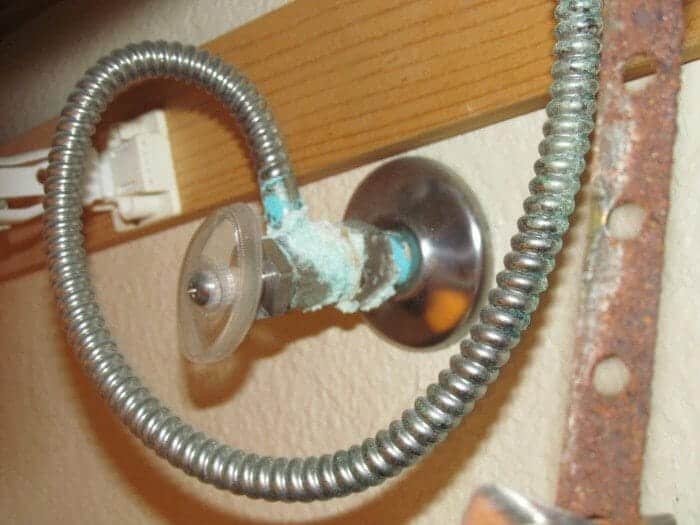
Replacing a valve in your bathroom sink: A step-by-step guide
If you're experiencing issues with your bathroom sink, it may be time to replace the valve. A faulty valve can cause leaks, low water pressure, and even make it difficult to turn the water on and off. But don't worry, with a few simple steps, you can replace the valve and have your sink working like new again. In this article, we'll take you through the process of replacing a valve in your bathroom sink so you can tackle this DIY project with confidence.
Gather your tools and materials
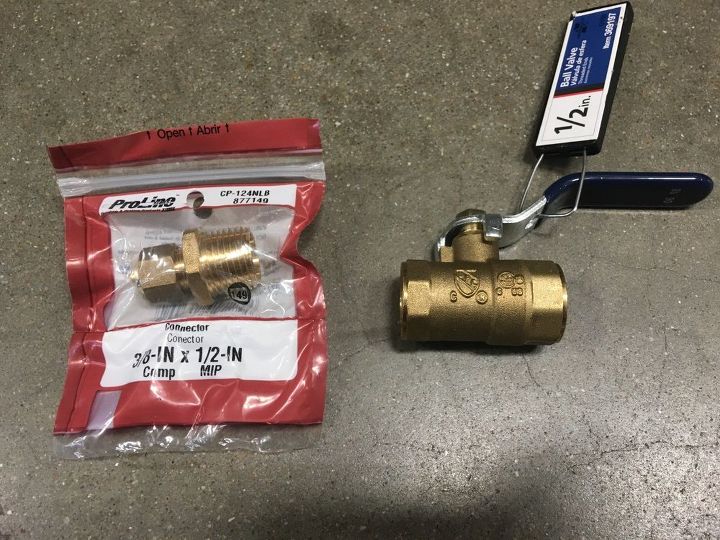
Before you get started, make sure you have all the necessary tools and materials on hand. You'll need an adjustable wrench, Phillips head screwdriver, replacement valve, plumber's tape, and a towel or rag. It's also a good idea to shut off the water supply to your bathroom before beginning any work.
Remove the old valve
To begin, you'll need to remove the old valve from your bathroom sink. Start by turning off the water supply and opening the faucet to release any remaining pressure. Next, use your adjustable wrench to loosen and remove the nuts that connect the water supply lines to the valve. Then, use your screwdriver to remove any screws or clips holding the valve in place. Once the valve is loose, you can remove it from the sink.
Prepare the new valve
Before installing the new valve, take some time to prepare it. Apply a thin layer of plumber's tape to the threads of the new valve to ensure a tight seal. This will help prevent leaks and keep your sink functioning properly.
Install the new valve
Now it's time to install the new valve. Begin by placing the valve into the designated hole in your bathroom sink. Make sure it's secure and in the correct position. Then, use your adjustable wrench to tighten the nuts that connect the water supply lines to the valve. Be careful not to overtighten, as this can cause damage to the valve or sink. Once the valve is securely in place, you can turn the water supply back on and test the faucet to ensure it's working properly.
Make any necessary adjustments
If you notice any leaks or issues with the water pressure after installing the new valve, you may need to make some adjustments. If the water flow is too low, you can try removing the aerator and cleaning any buildup that may be causing the issue. If you're still experiencing leaks, try tightening the nuts on the valve or adding more plumber's tape. If the issues persist, it may be a sign of a larger problem and you may need to call a professional plumber for assistance.
Enjoy your newly replaced valve
With the new valve installed and any necessary adjustments made, you can now enjoy your bathroom sink with confidence. No more leaks or low water pressure, and turning the water on and off will be a breeze. Congratulations on successfully replacing the valve in your bathroom sink, and saving yourself time and money by doing it yourself!
In conclusion
Replacing a valve in your bathroom sink may seem like a daunting task, but with the right tools and a little know-how, it's a DIY project that anyone can tackle. Remember to gather all necessary tools and materials, turn off the water supply, and follow the steps outlined in this guide. Before you know it, your bathroom sink will be functioning like new again.
How to Replace the Valve in Your Bathroom Sink

Introduction
 Maintaining a well-designed and functional bathroom is essential for any homeowner. However, with regular use, some parts of your bathroom may need to be replaced or repaired, such as the
valve in your bathroom sink
. The valve is a crucial component that controls the flow of water and ensures that your sink operates properly. If you notice your sink is leaking or the water pressure is inconsistent, it may be time to replace the valve. In this article, we will guide you through the process of replacing the valve in your bathroom sink, ensuring that your sink works efficiently and enhances the overall design of your bathroom.
Step 1: Gather the Necessary Tools
 Before beginning the replacement process, it is crucial to gather all the necessary tools and materials. This will save you time and ensure that you have everything you need. The tools you will need include a pair of pliers, an adjustable wrench, a flathead screwdriver, and a new
valve
that matches the one you are replacing.
Step 2: Turn off the Water Supply
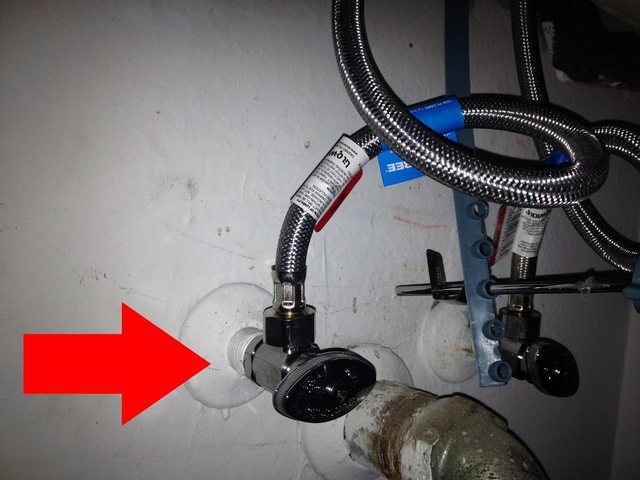
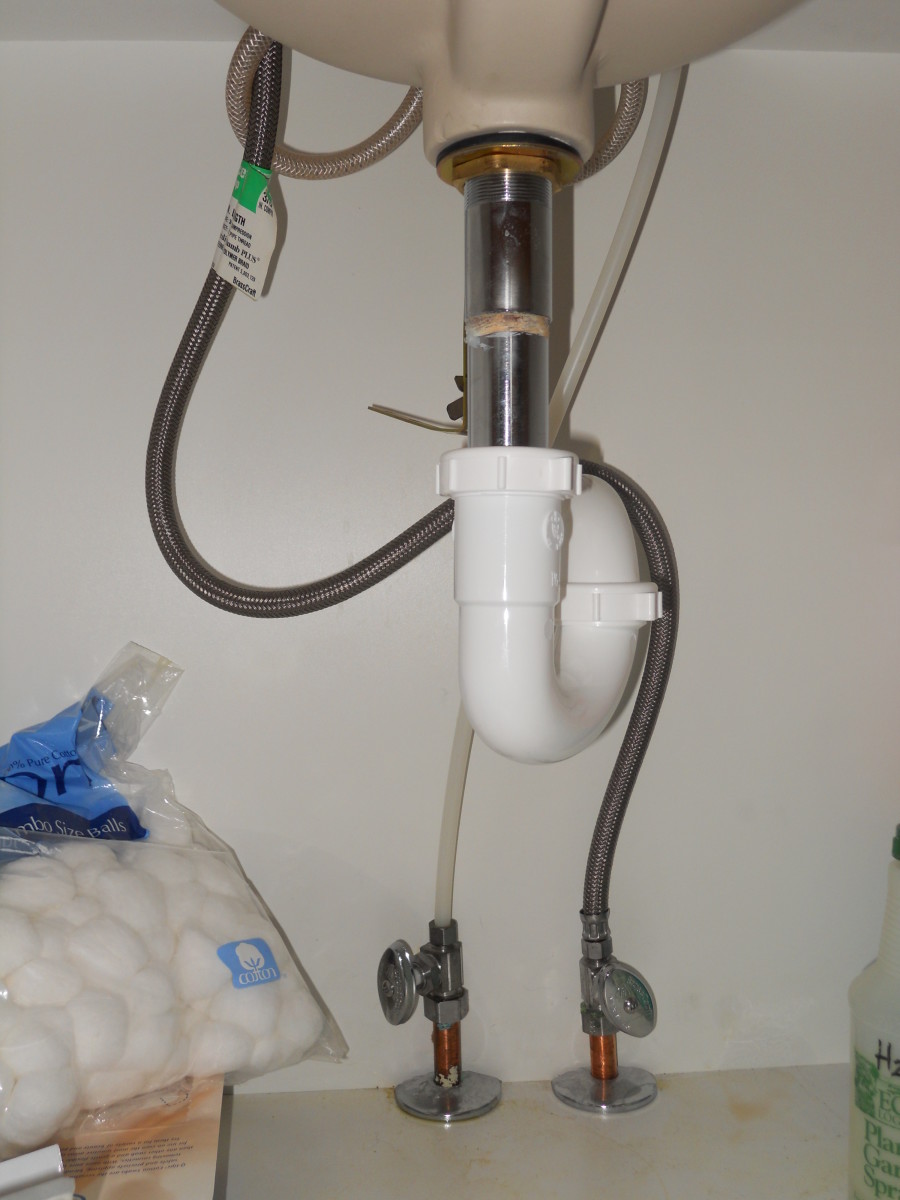
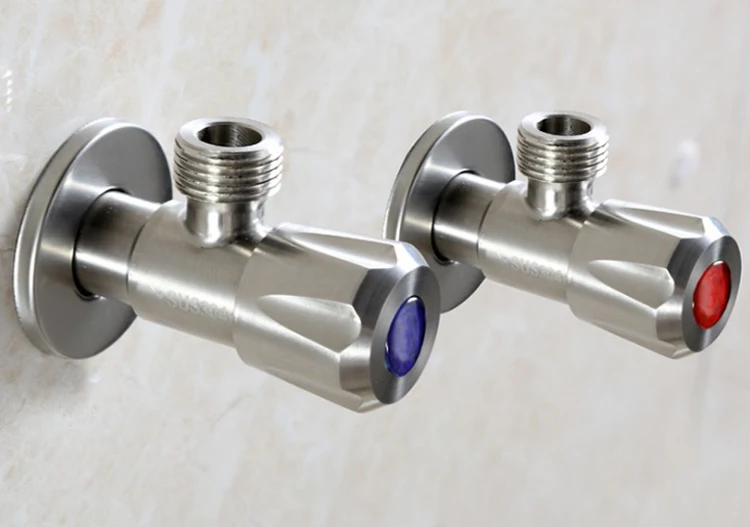
 Before removing the old valve, make sure to turn off the water supply to your bathroom sink. Look for the knobs or handles on the water supply lines under the sink and turn them clockwise to shut off the water. Once the water is turned off, turn on the faucet to drain any remaining water.
Step 3: Remove the Old Valve
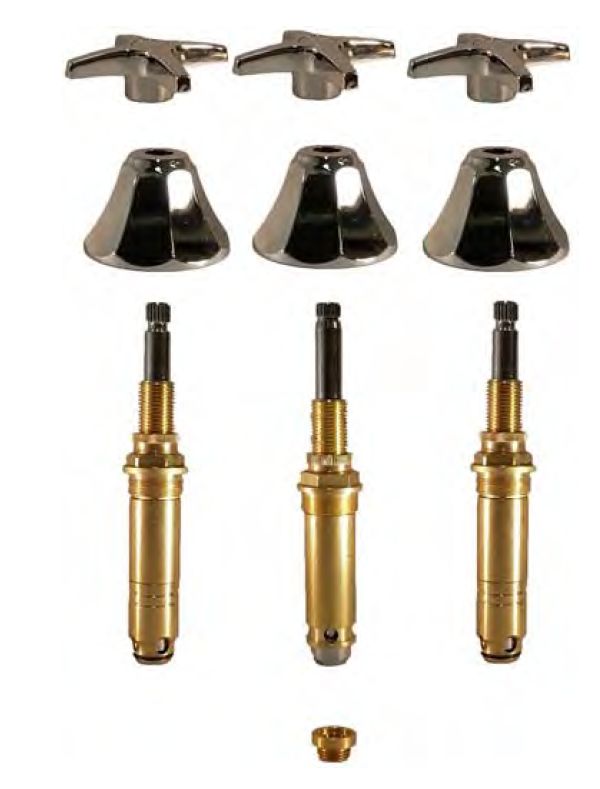
 Using the pliers and wrench, carefully loosen and remove the nuts that hold the valve in place. Then, use the adjustable wrench to remove the valve stem by turning it counterclockwise. If the valve is difficult to remove, you can use a lubricant such as WD-40 to loosen it. Once the old valve is removed, clean any residue or debris from the area.
Step 4: Install the New Valve
 Take the new
valve
and insert it into the hole in the sink. Make sure it fits properly and is securely in place. Then, use the adjustable wrench to tighten the valve stem by turning it clockwise. Finally, use the pliers to tighten the nuts and firmly secure the valve in place.
Step 5: Turn on the Water Supply
 Once the new valve is installed, turn the water supply back on by turning the knobs or handles counterclockwise. Check for any leaks and make sure the water flows evenly from the faucet.
Conclusion
 Replacing the valve in your bathroom sink may seem daunting, but with the right tools and steps, it can be a simple and rewarding DIY project. By following these steps, you can ensure that your sink operates efficiently and adds to the overall design of your bathroom. Remember to
regularly maintain
your bathroom fixtures to avoid any future issues and keep your bathroom in top shape.



/sink-pipe-under-wash-basin-119001607-75542e154b364e7bb52032249f293908.jpg)








:max_bytes(150000):strip_icc()/sink-pipe-under-wash-basin-119001607-75542e154b364e7bb52032249f293908.jpg)
