How to Replace Silicone Around a Kitchen Sink
If you've noticed that the silicone around your kitchen sink is starting to crack or peel, it's time to replace it. Silicone is used to seal and waterproof areas around your sink, preventing water from seeping into the cabinets below. Replacing the silicone is a simple and inexpensive task that can help maintain the integrity of your sink and prevent any potential water damage. Here's a step-by-step guide on how to replace silicone around a kitchen sink.
How to Use a Squeeze Tube for Silicone
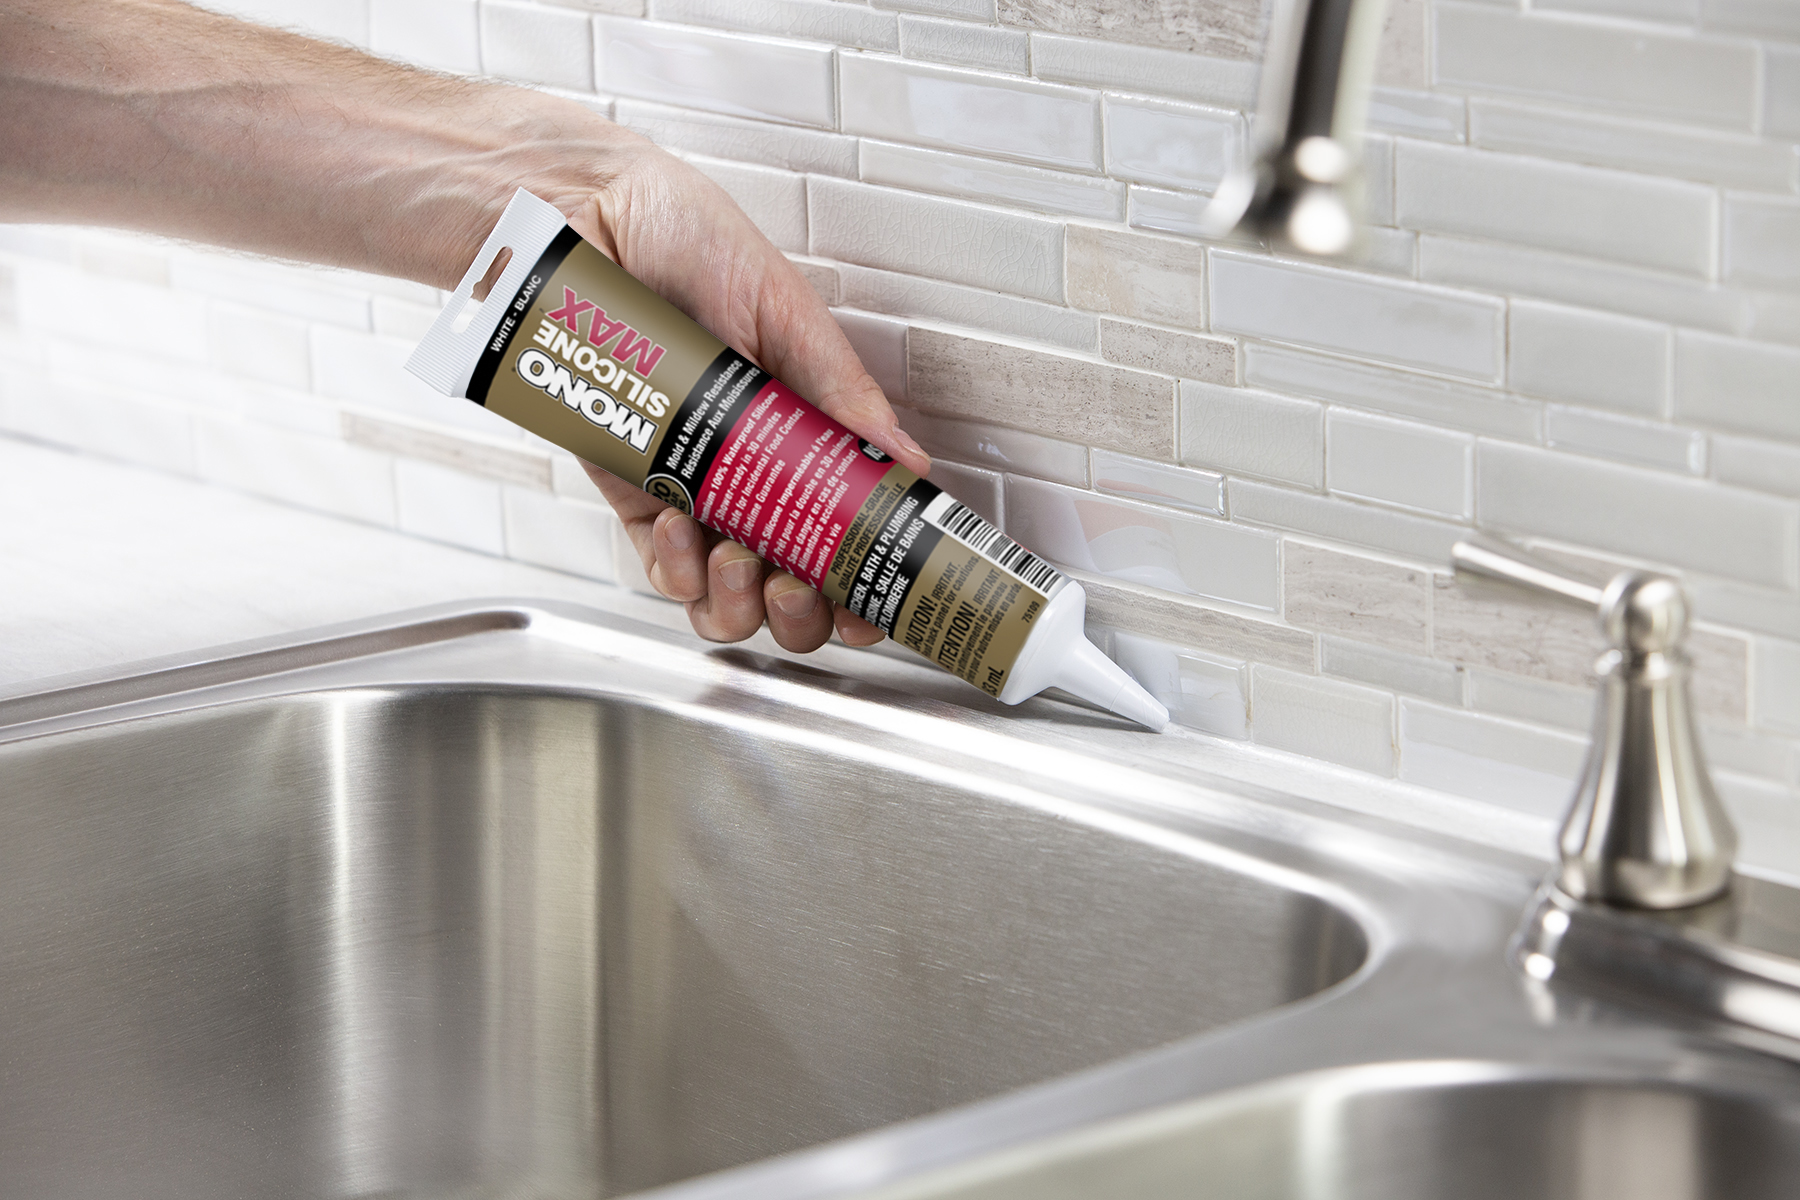
Squeeze tubes are a convenient and mess-free way to apply silicone around your kitchen sink. They allow for precise application and make the process much easier. To use a squeeze tube for silicone, start by cutting off the tip of the tube with a utility knife. Then, insert the tube into a caulking gun and squeeze the trigger to apply the silicone. Make sure to apply an even and consistent bead of silicone around the sink.
Best Silicone for Kitchen Sink
When it comes to choosing the right silicone for your kitchen sink, it's essential to pick one that is specifically designed for kitchen and bathroom use. Look for a silicone that is waterproof, mold and mildew resistant, and has a long-lasting formula. Some popular brands include GE Silicone II, Dap Kwik Seal, and Loctite Clear Silicone. These are all excellent options that will provide a strong seal around your sink.
Step-by-Step Guide for Replacing Silicone Around Kitchen Sink
Replacing silicone around a kitchen sink is a straightforward process that can be completed in just a few steps. Here's a step-by-step guide to help you get started:
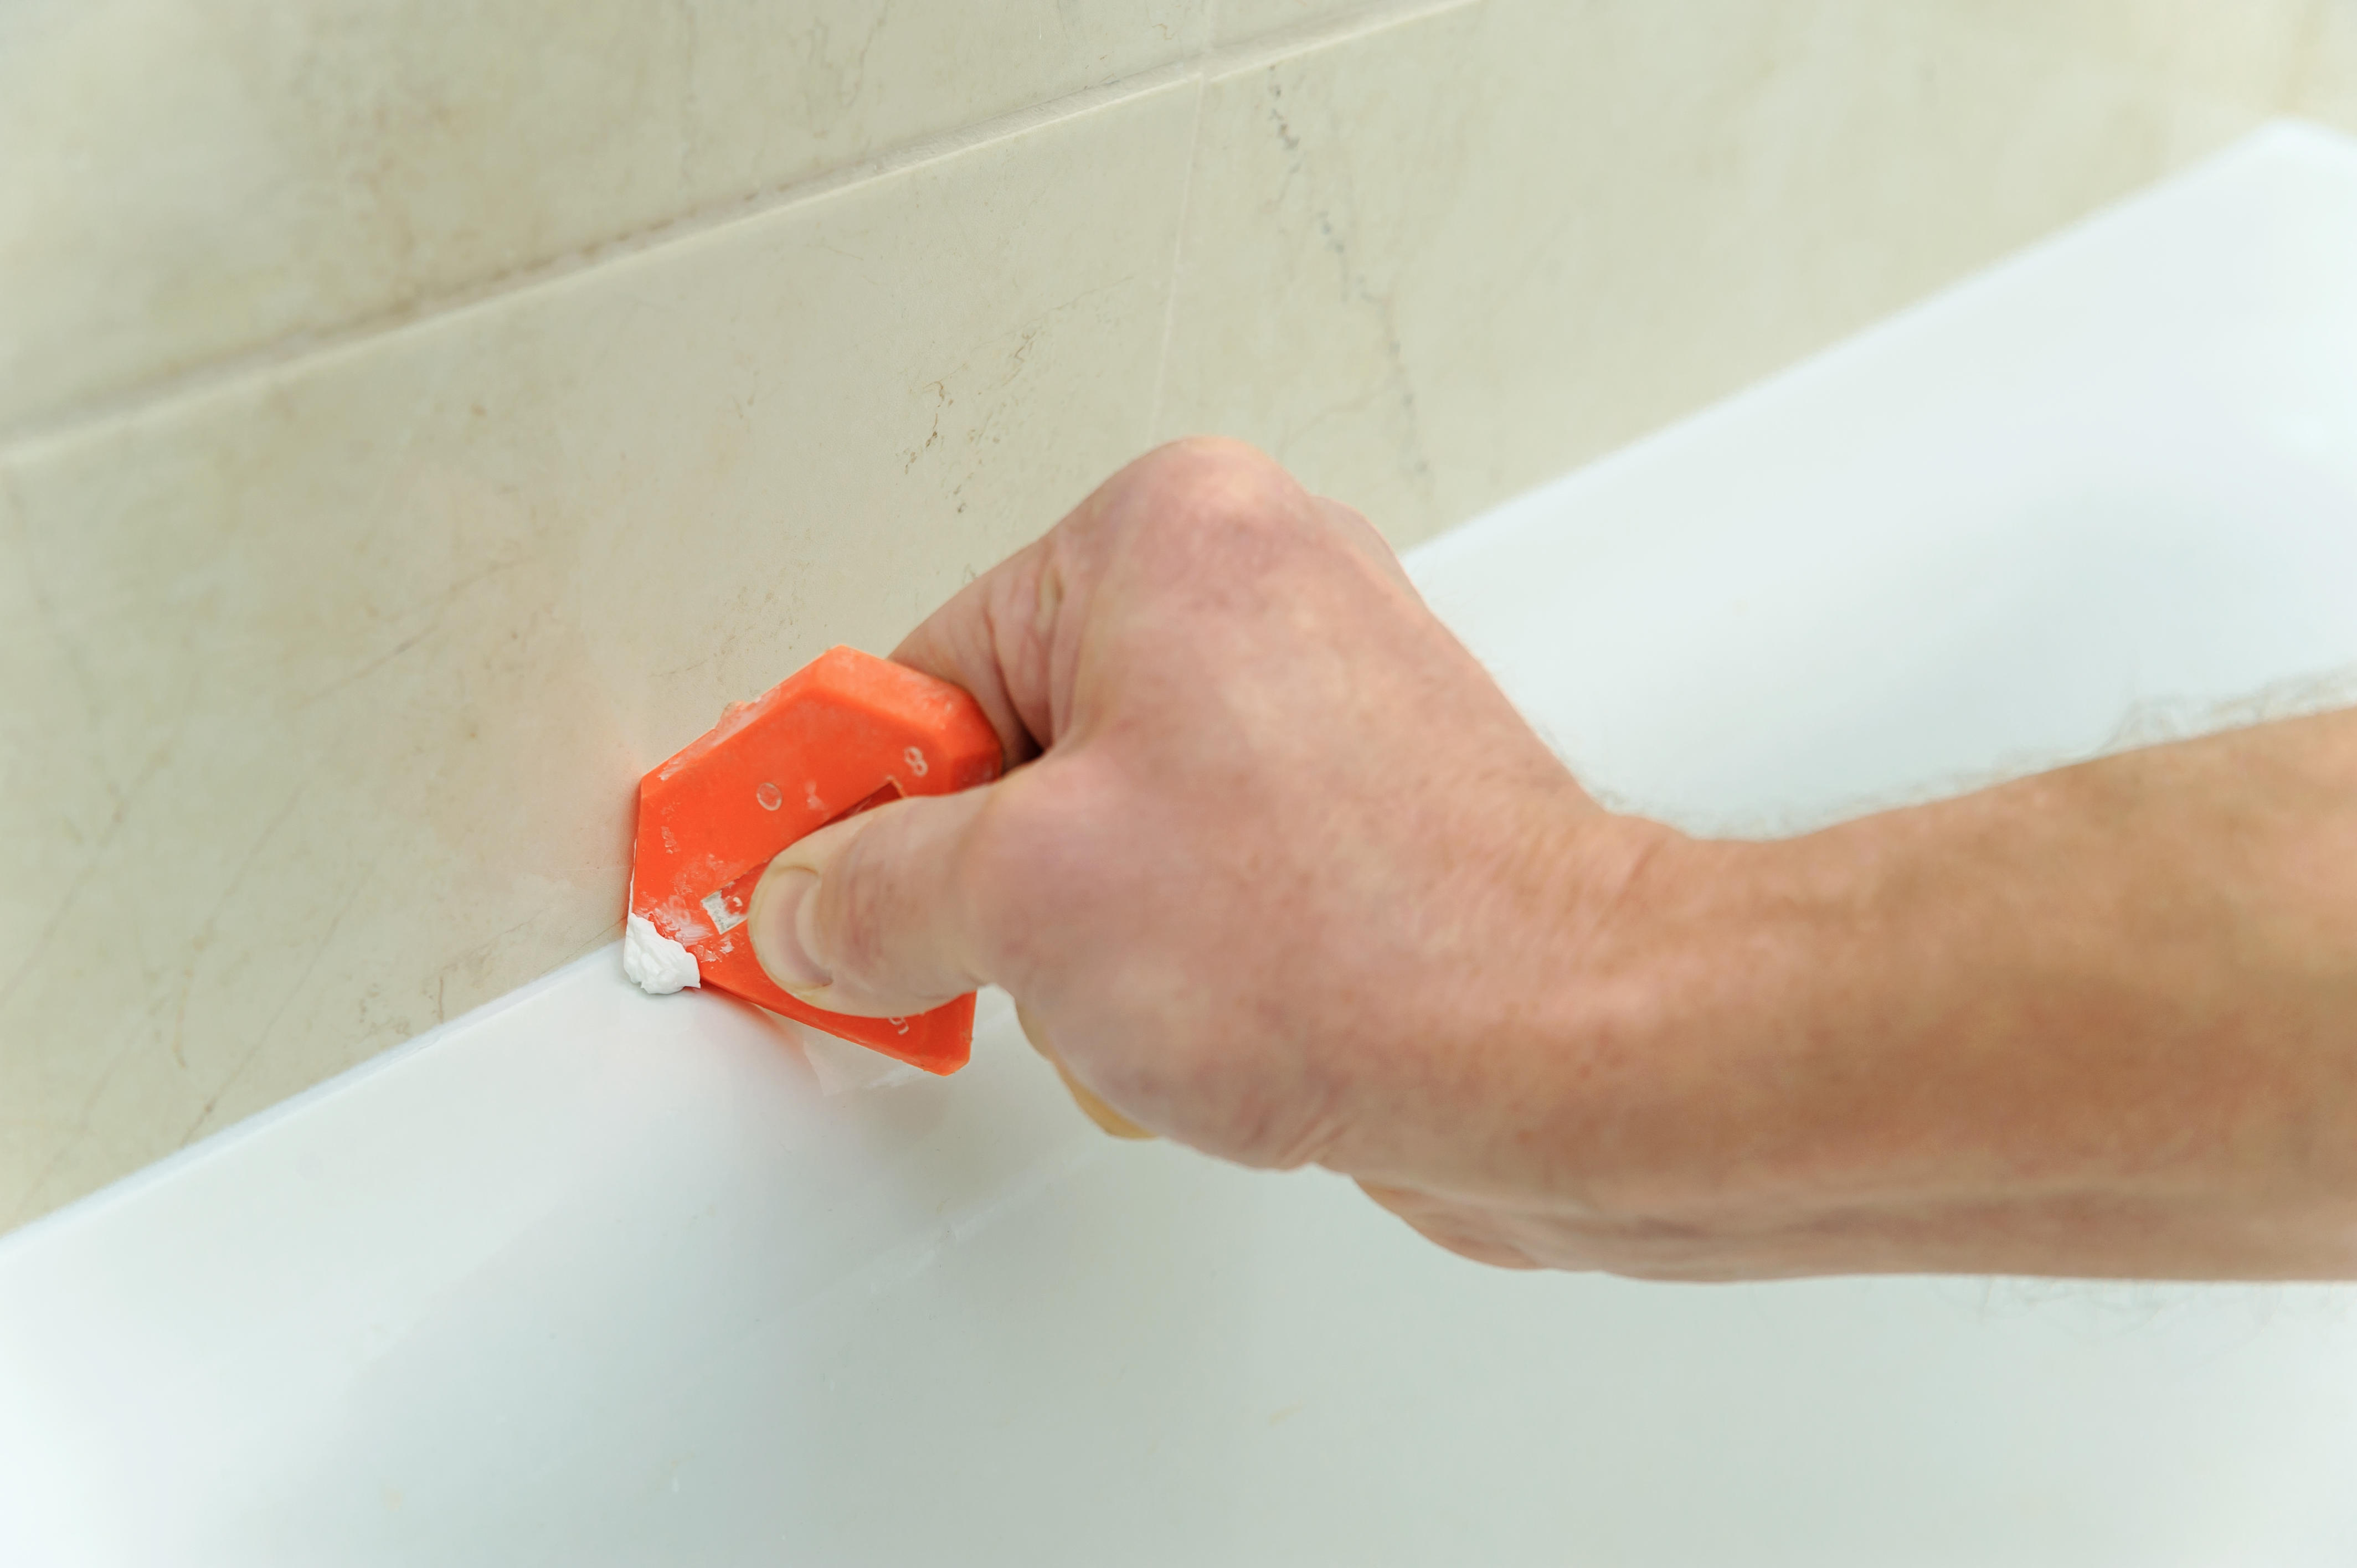
Step 1: Remove the old silicone - Use a utility knife or a silicone removal tool to carefully cut and scrape off the old silicone around the sink. Make sure to remove all traces of the old silicone to ensure a clean surface for the new application.
Step 2: Clean and dry the area - Use a degreaser or rubbing alcohol to clean the area around the sink thoroughly. Make sure the surface is completely dry before applying the new silicone.
Step 3: Prepare the squeeze tube - Cut off the tip of the squeeze tube with a utility knife and insert it into a caulking gun. Squeeze the trigger a few times to ensure the silicone is flowing smoothly.
Step 4: Apply the silicone - Starting at one corner, carefully squeeze the trigger and apply an even and consistent bead of silicone around the sink. Use your finger or a caulk smoothing tool to smooth out the silicone and create a clean finish.
Step 5: Let it dry - Allow the silicone to dry according to the manufacturer's instructions. It usually takes about 24 hours for the silicone to fully cure.
Tips for Using a Squeeze Tube for Silicone
Using a squeeze tube for silicone can be a game-changer when it comes to applying silicone around your kitchen sink. Here are a few tips to help you get the most out of your squeeze tube:
Tip 1: Cut the tip of the tube at a 45-degree angle - This will create a more precise and even application of the silicone.
Tip 2: Use a caulking gun - A caulking gun will provide better control and make it easier to apply the silicone evenly.
Tip 3: Apply the silicone in one continuous motion - Try to avoid stopping and starting when applying the silicone. This will create a smoother finish.
Top Rated Silicone for Kitchen Sink
To help you choose the best silicone for your kitchen sink, we've compiled a list of the top-rated options on the market:
1. GE Silicone II Kitchen and Bath Sealant - This silicone is waterproof, mold and mildew resistant, and has a 10-year mold-free guarantee.
2. Dap Kwik Seal Plus Kitchen and Bath Adhesive Caulk - This silicone is easy to apply, dries quickly, and is waterproof and mildew resistant.
3. Loctite Clear Silicone Waterproof Sealant - This silicone is clear, waterproof, and can be used on both indoor and outdoor surfaces.
Replacing Silicone Around Kitchen Sink: Common Mistakes to Avoid
While replacing silicone around a kitchen sink is a simple task, there are a few common mistakes that you should avoid to ensure a successful application:
Mistake 1: Not removing the old silicone completely - If there are any traces of old silicone left, the new silicone won't adhere properly.
Mistake 2: Not preparing the area - Make sure to clean and dry the area thoroughly before applying the new silicone. Any moisture or debris can affect the adhesion of the silicone.
Mistake 3: Applying too much silicone - It's important to use the right amount of silicone to create a strong seal. Too much silicone can create a messy and uneven finish.
How to Properly Apply Silicone Using a Squeeze Tube
Properly applying silicone using a squeeze tube is essential to ensure a clean and effective seal around your kitchen sink. Here's a quick guide to help you get the best results:
Step 1: Cut the tip of the squeeze tube at a 45-degree angle.
Step 2: Insert the tube into a caulking gun and squeeze the trigger a few times to ensure the silicone is flowing smoothly.
Step 3: Apply the silicone in a continuous motion, starting at one corner of the sink.
Step 4: Use your finger or a caulk smoothing tool to smooth out the silicone and create a clean finish.
Step 5: Allow the silicone to dry completely before using the sink.
Recommended Tools for Replacing Silicone Around Kitchen Sink
Here are a few tools that can come in handy when replacing silicone around your kitchen sink:
1. Silicone removal tool - This tool makes it easier to remove old silicone and clean the area before applying the new silicone.
2. Utility knife - A utility knife can be used to cut the tip of the squeeze tube and remove any excess silicone.
3. Caulking gun - A caulking gun makes it easier to apply the silicone evenly and smoothly.
Benefits of Using a Squeeze Tube for Silicone Application
Using a squeeze tube for silicone application offers many benefits that make it the preferred method for many homeowners. Here are a few advantages of using a squeeze tube:
1. Mess-free - Squeeze tubes make it easy to apply silicone without creating a mess.
2. Precise application - The nozzle of the squeeze tube allows for precise and even application of the silicone.
3. Easy to use - Squeeze tubes are easy to use, even for beginners.
4. Cost-effective - Squeeze tubes are an affordable option for replacing silicone around your kitchen sink.
Why Replacing the Silicone Around Your Kitchen Sink is Essential for a Well-Designed Home
Understanding the Importance of Silicone in Your Kitchen
 Silicone is a versatile and popular material used in many areas of a home, including the kitchen. It is commonly used as a sealant around sinks, countertops, and other fixtures to prevent water damage and keep the area clean. However, over time, the silicone can become worn out and start to peel, crack, or discolor. This not only affects the appearance of your kitchen but also poses a potential health hazard as it can harbor bacteria and mold. Therefore, it is crucial to regularly check and replace the silicone around your kitchen sink to maintain a well-designed and hygienic home.
The Signs That Your Kitchen Sink Silicone Needs to be Replaced
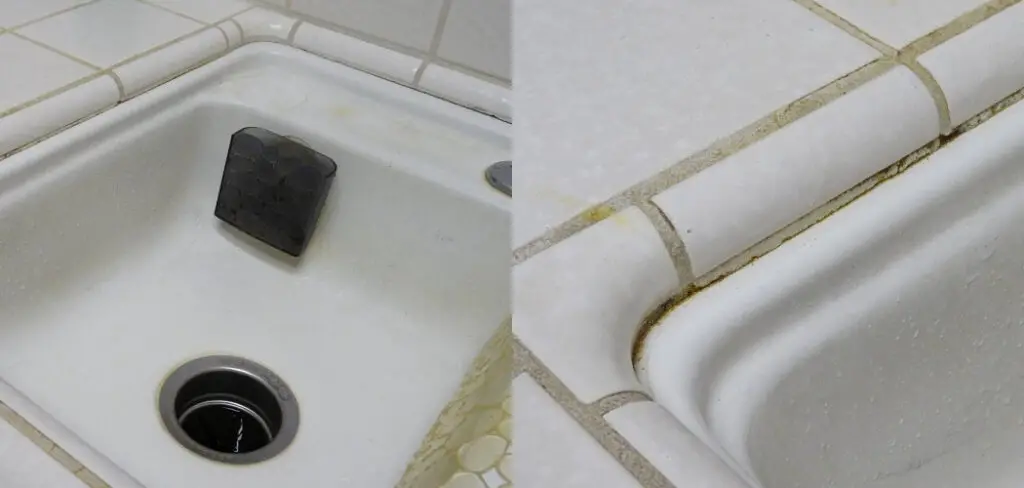
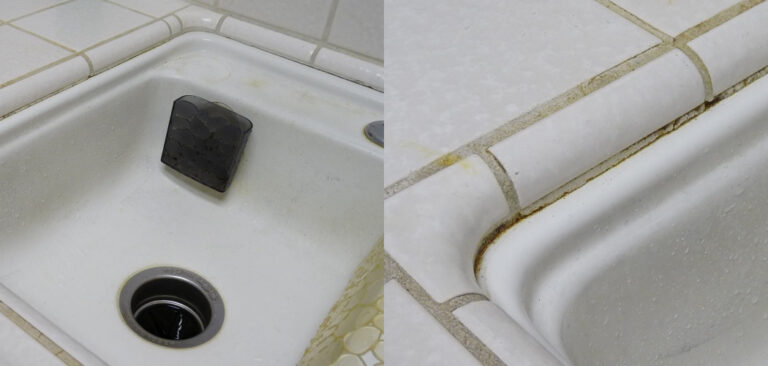
 The first indication that your kitchen sink silicone needs replacing is visual. As mentioned, if you notice any peeling, cracking, or discoloration, it is time to take action. Another sign is the presence of mold or mildew. This can occur if the silicone has been damaged or has not been applied correctly, allowing water to seep in and create a damp environment for mold to grow. Additionally, if you start to notice a musty or unpleasant odor coming from your sink, it could be a sign of hidden mold behind the silicone. In any case, it is best to replace the silicone as a precautionary measure to ensure a well-designed and healthy kitchen.
The Benefits of Replacing the Silicone Around Your Kitchen Sink
 Aside from the obvious aesthetic improvement, replacing the silicone around your kitchen sink brings many other benefits. It restores the seal, preventing water from seeping into cracks and causing damage to your countertops and cabinets. It also eliminates potential health hazards by getting rid of mold and bacteria build-up. Moreover, replacing the silicone is a quick and affordable way to refresh the look of your kitchen without having to undergo a major renovation. It is a small but essential step in maintaining a well-designed and functional home.















:format(jpg)/1818304/original.jpg)

