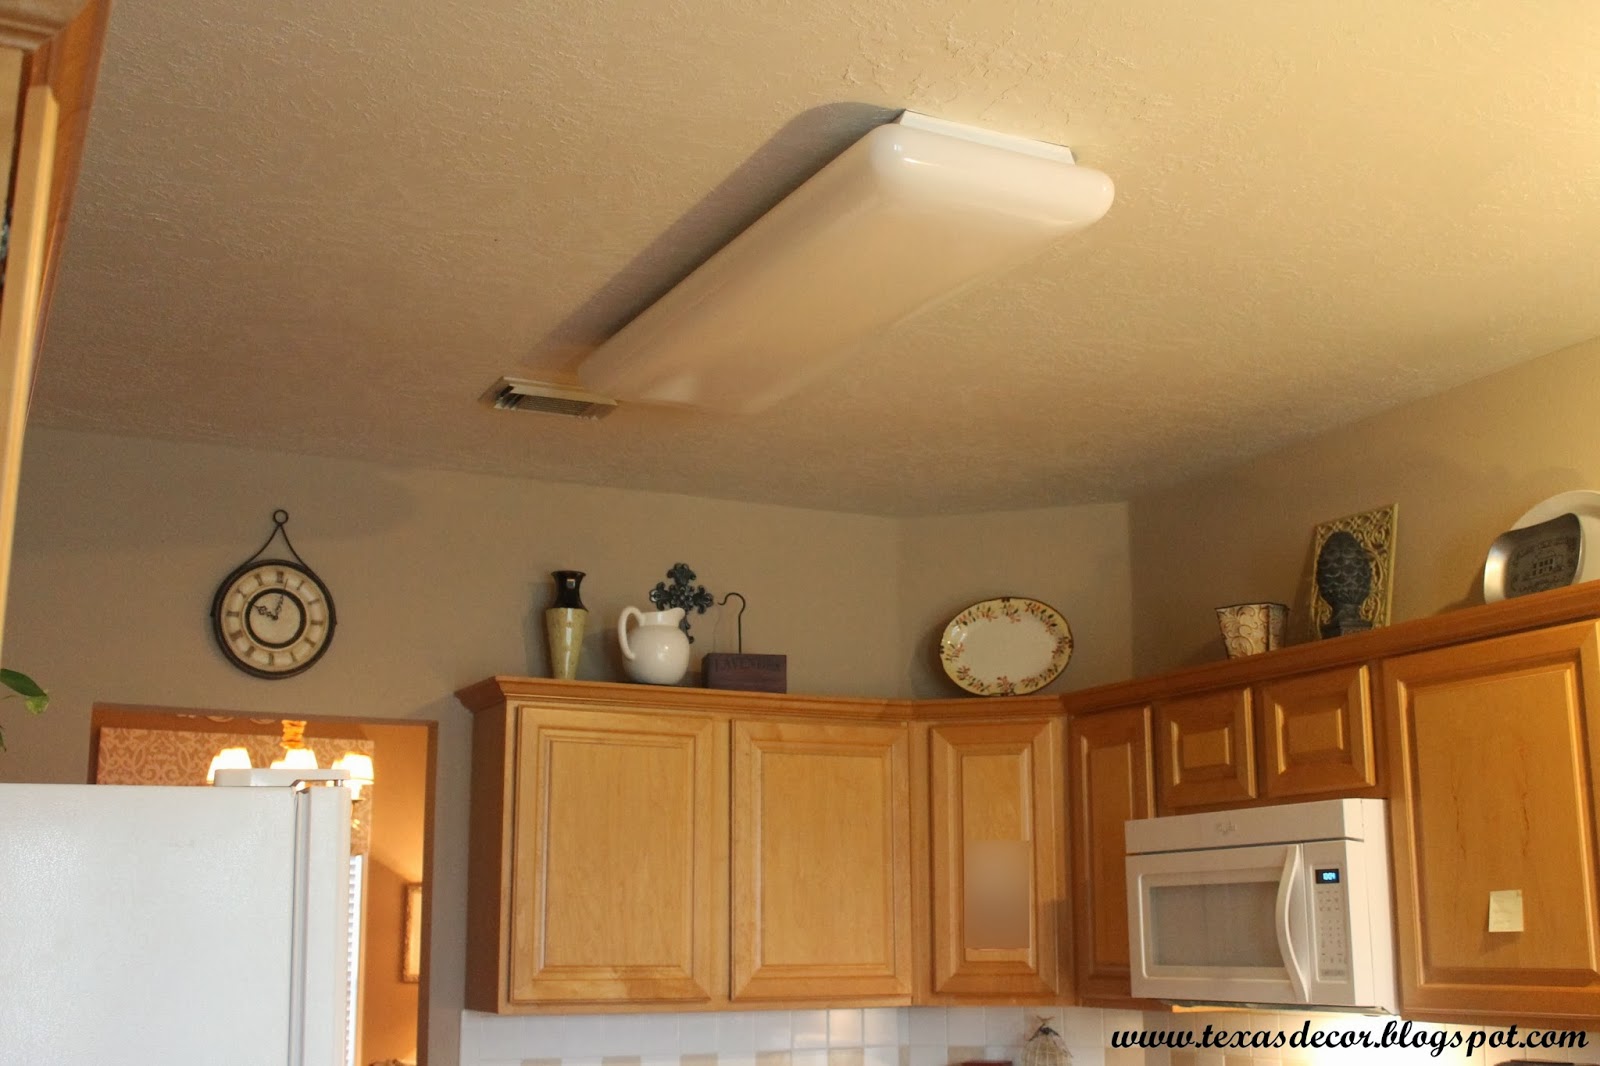
How to Replace an Old Fluorescent Kitchen Light
Are you tired of your outdated and dim kitchen lighting? It may be time to replace your old fluorescent kitchen light with a more modern and energy-efficient option. Not only will this upgrade brighten up your space, but it can also save you money on your electricity bill. Follow these steps to replace your old fluorescent kitchen light and bring new life to your kitchen.
How to Upgrade Your Kitchen Lighting
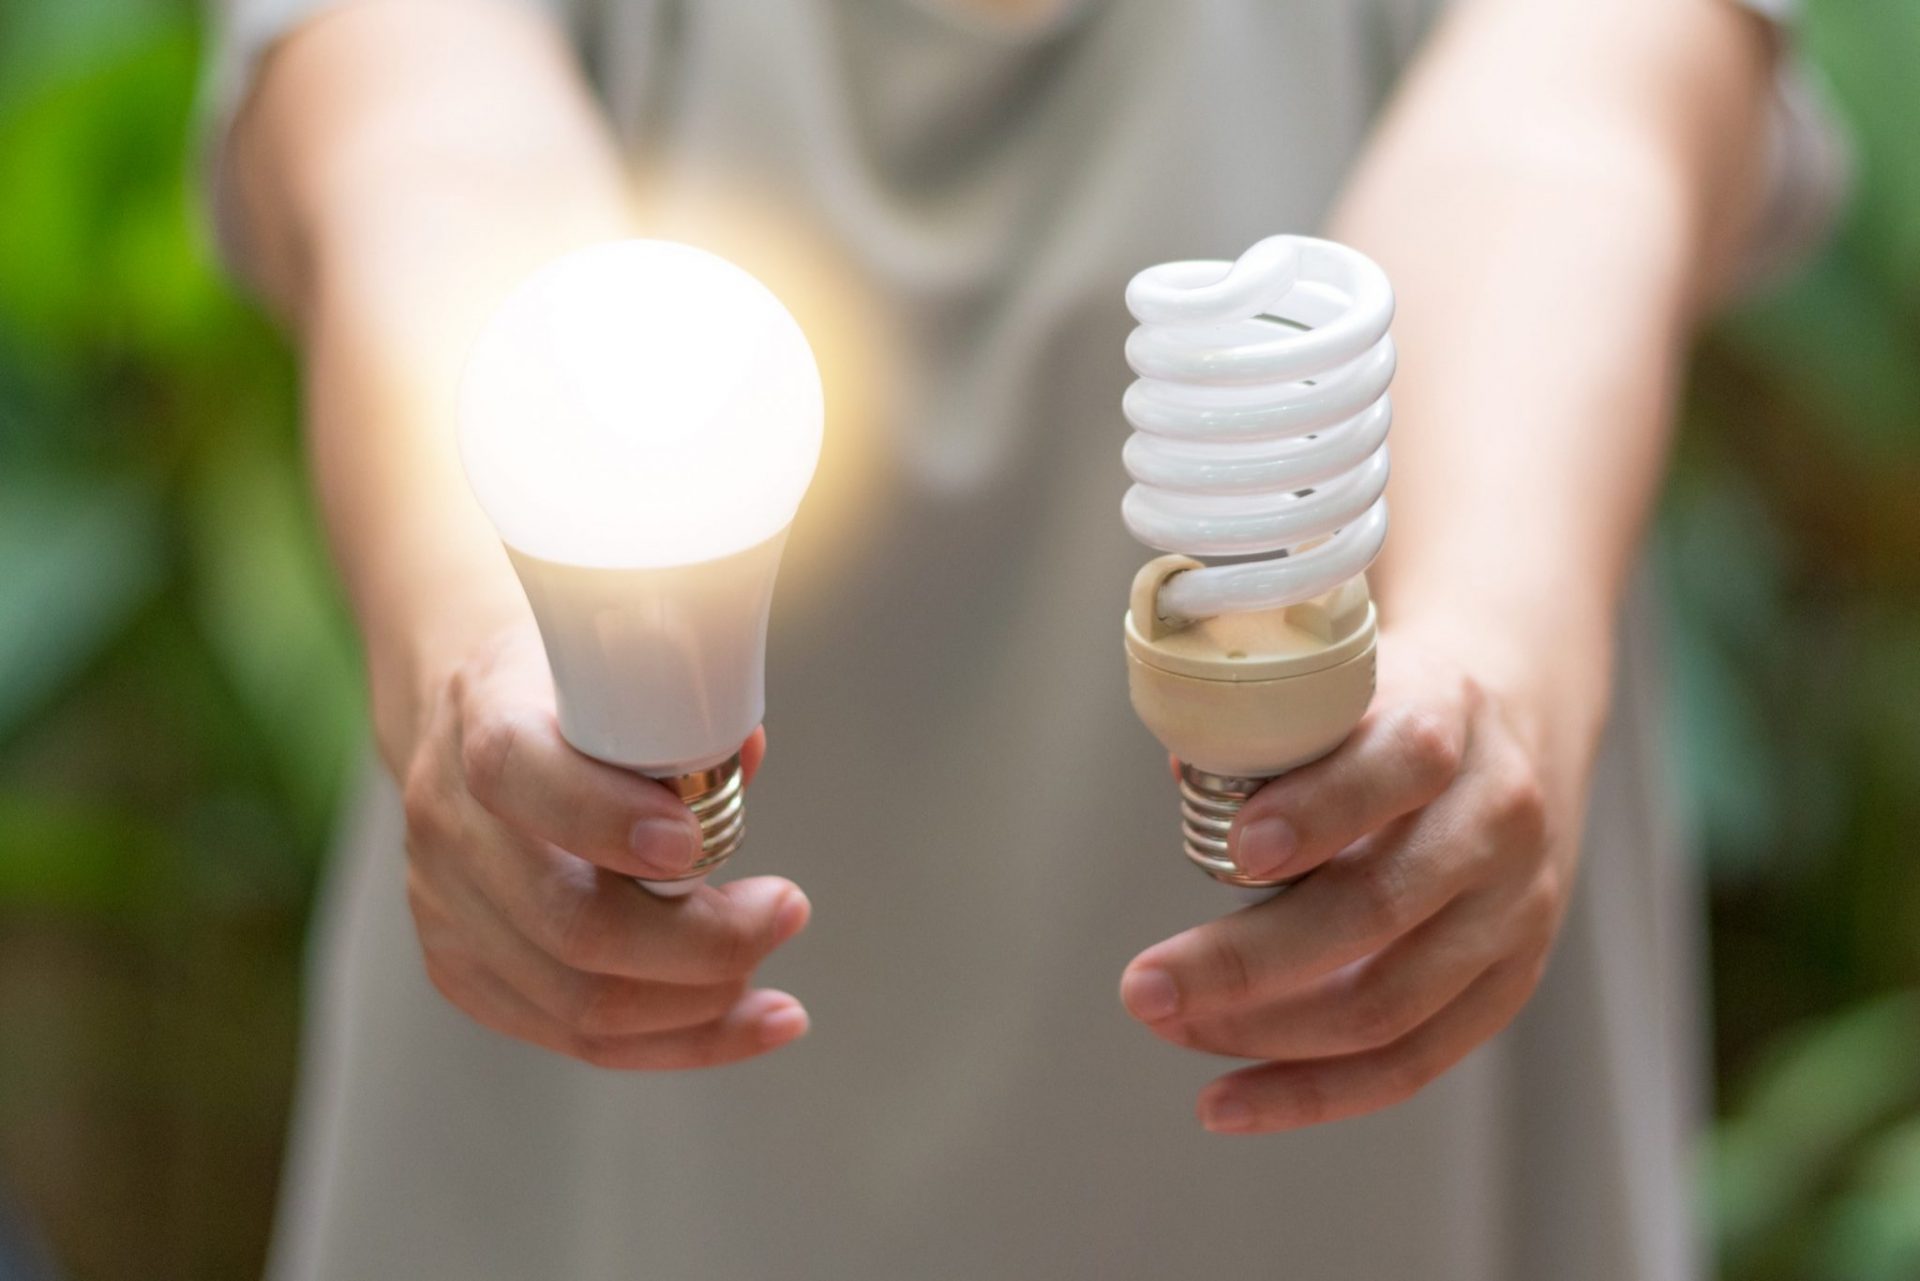
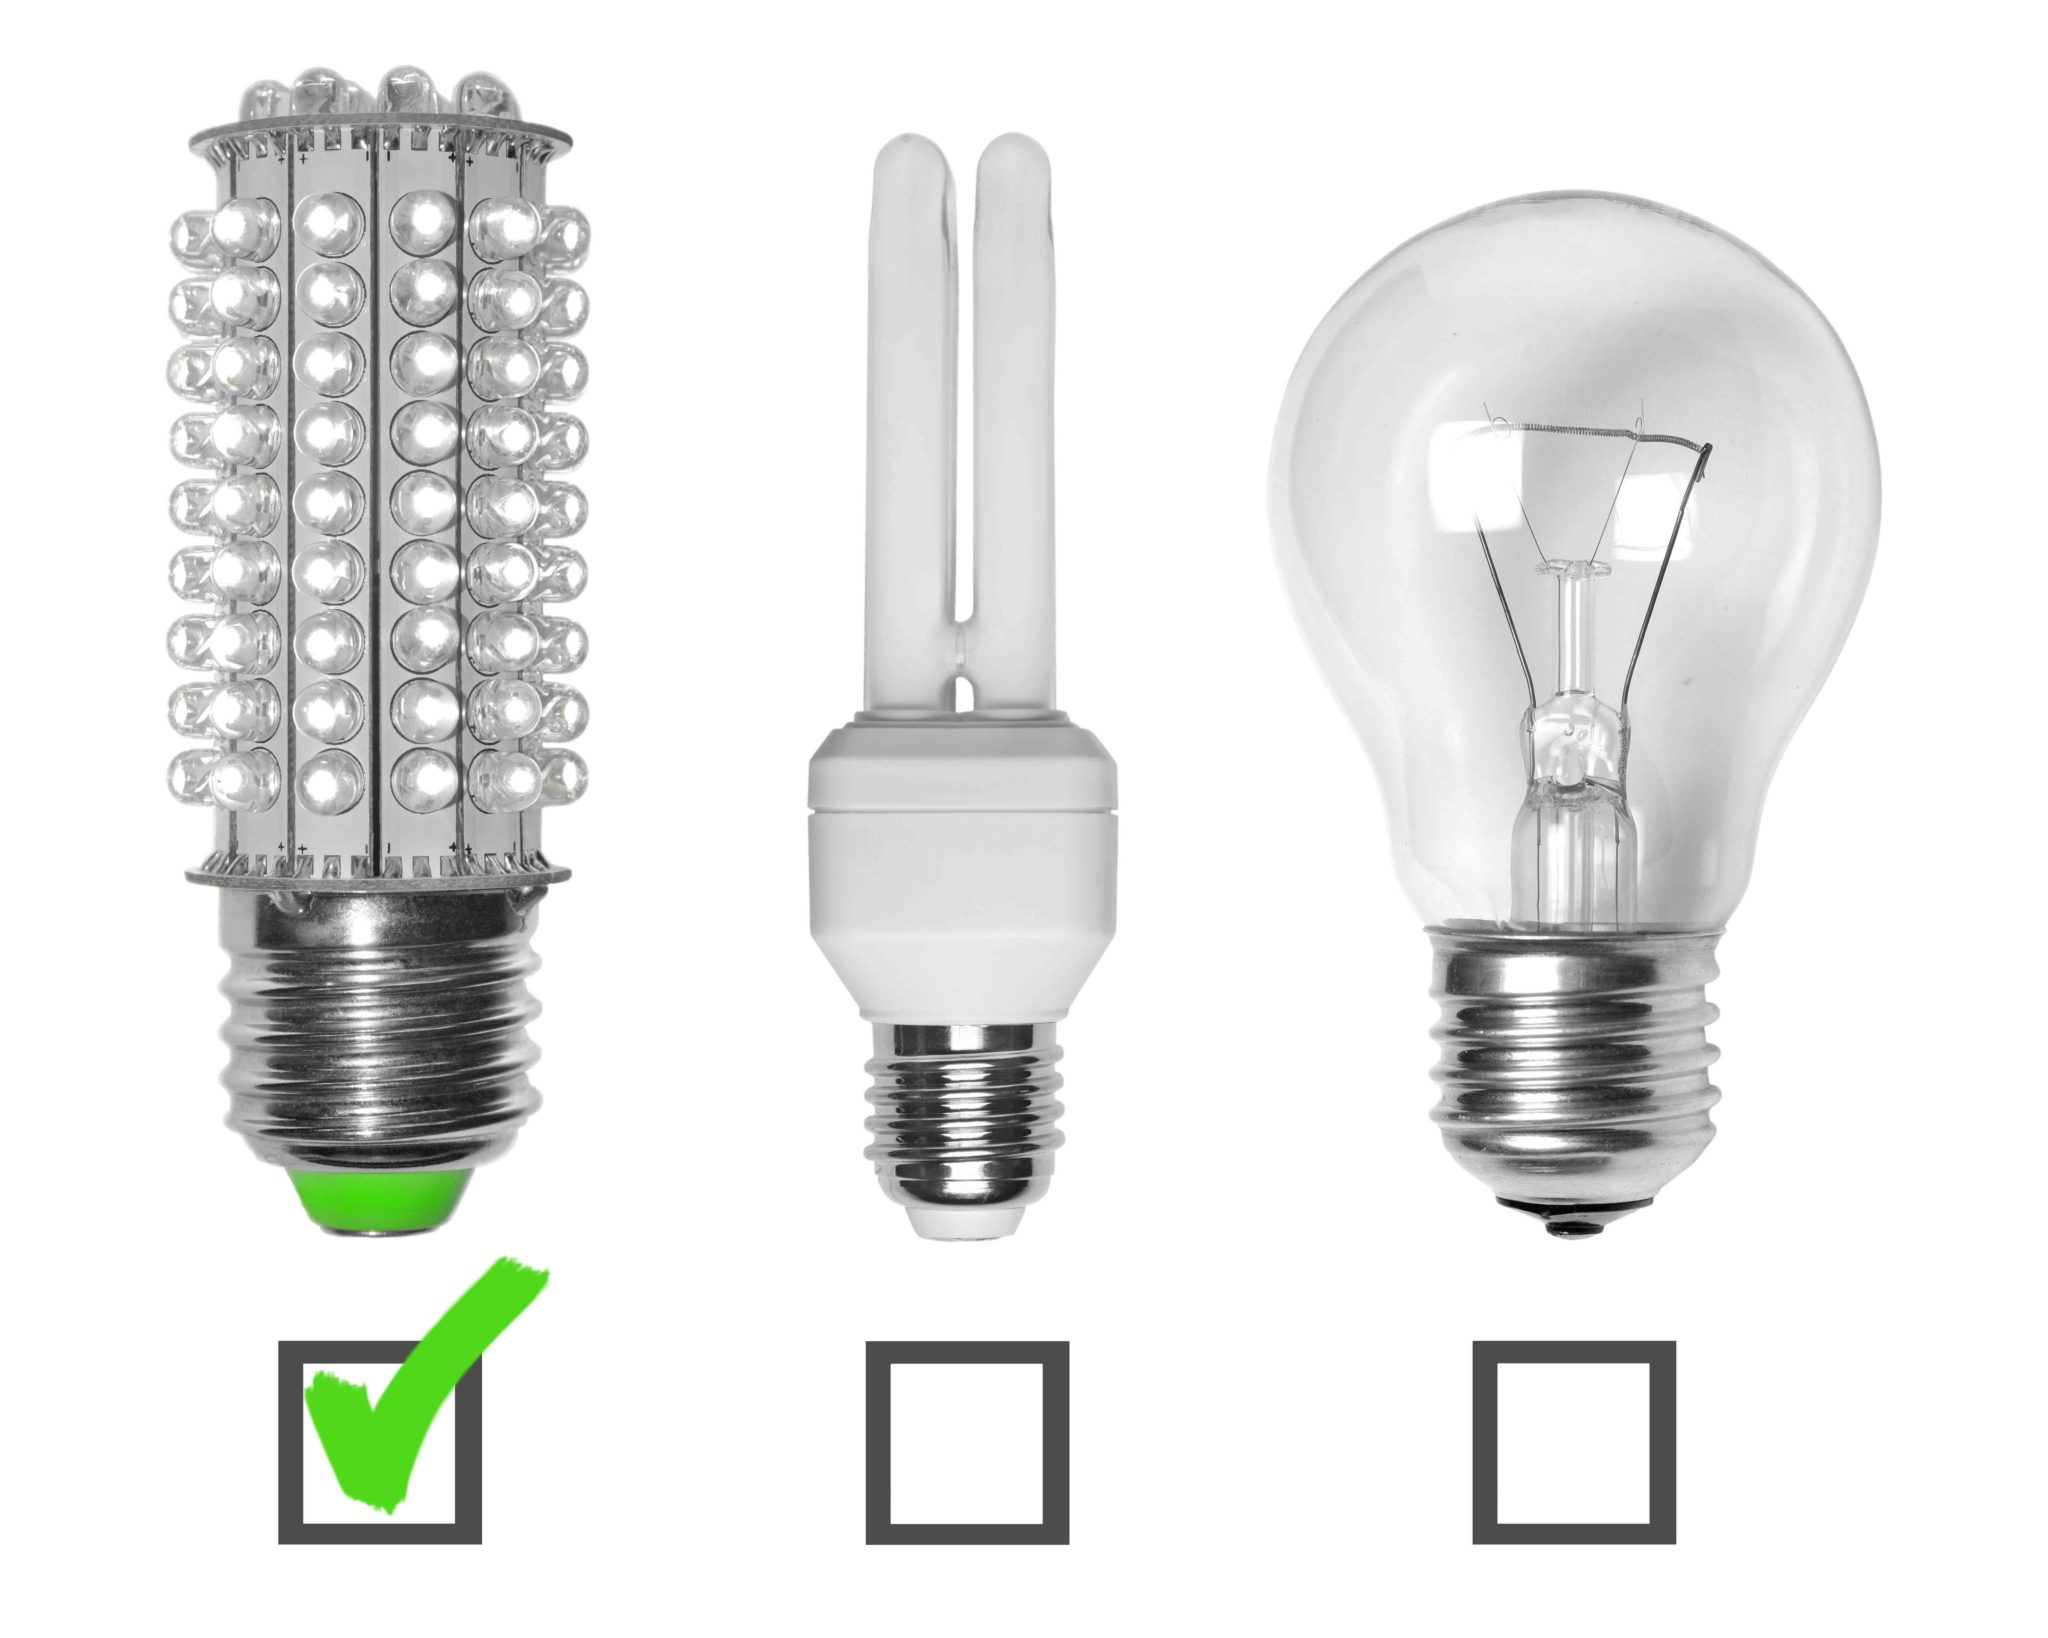
Before diving into the process of replacing your old fluorescent kitchen light, it's important to understand the different types of lighting options available. LED lights have become a popular choice for their energy efficiency and longevity. They also come in a variety of styles and colors, allowing you to customize your kitchen lighting to fit your needs and aesthetic. Other options include halogen and incandescent lights, which may be more affordable but are not as energy efficient.
Replacing Fluorescent Lights with LED
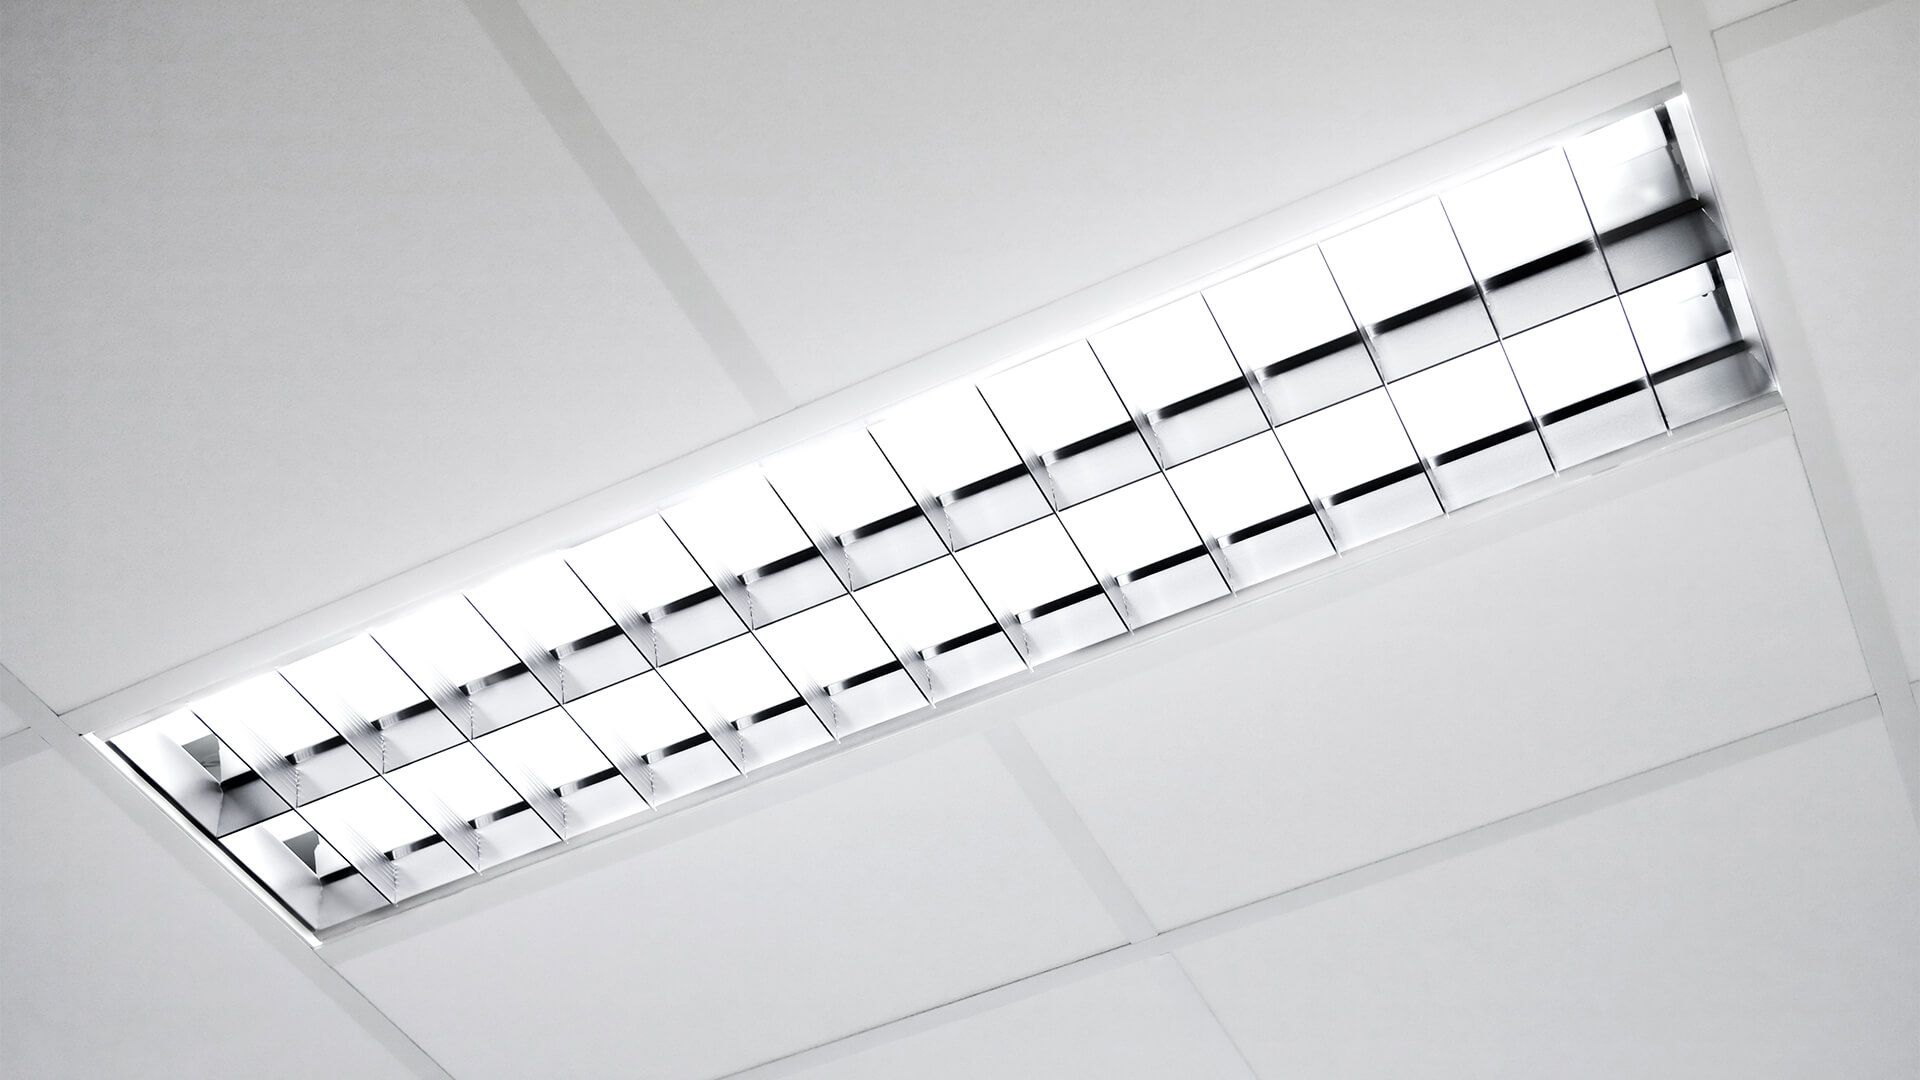
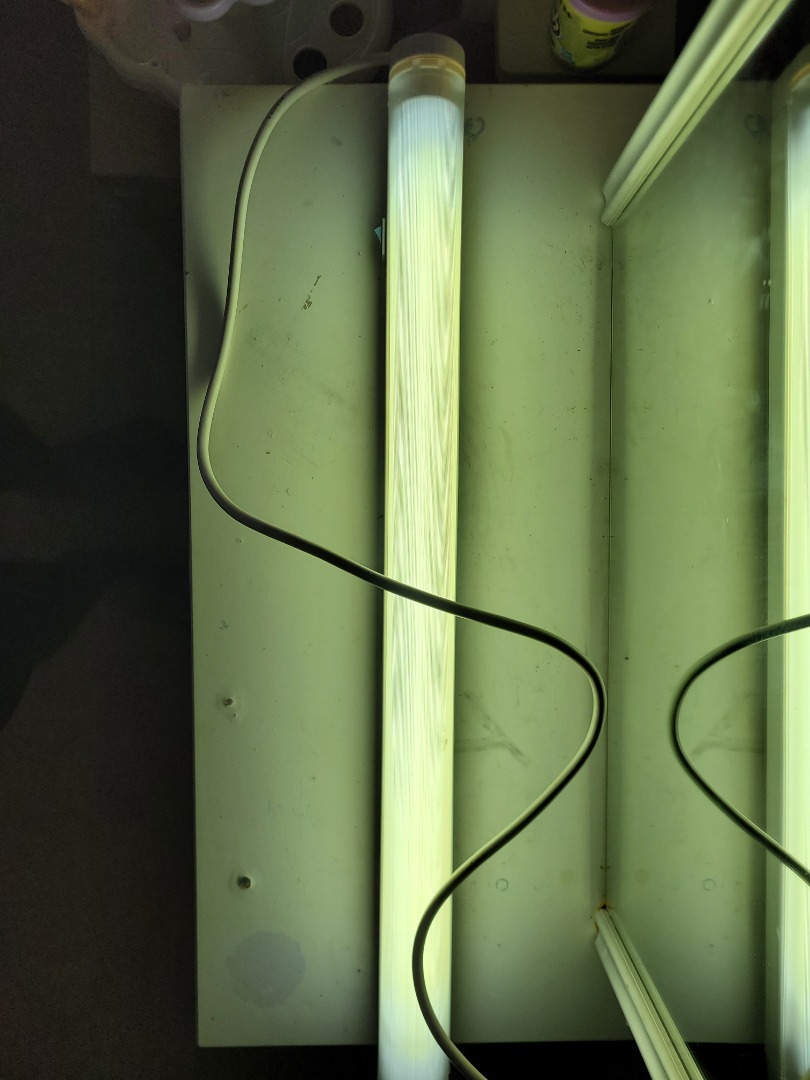
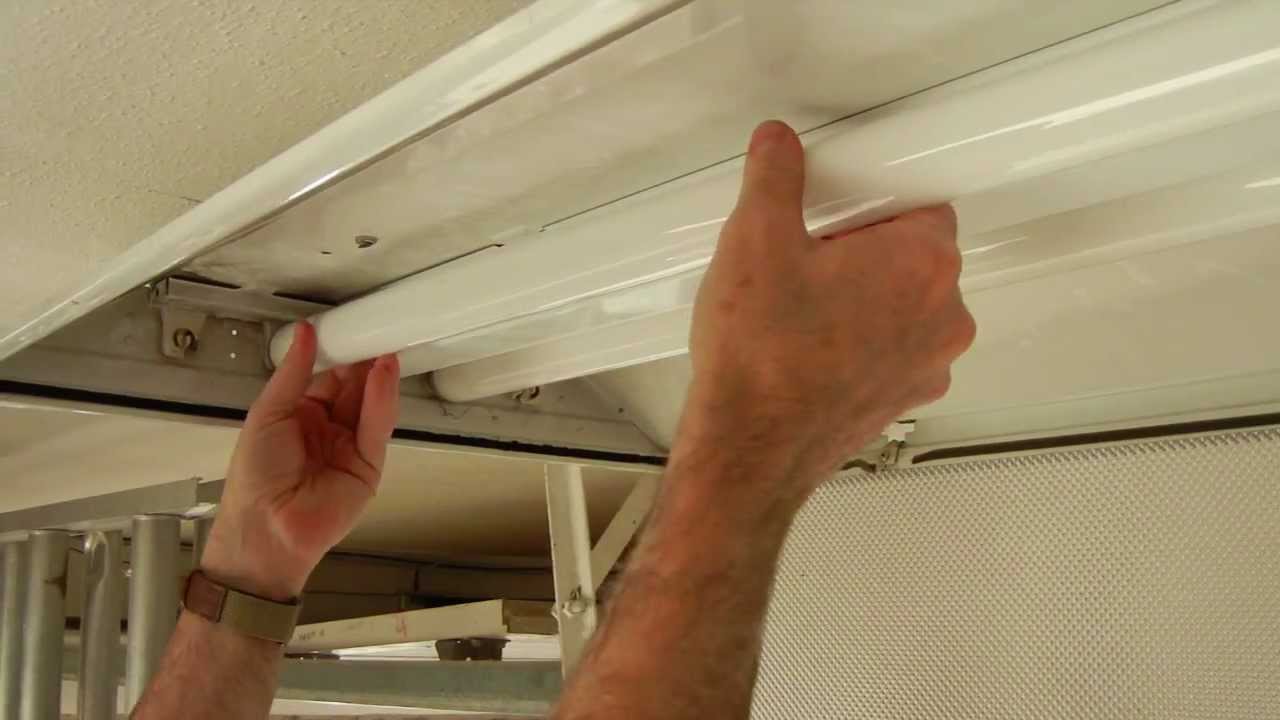
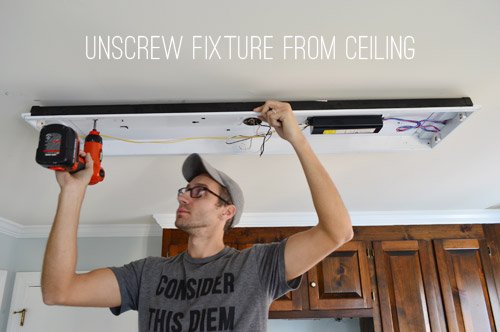
Now, let's get to the nitty-gritty of replacing your old fluorescent kitchen light. The first step is to turn off the power to the light fixture. This can typically be done by flipping the switch on your circuit breaker. Next, remove the cover of the light fixture and unscrew the fluorescent tubes. Then, remove the ballast, which is the small rectangular box that controls the flow of electricity to the tubes.
Next, it's time to install the new LED light fixture. Connect the wires from the fixture to the wires in your ceiling, and secure them with wire connectors. Then, attach the new LED tubes to the fixture. Make sure they are securely in place before turning the power back on and testing the light.
DIY Kitchen Lighting Upgrade
If you're feeling adventurous and want to save some money, you can also try a DIY kitchen lighting upgrade. This involves using LED light strips to replace your old fluorescent tubes. First, you'll need to purchase the LED light strips, which can be found at most hardware stores. Then, remove the fluorescent tubes and ballast as mentioned before.
Next, cut the LED light strips to fit the length of your light fixture. Attach them to the fixture using adhesive or clips, making sure they are evenly spaced and aligned. Finally, connect the wires from the LED light strips to the wires in your ceiling, and secure them with wire connectors. Turn the power back on and test the lights to make sure they are working properly.
Replacing Fluorescent Tubes with LED
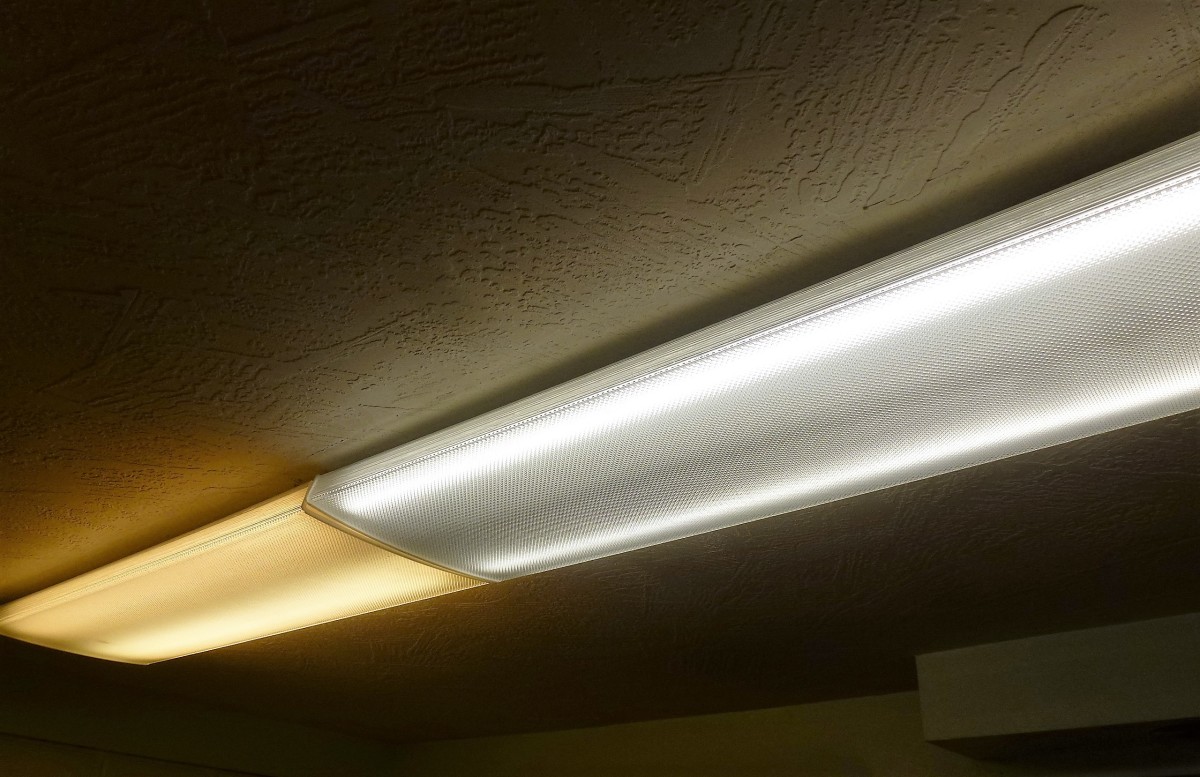
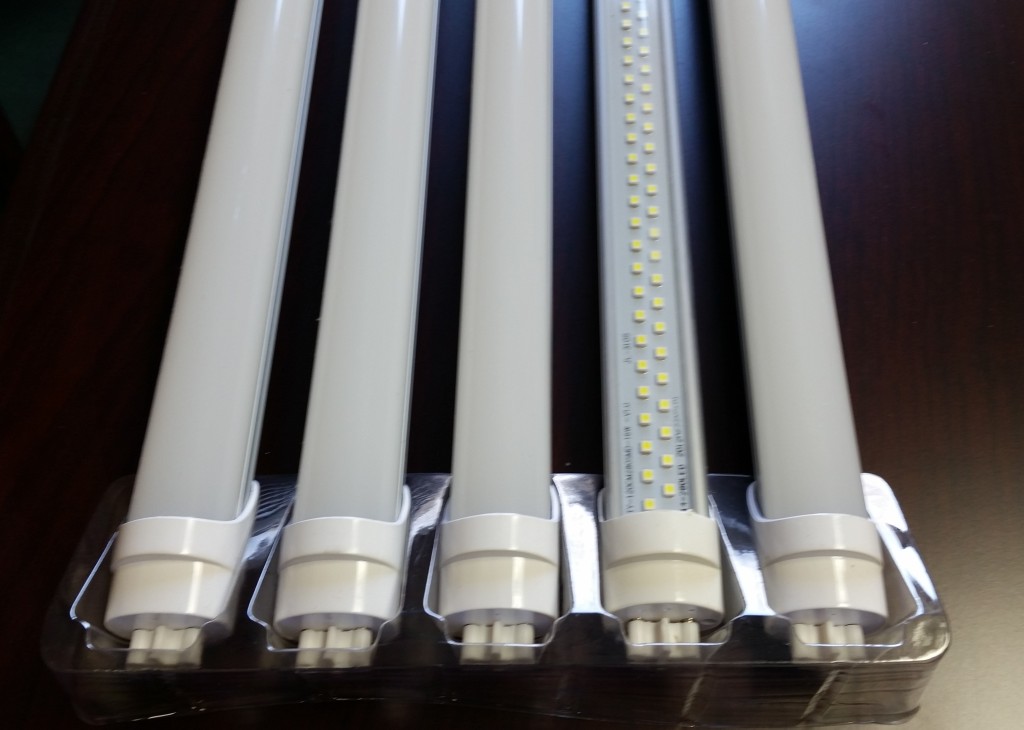
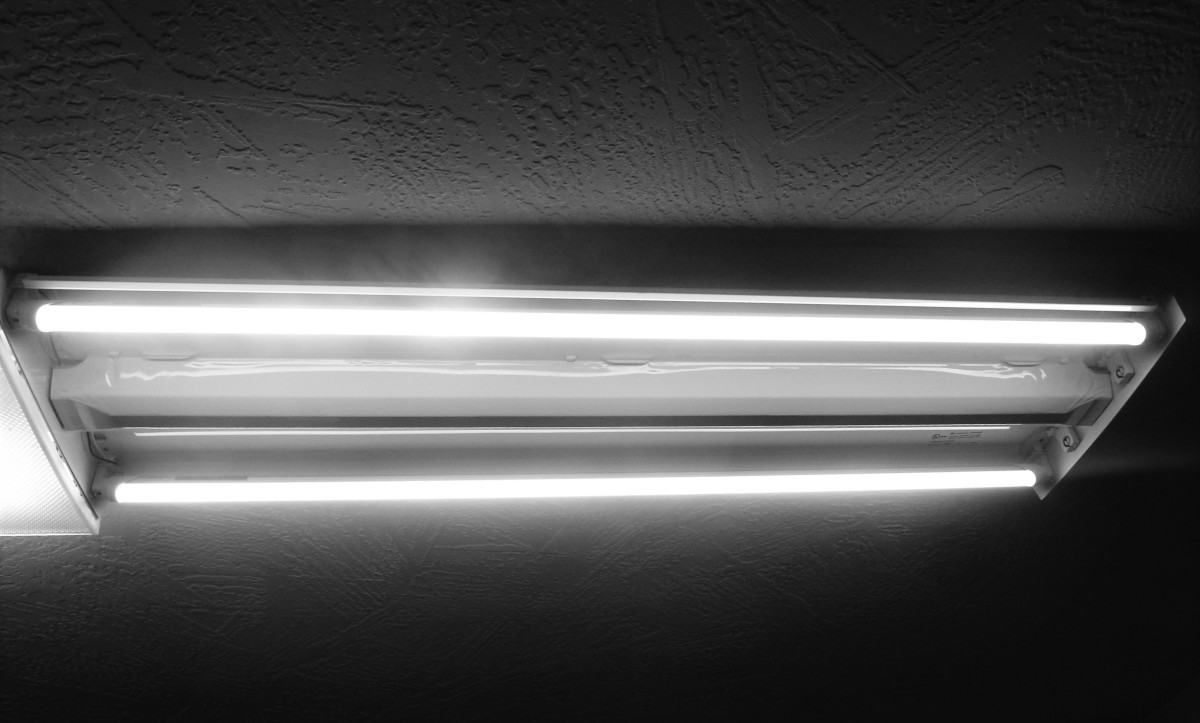
If you don't want to go through the process of replacing the entire light fixture, you can also simply replace the fluorescent tubes with LED tubes. This is a quick and easy solution that can still provide you with the benefits of LED lighting. Simply remove the old fluorescent tubes and replace them with the new LED tubes. Make sure they are securely in place before turning the power back on and testing the lights.
Step-by-Step Guide to Replacing Kitchen Light Fixtures
If you're unsure about the process of replacing your old fluorescent kitchen light, here is a step-by-step guide to help you out:
Step 1: Turn off the power to the light fixture.
Step 2: Remove the cover of the light fixture.
Step 3: Unscrew the fluorescent tubes.
Step 4: Remove the ballast.
Step 5: Connect the wires from the new fixture to the wires in your ceiling.
Step 6: Secure the wires with wire connectors.
Step 7: Attach the new LED tubes to the fixture.
Step 8: Turn the power back on and test the lights.
Easy Kitchen Lighting Upgrades for a Brighter Space
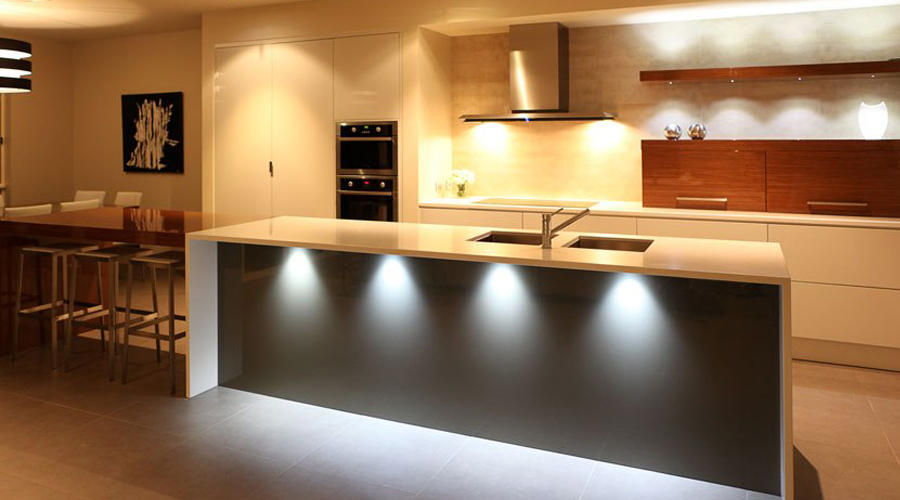
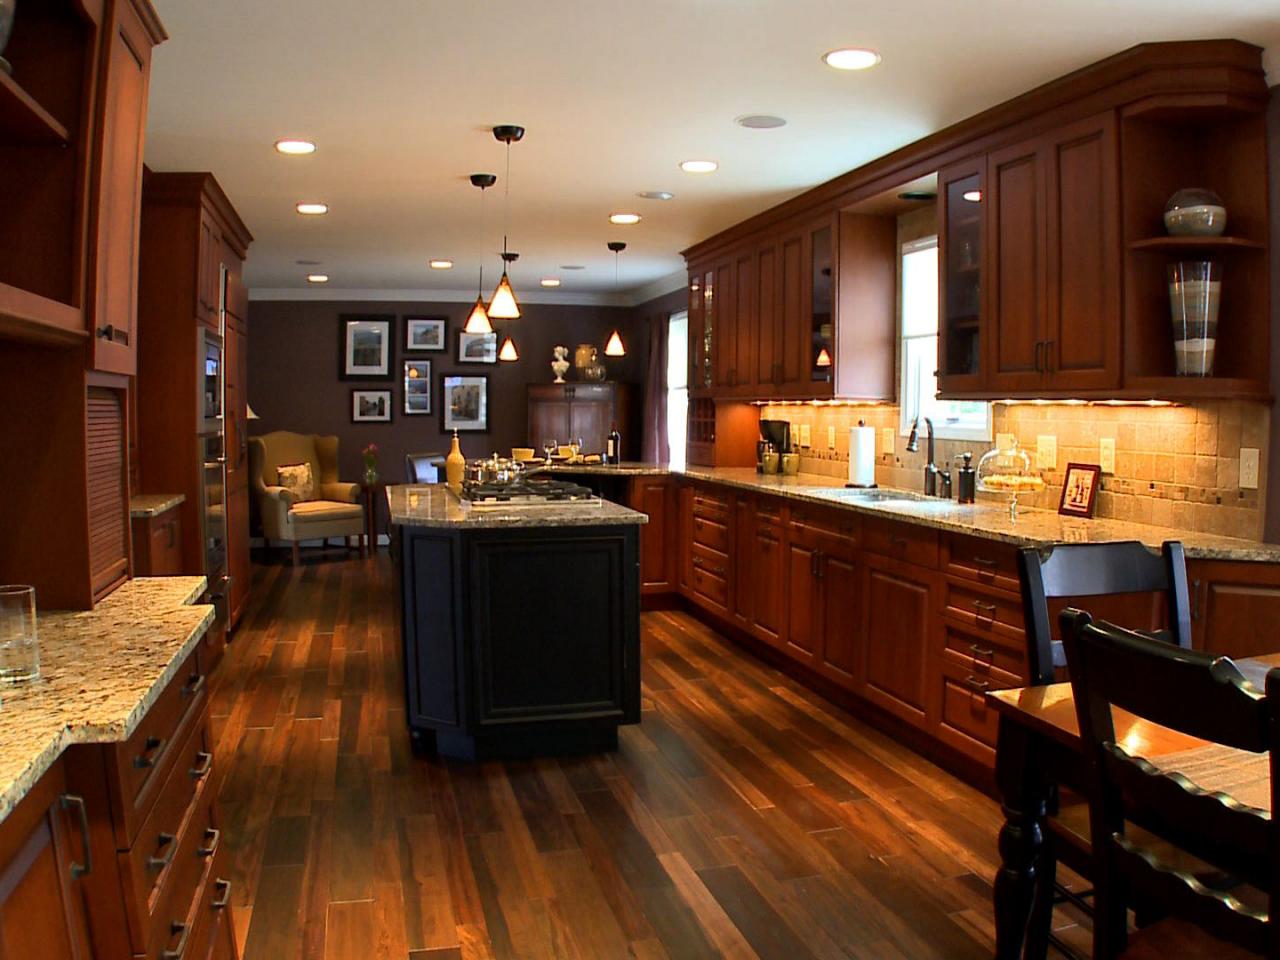
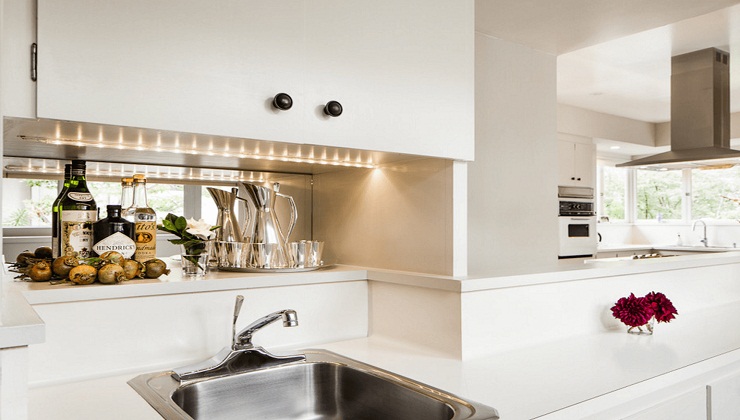
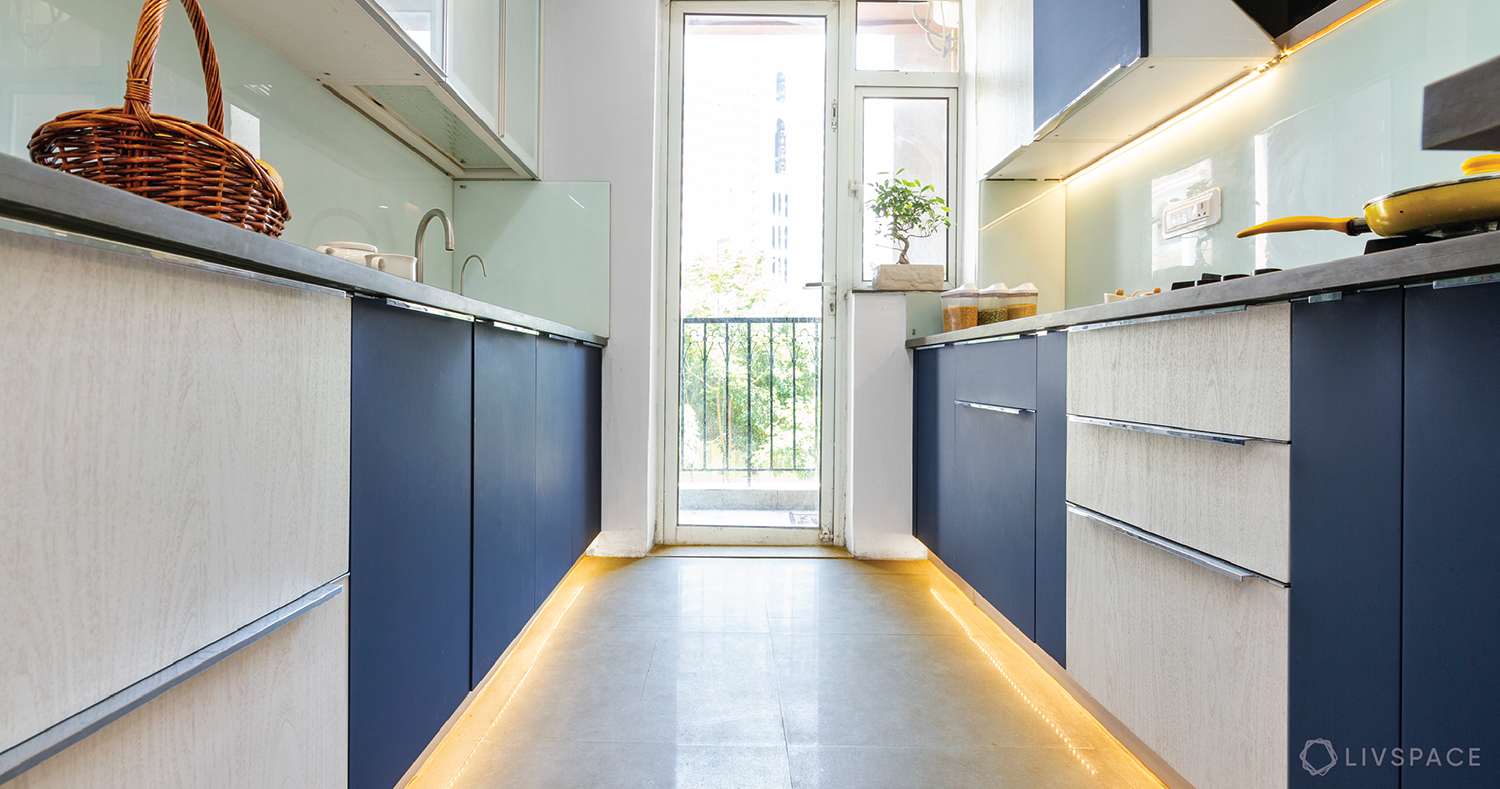
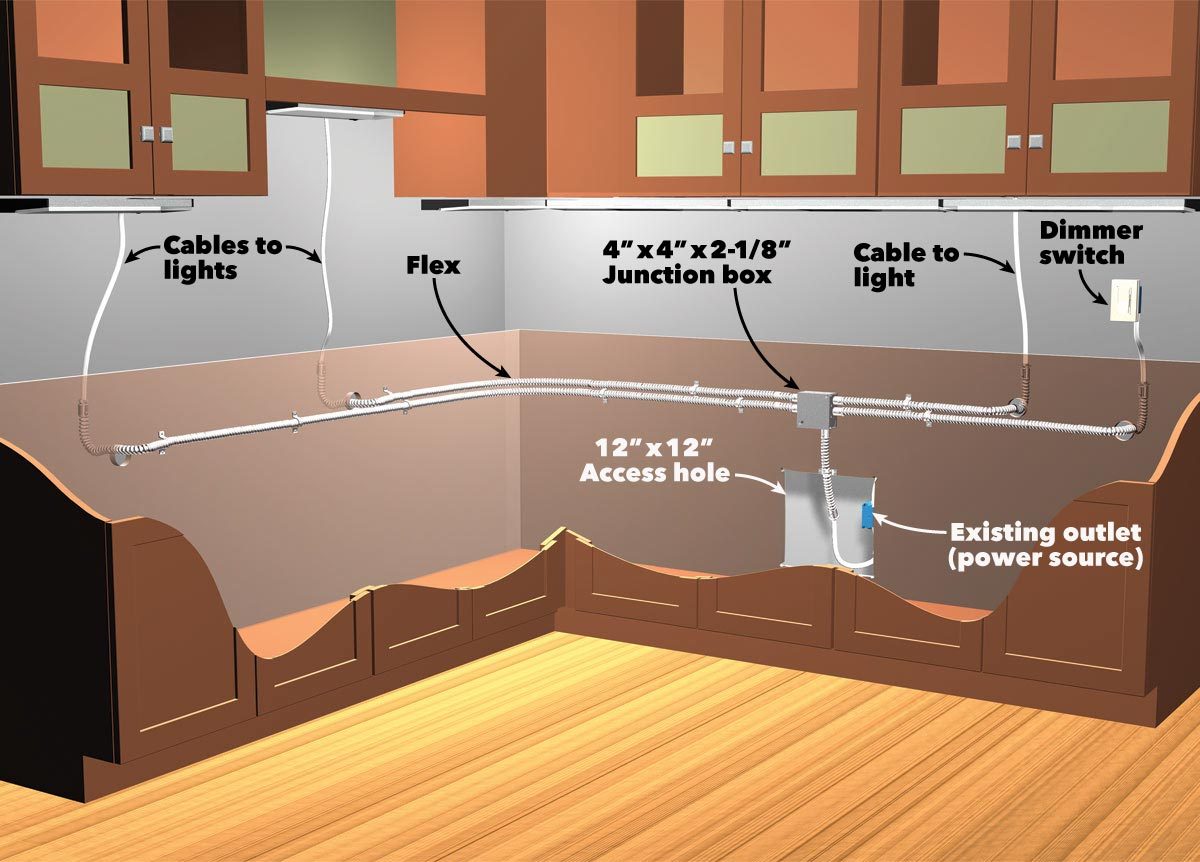
If you're not ready to make a full switch to LED lighting, there are still some easy kitchen lighting upgrades you can make for a brighter space. Adding under-cabinet lighting can make a big difference in the overall lighting of your kitchen. You can also switch out old bulbs with energy-efficient options for a brighter and more cost-effective solution.
Replacing Fluorescent Bulbs with Energy-Efficient Options
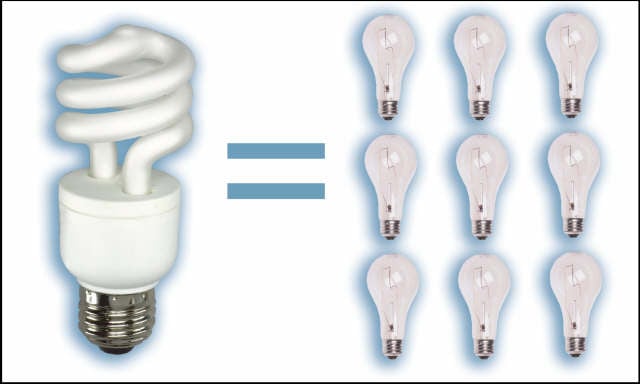
As mentioned before, another easy way to upgrade your kitchen lighting is by simply replacing your old fluorescent bulbs with energy-efficient options. This can include LED, halogen, or incandescent bulbs. Just make sure to choose bulbs with a color temperature and brightness level that suits your kitchen's needs.
How to Install a New Kitchen Light Fixture
If you've decided to go with a completely new light fixture, here's a quick guide on how to install it:
Step 1: Turn off the power to the light fixture.
Step 2: Remove the old fixture and its mounting bracket from the ceiling.
Step 3: Connect the wires from the new fixture to the wires in your ceiling.
Step 4: Secure the wires with wire connectors.
Step 5: Attach the new fixture's mounting bracket to the ceiling.
Step 6: Install the new fixture onto the mounting bracket.
Step 7: Turn the power back on and test the lights.
Upgrade Your Kitchen with Modern Lighting Solutions
Replacing your old fluorescent kitchen light is not only a practical choice, but it can also greatly enhance the look and feel of your kitchen. With the many options available, such as LED lights, light strips, and new fixtures, you can easily upgrade your kitchen's lighting to create a more vibrant and efficient space. Follow these tips and tricks to bring new life to your kitchen with modern lighting solutions.
Why You Should Consider Replacing Your Old Fluorescent Kitchen Light

Brighten Up Your Space with Modern Lighting
 Upgrading your kitchen lighting is a simple yet effective way to enhance the overall design and functionality of your space. One of the most common types of lighting found in kitchens is fluorescent lights, but these outdated fixtures can make your kitchen look dull and outdated. By
replacing
your old fluorescent kitchen light with a
modern
and
energy-efficient
option, you can transform the look and feel of your kitchen.
Enhance Your Kitchen's Aesthetic
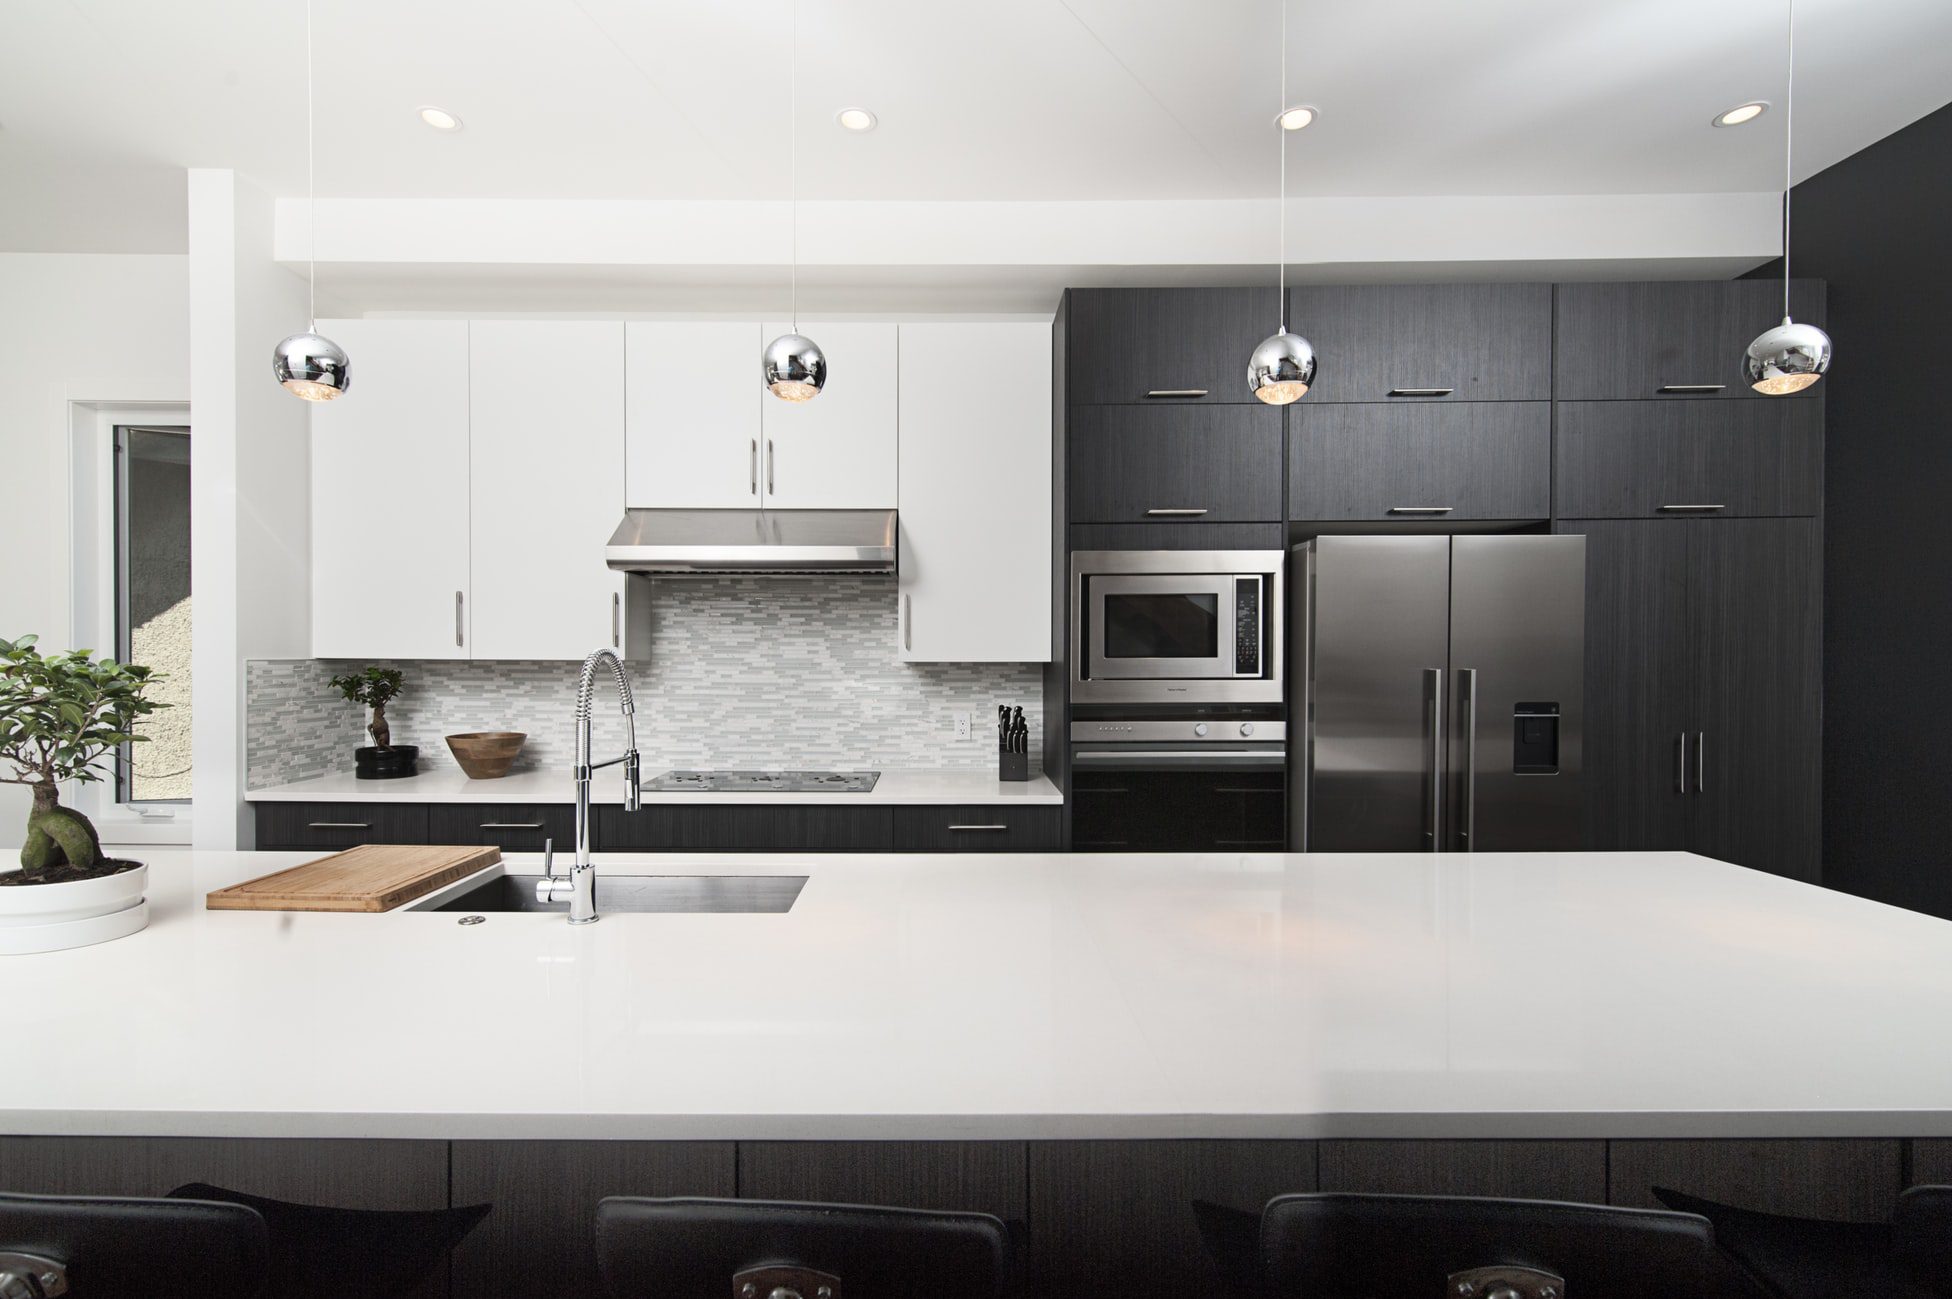
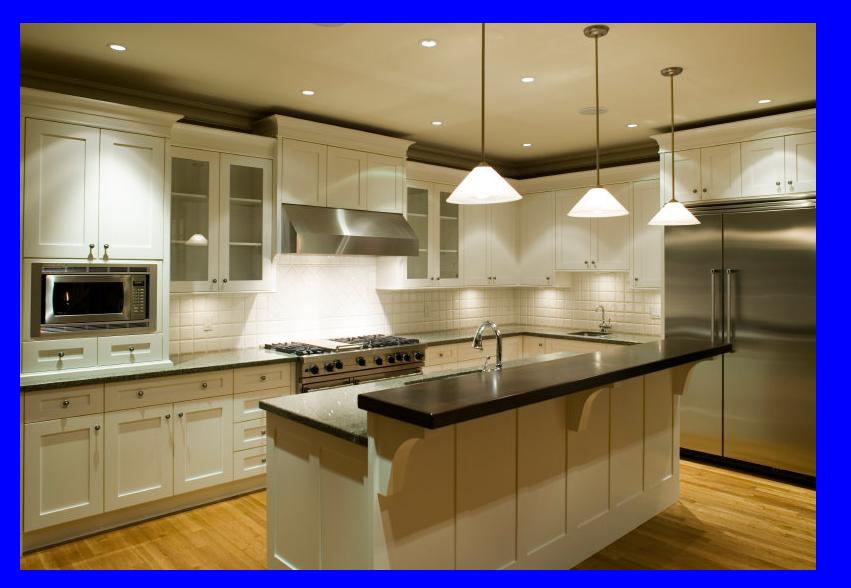
 Fluorescent lights are known for their harsh and unflattering light, which can make your kitchen appear cold and uninviting. By choosing a new light fixture, you have the opportunity to
improve
the
ambiance
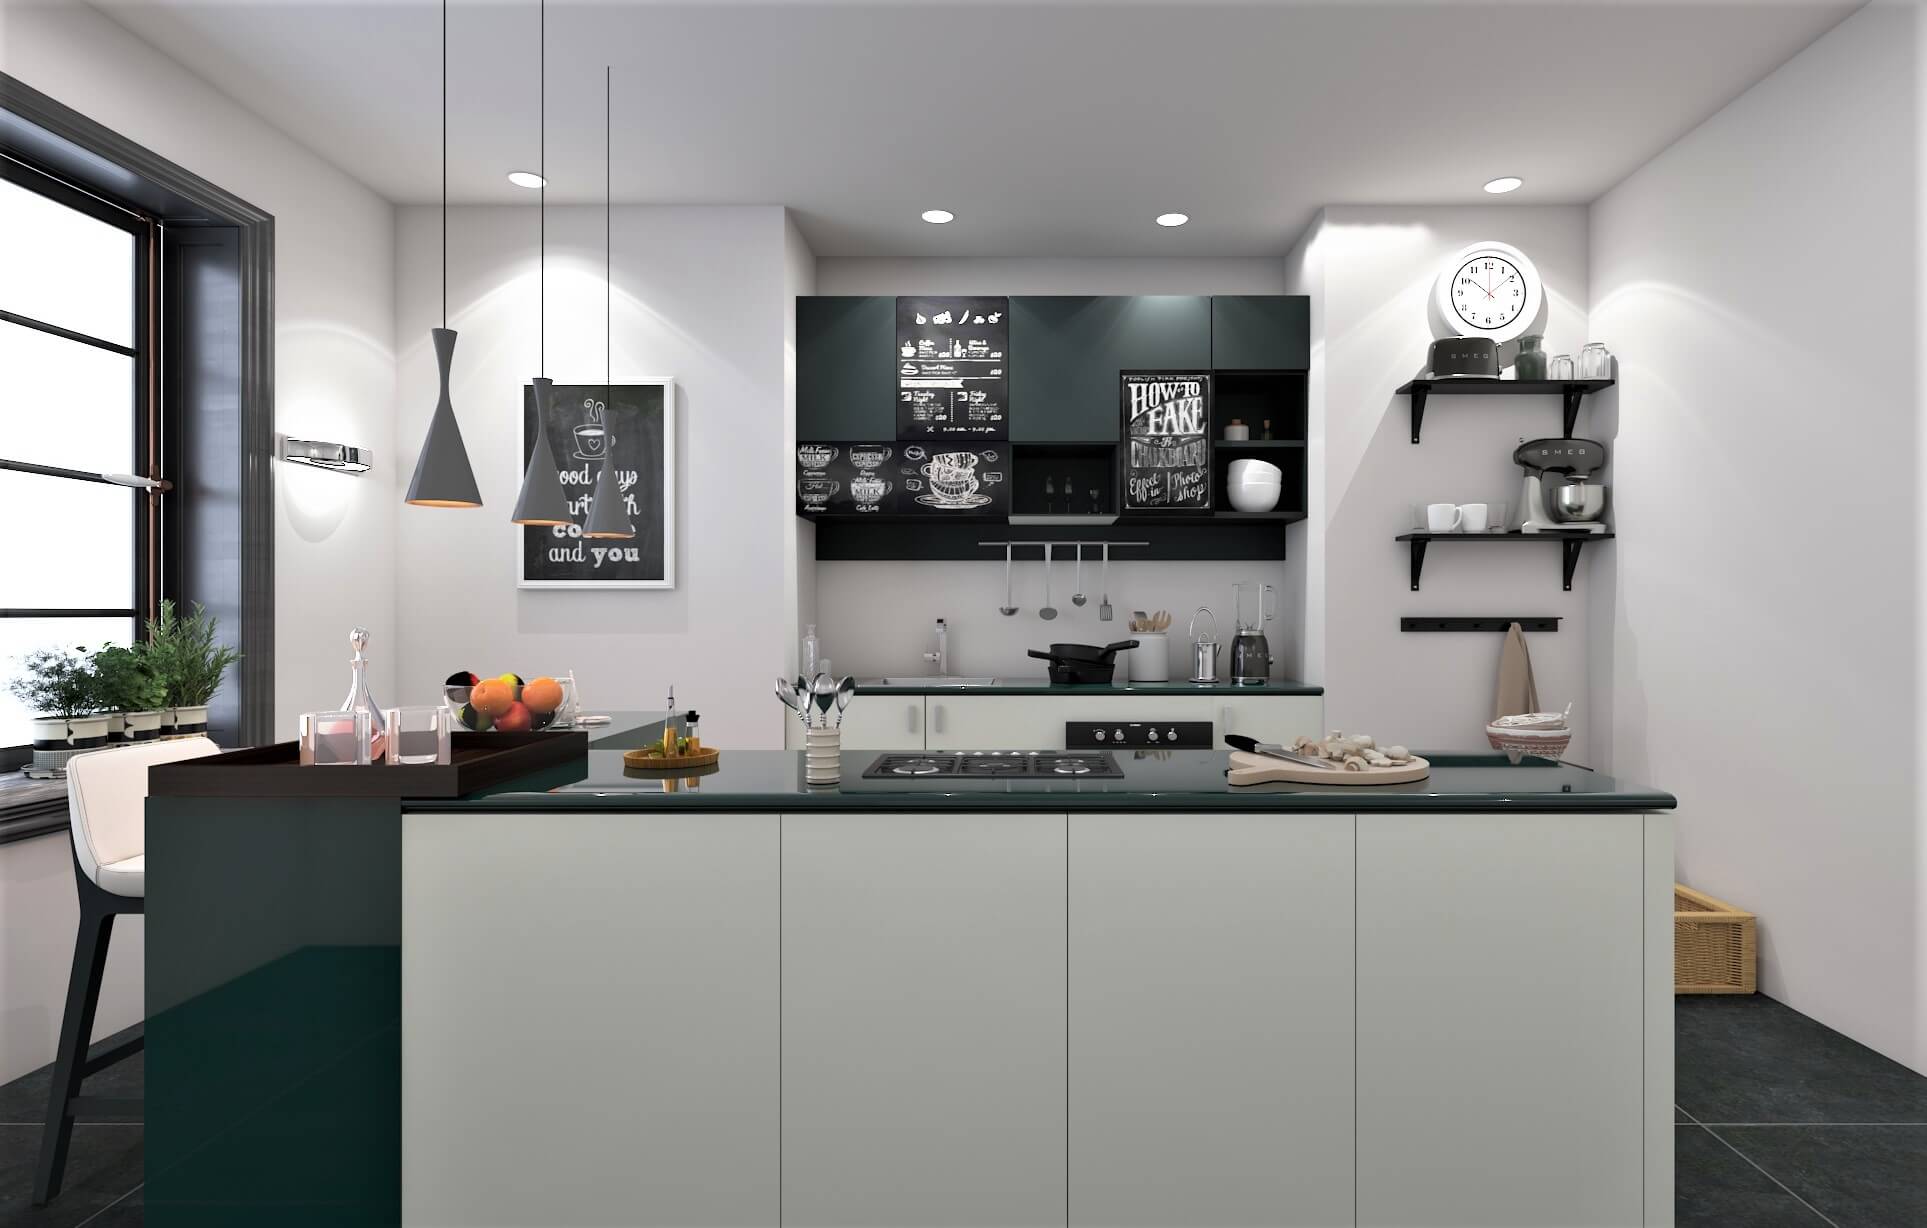
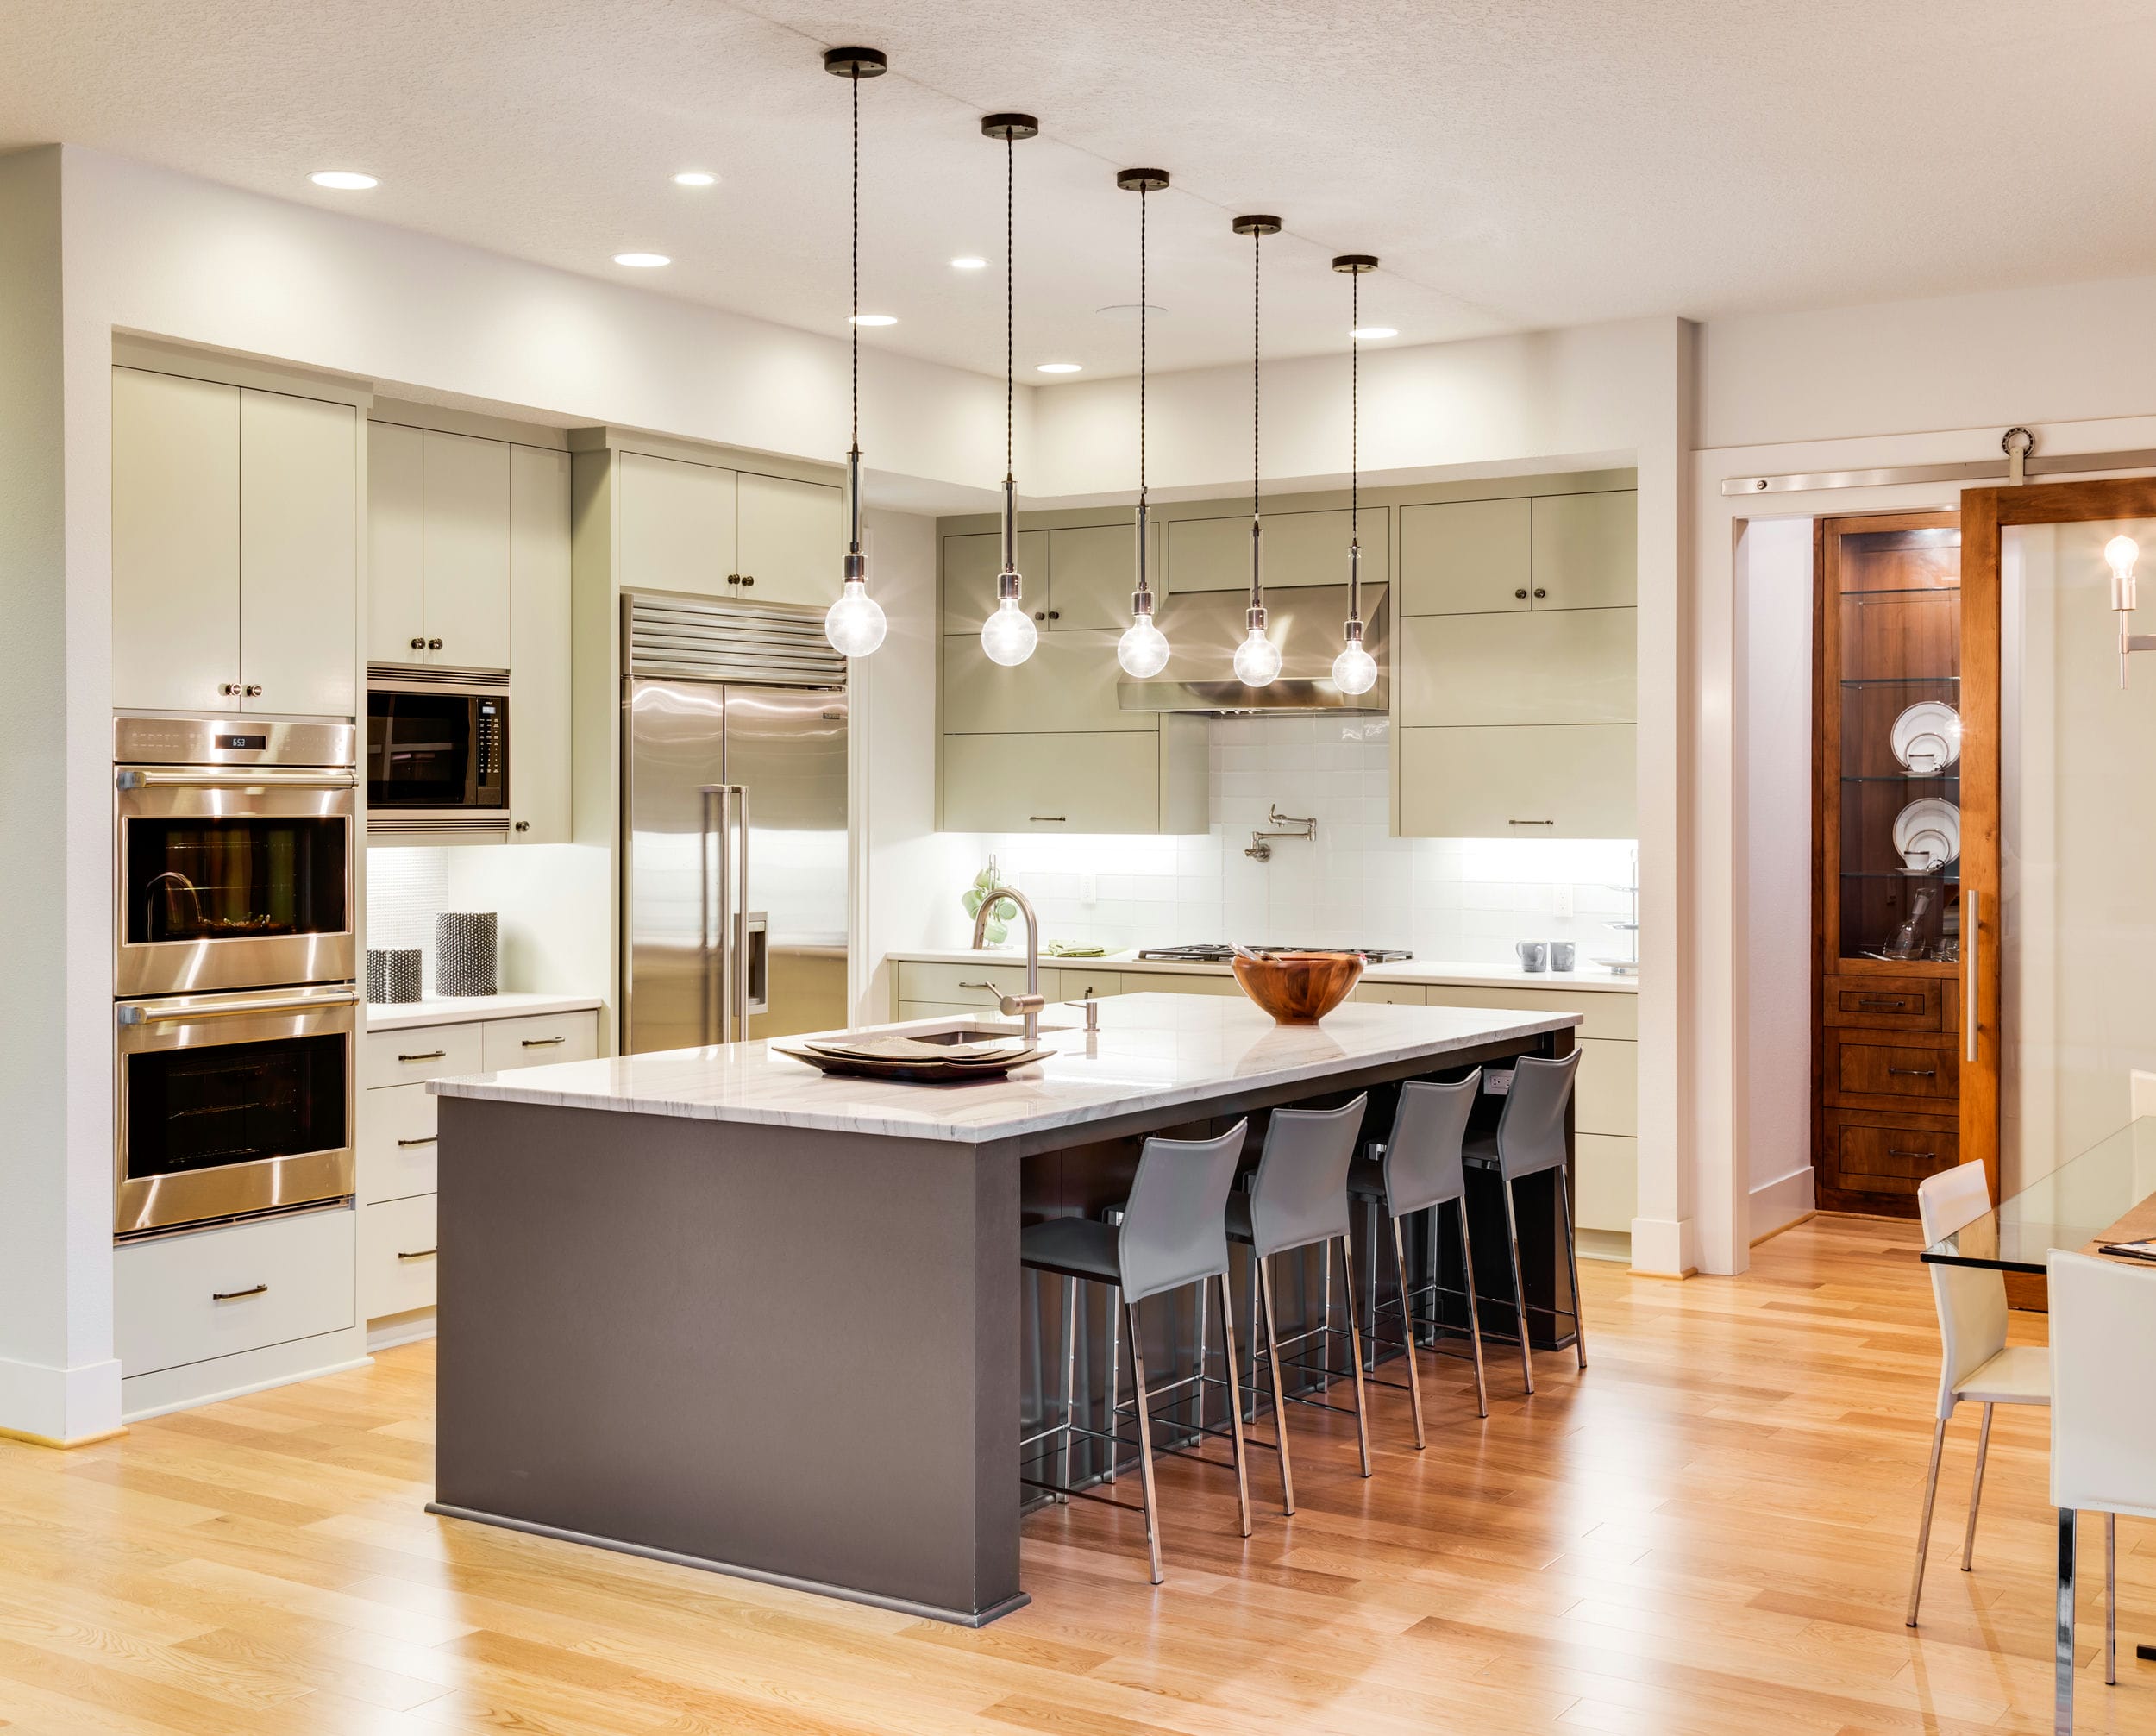
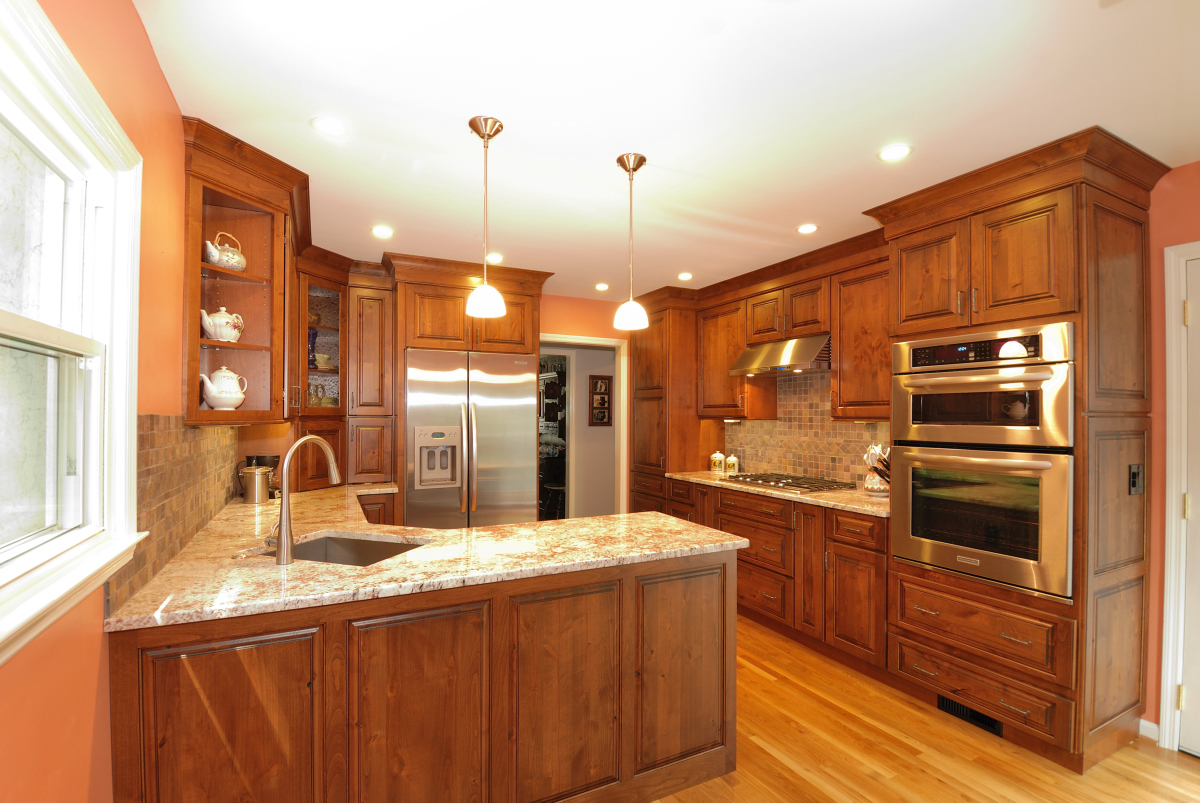
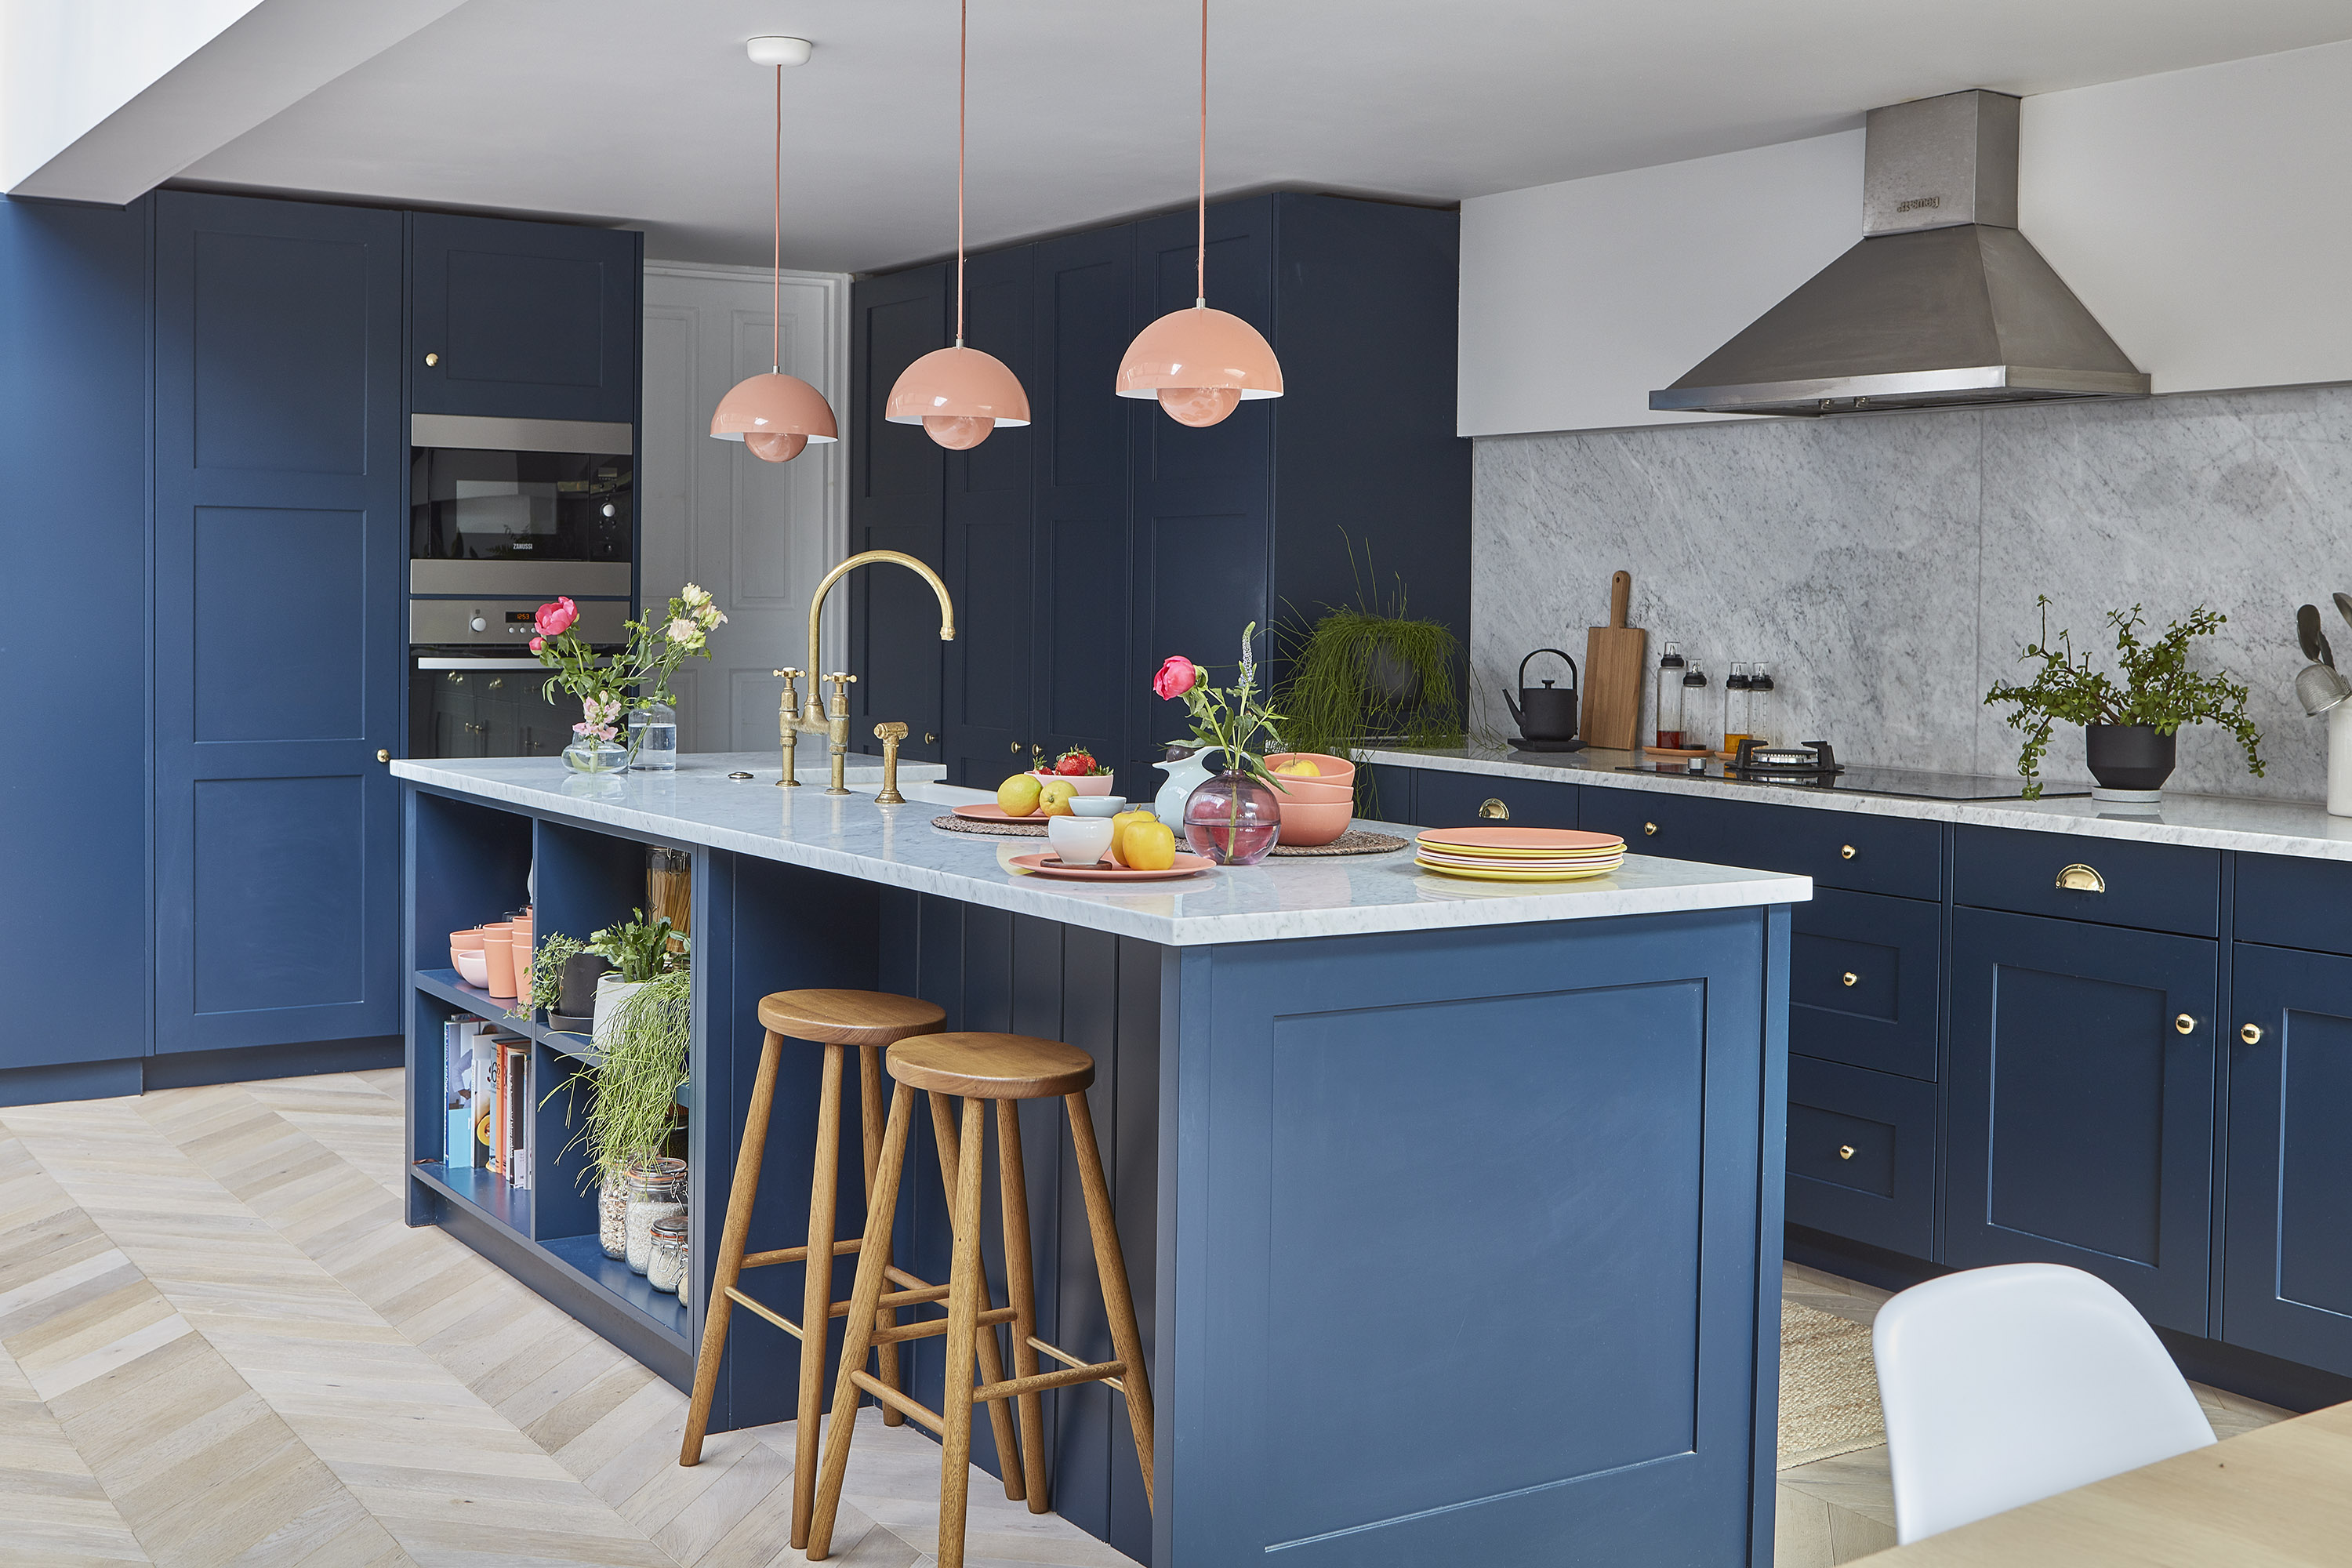
of your kitchen. Consider
installing
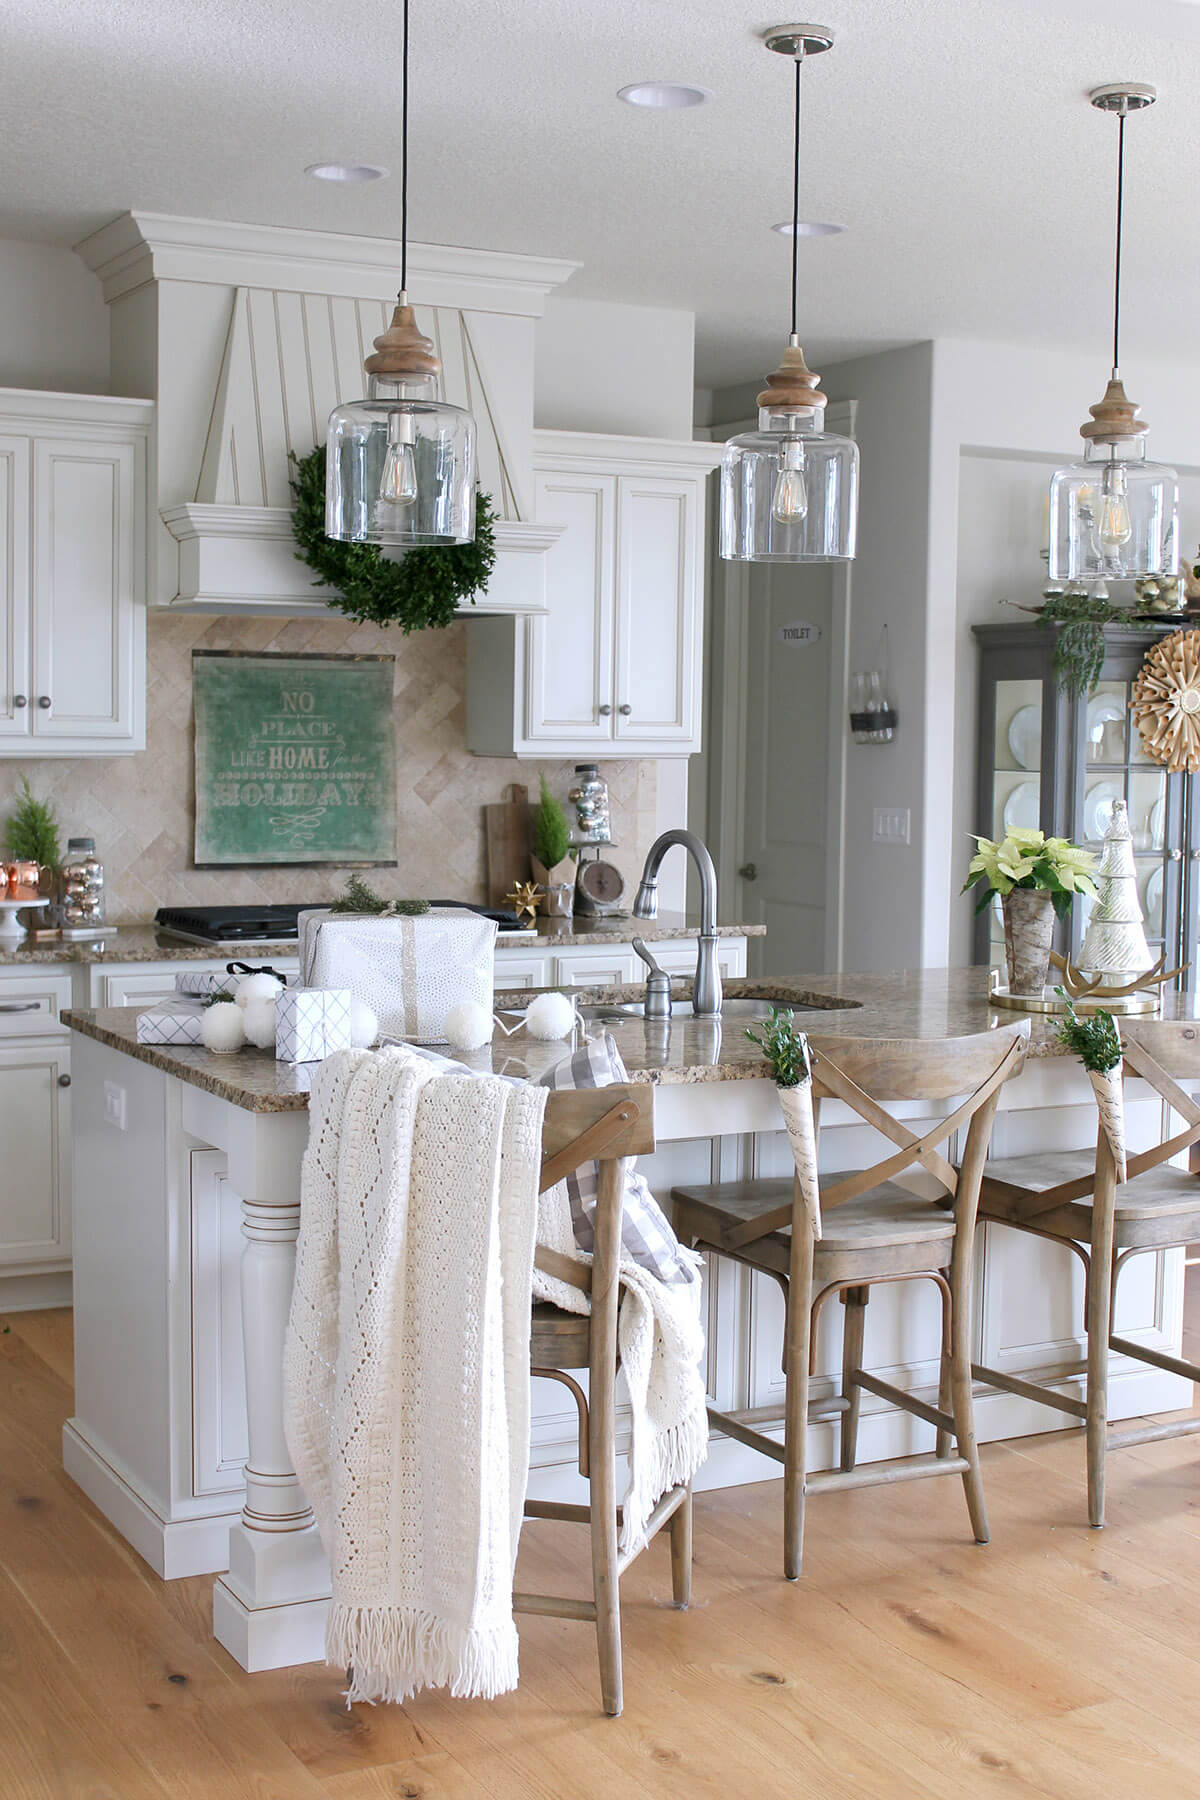
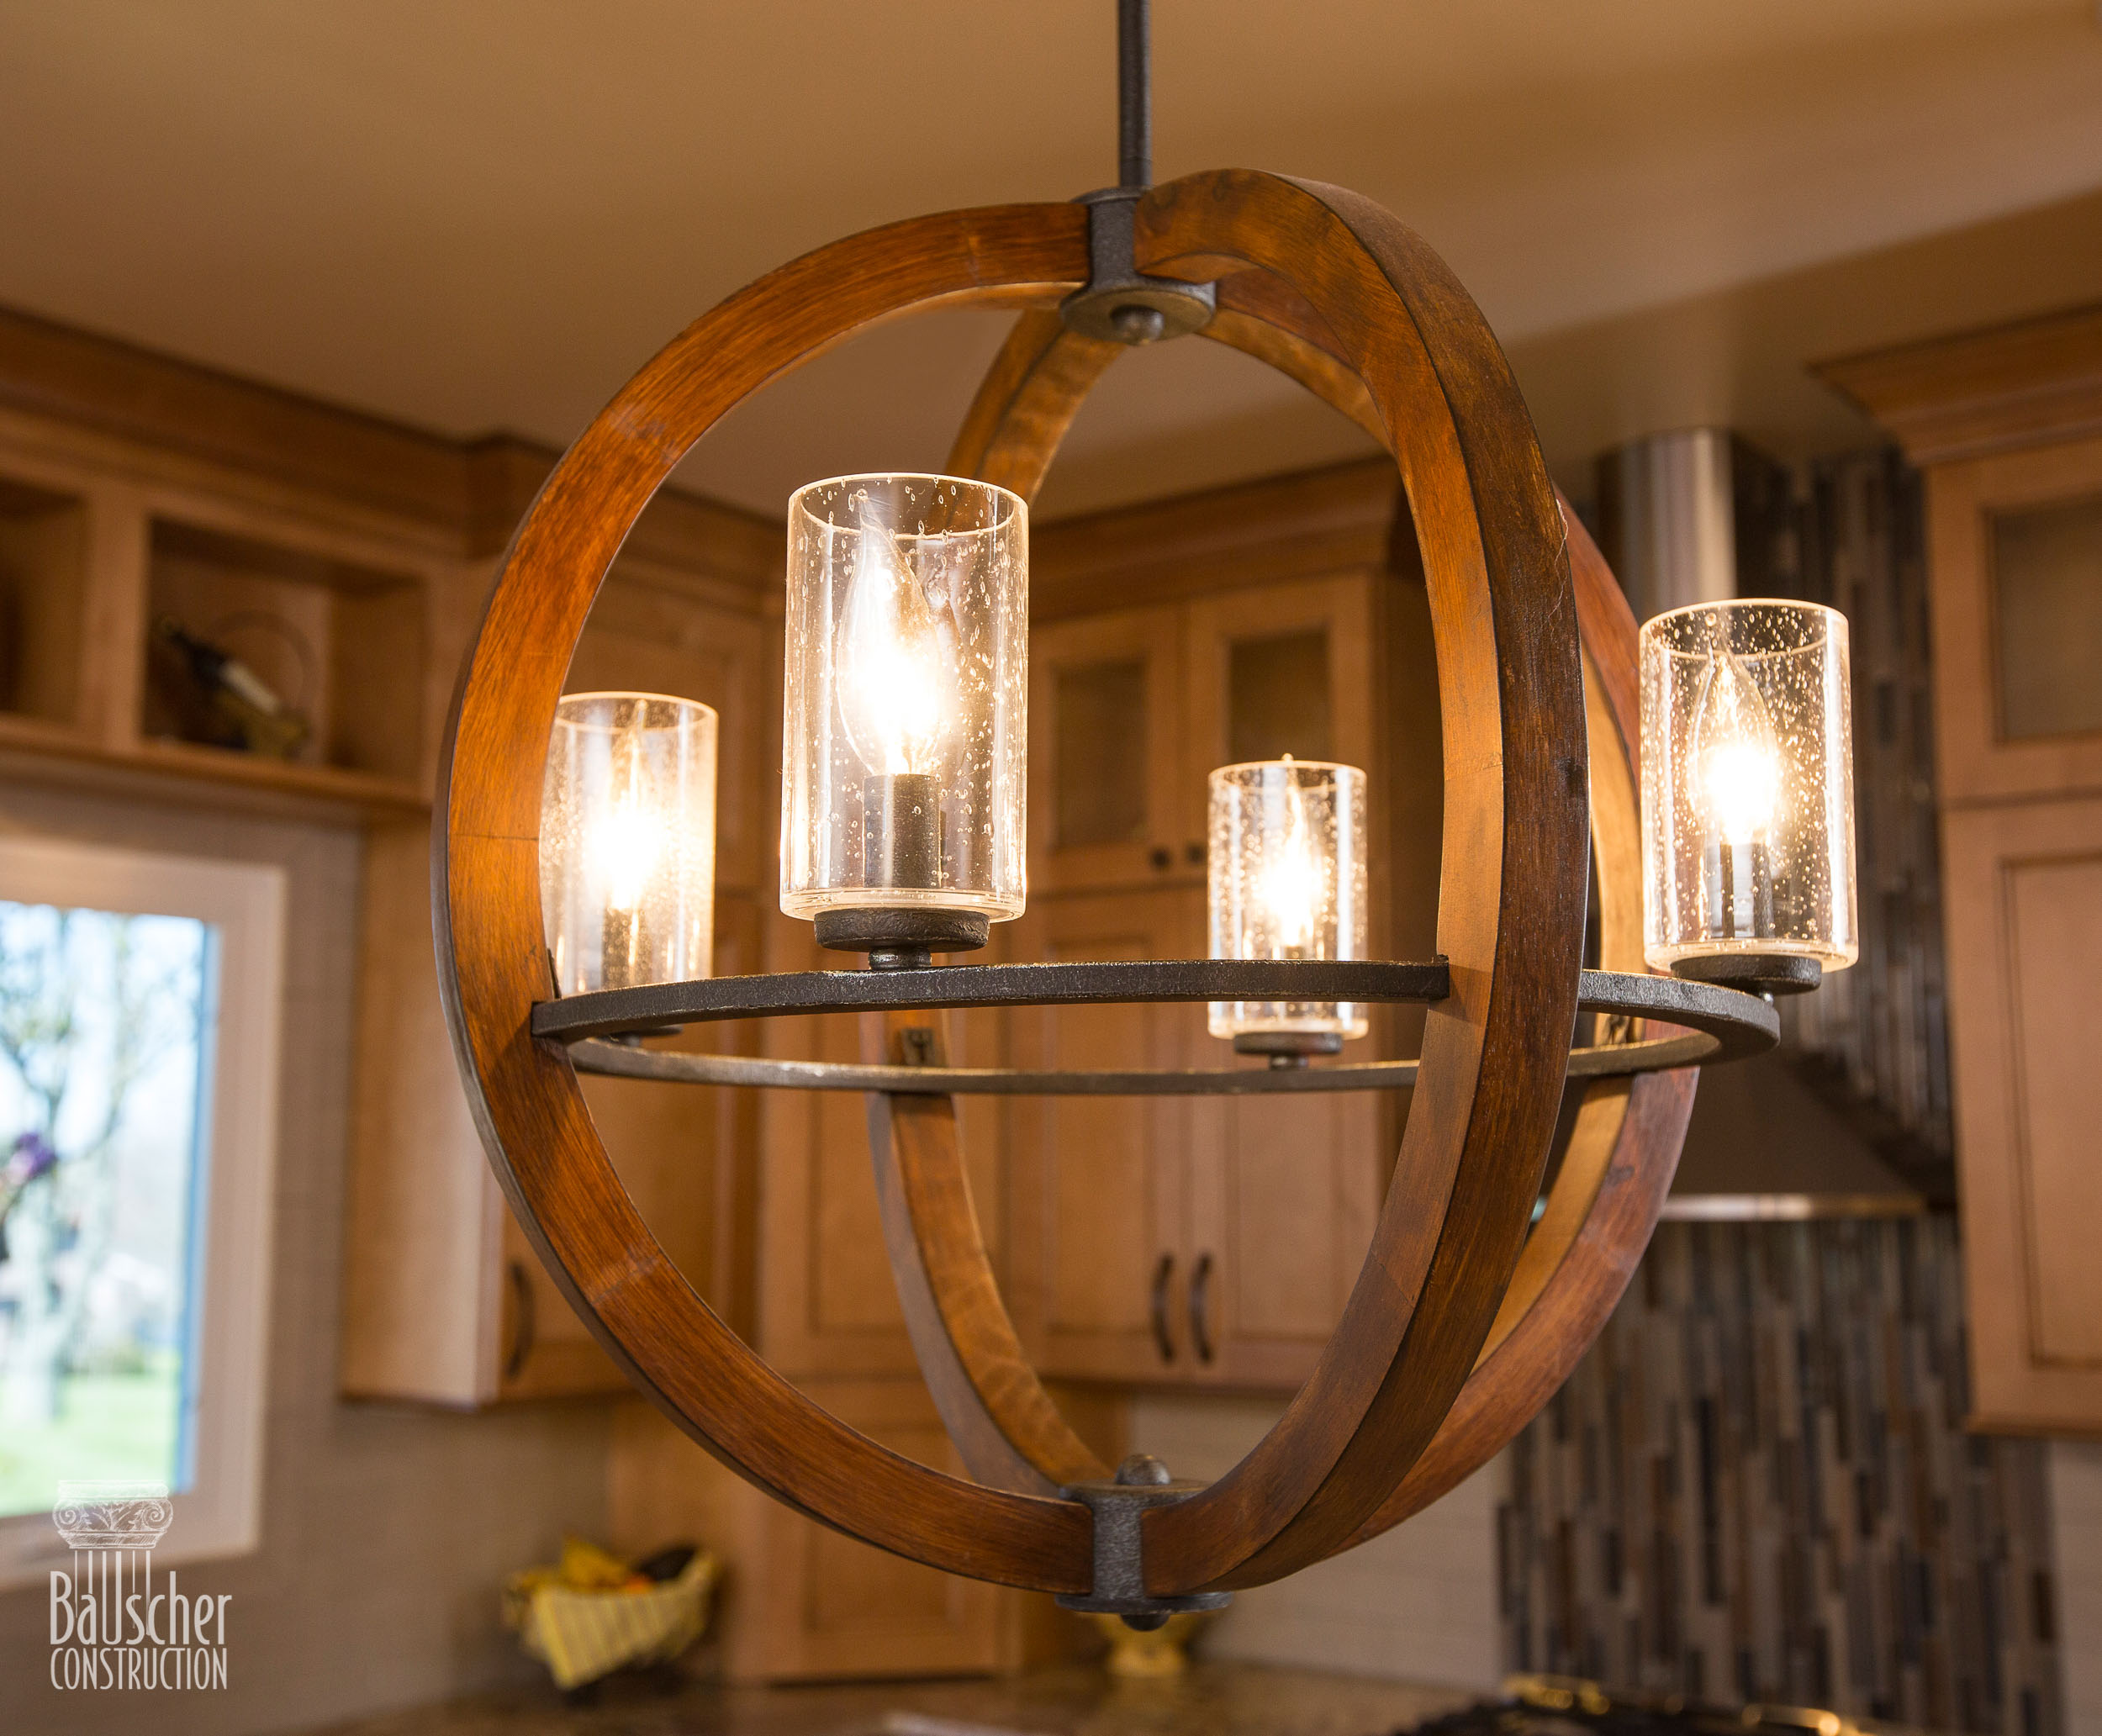
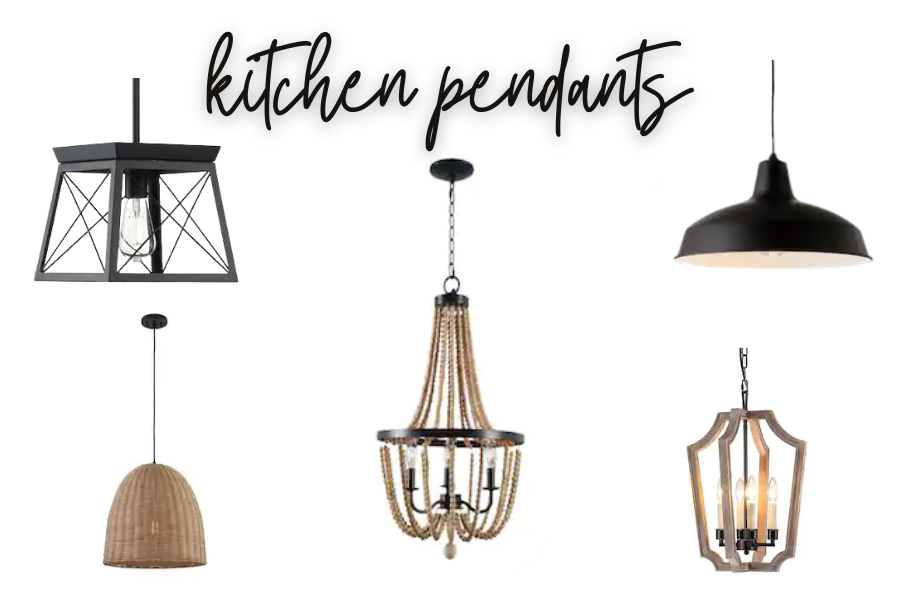
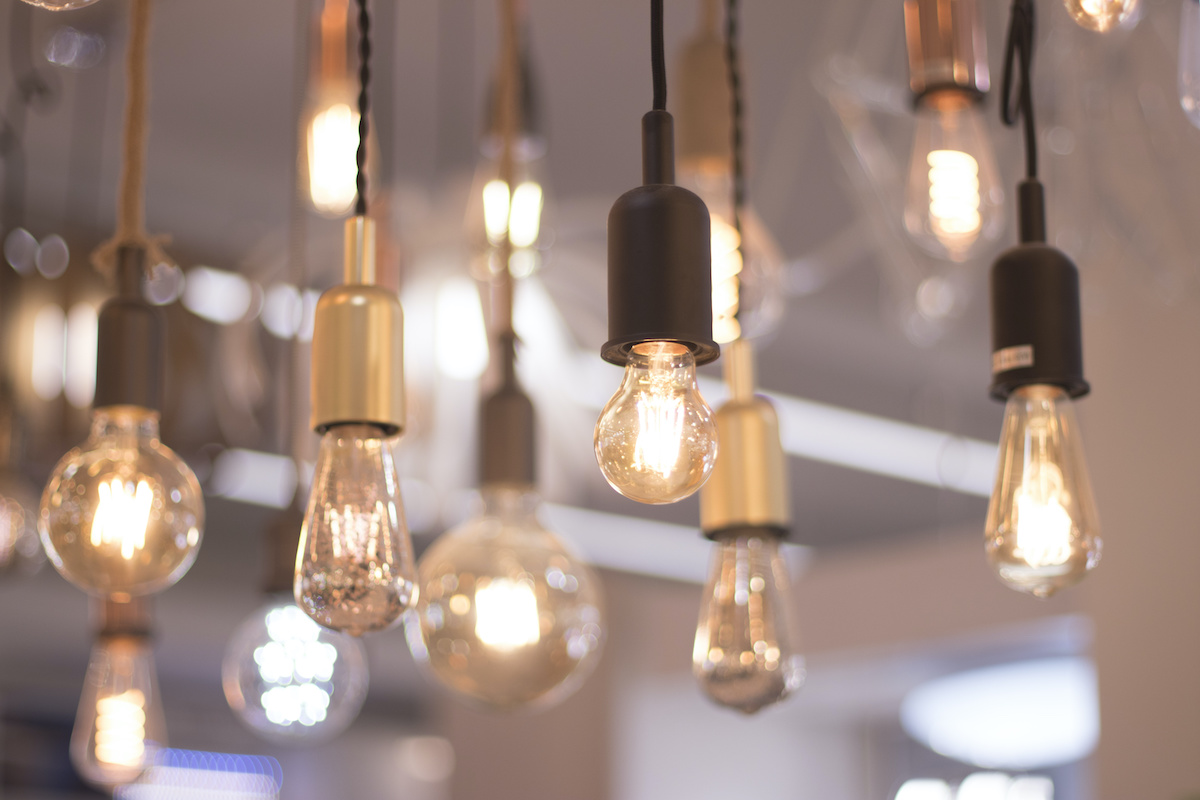
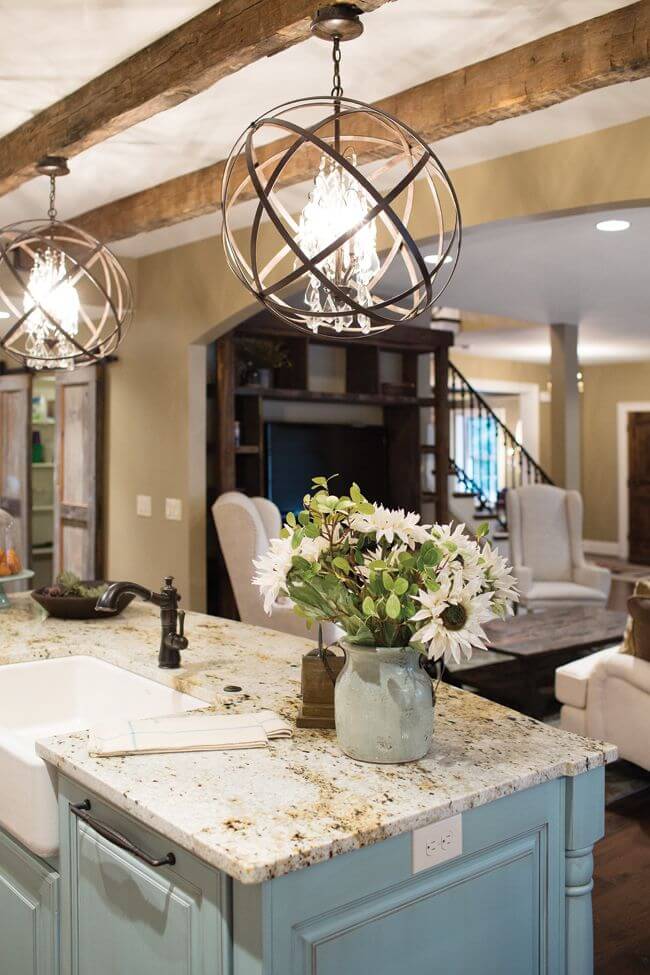
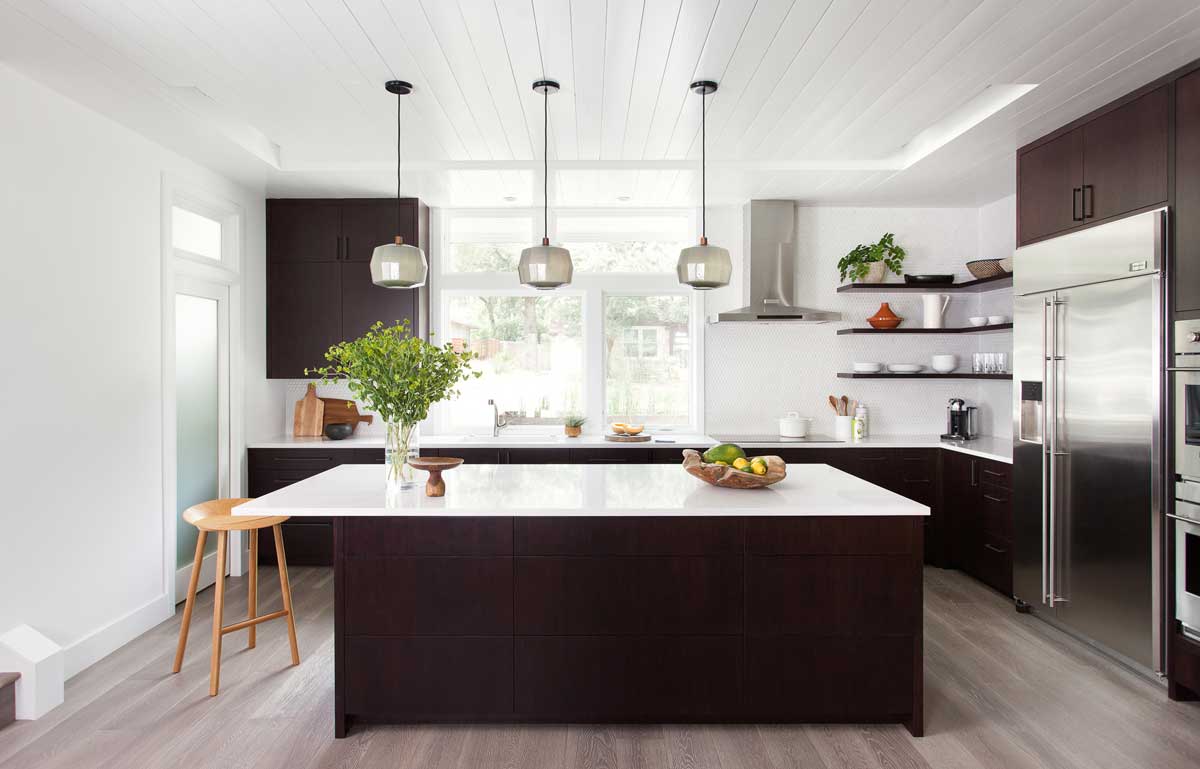
pendant lights
or
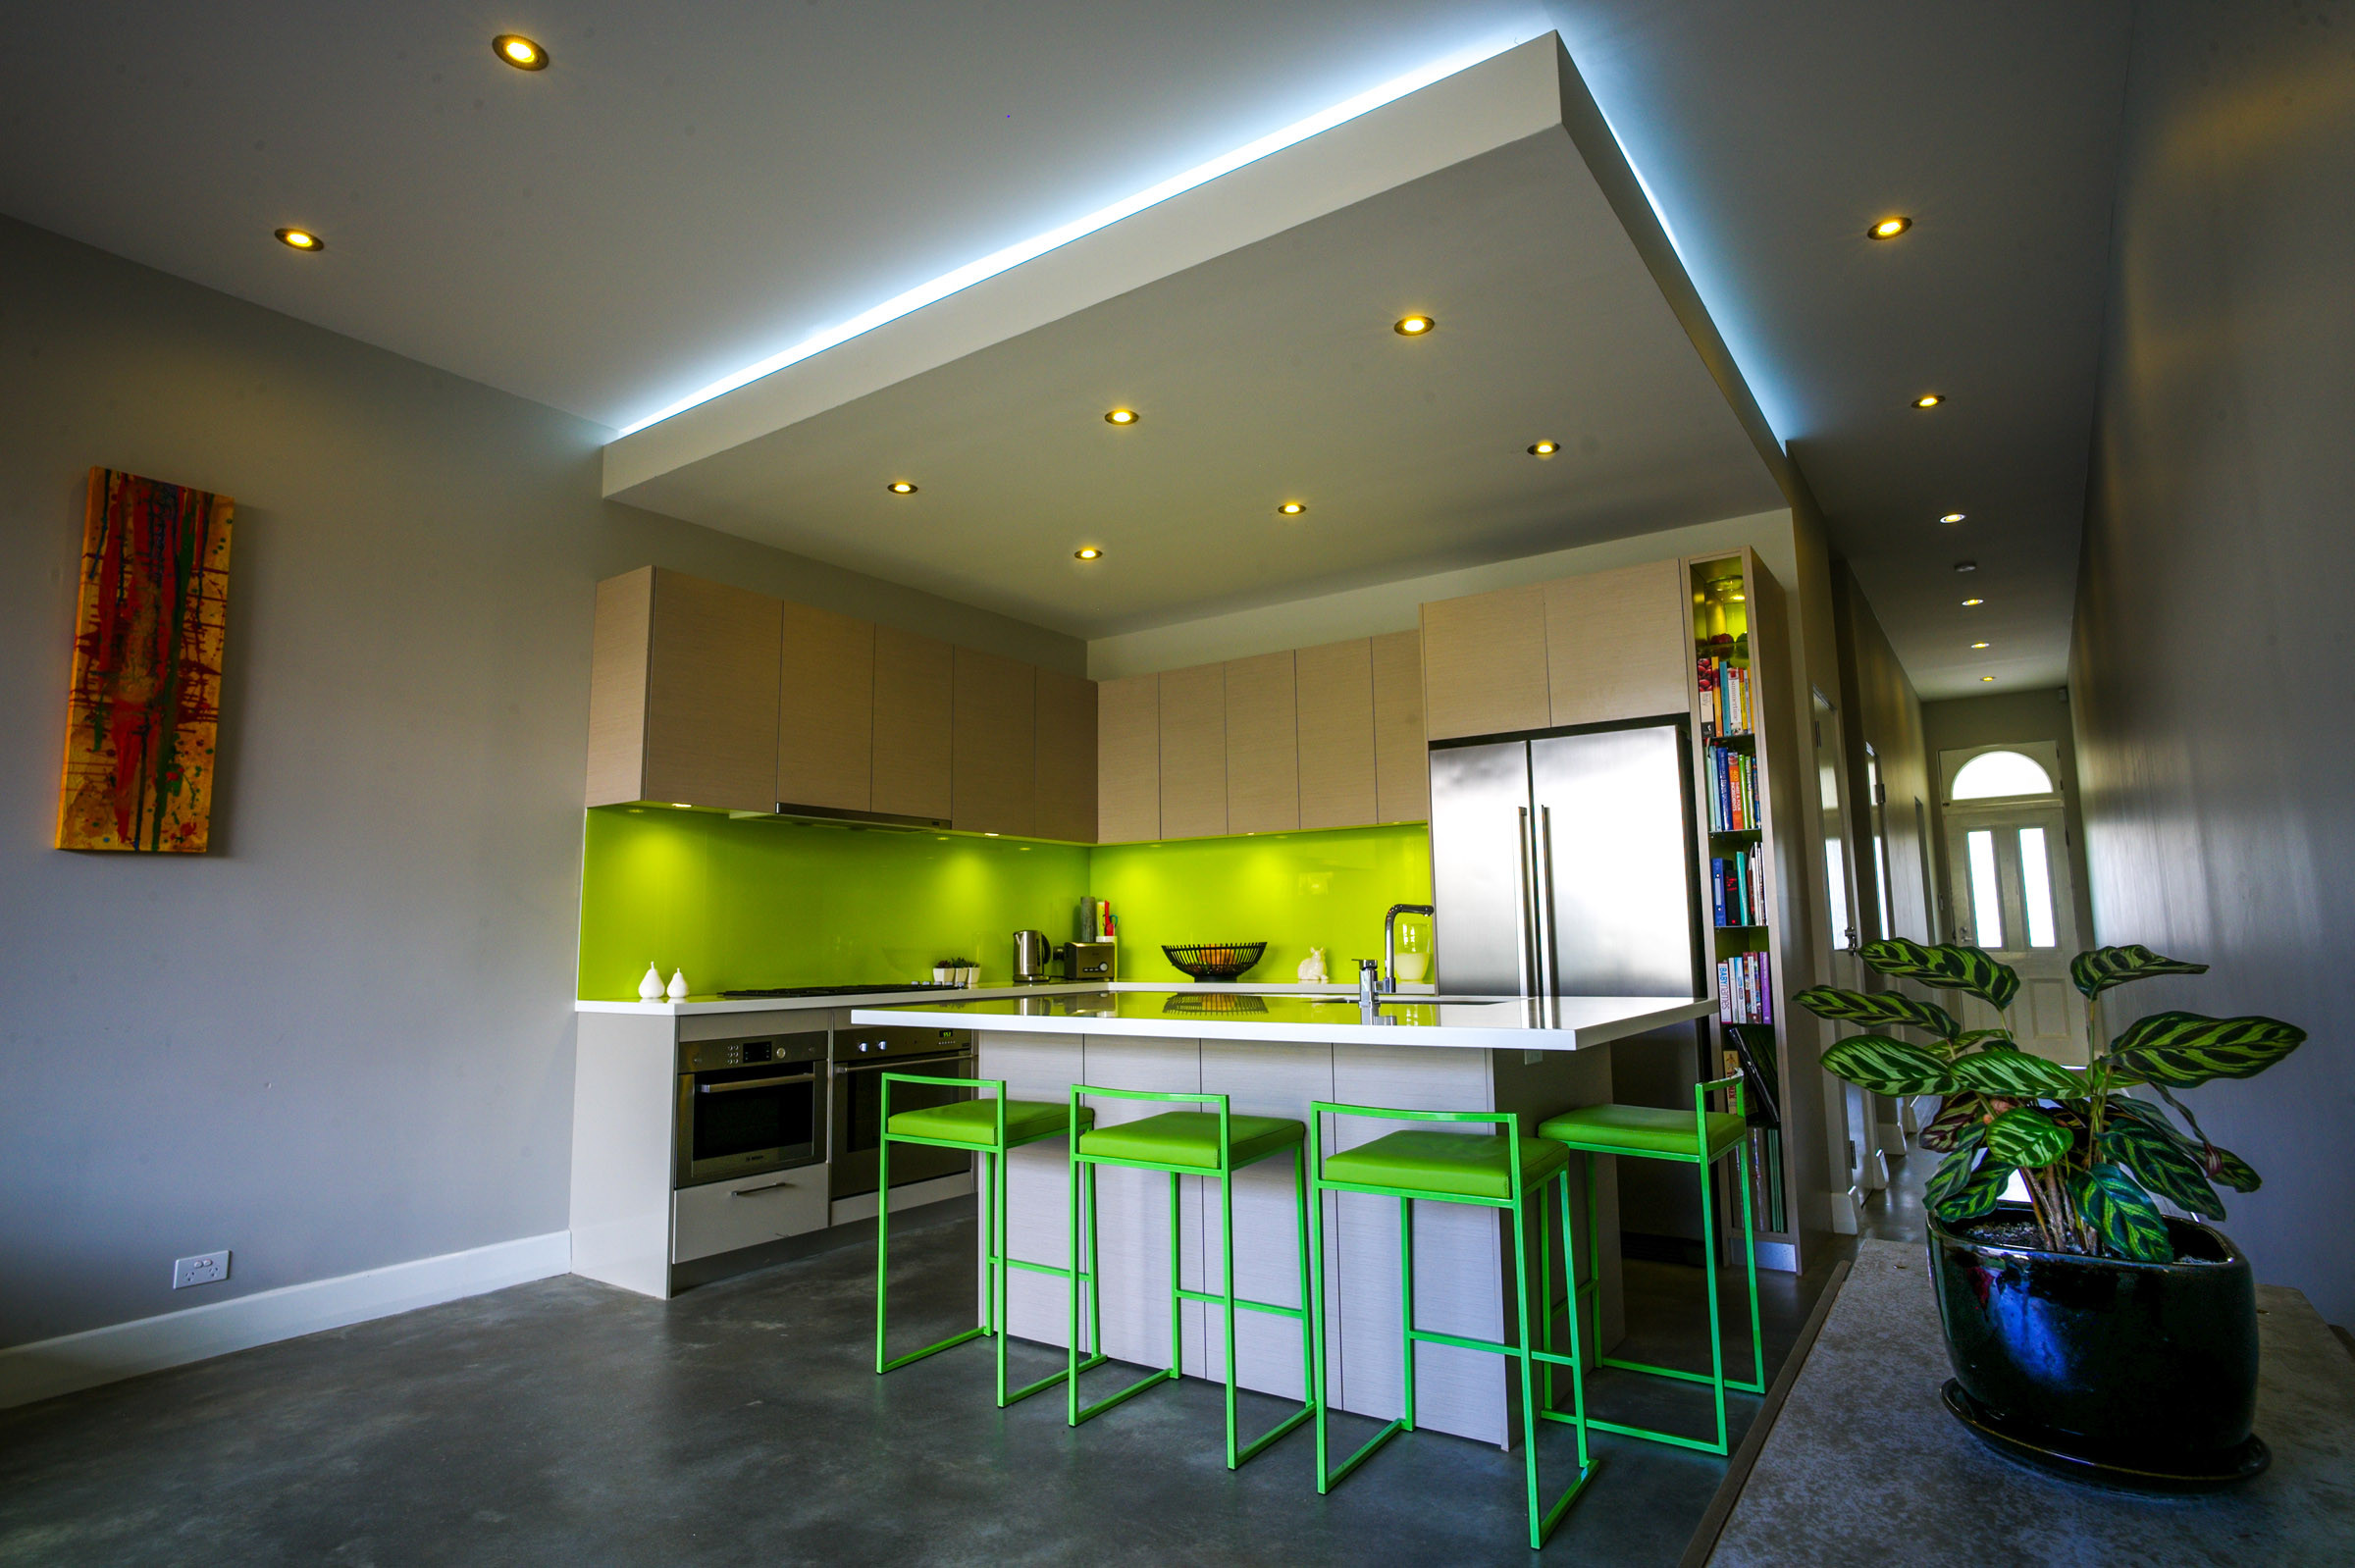
LED recessed lighting
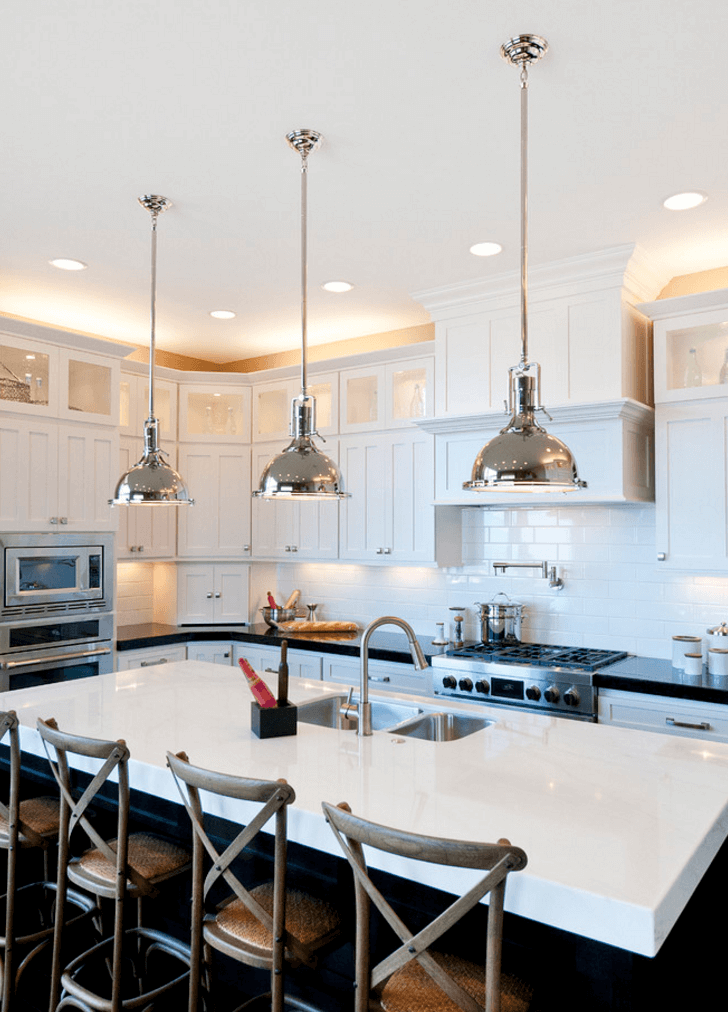
for a more modern and stylish look. Not only will these options provide more
direct
and
focused
lighting, but they can also act as a
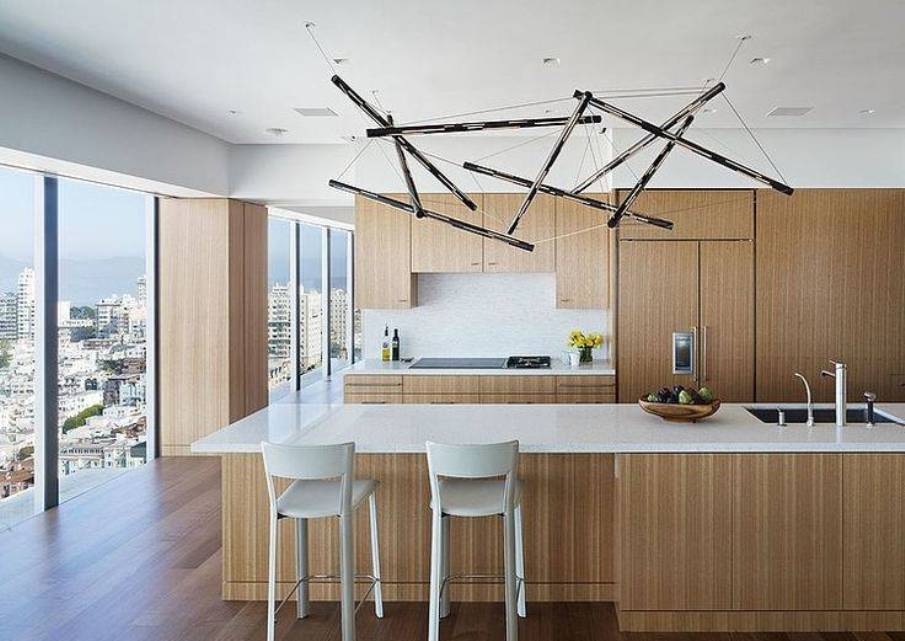
statement piece
in your kitchen design.
Save Money on Your Energy Bill
 Not only do fluorescent lights make your kitchen look outdated, but they also
consume
a significant amount of
energy
. By
upgrading
to
modern
and
energy-efficient
lighting, you can
reduce
your
energy bill
and
save money
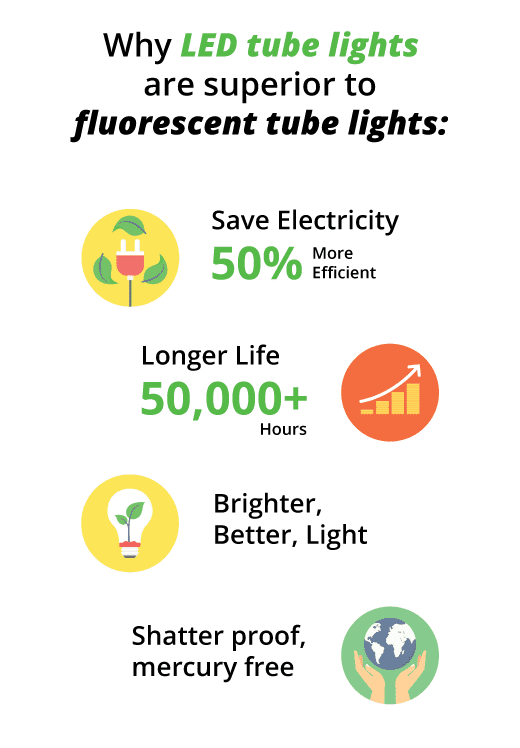
in the long run. LED lights, in particular, use
less energy
and have a longer lifespan compared to fluorescent lights, making them a more
sustainable
and
cost-effective
option for your kitchen.
Improve Your Task Lighting
 One of the main purposes of kitchen lighting is to provide sufficient light for cooking and food preparation. However, fluorescent lights often cast shadows and create
uneven
lighting, making it difficult to see while working in the kitchen. By choosing a new light fixture, you can
improve
the
task lighting
in your kitchen and make it easier to see while cooking. LED lights offer
brighter
and
more natural
light, making it easier to see details and
reduce
eye strain.
In conclusion, upgrading your kitchen lighting by replacing your old fluorescent light with a modern and energy-efficient option can
completely transform
the look and feel of your kitchen. Not only will it enhance the aesthetic of your space, but it can also
save you money
on your energy bill and improve the functionality of your kitchen. So why wait? Make the switch to modern lighting and enjoy a brighter, more beautiful kitchen today.


