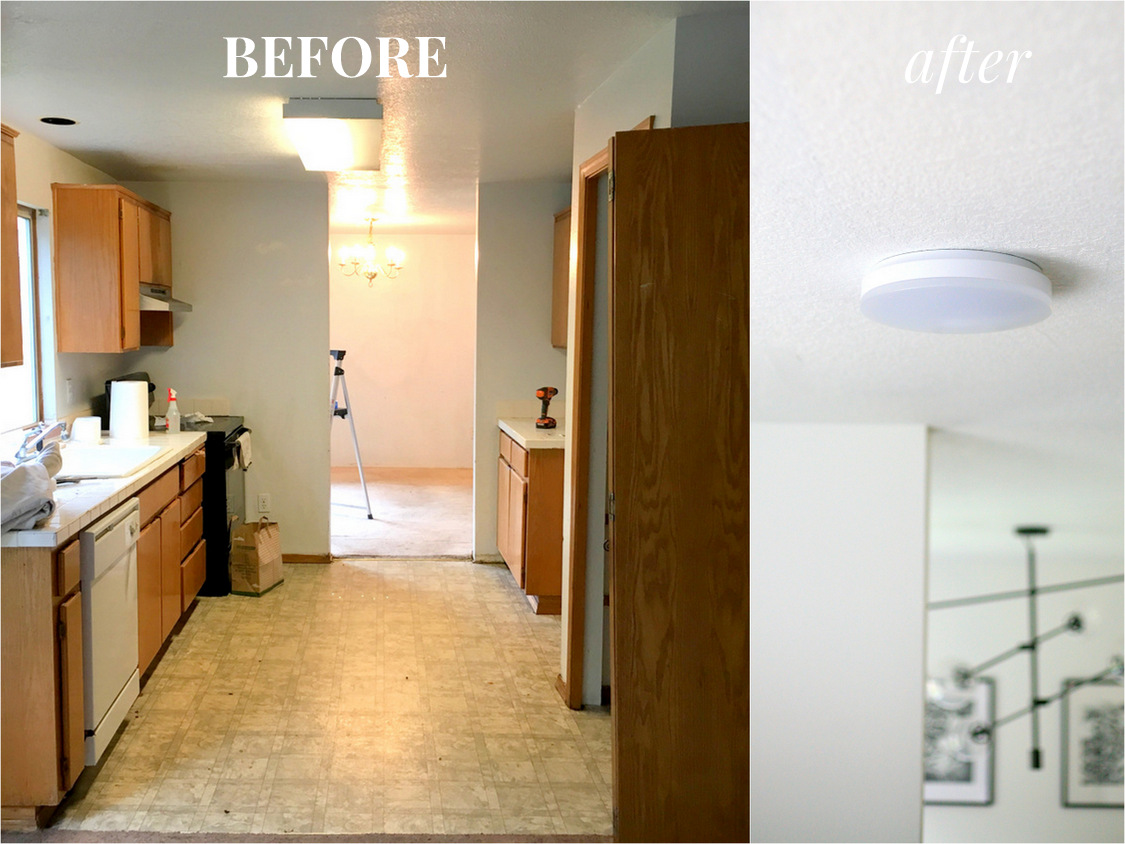
Are you tired of your old, outdated kitchen sink light? Or maybe it's just not functioning properly anymore. Whatever the reason may be, replacing a kitchen sink light is a simple and cost-effective way to give your kitchen a fresh look and improved functionality. In this article, we will guide you through the process of replacing a kitchen sink light, from start to finish.How to Replace a Kitchen Sink Light


How to Replace a Kitchen Sink Light


Before we dive into the steps of replacing a kitchen sink light, it's important to understand the different types of light fixtures that are commonly used above kitchen sinks. These include pendant lights, track lights, and recessed lights. Each type has its own installation process, so it's essential to know which one you have before starting the replacement.Replacing a Kitchen Sink Light Fixture


Replacing a Kitchen Sink Light Fixture


Hiring a professional to replace your kitchen sink light can be costly, so why not try to do it yourself? With the right tools and materials, replacing a kitchen sink light can be a relatively easy and straightforward DIY project. Not only will you save money, but you'll also have the satisfaction of completing a home improvement task on your own.DIY Kitchen Sink Light Replacement


DIY Kitchen Sink Light Replacement


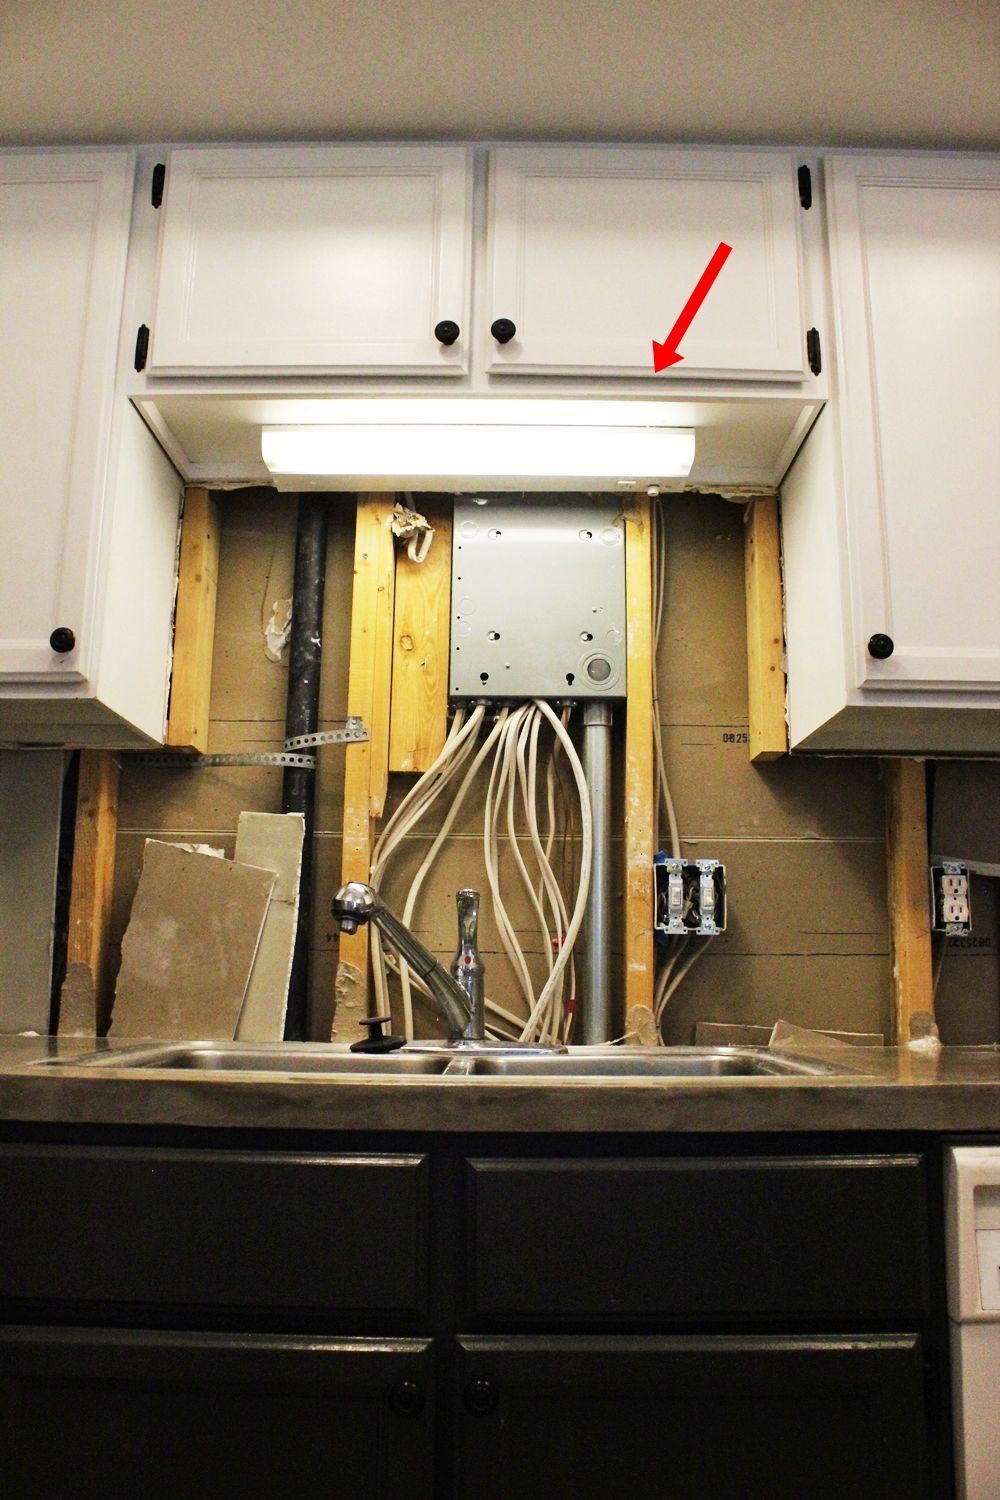
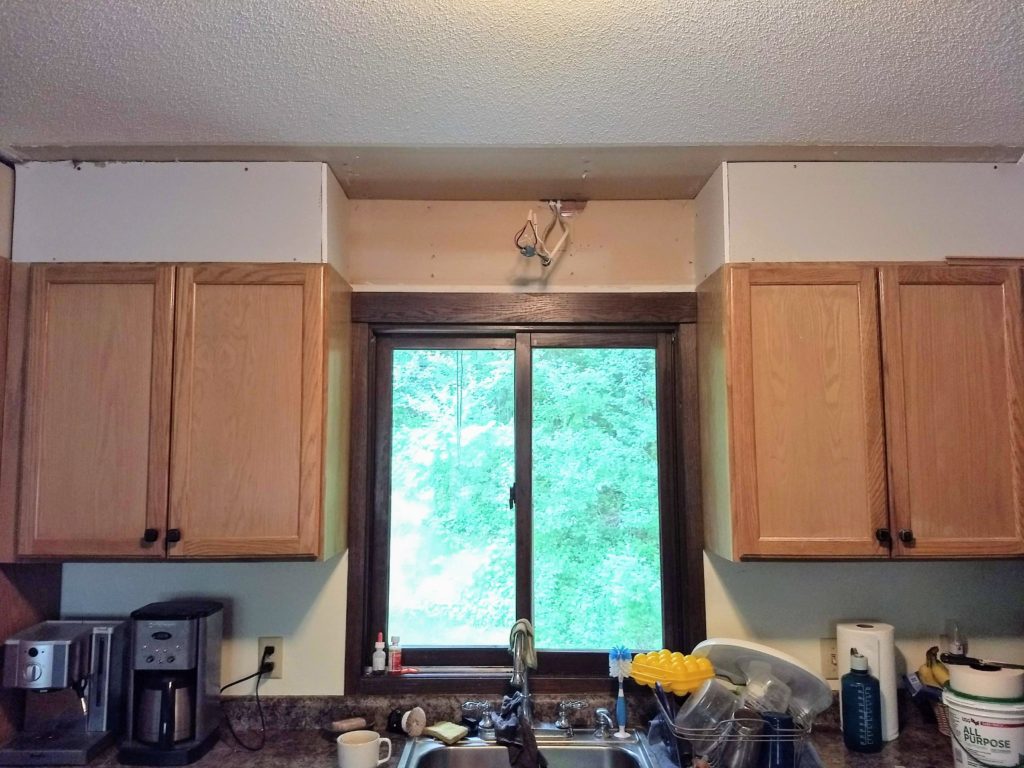
Now, let's get into the actual steps of replacing a kitchen sink light. Remember to always follow safety precautions, such as turning off the power to the light fixture at the circuit breaker, before starting any electrical work. Step 1: Remove the old light fixture by unscrewing the mounting screws and disconnecting the wiring. Be sure to support the fixture with one hand while unscrewing to prevent it from falling. Step 2: Install the mounting bracket for the new light fixture, following the manufacturer's instructions. This will be the base for the new light to attach to. Step 3: Connect the wiring for the new light fixture, matching the black wires to the black wires, the white wires to the white wires, and the ground wire to the ground wire. Use wire nuts to secure the connections. Step 4: Attach the new light fixture to the mounting bracket, following the manufacturer's instructions. Make sure it is securely in place before moving on. Step 5: Turn the power back on at the circuit breaker and test the light to ensure it is working properly.Step-by-Step Guide for Replacing a Kitchen Sink Light


Step-by-Step Guide for Replacing a Kitchen Sink Light


Here are some helpful tips and tricks to keep in mind when replacing a kitchen sink light: - If you have a pendant light, make sure to adjust the height before installing to ensure it hangs at the desired level above your sink. - Use a voltage tester to double-check that the power is off before starting any electrical work. - Consider upgrading to energy-efficient LED light bulbs to save money on your energy bills in the long run.Replacing a Kitchen Sink Light: Tips and Tricks


Replacing a Kitchen Sink Light: Tips and Tricks


Replacing a kitchen sink light may seem like a simple task, but there are some common mistakes that can easily be made if you're not careful. These include: - Not turning off the power before starting the replacement. - Overlooking the type of light fixture you have and attempting to install a different type. - Not ensuring secure wiring connections, which can lead to electrical problems down the road.Replacing a Kitchen Sink Light: Common Mistakes to Avoid


Replacing a Kitchen Sink Light: Common Mistakes to Avoid


Here are the essential tools and materials you will need to replace a kitchen sink light: - Screwdriver - Wire cutters/strippers - Voltage tester - Wire nuts - New light fixtureTools and Materials Needed for Replacing a Kitchen Sink Light
Tools and Materials Needed for Replacing a Kitchen Sink Light


As mentioned earlier, safety should always be a top priority when working with electricity. Here are some safety precautions to keep in mind when replacing a kitchen sink light: - Turn off the power to the light fixture at the circuit breaker. - Use a voltage tester to double-check that the power is off. - Do not touch any exposed wires with your bare hands.Replacing a Kitchen Sink Light: Safety Precautions

Replacing a Kitchen Sink Light: Safety Precautions


When it comes to choosing a new kitchen sink light, there are a few factors to consider: - Size and style: Make sure the light fixture you choose fits the space above your sink and complements the overall aesthetic of your kitchen. - Functionality: Think about how much light you need in your kitchen and choose a fixture with the appropriate brightness and type of light (warm vs. cool). - Energy efficiency: As mentioned earlier, consider upgrading to LED bulbs for energy savings.How to Choose the Right Kitchen Sink Light Replacement


How to Choose the Right Kitchen Sink Light Replacement


:max_bytes(150000):strip_icc()/Basic-kitchen-sink-types-1821207_color_rev-0b539306b9ef4236a136624ad2a89a4c.jpg)

Ultimately, the decision to hire a professional or do it yourself will depend on your comfort level with electrical work and the complexity of the installation. If you have any doubts or concerns, it's always best to hire a licensed electrician to ensure the job is done safely and correctly. Replacing a kitchen sink light is a simple and cost-effective way to update your kitchen. By following the steps and tips outlined in this article, you can successfully complete the replacement on your own and enjoy a brighter, more functional kitchen in no time!Replacing a Kitchen Sink Light: Professional vs. DIY


Replacing a Kitchen Sink Light: Professional vs. DIY


Why You Should Consider Replacing Your Kitchen Sink Light

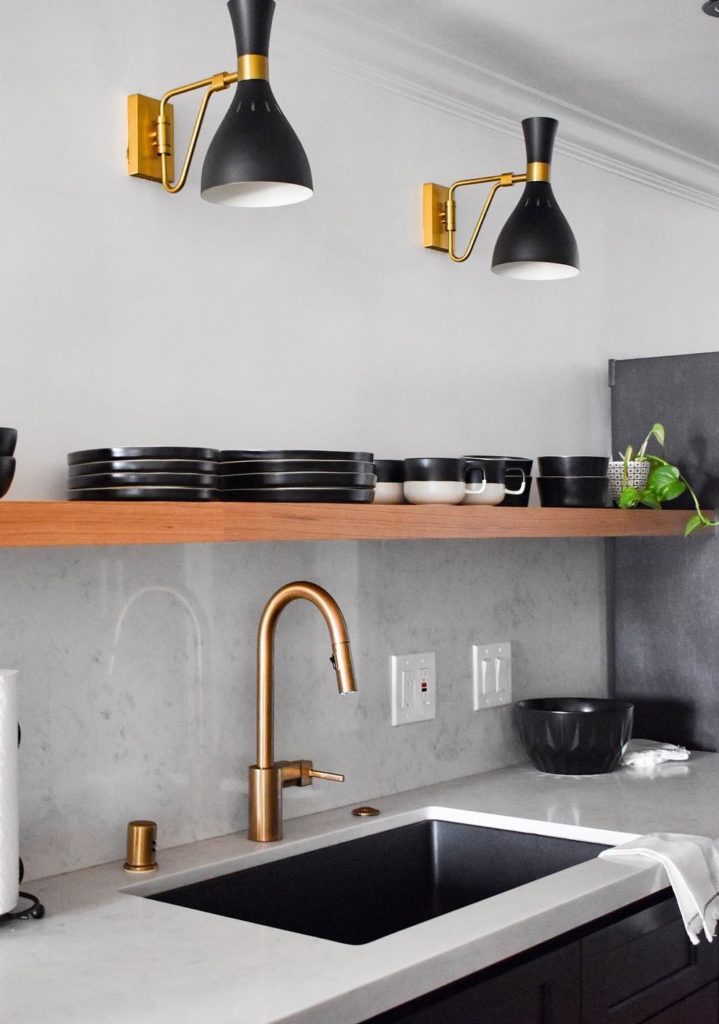
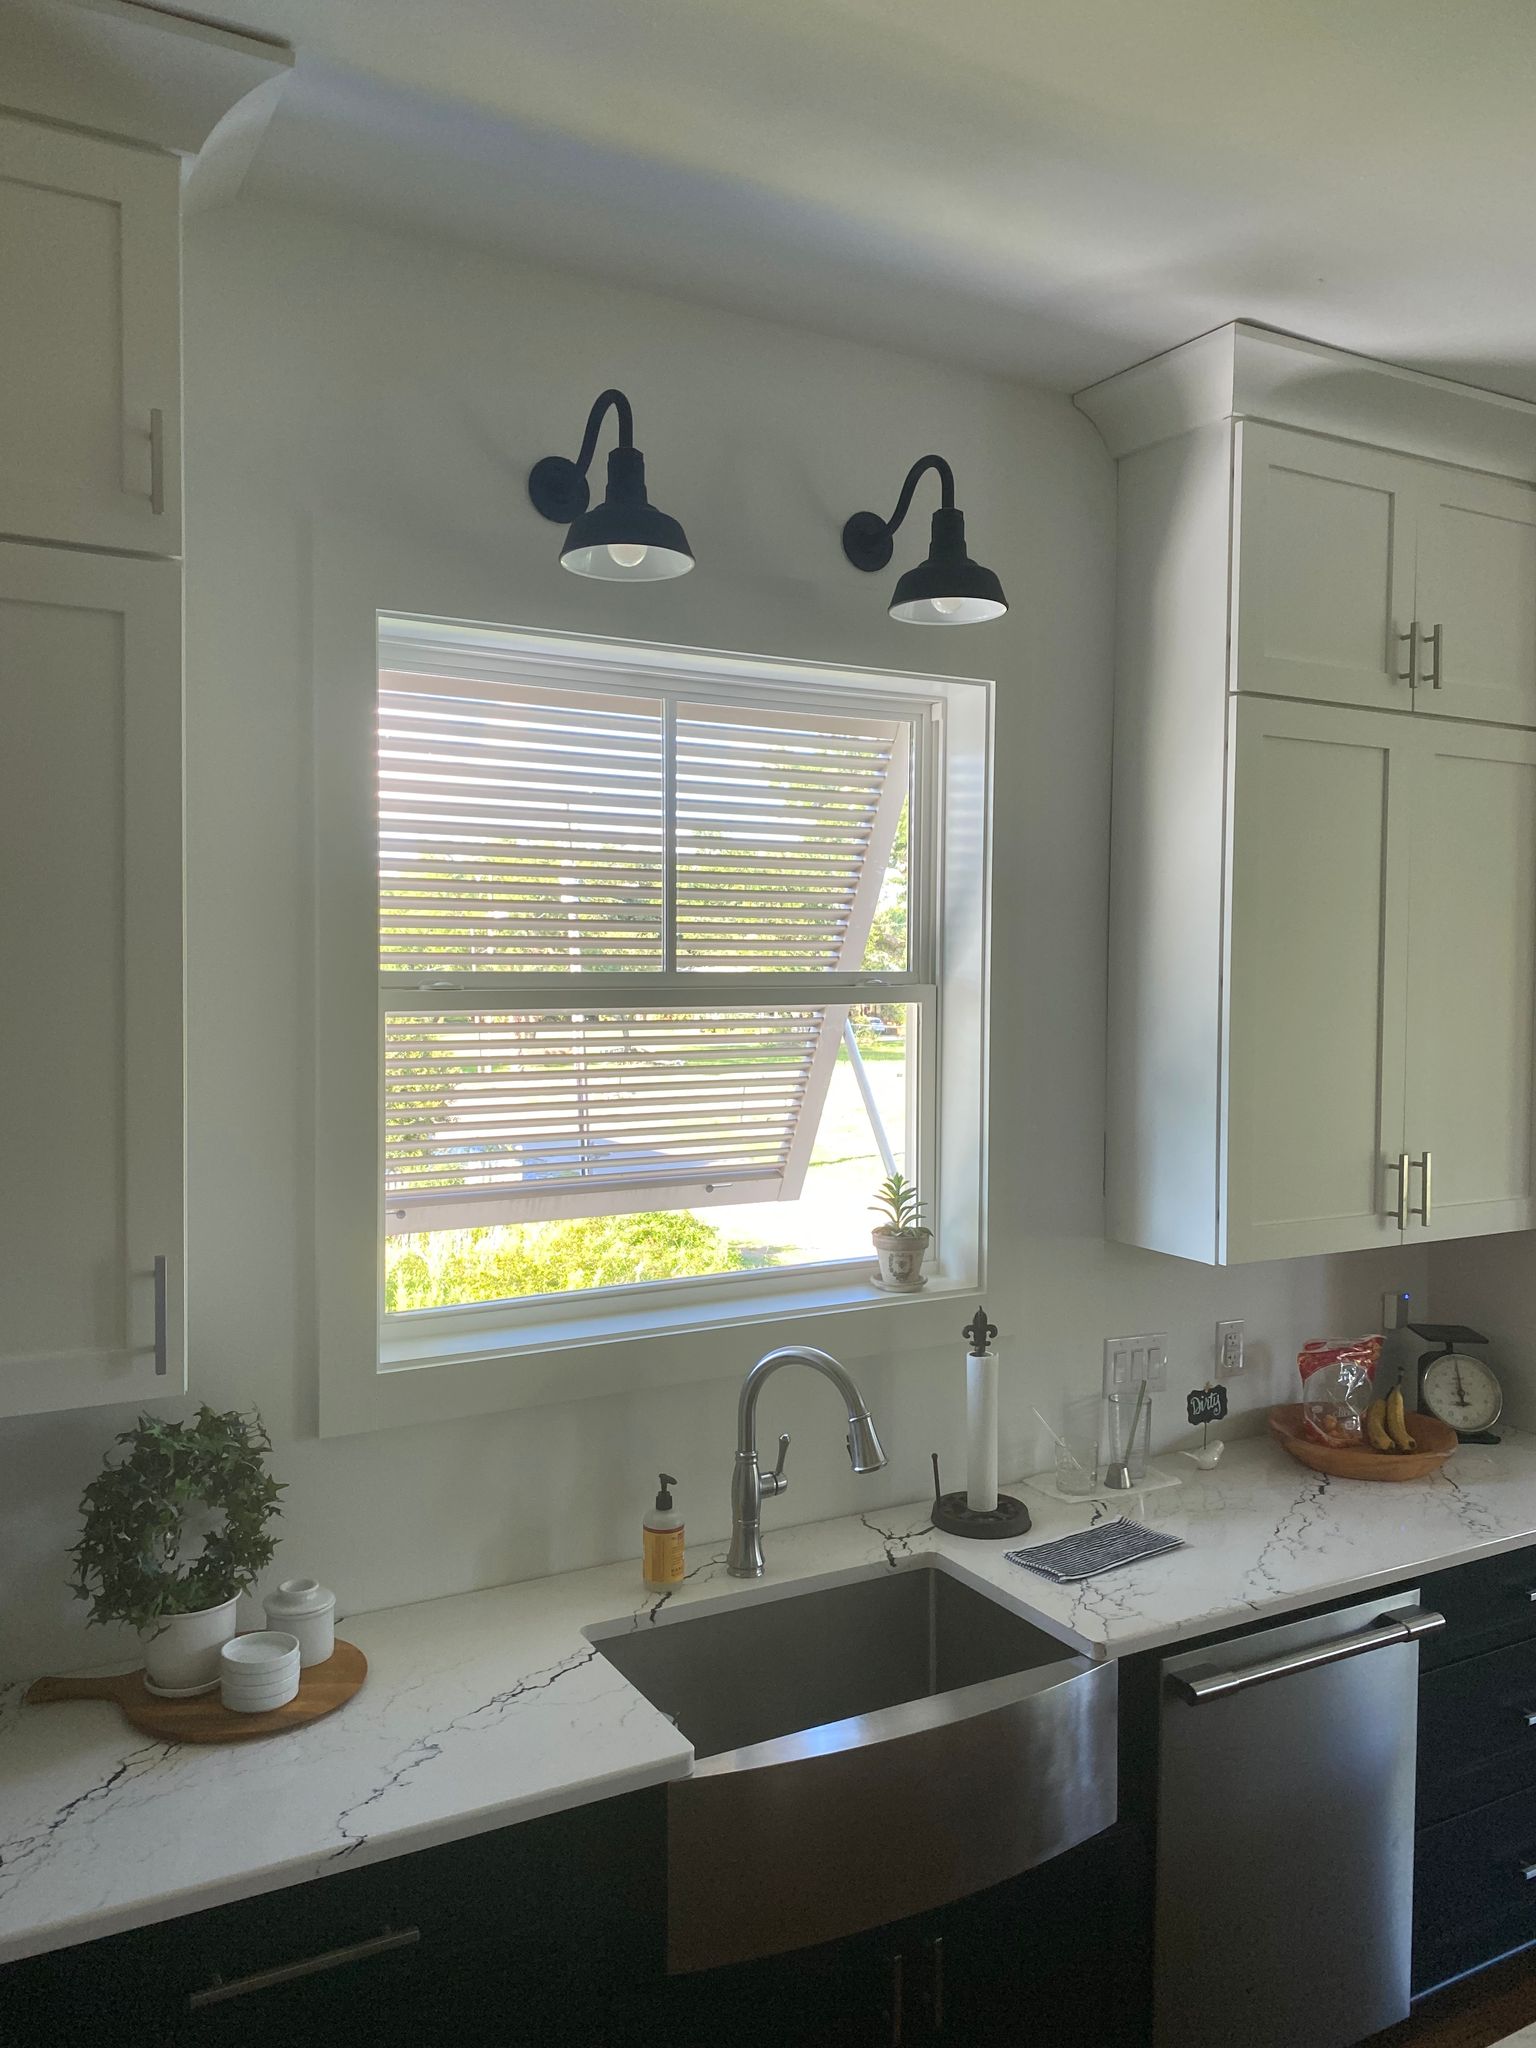
Enhance Your Kitchen's Aesthetic Appeal
 Replacing your kitchen sink light
may seem like a small and insignificant task, but it can actually make a huge impact on the overall look and feel of your kitchen. The right lighting can enhance the aesthetic appeal of your kitchen, making it more inviting and visually appealing. A
well-lit kitchen
not only looks good, but it also creates a more functional and efficient space for cooking and entertaining.
Replacing your kitchen sink light
may seem like a small and insignificant task, but it can actually make a huge impact on the overall look and feel of your kitchen. The right lighting can enhance the aesthetic appeal of your kitchen, making it more inviting and visually appealing. A
well-lit kitchen
not only looks good, but it also creates a more functional and efficient space for cooking and entertaining.
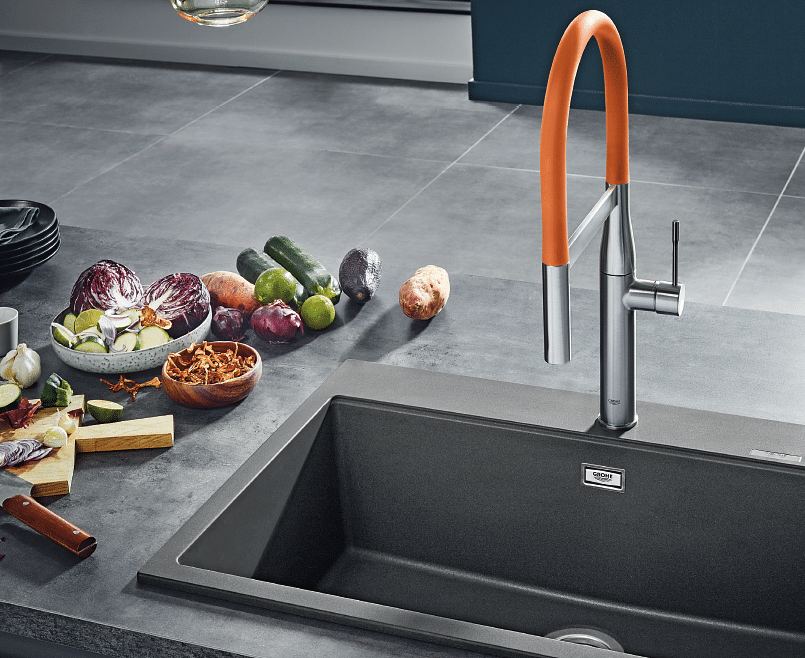
Improve Task Lighting
 The kitchen sink is an area that requires
adequate lighting
for various tasks such as washing dishes, preparing food, and even reading recipes. If your current light fixture is not providing enough light or the right kind of light for these tasks, it may be time to consider a replacement.
LED lights
are a popular choice for task lighting in kitchens due to their bright and energy-efficient nature. They also come in a variety of styles to match your kitchen's design.
The kitchen sink is an area that requires
adequate lighting
for various tasks such as washing dishes, preparing food, and even reading recipes. If your current light fixture is not providing enough light or the right kind of light for these tasks, it may be time to consider a replacement.
LED lights
are a popular choice for task lighting in kitchens due to their bright and energy-efficient nature. They also come in a variety of styles to match your kitchen's design.
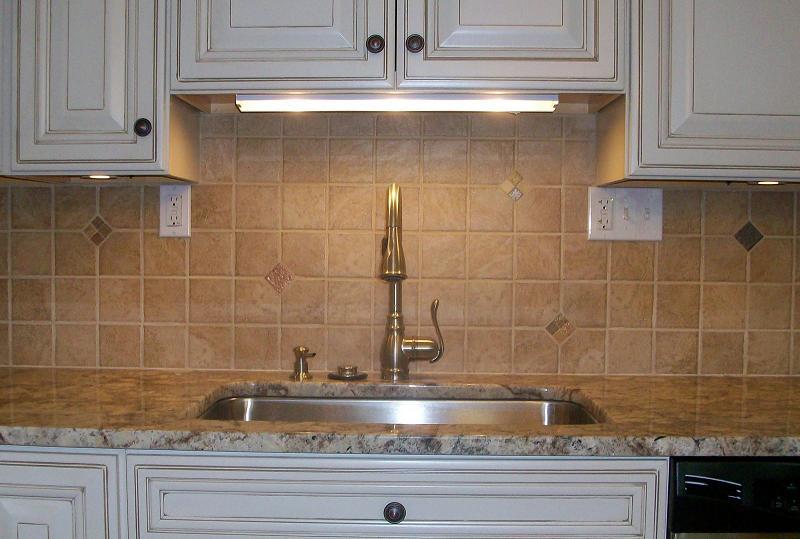
Upgrade to Energy-Efficient Lighting
 In addition to
LED lights
, there are other energy-efficient options available for kitchen sink lighting.
Compact fluorescent lights (CFLs)
and
halogen lights
are both eco-friendly options that can save you money on your energy bill in the long run. They also have a longer lifespan than traditional incandescent bulbs, meaning you won't have to replace them as often.
In addition to
LED lights
, there are other energy-efficient options available for kitchen sink lighting.
Compact fluorescent lights (CFLs)
and
halogen lights
are both eco-friendly options that can save you money on your energy bill in the long run. They also have a longer lifespan than traditional incandescent bulbs, meaning you won't have to replace them as often.
Increase Home Value
 If you're planning to sell your house in the future,
replacing your kitchen sink light
can be a great investment. Potential buyers are often drawn to homes with updated and modern features, and a new light fixture can add a touch of sophistication to your kitchen. It's a simple and cost-effective way to increase the value of your home and make it more appealing to potential buyers.
If you're planning to sell your house in the future,
replacing your kitchen sink light
can be a great investment. Potential buyers are often drawn to homes with updated and modern features, and a new light fixture can add a touch of sophistication to your kitchen. It's a simple and cost-effective way to increase the value of your home and make it more appealing to potential buyers.
Final Thoughts
 In conclusion,
replacing your kitchen sink light
is not just a matter of improving aesthetics, but it also has practical benefits such as better task lighting, energy efficiency, and added value to your home. Consider upgrading your light fixture to enhance your kitchen's overall design and functionality. Don't underestimate the impact a simple change in lighting can make in your home.
In conclusion,
replacing your kitchen sink light
is not just a matter of improving aesthetics, but it also has practical benefits such as better task lighting, energy efficiency, and added value to your home. Consider upgrading your light fixture to enhance your kitchen's overall design and functionality. Don't underestimate the impact a simple change in lighting can make in your home.