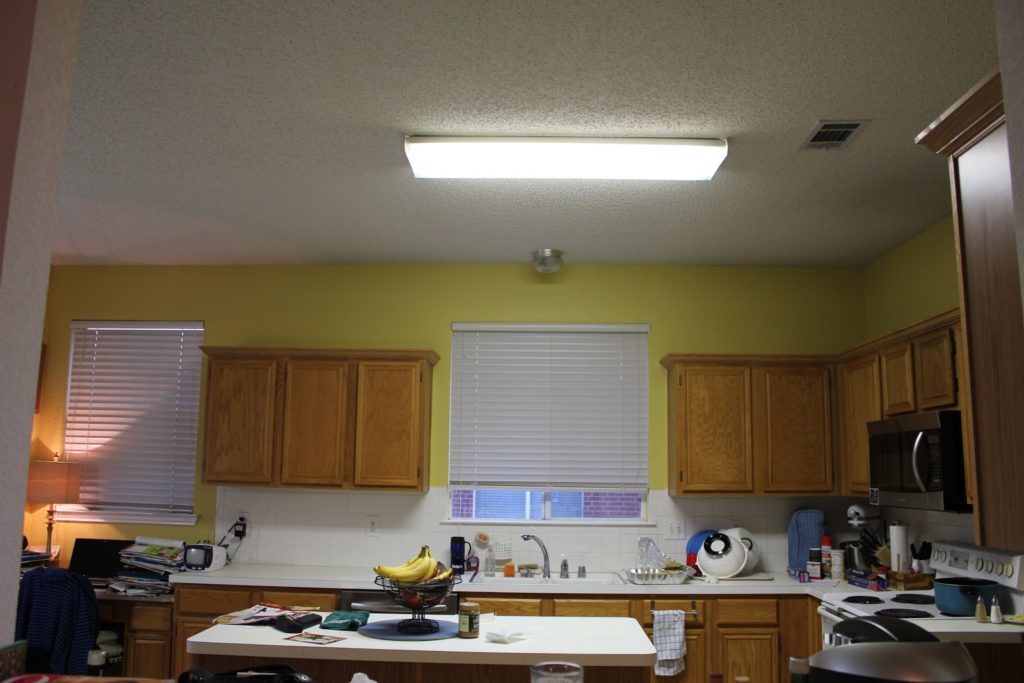
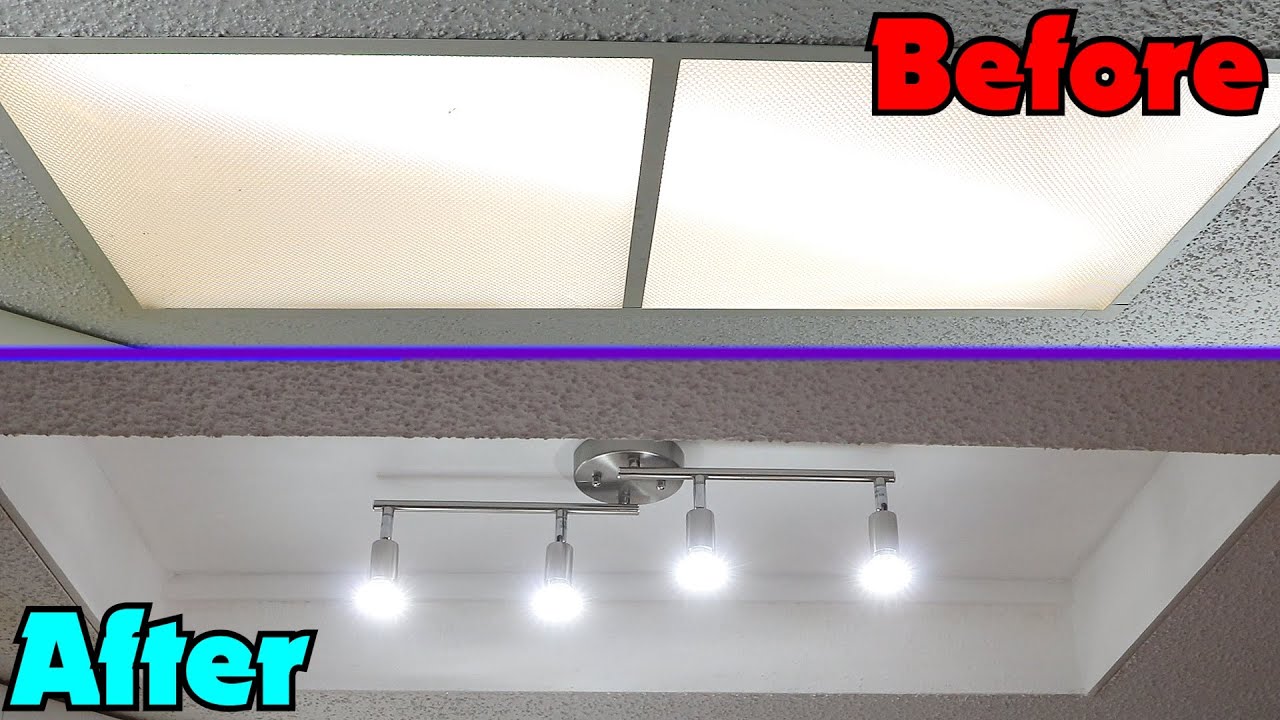
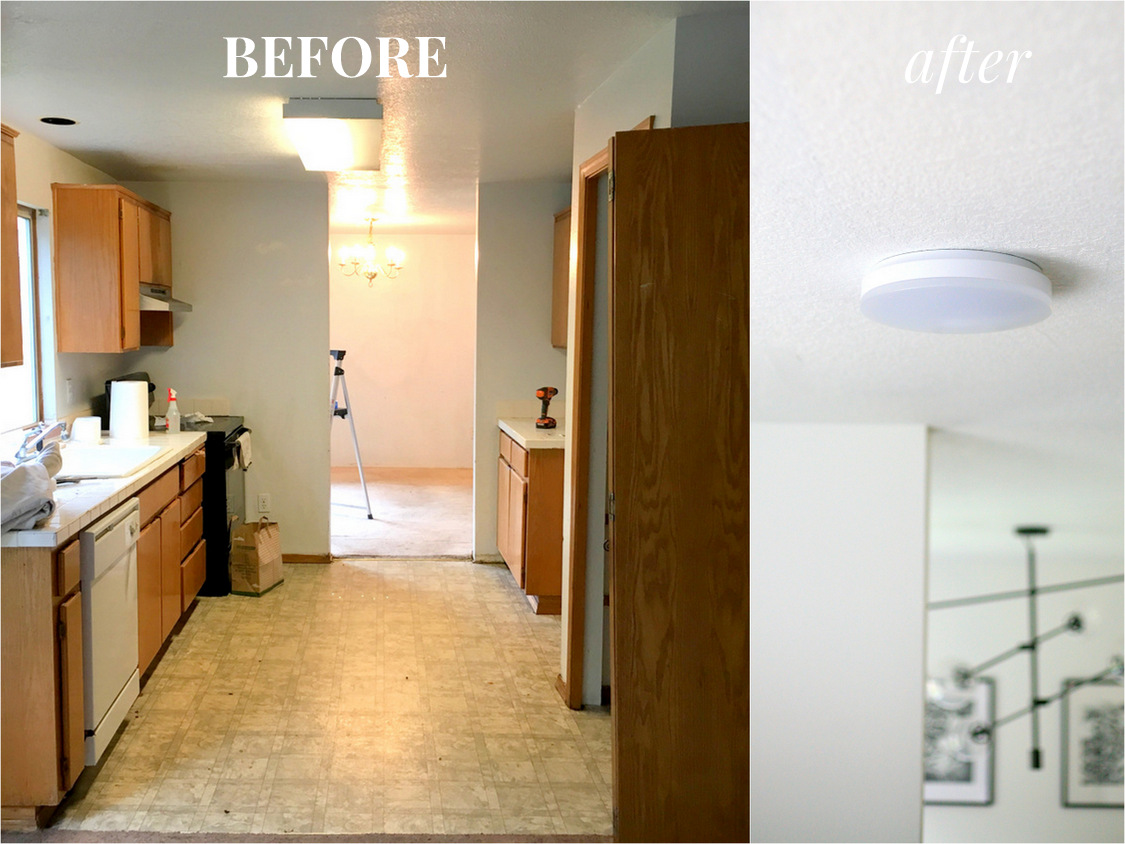
Is your kitchen sink area looking dull and dim due to an outdated fluorescent light? It may be time to replace it with a new and improved option. This simple DIY project can instantly transform the look and functionality of your kitchen. Follow these steps to learn how to replace a kitchen fluorescent sink light and brighten up your space.1. How to Replace a Kitchen Fluorescent Sink Light


1. How to Replace a Kitchen Fluorescent Sink Light

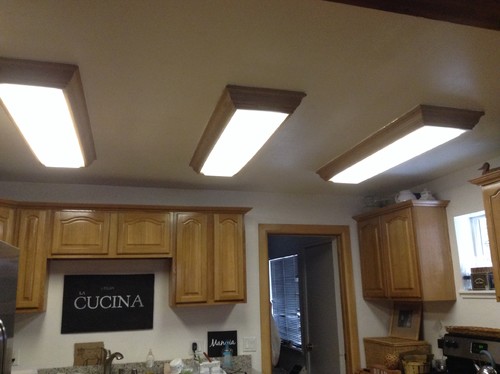


A fluorescent sink light can often cast unflattering shadows and make it difficult to see while washing dishes or preparing food. By replacing it with a more modern and efficient option, you can enhance the overall lighting in your kitchen and make your tasks easier. Plus, a new light fixture can add a touch of style and personality to your space.2. Upgrading Your Kitchen Lighting: Replacing a Fluorescent Sink Light

2. Upgrading Your Kitchen Lighting: Replacing a Fluorescent Sink Light


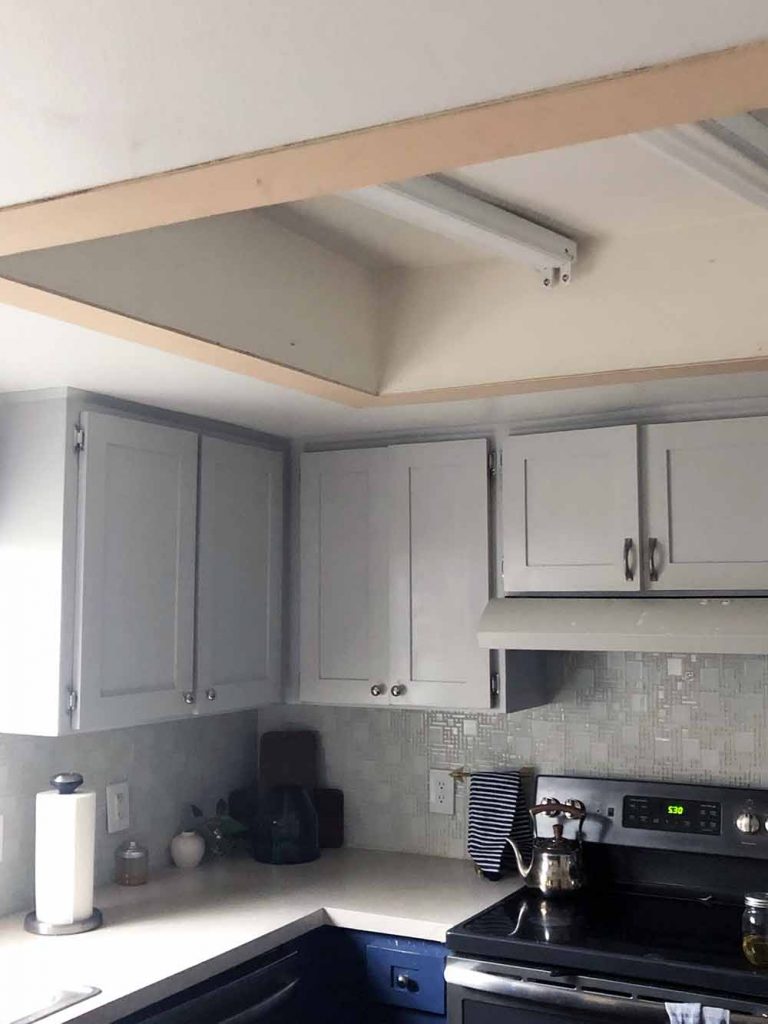
Replacing a fluorescent sink light may seem like a daunting task, but with the right tools and steps, it can be a simple DIY project. Before you begin, make sure to turn off the power to the light at the breaker box. Then, remove the old light cover and bulbs. Next, unscrew the mounting screws and carefully lower the light fixture. Disconnect the wiring and remove the old fixture completely.3. DIY: Replacing a Fluorescent Sink Light in Your Kitchen


3. DIY: Replacing a Fluorescent Sink Light in Your Kitchen

Now it’s time to install your new light fixture. Begin by attaching the mounting bracket to the junction box in the ceiling. Next, connect the wires from the new light fixture to the corresponding wires in the junction box. Make sure they are securely connected and then screw the new fixture into place. Finally, add the light bulbs and cover and turn the power back on to test your new kitchen sink light.4. Step-by-Step Guide to Replacing a Kitchen Fluorescent Sink Light

4. Step-by-Step Guide to Replacing a Kitchen Fluorescent Sink Light


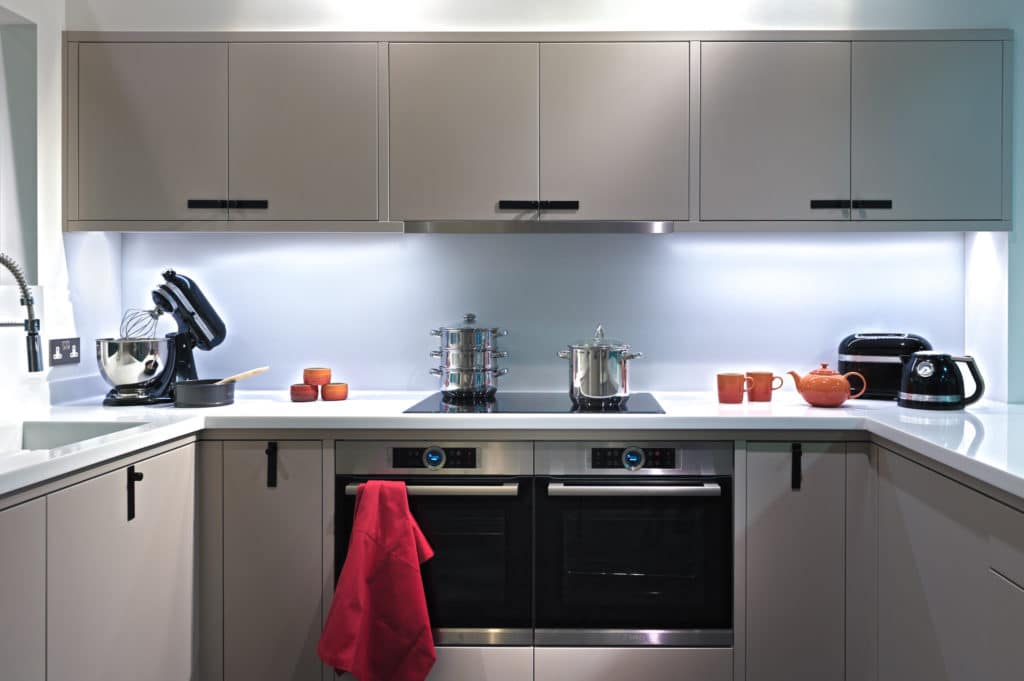
When choosing a new light fixture, consider the size and style of your kitchen. A larger space may require a larger fixture, while a smaller kitchen may benefit from a more compact option. Additionally, look for energy-efficient options like LED lights that can help you save on your electricity bill.5. Tips for Replacing a Kitchen Fluorescent Sink Light


5. Tips for Replacing a Kitchen Fluorescent Sink Light


Aside from the obvious aesthetic and functional upgrades, replacing a kitchen fluorescent sink light can also have other benefits. LED lights, for example, have a longer lifespan and use less energy than traditional fluorescent lights. This means you won’t have to replace them as often and you’ll save money on your energy bill.6. The Benefits of Replacing a Kitchen Fluorescent Sink Light


6. The Benefits of Replacing a Kitchen Fluorescent Sink Light


With so many options available, it can be overwhelming to choose the right replacement for your kitchen fluorescent sink light. Consider the style of your kitchen and choose a light fixture that complements it. You may also want to look for a fixture with adjustable brightness to suit your needs.7. How to Choose the Right Replacement for Your Kitchen Fluorescent Sink Light

7. How to Choose the Right Replacement for Your Kitchen Fluorescent Sink Light


One of the most common mistakes when replacing a kitchen fluorescent sink light is not turning off the power before beginning the project. This can lead to electrical shock or damage to the light fixture. Another mistake is not properly connecting the wiring, which can result in a non-functioning light. Always follow safety precautions and double-check your work.8. Common Mistakes to Avoid When Replacing a Kitchen Fluorescent Sink Light


8. Common Mistakes to Avoid When Replacing a Kitchen Fluorescent Sink Light


If you’re not comfortable with electrical work or you have a more complex light fixture, it may be best to hire a professional to replace your kitchen fluorescent sink light. However, if you have the necessary skills and tools, it can be a rewarding DIY project. Just make sure to follow all safety precautions and research the steps beforehand.9. Replacing a Kitchen Fluorescent Sink Light: DIY or Hire a Professional?

9. Replacing a Kitchen Fluorescent Sink Light: DIY or Hire a Professional?

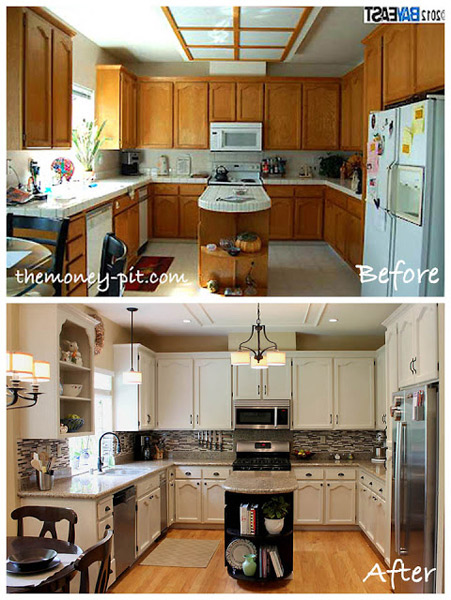
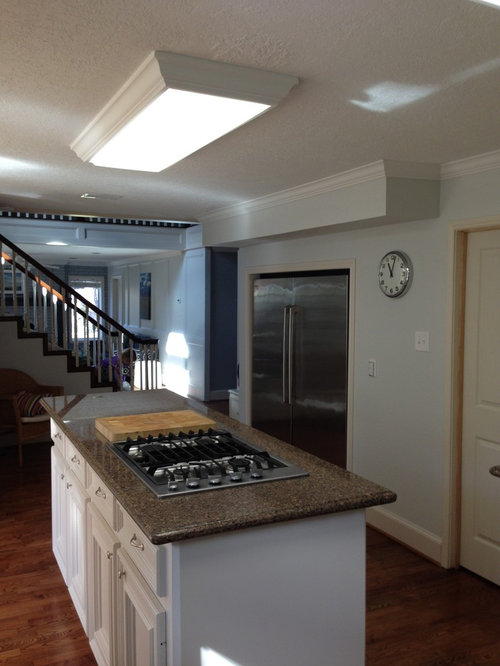
There are many great replacement options for kitchen fluorescent sink lights on the market. Some top-rated options include LED flush mount lights, pendant lights, and under-cabinet lights. Consider the size and style of your kitchen to determine the best option for you. With these tips and instructions, you can easily replace your kitchen fluorescent sink light and elevate the overall look and functionality of your space. Don’t be afraid to get creative and choose a light fixture that showcases your personal style. Your kitchen will thank you for the upgrade.10. Top Rated Replacement Options for Kitchen Fluorescent Sink Lights

10. Top Rated Replacement Options for Kitchen Fluorescent Sink Lights

Replacing Kitchen Florescent Sink Light: A Simple Guide

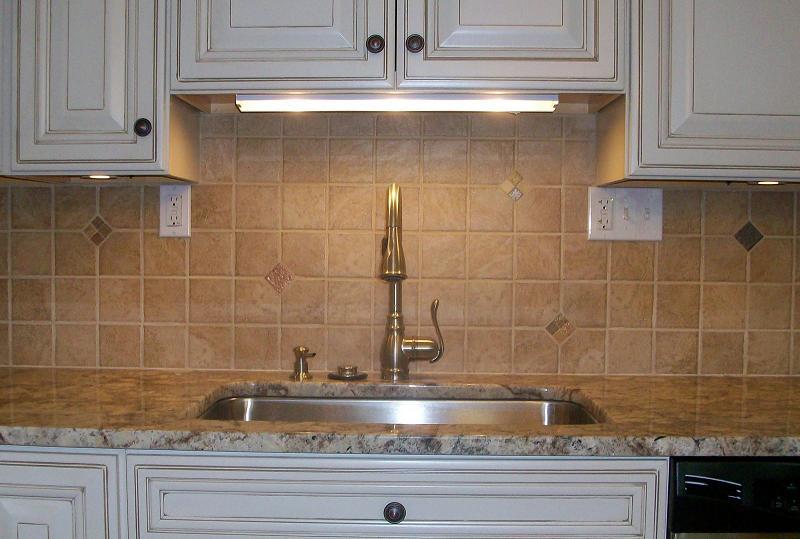
The kitchen is often referred to as the heart of the home. It is where families gather to cook, eat, and spend quality time together. When it comes to designing your kitchen, proper lighting is crucial. Not only does it enhance the overall aesthetic, but it also plays a functional role in making tasks like cooking and cleaning easier. One common type of kitchen lighting is the florescent sink light. However, as time goes by, this type of light may start to flicker or lose its brightness, making it necessary to replace it. In this article, we will guide you through the process of replacing a kitchen florescent sink light, so you can have a well-lit and beautiful kitchen once again.
Step 1: Gather Your Materials

Before you begin the replacement process, it's important to have all the necessary materials ready. This includes a new florescent light fixture, a screwdriver, wire nuts, electrical tape, and a ladder. Make sure to also turn off the power to the kitchen light at the circuit breaker to avoid any accidents.
Step 2: Remove the Old Florescent Light

Using a screwdriver, remove the screws that hold the old light fixture in place. Carefully disconnect the wires and remove the old light. Make sure to keep track of which wires are connected to which terminals for easier installation of the new light.
Step 3: Install the New Light

Using the same wires, connect the new light fixture to the ceiling. Make sure to tightly secure the wires with wire nuts and cover them with electrical tape for safety. Then, carefully attach the new light to the ceiling using the screws. Double check all connections to ensure they are secure.
Step 4: Turn on the Power and Test
Once the new light is installed, turn the power back on at the circuit breaker. Test the light to make sure it is working properly. If it doesn't turn on, double check the connections and make sure the power is on.
Step 5: Finishing Touches

If everything is working correctly, finish by attaching the light cover or diffuser to the fixture. This will not only protect the light bulbs but also add a decorative touch to your kitchen.
And there you have it! With these simple steps, you can easily replace your old, flickering kitchen florescent sink light with a new and brighter one. Remember to always prioritize safety and turn off the power before working with any electrical fixtures. With a well-lit kitchen, you can enjoy cooking and spending time with your loved ones in a beautiful and functional space.