Replacing a kitchen sink drain may seem like a daunting task, but with the right tools and a little know-how, it can be a simple DIY project. The kitchen sink drain is an essential component of your sink, responsible for draining out used water and preventing clogs. Over time, these drains can become worn out or clogged, causing leaks and other issues. In this guide, we'll walk you through the step-by-step process of replacing your kitchen sink drain and give you some tips to make the process easier.1. How to Replace a Kitchen Sink Drain
While you may be tempted to call a plumber to replace your kitchen sink drain, this is a task that you can easily do yourself. Not only will it save you money, but it will also give you a sense of accomplishment. The key to a successful DIY drain replacement is to have the right tools and follow the steps carefully. Make sure to gather all your tools and materials before starting the project to avoid any interruptions.2. DIY Kitchen Sink Drain Replacement
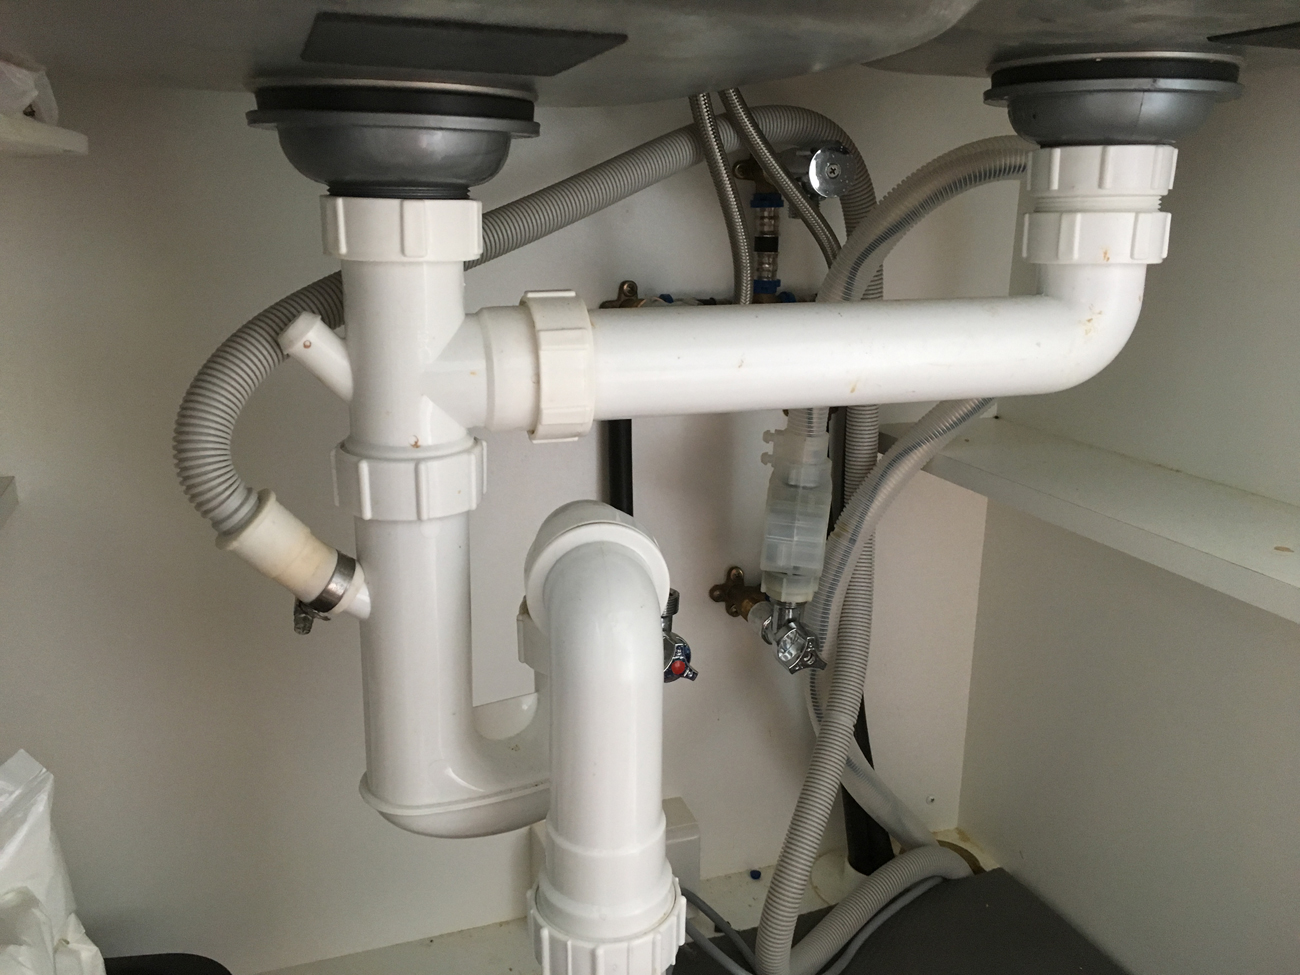
Before you begin, make sure to turn off the water supply to your sink and remove any objects from the sink basin. Follow these steps to replace your kitchen sink drain: Step 1: Loosen the slip nut connecting the drain to the sink basket using a wrench. This will disconnect the drain from the sink. Step 2: Locate the nut on the bottom of the sink, which is holding the drain in place. Use a wrench to loosen and remove this nut. Step 3: Once the nut is removed, you should be able to pull the old drain out of the sink. If it's stuck, you can use a screwdriver or pliers to loosen it. Step 4: Take your new drain and apply plumber's putty to the underside of the flange. This will create a tight seal when you install the new drain. Step 5: Insert the new drain into the sink and secure it in place with the nut from the bottom of the sink. Tighten the nut with a wrench, but be careful not to overtighten it. Step 6: Reconnect the drain to the sink basket by tightening the slip nut with a wrench. Step 7: Turn the water supply back on and check for any leaks. If there are no leaks, your new kitchen sink drain is installed and ready to use!3. Step-by-Step Guide for Replacing a Kitchen Sink Drain
Replacing a kitchen sink drain may seem straightforward, but there are a few tips that can make the process easier: Tip 1: When removing the old drain, it may be helpful to have someone hold the drain from the top while you loosen the nut from the bottom. Tip 2: Use a silicone-based plumber's putty for a longer-lasting seal. Tip 3: Clean the sink basket and drain thoroughly before installing the new drain to prevent any buildup of old debris.4. Tips for Replacing a Kitchen Sink Drain
Replacing a kitchen sink drain can be a straightforward process if done correctly. However, there are a few common mistakes that you should avoid to ensure a successful replacement: Mistake 1: Overtightening the nuts can cause damage to the drain or sink and cause leaks. Mistake 2: Not cleaning the sink basket and drain thoroughly before installation can lead to clogs and other issues down the line. Mistake 3: Not turning off the water supply before starting the project can result in a messy and potentially damaging situation.5. Common Mistakes to Avoid When Replacing a Kitchen Sink Drain
As mentioned earlier, having the right tools is crucial for a successful DIY kitchen sink drain replacement. Here's a list of essential tools you'll need: - Wrench - Screwdriver - Pliers - Plumber's putty - Bucket (to catch any water)6. Tools You'll Need for Replacing a Kitchen Sink Drain
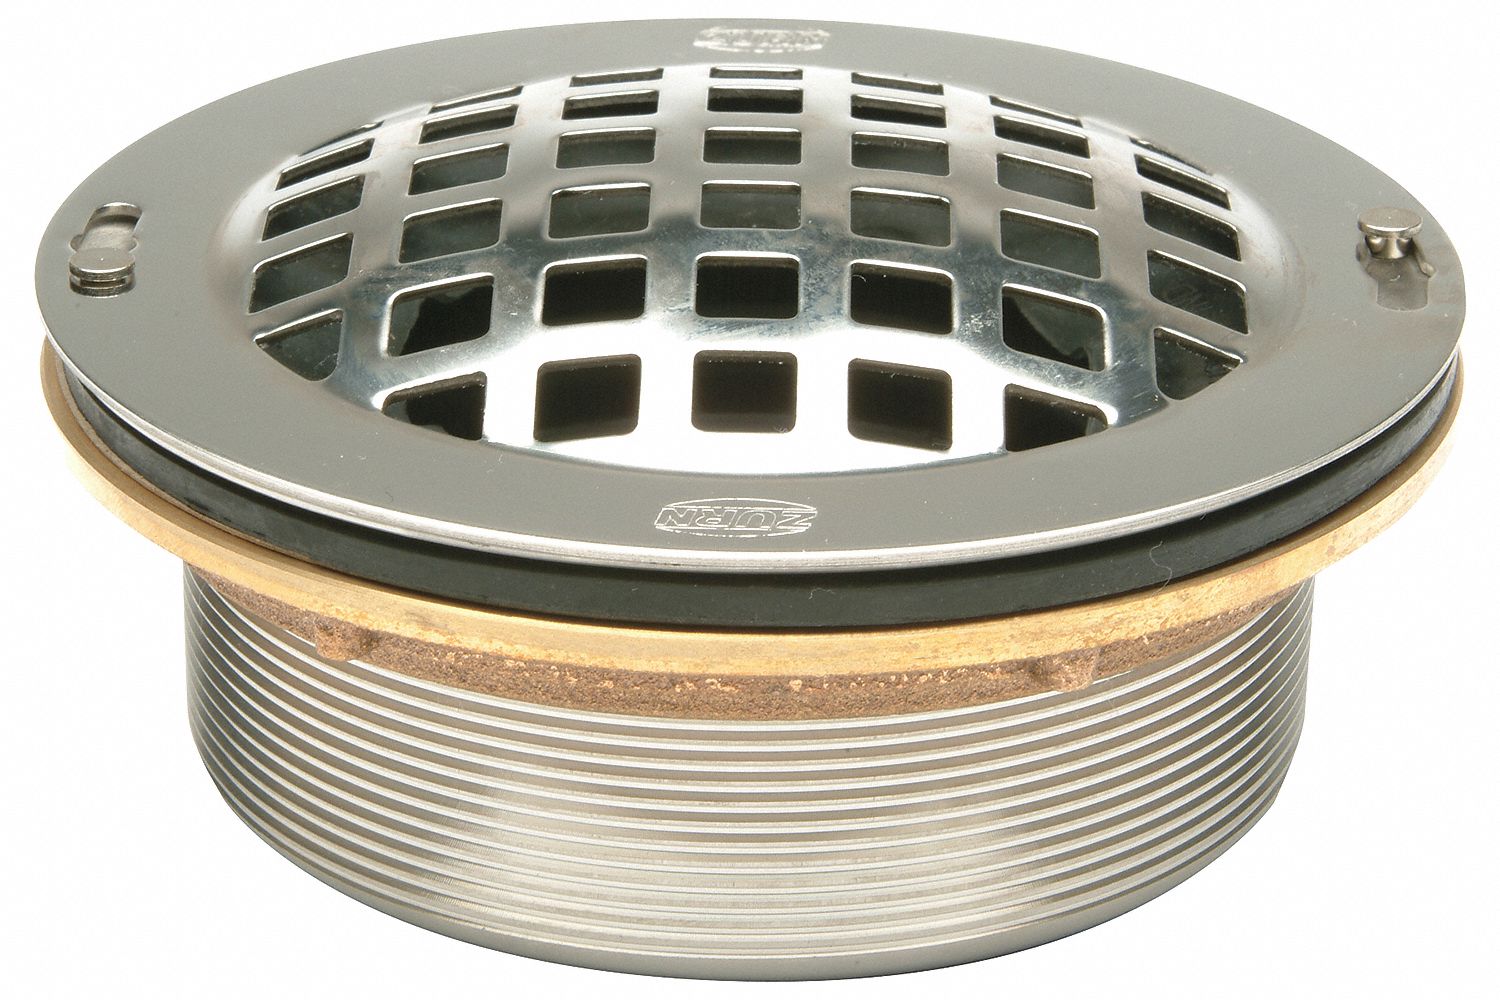
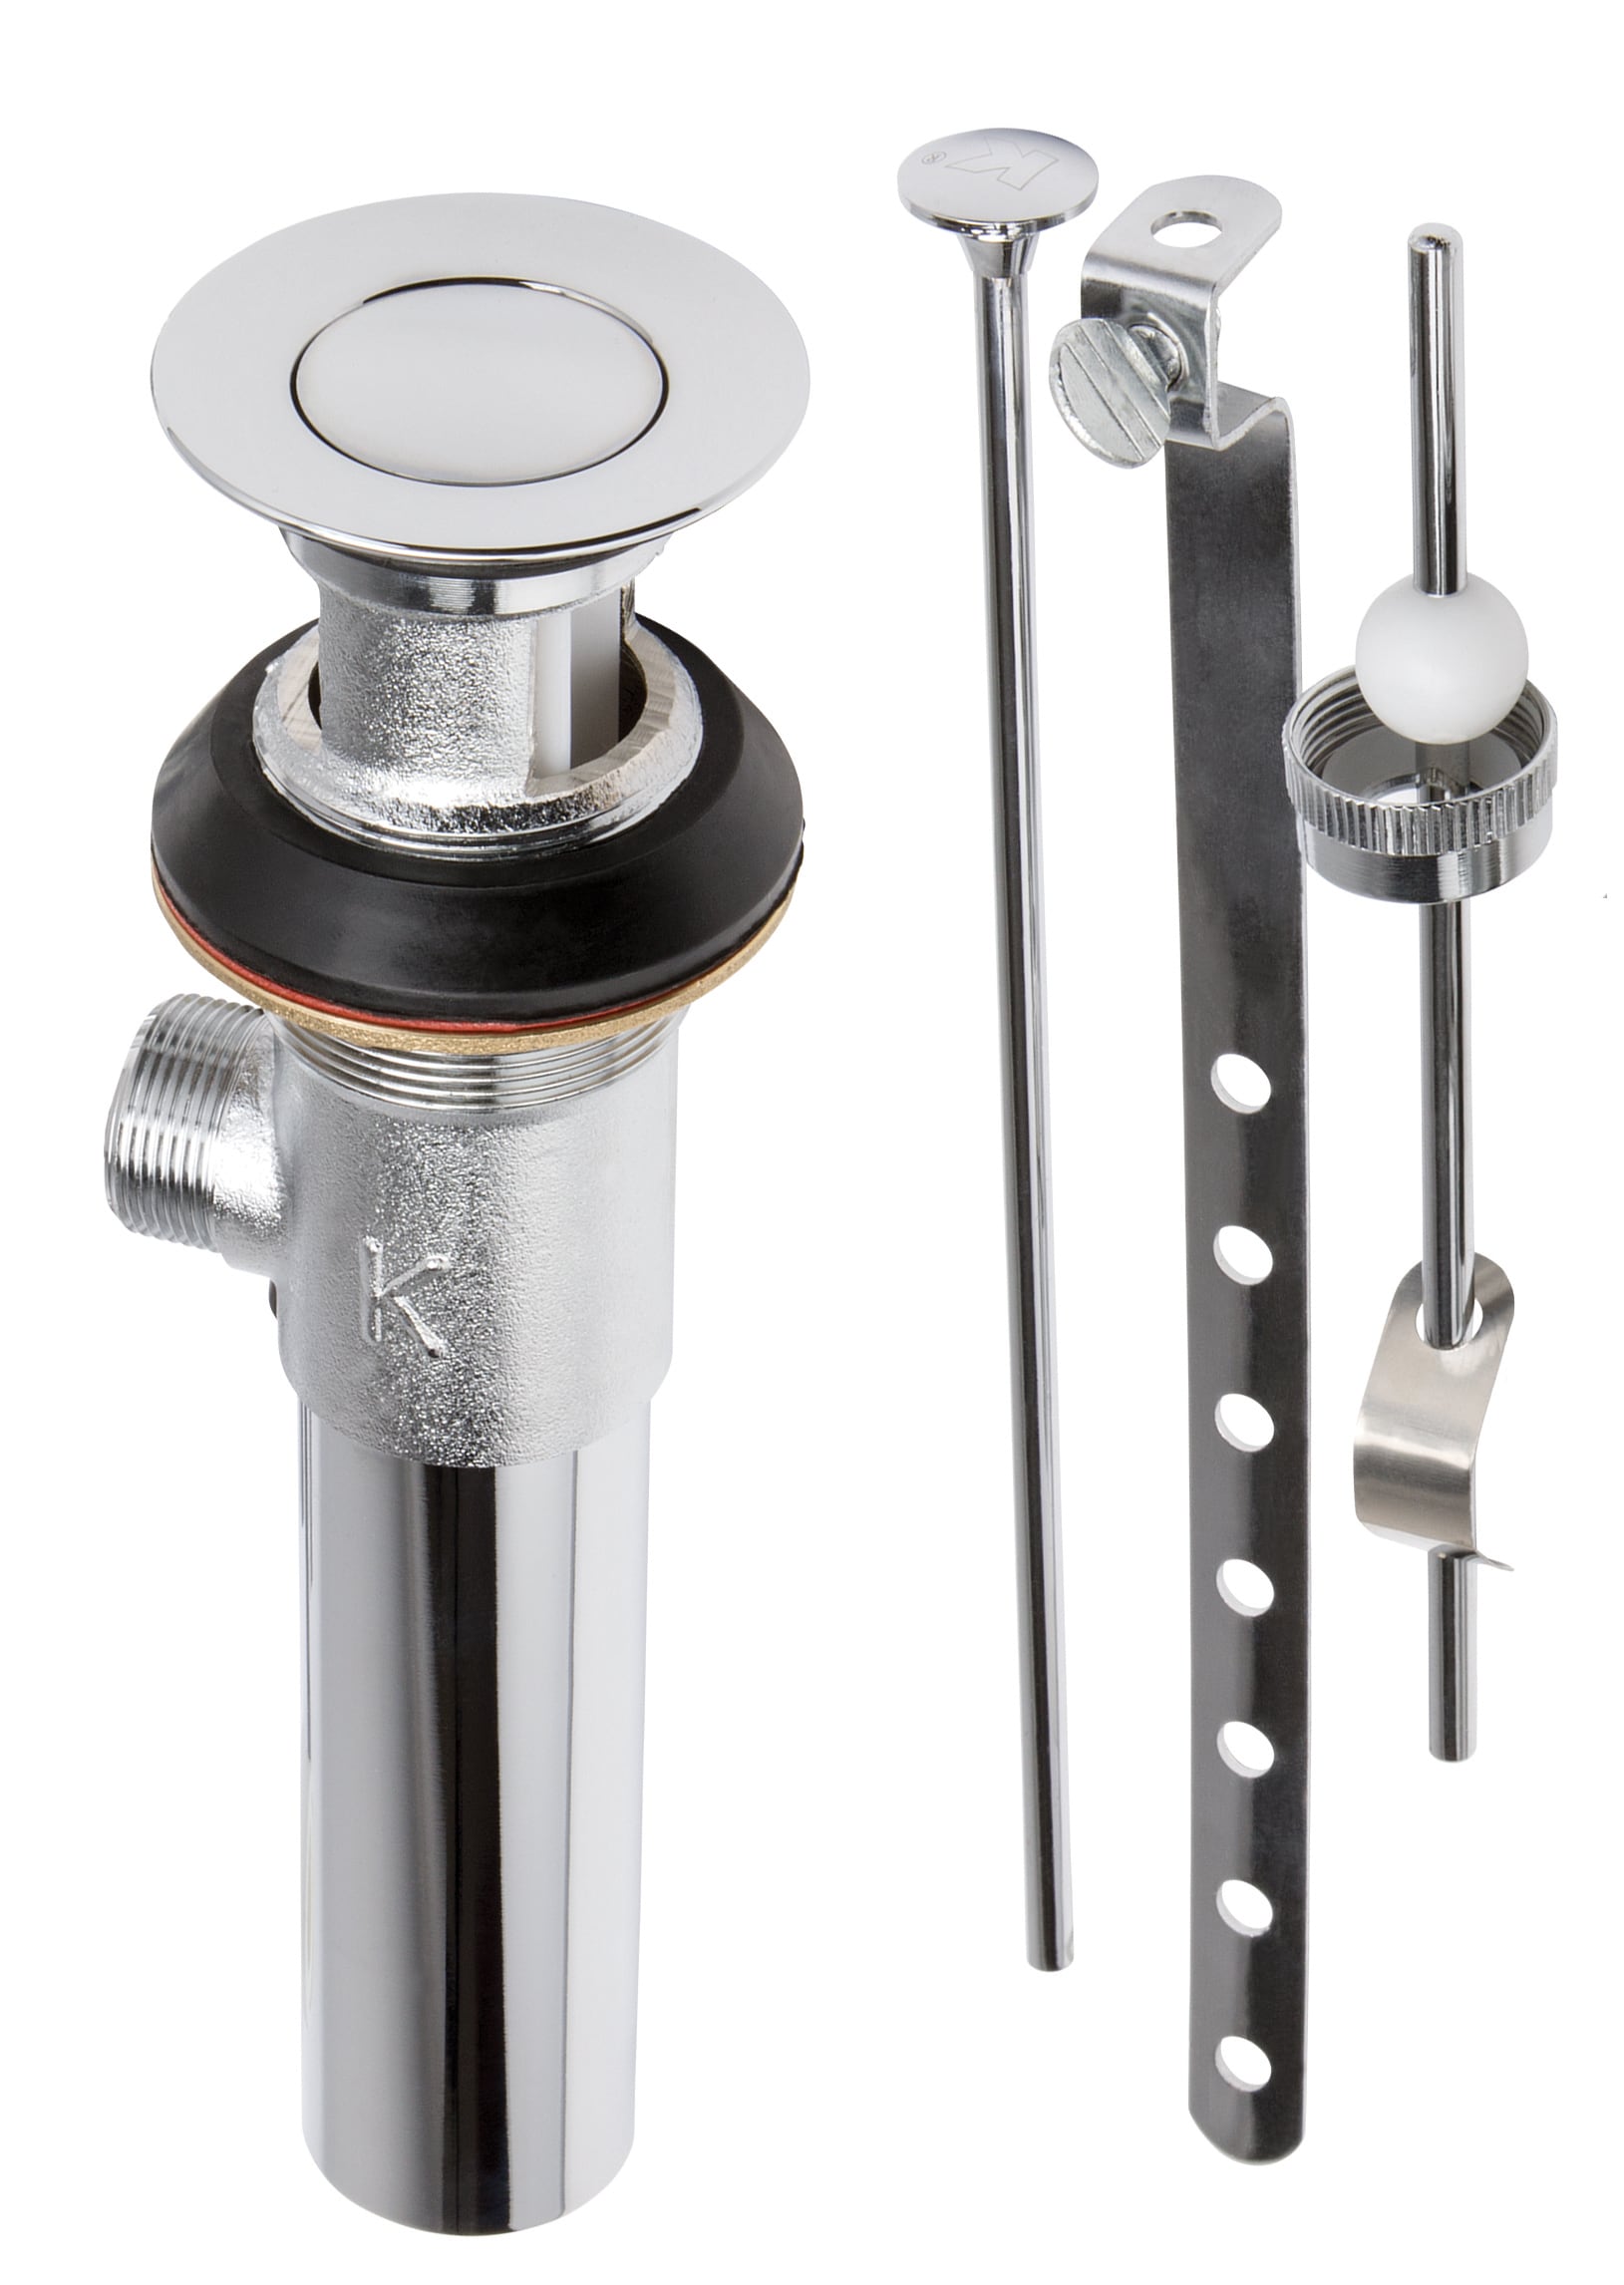
When it comes to choosing a replacement drain for your kitchen sink, there are a few factors to consider: Material: Most kitchen sink drains are made of stainless steel, but you can also find options in brass, copper, and other materials. Size: Make sure to measure your current drain and choose a replacement of the same size to ensure a proper fit. Type: There are different types of drains, such as basket strainer, disposer flange, and pop-up drains. Choose the type that best suits your needs and sink setup.7. How to Choose the Right Replacement Drain for Your Kitchen Sink
While replacing a kitchen sink drain is a relatively simple task, you may encounter some issues along the way. Here are some common problems and how to troubleshoot them: Issue 1: Leaks at the slip nut connection. Make sure the slip nut is tightened properly, and if the issue persists, try using plumber's tape for a better seal. Issue 2: Water draining slowly. This may be due to a clogged drain, which can be easily fixed with a plunger or drain cleaner. Issue 3: Drain not fitting properly. Double-check the measurements and make sure you have the correct size for your sink.8. Troubleshooting Common Issues When Replacing a Kitchen Sink Drain
Replacing a kitchen sink drain can be a DIY project, but it may not be the best option for everyone. Here are some factors to consider when deciding between hiring a professional or doing it yourself: Time: Replacing a kitchen sink drain can take several hours, and if you don't have the time or patience, it may be better to hire a professional. Cost: Hiring a professional can be more expensive, but if you're not confident in your DIY skills, it may be worth the investment. Experience: If you have little to no experience with plumbing, it may be safer to hire a professional to avoid any potential issues.9. Professional vs. DIY: Which is the Best Option for Replacing a Kitchen Sink Drain?
The lifespan of a kitchen sink drain can vary depending on the material and frequency of use. On average, a drain can last anywhere from 5 to 20 years. Signs that it's time to replace your drain include leaks, slow drainage, and visible wear and tear. It's also a good idea to replace your drain when renovating your kitchen or upgrading your sink. With this guide, you now have all the information you need to successfully replace your kitchen sink drain. Remember to take your time, follow the steps carefully, and don't hesitate to call a professional if you encounter any issues or feel overwhelmed. Happy DIY-ing!10. How Often Should You Replace Your Kitchen Sink Drain?
Why Replacing Your Kitchen Sink Drain is Essential for a Functional and Stylish Kitchen

Upgrade Your Kitchen Design
/how-to-install-a-sink-drain-2718789-hero-b5b99f72b5a24bb2ae8364e60539cece.jpg) When it comes to renovating your kitchen, it’s easy to overlook the small details like your
kitchen sink drain
. However, this seemingly insignificant component plays a crucial role in both the functionality and aesthetics of your kitchen. Not only does a worn-out or faulty drain affect the overall look of your kitchen, but it can also cause serious plumbing issues if not replaced in a timely manner.
Replacing your drain
is a simple and cost-effective way to upgrade your kitchen design and ensure it is both functional and visually appealing.
When it comes to renovating your kitchen, it’s easy to overlook the small details like your
kitchen sink drain
. However, this seemingly insignificant component plays a crucial role in both the functionality and aesthetics of your kitchen. Not only does a worn-out or faulty drain affect the overall look of your kitchen, but it can also cause serious plumbing issues if not replaced in a timely manner.
Replacing your drain
is a simple and cost-effective way to upgrade your kitchen design and ensure it is both functional and visually appealing.
Improved Functionality
 A damaged or clogged
kitchen sink drain
can lead to a wide range of problems. From slow draining to foul odors, a faulty drain can make even the simplest tasks in the kitchen a frustrating experience. By replacing your old drain with a new one, you can avoid these issues and ensure that your sink is functioning properly. This will not only save you time and effort, but it will also prevent any potential plumbing disasters down the line.
Add a Touch of Style
 In addition to improving functionality, replacing your
kitchen sink drain
can also add a touch of style to your kitchen. With a wide range of designs and finishes available, you can choose a drain that complements your kitchen’s design and adds a unique touch to the space. From classic stainless steel to trendy matte black, the right drain can elevate the overall look of your kitchen and tie the whole design together.
Prevent Costly Repairs
:max_bytes(150000):strip_icc()/how-to-install-a-sink-drain-2718789-hero-24e898006ed94c9593a2a268b57989a3.jpg) Ignoring a faulty
kitchen sink drain
can lead to more serious and costly plumbing issues in the future. A clogged or damaged drain can cause water to back up, leading to leaks, mold growth, and even structural damage. By
replacing your drain
at the first sign of trouble, you can avoid these expensive repairs and save yourself the hassle and stress that comes with them.
Ignoring a faulty
kitchen sink drain
can lead to more serious and costly plumbing issues in the future. A clogged or damaged drain can cause water to back up, leading to leaks, mold growth, and even structural damage. By
replacing your drain
at the first sign of trouble, you can avoid these expensive repairs and save yourself the hassle and stress that comes with them.
Conclusion
 In conclusion, a
kitchen sink drain
may seem like a small and insignificant component, but it plays a major role in the functionality and style of your kitchen. By replacing your old, worn-out drain, you can upgrade your kitchen design, improve functionality, and prevent costly repairs. Don’t overlook this important detail when renovating your kitchen, as it can make a significant difference in the overall look and feel of the space.

















:max_bytes(150000):strip_icc()/how-to-clean-a-kitchen-sink-and-drain-02-5660035-7a630bc36f2c401bbe412bbe85937ff3.jpg)


