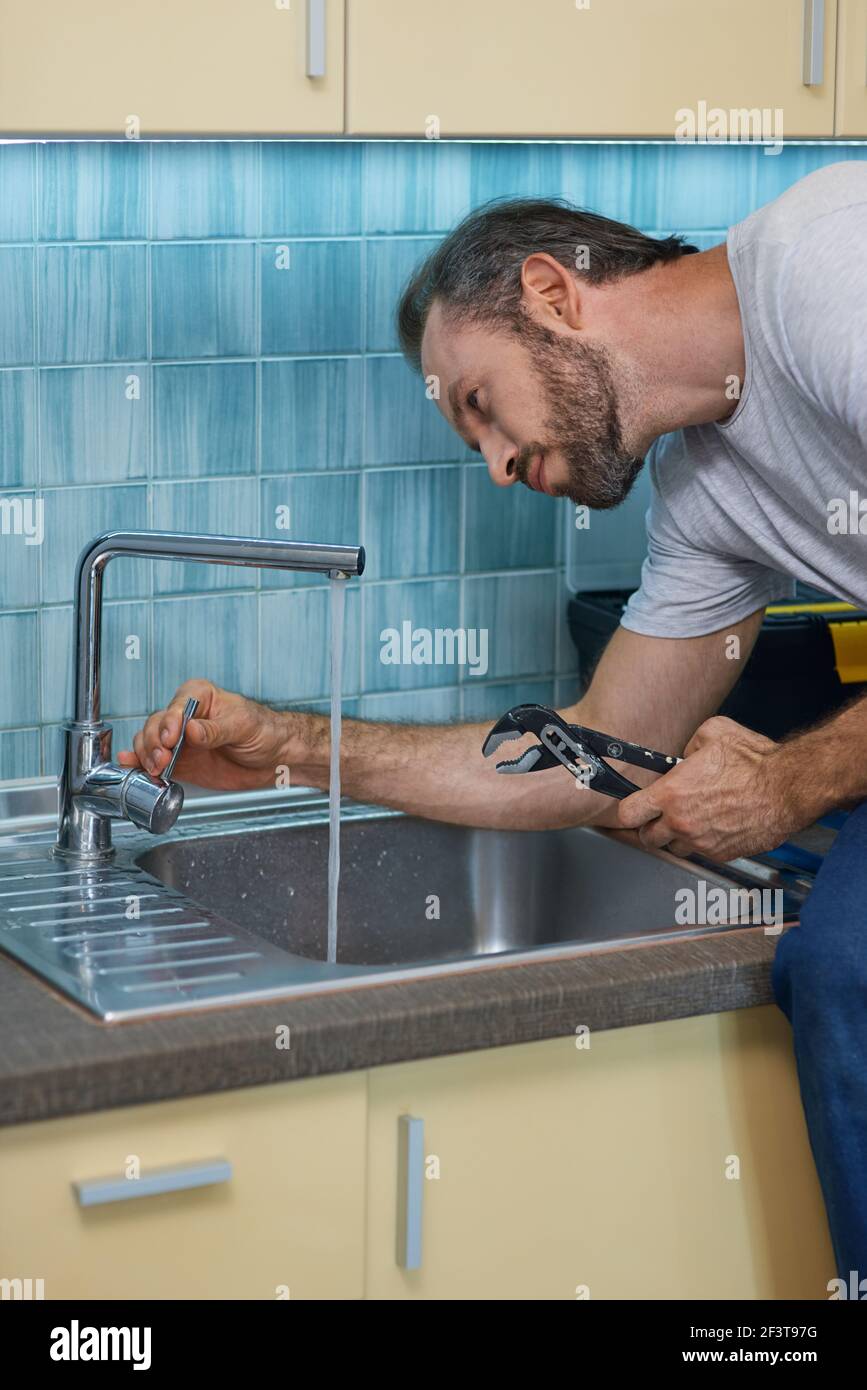
If you notice water pooling around the base of your Moen kitchen faucet, you may have a leak that needs to be repaired. While this may seem like a daunting task, fixing a leaky Moen kitchen faucet base is actually a simple DIY project that can save you time and money. In this guide, we will walk you through the steps to repair a Moen kitchen faucet leak at the base and provide helpful tips to prevent future leaks.How to Repair a Moen Kitchen Sink Leak at the Faucet Base


How to Repair a Moen Kitchen Sink Leak at the Faucet Base


The first step to fixing a leaky Moen kitchen faucet base is to determine the cause of the leak. In most cases, the cause can be traced back to one of three common issues: a loose mounting nut, a worn out O-ring, or a cracked base. Once you have identified the source of the leak, you can follow these simple steps to fix it.Fixing a Leaky Moen Kitchen Faucet Base


Fixing a Leaky Moen Kitchen Faucet Base


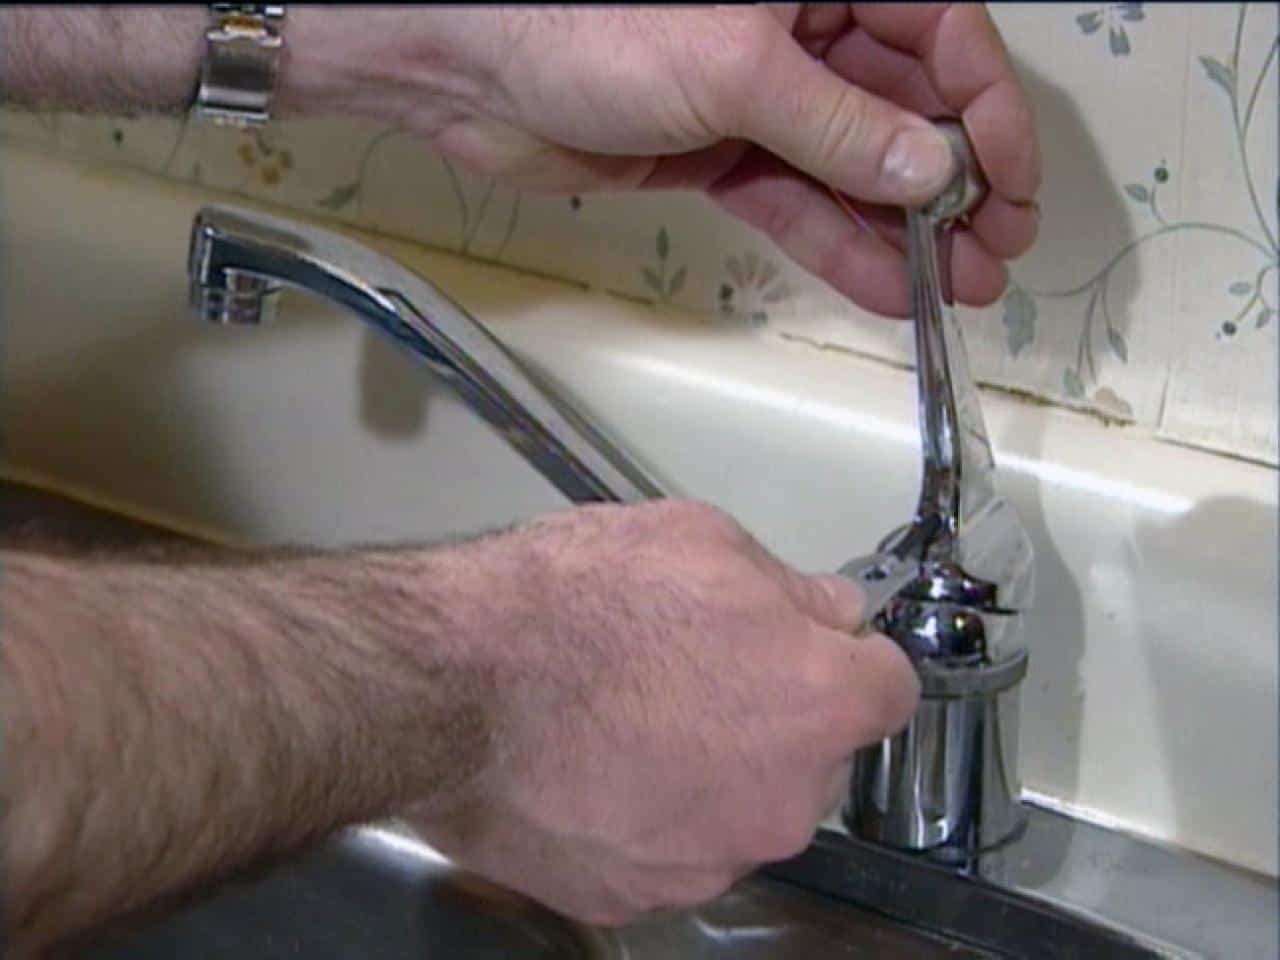

Step 1: Turn off the water supply to the faucet by closing the shut-off valves under the sink. Step 2: Use a wrench to loosen and remove the mounting nut located underneath the sink. Step 3: Once the mounting nut is removed, gently pull the faucet up and out of the sink. Step 4: Inspect the O-ring located at the base of the faucet. If it appears worn or damaged, replace it with a new one. Step 5: If the O-ring is in good condition, check the base of the faucet for any cracks or damage. If you find any, it may need to be replaced. Step 6: Apply plumber's putty around the base of the faucet and reattach it to the sink. Step 7: Tighten the mounting nut with a wrench, making sure the faucet is securely in place. Step 8: Turn the water supply back on and test the faucet for any leaks. If there are no leaks, you have successfully repaired your Moen kitchen faucet base!Step-by-Step Guide to Fixing a Leaky Moen Kitchen Faucet Base


Step-by-Step Guide to Fixing a Leaky Moen Kitchen Faucet Base


Repairing a leaky Moen kitchen faucet base is a simple DIY project that can save you time and money. With just a few tools and some basic knowledge, you can fix the leak yourself and avoid the hassle and expense of calling a plumber.DIY: Repairing a Leaky Moen Kitchen Faucet Base

DIY: Repairing a Leaky Moen Kitchen Faucet Base

As mentioned earlier, the most common causes of a leaky Moen kitchen faucet base are a loose mounting nut, a worn O-ring, or a cracked base. By identifying the source of the leak and following the steps outlined in this guide, you can easily fix any of these issues and put a stop to the leak.Common Causes of a Leaky Moen Kitchen Faucet Base and How to Fix Them


Common Causes of a Leaky Moen Kitchen Faucet Base and How to Fix Them


Fixing a leaky Moen kitchen faucet base doesn't have to be a complicated or time-consuming task. By using the right tools and following the steps outlined in this guide, you can quickly and easily repair the leak and get your faucet back to working properly.Quick and Easy Solutions for a Leaky Moen Kitchen Faucet Base


Quick and Easy Solutions for a Leaky Moen Kitchen Faucet Base


Wrench - to remove the mounting nut Plumber's putty - to create a watertight seal around the base of the faucet New O-ring - to replace a worn or damaged one Replacement base - in case of cracks or damage to the original baseTools and Materials Needed to Repair a Leaky Moen Kitchen Faucet Base


Tools and Materials Needed to Repair a Leaky Moen Kitchen Faucet Base


When repairing a leaky Moen kitchen faucet base, there are a few expert tips that can help make the process smoother and more effective. These include using plumber's putty to create a watertight seal around the base and making sure to tighten the mounting nut securely.Expert Tips for Repairing a Leaky Moen Kitchen Faucet Base


:max_bytes(150000):strip_icc()/faulty-kitchen-faucet-140358503-5840b9c43df78c02309d3c30.jpg)
Expert Tips for Repairing a Leaky Moen Kitchen Faucet Base

To avoid dealing with a leaky Moen kitchen faucet base in the future, it's important to perform regular maintenance on your faucet. This includes checking for any loose parts, replacing worn out O-rings, and cleaning the faucet regularly to prevent buildup and corrosion.Preventing Future Leaks: Maintenance Tips for Moen Kitchen Faucet Bases

Preventing Future Leaks: Maintenance Tips for Moen Kitchen Faucet Bases


While most Moen kitchen faucet base leaks can be easily fixed by following the steps outlined in this guide, there are some cases where it may be best to call a professional plumber. If you notice any extensive damage or are unsure of how to fix the leak yourself, it's best to seek the help of a professional to avoid causing further damage.When to Call a Professional: Signs that Your Moen Kitchen Faucet Base Leak Requires a Plumber

When to Call a Professional: Signs that Your Moen Kitchen Faucet Base Leak Requires a Plumber


Identifying the Problem

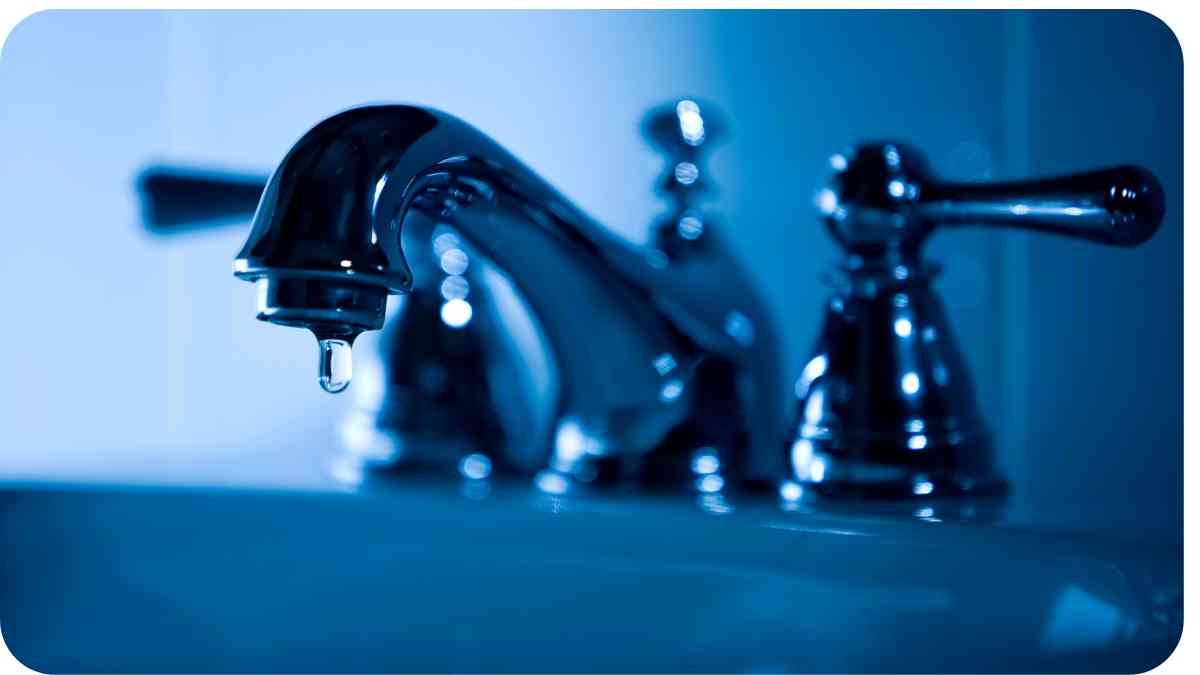
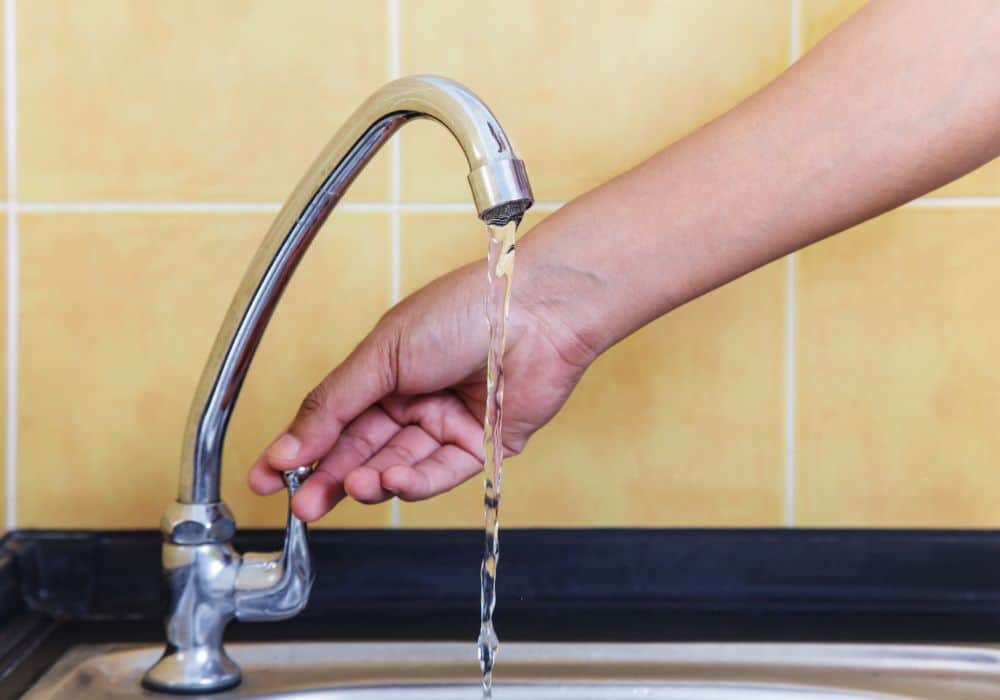
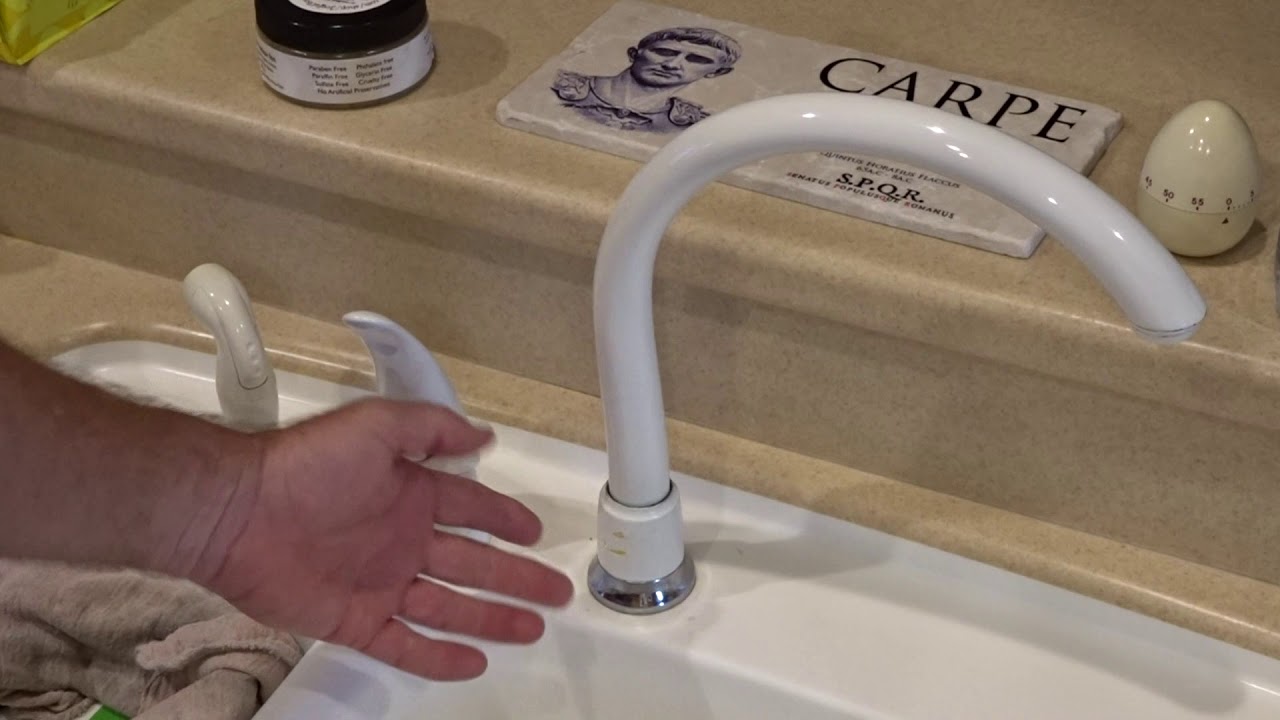
The kitchen is often considered the heart of the home, where delicious meals are prepared and memories are made. However, a leaky faucet at the base of your Moen kitchen sink can quickly turn this beloved space into a source of frustration. Not only does it waste water and increase your water bill, but it can also cause damage to your sink and surrounding areas if left untreated. The good news is, with a few simple steps, you can repair your Moen kitchen sink leak at the faucet base and get back to enjoying your kitchen in no time.
Step 1: Gather Your Supplies

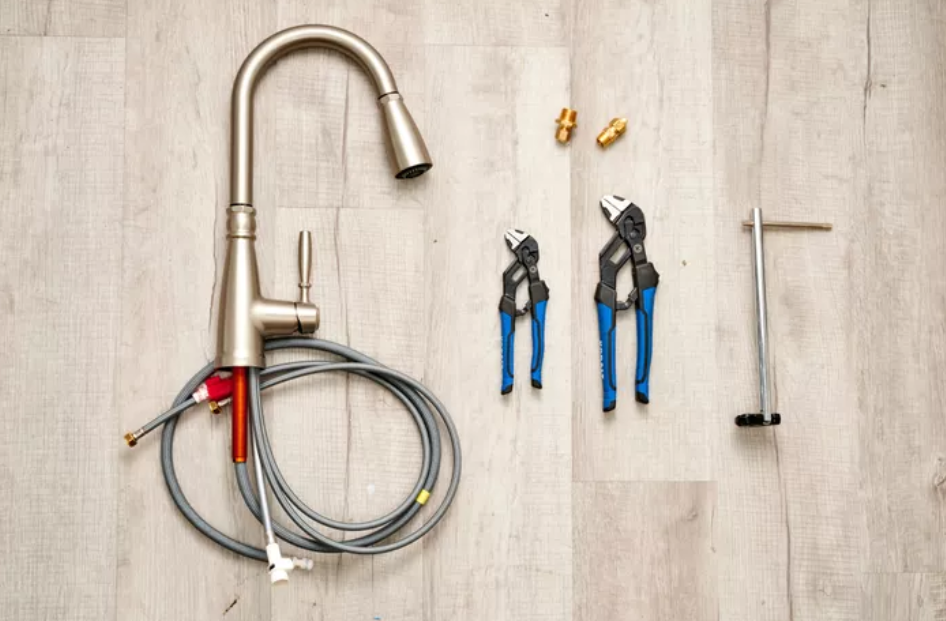
Before starting any repair, it's important to make sure you have all the necessary supplies. For this project, you will need:
- Adjustable wrench
- Phillips head screwdriver
- Replacement O-ring
- Plumber's putty
- Plumbing tape
Having these items on hand will make the repair process smoother and more efficient.
Step 2: Shut Off the Water

Before attempting any repairs, be sure to shut off the water supply to your kitchen sink. You can typically find the shut-off valve under the sink or in the basement. Turning off the water will prevent any further leakage and allow you to work on the faucet safely.
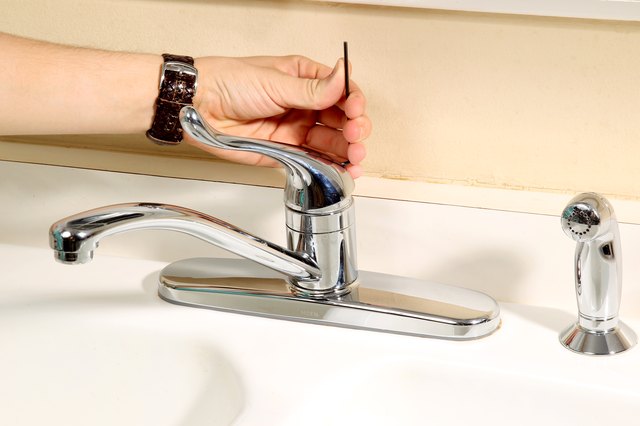
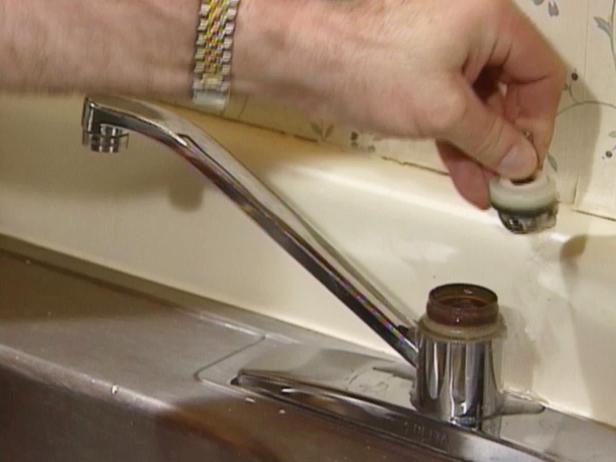
Step 3: Disassemble the Faucet
Using the adjustable wrench and Phillips head screwdriver, carefully disassemble the faucet. Start by removing the handle and then the escutcheon plate, which covers the base of the faucet. You may also need to remove the cartridge or valve stem, depending on the model of your Moen faucet.
Step 4: Replace the O-ring

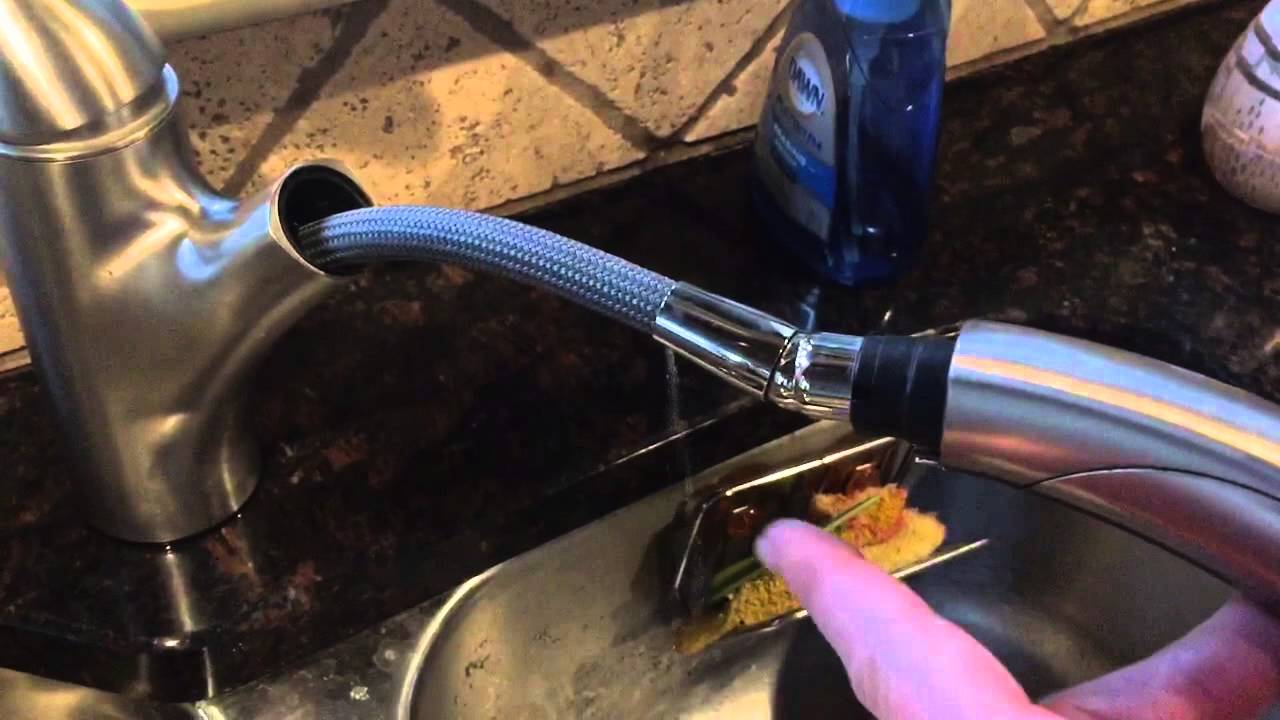
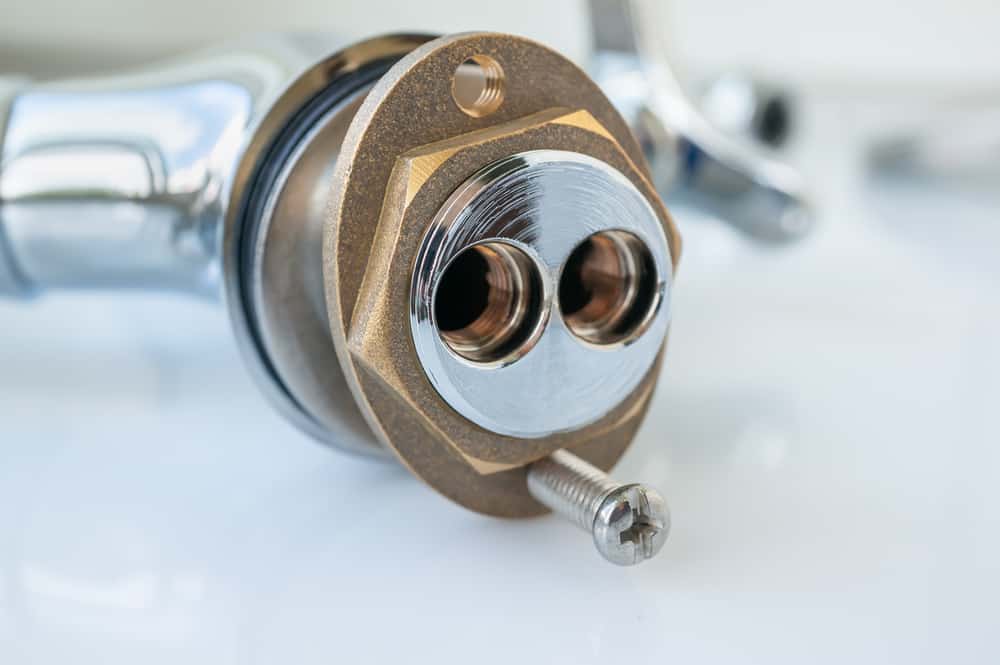
Inspect the O-ring, which is a small rubber ring that helps create a watertight seal between the faucet and the sink. If it appears worn or damaged, replace it with a new one . Gently clean the area around the O-ring with a cloth and some mild soap before installing the new one.
Step 5: Apply Plumber's Putty and Plumbing Tape

Before reassembling the faucet, apply a thin layer of plumber's putty to the base of the faucet. This will help create a tight seal between the faucet and the sink. Additionally, wrap some plumbing tape around the threads of the faucet to prevent any water from leaking out.
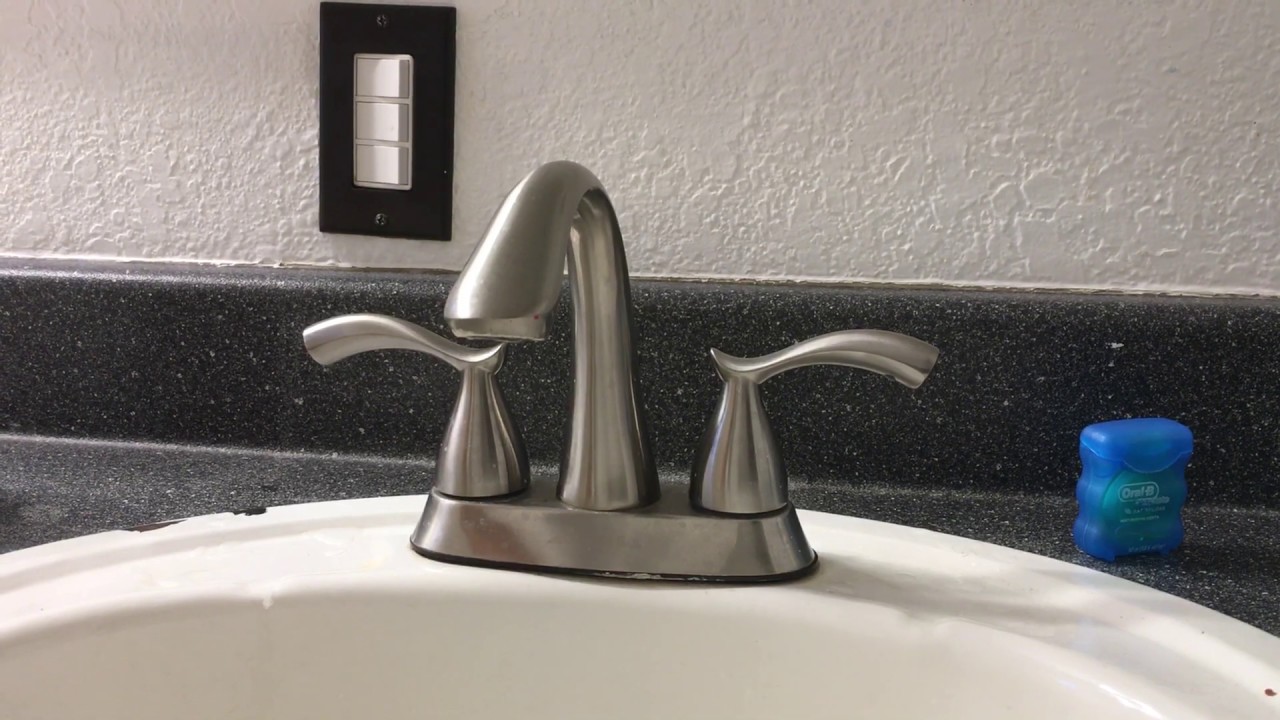
Step 6: Reassemble and Test

Once you have completed all the previous steps, it's time to reassemble the faucet. Make sure all the parts are in place and securely tightened. Turn the water supply back on and test the faucet to see if the leak has been fixed. If not, you may need to repeat the process or seek professional help.
By following these steps, you can successfully repair a Moen kitchen sink leak at the faucet base and restore your kitchen to its fully functioning state. Remember to always use caution when working with plumbing and seek professional help if needed.


:max_bytes(150000):strip_icc()/Porch-Den-DeSoto-Hardwood-Suede-Queen-Size-Futon-Sofa-Bed-e1e117db-7ed1-443e-b60f-98876730014c-3ea03957bf6c4feeab8aadcdaeaf61c5.jpg)
