How to Repair a Leak in an Air Mattress
An air mattress is a convenient and comfortable option for sleeping arrangements, whether you're camping or need an extra bed for guests. However, one of the most common issues with air mattresses is the dreaded leak. Not only can a leak deflate your mattress, but it can also be a hassle to find and fix. But don't worry, we've got you covered. In this article, we'll go over the top 10 methods for repairing a leak in an air mattress.
How to Fix a Leak in an Air Mattress
Before we dive into the specific methods, it's important to know the basics of how to fix a leak in an air mattress. The first step is to locate the leak. This can be done by listening for a hissing sound or using a mixture of soap and water to find bubbles. Once you've found the leak, you'll need to clean and dry the area before proceeding with the repair. It's also important to have the right tools and materials on hand, which we'll discuss later on in this article.
DIY Air Mattress Leak Repair
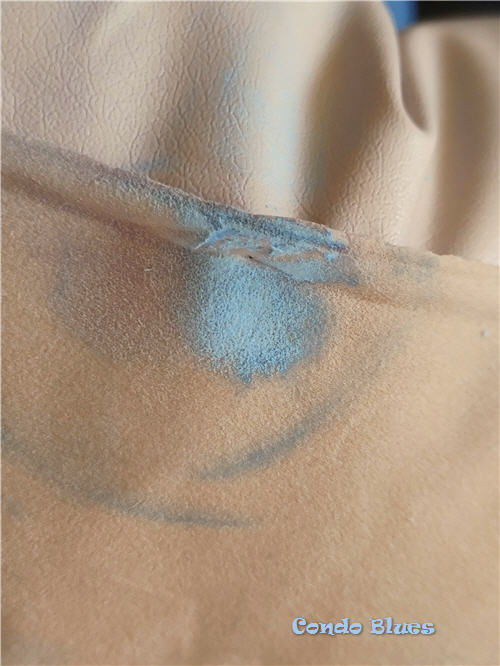
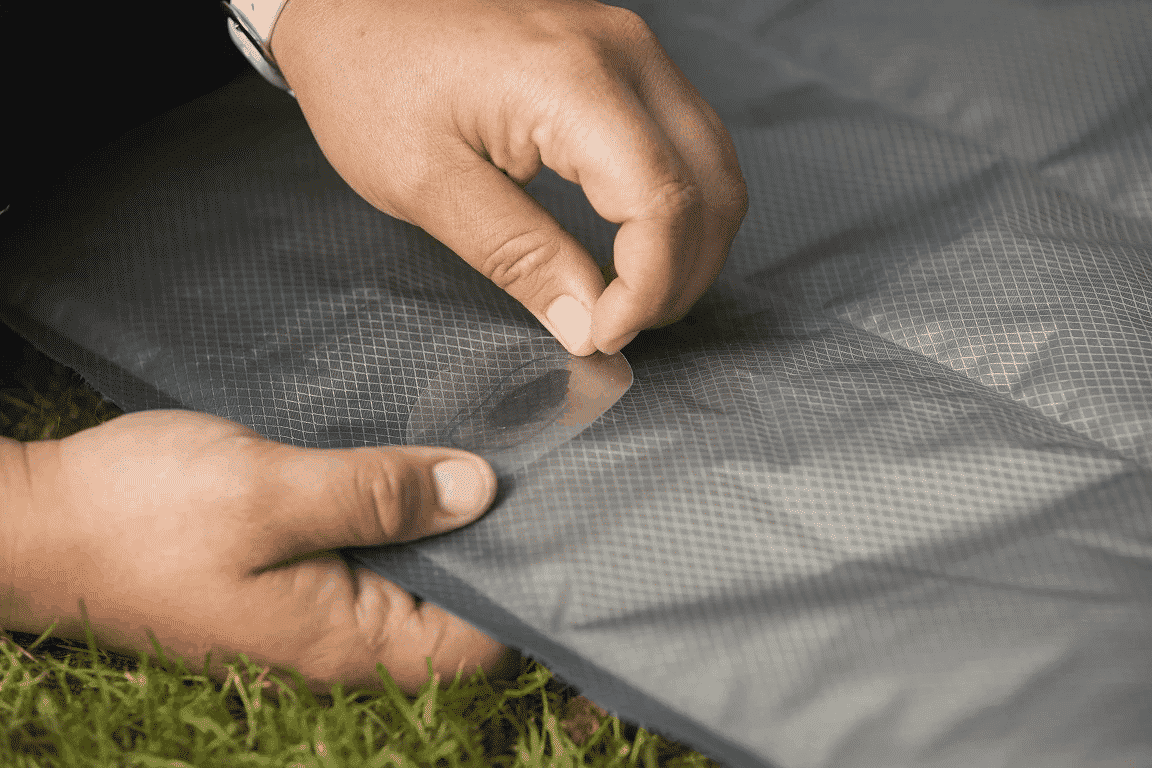
There are several DIY methods for repairing an air mattress leak, and the one you choose will depend on the size and location of the leak. One popular method is using a bicycle tire patch kit, which includes a patch and adhesive to seal the leak. Another option is using duct tape or clear packing tape to cover the leak. Keep in mind that these methods may only be temporary fixes and may not hold up over time.
Quick and Easy Air Mattress Leak Fix
If you need a quick fix for your air mattress leak, there are a few methods that can provide a temporary solution. First, you can use a hot glue gun to seal the leak. This method is quick and easy, but keep in mind that the glue may not hold up over time. Another option is using a tire sealant, which is designed to patch holes in tires and can also work for air mattresses.
Steps to Repair an Air Mattress Leak
If you're looking for a more comprehensive approach to repairing your air mattress leak, here are some steps to follow:
Best Methods for Repairing an Air Mattress Leak
As mentioned earlier, there are several methods for repairing an air mattress leak, but some are more effective than others. In our experience, using a patch specifically designed for air mattresses, such as the Intex Repair Patch Kit, tends to provide the best and longest-lasting results. Another highly-rated method is using a vinyl repair kit, which includes a patch and adhesive that can effectively seal air mattress leaks.
Effective Ways to Fix an Air Mattress Leak
If you're dealing with a larger or more stubborn leak, there are a few techniques you can try that may provide more effective results. One method is using a hairdryer on low heat to help the adhesive of the patch or tape adhere better. Another option is using a soldering iron to melt the plastic around the leak and create a seal. However, this method should be used with caution and only by those with experience using a soldering iron.
Common Causes of Air Mattress Leaks and How to Repair Them
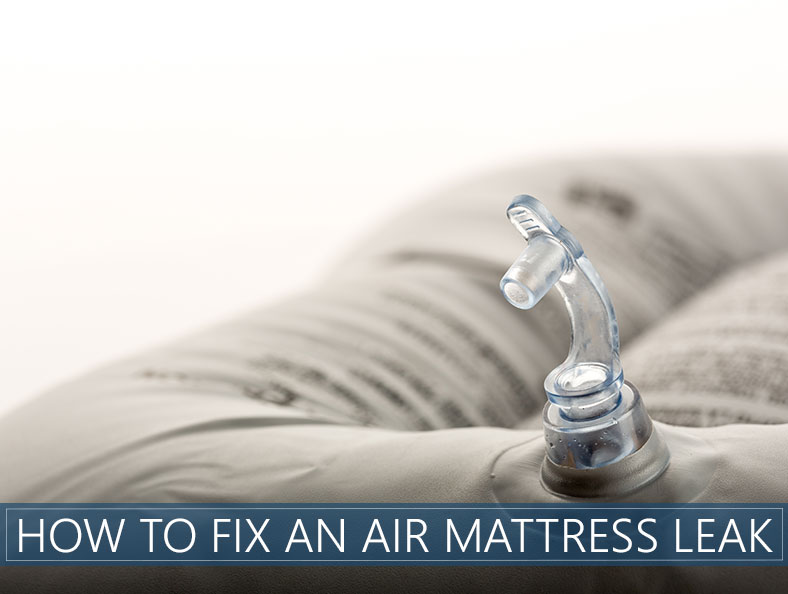
Understanding the common causes of air mattress leaks can help you prevent them in the future and know how to repair them effectively. Some common causes include punctures from sharp objects, wear and tear over time, and faulty valves. For punctures, using a patch or adhesive is typically the best solution. For wear and tear, using a vinyl repair kit or patch designed for air mattresses can help. And for faulty valves, you may need to replace the valve altogether.
Tools and Materials Needed for Repairing an Air Mattress Leak
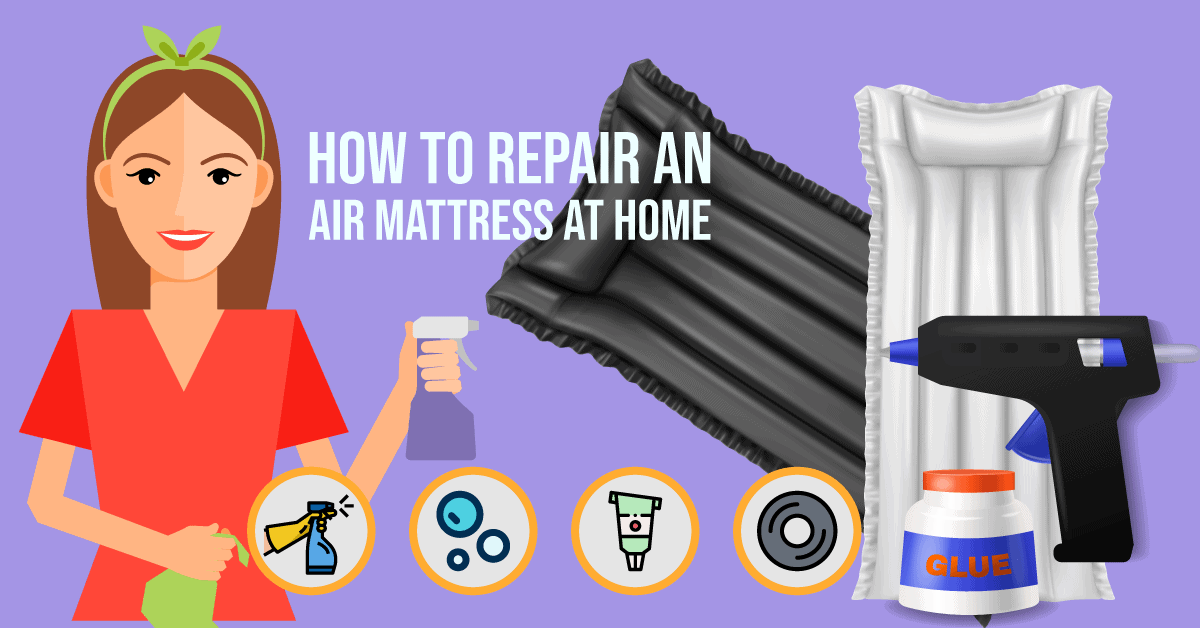
As mentioned earlier, having the right tools and materials on hand can make the repair process much smoother. Here are some items you may need:
Tips and Tricks for Successfully Repairing an Air Mattress Leak
Lastly, here are a few tips and tricks to keep in mind when repairing an air mattress leak:
How to Repair a Leak in Your Air Mattress

Don't Let a Leaky Air Mattress Ruin Your Sleep
 Waking up in the middle of the night to a deflated air mattress can be a frustrating and uncomfortable experience. As much as we try to prevent it, air mattresses are prone to developing leaks over time. Fortunately, repairing a leak in your air mattress is a simple and cost-effective solution. Follow these steps to get your air mattress back in top shape and ensure a good night's sleep.
Step 1: Locate the Leak
 The first step in repairing a leak in your air mattress is to locate where the leak is coming from. This can be done by inflating the mattress and listening for the sound of escaping air or by applying pressure to different areas of the mattress and feeling for any air leaks. Once you have identified the location of the leak, mark it with a piece of tape or a marker.
Step 2: Gather Your Materials
 To repair the leak, you will need a repair kit specifically designed for air mattresses. These can be found at most hardware or camping supply stores. The repair kit typically includes adhesive patches, a patch roller, and a sealant. You may also need sandpaper or a cloth to clean the area around the leak.
Step 3: Clean and Prep the Area
 Before applying the patch, it is important to clean and prep the area around the leak. Use the sandpaper or cloth to remove any dirt, debris, or oils from the surface. This will ensure that the patch adheres properly and creates a strong seal.
Step 4: Apply the Patch
 Once the area is clean and prepped, apply the adhesive patch over the leak. Use the patch roller to smooth out any air bubbles and ensure a tight seal. If the patch is not large enough to cover the entire leak, you can overlap multiple patches to create a stronger seal.
Step 5: Allow Time for the Patch to Cure
 After applying the patch, allow it to cure for the recommended time listed on the repair kit. This is usually around 30 minutes to an hour. Avoid inflating the mattress during this time to prevent any stress on the patch.
Step 6: Test the Repair
 Once the patch has cured, it's time to test the repair. Inflate the mattress and listen for any sounds of air escaping. If the leak is still present, you may need to apply another patch or try a different method of repair.
Prevent Future Leaks
 To prevent future leaks, be sure to properly store and handle your air mattress. Avoid sharp objects or rough surfaces that could puncture the mattress. You can also use a mattress protector or a sheet of plastic under the mattress for added protection.
Final Thoughts
 Repairing a leak in your air mattress is a simple and cost-effective solution that will save you from having to purchase a new one. By following these steps and properly maintaining your air mattress, you can ensure a comfortable and uninterrupted night's sleep. Don't let a leaky air mattress ruin your rest, take action and repair it today.


