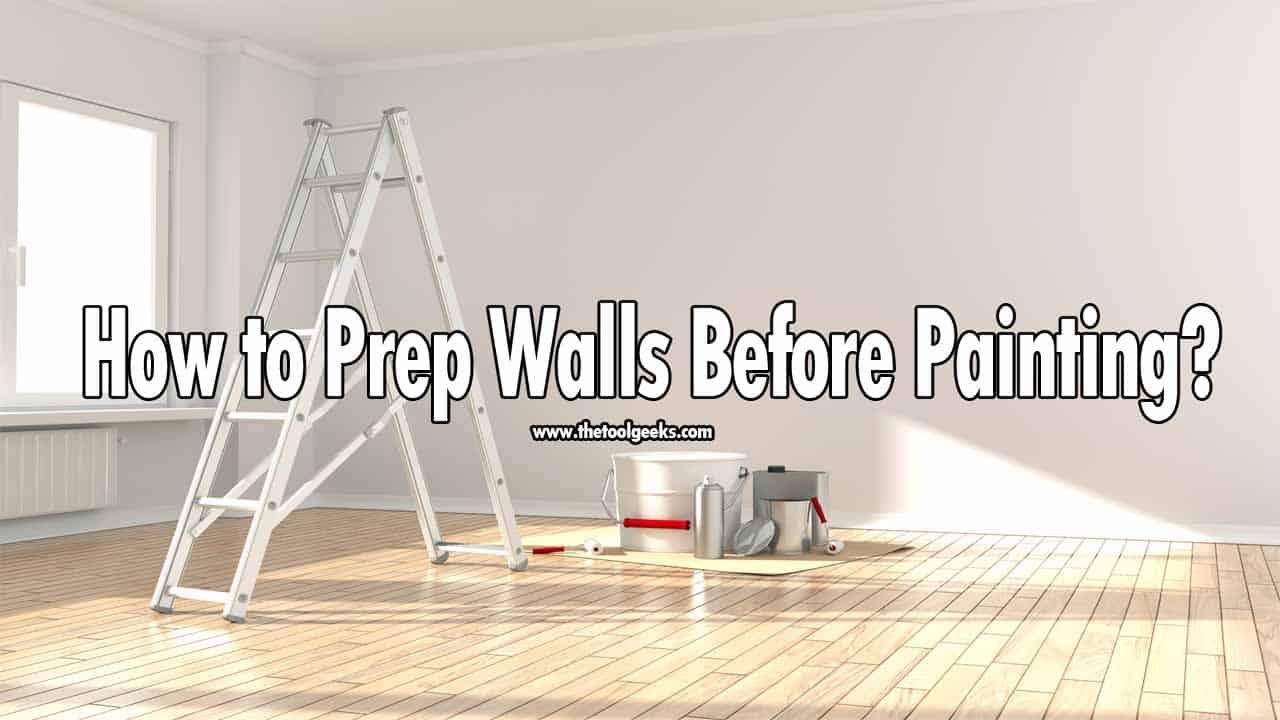
One of the most important steps in any painting project is prepping the walls. This is especially true when it comes to painting your kitchen, as this room sees a lot of traffic and wear and tear. By properly preparing your kitchen walls for painting, you can ensure a smooth and professional finish that will last for years to come. Here are 10 essential steps for prepping your kitchen walls for painting.How to Prep Your Kitchen Walls for Painting
Before you begin, make sure you have all the necessary tools and materials. This includes painter's tape, drop cloths, sandpaper, spackling paste, a putty knife, and a good quality primer and paint. Once you have everything you need, follow these steps to prepare your kitchen walls for painting.How to Prepare Your Kitchen Walls for Painting
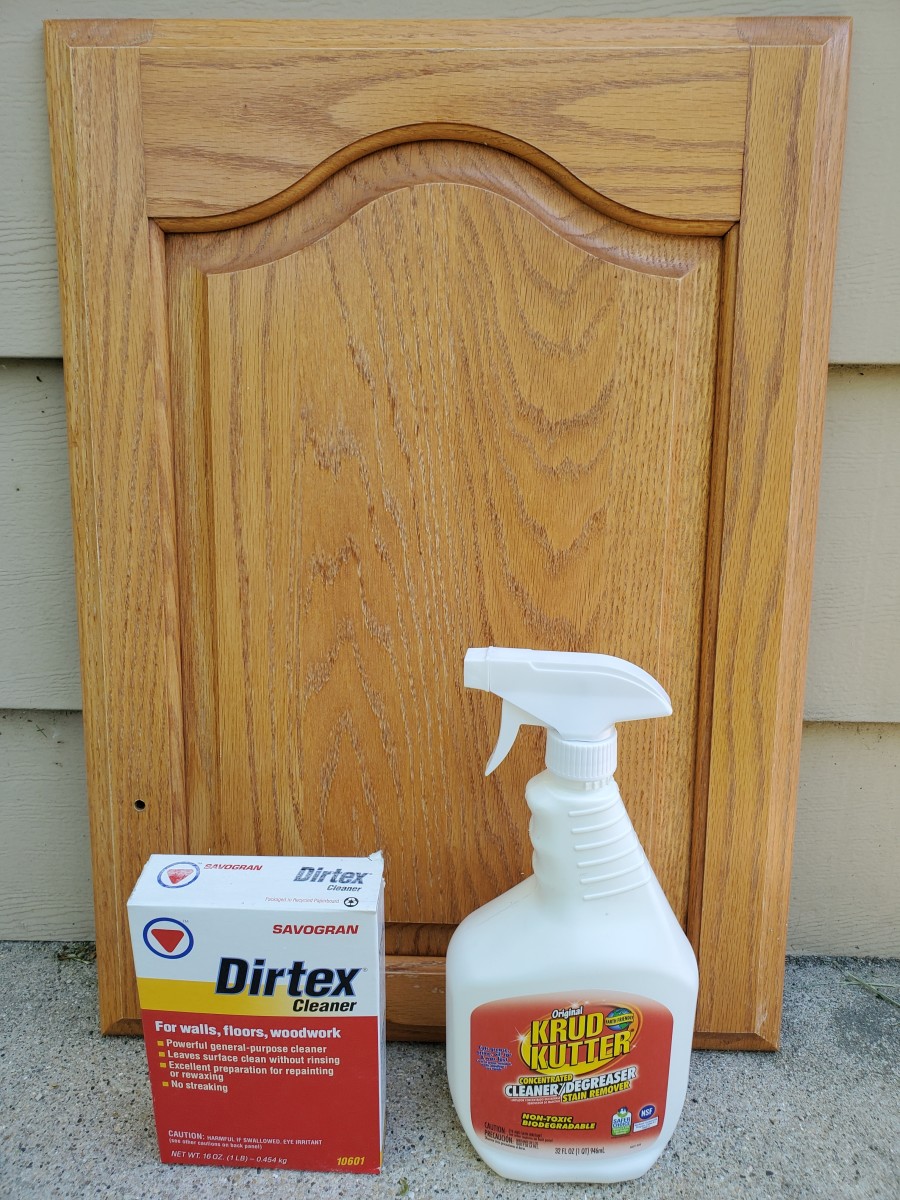
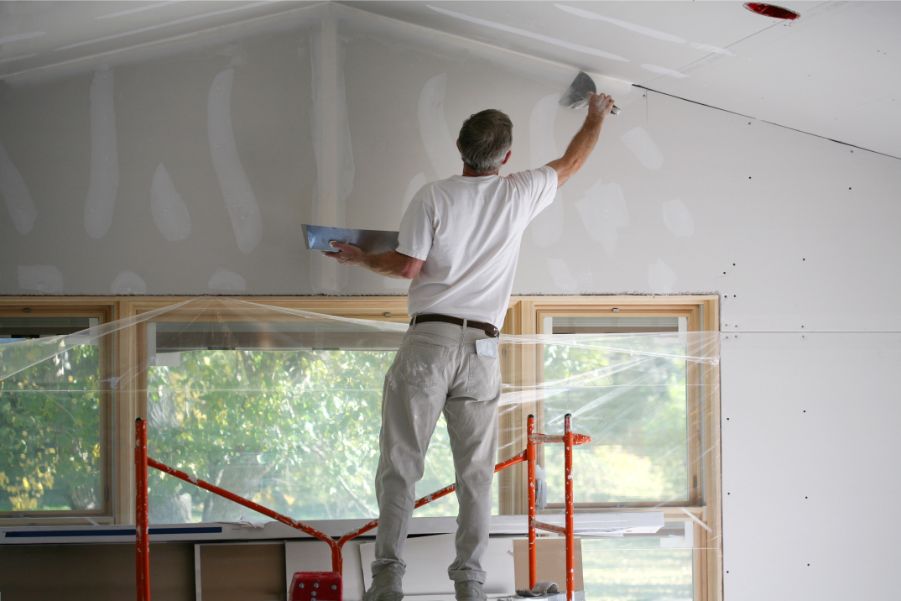
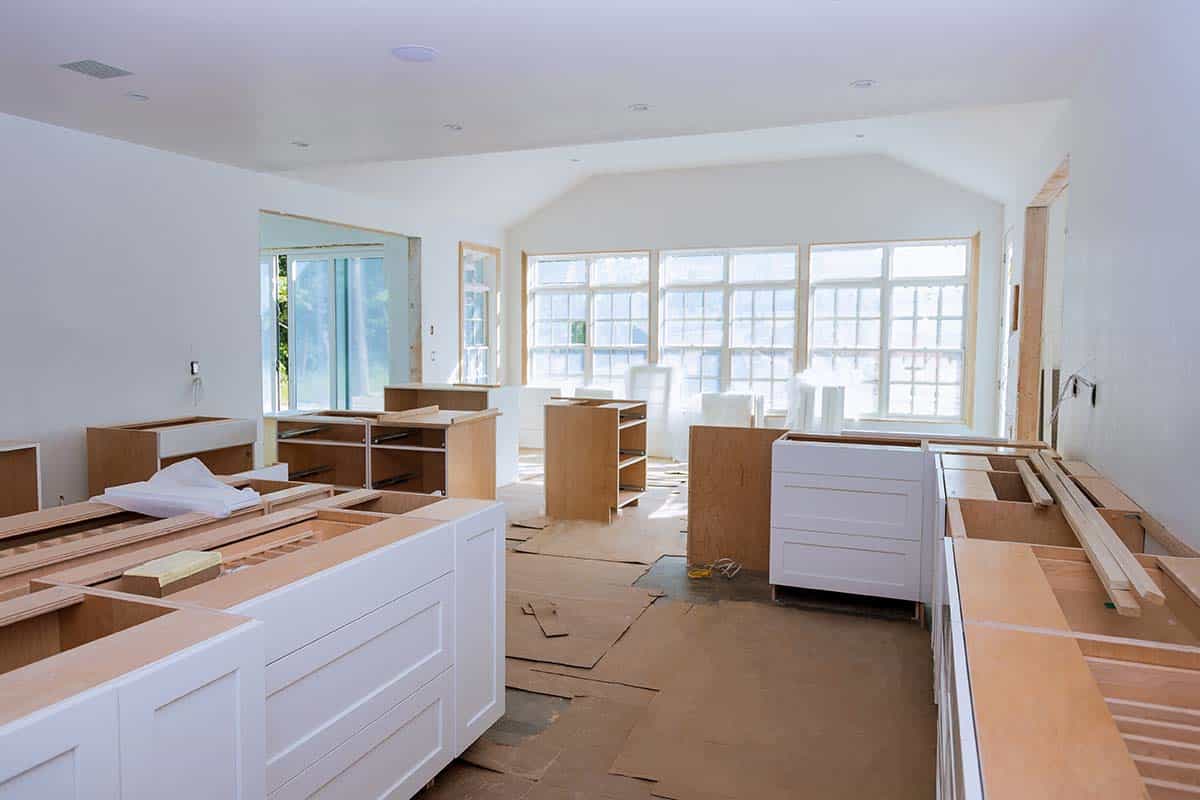
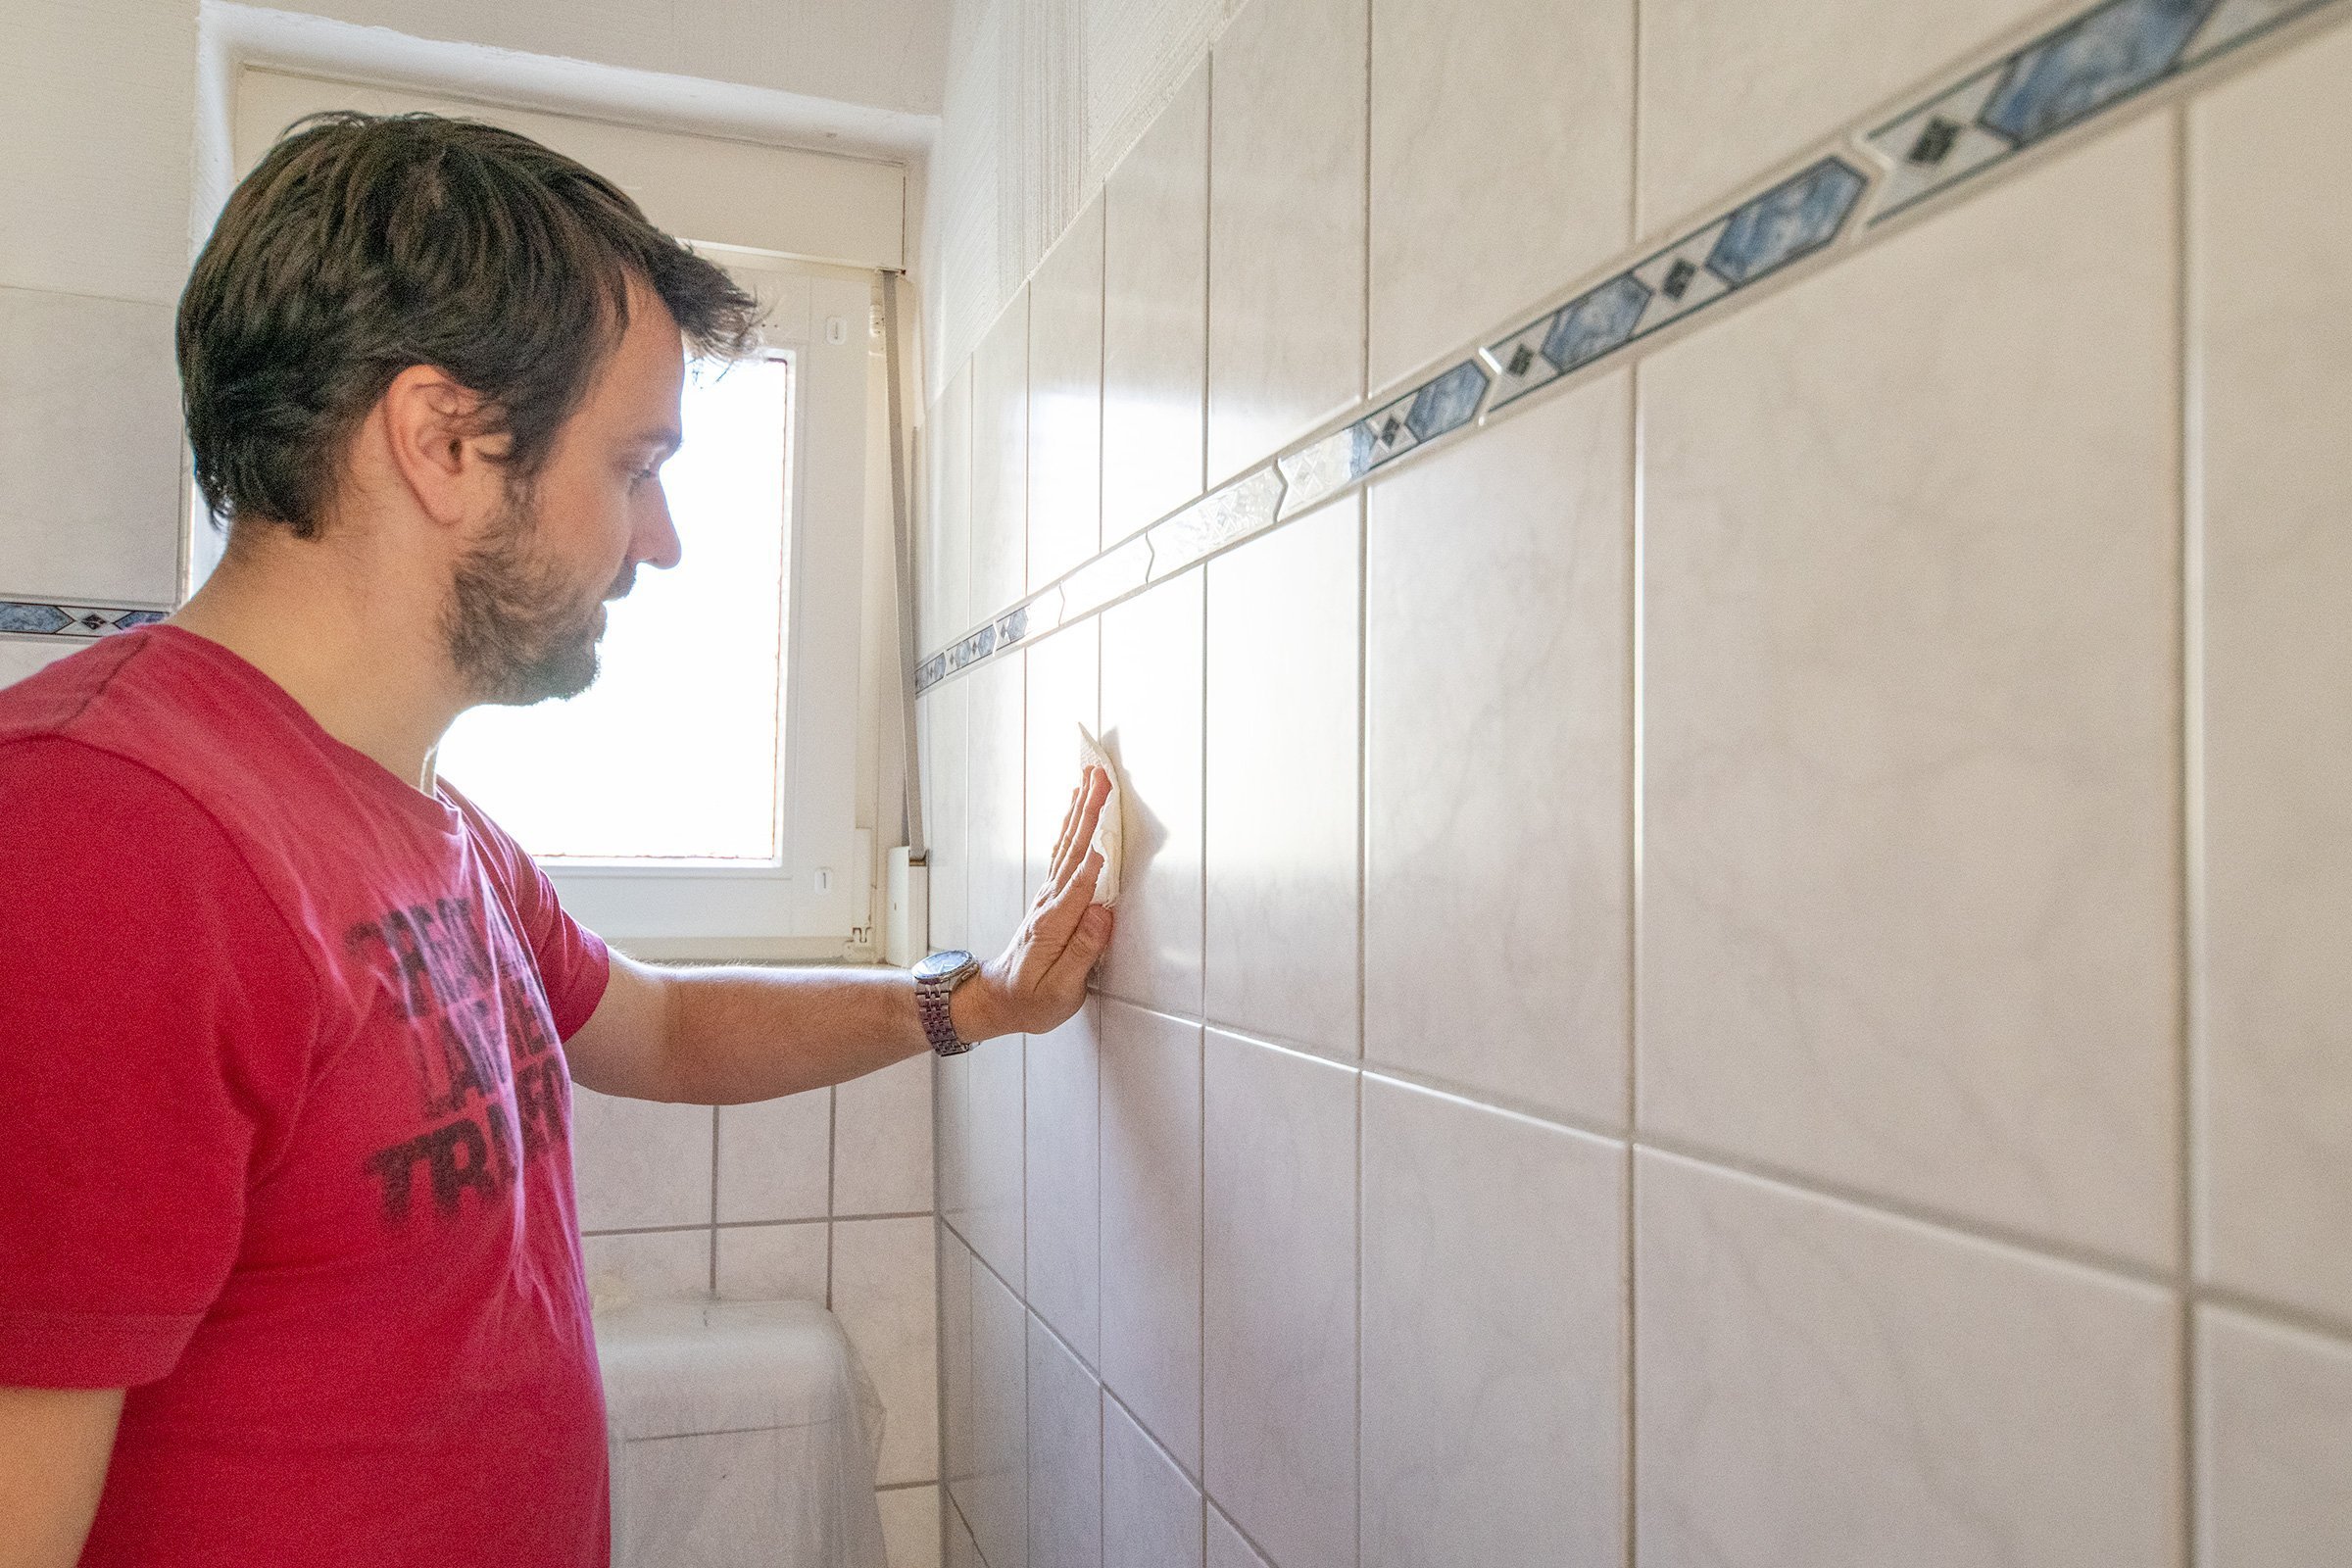
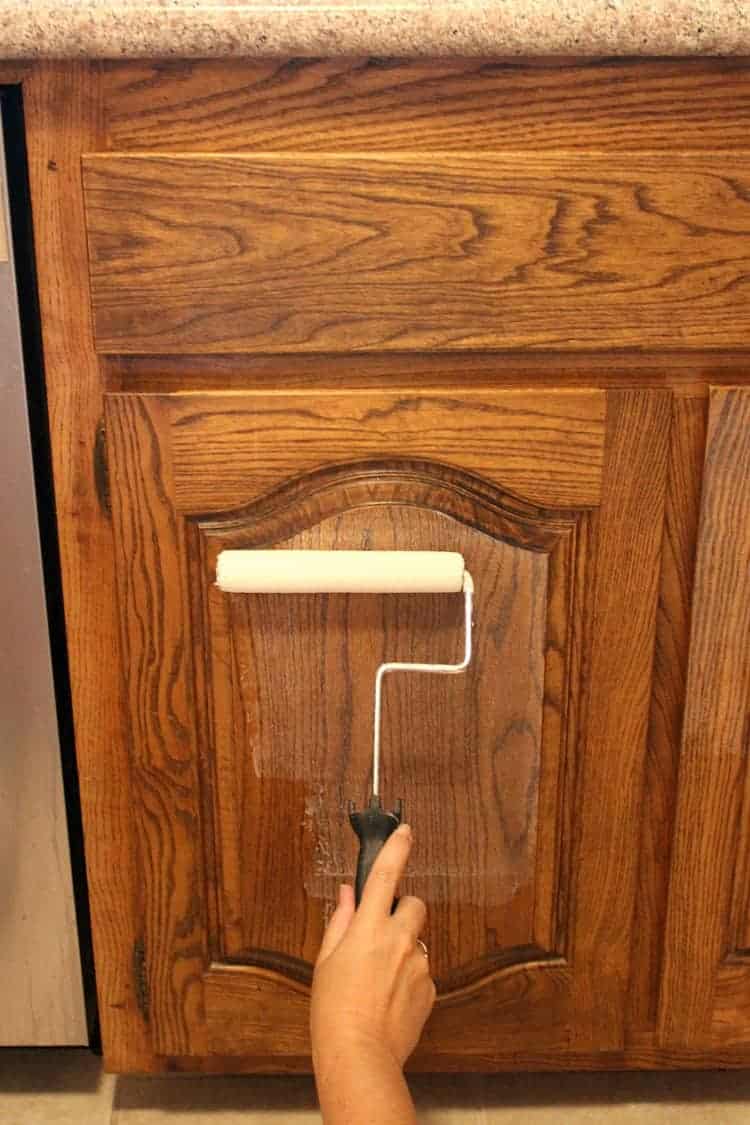
The first step is to clear the room of any furniture or decor that may get in the way. Next, cover the floors and any remaining furniture with drop cloths to protect them from any drips or spills. Then, use painter's tape to protect any trim or fixtures that you don't want to get paint on. Once the room is prepped, it's time to clean the walls. Use a mild cleaner and a damp cloth to remove any dirt, grime, or grease from the walls. This step is crucial, as paint will not adhere properly to dirty walls. After cleaning, inspect the walls for any imperfections such as cracks, holes, or dents. Use spackling paste to fill in these imperfections and smooth them out with a putty knife. Allow the paste to dry completely before sanding the walls smooth. Now it's time to sand the walls. This will create a smooth surface for the paint to adhere to. Use a fine-grit sandpaper and sand in a circular motion. Once the walls are smooth, wipe them down with a damp cloth to remove any dust. The final step before painting is to prime the walls. This is especially important if you are painting over a dark color or if your walls have any stains or imperfections. Use a high-quality primer and apply it evenly to the walls with a brush or roller. Allow the primer to dry completely before moving on to painting.Steps for Prepping Your Kitchen Walls for Painting
As mentioned earlier, having the right tools is essential for prepping your kitchen walls for painting. In addition to the tools mentioned above, you may also want to invest in a pole sander to make sanding easier and more efficient. A paint edger can also come in handy for cutting in along edges and corners.Essential Tools for Prepping Kitchen Walls for Painting
When it comes to prepping your kitchen walls for painting, there are a few best practices to keep in mind. Firstly, always work in a well-ventilated area and wear protective gear such as gloves and a mask. Secondly, follow the specific instructions for any products you are using, such as drying times and application methods. And lastly, take your time and be thorough – proper prepping will result in a better end result.Best Practices for Prepping Kitchen Walls for Painting
To summarize, here are the steps you should follow when prepping your kitchen walls for painting:Prepping Kitchen Walls for Painting: A Step-by-Step Guide
To make sure you have everything you need, here is a list of materials that are essential for prepping your kitchen walls for painting:Materials You'll Need for Prepping Kitchen Walls for Painting
Prepping your kitchen walls for painting can be a time-consuming and tedious process, but it is crucial for achieving a professional and long-lasting finish. Here are some common mistakes to avoid:Common Mistakes to Avoid When Prepping Kitchen Walls for Painting
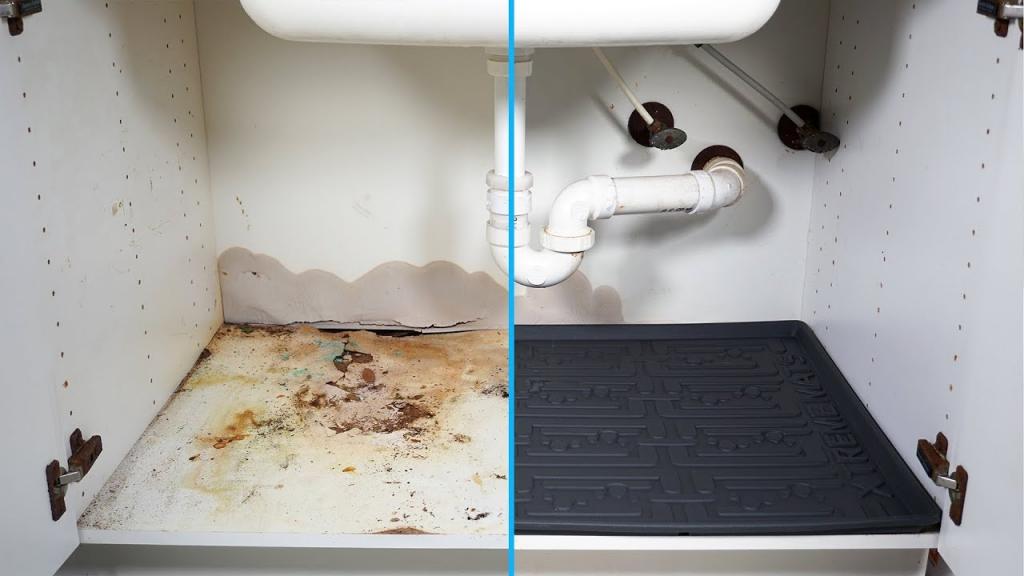
If your kitchen walls have any significant damage, such as large holes or water damage, it's important to repair these issues before painting. For large holes, use a drywall patch kit to fill in the hole and sand smooth. For water damage, you may need to replace the affected drywall completely. It's always best to consult a professional if you are unsure about how to repair damaged walls.How to Repair Damaged Kitchen Walls Before Painting
To achieve a smooth and professional finish when prepping your kitchen walls for painting, here are a few tips to keep in mind:Tips for Achieving a Smooth and Professional Finish When Prepping Kitchen Walls for Painting
Adding Texture to Your Kitchen Walls

Why Texture is Important
 When it comes to kitchen design, walls are often overlooked. However, adding texture to your kitchen walls can completely transform the look and feel of the space. Not only does it add visual interest, but it also creates a more dynamic and inviting atmosphere. Plus, textured walls can help to hide imperfections and make your kitchen feel cozier and more welcoming. So, before you pick up that paintbrush, consider adding some texture to your kitchen walls.
Choosing the Right Texture
 There are many different ways to add texture to your kitchen walls, so it's important to choose the right one for your space. One popular option is to use textured paint, which comes in a variety of finishes such as sand, stone, or suede. You can also achieve texture by using wallpaper or wall decals with raised patterns. Another option is to install textured wall panels or tiles, which can create a more dramatic effect. Whichever method you choose, make sure it complements the overall design and style of your kitchen.
Preparing Your Walls for Texture
 Before adding texture to your kitchen walls, it's important to properly prepare them. This will ensure that the texture adheres properly and lasts for a long time. Start by cleaning the walls thoroughly to remove any dirt or grease. Next, fill in any holes or cracks with spackling compound and sand them down once dry. If your walls are already textured, you may need to sand them down to create a smoother surface. Finally, prime the walls with a good quality primer to help the texture adhere better.
Applying the Texture
 Now it's time to add texture to your kitchen walls. If you're using textured paint, simply follow the instructions on the can and use a roller or brush to apply it evenly. For wallpaper or decals, carefully measure and cut them to fit your walls, then use a wallpaper adhesive to apply them. If you're using textured wall panels or tiles, follow the manufacturer's instructions for installation. It's important to work in small sections and smooth out any bubbles or wrinkles as you go.
Final Touches
 Once the texture has been applied and dried, you can add the final touches to your kitchen walls. If you're using textured paint, you may want to add a coat of clear sealer to protect it and make it easier to clean. You can also add a pop of color by painting over the textured walls with a complementary color. If you're using wallpaper or decals, consider adding a border or trim to enhance the texture. And if you've installed textured wall panels or tiles, you can add some accent lighting to highlight the texture and create a beautiful focal point in your kitchen.
Now that you know the importance of texture and how to add it to your kitchen walls, it's time to get creative and transform your space. Just remember to choose the right texture, properly prepare your walls, and add those final touches for a beautiful and unique kitchen design.



























:no_upscale()/cdn.vox-cdn.com/uploads/chorus_asset/file/19497734/howto_fixplaster_03.jpg)

