A detergent dispenser on a kitchen sink is a convenient and essential feature for any household. It allows you to store your dishwashing liquid or hand soap in a neat and easily accessible manner. However, like any other household item, it is prone to wear and tear and can malfunction over time. If you are facing issues with your detergent dispenser, do not worry, as it can be easily repaired. In this article, we will guide you through the steps of repairing a detergent dispenser on a kitchen sink.How to Repair a Detergent Dispenser on a Kitchen Sink


How to Repair a Detergent Dispenser on a Kitchen Sink


One of the most common problems with a detergent dispenser is leakage. This can be frustrating, as it not only wastes the soap but also creates a mess on your kitchen countertop. To fix this issue, you will need to follow these simple steps: Step 1: The first step is to identify the source of the leakage. It could be due to a crack in the dispenser itself or a loose connection between the dispenser and the sink. Check for any visible cracks or gaps that may be causing the leak. Step 2: If the dispenser is cracked, you will need to replace it. You can purchase a new one from a hardware store or online. Make sure to get the correct size and type of dispenser for your kitchen sink. Step 3: If the leak is due to a loose connection, you will need to tighten it. Use a wrench or pliers to ensure a secure connection between the dispenser and the sink. Step 4: Once you have fixed the issue, test the dispenser by filling it with water and checking for any leaks. If the problem persists, you may need to replace the dispenser entirely.Steps to Fix a Leaking Detergent Dispenser on a Kitchen Sink


Steps to Fix a Leaking Detergent Dispenser on a Kitchen Sink


If you are comfortable with DIY projects and have some basic tools at hand, you can easily repair your detergent dispenser on your own. Here is a step-by-step guide to help you through the process: Step 1: Start by removing the dispenser from the sink. You can do this by unthreading it from the sink or unscrewing it from the bottom. Step 2: Once the dispenser is removed, disassemble it by removing the pump, the straw, and the bottle. Make sure to keep all the parts together to avoid losing them. Step 3: Clean all the parts thoroughly with warm water and soap to remove any residue or buildup. This will help improve the dispenser's functionality and prevent future issues. Step 4: Inspect the pump for any clogs or damage. You can use a toothpick or a small brush to remove any debris. If the pump is damaged, you will need to replace it. Step 5: Check the straw for any cracks or tears. If damaged, it will also need to be replaced. Step 6: Reassemble the dispenser, making sure all the parts fit together snugly. Then, reattach it to the sink and test it to ensure it is working correctly.DIY Guide for Repairing a Detergent Dispenser on a Kitchen Sink


DIY Guide for Repairing a Detergent Dispenser on a Kitchen Sink


There are a few other issues that you may encounter with your detergent dispenser on a kitchen sink. Here are some troubleshooting tips to help you fix these problems: Issue: The pump is not dispensing any soap. Solution: Check for any clogs in the pump or straw and clean them out. If the pump is damaged, you will need to replace it. Issue: The dispenser is stuck and will not pump out any soap. Solution: This could be due to a buildup of soap residue. Clean the dispenser thoroughly and try again. If the issue persists, the pump may need to be replaced. Issue: The dispenser is dispensing too much soap. Solution: This could be due to a damaged or worn-out pump. Replace the pump to fix the issue.Troubleshooting Tips for a Faulty Detergent Dispenser on a Kitchen Sink


Troubleshooting Tips for a Faulty Detergent Dispenser on a Kitchen Sink


Other than leakage and malfunction, there are a few other common problems that you may face with your detergent dispenser on a kitchen sink. Here are some solutions to help you fix them: Problem: The dispenser is not dispensing evenly or is leaving streaks on dishes. Solution: This could be due to a clogged pump or straw. Clean them thoroughly and try again. If the problem persists, replace the pump. Problem: The dispenser is not dispensing at all. Solution: Check for any clogs or blockages in the pump or straw and clean them out. If the issue continues, you may need to replace the pump.Common Problems with Detergent Dispensers on Kitchen Sinks and How to Fix Them


Common Problems with Detergent Dispensers on Kitchen Sinks and How to Fix Them


If your detergent dispenser is beyond repair, you will need to replace it. Here are the steps to follow: Step 1: Purchase a new detergent dispenser that is compatible with your kitchen sink. Step 2: Remove the old dispenser by unthreading it or unscrewing it from the bottom. Step 3: Install the new dispenser by following the manufacturer's instructions. Make sure all the connections are secure. Step 4: Test the new dispenser to ensure it is working correctly.Replacing a Broken Detergent Dispenser on a Kitchen Sink


Replacing a Broken Detergent Dispenser on a Kitchen Sink


If you are attempting to repair your detergent dispenser on your own, you will need the following tools and materials: - Wrench or pliers - Toothpicks or small brush - Warm water - Soap - New pump and straw (if needed)Tools and Materials Needed for Repairing a Detergent Dispenser on a Kitchen Sink


Tools and Materials Needed for Repairing a Detergent Dispenser on a Kitchen Sink


Regular cleaning and maintenance can help prevent issues with your detergent dispenser on a kitchen sink. Here are some tips to help you keep it in good condition: Tip 1: Clean the dispenser regularly to remove any soap residue or buildup. Tip 2: Use warm water and soap to clean the dispenser, pump, and straw thoroughly. Tip 3: Check for any clogs or damage and address them immediately to prevent further issues.How to Clean and Maintain a Detergent Dispenser on a Kitchen Sink

How to Clean and Maintain a Detergent Dispenser on a Kitchen Sink


:max_bytes(150000):strip_icc()/GettyImages-80566571-5a1ca234aad52b00373338ff.jpg)


If you are not comfortable with DIY projects or are unable to fix the issue yourself, you can always seek professional help. Many appliance repair companies offer services for fixing detergent dispensers on kitchen sinks. They have the necessary tools and expertise to diagnose and repair any issues efficiently.Professional Repair Services for Detergent Dispensers on Kitchen Sinks


Professional Repair Services for Detergent Dispensers on Kitchen Sinks


To avoid facing problems with your detergent dispenser on a kitchen sink in the future, here are some preventive measures you can take: Step 1: Clean the dispenser regularly to prevent any buildup or clogs. Step 2: Use the recommended type of soap for your dispenser. Step 3: Do not overload the dispenser with soap, as it can cause it to malfunction. Step 4: Check for any leaks or damage regularly and address them immediately. In conclusion, a malfunctioning detergent dispenser on a kitchen sink can be a hassle, but it is not something that cannot be fixed. By following the steps and tips mentioned in this article, you can easily repair your detergent dispenser and keep it in good working condition. Regular maintenance and preventive measures can also help extend its lifespan and save you from any future issues. Remember to seek professional help if needed and always use the correct tools and materials for the job. Happy repairing!Preventing Future Issues with Detergent Dispensers on Kitchen Sinks

Preventing Future Issues with Detergent Dispensers on Kitchen Sinks


How to Repair a Detergent Dispenser on Your Kitchen Sink
Introduction
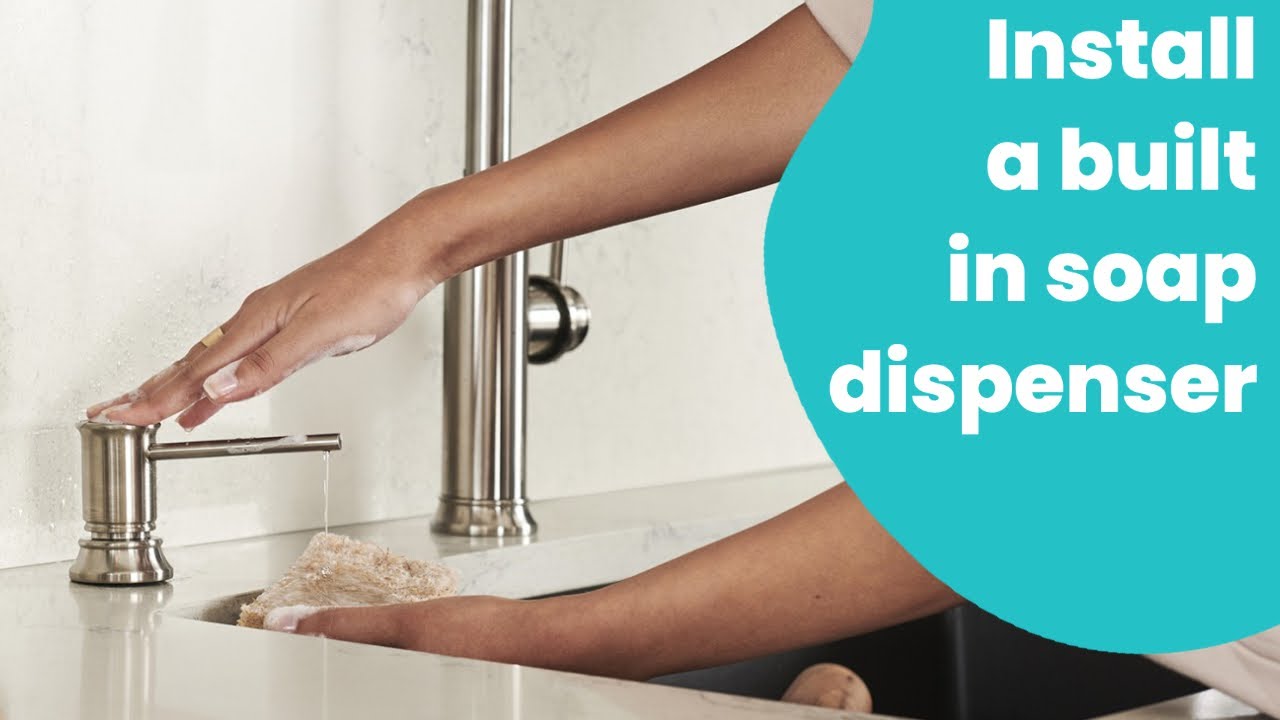
 Your kitchen sink is an essential part of your home, and it's where you spend a lot of time cleaning and preparing meals. One of the most used features of your kitchen sink is the detergent dispenser. It helps make doing dishes more efficient and convenient, but what happens when it stops working? A broken detergent dispenser can be frustrating, but luckily, it's a relatively easy fix. In this article, we'll guide you through the steps to repair your detergent dispenser and have it working like new again.
Identify the Problem
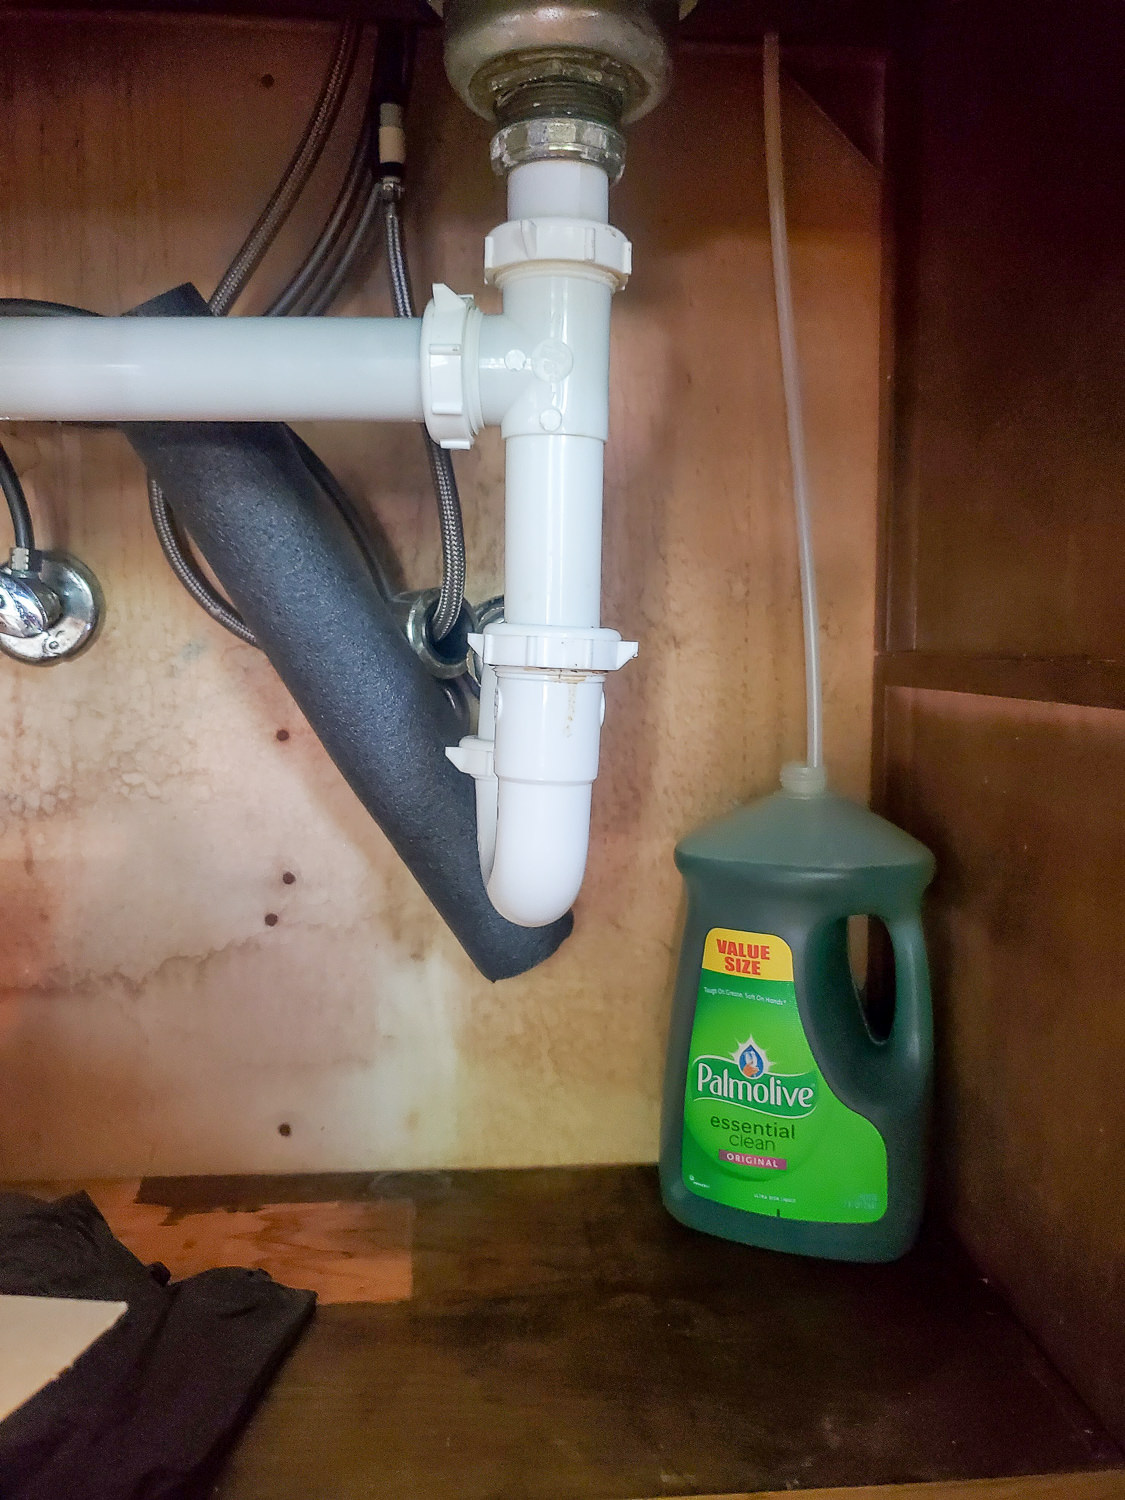
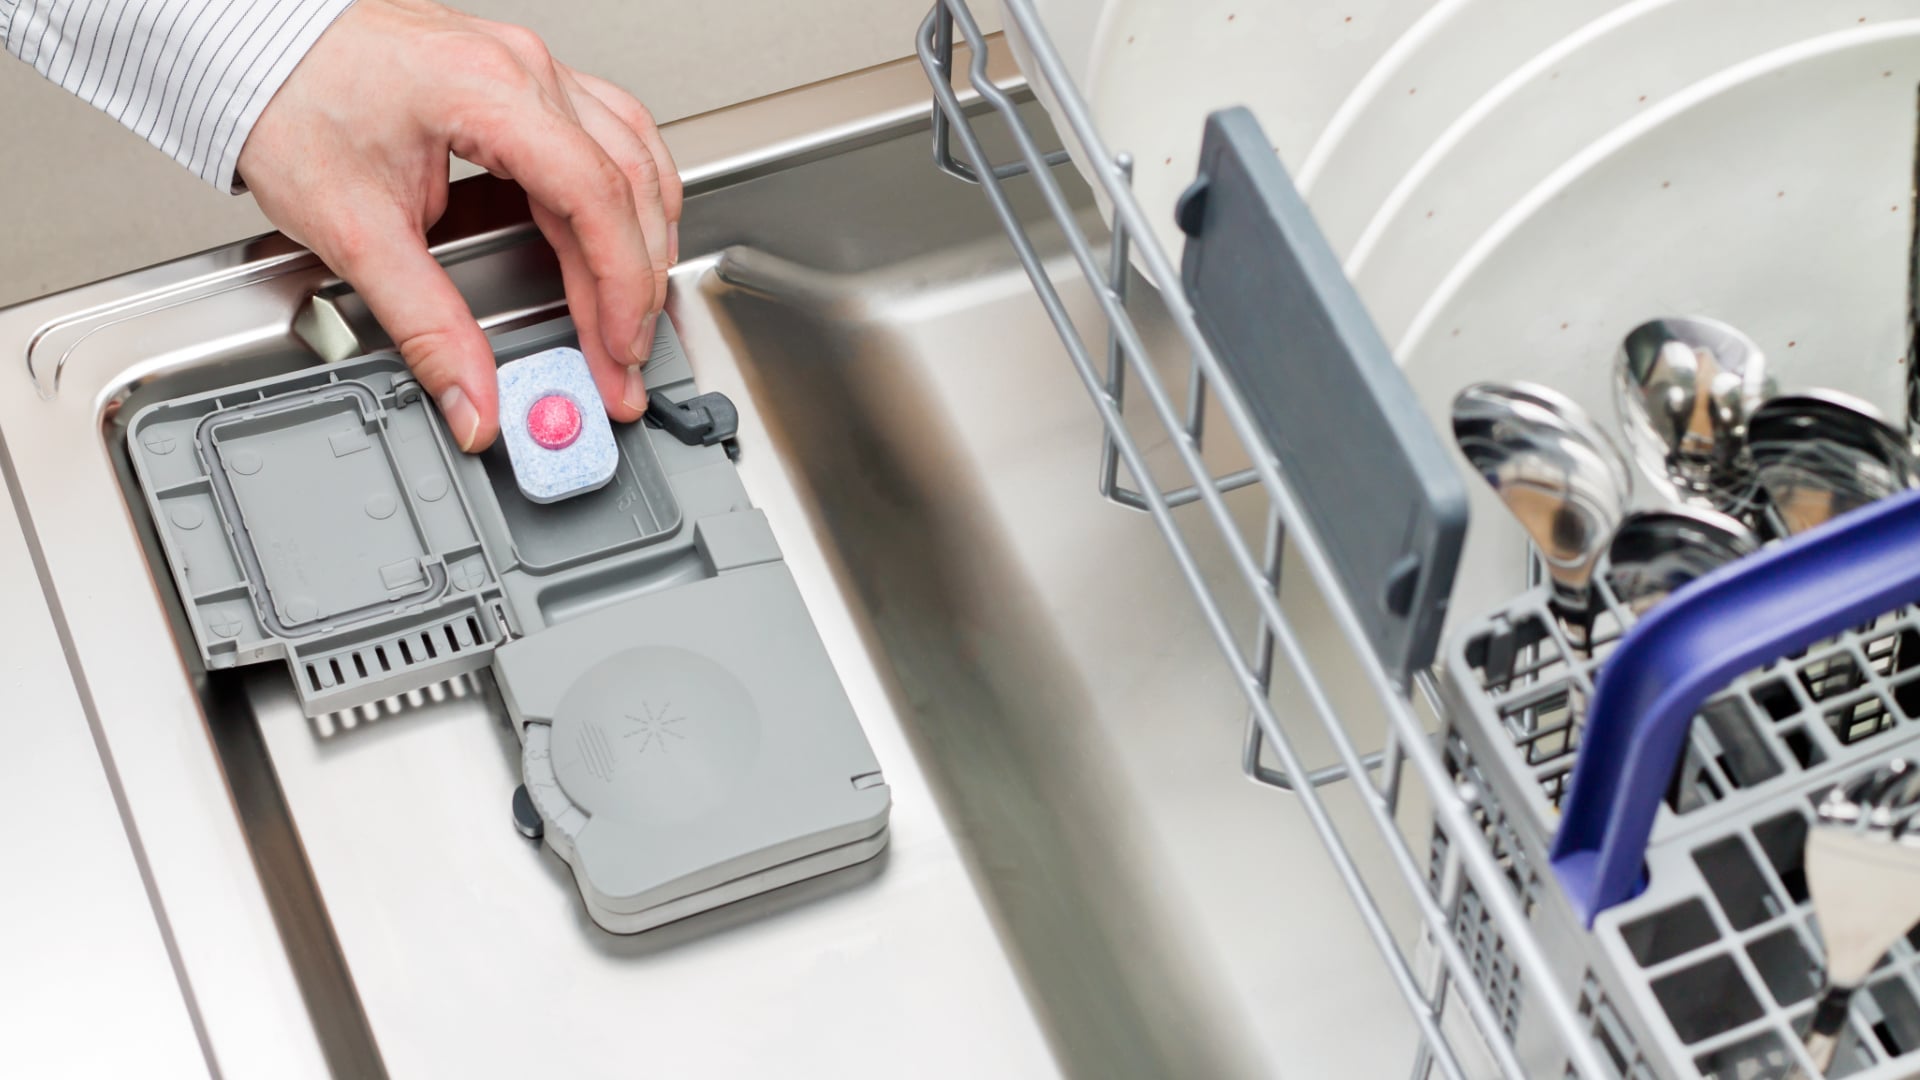
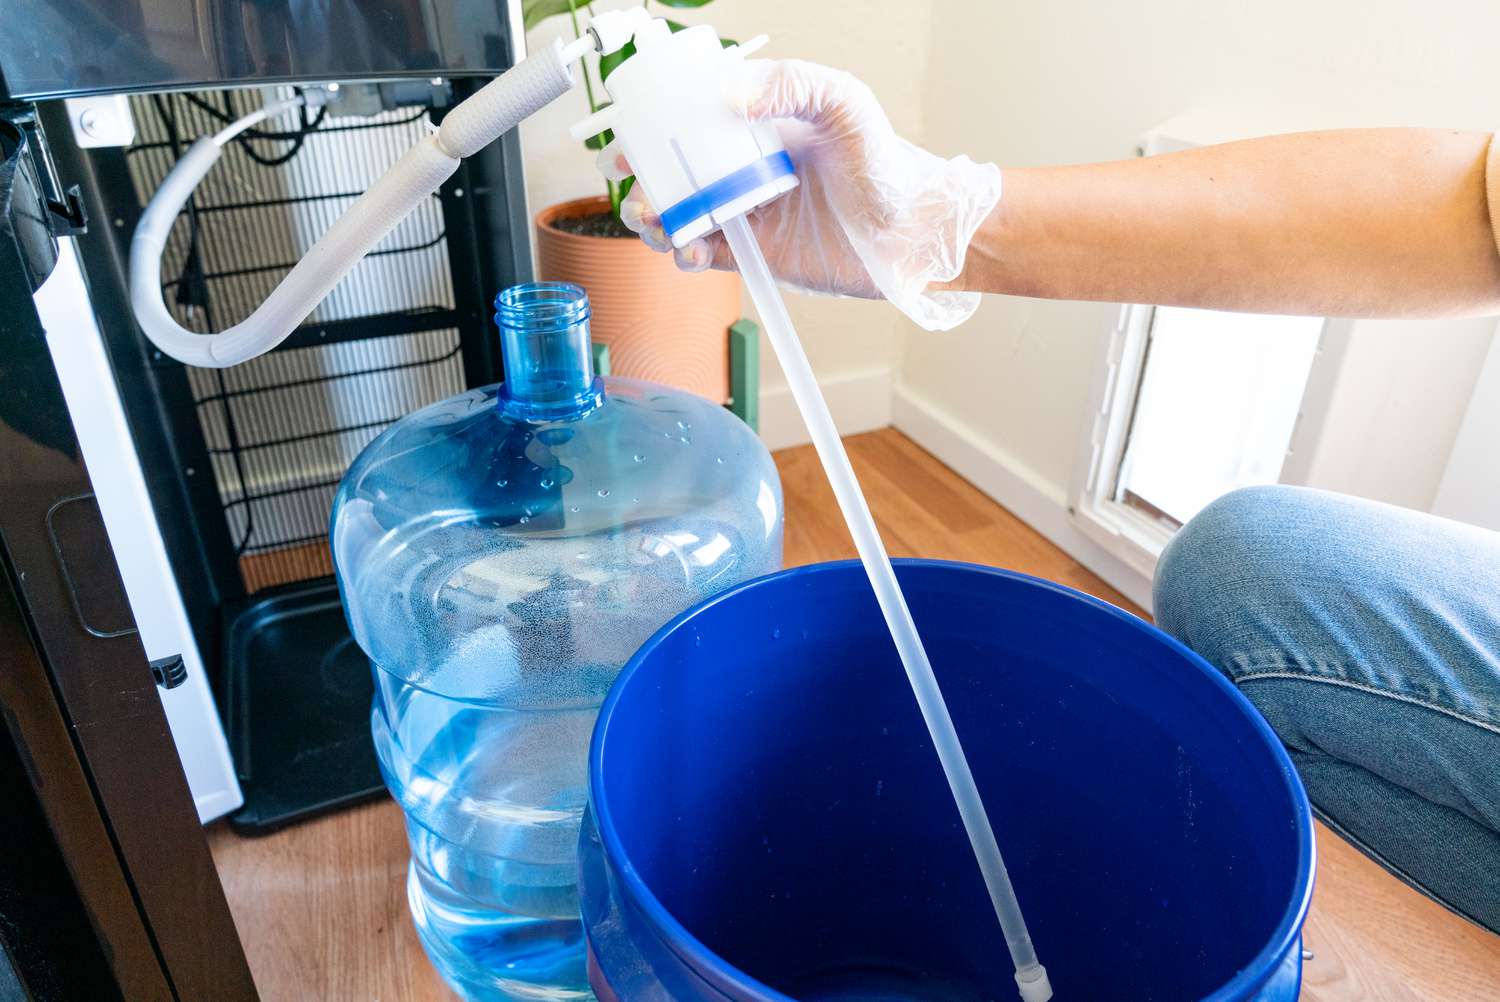
:max_bytes(150000):strip_icc()/Kitchensinksoapdispenser-GettyImages-91206440-59e82279054ad90011101a01.jpg) The first step in repairing your detergent dispenser is to identify the problem. There are a few common issues that can cause a dispenser to malfunction. The most common issue is a clogged or jammed dispenser. This can happen if you accidentally put too much detergent in the dispenser or if it's been a while since you've cleaned it. Another issue could be a broken pump or valve, which would need to be replaced. Once you've identified the problem, you can move on to the next step.
The first step in repairing your detergent dispenser is to identify the problem. There are a few common issues that can cause a dispenser to malfunction. The most common issue is a clogged or jammed dispenser. This can happen if you accidentally put too much detergent in the dispenser or if it's been a while since you've cleaned it. Another issue could be a broken pump or valve, which would need to be replaced. Once you've identified the problem, you can move on to the next step.
Tools and Materials
 Before you begin the repair process, make sure you have the necessary tools and materials. You will need a screwdriver, pliers, an adjustable wrench, and a replacement pump or valve if needed. It's always a good idea to have these tools on hand for any future repairs as well.
Step-by-Step Guide
 Now that you have everything you need, it's time to start the repair process. First, unplug your sink and remove any dishes or items around the detergent dispenser. Then, locate the dispenser and remove it from the sink. You may need to use your pliers or wrench to loosen any bolts holding it in place.
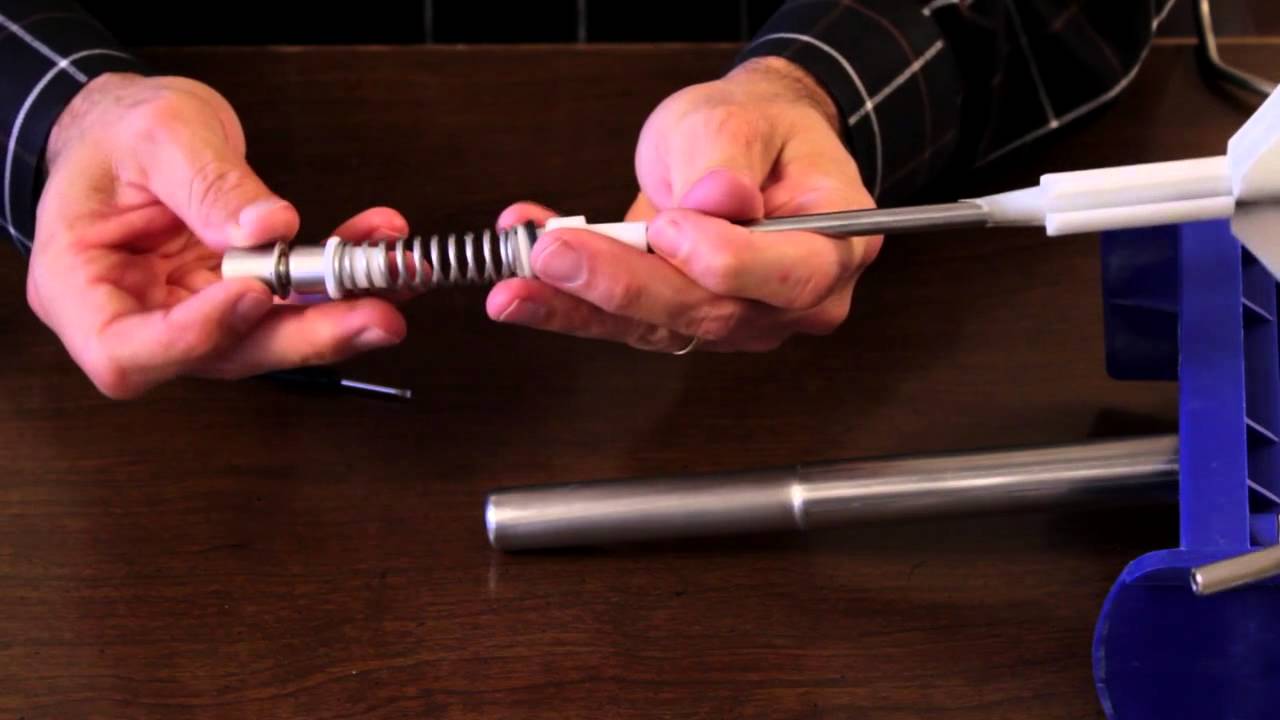
Once the dispenser is removed, use your screwdriver to take it apart. Clean out any debris or buildup inside the dispenser. If the problem is a clog, this should fix it. If the issue is a broken pump or valve, you will need to replace it. Follow the manufacturer's instructions for replacing the part and reassemble the dispenser.
Now that you have everything you need, it's time to start the repair process. First, unplug your sink and remove any dishes or items around the detergent dispenser. Then, locate the dispenser and remove it from the sink. You may need to use your pliers or wrench to loosen any bolts holding it in place.
Once the dispenser is removed, use your screwdriver to take it apart. Clean out any debris or buildup inside the dispenser. If the problem is a clog, this should fix it. If the issue is a broken pump or valve, you will need to replace it. Follow the manufacturer's instructions for replacing the part and reassemble the dispenser.
Reinstall and Test
 Once the dispenser is reassembled, it's time to reinstall it in your sink. Make sure all bolts are securely tightened, and the dispenser is properly aligned with the sink. Plug the sink back in and test the dispenser by pumping some detergent into your hand. If it's working properly, congratulations, you've successfully repaired your detergent dispenser!
Preventative Maintenance
 To avoid future issues with your detergent dispenser, it's essential to perform regular maintenance. This includes cleaning the dispenser every few weeks, not overfilling it with detergent, and using high-quality detergent products. By taking these preventative measures, you can prolong the life of your dispenser and avoid any future repairs.
Conclusion
 In conclusion, a malfunctioning detergent dispenser can be a frustrating problem, but with these simple steps, you can repair it yourself and save money on a professional repair. Remember to identify the problem, have the necessary tools and materials, follow the step-by-step guide, and perform preventative maintenance to keep your dispenser working like new. With a little effort, your kitchen sink will be back to its efficient and convenient self in no time.


:max_bytes(150000):strip_icc()/loveresideshere_100959725_3177067562356395_3746903167474843318_n1-88f053b412824f92912247b122f601ee.jpg)
