If you've noticed a crack in your plastic kitchen sink, don't panic. It's a common problem that can be easily fixed with the right tools and techniques. Here's a step-by-step guide on how to repair a cracked plastic kitchen sink. First, you'll need to gather your materials. You'll need a sink repair kit, which can be found at most hardware stores or online. Make sure to choose a kit specifically designed for plastic sinks. Next, clean the area around the crack with a mild soap and warm water. This will ensure that the repair material adheres properly to the sink. Rinse and dry the area thoroughly. Now it's time to apply the repair material. Follow the instructions on the kit carefully. Typically, you'll mix two components together to create a putty-like substance. Apply the putty to the crack, making sure to fill it completely. Use a putty knife to smooth out the surface and remove any excess material. Allow the repair material to dry completely, which can take anywhere from a few hours to overnight. Once dry, sand down the area with fine-grit sandpaper to create a smooth surface. Finally, use a plastic polish or a sealant to finish the repair and give your sink a shiny, like-new appearance. Be sure to follow the instructions on the product for best results. With a little bit of effort, your cracked plastic kitchen sink will be as good as new.1. How to Repair a Cracked Plastic Kitchen Sink
Repairing a cracked plastic kitchen sink doesn't have to be a daunting task. With the right tools and a little bit of know-how, you can easily fix the problem yourself. Here's a DIY guide for fixing a cracked plastic kitchen sink. The first step is to assess the severity of the crack. If it's a small, hairline crack, you may be able to repair it with a DIY sink repair kit. However, if the crack is large or extends through the entire thickness of the sink, it may be time to consider replacing the sink altogether. If you've determined that your sink can be repaired, the next step is to gather your materials. As mentioned before, you'll need a sink repair kit specifically designed for plastic sinks. You'll also need a putty knife, sandpaper, and a plastic polish or sealant. Follow the instructions on the repair kit carefully, mixing the components together to create a putty-like substance. Apply the putty to the crack, smoothing it out with the putty knife. Allow it to dry completely before sanding and finishing the repair. Remember to take your time and follow the instructions closely. With a little bit of effort, you can save yourself the cost of hiring a professional to fix your cracked plastic kitchen sink.2. DIY Guide for Fixing a Cracked Plastic Kitchen Sink
Repairing a cracked plastic kitchen sink may seem like a daunting task, but with a few tips and tricks, you'll have your sink looking as good as new in no time. First, make sure to properly clean and dry the area around the crack before beginning the repair process. This will ensure that the repair material adheres properly to the sink. Next, be sure to follow the instructions on the repair kit closely. Each kit may have different steps and drying times, so it's important to pay attention and follow them accurately. If the crack is in a visible area of the sink, consider using a color-matching repair kit. This will help the repair blend in seamlessly with the rest of the sink. After the repair is complete, be sure to regularly clean and maintain your sink to prevent further damage. Avoid using harsh chemicals or abrasive materials on the sink surface. By following these tips, you can successfully repair your cracked plastic kitchen sink and keep it looking great for years to come.3. Tips for Repairing a Cracked Plastic Kitchen Sink
If you're a visual learner, you may find a step-by-step guide helpful when it comes to fixing a cracked plastic kitchen sink. Here's a detailed guide to help you through the process. Step 1: Gather your materials - You'll need a sink repair kit, putty knife, sandpaper, and plastic polish or sealant. Step 2: Clean the area - Use a mild soap and warm water to thoroughly clean the area around the crack. Rinse and dry it completely. Step 3: Mix the repair material - Follow the instructions on the repair kit to mix the components together and create a putty-like substance. Step 4: Apply the putty - Use the putty knife to apply the putty to the crack, making sure to fill it completely. Smooth out the surface and remove any excess material. Step 5: Let it dry - Allow the repair material to dry completely, which can take a few hours to overnight. Step 6: Sand the surface - Once dry, use fine-grit sandpaper to create a smooth surface. Step 7: Finish the repair - Use a plastic polish or sealant to finish the repair and give your sink a shiny, like-new appearance. By following these steps, you can successfully fix a cracked plastic kitchen sink on your own.4. Step-by-Step Guide for Fixing a Cracked Plastic Kitchen Sink
There are several factors that can lead to a cracked plastic kitchen sink. Knowing the common causes and how to repair them can help you prevent future damage. One of the most common causes of cracked plastic sinks is thermal shock, which occurs when the sink is exposed to extreme temperature changes. This can happen when pouring boiling water into a cold sink or placing hot pots and pans directly onto the sink surface. To repair thermal shock cracks, follow the steps outlined in the DIY guide above. However, it's important to note that these types of cracks may reappear if the sink is not properly cared for. Another common cause of cracked plastic sinks is impact damage, such as dropping a heavy object onto the sink. In this case, the crack may be more severe and require the help of a professional to repair or replace the sink. To prevent impact damage, always be careful when handling heavy objects around the sink and avoid dropping them onto the surface.5. Common Causes of Cracked Plastic Kitchen Sinks and How to Repair Them
When it comes to repairing a cracked plastic kitchen sink, not all products are created equal. Here are some of the best products for repairing a cracked plastic sink. For small, hairline cracks, a DIY sink repair kit is often the best choice. These kits typically include all of the necessary materials and are specifically designed for plastic sinks. For larger or more severe cracks, it may be best to seek the help of a professional. They will have the skills and tools necessary to properly repair or replace the sink. To prevent future cracks and damage, consider using a sink protector to cushion heavy objects and avoid thermal shock. Regularly cleaning and maintaining your sink can also help prevent cracks and extend its lifespan.6. Best Products for Repairing a Cracked Plastic Kitchen Sink
The best way to deal with a cracked plastic kitchen sink is to prevent it from happening in the first place. Here are some tips for preventing cracks in your sink. First and foremost, avoid exposing your sink to extreme temperature changes. This includes pouring boiling water into a cold sink or placing hot pots and pans directly onto the sink surface. Instead, use a sink protector or trivet to cushion the impact. Regularly clean and maintain your sink, avoiding harsh chemicals and abrasive materials that can cause damage. Consider using a sink protector to help prevent impact damage from heavy objects. If you notice any small cracks forming, address them immediately before they have the chance to grow and become more severe.7. How to Prevent Cracks in Your Plastic Kitchen Sink
When it comes to repairing a cracked plastic kitchen sink, you may be wondering whether it's better to hire a professional or attempt a DIY fix. The answer may depend on the severity of the crack and your own skills and comfort level. For small, hairline cracks, a DIY repair may be sufficient. However, if the crack is large or extends through the entire thickness of the sink, it may be best to hire a professional. They will have the necessary tools and expertise to properly repair or replace the sink. Additionally, if you're not confident in your DIY skills or don't have the time to dedicate to the repair, hiring a professional may be the best option for you.8. Professional vs. DIY: Which is Better for Repairing a Cracked Plastic Kitchen Sink?
Even with the best preventative measures, your plastic kitchen sink may still experience issues. Here are some common issues and troubleshooting tips. If you notice that your sink is leaking after repairing a crack, it's possible that the repair was not done properly. Make sure to follow the instructions on the repair kit carefully and double-check your work. In some cases, a repaired crack may reappear over time. This could be due to improper care or a more severe underlying issue. If this happens, it's best to consult a professional for further assistance.9. Troubleshooting Common Issues with Cracked Plastic Kitchen Sinks
While most cracked plastic kitchen sinks can be repaired, there may come a time when it's best to replace the sink altogether. Here are some signs that it's time to replace your cracked plastic kitchen sink. If the crack is very severe or extends through the entire thickness of the sink, it may be beyond repair. In this case, it's best to replace the sink to avoid future issues. If you've already repaired the sink multiple times or the damage is too extensive, it may be more cost-effective in the long run to replace the sink rather than continuing to repair it. Additionally, if your sink is outdated or no longer fits your aesthetic preferences, it may be a good opportunity to upgrade and replace the cracked sink with a new one. With the information and tips provided in this article, you can confidently repair a cracked plastic kitchen sink on your own or know when it's best to seek professional help. Remember to regularly clean and maintain your sink to prevent future cracks and extend its lifespan. Happy repairing!10. How to Know When it's Time to Replace Your Cracked Plastic Kitchen Sink
Why You Should Repair Your Cracked Plastic Kitchen Sink
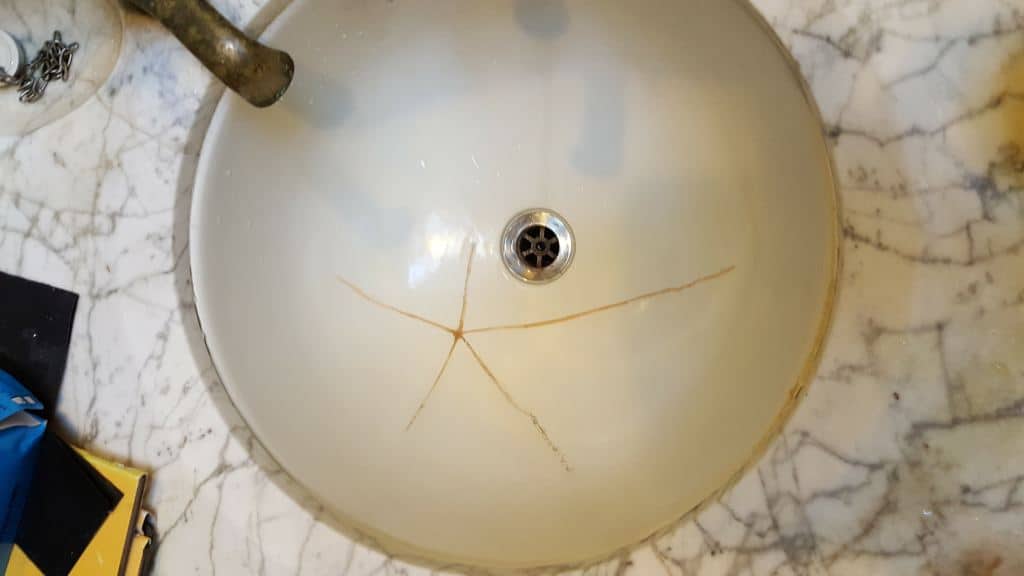
The Importance of Maintaining Your Kitchen Sink
 Kitchen sinks
are an essential part of any household, used multiple times a day for washing dishes, cleaning produce, and other tasks. With constant use, it's not uncommon for
plastic kitchen sinks
to develop cracks or chips over time. While it may seem like a minor issue, ignoring a cracked
kitchen sink
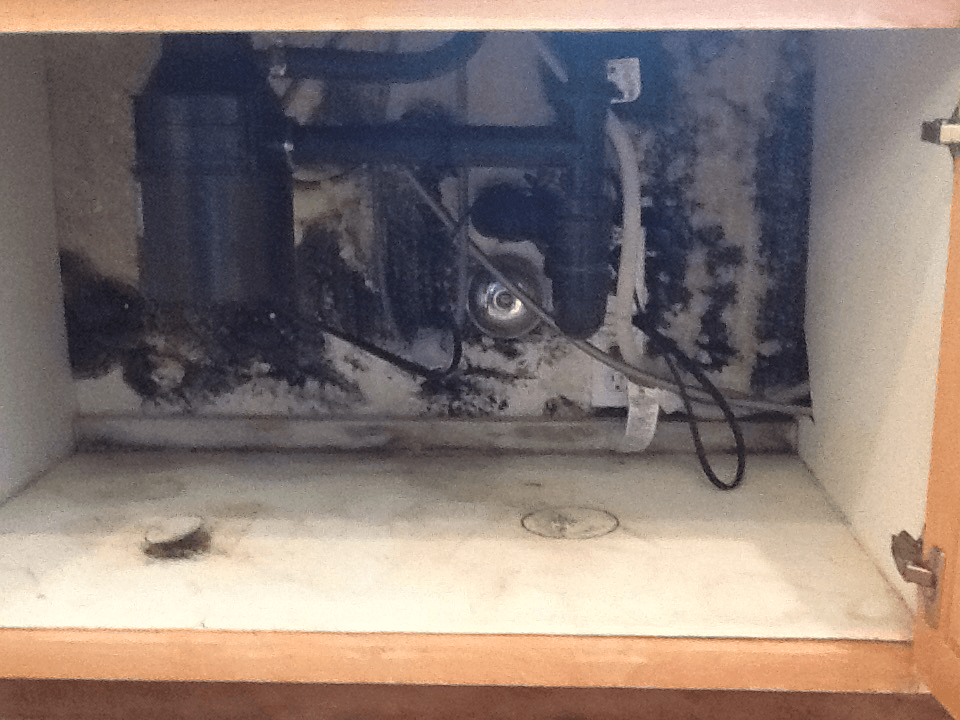
can lead to bigger problems down the road. Not only can it affect the overall aesthetic of your kitchen, but it can also create
water leaks
and potential
mold growth
. That's why it's important to address any cracks or damages in your
plastic kitchen sink
as soon as possible.
The Benefits of Repairing Your Cracked Plastic Kitchen Sink
 One of the main reasons to repair a cracked
kitchen sink
is to prevent further damage and avoid expensive repairs in the future. A small crack can easily turn into a larger one, causing
water leaks
and potentially damaging your
kitchen cabinets
and
countertops
. By fixing the issue early on, you can save yourself the hassle and cost of having to replace your entire
kitchen sink
later.
Another benefit of repairing a cracked
plastic kitchen sink
is improving the overall appearance of your kitchen. A damaged
kitchen sink
can be an eyesore, taking away from the beauty of your kitchen design. By repairing it, you can restore your
kitchen sink
to its original state and enhance the overall aesthetic of your kitchen.
The Process of Repairing a Cracked Plastic Kitchen Sink
 Repairing a cracked
plastic kitchen sink
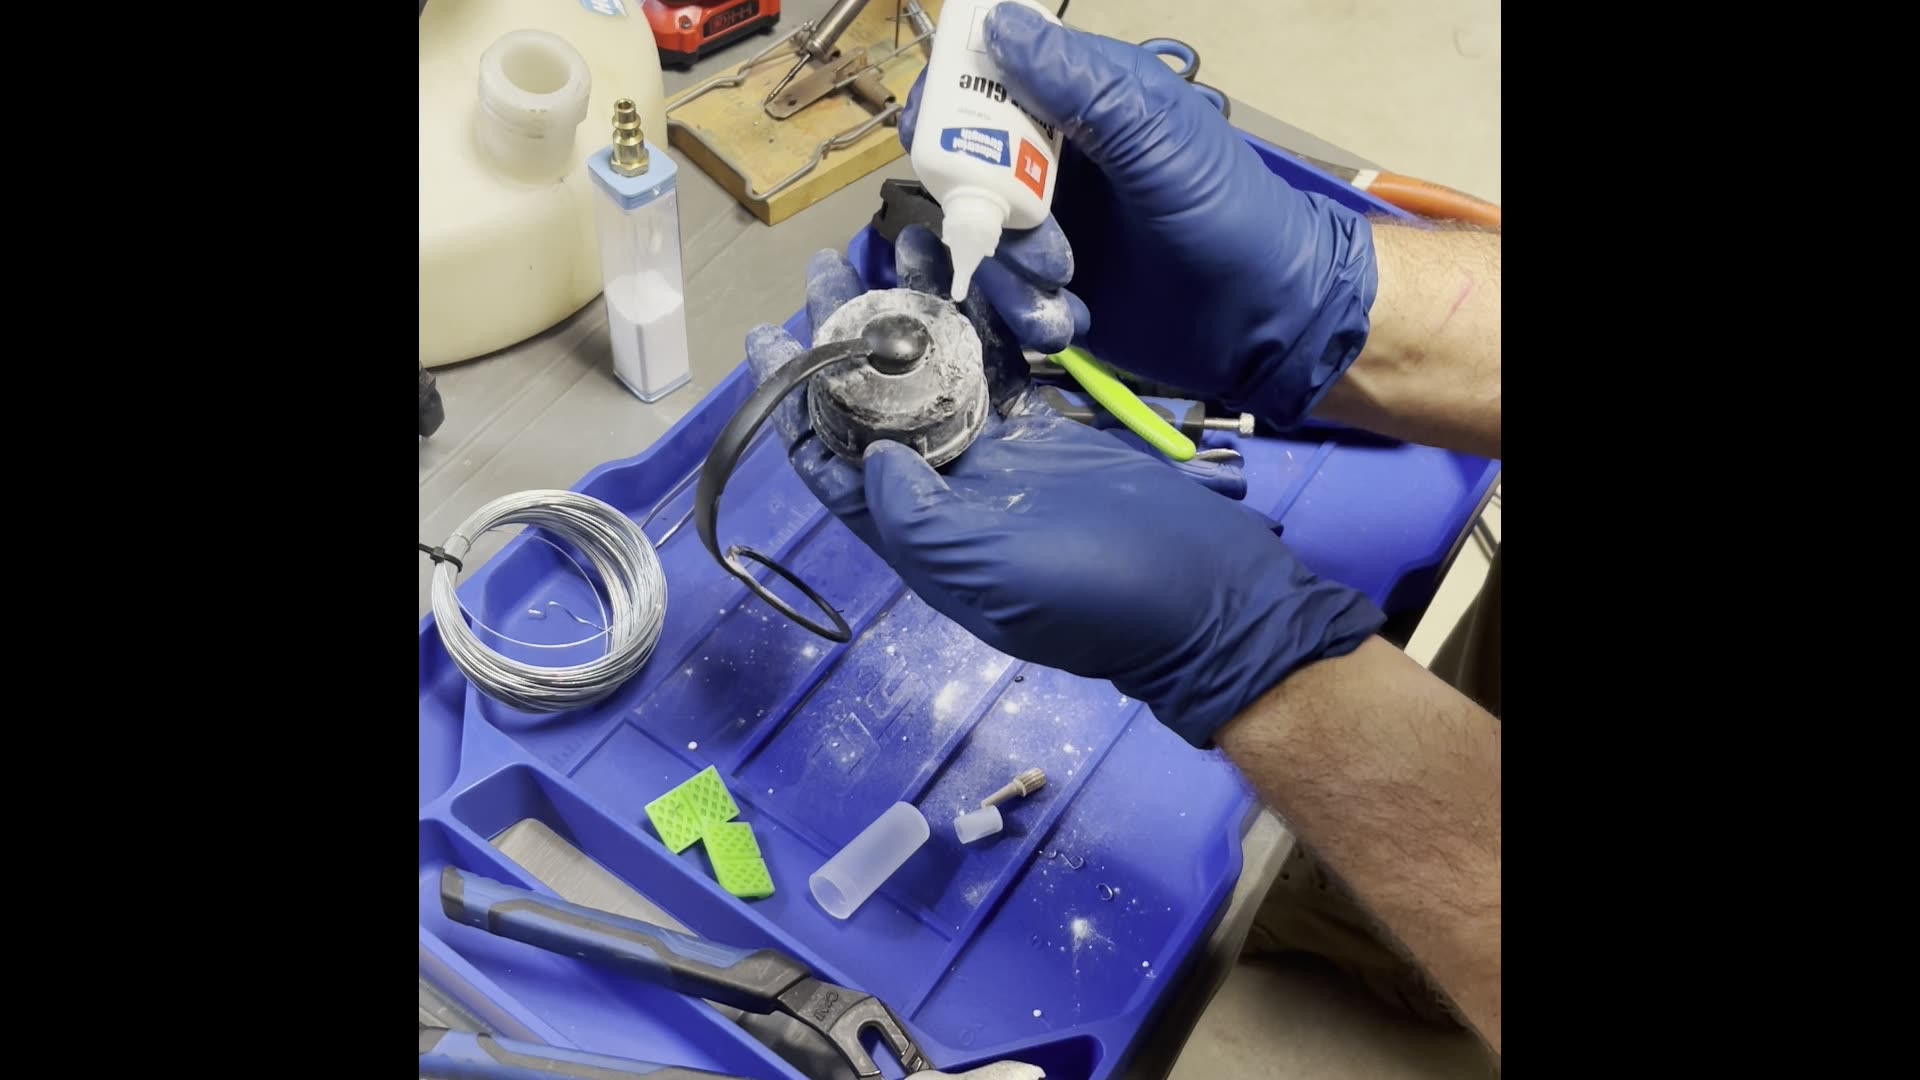
may seem like a daunting task, but it can be easily done at home with the right tools and materials. The first step is to clean the
kitchen sink
thoroughly, removing any debris or dirt from the crack. Next, you can use a
plastic repair kit
to fill in the crack and smooth out the surface. Once the repair is complete, it's important to let it dry completely before using the
kitchen sink
again.
In some cases, the crack may be too severe to fix on your own, or you may not have the time or tools to do so. In these situations, it's best to seek the help of a professional
kitchen sink repair service
. They have the expertise and experience to properly repair any cracks or damages and ensure your
kitchen sink
is in top condition.
Conclusion
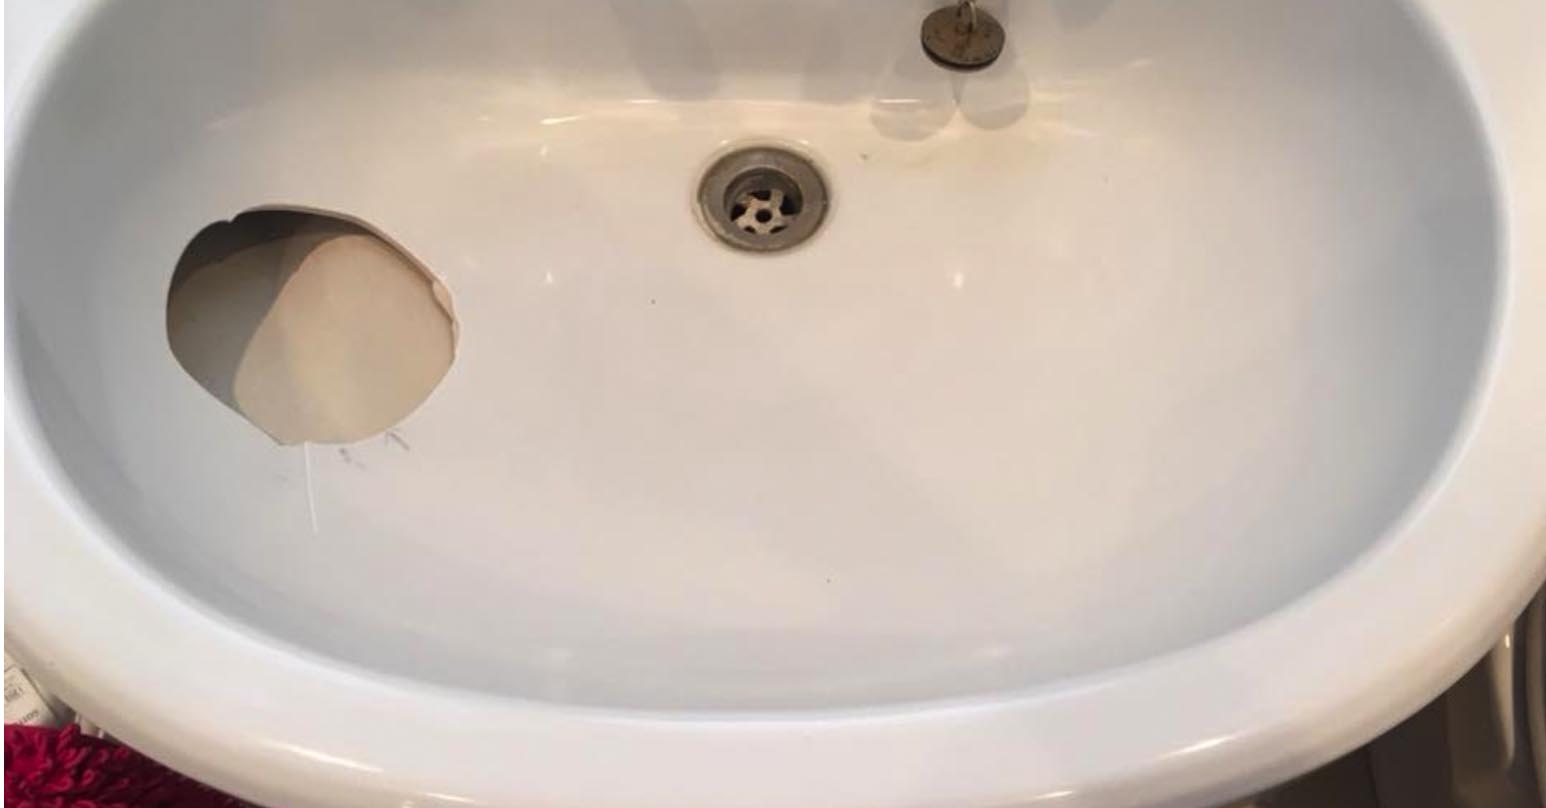 Don't let a cracked
plastic kitchen sink
ruin the overall look and functionality of your kitchen. By repairing it promptly, you can avoid potential water damage and costly repairs in the future. Whether you choose to fix it yourself or enlist the help of a professional, addressing a cracked
kitchen sink
is a necessary step in maintaining a beautiful and functional kitchen.


