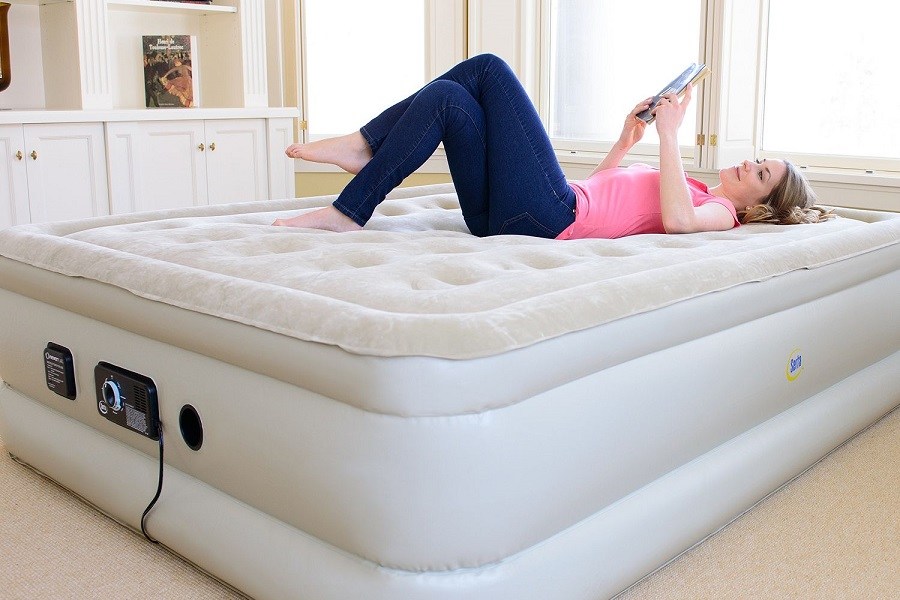
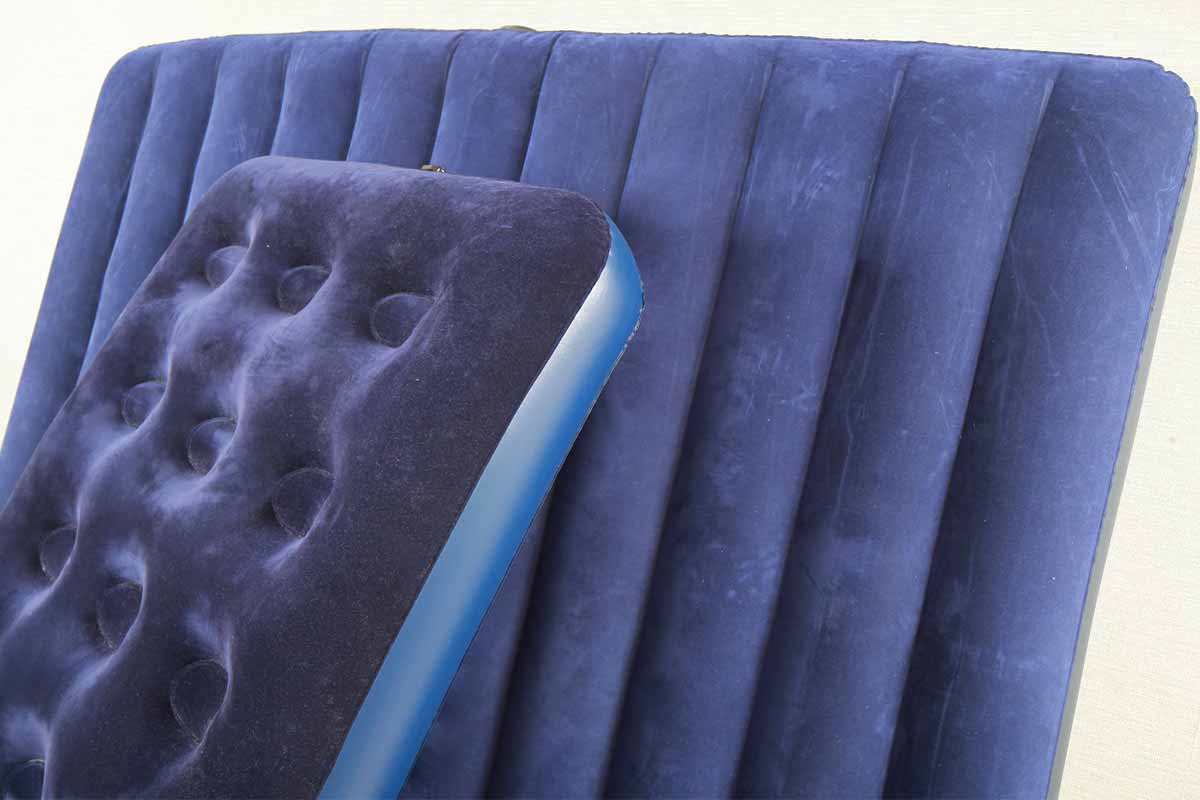
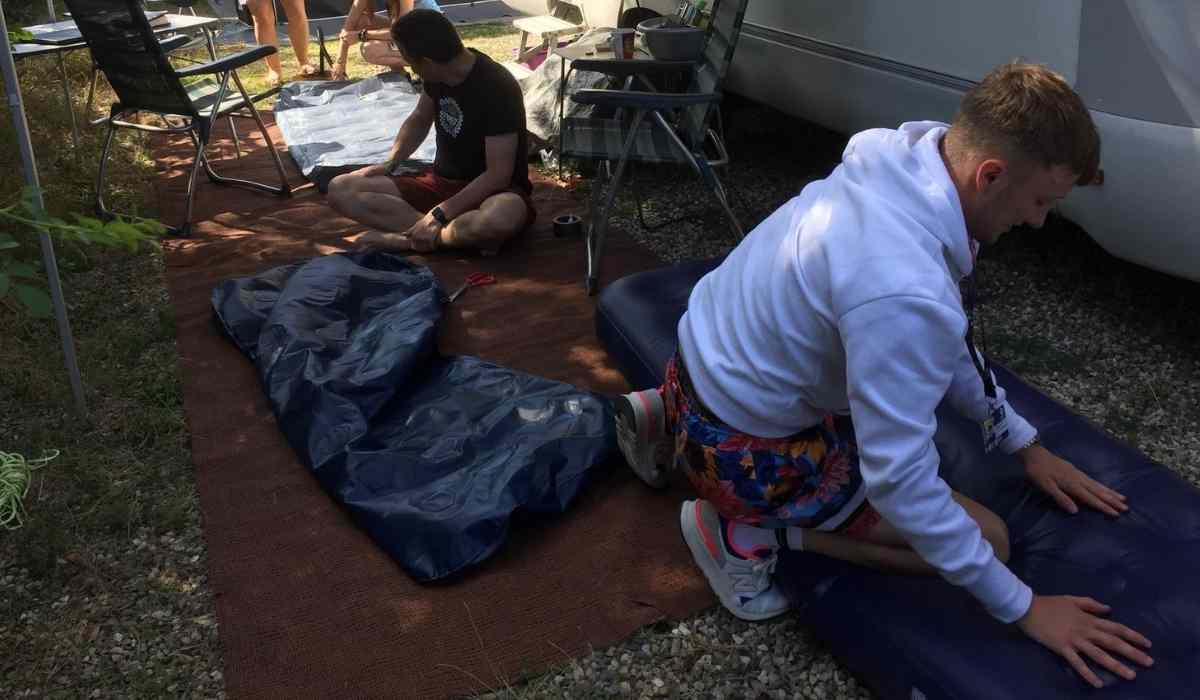
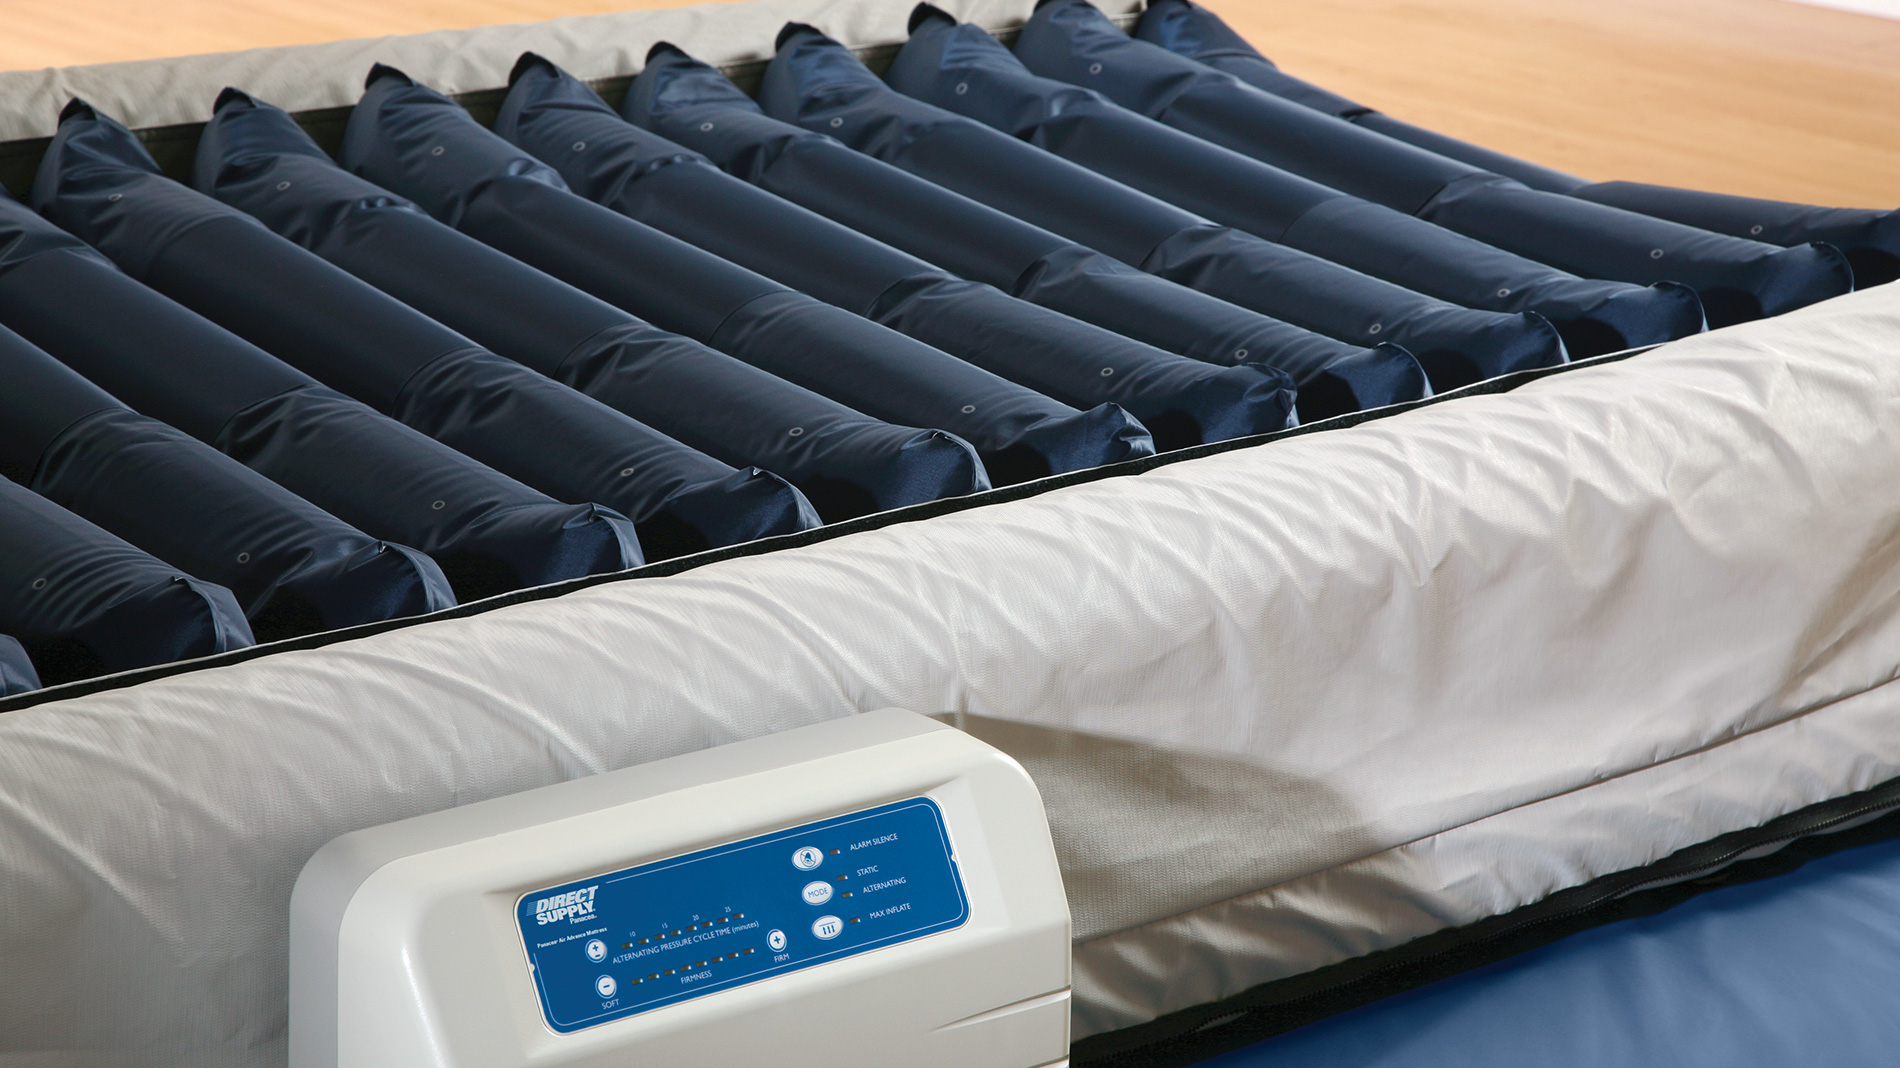
An air mattress can be a convenient and comfortable sleeping option for guests, camping trips, or even for use as a makeshift bed at home. However, like any inflatable item, air mattresses are prone to leaks and tears. When this happens, it can be frustrating and inconvenient, but fortunately, repairing an air mattress with rubber cement is a simple and effective solution. In this guide, we will walk you through the steps of using rubber cement to fix an air mattress leak and get your mattress back in working condition.How to Repair an Air Mattress with Rubber Cement


How to Repair an Air Mattress with Rubber Cement
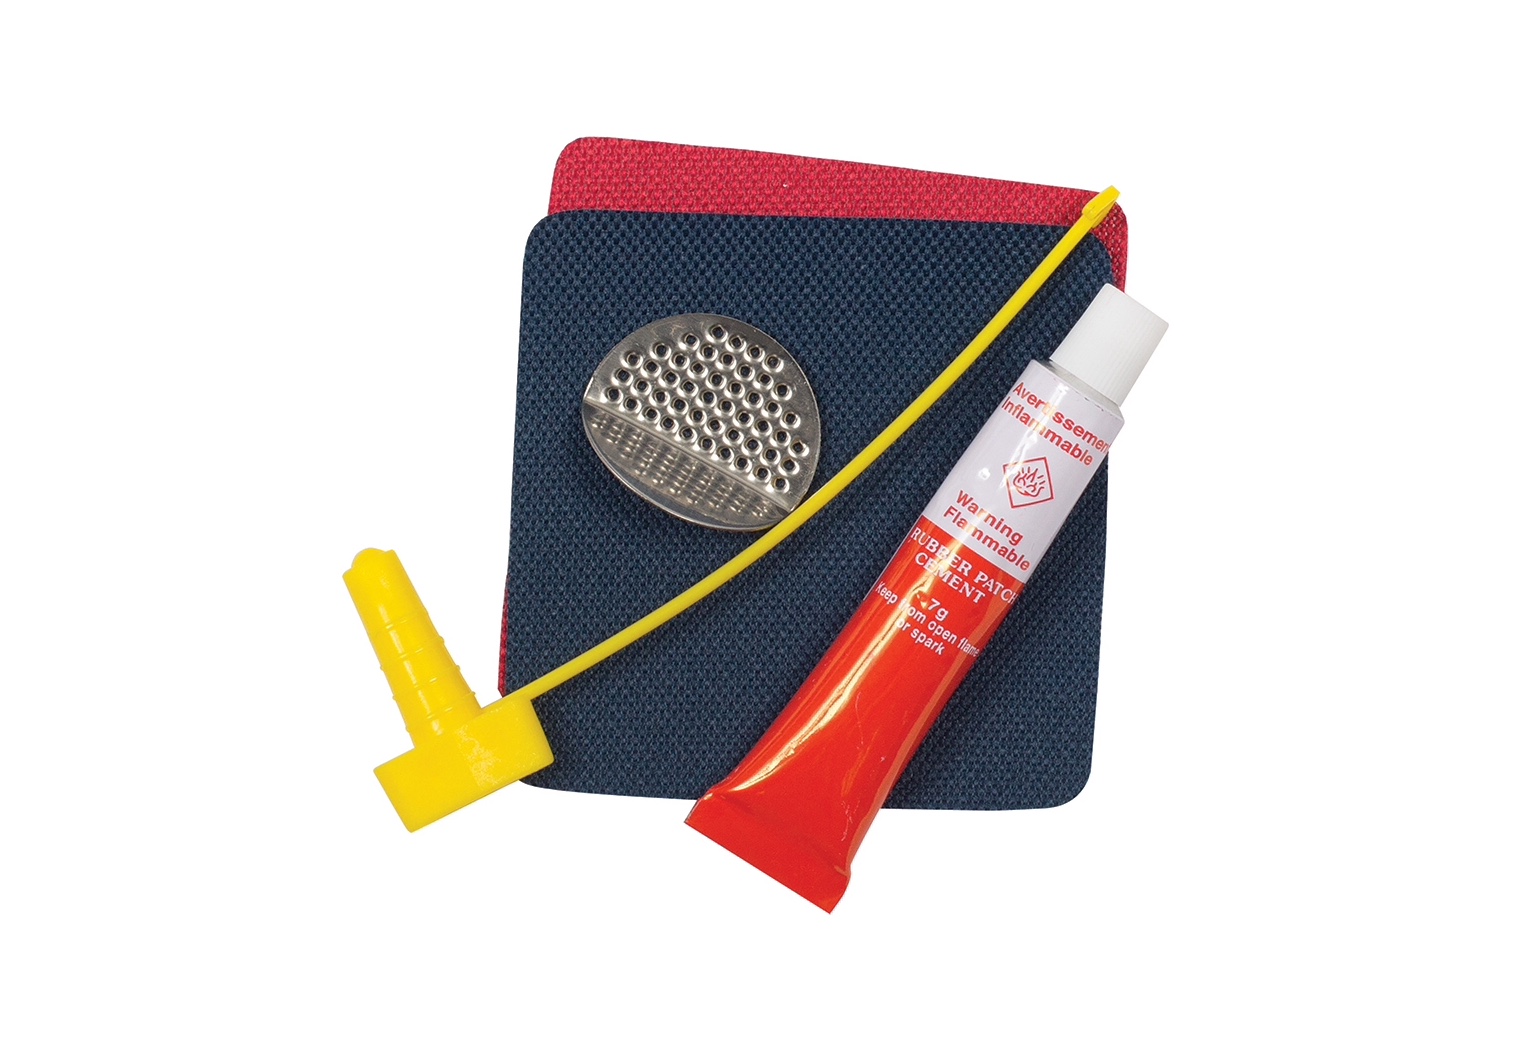


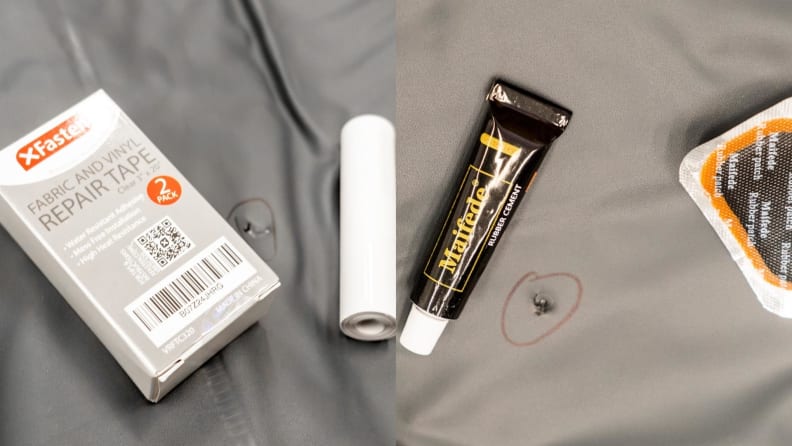
Rubber cement is a strong adhesive that is commonly used for repairing inflatables, including air mattresses. It is flexible, durable, and can create a waterproof seal, making it the perfect solution for fixing a leak in your air mattress. Before you get started, you will need to gather a few supplies, including rubber cement, sandpaper, a patch kit, and a pair of scissors.Using Rubber Cement to Fix an Air Mattress Leak


Using Rubber Cement to Fix an Air Mattress Leak


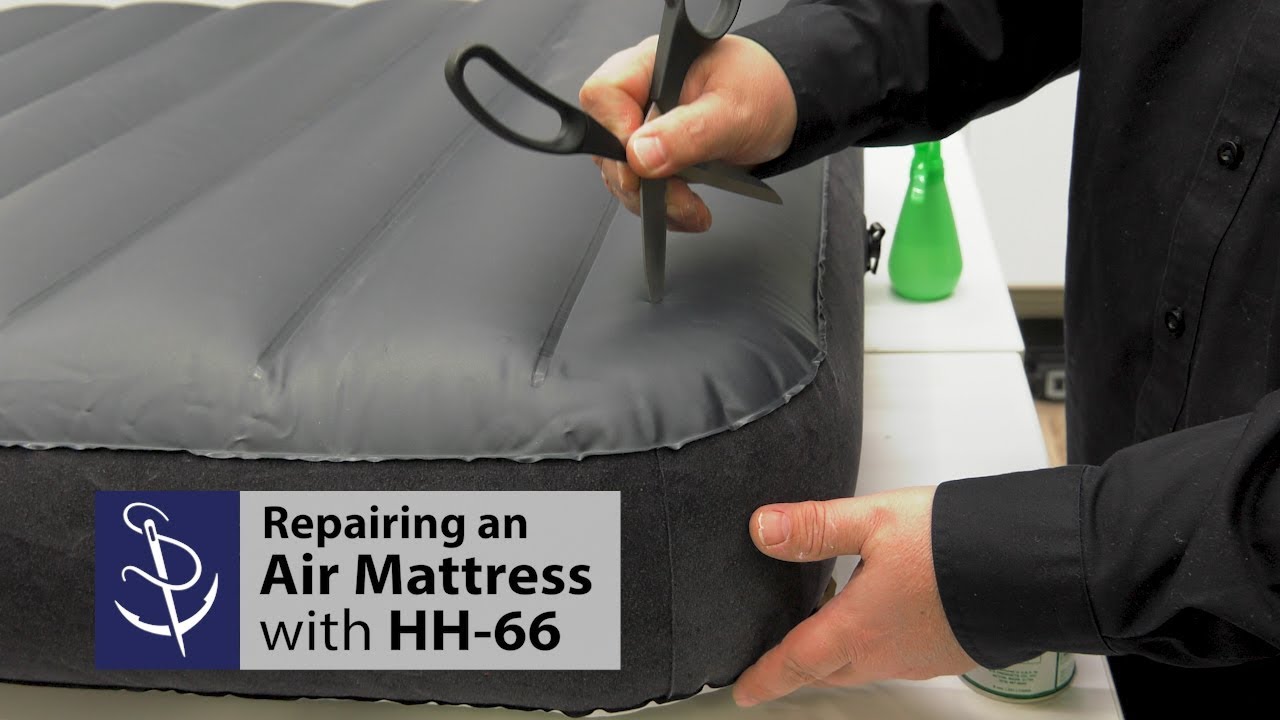
1. Locate the Leak: The first step in repairing an air mattress is to locate the leak. Inflate the mattress and listen for the sound of air escaping. Alternatively, you can mix water and dish soap in a spray bottle and spray it over the mattress. Bubbles will form where the leak is located. 2. Prepare the Surface: Once you have located the leak, use sandpaper to roughen the area around it. This will help the rubber cement adhere to the surface better. 3. Cut a Patch: Using scissors, cut a patch from the patch kit that is slightly larger than the leak. Make sure the patch is round or oval-shaped to avoid any corners that could peel up. 4. Apply Rubber Cement: Apply a thin layer of rubber cement around the leak, making sure to cover an area slightly larger than the patch. 5. Apply the Patch: Carefully place the patch over the leak and press down firmly. Smooth out any wrinkles or air bubbles to ensure a tight seal. 6. Let it Dry: Allow the rubber cement to dry completely before deflating the mattress. This can take anywhere from 30 minutes to a few hours, depending on the brand of rubber cement used. 7. Reinforce the Patch: For added security, you can apply a second layer of rubber cement over the patch and let it dry.Step-by-Step Guide to Repairing an Air Mattress with Rubber Cement


Step-by-Step Guide to Repairing an Air Mattress with Rubber Cement


Repairing an air mattress with rubber cement is a simple and cost-effective DIY project. It requires minimal supplies and can save you the hassle and expense of purchasing a new air mattress. If you don't have a patch kit, you can use a piece of thick plastic or even duct tape as a temporary fix.DIY Air Mattress Repair with Rubber Cement


DIY Air Mattress Repair with Rubber Cement


The process of repairing an air mattress with rubber cement is quick and easy, making it the perfect solution for unexpected leaks or tears. With just a few simple steps, you can have your air mattress back in working condition in no time.Quick and Easy Fix for an Air Mattress Leak Using Rubber Cement


Quick and Easy Fix for an Air Mattress Leak Using Rubber Cement


Whether you accidentally puncture your air mattress or it becomes damaged over time, repairing a hole in an air mattress with rubber cement is a reliable and long-lasting solution. The strong adhesive properties of rubber cement will create a durable seal that can withstand regular use.Repairing a Hole in an Air Mattress with Rubber Cement


Repairing a Hole in an Air Mattress with Rubber Cement


Here are a few tips to keep in mind when using rubber cement to repair an air mattress: • Make sure the surface is clean and dry before applying the rubber cement. • Apply the rubber cement in a well-ventilated area. • Avoid using too much rubber cement, as this can cause the patch to slide around and create a messy finish. • Follow the instructions on the rubber cement label for best results.Tips for Successfully Repairing an Air Mattress with Rubber Cement


Tips for Successfully Repairing an Air Mattress with Rubber Cement


While repairing an air mattress with rubber cement is a simple process, there are a few common mistakes that can hinder the effectiveness of the repair. These include: • Not allowing the rubber cement to dry completely before deflating the mattress. • Applying too much rubber cement, which can create a thick and messy patch. • Using a patch that is too small or not properly secured, which can result in another leak.Common Mistakes to Avoid When Using Rubber Cement to Repair an Air Mattress


Common Mistakes to Avoid When Using Rubber Cement to Repair an Air Mattress


If you don't have rubber cement on hand, there are a few alternative methods for repairing an air mattress that can be just as effective. These include using a hot glue gun, silicone sealant, or duct tape. However, keep in mind that these methods may not be as durable or long-lasting as using rubber cement.Alternative Methods for Repairing an Air Mattress with Rubber Cement


Alternative Methods for Repairing an Air Mattress with Rubber Cement


To ensure a successful repair when using rubber cement on your air mattress, it's essential to follow the correct application process. This includes: • Cleaning and drying the surface before applying the cement. • Applying a thin and even layer of cement. • Allowing the cement to dry completely before using the mattress. • Reinforcing the patch with a second layer of cement. With these tips in mind, you can confidently and effectively repair your air mattress with rubber cement. Remember, prevention is always better than cure, so make sure to take good care of your air mattress to avoid any future leaks or tears. Happy sleeping!How to Properly Apply Rubber Cement for Air Mattress Repair


How to Properly Apply Rubber Cement for Air Mattress Repair

How to Repair Your Air Mattress with Rubber Cement

Why You Should Repair Your Air Mattress Immediately
 Air mattresses are a convenient and comfortable solution for temporary bedding needs. However, like any other household item, they are prone to wear and tear. If you have noticed a leak in your air mattress, it is important to repair it as soon as possible. Not only will it save you from having to constantly inflate it, but it will also prevent further damage to the mattress. With the right tools and techniques, you can easily repair your air mattress and extend its lifespan. In this article, we will discuss how to repair your air mattress with
rubber cement
in a few simple steps.
Air mattresses are a convenient and comfortable solution for temporary bedding needs. However, like any other household item, they are prone to wear and tear. If you have noticed a leak in your air mattress, it is important to repair it as soon as possible. Not only will it save you from having to constantly inflate it, but it will also prevent further damage to the mattress. With the right tools and techniques, you can easily repair your air mattress and extend its lifespan. In this article, we will discuss how to repair your air mattress with
rubber cement
in a few simple steps.
Gather Your Materials
 Before you begin the repair process, make sure you have all the necessary materials on hand. You will need
rubber cement
, a patch kit specifically designed for air mattresses, a pair of scissors, and some sandpaper. You can find these items at your local hardware store or online.
Before you begin the repair process, make sure you have all the necessary materials on hand. You will need
rubber cement
, a patch kit specifically designed for air mattresses, a pair of scissors, and some sandpaper. You can find these items at your local hardware store or online.
Locate the Leak
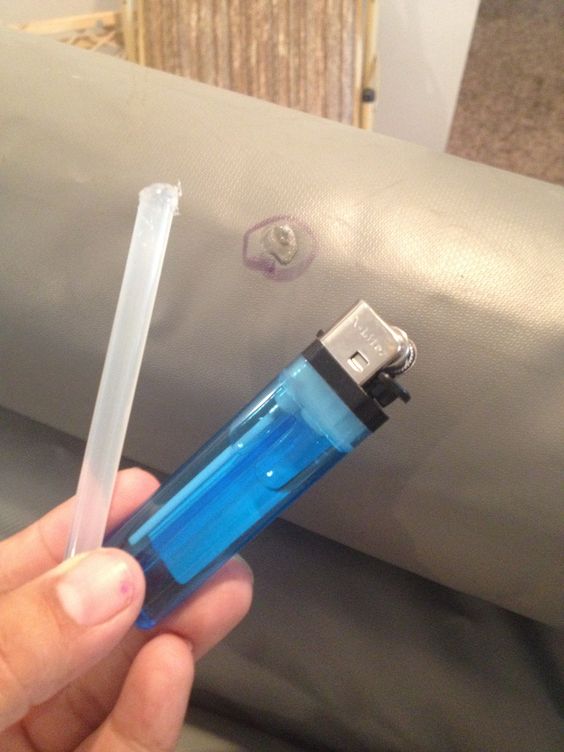
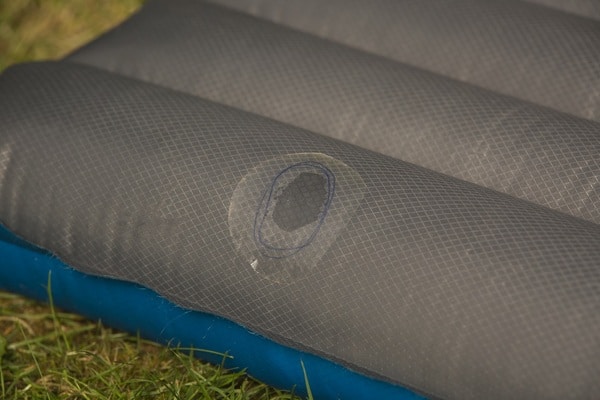
 The first step in repairing your air mattress is to locate the leak. Inflate your mattress and listen for any hissing sounds or feel for any escaping air. If you are having trouble finding the leak, you can try using a mixture of soap and water and apply it to the surface of the mattress. Bubbles will form at the site of the leak, making it easier to identify.
Clean and Sand the Area
 Once you have identified the leak, clean the area with a damp cloth and let it dry completely. Then, use sandpaper to roughen up the surface around the leak. This will help the
rubber cement
adhere better when you apply it.
Once you have identified the leak, clean the area with a damp cloth and let it dry completely. Then, use sandpaper to roughen up the surface around the leak. This will help the
rubber cement
adhere better when you apply it.
Apply the Rubber Cement and Patch
 Using a small brush, apply a thin layer of
rubber cement
around the leak and let it dry for a few minutes. Then, take a patch from your repair kit and apply it over the
rubber cement
, pressing down firmly to ensure it sticks. Let it dry completely before inflating the mattress again.
Using a small brush, apply a thin layer of
rubber cement
around the leak and let it dry for a few minutes. Then, take a patch from your repair kit and apply it over the
rubber cement
, pressing down firmly to ensure it sticks. Let it dry completely before inflating the mattress again.
Test the Repair
 After the patch has dried, inflate the mattress and check for any air leaks. If there are no more leaks, your repair was successful and you can now use your air mattress again.
Conclusion
 Repairing your air mattress with
rubber cement
is a simple and cost-effective solution that will save you from having to buy a new mattress. With the right materials and techniques, you can easily fix any leaks and extend the life of your air mattress. So don't wait any longer, gather your materials and follow these steps to repair your air mattress today!
Repairing your air mattress with
rubber cement
is a simple and cost-effective solution that will save you from having to buy a new mattress. With the right materials and techniques, you can easily fix any leaks and extend the life of your air mattress. So don't wait any longer, gather your materials and follow these steps to repair your air mattress today!