Are you tired of your outdated and worn bathroom sink? Removing it may seem like a daunting task, but with the right tools and knowledge, you can easily tackle this DIY project. In this guide, we will walk you through the process of removing an old bathroom sink in 5 easy steps.Removing Old Bathroom Sink: A Step-by-Step Guide
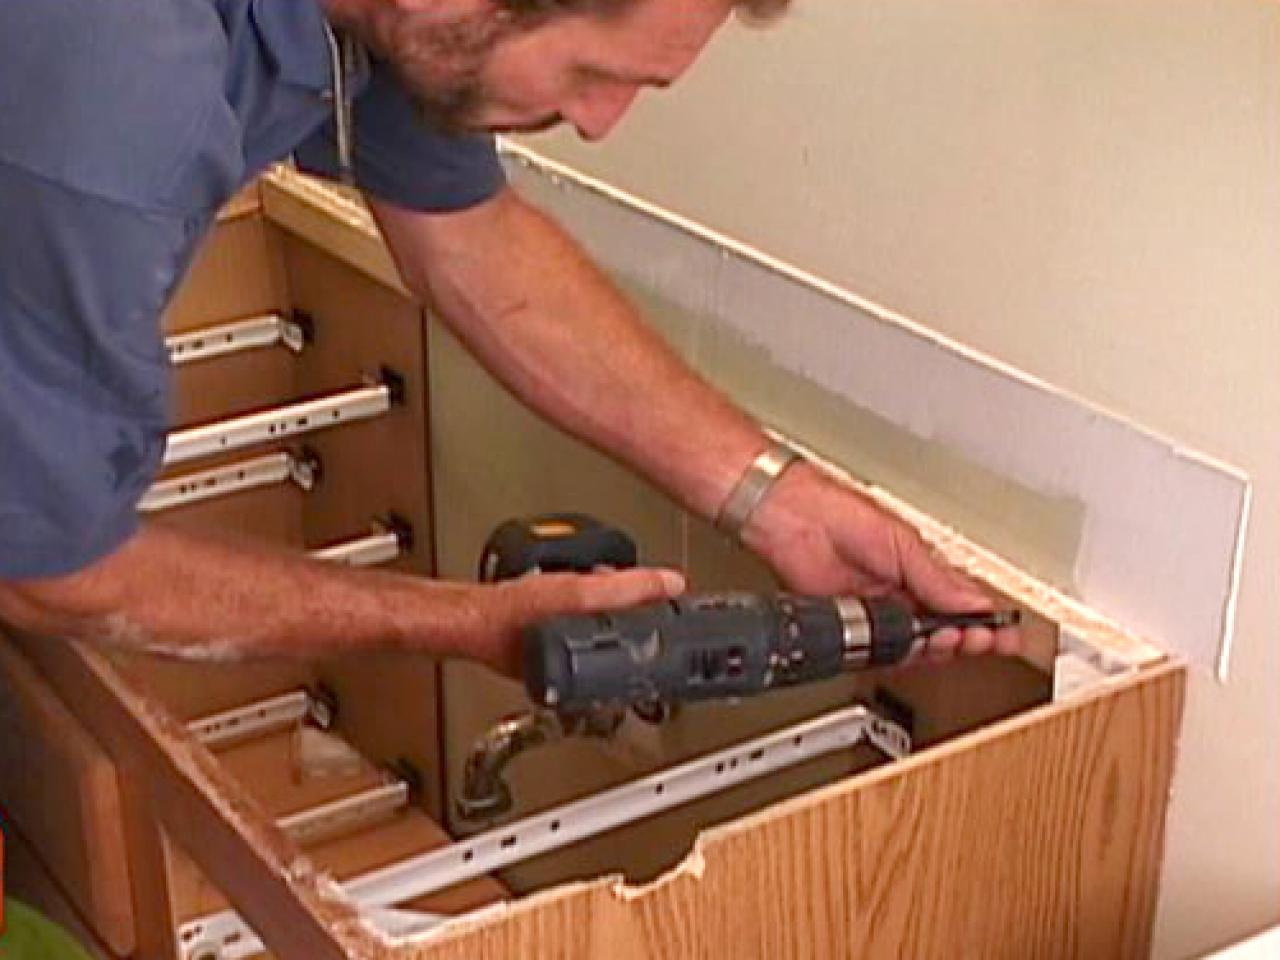
Step 1: Turn off the Water Supply Before you begin removing the sink, make sure to turn off the water supply. Look for the shut-off valves under the sink or near the main water supply line in your home. Step 2: Disconnect the Water Supply Lines With the water supply turned off, you can now disconnect the water supply lines from the sink. Use adjustable pliers to loosen the connections and then remove them by hand. Step 3: Remove the Drain Pipe Next, you will need to remove the drain pipe that connects the sink to the main drain line. Loosen the slip nut and gently pull the pipe out of the wall or floor drain. If the pipe is stuck, use a pipe wrench to loosen it. Step 4: Disconnect the Sink from the Wall If your sink is mounted on the wall, you will need to disconnect it from the wall brackets. Use a screwdriver to remove the screws and then gently pull the sink away from the wall. Step 5: Remove the Sink from the Vanity If your sink is mounted on a vanity, you will need to remove it from the countertop. Use a utility knife to cut through the caulking around the edges of the sink. Then, use a putty knife to gently pry the sink away from the countertop.How to Remove an Old Bathroom Sink in 5 Easy Steps
Removing an old bathroom sink can be a satisfying DIY project that can save you money and give your bathroom a fresh new look. However, there are a few things you should keep in mind to ensure a successful removal process. Use the Right Tools Having the right tools can make all the difference when removing an old bathroom sink. Some essential tools you will need include adjustable pliers, screwdriver, pipe wrench, utility knife, and putty knife. Make sure to use the appropriate tools for each step to avoid any damages. Protect Yourself When working with plumbing, it is essential to protect yourself. Wear gloves and safety glasses to avoid any injuries. Make sure to also turn off the water supply to prevent any water leaks or accidents. Be Patient Removing an old bathroom sink may take some time, especially if it has been in place for a long time. Be patient and take your time to avoid any damages or injuries. Rushing the process can lead to mistakes and frustration.DIY: Removing an Old Bathroom Sink
Here are some additional tips and tricks to make the process of removing an old bathroom sink even easier: Use a Bucket to Catch Water When disconnecting the water supply lines and drain pipe, it is always a good idea to have a bucket handy to catch any excess water that may spill out. Label Parts As you remove the sink, make sure to label the parts and screws to avoid any confusion when it comes time to install the new sink. Inspect the Plumbing While you have the sink removed, it is a good idea to inspect the plumbing for any signs of damage or wear. This is the perfect time to make any necessary repairs or replacements before installing the new sink.Removing an Old Bathroom Sink: Tips and Tricks
Having the right tools can make all the difference when removing an old bathroom sink. Here are some of the best tools to use for this project: Adjustable Pliers Adjustable pliers are a versatile tool that can be used to loosen and tighten various connections, making them an essential tool for removing an old bathroom sink. Screwdriver A screwdriver is necessary for removing screws and other fasteners that hold the sink in place. Pipe Wrench If your sink is connected to the main drain line with a slip nut, a pipe wrench will come in handy to loosen and remove it. Utility Knife A utility knife is perfect for cutting through the caulking around the sink edges, making it easier to remove the sink from the countertop. Putty Knife A putty knife is great for prying the sink away from the countertop without causing any damage.The Best Tools for Removing an Old Bathroom Sink
While removing an old bathroom sink may seem like a straightforward task, there are some common mistakes that can lead to frustration and damage. Here are some mistakes to avoid: Not Turning Off the Water Supply It is essential to turn off the water supply before starting the removal process. Failing to do so can result in water leaks and damage. Using the Wrong Tools Using the wrong tools can lead to damages and injuries. Make sure to use the appropriate tools for each step of the removal process. Rushing the Process Removing an old bathroom sink takes time and patience. Rushing the process can lead to mistakes and frustration.Removing an Old Bathroom Sink: Common Mistakes to Avoid
When removing an old bathroom sink, safety should always be a top priority. Here are some tips to ensure a safe removal process: Wear Protective Gear Always wear gloves and safety glasses when working with plumbing to protect yourself from any potential injuries. Turn Off the Water Supply Before beginning the removal process, make sure to turn off the water supply to prevent any water leaks or accidents. Take Your Time Removing an old bathroom sink may take some time, so be patient and take your time to avoid any damages or injuries.How to Safely Remove an Old Bathroom Sink
Before jumping into the process of removing an old bathroom sink, there are a few things you need to know: Location of Shut-off Valves Make sure to locate the shut-off valves for the water supply before starting the removal process. Type of Mounting for Sink Determine whether your sink is mounted on the wall or a vanity to know how to disconnect it properly. Condition of Plumbing While removing the sink, take the opportunity to inspect the plumbing for any signs of damage or wear.Removing an Old Bathroom Sink: What You Need to Know
Follow these steps to successfully remove an old bathroom sink: Step 1: Turn off the Water Supply Locate the shut-off valves and turn off the water supply before starting the removal process. Step 2: Disconnect the Water Supply Lines Use adjustable pliers to loosen and remove the water supply lines from the sink. Step 3: Remove the Drain Pipe Loosen the slip nut and remove the drain pipe from the main drain line. Step 4: Disconnect the Sink from the Wall or Vanity If your sink is mounted on the wall, remove it from the wall brackets. If it is mounted on a vanity, use a utility knife to cut through the caulking and then gently pry the sink away from the countertop. Step 5: Label and Remove Parts Label the parts and screws as you remove them to avoid any confusion when installing the new sink.Step-by-Step Guide to Removing an Old Bathroom Sink
Removing an old bathroom sink may seem like a daunting task, but with the right tools and knowledge, anyone can tackle this DIY project. Follow the steps outlined in this guide, and you will have your old bathroom sink removed in no time.Removing an Old Bathroom Sink: A Beginner's Guide
The Importance of Updating Your Bathroom Sink

Why Change Your Bathroom Sink?
 When it comes to house design, the bathroom is often overlooked. However, this small but essential space can greatly impact the overall aesthetic and functionality of your home. One of the most overlooked and outdated features in a bathroom is the sink. Over time, sinks can become worn, stained, and outdated, making them an eyesore and a hindrance to your daily routine. That's why it's crucial to consider
removing your old bathroom sink
and replacing it with a newer, more modern option.
The Benefits of Upgrading Your Bathroom Sink
The Importance of Proper Installation
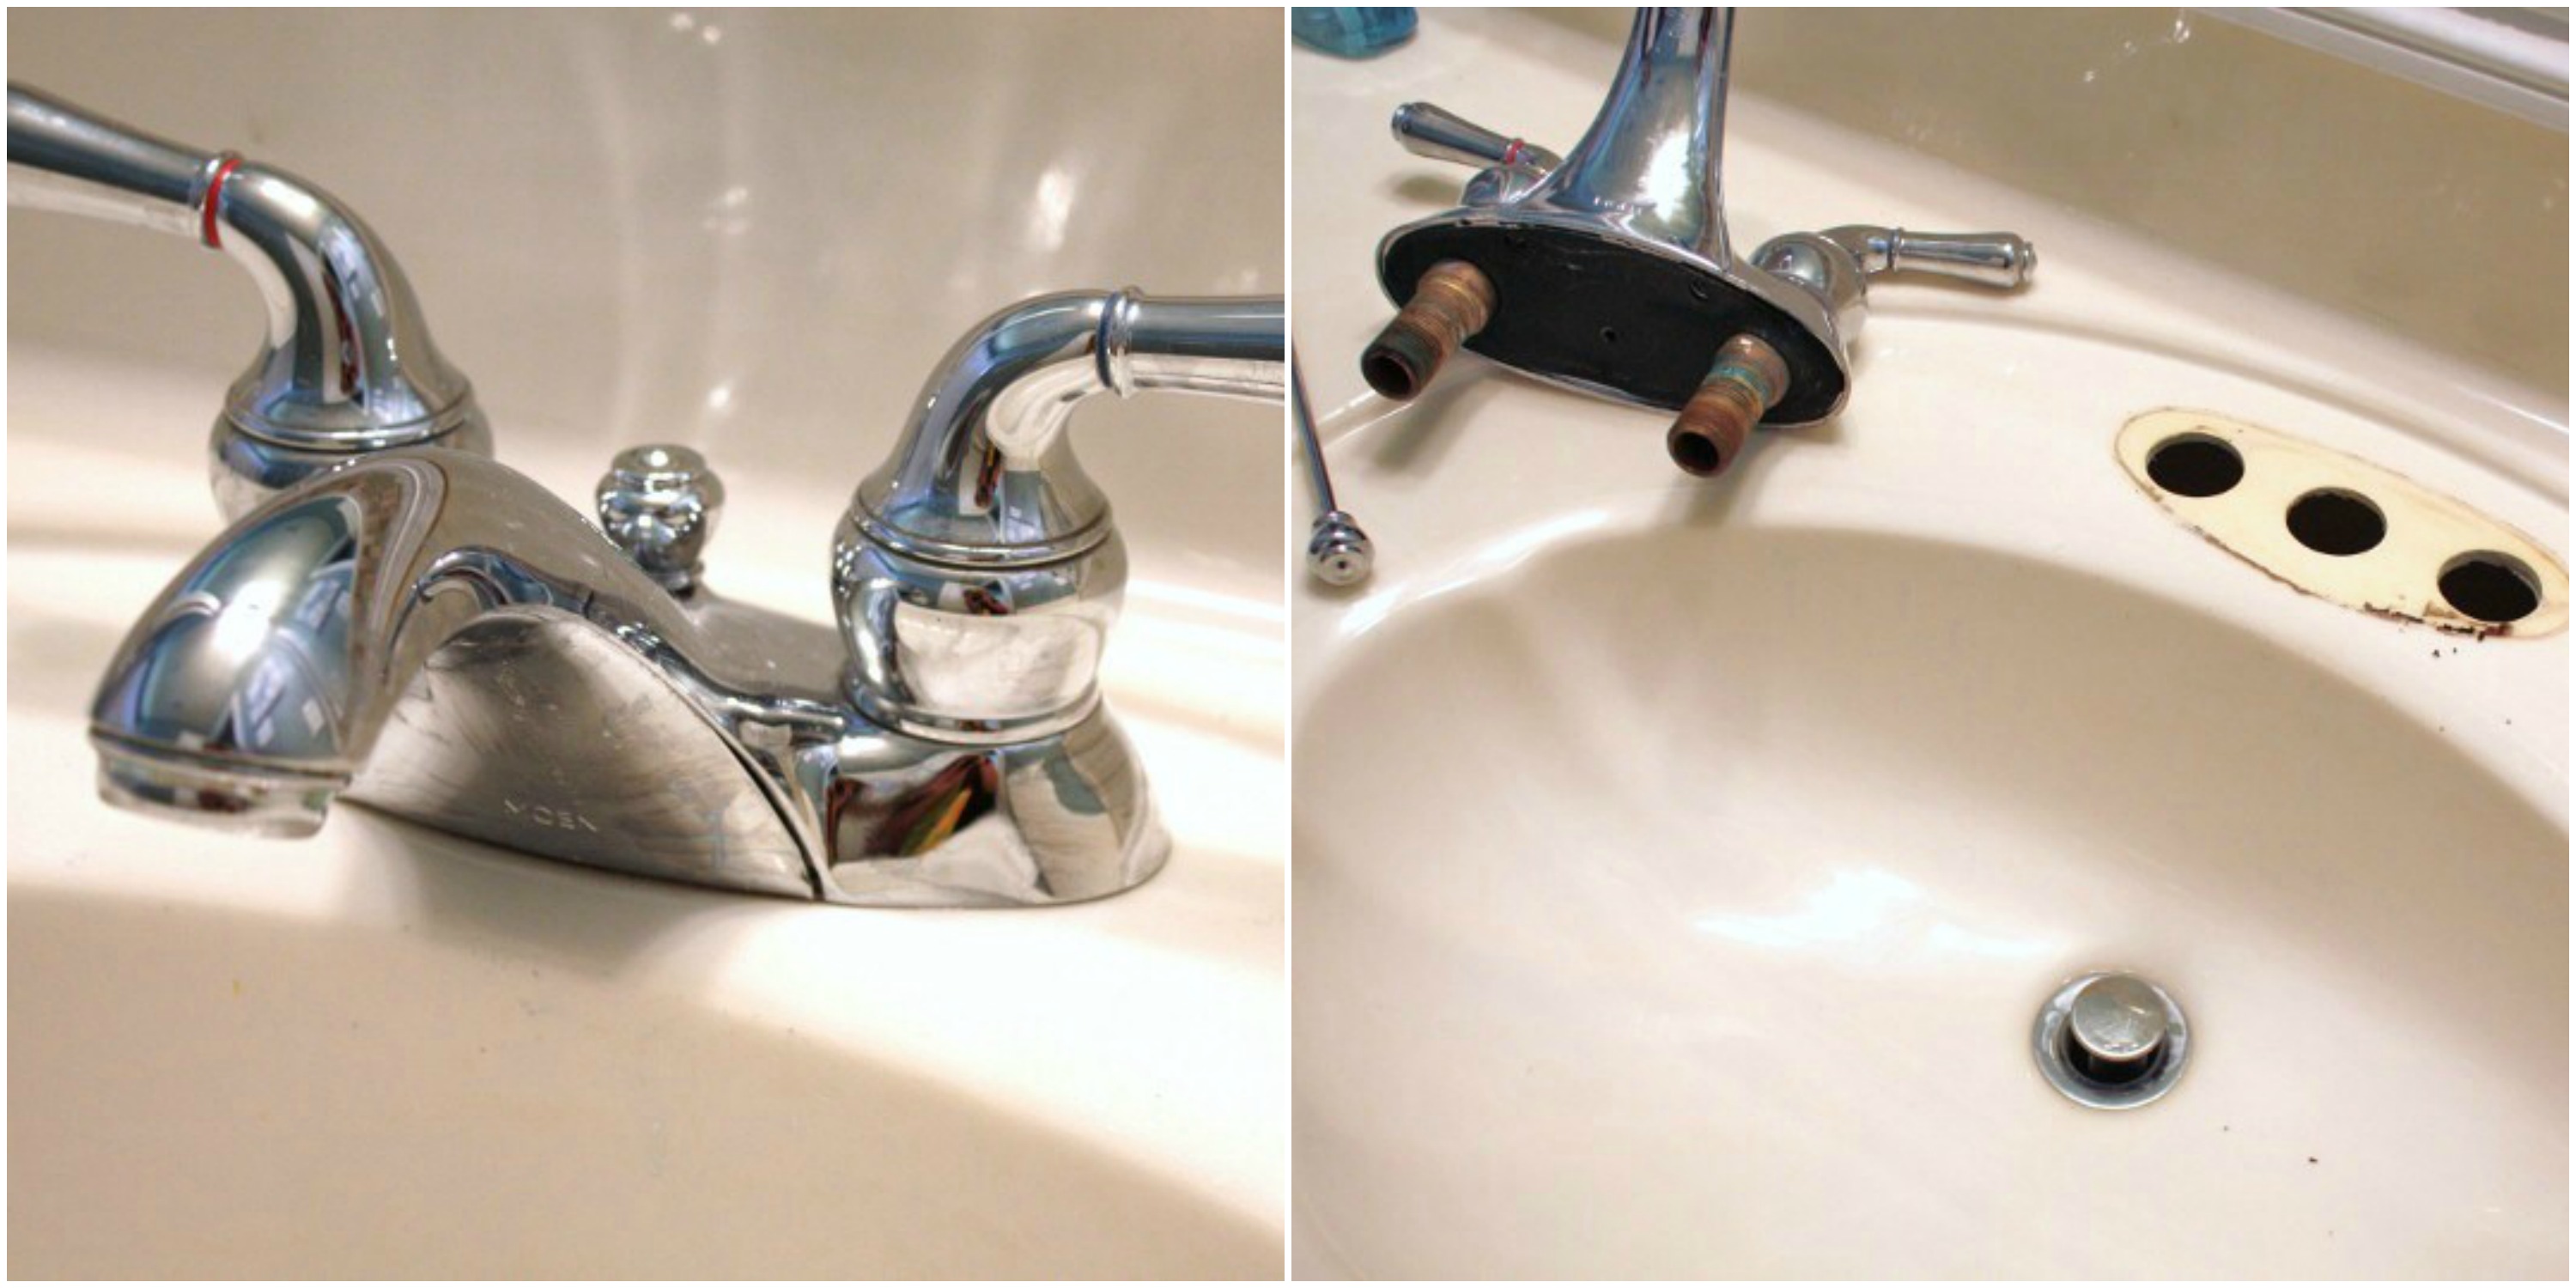 While
removing an old bathroom sink
may seem like a simple task, it's essential to ensure that the installation of your new sink is done correctly. Improper installation can lead to leaks, water damage, and even mold growth. That's why it's best to hire a professional plumber to handle the installation process. They have the knowledge, skills, and experience to ensure your new sink is installed correctly and functioning properly.
Choosing the Right Sink for Your Bathroom
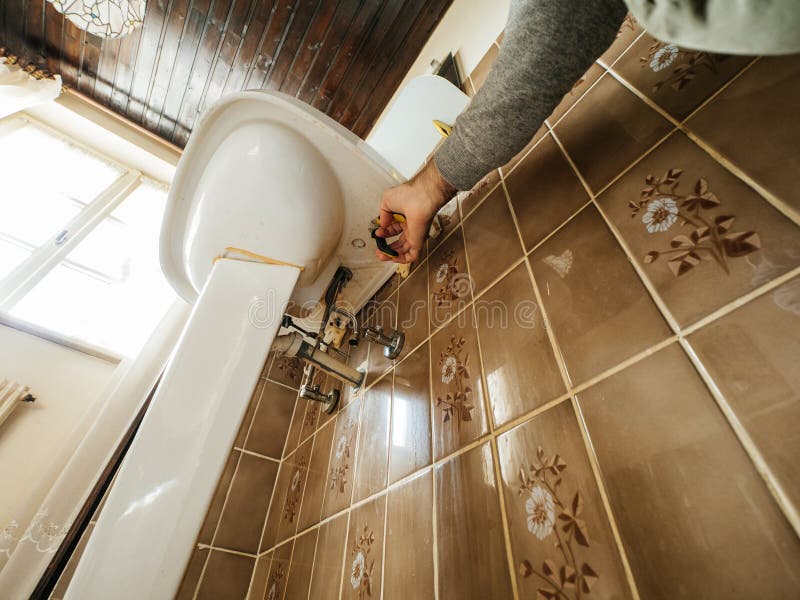 When it comes to choosing a new sink for your bathroom, there are countless options available. From traditional porcelain sinks to modern vessel sinks, the choices can be overwhelming. It's essential to consider your bathroom's overall design and functionality when selecting a sink. You'll also want to consider the size and layout of your bathroom to ensure the sink you choose fits appropriately. It's also crucial to consider your budget and choose a sink that not only fits your design aesthetic but also fits within your price range.
In Conclusion
 Removing an old bathroom sink
and replacing it with a newer, more modern option is a small but impactful change that can greatly improve the look and functionality of your bathroom. With the help of a professional plumber and careful consideration of your design and budget, you can find the perfect sink to elevate your bathroom and add value to your home. Don't overlook the importance of updating your bathroom sink and enjoy the benefits it brings.


