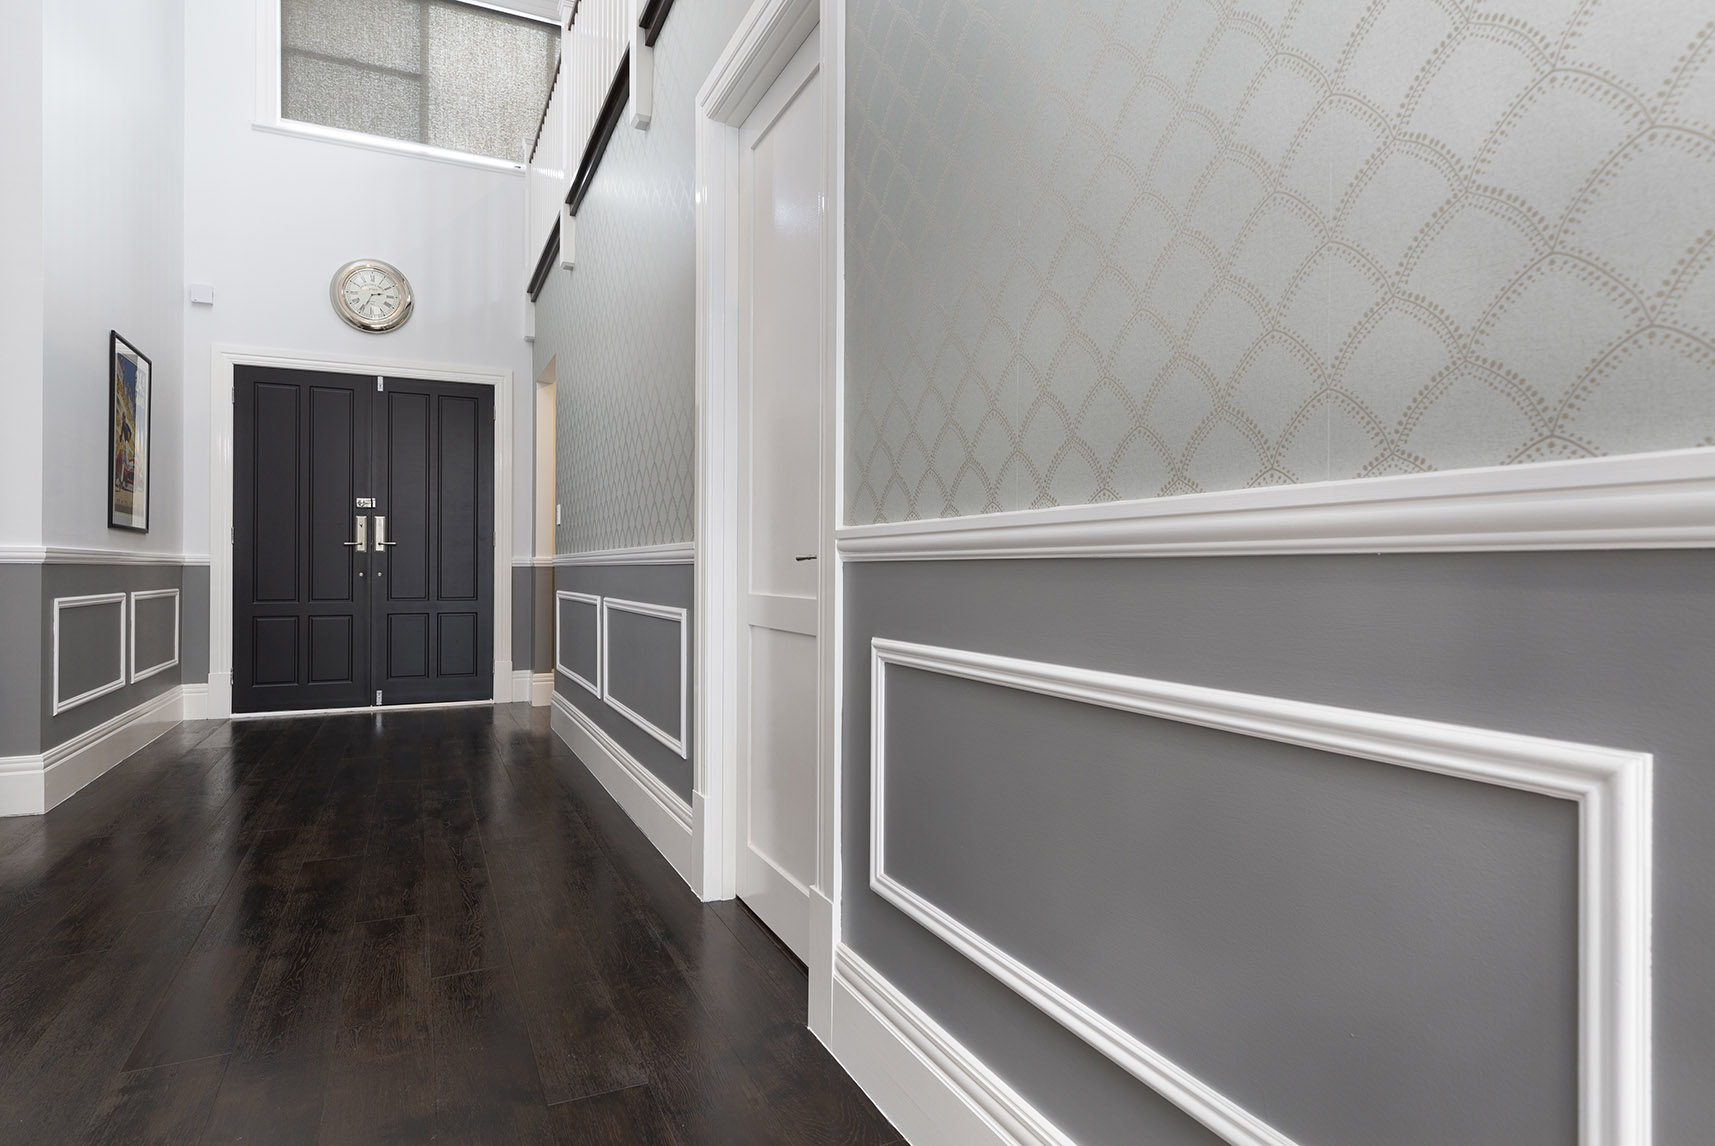
Are you tired of the dated look of your living room? One simple way to modernize the space is by removing the dado rail. This decorative trim, typically found in older homes, can make a room feel smaller and outdated. In this article, we will provide a step-by-step guide on how to remove dado rail from your living room wall.1. Removing Dado Rail: A Step-by-Step Guide
Before you begin the removal process, take a close look at your dado rail. Is it glued or nailed to the wall? This will determine the best method for removal. If it is glued, you will need a pry bar and hammer. If it is nailed, a pry bar and a pair of pliers will be needed.2. Assess the Situation
To successfully remove the dado rail, you will need a few tools on hand. These include a pry bar, hammer, pliers, putty knife, and a utility knife. It is also recommended to wear protective gloves and eyewear to prevent any potential injuries.3. Gather Your Tools
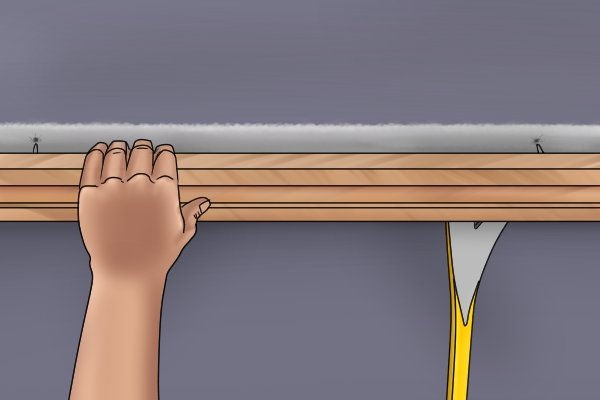
Before you begin removing the dado rail, it is important to protect your wall from damage. You can do this by placing a piece of cardboard or a thin wooden board between the wall and the pry bar. This will prevent any scratches or dents on your wall during the removal process.4. Protect the Wall
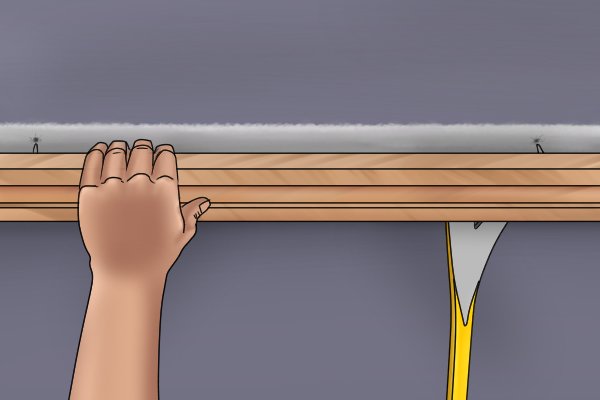
It is best to start removing the dado rail from the ends rather than the middle. This will make it easier to pry off and reduce the risk of damaging the wall. Use the pry bar and hammer to gently loosen the rail from the wall.5. Start at the Ends
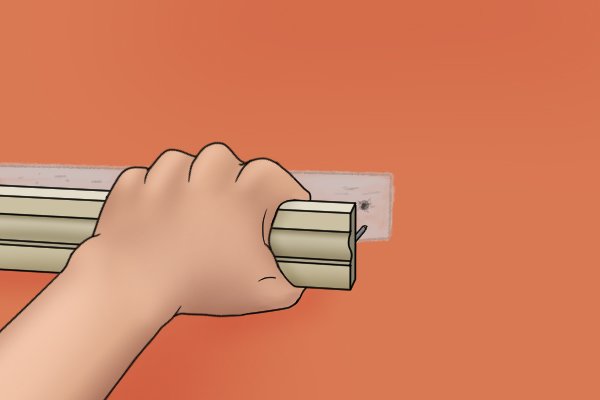
Once you have successfully removed the ends of the dado rail, work your way along the wall. Gently pry the rail away from the wall using the pry bar and hammer. Be careful not to apply too much force as this can cause damage to the wall.6. Work Your Way Along the Wall
As you remove the dado rail, you may encounter nails or glue that were used to secure it to the wall. Use your pliers to pull out any nails and a putty knife to scrape away any excess glue. This will ensure a smooth and clean wall for the next step.7. Remove Any Nails or Glue
After the dado rail has been removed, you may notice small holes or dents in the wall. Use a putty knife to fill these with spackling compound and let it dry. Once dry, sand the area to create a smooth surface for painting.8. Fill Any Holes
Once the spackling compound has dried, sand the area again to ensure a seamless finish. Then, it is time to paint. Use a high-quality primer to cover the entire wall, including where the dado rail was removed. This will create an even surface for your final coat of paint.9. Sand and Paint
With the dado rail removed and a fresh coat of paint, your living room will have a modern and updated look. You can now decorate the space to your liking without being limited by the old trim. Enjoy your newly transformed living room!10. Enjoy Your Newly Updated Living Room
Why Remove a Dado Rail?

Enhance the Aesthetic Appeal of Your Living Room
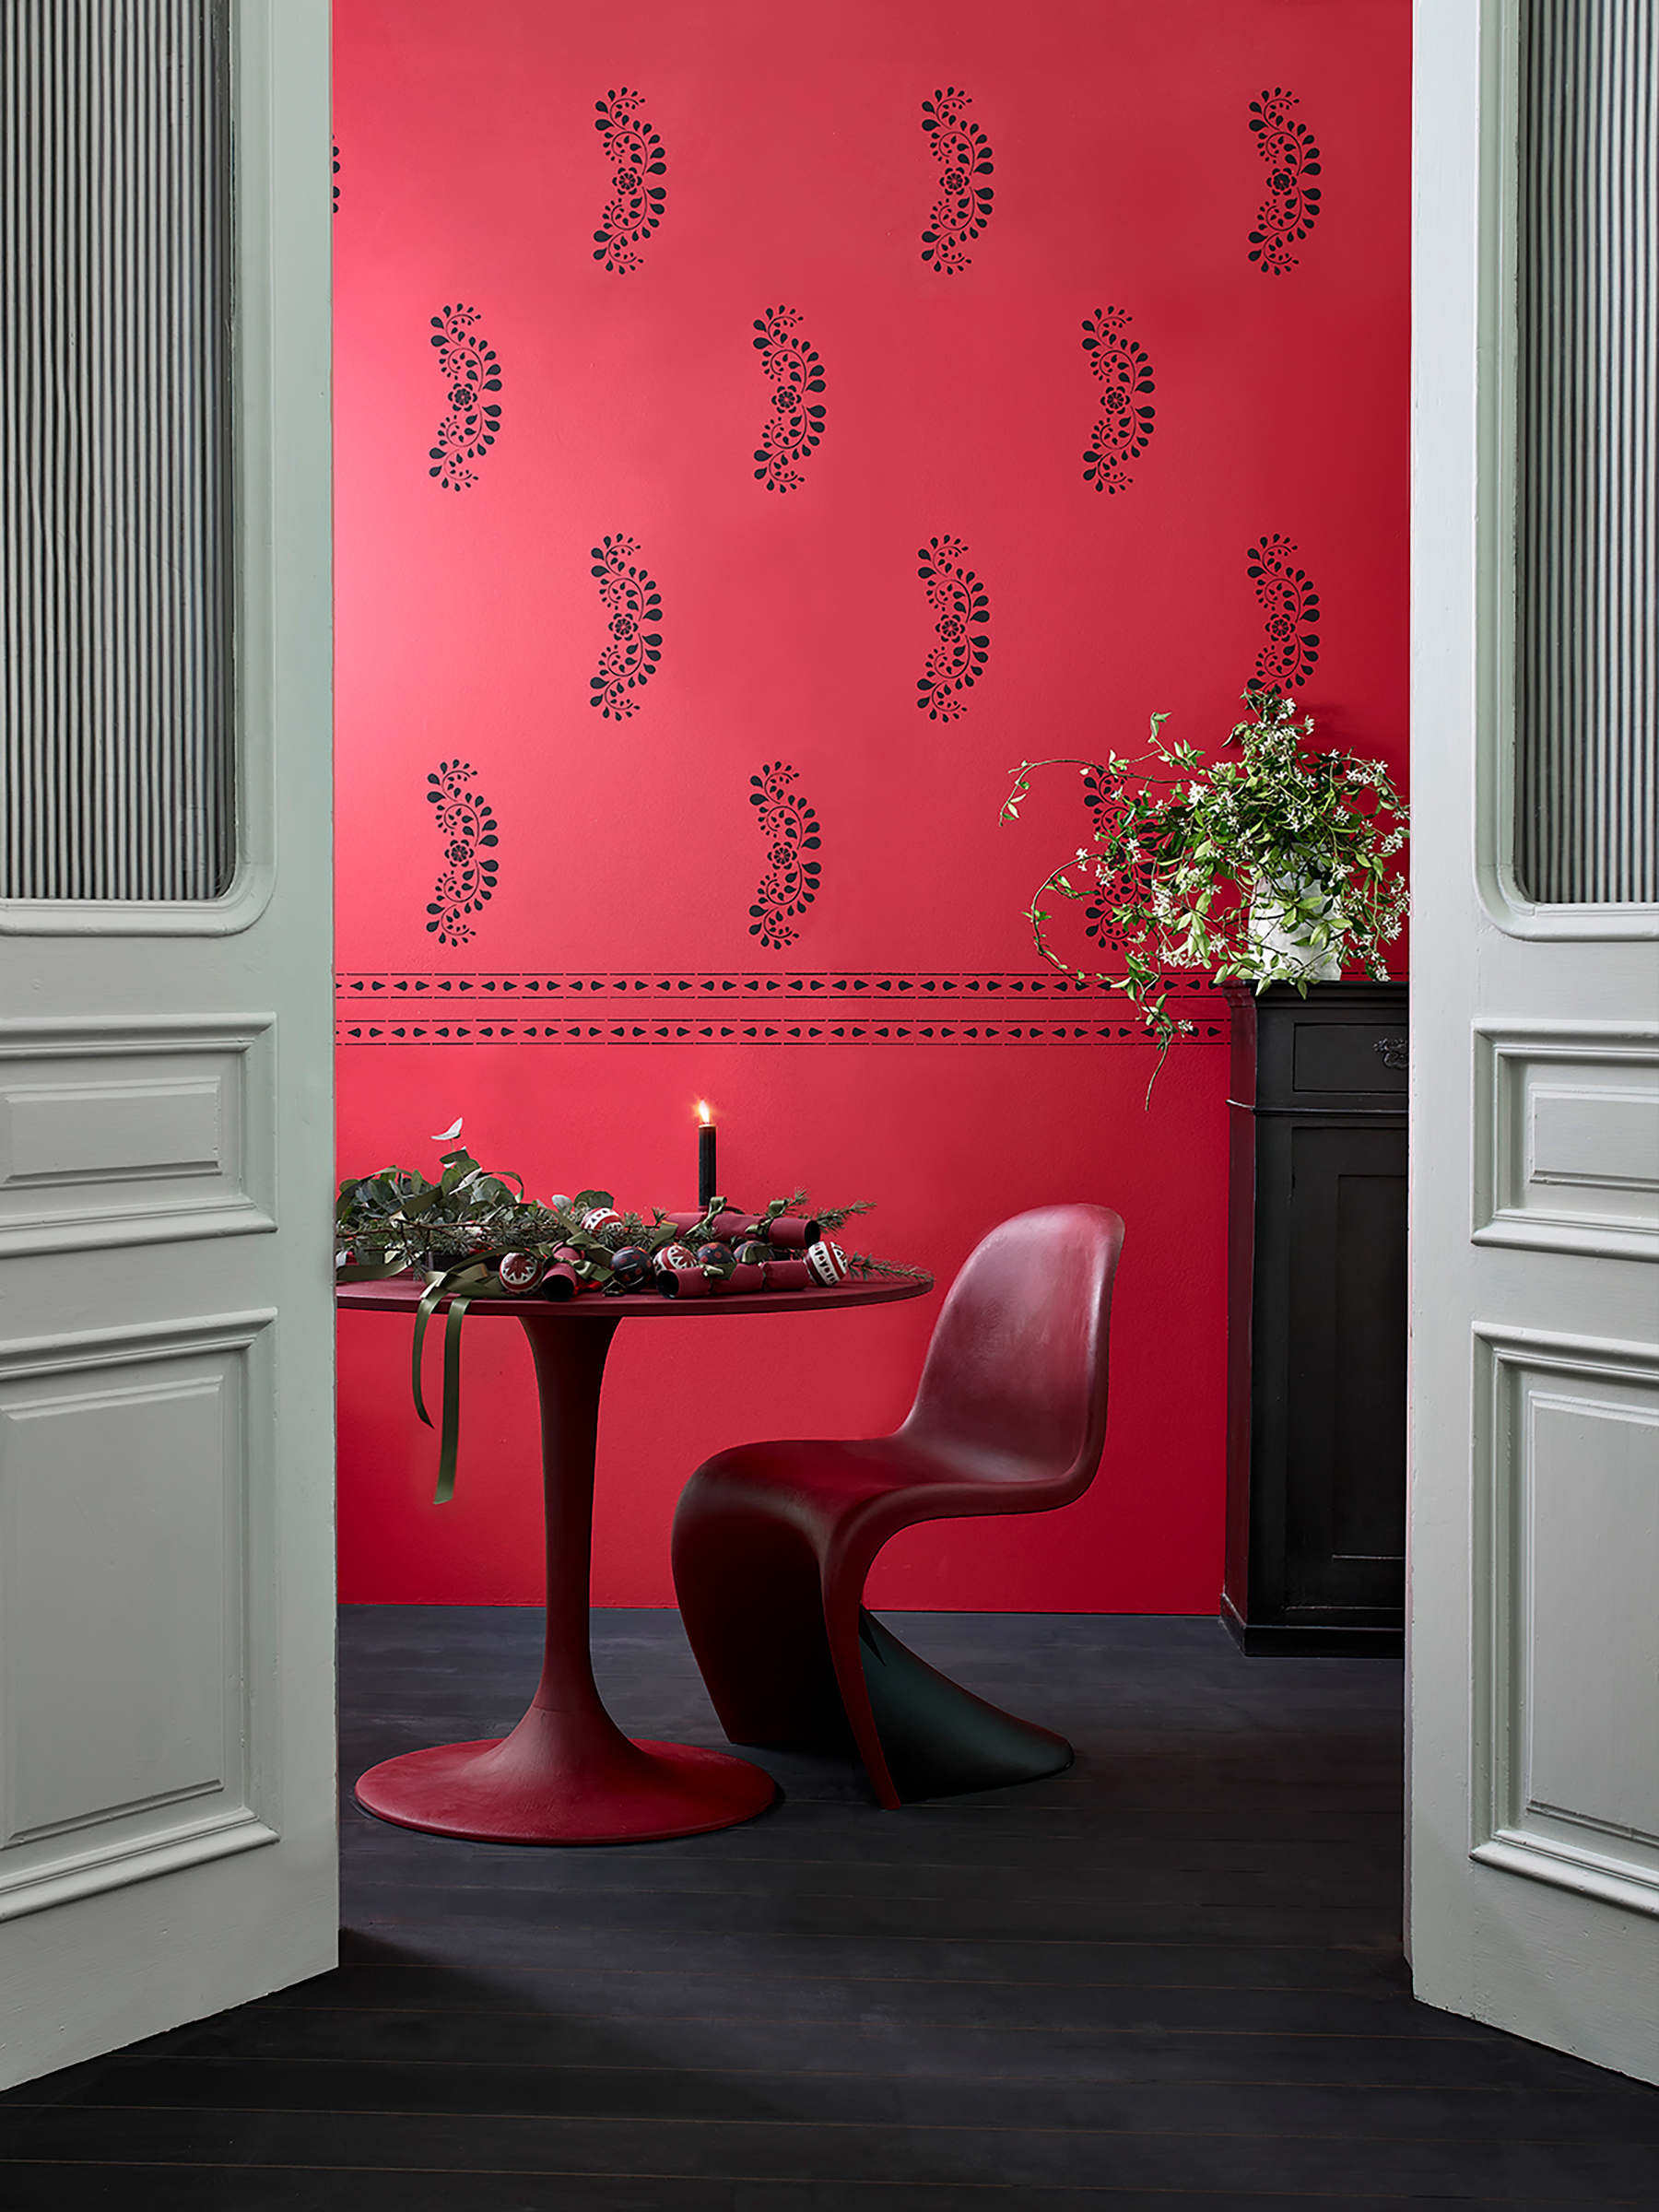
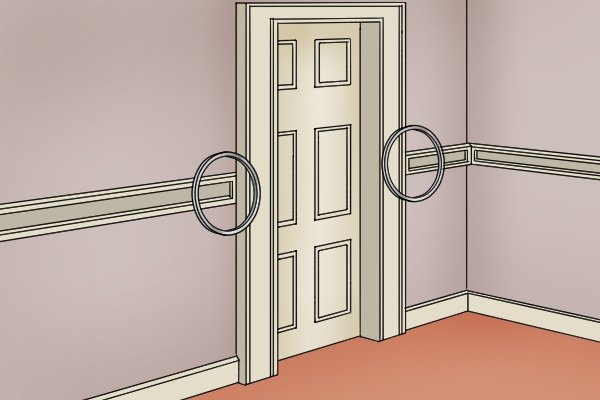
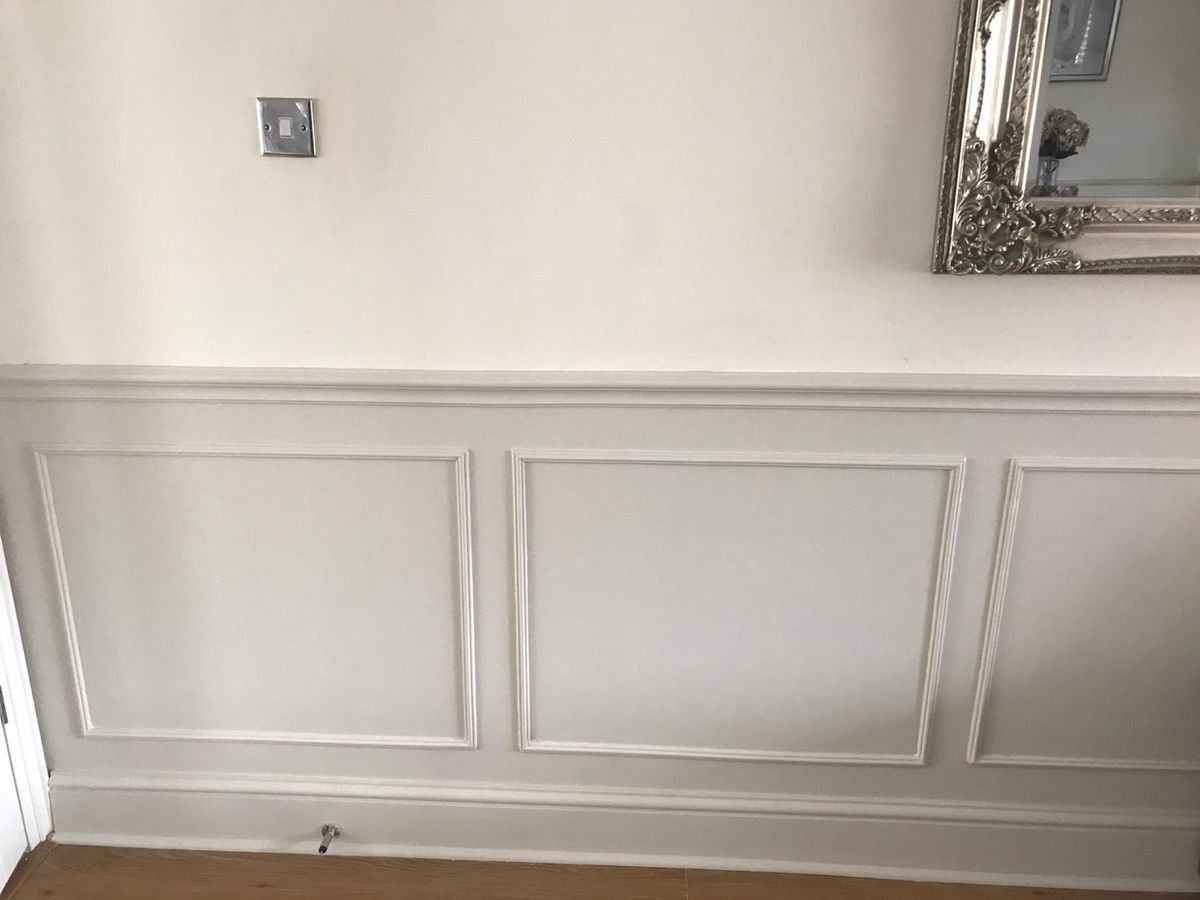
 The living room is often considered the heart of the home, a place where family and friends gather to relax and spend quality time together. As such, it's important to create a space that reflects your personal style and taste. A dado rail, also known as a chair rail, is a type of molding that runs horizontally along the walls of a room, typically at the height of a chair. While they were traditionally used to protect walls from chair backs, dado rails have become a popular design feature in many homes. However, if you're looking to update your living room and give it a more modern and streamlined look, removing the dado rail may be a necessary step.
Create the Illusion of Space
 One of the main reasons to remove a dado rail is to create the illusion of space in your living room. By breaking up the wall with a horizontal line, dado rails can make a room feel smaller and more confined. This is especially true in rooms with low ceilings, where the dado rail can make the room feel even more cramped. By removing the dado rail, you can open up the space and make it feel more spacious and airy.
Opportunity for a Fresh Start
 Removing a dado rail also presents an opportunity for a fresh start in terms of design. Perhaps the current style of your living room feels outdated or doesn't suit your taste anymore. Removing the dado rail allows you to repaint the walls and create a new color scheme that better reflects your personal style. You can also experiment with different types of wallpaper or wall decals to add texture and interest to the walls. With the dado rail gone, you have a blank canvas to work with and the freedom to create a living room that truly reflects your personality.
Smooth and Seamless Walls
 Another benefit of removing a dado rail is achieving smooth and seamless walls. Dado rails can be a challenge to paint around, and over time, they can become worn and damaged. By removing the dado rail, you can create a clean and uniform look on your walls, giving your living room a polished and put-together appearance. This also makes it easier to hang artwork or shelves without having to work around the dado rail.
In conclusion, removing a dado rail from your living room wall can greatly enhance its aesthetic appeal, create the illusion of space, and provide an opportunity for a fresh start in terms of design. It also allows for smooth and seamless walls, giving your living room a more polished and modern look. So if you're looking to update your living room and give it a fresh new look, consider removing the dado rail as a first step.

